Blue Potato Bush Care: Planting, Pruning & Wintering
Blue potato bush thrives with sun, shelter, draining soil, and a frost plan. Get practical help with containers, pruning, propagation, and bloom problems.
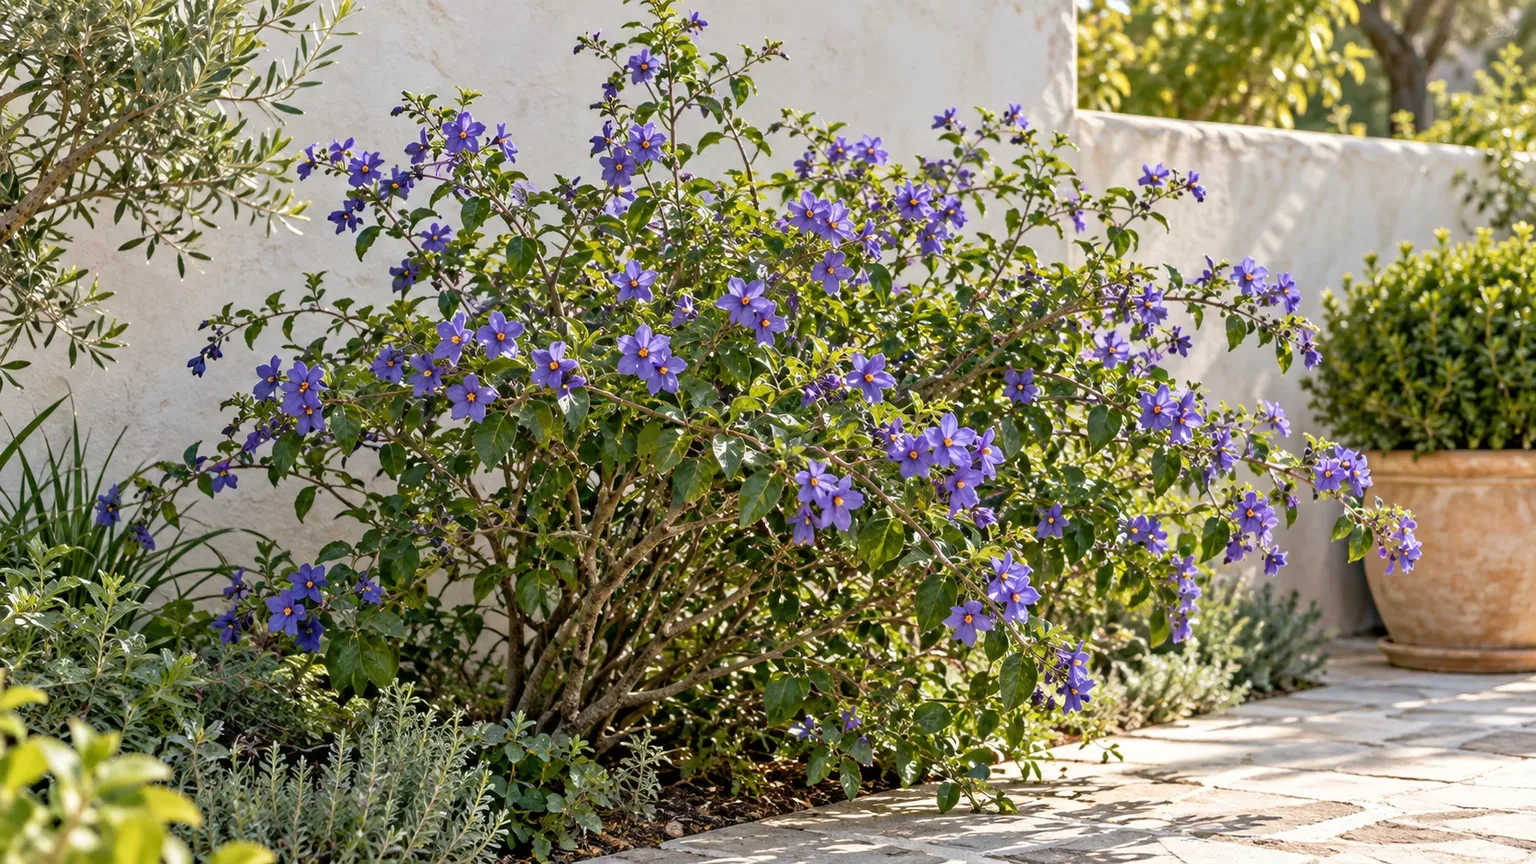
Blue potato bush (Lycianthes rantonnetii) is a fast-growing, subtropical shrub that flowers best in a warm, sunny, sheltered spot. The two decisions that prevent most disappointments are whether your winter is mild enough for an in-ground plant and whether the planting site drains freely after heavy rain.
In a warm climate, grow it in a garden bed or train it against a wall. Where frost is likely, a large container gives you a way to move the plant under cover before cold weather. Give either form regular moisture during active growth, but do not leave its roots sitting in water.
Blue potato bush care at a glance
| Need | Practical target | What to avoid |
|---|---|---|
| Light | Full sun for the most reliable flowering | Deep shade and windy exposure |
| Soil | Moist, fertile soil that drains freely | A low spot that stays wet |
| Water | Water when the upper soil begins to dry | A fixed daily schedule or a saturated root ball |
| Cold | A sheltered site in mild climates; a movable pot where frost is routine | Assuming a zone label guarantees survival |
| Pruning | Light shaping in spring, with timing adjusted around flowers | Repeated hard shearing |
| Feeding | A modest feed while the plant is actively growing | Heavy late-season feeding |
The shrub is easier to care for when you treat it as a warm-climate outdoor plant rather than a year-round houseplant. Indoor winter storage is a seasonal measure for frost protection; in spring and summer, it needs outdoor light, air movement, and room for its arching stems.
What blue potato bush looks like and how big it gets
The accepted botanical name is Lycianthes rantonnetii; Kew lists Solanum rantonnetii as a synonym. It is a woody member of the nightshade family, Solanaceae, native to subtropical South America. The Royal Horticultural Society describes its habit as lax and bushy, with lightly fragrant purple-blue, funnel-shaped flowers followed by red berries. Kew Plants of the World Online recognizes the species, while the RHS plant profile gives its core growing conditions.
Expect an informal shrub with slender, arching stems rather than a naturally tight ball. The RHS profile gives a mature height and spread of about 1.5 to 2.5 meters; Gardenia lists a taller possible range under warm conditions. Treat those figures as planning estimates, not a promise: a long growing season, support, pruning, and whether the plant is grown as a shrub or trained standard all change its final shape. Gardenia’s plant profile describes both the shrub and supported climbing forms.
The common cultivars change the display more than the care routine. ‘Royal Robe’ has vivid purple flowers, ‘Alba’ has white flowers, and ‘Variegata’ has cream-edged foliage with blue flowers. If you are buying a plant for a small patio, check the actual cultivar and its expected mature size rather than assuming the word “dwarf” or a nursery’s current pot size predicts its eventual spread. Plantura’s growing guide describes these cultivar differences.
Is blue potato bush hardy where you live?
Blue potato bush is best suited to mild, frost-limited climates. Gardenia places it in USDA hardiness zones 9 through 11, while the RHS classifies it using its separate UK H3 rating and says it may survive outdoors as a wall shrub only in very mild areas. Those systems are not interchangeable, and neither rating predicts the effect of a cold pocket, strong wind, wet winter soil, or a sheltered south-facing wall in your own garden.
Use your local winter pattern to choose the growing method. If your winters rarely freeze, plant it in a protected bed with well-drained soil. If freezes happen most years, grow it in a large container and move it to a bright, frost-free place before the first frost forecast for your area. A pot is also useful when you are uncertain whether a warm wall or courtyard gives enough protection.
In marginal climates, the top may lose leaves or die back even if the roots survive. That does not make outdoor survival certain: prolonged freezes, repeated freeze-thaw cycles, and winter waterlogging can kill the whole plant. If you leave one in the ground, mulch the root zone after the soil cools, keep mulch from touching the stems, and wait until spring growth reveals which branches are alive before pruning.
Choose a sunny, sheltered planting site
Choose a spot with direct sun for much of the day. Full sun supports the heaviest flowering; a little afternoon shade can help a newly planted shrub in a very hot inland garden, but a permanently shaded wall usually produces fewer flowers and longer, weaker stems. In a cool-summer climate, favor the warmest bright location you have.
Shelter matters because the branches are flexible and can sprawl in wind. A south- or west-facing wall, courtyard, or protected patio can add warmth and reduce wind exposure, but leave enough space for air circulation and mature width. Avoid planting directly under a roof edge where runoff repeatedly saturates the root zone.
Planting blue potato bush in a garden bed
Plant after the main frost risk has passed and the soil is workable. Dig a hole about as deep as the nursery root ball and wider than it, loosen the surrounding soil, and set the plant at the same depth it was growing in its container. Backfill with the native soil; mix in compost only when the soil is poor or compacted rather than creating a rich pocket that holds water around the roots.
Drainage is more important than a special soil recipe. Blue potato bush tolerates a range of soil pH, but it needs moisture without standing water. If your ground stays sticky and wet after rain, plant on a raised berm or choose a container instead of trying to fix a waterlogged site with a handful of gravel at the bottom of the hole.
Water the root ball thoroughly after planting, then spread a thin layer of mulch over the root zone while keeping it a few inches away from the stems. Check the soil every few days during the first warm season and water deeply when the upper layer begins to dry. Once established, it can handle a short dry spell better than a new transplant, but long droughts slow growth and flowering.
Grow it in a container you can move
Choose a sturdy pot with several unobstructed drainage holes and enough weight to resist tipping as the stems grow. A container roughly one size larger than the root ball is easier to manage than an oversized tub filled with wet mix; you can move up again when roots circle the pot or water runs through almost immediately. Put the container on a wheeled base before it becomes too heavy to shift.
Use a fertile, free-draining container mix and keep the plant at its original soil depth. Do not put a drainage layer of stones at the bottom as a substitute for drainage holes or an airy mix; water needs a clear way out of the pot. A small stake or trellis can support a trained standard or wall-trained form, while an informal shrub can be pruned to keep its canopy balanced over the pot.
Container growing brings one trade-off: roots heat and dry faster than garden soil. Check a pot more often in hot or windy weather, and do not let it sit in a saucer full of runoff. The benefit is control over winter exposure; the pot can be moved before frost, which makes a tender plant possible in gardens where an in-ground shrub would be a gamble.
Water for steady growth without waterlogging
Aim for evenly moist, not saturated, soil while the shrub is growing and flowering. Instead of watering by weekday, push a finger into the soil near the root ball: if the upper inch or two is dry, water slowly until moisture reaches the full root zone, then allow extra water to drain. A quick splash wets the surface but may not reach the deeper roots.
Newly planted shrubs and container plants need closer checks than established in-ground plants. In a heat wave, a large potted bush may need water daily, while the same plant in a mulched bed may stay moist longer. Rain, wind, pot material, plant size, and the amount of direct sun all change how quickly the mix dries.
Persistent wetness is a warning, not a reason to add fertilizer. If the surface stays damp for days, the pot remains heavy, or leaves yellow while the soil is wet, stop watering until the mix begins to dry and inspect drainage. A saucer, clogged hole, dense soil, or low garden site can keep roots oxygen-starved even when the plant looks thirsty.
Feed lightly during active growth
Feed during active growth rather than through the dormant or slow winter period. Use a balanced or flowering-shrub fertilizer at the product’s label rate; if you use a slow-release product, apply it once in spring only when the label and plant response support that schedule. The exact amount depends on the product concentration and container volume, so there is no safe universal spoonful.
More fertilizer does not compensate for shade, cold, or damaged roots. A plant making long, lush stems with few flowers may be getting too much nitrogen or too little light, while a container that has been watered through all season may need fresh mix rather than repeated feeding. Stop routine feeding as temperatures fall and growth slows, then resume when new growth begins in spring.
Prune for flowers, size, or a standard form
Decide what you want before you cut: a loose flowering shrub, a smaller patio specimen, a wall-trained plant, or a standard with a clear trunk. The naturally arching shape is part of its character; cutting every stem into a dense box can remove buds, reduce air flow, and create a layer of outer foliage that shades the center.
For ordinary maintenance, remove dead, damaged, crossing, or badly placed stems first. Then shorten only the shoots that are too long, cutting just above a leaf node or side shoot so the remaining branch can produce new growth. Gardenia recommends light pruning for shaping; Plantura advises limiting a routine cutback to about one-third of a shoot. Avoid taking that as a quota: if the shrub already has the size and shape you want, it may need only a few corrective cuts.
A standard form takes several seasons. Choose one strong central stem, stake it upright, remove competing basal shoots gradually, and pinch or shorten the top growth to encourage a canopy. This is ongoing training rather than a one-time haircut, and the plant will need support while the trunk is young.
When to prune without removing the next flush
The RHS classifies free-standing blue potato bush in its evergreen shrub Pruning Group 9, which is generally pruned in mid- to late spring. In a frost-prone garden, wait until the risk of hard frost has passed; in a mild climate, light shaping after the main flower flush can preserve more open buds. The plant can flower on previous or current growth, so a hard cut at the wrong point can remove flowers that were already forming. RHS pruning guidance for evergreen shrubs explains the group and timing.
Do not routinely shear off the outer few inches throughout the season. Remove spent flower stems only if you want a tidier look or fewer berries, and stop major pruning early enough for new growth to mature before cool weather. If an old plant is badly overgrown, renovate it in stages over more than one season rather than cutting the entire shrub back without knowing how it responds.
Propagate blue potato bush from semi-ripe cuttings
Semi-ripe cuttings are a practical way to make a plant that matches the parent. Take them in summer or early autumn, when the newest growth has begun to firm at the base but is still flexible near the tip. The RHS lists summer or early-autumn semi-ripe cuttings and gentle bottom heat as a propagation method. Its plant profile and Plantura’s guide both describe cuttings as an option.
Take and root cuttings step by step
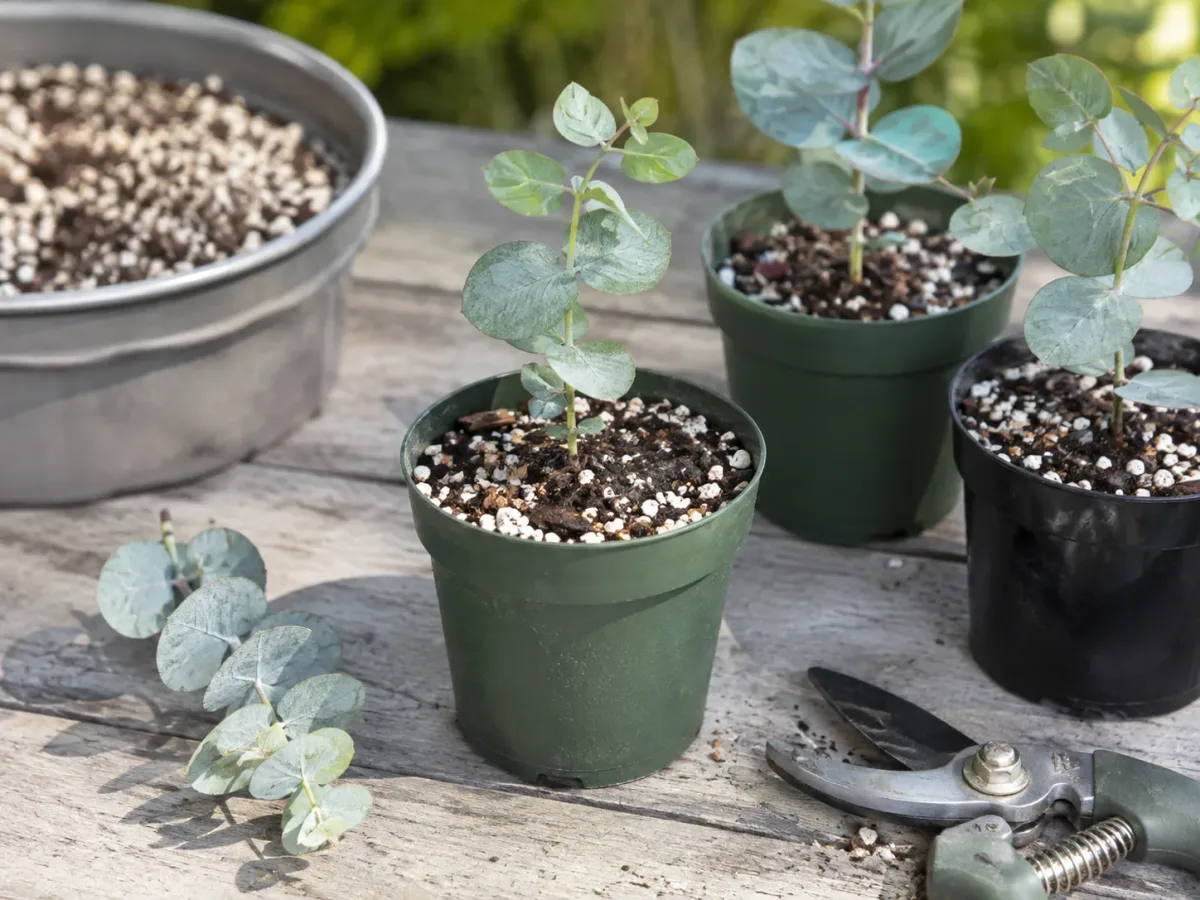
Use clean pruners to take a 4- to 6-inch nonflowering shoot just below a node. Remove the lower leaves and any buds, leaving a few healthy leaves at the tip; if those leaves are very large, trim them in half to reduce water loss. Wear gloves when handling the plant, and wash your hands and tools after the work.
Fill a small pot with moist, free-draining propagation mix. Make a hole first so the cutting’s base does not scrape off, insert the stem far enough to hold it upright with at least one node under the mix, and firm the medium around it. Rooting hormone is optional; if you use it, follow the label rather than coating the stem heavily.
Cover the pot loosely with a clear bag or propagation dome to slow moisture loss, but keep plastic from resting on leaves. Place it somewhere warm with bright indirect light, not hot direct sun. Air it briefly if condensation stays heavy or mold appears, and keep the medium lightly moist rather than wet. Roots may take several weeks; look for resistance to a gentle tug or visible roots at the drainage hole before potting the cutting on.
Overwinter the plant and assess spring regrowth
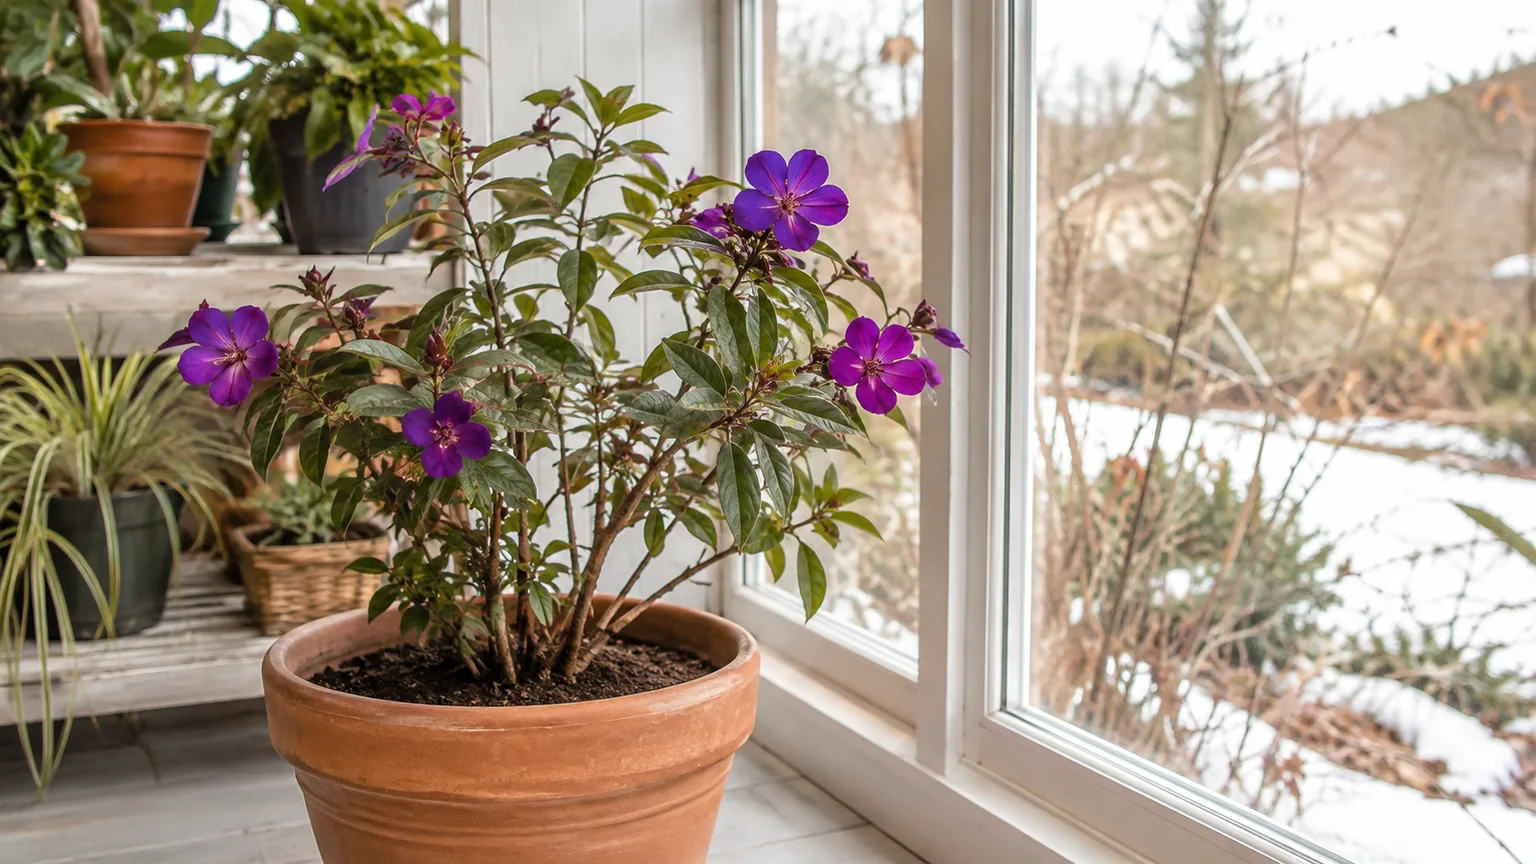
For a container plant, move it before frost reaches the plant, not after leaves have been damaged. First check for pests and remove dead or crossing shoots, then transition it over several days from the outdoor site to a bright, cool, frost-free room or conservatory. Plantura recommends winter storage around 8 to 12°C; the useful general target is a cool, bright place where growth slows without the root ball freezing.
Water less often indoors because the plant uses water more slowly in cool, low-light conditions, but do not let the root ball dry into a hard block. Check the mix before watering and empty any saucer afterward. Pause fertilizer until active spring growth returns, and inspect leaves and stems regularly for pests that can build up indoors.
In spring, move the pot outside gradually once nights are reliably frost-free. Give it a few days in bright shade or morning sun before returning it to full sun, then resume normal watering and feeding as growth restarts. For an in-ground plant that looks dead after winter, wait for buds or shoots before removing major branches; cold damage can reach the tips while lower wood or roots remain alive. The RHS plant profile recommends growing it as a container standard and bringing it under cover in climates where outdoor survival is uncertain.
Troubleshoot yellow leaves and weak flowering
A single symptom rarely identifies a single cause. Before changing fertilizer or watering, note whether the soil is dry or wet, whether the plant recently moved indoors or outdoors, how much direct light it receives, and whether pests are visible on the undersides of leaves. Change the factor that is clearly out of range first, then give the plant time to respond instead of changing several things at once.
Yellow leaves or sudden leaf drop
If the mix is dry down to the root ball, water deeply and check more often during hot weather. If it is wet for days, improve drainage and let the top layer dry before watering again; more frequent watering can worsen root stress. If leaf drop began after moving the plant inside, a sudden change in light, temperature, and airflow is a likely contributor, so stabilize the location and avoid repeated moves.
Look closely at new growth and leaf undersides before assuming a nutrient shortage. Fine webbing, stippling, sticky residue, or clusters of small insects point toward pests; uniform paling on a plant kept in shade may indicate inadequate light. Correct the environment first, remove badly damaged foliage only after the underlying stress is improving, and avoid feeding a plant whose roots are sitting in wet soil.
Few flowers or no flowers
Start with light. A plant that gets only a few hours of weak sun can stay green but flower sparsely; move a container to a brighter position or prune nearby growth that blocks the sun. Next check cold exposure and watering: prolonged drought, waterlogged roots, or a cold winter can all reduce the next display.
Then review pruning and feeding. A heavy haircut during active bud formation can remove the next flush, while nitrogen-heavy feeding may favor leaves over flowers. Give the shrub a full growing season of steady moisture, adequate light, and light shaping before deciding it needs a stronger fertilizer or more severe pruning.
Check for pests and disease before treating
Inspect soft new growth and the undersides of leaves for aphids, and look for fine stippling or webbing that can indicate spider mites. The RHS lists aphids and glasshouse red spider mite as potential pests, and grey mold as a problem under glass. Crowded growth, stale indoor air, and persistently wet foliage make conditions harder to manage, so improve spacing and ventilation before reaching for a spray.
For a small aphid cluster, remove it by hand or rinse the foliage gently, then recheck the plant over the next week. A container can be separated from nearby plants while you inspect it. If you choose a pesticide or horticultural soap, use only a product labeled for the plant and pest in your region, follow its directions, and test a small area first; do not combine products or increase a dose to force a faster result.
Handle berries and pruning debris carefully
Blue potato bush is an ornamental shrub, not an edible-fruit plant. The RHS lists it as potentially harmful and warns that all parts can cause severe discomfort if eaten; it recommends wearing gloves and washing hands after handling. Keep berries and pruning debris away from anyone who might taste them, and do not use the fruit in food or home remedies.
That RHS warning does not give a dose threshold or establish a pet-specific risk level. If a person or animal eats any part of the shrub, contact a local poison center or veterinary professional for case-specific advice rather than trying to identify a safe amount from a garden article.
Conclusion
Blue potato bush rewards gardeners who match the plant to the winter climate. Give it sun, shelter, moisture that drains away, and light pruning; if frost is routine, grow it in a container you can move before cold weather arrives.
Start with the site and winter plan, then adjust watering and feeding to the plant’s actual growth. When leaves yellow or flowers fade, check light, soil moisture, temperature, pruning timing, and pests in that order before making a drastic change.



