Bottom Watering Plants: How to Do It, Step by Step
Bottom watering plants can keep leaves dry and rewet small pots evenly. Learn the steps, timing cues, limits, and when top watering is still useful instead.
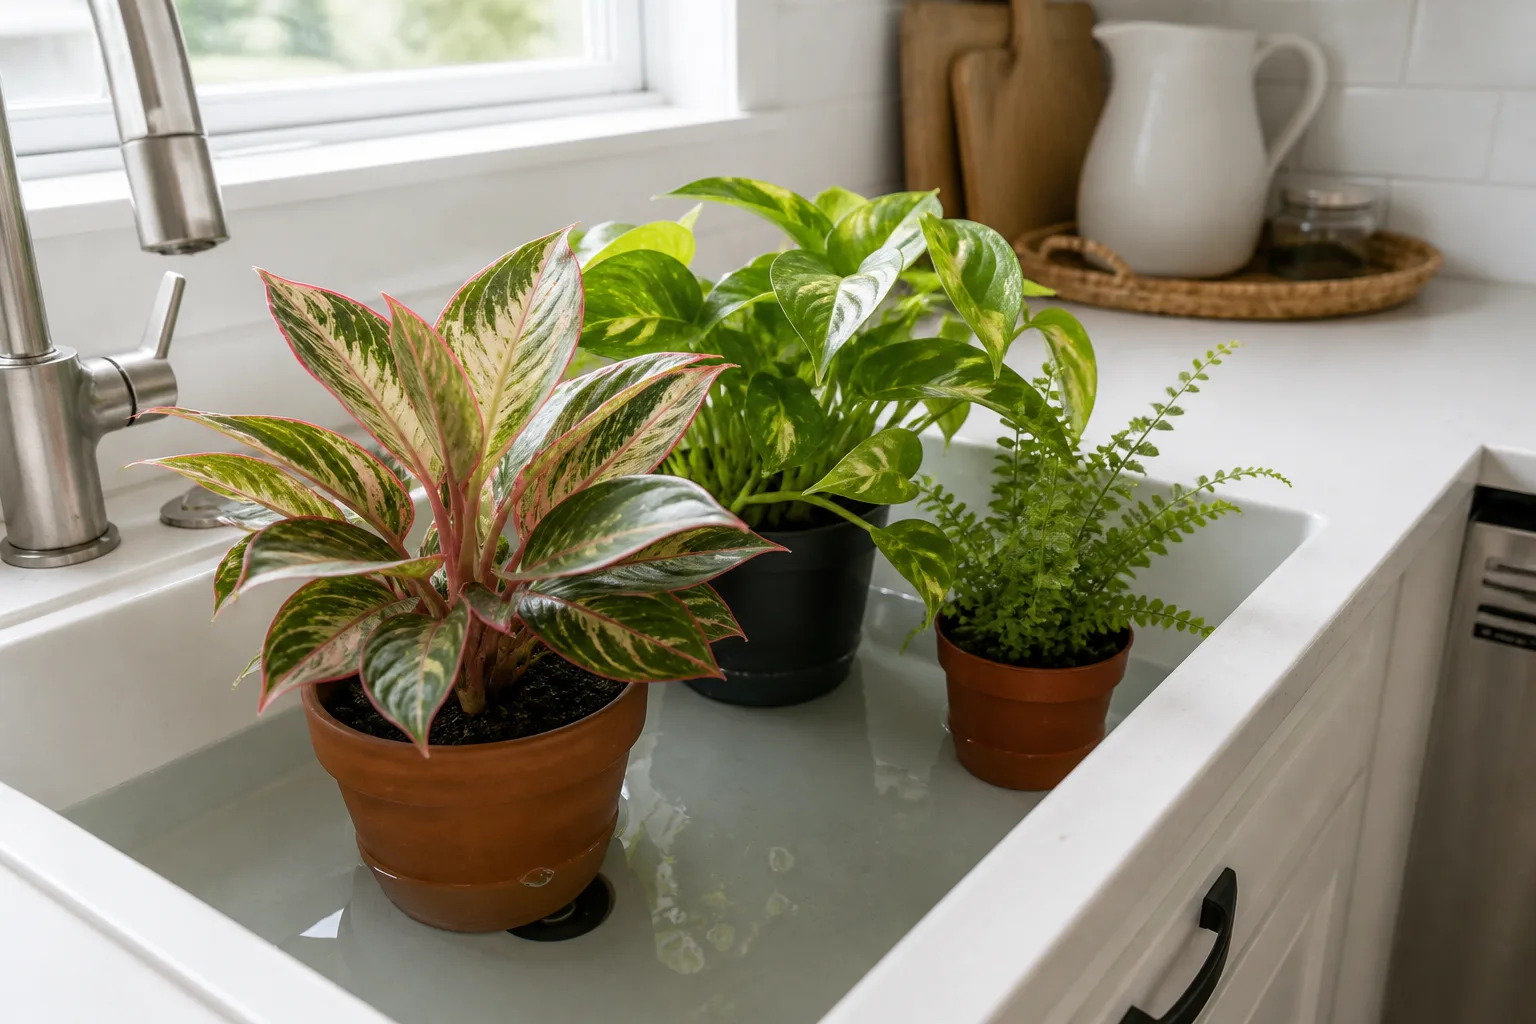
Bottom watering is useful when a pot has open drainage holes, the mix can wick water upward, and you want to keep moisture off the foliage or rewet a root ball that sheds water from above. It is not a better watering method for every plant, and it does not make overwatering impossible. Use it as one way to get water into a pot, then let the plant’s moisture needs—not the watering method—set the interval.
What Bottom Watering Actually Means
To bottom water, set a draining pot into a shallow dish, basin, or sink of water. The mix draws water through the drainage holes and into its pores; once the root ball is moist, lift the pot out and let excess water drain away. The decorative pot or saucer should be emptied before the plant goes back in place.
This is different from a self-watering planter that keeps a reservoir available for days, and it is not the same as leaving a plant in a full saucer. A bottom soak is a brief watering event. A continuously wet reservoir changes the plant’s root environment and requires a potting mix, wick, and plant that are suited to that system.
The plant still takes up water through its roots, regardless of where the water entered the pot. Bottom watering changes the route and the distribution; it does not change a fern into a drought-tolerant plant or a cactus into a moisture lover.
Why Water Rises Through a Pot
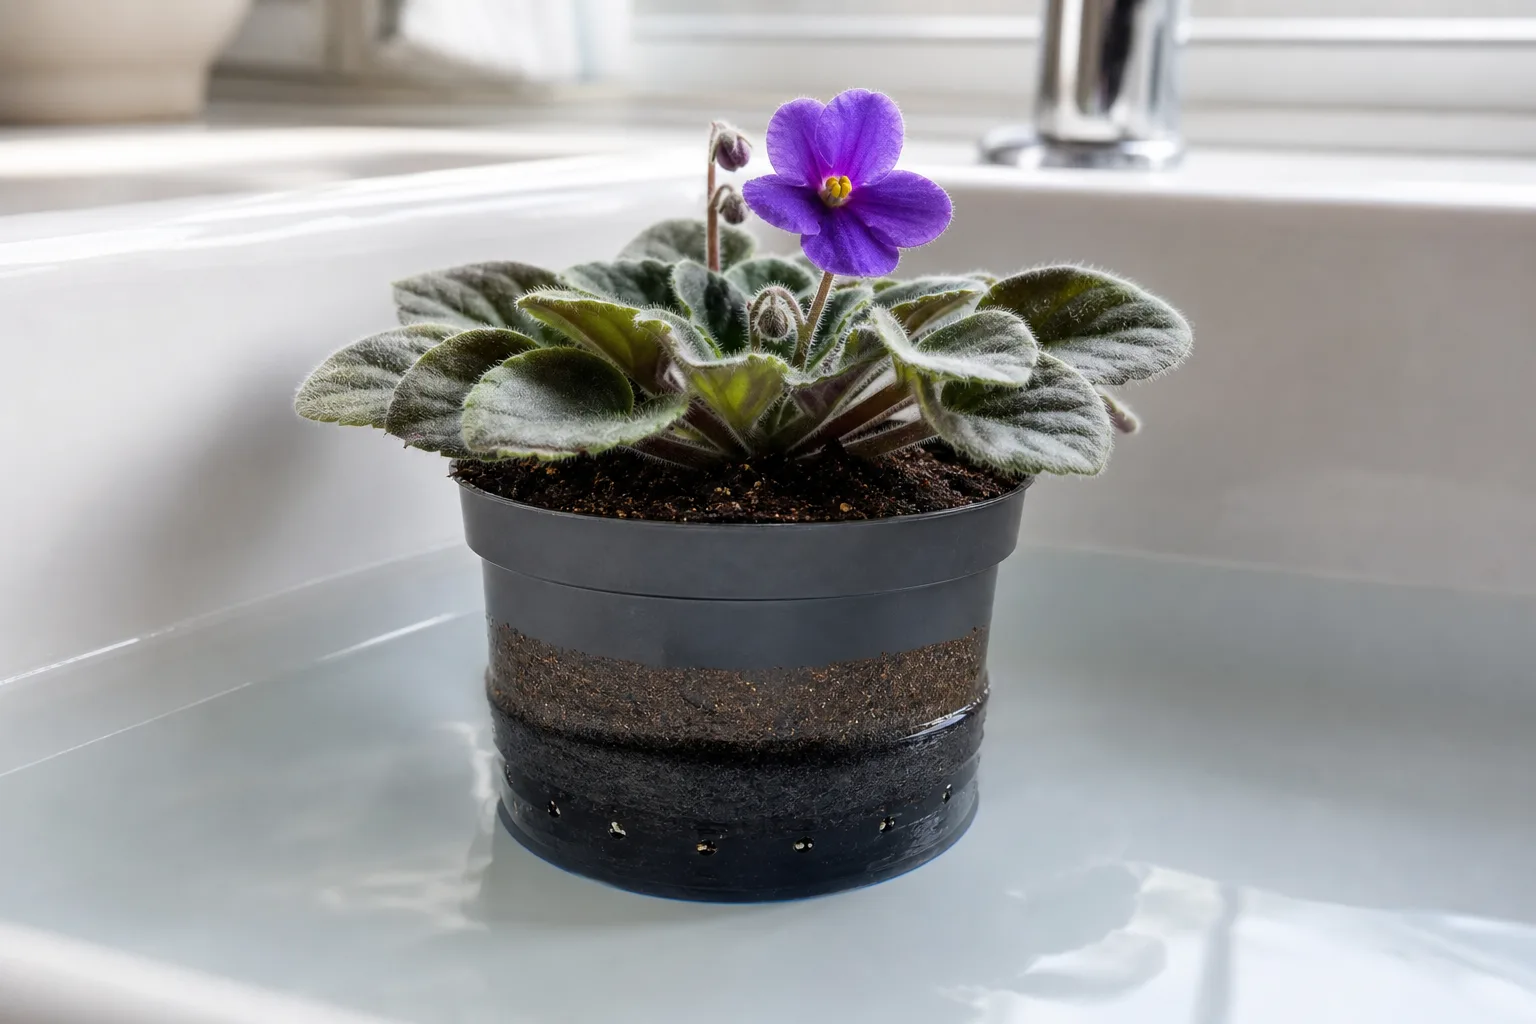
Potting mix contains small and large pores. When the mix is in contact with water, capillary forces draw some of that water into connected pores above the waterline. How far and how quickly it travels depends on particle size, pore continuity, compaction, and how wettable the mix is. That is why a shallow soak can wet a fine, evenly structured mix more predictably than a very coarse or compacted one.
The same process explains a common surprise: the bottom of the pot can be damp while the upper layer remains dry. The surface is not a reliable universal stop cue. It can be useful when the pot is small and the mix is uniform, but a heavier pot, tall root ball, bark-heavy medium, or dry peat may need a different check. The bottom-watering guide from Savvy Gardening also emphasizes that pot size and mix affect absorption time, so any suggested short soak is best treated as a first check rather than a timer rule.
When Bottom Watering Is Useful
Bottom watering is most useful when its particular strengths solve a real problem. It can reduce splash on foliage, prevent a fast pour from running down a dry gap at the pot wall, and make watering a group of small pots less messy. It is not necessary to bottom-water every pot simply because the technique is popular.
Think about three conditions before choosing it: Is the pot able to drain? Does the mix absorb water from below? Is there a reason to keep the soil surface or leaves relatively dry? If the answer to the first two questions is no, fix the pot or mix before relying on a soak.
Keep Water Off Fuzzy Leaves and Crowns
African violets are a familiar example because water that sits on their leaves can leave visible marks, and water should not collect in a plant’s crown. Cyclamen and some begonias also benefit when the crown or foliage stays dry. Bottom watering can help avoid splashing, but it is not a license to leave the plant in standing water; remove the pot as soon as its mix is adequately moistened and drain it fully.
Plants with tight leaf rosettes, such as snake plants, can also be awkward to water from above without wetting the center. A narrow-spout can directed at the soil is another option, so choose the method that lets you water the root zone without routinely wetting the crown. The Royal Horticultural Society’s houseplant guidance stresses that foliage plants, cacti, and succulents have different watering needs; the right method still has to match the plant.
Rewet a Small, Dry Root Ball
A potting mix that has pulled away from the sides of a nursery pot can let top-poured water run down the gap and out the drainage holes before the root ball absorbs much. A slow bottom soak may give that small root ball more contact time with water. If the plant is severely dry, however, the top may stay dry even after the bottom is wet, so do not assume one basin soak has reached every root.
Very dry peat-based mix can become difficult to wet evenly. In that case, use the basin as one part of a rewetting process: start with a shallow soak, check the root ball, and use a slow top watering if dry pockets remain. Do not leave it soaking indefinitely in the hope that water will eventually move through a mix that no longer wets properly.
Water Seedlings Without Disturbing Them
Bottom watering works well for many seedling trays and newly germinated plants because a top pour can dislodge shallow seeds or bend fine stems. Add water to the solid outer tray, allow cells with drainage holes to draw it upward, and remove leftover water after the cells have moistened. This is a practical short-term technique for trays, not a reason to keep seedlings permanently waterlogged.
Seed trays need closer monitoring than established houseplants. Small cells can go from moist to dry quickly under lights, while a tray left full of water can deprive the mix of air. Check the cells themselves rather than assuming the entire flat has absorbed evenly.
When Top Watering Is the Better Choice
Top watering is still the simplest choice for many established houseplants. It wets the upper root zone directly, makes it easy to see whether water moves through the mix, and can carry accumulated soluble salts down and out of a draining pot. Pour slowly over the surface until a little water drains from the bottom, then empty the saucer.
Choose top watering when you need to flush the mix, when the pot is too large or heavy to move, when a coarse medium does not wick reliably, or when you need to check whether a compacted root ball is taking water at all. It is also the more practical method for many large floor plants; a 15-gallon planter is not a good candidate for hauling to a sink.
Top watering is not automatically superior. If a dense canopy makes it hard to reach the soil, or foliage is easily marked by splashes, a well-draining inner pot can be lifted into a basin instead. The useful comparison is not “good” versus “bad”; it is which route will wet this particular root ball evenly and let it drain.
Equipment and Pot Setup
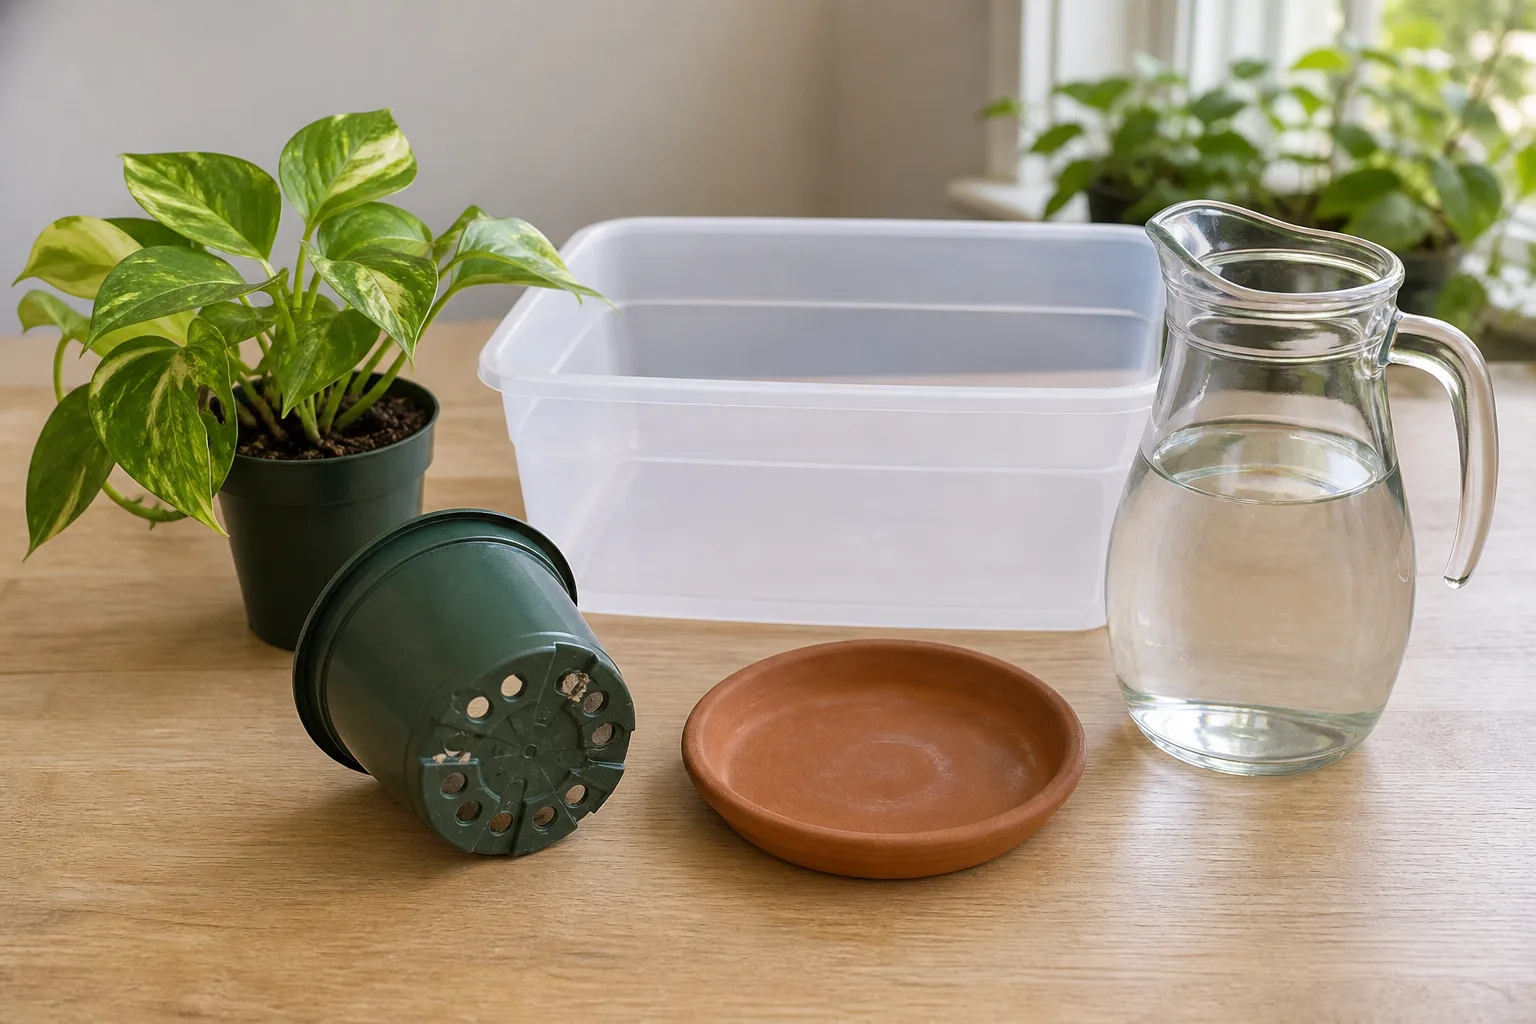
You need a container wider than the pot, enough clean water to reach the drainage openings, and a place where the pot can drain afterward. A kitchen sink, wash basin, shallow plastic tub, or a large saucer can work. The water should be below the rim of the plant pot; the goal is to contact the potting mix through its drainage holes, not to flood the surface or cover the crown.
Check the pot before filling the basin. It needs unobstructed drainage holes and should sit stably without tipping. If the plant grows in a decorative pot without holes, remove the nursery pot and bottom-water that separately. A no-hole container cannot drain, and using it as the soaking vessel risks leaving the root ball trapped in excess water.
For a pot with a layer of large stones or a false bottom, water may need to reach the mix rather than only the bottom exterior of the pot. Conversely, avoid a deep bath that submerges the stems or soil surface. Start shallow; you can add water if the pot’s openings sit above the waterline.
Use fresh water for each plant or for plants known to be healthy and compatible. Do not share a basin among plants with suspected root rot, pests, or disease: water can carry bits of potting mix and plant debris between pots. Rinse the container after use, especially if you fertilized in it.
How to Bottom Water a Houseplant
The procedure is simple, but the checks matter more than the number of minutes. The goal is to moisten the root ball without leaving it in water afterward.
Add Shallow Water
First, confirm the plant actually needs water. Check the mix at the depth appropriate for the plant: a moisture-loving tropical may need water when the upper layer begins to dry, while a succulent generally should dry more deeply before another soak. A pot’s weight can help; lift it once when dry and again after watering so you learn the difference.
Add room-temperature water to the basin until it reaches the drainage holes or about the lowest inch of the pot, whichever gives the mix contact without flooding the pot. Set the pot in the water and make sure it is stable. If you are soaking several small pots together, leave space so each can sit upright and be removed promptly.
Check Moisture, Not Just the Clock
After about 10 minutes, check the pot rather than walking away. A light, small pot in a loose mix may take up water quickly; a larger or drier root ball may take longer. Lift the pot carefully to feel whether it has become heavier, and test the mix near the surface or through a drainage opening when practical.
If the water disappears from the basin before the root ball is moist, add a little more. If the mix remains dry after a reasonable soak, do not keep extending the bath without limit. The media may be hydrophobic, too coarse, compacted, or separated from the pot wall; switch to a slow top watering and investigate whether the mix needs refreshing.
Drain Completely
When the root ball is sufficiently moist, remove the pot and let it drain in an empty tray or sink. Give it time for free water to stop dripping, then empty the saucer or cachepot before returning the plant to its usual spot. A pot should not sit in the water it just absorbed.
This drain step is part of watering, not an optional cleanup. Roots need oxygen as well as moisture, and a clogged hole or water-filled outer pot can keep the lower mix saturated. If water keeps pooling under the pot, check that the drainage holes are open and that the container is not sitting flat against a surface that seals them.
How Long to Bottom Water
There is no dependable universal soak time. Ten to 20 minutes is a reasonable first check for many small pots, and some dry or larger pots need longer; the exact time depends on the mix, pot height, root density, and how dry the pot started. The practical Gardening Know How method also uses an early check and then extends the soak only if the mix remains dry, which is more useful than copying a single fixed duration.
Use a signal, not a stopwatch: the pot feels noticeably heavier, the mix has taken up water at the root zone, and the pot drains freely once lifted. The top surface may become slightly moist, but it does not have to be wet in every setup. If the plant has shallow roots or needs evenly moist mix, check more than one point rather than relying on the surface alone.
Do not leave a pot submerged for hours or overnight. A short extension while you check is different from storing the plant with its base in water. If you routinely need very long soaks, the root ball may be too dry, the mix may have degraded, or the pot may not be suited to bottom watering.
How Often to Bottom Water
Bottom watering does not set the watering schedule. The same plant may need water more often in bright warmth and less often during cool, low-light winter conditions. Plant species, pot size, pot material, growing mix, humidity, airflow, root health, and season all change how quickly a container dries.
Instead of watering every Sunday, check the mix and the pot. For a moisture-loving plant, feel the upper layer and water when it has begun to dry, before the whole root ball becomes hard and shrunken. For a succulent, wait until the mix is dry well below the surface; a bottom soak does not make frequent watering safe for a plant that stores water in its leaves.
RHS advice frames plant watering around the type of plant and the conditions rather than a single routine. That is especially important indoors, where a plant beside a warm sunny window can use water much faster than the same species in a cool room with low light. Keep a brief note for a few weeks if you are learning a plant’s pattern, but use the note as a reminder to check, not as an automatic command to pour.
Bottom Watering and Fungus Gnats
Bottom watering can help keep the soil surface drier while still moistening the roots, which can make the surface less attractive for fungus gnat egg laying. University of Wisconsin–Madison Division of Extension says fungus gnat females lay eggs in cracks and crevices on the surface of moist potting soil and lists bottom watering as one way to provide root moisture while keeping that surface dry. It does not claim bottom watering eliminates an infestation.
That distinction matters. If the root zone stays constantly wet, or the soil surface stays moist from spills, condensation, or a dense organic layer, the problem can continue. The extension’s guidance also recommends monitoring adults with yellow sticky cards and changing growing conditions; bottom watering is one part of moisture management, not a stand-alone pest treatment.
A good gnat-conscious routine is to let the appropriate upper layer dry between waterings, avoid leaving water in saucers, and clean up spilled mix or standing water. Do not deliberately let a moisture-loving plant become severely dry just to make the surface unattractive to gnats. If adults keep appearing, check all nearby pots rather than treating only the plant you see them around.
Salt Buildup and When to Top Water
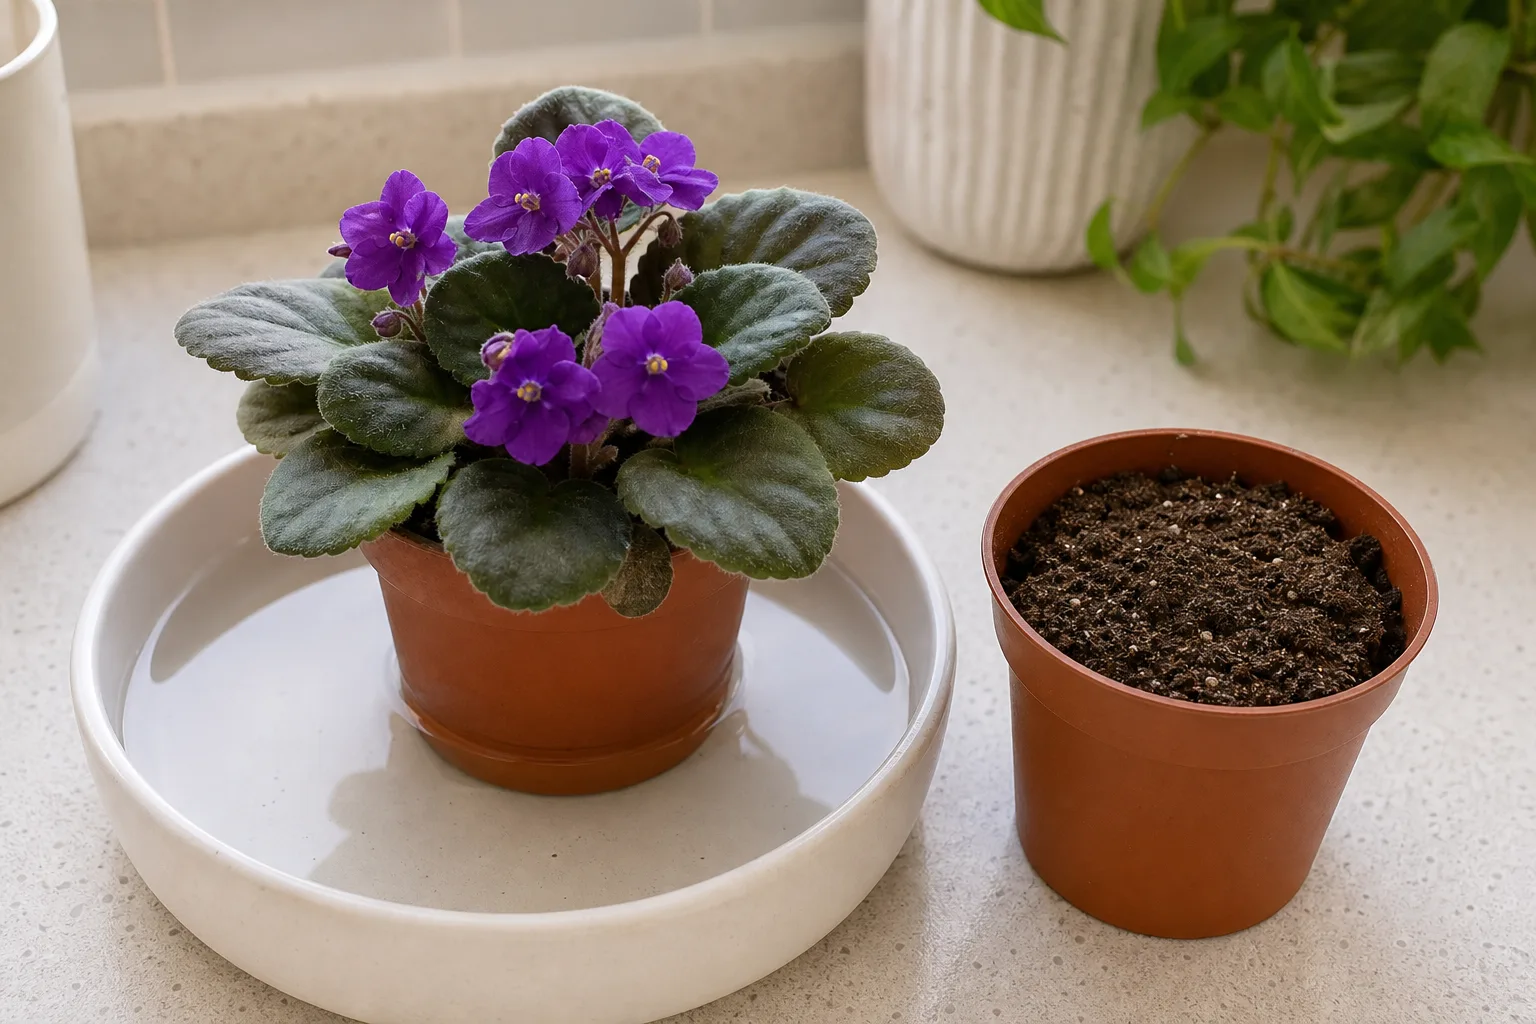
Bottom watering wets from below but does not rinse the whole pot from the top down. Fertilizer salts and minerals from irrigation water can collect in the mix over repeated waterings; if you see a pale crust on the surface or pot rim, that can be a sign to review fertilizer strength and water quality. As Savvy Gardening’s bottom-watering guide explains, bottom watering does not rinse these residues out; a top watering that produces drainage is the practical way to move soluble salts out of a pot when the plant and mix can drain safely.
How often to flush depends on your fertilizer, water, potting medium, and plant response. Do not treat “once a month” or “every four to six months” as universal. Use a thorough top watering occasionally when the plant is actively growing and the mix drains freely, and follow the fertilizer label rather than increasing feed to compensate for a pale or crusty surface.
After flushing, discard runoff rather than letting the plant sit in it. If the mix drains slowly, smells sour, or remains wet for a long time, first address the drainage problem; pushing more water through a waterlogged root ball can make stress worse. A plant showing salt injury or root damage may need a change in water, fertilizer, or mix, not simply another soak.
Troubleshoot a Pot That Stays Dry or Wet
If the pot’s top remains dry after a short soak, first check whether the bottom of the root ball is moist and whether the pot became heavier. Some mixes wet from the bottom without darkening the surface. If the root ball is still light and dry, use a slow top watering in stages, allowing water to absorb rather than run down the wall; then check drainage and the structure of the mix.
If water rushes straight through when you top-water, the mix may have shrunk away from the pot, become hydrophobic, or developed channels. A bottom soak can help small pots, but a very dry root ball may need both bottom contact and slow water over the surface. If the mix is compacted or broken down, repotting into a suitable airy mix may be the lasting fix.
If the pot remains heavy and wet for days, do not bottom-water it again just because the surface looks dry. Check moisture lower in the pot, confirm the holes are open, and consider whether the container is too large for the root system or the mix too dense for the plant. Yellow leaves and a wet root ball call for diagnosis, not more water; let the medium approach the plant’s normal dry-down point before watering again.
If the pot floats, tips, or cannot stand securely in the basin, use a smaller amount of water or a narrower container that supports it. If it is too heavy to lift, water from above in controlled passes and allow runoff to drain. The technique should fit the container you can safely handle.
Which Plants Need Special Handling
African violets, cyclamen, and some begonias are common candidates when you need to avoid wetting delicate leaves or a vulnerable crown. Bottom watering may also be convenient for dense foliage that blocks access to the soil surface, small pots that dry quickly, and seedlings in cells. These are reasons to choose the method, not rules that say these plants can never be top-watered carefully.
Succulents and cacti can be bottom-watered when the mix is dry and the pot drains, but the long dry interval those plants need is more important than the direction water enters. Let the mix dry to the depth appropriate for the species, soak the root ball, drain thoroughly, and do not repeat until the plant needs it again. A saucer full of water is not a substitute for a suitable gritty mix or a correct watering interval.
Orchids in bark, mounted plants, and pots with very coarse media may not wick in the same way as a typical peat-based houseplant mix. Their roots and growing media need a species-specific watering routine; use a soak only when the container and medium can be drained completely. Large floor plants are often better watered in place from above because moving a saturated pot can be difficult and unsafe.
Conclusion
Bottom watering is a practical option when a draining pot and absorbent mix can pull water into the root ball, especially when you want to avoid splashing leaves, wetting a crown, or washing out a seedling tray. Add shallow water, check the pot and mix instead of relying on a fixed timer, then lift the plant out and let it drain fully.
Keep top watering in the rotation when the mix needs flushing or when the pot does not wick well. Most of all, decide when to water from the plant, mix, and conditions; choosing the bottom route does not change how much moisture that plant needs.



