How to Grow and Care for Turtlehead Plant (Chelone)
Learn how to grow turtlehead in moist sun or dappled shade, choose a species, prevent floppy stems, divide clumps, and solve mildew.
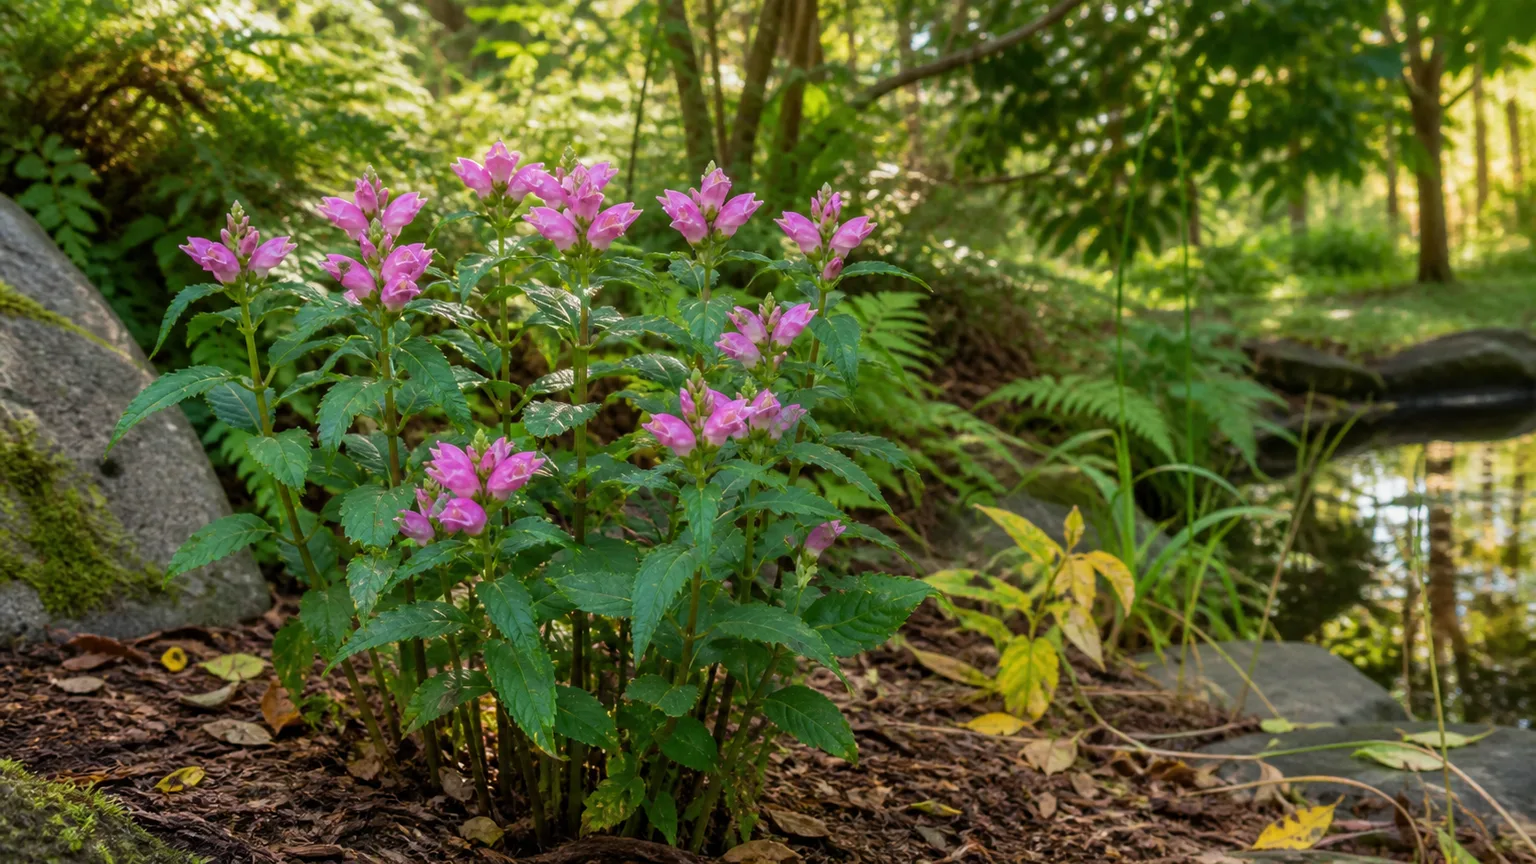
Turtlehead (Chelone spp.) is a clump-forming native perennial for the part of the garden where ordinary flowers complain: a moist woodland border, pond edge, rain garden, or damp strip beside a downspout. Its late-summer flowers look like open turtle mouths, and its dark, toothed foliage stays useful before and after the bloom period.
The care rule is simple but easy to misread: give turtlehead steady moisture, then adjust light and plant structure to your site. A plant that receives regular water can handle more sun; a plant in drier soil needs afternoon protection. North Carolina State Extension describes C. obliqua as a 2- to 3-foot native perennial for moist to wet soil, partial shade to dappled sun, and late-summer-to-fall flowers. (NC State Extension)
Start by Choosing the Right Turtlehead
“Turtlehead” is a common name for several species, cultivars, and hybrids. The label matters because the plant you buy may differ in flower color, mature size, hardiness, sun tolerance, and how much support it needs in shade. Wisconsin Horticulture notes that the genus includes several North American species with white, pink, or red flowers and a slow-spreading clumping habit. (Wisconsin Horticulture)
White turtlehead (Chelone glabra)
White turtlehead is the best choice when you want pale flowers in a wet native planting. It is associated with wet woods, swamps, and stream margins, and Missouri Botanical Garden lists it as a 2- to 3-foot plant for organically rich, moist to wet soil in full sun to part shade. (Missouri Botanical Garden)
Red or pink turtlehead (Chelone obliqua)
Chelone obliqua brings rose, pink, red, or purple tones to the late-season border. Its flowers are hooded and often show a pale beard inside the lower lip; the plant typically forms a 2- to 3-foot clump that spreads slowly rather than racing through a bed. NC State Extension lists it for moist forested habitats and as a host plant for the Baltimore checkerspot butterfly. (NC State Extension)
Pink turtlehead (Chelone lyonii)
Chelone lyonii, also called Appalachian or pink turtlehead, is a strong candidate for a cool, moist garden with protection from hot afternoon sun. NC State Extension notes its tidy clumping habit, deep pink flowers, preference for rich moist soil, and greater likelihood of needing a stake as shade increases. (NC State Extension)
When shopping, use the nursery label’s species and cultivar name rather than assuming every pink plant is C. obliqua. A named cultivar is usually best propagated by division so the new plant keeps the parent’s flower color and habit; seedlings may not come true.
Give Turtlehead a Moist, Bright Site
Start with moisture, not shade. The ideal site is evenly damp through the growing season, rich in organic matter, and bright enough to support sturdy stems. That can mean full sun in a naturally wet bed or dappled light under trees where the soil does not dry out.
Missouri Botanical Garden lists turtlehead for full sun to part shade and says it prefers dappled sun with consistently moist soil. In a hot, dry garden, morning sun with afternoon shade is often a safer compromise than a bright west-facing location. In a wet, open garden, more sun generally gives shorter, sturdier growth and heavier flowering.
Avoid two opposite mistakes. Do not plant turtlehead in dry, reflected heat and hope mulch will solve the site, but do not place it in a dark, airless corner simply because the soil is wet. Deep shade can make stems tall and weak, while crowded, still air can encourage mildew.
Prepare Soil That Holds Water Without Staying Stagnant
Turtlehead wants moisture-retentive soil, not a pot of mud. Aim for soil that holds a moist handful together briefly but still drains excess water after a storm. Organic matter improves water-holding capacity in sandy ground and structure in clay, but it should not be used to create a permanently waterlogged planting hole.
Work finished compost or leaf mold into the upper soil before planting if the bed is thin or depleted. A slightly acidic to neutral soil reaction, roughly pH 6.0 to 7.0, suits the plant, but texture and moisture are more urgent than chasing a precise number. Do not add lime or acidifying products without a soil test.
Clay soil is not an automatic reason to reject turtlehead. If the clay is fertile and stays evenly moist without puddling for days, the plant can perform well; if it seals into a hard basin, improve the wider bed rather than filling one small hole with loose compost. That wider approach helps roots move into a consistent moisture zone instead of stopping at an abrupt soil boundary.
Plant Turtlehead With a First-Year Establishment Plan
Plant nursery-grown turtlehead in spring or early summer, after the soil is workable and severe frost has passed. Early planting gives the root system more time to settle before the late-summer bloom, but a container plant can also be installed in early fall if you can keep the root zone moist while it establishes.
Dig a hole as deep as the root ball and about twice as wide. Set the crown at the same level it occupied in the container, backfill with the soil you removed, and water slowly until the entire root ball is wet. Space plants according to the mature width on the label—often about 1 to 2 feet for common forms—so air can move between clumps after they fill in.
The first year is about roots, not maximum flowers. If a new plant wilts repeatedly, do not respond with fertilizer; check whether the root ball is drying faster than the surrounding soil, whether a tree is stealing water, or whether the planting hole is shedding water into compacted ground. Correct that mismatch early and the plant will be easier to manage in later seasons.
A simple seasonal rhythm keeps the work focused:
- Spring: Plant or divide established clumps, top-dress with compost, and pinch young shoots if the site is shady.
- Summer: Check moisture below the mulch, water deeply during dry spells, and watch for early signs of heat stress or crowded foliage.
- Late summer to fall: Support stems before flower spikes open, enjoy the blooms, and decide whether you want to collect some seed.
- Late winter: Cut back the old stems before fresh growth rises, then refresh the mulch without burying the crown.
This rhythm also prevents two common timing mistakes: feeding a plant that is merely thirsty and cutting the stems just when they are carrying the flowers or winter habitat you want.
Water and Mulch to Prevent Stress
Check the soil two to three inches below the surface during hot or windy weather. Water deeply when that layer is beginning to dry, then check again rather than applying a little water every day. A soaker hose or drip line keeps the foliage dry and puts water where the roots are, while a watering wand at the soil line works for a small planting.
Keep the root zone consistently moist during bud formation and flowering. Established plants can tolerate a brief dry spell better than a new transplant, and some species are more forgiving than others, but repeated dry-down can reduce vigor, crisp leaves, and increase the risk of mildew on stressed foliage.
If the surface looks damp but the plant still wilts, dig a narrow inspection hole a few inches from the crown. A dry pocket under a thick mulch layer points to uneven irrigation or thirsty tree roots; a sour-smelling, saturated layer points to compaction or poor drainage. Those two conditions look similar above ground but need opposite responses, so do not keep adding water until you know which one you have.
Add a two- to three-inch layer of shredded leaves or composted leaf mulch around the clump, leaving a small gap around the stems. Mulch reduces evaporation and moderates soil temperature; it does not replace a site that cannot hold water. Pull back wet, matted mulch if it blocks air at the crown or stays saturated after rain.
Fertilize Lightly—If the Soil Needs It
Turtlehead usually needs less fertilizer than the label on a general flower food suggests. In rich soil, an annual spring top-dressing of compost or leaf mold is often enough. Excess nitrogen can produce lush, soft stems that are more likely to flop and may shift the plant’s energy toward leaves rather than a balanced flower display.
If growth is weak across the whole clump despite good moisture and adequate light, test the soil before feeding. Use a complete fertilizer only according to the product label and only when the soil test or a clear nutrient deficiency justifies it. Never fertilize a drought-stressed or newly divided plant; water and root recovery come first.
Pinch Stems in Spring to Prevent Flopping
The best time to make turtlehead bushier is early to mid-spring, when new shoots are a few inches tall and the plant is actively beginning its season. Pinch or shear the growing tips lightly, stopping before removing most of the new foliage. This encourages branching lower on the stems and can reduce the height that later needs support.
Light is part of the same equation. A deeply shaded plant may still stretch even after pinching, so open the canopy, move a competing plant, or use a discreet support ring before the flower spikes become heavy. Staking is a structural backup, not proof that the plant is unhealthy.
Do not perform a hard late-summer cutback on a plant you want to flower. Once buds are visible, remove only damaged stems or a branch that is blocking neighboring plants. Spring shaping gives you a compact plant; late-season cutting removes the display you planted it for.
Manage Flowers and Fall Cleanup
Turtlehead flowers arrive when many early-summer perennials are fading, usually from late summer into fall. Missouri Botanical Garden lists bloom from July to September for C. obliqua var. speciosa, while other species and cultivars can open later depending on climate and exposure. (Missouri Botanical Garden)
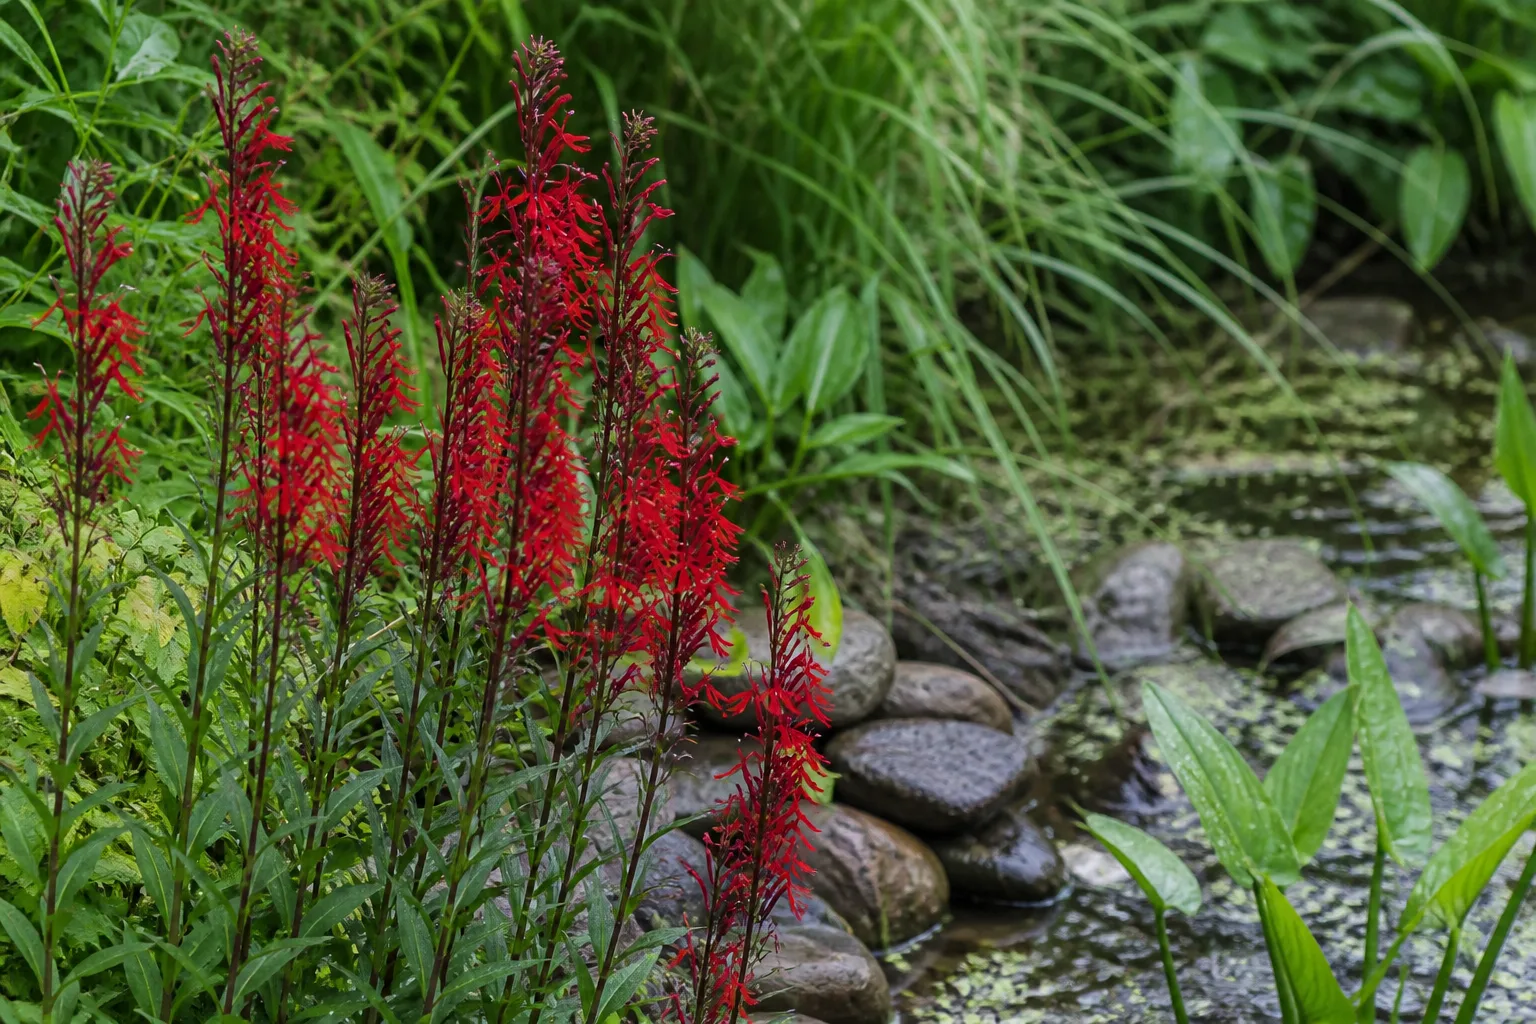
Deadheading is optional. Remove spent spikes if you want a tidier border, but leaving some flowers allows seed pods to develop and provides late-season structure. If you want to collect seed, let pods turn brown and harvest them before they split; if you want a wildlife-friendly bed, leave some dry stems standing through winter and cut them back in late winter or early spring.
Propagate Turtlehead by Division
Division is the most predictable way to multiply a named turtlehead cultivar or reduce an older, crowded clump. Divide in spring when shoots are just emerging and are roughly an inch or two tall; the plant is easy to see, the weather is usually mild, and new divisions have a long growing season to make roots.
Water the clump a day before digging if the soil is dry. Then use a sharp spade to cut down around the outer edge and through the center, lift a section with several healthy shoots and roots, and replant it immediately at the original depth. Firm the soil around the division, water thoroughly, and keep it evenly moist until new growth shows that the roots have reconnected.
Avoid dividing a tiny first-year plant or a clump that is already struggling from drought, rot, or severe heat. A division is a root disturbance; fix the site and wait for a healthy season when possible. Hold fertilizer until the following growing season so the new plant can spend its energy on roots.
Label each division when you plant it if you are growing several species or cultivars. The foliage can look similar before bloom, and a simple label prevents a later mix-up when you want to return a particular flower color or habit to the same part of the border.
Grow Turtlehead from Seed
Seed is useful when you want more plants of a species, enjoy genetic variation, or cannot find a nursery source. It is slower and less predictable than division, and seedlings may differ from the parent in flower color or habit, especially when the parent is a hybrid or named cultivar.
Some turtlehead seed needs cold, moist stratification before it will germinate. Wisconsin Horticulture notes that seed is sown on the surface because light helps germination and that chilling may be required; Gardener’s Path describes about three months of cold, moist conditions for wild-collected seed. (Wisconsin Horticulture) (Gardener’s Path)
Sow fresh seed on moist, sterile seed-starting mix and press it into the surface without covering it deeply. Keep the tray evenly moist and bright, protect it from drying winds, and provide the required cold period either outdoors in a sheltered tray over winter or in a refrigerator using a clean, moist medium. Once seedlings are large enough to handle, pot them separately and acclimate them gradually before planting them outside.
Do not bury turtlehead seed under a thick layer of soil or let the seed tray cycle from wet to bone dry. Germination can be slow, and an empty tray in the first few weeks does not necessarily mean the seed has failed.
Troubleshoot Floppy Stems, Crispy Leaves, and Mildew
Turtlehead is generally low-maintenance when the site matches its needs, but the symptoms below point to different corrections. Diagnose the root-zone moisture and light before reaching for a spray or fertilizer.
If stems flop
Flopping usually means a combination of too much shade, excessive nitrogen, crowding, or a naturally tall cultivar. First check whether the plant receives enough bright light and whether neighboring growth is closing around it. In the next spring, pinch the tips early; in the current season, use a ring or soft tie to support stems without cinching them.
If the soil is dry as well as the stems weak, water deeply and add leaf mulch. If the soil is wet and the crown smells sour or the stems collapse at ground level, stop watering until the surface drains and inspect the site for poor drainage rather than simply staking the plant.
If leaves turn crispy or brown
Crispy margins usually signal moisture stress, heat, wind, or intense sun—not a request for more fertilizer. Feel the soil below the surface, check whether a tree root or compacted layer is diverting water, and look for recent hot afternoons. Increase the depth and consistency of watering, add mulch, and provide afternoon shade if the plant is in a dry, exposed location.
Do not keep the foliage constantly wet to compensate. Water the soil, remove badly scorched leaves only when they are fully dead, and watch the newest growth. If new leaves recover, the care change is working even though old damage will not reverse.
If you see powdery mildew or leaf spots
Powdery mildew can appear when turtlehead is stressed by dry soil, crowded growth, or poor air circulation. Missouri Botanical Garden lists mildew as a possible problem when soil is too dry or air movement is poor, while NC State Extension likewise connects it with dry soil and overcrowding. (Missouri Botanical Garden) (NC State Extension)
Remove heavily affected leaves and put them in the trash, not the compost pile, then correct the conditions that made the foliage vulnerable. Thin a crowded clump after dormancy, water at the base, and improve morning light and airflow. Brown or black spots can have several causes; if they spread quickly, affect many plants, or return despite corrected care, take a clean sample to a local extension service rather than assuming every spot is mildew.
Use Turtlehead in a Wildlife-Friendly Garden
Turtlehead earns its space because it supplies structure and nectar late in the season while tolerating soil that is too damp for many border perennials. Plant it near pond margins, streams, bog gardens, rain-garden low spots, or a woodland edge where its moisture requirement is an asset rather than a chore.
Its hooded flowers attract bees, butterflies, and hummingbirds, and several species serve as host plants for checkerspot butterflies. Deer and rabbits often leave turtlehead alone, but browsing pressure is local and can vary by species and by what else is available. Treat “deer resistant” as a useful tendency, not a guarantee, especially in a small garden with heavy deer traffic.
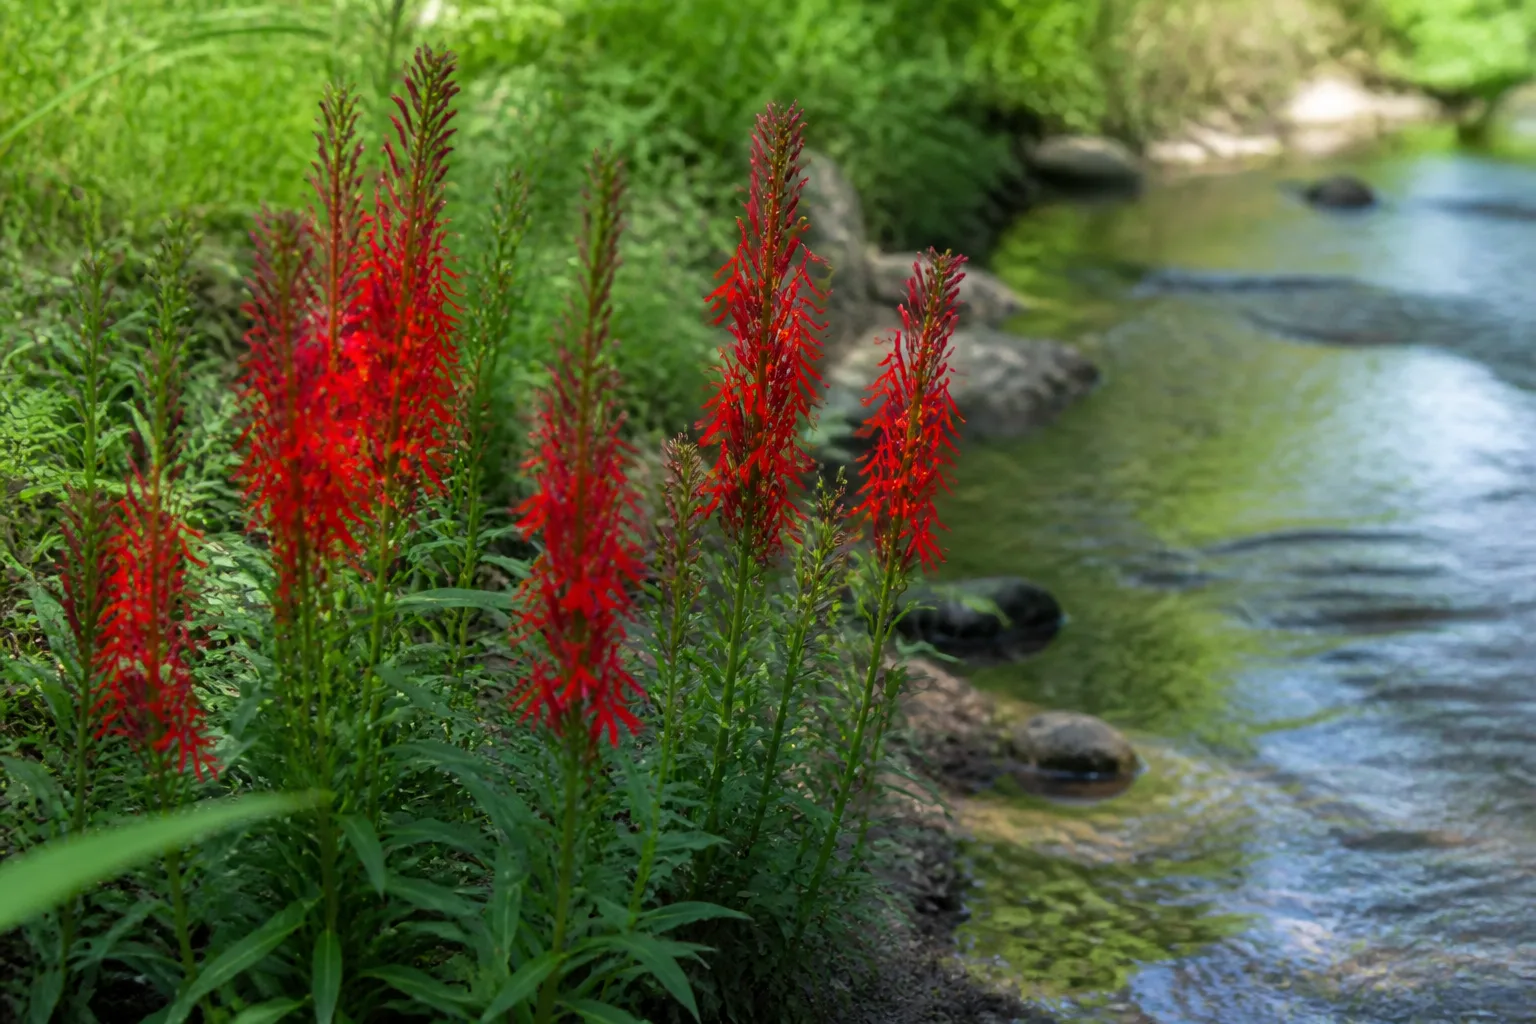
Pair turtlehead with other plants that accept the same moisture level instead of forcing it into a dry perennial border. A simple mass of one species can look more intentional than a mixed bed in which turtlehead is the only plant that needs regular irrigation.
Turtlehead spreads slowly by short rhizomes and gradually makes a wider clump, rather than sending fast runners across the garden. Give it room to reach its labeled width, but do not plant it as though it will cover a large bank in one season. If a clump becomes too wide for its spot, lift the outer sections for division instead of chopping through the center repeatedly.
Conclusion
Successful turtlehead plant care comes down to matching the plant to a moist site and then keeping the growing conditions steady. Choose the species or cultivar for your hardiness and flower preference, give it bright sun or dappled shade with enough water, build soil that holds moisture without staying stagnant, and mulch the root zone through summer.
Pinch young stems in spring if the clump needs a sturdier shape, divide healthy plants when shoots emerge, and use surface-sown seed when you want species plants rather than an exact clone. When turtlehead flops, crisps, or develops mildew, check moisture, light, crowding, and air movement in that order. Correct the site and the plant can return each late summer with distinctive flowers when the rest of the border is beginning to fade.



