Coconut Orchid Care: Light, Water, and Media
Learn coconut orchid care with practical guidance on filtered light, airy media, watering by dry-down, temperature, repotting, and fragrant spring flowers.
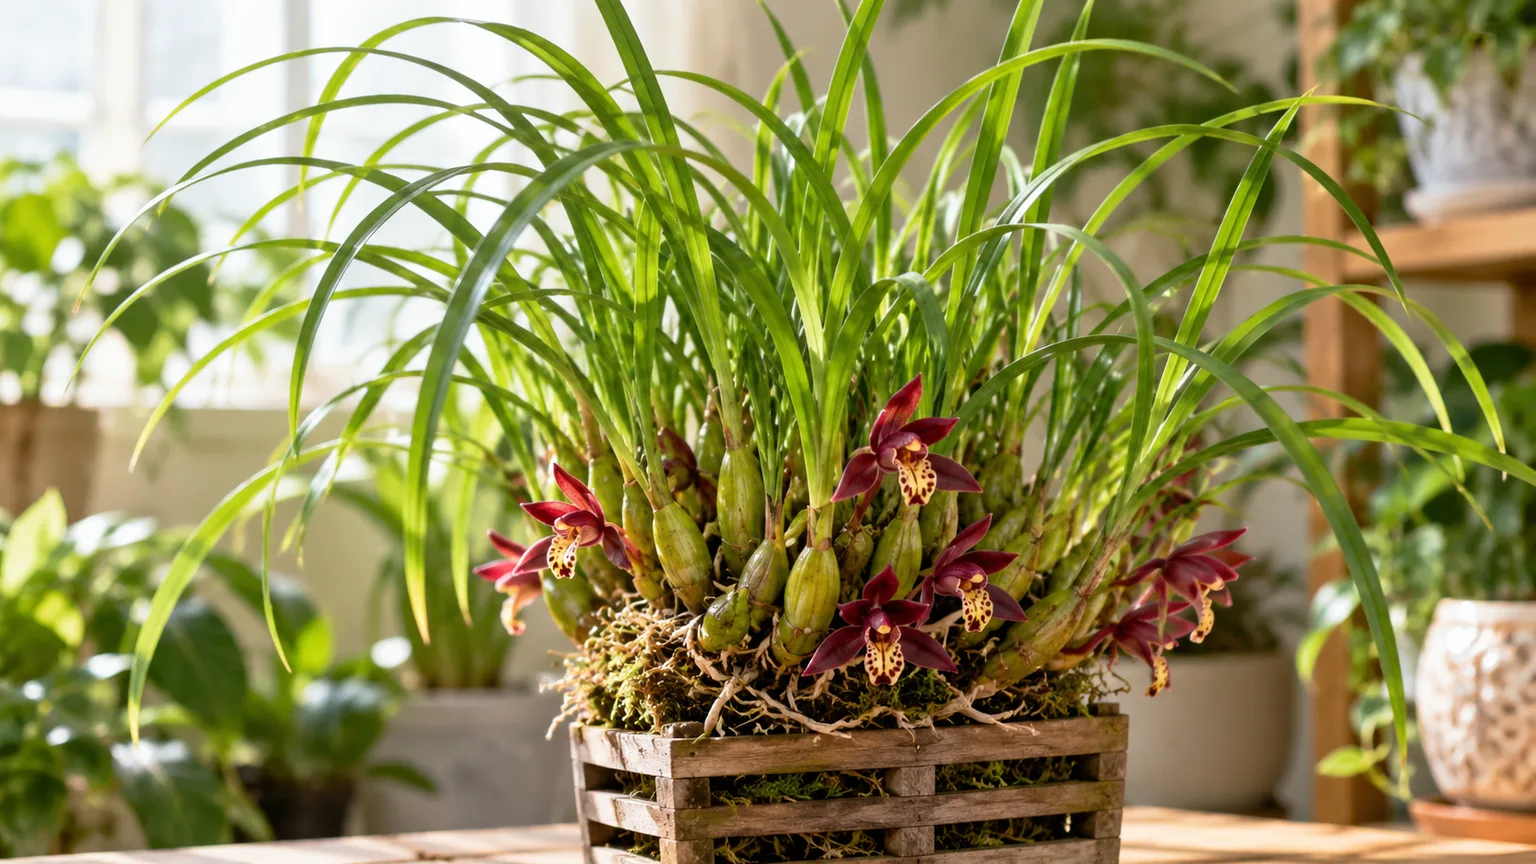
The coconut orchid earns its name when its small flowers open: a mature plant can scent a room with a sweet, coconut-like fragrance. Its fine, arching foliage also makes a full clump attractive between bloom cycles, but that foliage can mislead growers into treating it like a grass or a common soil-grown houseplant. It is an orchid with a creeping rhizome, water-storing pseudobulbs, and roots that need air as well as moisture.
You may see it sold as Maxillaria tenuifolia or Maxillariella tenuifolia. The American Orchid Society’s species profile uses the latter combination, while Kew currently accepts Maxillaria tenuifolia and lists Maxillariella tenuifolia as a synonym in its Plants of the World Online record. These labels refer to the same coconut orchid. In cultivation, the reliable starting point is bright filtered light, an airy medium that drains freely, and watering based on how quickly that medium dries—not a fixed number of days. The society’s species profile describes a forgiving, warm-to-intermediate orchid whose main cultural danger is stale or soggy media.
Coconut Orchid at a Glance
| Need | Practical starting point |
|---|---|
| Light | Bright filtered light; gentle morning sun is usually easier to manage than hot afternoon sun |
| Medium | Coarse orchid bark or another airy, fast-draining orchid mix; avoid dense houseplant soil |
| Water | Water thoroughly when the root zone is dry or nearly dry, then let the pot drain completely |
| Temperature | Warm to intermediate conditions; protect it from prolonged temperatures below about 50°F (10°C) |
| Growth | Creeping, ascending rhizome with closely spaced pseudobulbs and narrow leaves |
| Flowers | Small, fragrant blooms often appear in spring; timing and duration vary by plant and conditions |
| Container | A snug pot or open basket works; a mount dries faster and needs closer attention |
The phrase “let it dry” needs context. A small bark basket in a warm, breezy room can dry much faster than a large plastic pot in a cool, humid corner. The goal is not to leave the roots bone-dry for long stretches; it is to restore air to the root zone between thorough waterings so roots are not held in stale moisture.
Understand Its Climbing Growth Habit
This is primarily an epiphytic orchid: in the wild it grows attached to tree limbs rather than rooted in deep soil. New pseudobulbs form along a rhizome that creeps and rises, so the plant gradually travels toward the edge of its container. Each pseudobulb supports a tuft of narrow leaves and can store some water, which helps the orchid ride through short dry periods. The rhizome’s direction explains why a coconut orchid may seem to “climb out” of its pot even when it is healthy.
That growth pattern affects three care decisions. First, the plant needs a container with room for the rhizome to advance; a small, crowded pot may become awkward before the root ball truly needs more volume. Second, it does not need a deep bed of soil around its roots. Third, bare or aerial roots along the rhizome are not automatically a sign of trouble. Keep the active growing end oriented toward open space and fresh medium rather than burying the whole plant to make it look tidy.
Give It Bright, Filtered Light
Place the orchid close to a bright window where it receives strong ambient light for much of the day. An east-facing window is often a forgiving starting point because it provides direct morning sun without the harsher heat of late afternoon; a brighter west or south window can work if a sheer curtain or a little distance from the glass softens the beam. A grow light can fill in for a dim room, especially during short winter days, but it should illuminate the plant rather than heat it.
Watch the new growth instead of trying to guess an exact foot-candle target. Long, weak, floppy leaves that lean toward one side suggest the plant is reaching for more light. Leaves that bleach, develop dry patches, or feel hot after sun exposure suggest the light is too intense or the plant moved into it too quickly. Increase exposure in small steps over a week or two, and check the leaves at midday before leaving it in direct sun.
The American Orchid Society’s general light guidance explains that light strongly affects orchid growth and flowering, while too little light can produce weak growth and missed flowers; its species profile says this orchid tolerates a broad range but becomes more straggly in lower light. For practical placement, Brilliant Orchids’ species guide also describes bright filtered conditions and warns that dim placement encourages elongated foliage. Use leaf response as your feedback: a window that looks bright to you may still be too dim once a sheer curtain, roof overhang, or nearby trees cut the light.
Choose an Airy, Fast-Draining Medium
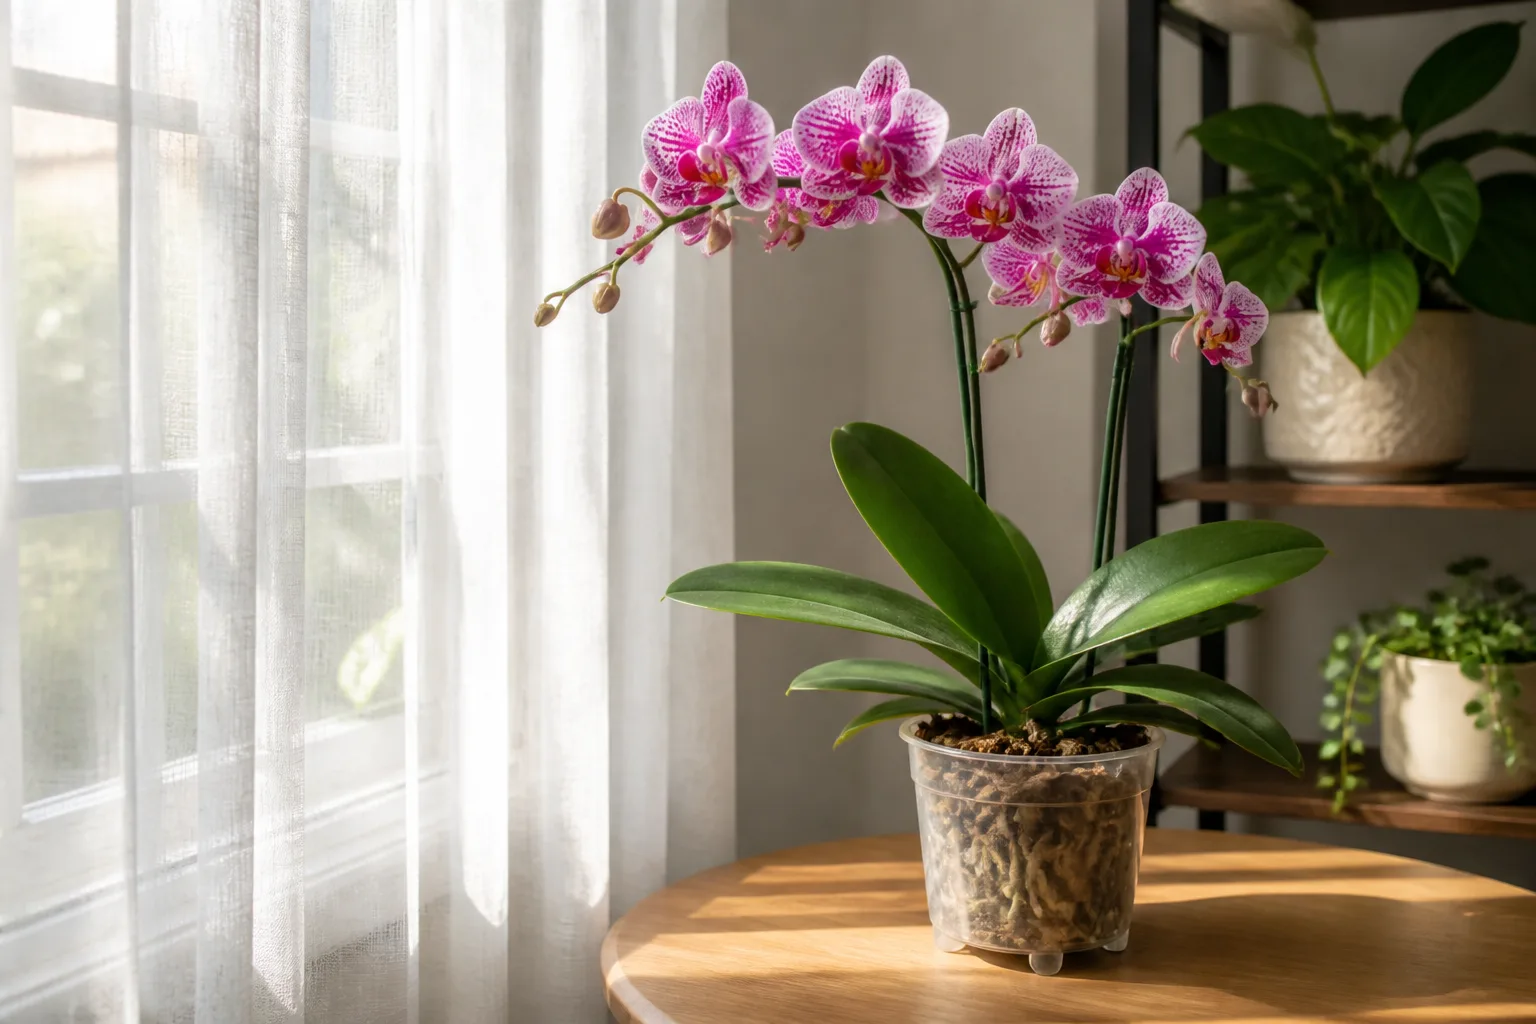
Use an orchid medium that holds a little moisture but leaves open spaces around the roots. Medium-grade fir or pine bark is a straightforward choice for a mature plant in a pot or basket; growers can also use coarse coconut husk chunks, a bark-based orchid blend, or another mix they know how to water consistently. The American Orchid Society’s coconut orchid profile describes successful plants in several media, including fir bark, coconut husk, and osmunda, and emphasizes that the mix must not stay soggy. That is a more useful selection rule than chasing a single universal recipe.
Avoid ordinary potting soil, fine peat-heavy blends, or tightly packed moss as the default. These materials can stay wet in the center long after the surface looks dry, especially in a cool room or an oversized pot. Pure sphagnum is not automatically wrong for every grower, but it is easy to pack too densely and difficult to manage if your home has limited airflow. If you do use a moisture-retentive component, mix it loosely with coarse material and check the bottom of the pot before watering again.
Choose medium by the way you actually care for plants. If you tend to forget watering, a slightly more moisture-retentive blend in a small pot may be forgiving, provided it still drains freely. If you water often or live in a humid climate, a coarser bark mix and an open basket provide a larger margin against prolonged wetness. The goal is a repeatable dry-down cycle, not the theoretically “best” ingredient.
Pot, Basket, or Mount?
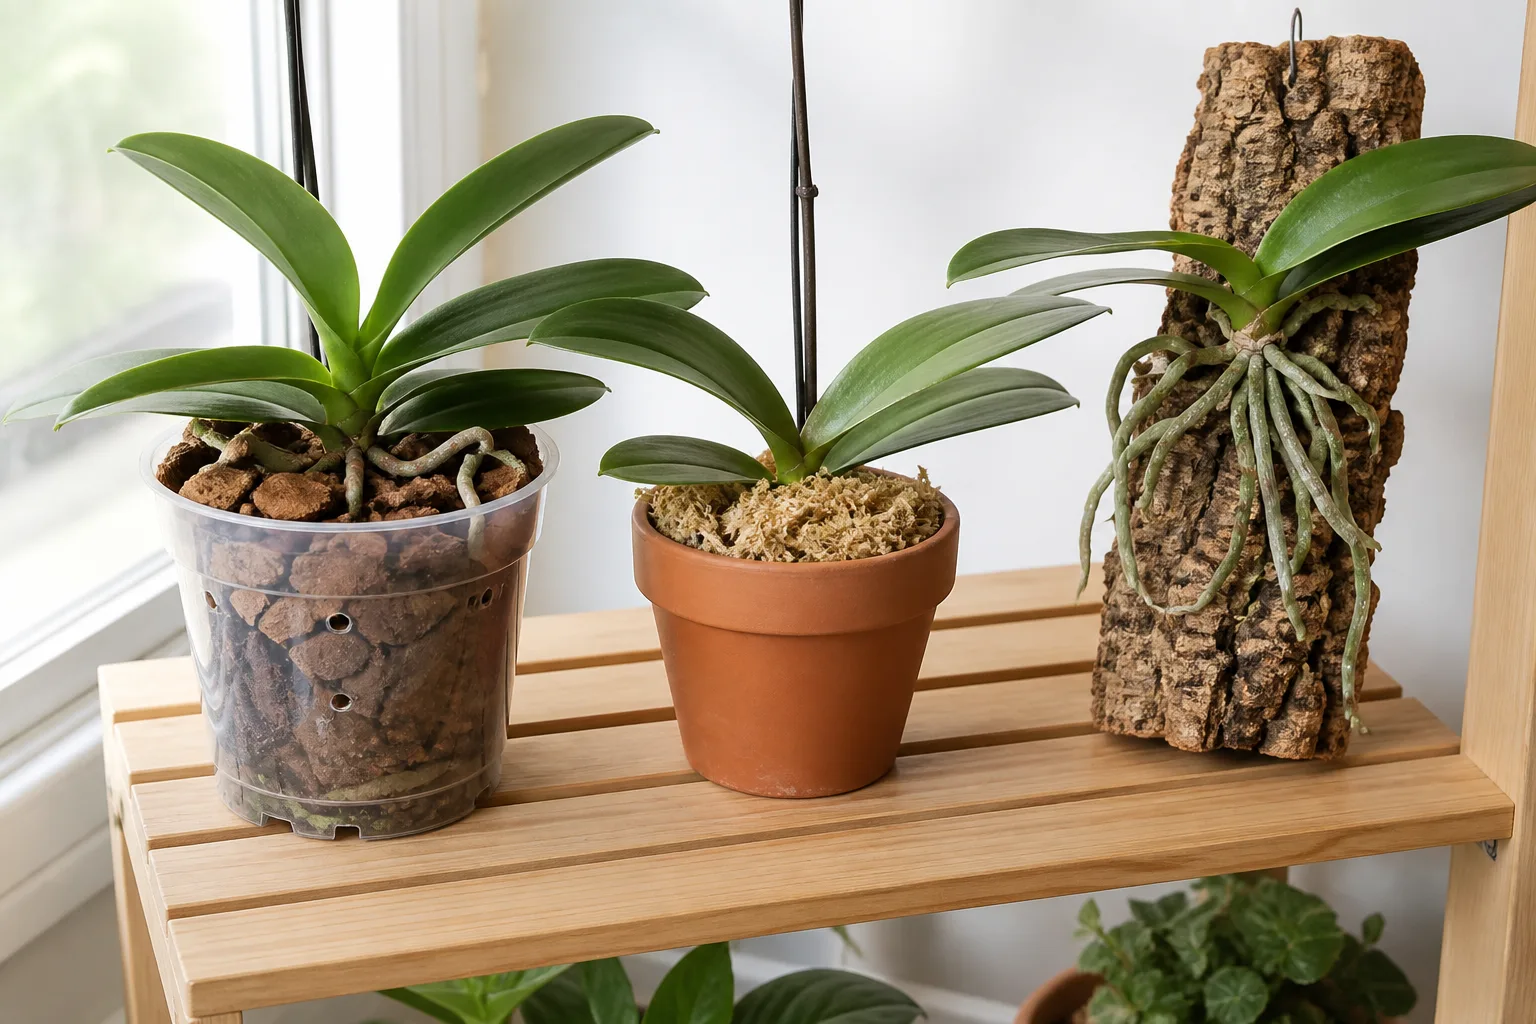
A small pot with drainage holes is the easiest setup for most indoor growers because it slows drying enough to give you time to notice when the mix approaches dryness. Keep the pot close-fitting: a large volume of unused medium stays wet around a small root system and can decay before the roots reach it. A pot around the size the plant already occupies may be enough; the AOS profile notes that a substantial clump can be managed in a six-inch pot, but the rhizome’s spread matters more than the plant’s height.
An open slatted basket is a good compromise when the rhizome keeps reaching over the pot rim. It supports an expanding clump, exposes roots to air, and lets leaves arch naturally. The trade-off is faster drying, so check a basket more often in warm weather and do not assume last week’s interval still applies. A mount on cork or tree fern mimics epiphytic growth most closely, but mounted roots dry quickly indoors and may need very frequent watering or higher ambient humidity. Choose a mount only if you can inspect it daily and water when the roots and backing dry.
Water When the Root Zone Is Nearly Dry
Water thoroughly, then let the container drain. For a potted plant, check the medium below the top layer: insert a clean wooden skewer near the center or lift the pot and learn how much it weighs just after watering and when nearly dry. Bark darkens as it absorbs water; in a clear pot, condensation and the color of the roots offer additional clues. Do not rely on a surface that dries in a few hours if the core of the pot is still damp.
When the medium approaches dryness, soak or flush it until water runs freely from the drainage holes. Empty the saucer or cachepot rather than allowing the base to sit in runoff. A short, thorough watering is more useful than frequent splashes that wet only the upper bark and leave salts behind. If your tap water leaves heavy white deposits on the pot or bark, try rainwater or low-mineral water when available; otherwise, periodically flush the medium with plain water to limit fertilizer and mineral residue.
The watering interval will change with the container, mix, temperature, humidity, air movement, and season. A basket in summer may need attention several times during the week; a compact pot in a cool winter room may take much longer to approach dryness. Those are possible patterns, not schedules. The American Orchid Society’s watering guidance explains that “overwatering” often means the medium is not drying fast enough, because low light, high humidity, and poor airflow all slow water loss. Gardener’s Path makes the same practical point for orchids generally: its orchid-watering guide recommends adjusting checks to the medium and conditions rather than repeating a calendar reminder.
Pseudobulbs give you a second clue. A slight groove in an older, mature bulb can be normal, but pronounced new wrinkling across several bulbs often means the plant is losing water faster than healthy roots can replace it. That can mean too little water, but it can also mean damaged roots that cannot absorb what you provide. Before increasing frequency, check whether the medium is bone-dry, whether roots are firm or mushy, and whether the plant has recently been repotted. Watering more into a waterlogged mix will not repair dead roots.
Balance Humidity With Air Movement
Coconut orchids appreciate humid air, but high humidity does not mean permanently wet roots. Many orchids grow in a broad humidity range; the American Orchid Society’s humidity guidance places many orchids around 40–70 percent and stresses balancing humidity with airflow. In an average home, you do not need a sealed greenhouse. Grouping plants, using a room humidifier, or keeping the orchid away from heating vents can reduce dry-air stress, especially when a mount or basket dries very quickly.
A pebble tray under the pot may slightly humidify the immediate area, but it will not reliably raise the humidity of an entire room. Keep the pot above the waterline, not sitting in water. Misting is also temporary and can leave water in tight growth spaces; it is not a substitute for root watering or ventilation. If your room is already humid, give air a gentle path around the foliage and avoid crowding the orchid against a cold window where moisture lingers.
Humidity and watering work together. When air is still and moist, a pot dries more slowly; in a dry room with a fan nearby, a basket may dry rapidly. A small hygrometer can help you understand the room, but use the root zone—not the display number alone—to choose when to water. The plant should receive moisture at the roots and enough moving air for the foliage and medium to dry at a sensible pace.
Keep Temperatures Warm, With a Mild Seasonal Dip
Keep the plant in warm to intermediate conditions and protect it from cold drafts, sudden temperature swings, and chilly windowsills in winter. The American Orchid Society’s species profile recommends cultivation no lower than about 50°F (10°C). Treat that as a lower boundary, not a target to hold all winter; an ordinary warm indoor room is more dependable than a cold sill or an unheated porch.
A modestly cooler night than day is normal and may help the plant experience a seasonal rhythm, but there is no need to force a dramatic chill to make it flower. Avoid placing the pot beside a radiator or air-conditioning outlet, where repeated hot or cold blasts can dry roots unevenly. Outdoors, move it only to bright shade after nights are reliably warm, and bring it back inside before temperatures approach the species’ lower limit. Introduce outdoor light gradually to prevent sun scorch.
Feed Lightly During Active Growth
Use a balanced orchid fertilizer at a dilute concentration while the plant is actively producing roots, leaves, or pseudobulbs. A practical starting approach is a weak solution every week or two during active growth, with plain water used periodically to wash fertilizer salts from the bark. The exact label rate depends on the product and water quality, so follow the orchid-fertilizer label and begin conservatively rather than doubling the dose to speed flowering.
Fertilize only after the medium has been wetted or when the roots are not bone-dry; concentrated fertilizer on dry roots can injure them. If growth slows during a cool, dim period, reduce feeding instead of maintaining a summer routine by habit. The American Orchid Society’s fertilizer guidance explains why a light, regular supply and attention to mineral buildup matter for epiphytic orchids. A bloom booster is not a substitute for the light, mature growth, and healthy roots needed to flower.
Repot When the Medium or Rhizome Calls for It
Repot when the bark has softened and stopped draining predictably, roots are declining in a medium that remains wet, or the growing rhizome has pushed past the container’s usable edge. “Every two years” can be a useful reminder to inspect, but not an automatic deadline; a coarse mix in a breezy basket may last differently from a compact mix in a humid home. If the plant is stable and the medium still functions, avoid disturbing healthy roots just to follow the calendar.
If the medium is breaking down, repot when new roots are beginning to grow or soon after flowering, so the plant can re-establish in fresh mix. Choose a container only slightly larger than the root area, or move to an open basket if the rhizome repeatedly outgrows a conventional pot. Remove loose old bark, trim only roots that are clearly dead or mushy with a clean tool, and place the newest growth toward the open side of the container. Keep the rhizome at the surface; burying it can trap moisture around the pseudobulbs.
After repotting, secure the plant so it cannot rock and break new root tips. Water once to settle the medium, allow it to drain, then return to the usual check-by-dryness routine. Do not keep the pot saturated “for recovery.” If you removed many damaged roots, give the plant a few days of gentle light and stable humidity, then resume normal watering as new roots begin to function. The AOS profile notes that its long rhizome can appear straggly as it climbs and that fresh medium is often due by the time the clump spills over the edge.
Divide a Healthy, Established Clump
Division is a way to manage a large clump or create a second plant, not a shortcut to more flowers. Wait until the orchid is established and has several healthy pseudobulbs, firm roots, and active growth. Use a clean, sharp blade to cut the rhizome between growths, leaving each division with multiple mature pseudobulbs, healthy roots, and a viable growing point. A small piece with one bulb may survive, but it has less stored energy and may take much longer to recover.
The easiest time is when you are already repotting, after the main flowering period or as new roots begin. Set the division into a small pot or basket with fresh coarse mix, secure it, and keep it in the same bright filtered conditions as the parent. Avoid heavy fertilizer until the plant resumes active root growth. Expect a recent division to focus on roots and leaves before it flowers; a skipped bloom cycle is not, by itself, a sign that the division failed.
Encourage Spring Flowers
Coconut orchids commonly flower in spring, often around March or April in the Northern Hemisphere, but indoor light, temperature, the plant’s growth cycle, and hemisphere can shift the calendar. Individual flowers may last about a week or longer when conditions are cool; an established clump can produce more than one flower along the rhizome. The American Orchid Society describes the flowers as small, typically deep red with a spotted lip, and strongly coconut-scented. A plant can be healthy and attractive even when it does not bloom every year.
If a mature plant skips flowering, check conditions in this order. First, look at light: leggy leaves and years without buds often point to a dim location. Increase brightness gradually, because moving directly into hot sun can scorch leaves and roots. Second, consider maturity and recent disturbance; a young plant, a recent division, or one that has spent energy replacing damaged roots may need another growing season before flowering.
Next, assess the roots and seasonal rhythm. If the medium remains wet for long periods, poor root function can block new growth even though watering seems generous. If the plant receives suitable light but stays warm and actively growing all year, allow normal seasonal shifts in household temperature and watering rather than imposing a cold rest. Finally, review feeding: regular dilute fertilizer can support growth, but extra fertilizer cannot compensate for weak light, stale bark, or an immature clump.
Keep the care history simple. Note when a new pseudobulb forms, when the medium dries, and whether the plant moved between windows or rooms. Over one or two growth cycles, those observations show whether the main constraint is low light, a wet root zone, or a plant that simply needs more time. Avoid changing light, water, temperature, and fertilizer at once; a single adjustment makes the plant’s response easier to read.
Troubleshoot the Signs, Not Just the Symptom
One leaf or one old pseudobulb rarely tells the whole story. Look at the newest growth, roots, medium, and recent care together. A plant that has lost an older leaf naturally may need no intervention, while several new bulbs shrinking at the same time calls for a closer root check. The most useful next step is the one that addresses the cause without adding another source of stress.
Wrinkled Pseudobulbs
If several pseudobulbs are deeply wrinkling, check the medium first. If it is fully dry and roots are firm, water thoroughly and shorten the interval slightly during active growth. If the mix is wet or sour-smelling, remove the plant from the pot and inspect roots; soft brown roots cannot take up water, so watering more often can worsen the problem. One older bulb with a mild crease may simply be mature, especially if the rest of the clump is firm and producing new leaves.
Dark, Soft Roots or Base
Healthy orchid roots are firm rather than mushy, though their color changes with moisture and medium. A few dry or hollow roots may be old, but widespread soft roots, a sour smell, or a pseudobulb base that collapses suggests prolonged wetness or decay. Remove clearly dead material with a clean blade, discard broken-down medium, and repot into a snug, airy container. Keep the plant stable and do not add a large pot of fresh mix around a small surviving root system.
Long Leaves and Few Flowers
Long, floppy leaves usually signal that light is insufficient for compact growth and flowering. Move the orchid closer to a bright window or add a suitable grow light, then wait for new foliage to show the result; old leaves will not shorten. If new growth is compact but the plant still does not flower, consider whether it is mature, recently divided, or recovering from repotting before increasing fertilizer. A gradual lighting change and patient observation are safer than aggressive treatment.
Inspect for Pests
Coconut orchids are not immune to pests just because they are grown indoors. During watering, look along the leaf bases, undersides, rhizome, and spaces between pseudobulbs for cottony mealybugs, hard scale bumps, aphids on tender growth, or fine webbing from spider mites. New plants can introduce pests, so keep them separate from the collection long enough to inspect several times before placing them beside established orchids.
If you find insects, isolate the plant and identify the pest before treating. Remove a small number by hand or with a damp cotton swab, and rinse the foliage where that is practical without leaving water trapped in growth crevices. For a larger infestation, choose a product specifically labeled for indoor ornamental plants and orchids, follow its label, and test a small area first. Repeat inspections matter because eggs and crawlers can be easy to miss on the first pass.
Conclusion
Coconut orchid care becomes easier when you work with the plant’s growth habit instead of forcing it into a generic houseplant routine. Give the rhizome room to advance, choose a small airy pot or basket that suits your watering habits, and water thoroughly only after the medium is close to dry. Keep the plant bright, warm, and ventilated; use dilute fertilizer during active growth; and repot when the medium or the growing edge makes it necessary.
When the plant struggles, check roots and growing conditions before adding water or fertilizer. A mature coconut orchid may reward steady care with spring flowers and their distinctive fragrance, but bloom timing varies and no single trick can guarantee it. Healthy roots, firm pseudobulbs, and steady new growth are the signs that your routine is working.