How and Why to Dethatch a Lawn
Learn what lawn thatch is, when to remove it, and how to dethatch without scalping your turf. Measure first, pick the right tool, and recover with overseeding.
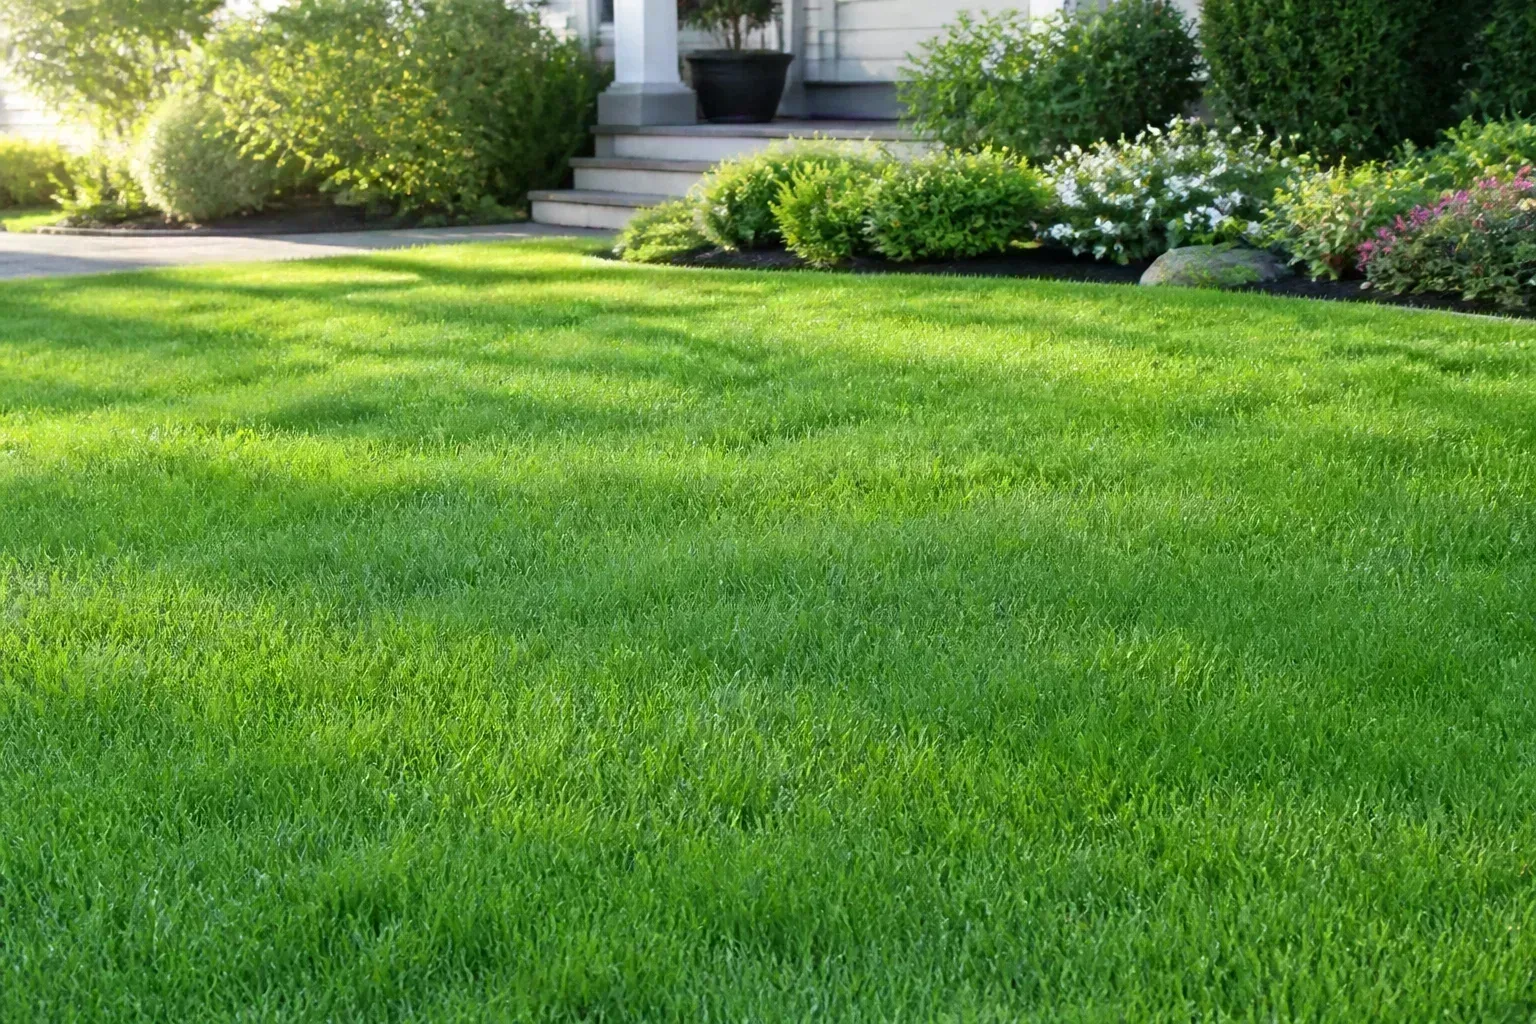
A lawn that feels bouncy underfoot is not always a thatch problem—but when a thick mat of stems and roots sits above the soil, water and fertilizer stop reaching the roots no matter how much you apply. Dethatching is the mechanical removal of that excess organic layer. It is also one of the most over-prescribed jobs in residential lawn care, because aggressive raking on a lawn that only needed core aeration or better mowing habits can set the turf back for weeks.
The job starts with measurement, not machinery. If the thatch layer between green blades and mineral soil is thin, leave it alone. If it is thick enough to block roots, dethatch during active growth, choose a tool that matches the severity, and plan recovery before you pull the first pass across the yard.
The Quick Answer: When Dethatching Actually Helps
Dethatch when a measured thatch layer exceeds about ½ inch and the grass is actively growing—not because the calendar says spring, and not because a neighbor rented a power rake. The University of California IPM Healthy Lawns guide recommends dethatching when the brown layer between blades and soil is more than ½ inch deep, measured from a 3-inch plug. Other extension programs use slightly different triggers: Illinois Extension’s lawn-thatch guidance and Utah State University Extension’s turfgrass cultivation guide treat up to about ½ inch as useful, while Penn State Extension’s seasonal lawn management guidance reserves mechanical removal for about 1 inch or more.
Treat those numbers as a decision band, not a contradiction. Under ½ inch, improve conditions that help thatch decompose. From ½ to 1 inch, inspect vigor, grass type, and maintenance history before choosing a light rake, core aeration, or no removal. At about 1 inch or more—or when roots are concentrated in a dry, felt-like mat—mechanical thatch reduction becomes much more defensible.
What Lawn Thatch Is (And Why a Little Is Good)
Thatch is a tightly interwoven layer of living and dead plant tissue—crowns, stems, stolons, rhizomes, and roots—sitting between the green leaf blades and the mineral soil. It is not the same as a pile of unraked leaves on top of the turf, and it is not soil organic matter mixed into the profile below.
A thin thatch layer acts like a natural buffer. It moderates soil temperature swings, slows moisture loss on hot afternoons, and releases nutrients as microbes break the material down. Agronomist Bob Mann, quoted in Family Handyman’s dethatching overview, notes that a measure of thatch is beneficial but becomes problematic once the layer exceeds about ½ inch.
Problems start when the lawn produces organic debris faster than earthworms, bacteria, and fungi can decompose it. Overwatering, heavy nitrogen fertilization, compacted clay soils, and certain grass species all tilt the balance toward buildup.
Thatch vs Dead Leaves: Know What You’re Measuring
Before you blame thatch for every thin patch, separate surface debris from the true thatch mat. Leaves, clippings sitting on top of the canopy, and loose mulch can be raked away without touching the interwoven layer beneath. The plug test measures only the brown, felt-like zone between green shoots and dark mineral soil. If your finger cannot push through that zone into soil, you may have a thatch issue—but still confirm with a cut plug rather than guessing from color alone.
How to Tell If Your Lawn Needs Dethatching
Do not diagnose from bounce alone. A thin thatch layer over compacted clay can feel firm, while a thick root mat may feel springy even when water is not puddling. Brown grass can be drought, disease, shade, or scalping—none of which dethatching fixes.
Run the plug test in the worst-looking area and one healthy-looking area for comparison. If thickness is borderline, check whether the real problem is compaction, irrigation, or shade before you rent equipment.
The Plug Test: Measure Before You Rent a Machine
Use a sharp spade or soil knife to cut a square about 3 inches deep. Lift the plug carefully, keeping layers intact. Look for a distinct brown layer between green shoots and mineral soil. Measure only that layer—not the entire root mass, not surface leaves, not mulch.
UC IPM’s method is the standard: remove a small square to 3 inches, measure the brown band between blades and soil surface. If it is ½ inch or less on a healthy stand, skip mechanical dethatching and focus on aeration, mowing height, and fertilization habits that support decomposition.
If the plug shows roots growing horizontally in the thatch instead of into mineral soil, that is a strong signal the mat is already intercepting water and nutrients even before you hit a specific inch threshold. Several surface clues can also point back to the plug test: a spongy or bouncy feel when you walk across the lawn, water that runs off level ground instead of soaking in, fertilizer that seems to produce little green-up despite correct timing, or increased insect and disease pressure in a thick, humid mat. Treat those symptoms as reasons to cut a plug—not as standalone diagnoses, because compaction and irrigation problems produce overlapping signs.
Why Excess Thatch Harms Grass
When the mat grows too thick, it behaves like a sponge sitting on top of the soil rather than part of a healthy profile. Water may sit in the thatch while roots below stay dry, or it may sheet off the surface during rain. Fertilizer granules dissolve in the mat but never reach mineral soil where roots can absorb them. Grass plants may send roots into the dead layer instead of the soil, which makes the stand shallow-rooted and far more vulnerable to heat, drought, and wear.
Over time, the canopy thins, weeds exploit bare spots, and recovery takes longer because the grass lacks the root depth to bounce back from stress. Thick thatch can also harbor insects and pathogens in the humid zone between blades and soil. Removing excess material opens the canopy, returns roots to mineral soil, and gives overseeding a chance to contact earth instead of dead stems—but only when the layer truly warrants removal.
When to Dethatch Cool-Season vs Warm-Season Grass
Timing matters as much as thickness. Dethatching wounds grass crowns and stems. The turf needs active growth and moderate weather to heal before summer heat, winter cold, or weed-seed flushes arrive.
UC IPM recommends mid-to-late spring or early fall for both cool- and warm-season grasses, whenever the turf is actively growing and can recover quickly. Grass-type calendars refine that window further.
Cool-Season Timing Windows
Cool-season lawns—Kentucky bluegrass, tall fescue, perennial ryegrass, and fine fescues—recover best when soil is warm enough for growth but summer stress has not arrived. Early fall is usually the best window for northern lawns: soil stays warm, autumn rains help recovery, and many weeds are less aggressive than in spring. Early spring is the second-choice slot, after the ground has thawed and the grass is greening but before summer heat.
Kentucky bluegrass and creeping bentgrass are among the most thatch-prone cool-season species and may need attention every few years on heavily fertilized lawns. Tall fescue and perennial ryegrass produce far less thatch; many stands go years without mechanical removal.
Warm-Season Timing Windows
Warm-season turf—bermudagrass, zoysiagrass, St. Augustinegrass, centipedegrass—should be dethatched when it is fully green and actively spreading, typically late spring through early summer after you have mowed at least once or twice. Avoid dethatching dormant warm-season grass in winter or early spring; the crowns are not regenerating yet, and damage lingers.
Bermudagrass and zoysiagrass build thatch faster than many cool-season types because of aggressive stolons and rhizomes. They are also the species most likely to benefit from a verticutter (vertical mower) when the mat is dense, because slicing blades cut through creeping growth more effectively than a spring-tine rake alone.
Choose the Right Dethatching Tool
Tool choice should follow measured thickness, lawn size, grass type, and your tolerance for recovery time. A manual rake on a half-acre of thick bermudagrass is a multi-day workout; a verticutter on a thin fescue lawn is unnecessary aggression.
Manual Rake vs Power Rake vs Verticutter
Convex dethatching rake (manual): Best for small areas, light buildup under ½ inch, or annual maintenance on thatch-prone species. The straight-edged tines pull dead material without cutting deeply into soil. This is the least damaging option and the right place to start if you are unsure how thick the layer really is.
Bow rake or leaf rake: Useful for cleanup after dethatching and for light surface debris, but a standard leaf rake lacks the stiffness to pull a true thatch mat. A rigid bow rake can help on very thin layers but becomes exhausting on large lawns.
Power rake (dethatcher): A walk-behind or tow-behind machine with spring tines or flail blades that pull thatch to the surface. Rental units are common at home-improvement centers. Effective for moderate buildup across medium to large lawns. Set blade or tine depth conservatively on the first pass—cutting into soil invites weed invasion and slows recovery.
Verticutter / scarifier: Uses fixed vertical blades that slice through thatch into the upper soil. More aggressive than a power rake. Appropriate for dense warm-season grasses with heavy mats, not for stressed or newly established lawns. Family Handyman’s dethatching guidance warns that scarifiers remove more material faster but should be reserved for lawns in good health that can handle the injury.
Liquid dethatchers: Marketed as biological shortcuts. They may support decomposition on thin, early buildup when combined with aeration and better cultural practices, but they do not replace mechanical removal on a mat measured at 1 inch or more. Treat them as prevention adjuncts, not rescue tools.
How to Dethatch Your Lawn Step by Step
Once you have confirmed thickness, matched timing to grass type, and selected a tool, treat dethatching like a renovation day—not a quick pass between errands.
Prep the Lawn Before You Start
Mow the lawn slightly lower than usual—about one notch—not scalped to bare soil. Remove clippings. Water lightly one to two days before the job so the soil is moist but not muddy; dry thatch tears crowns, and saturated soil smears under equipment. Mark irrigation heads, shallow wires, and tree roots so rental machines do not snag them.
Flag areas you want to skip: thin shade strips, newly sodded sections, and any zone still recovering from disease. UC IPM cautions against dethatching when weeds are germinating, because the process brings buried seed to the surface. If crabgrass or other summer annuals are about to emerge in your climate, shift timing or plan aggressive post-emergent follow-up carefully.
If you plan to apply preemergent herbicide this season, dethatch first. Otherwise herbicide can bind to the thatch layer and lose effectiveness against the weeds you are trying to block.
Raking Technique and Cleanup
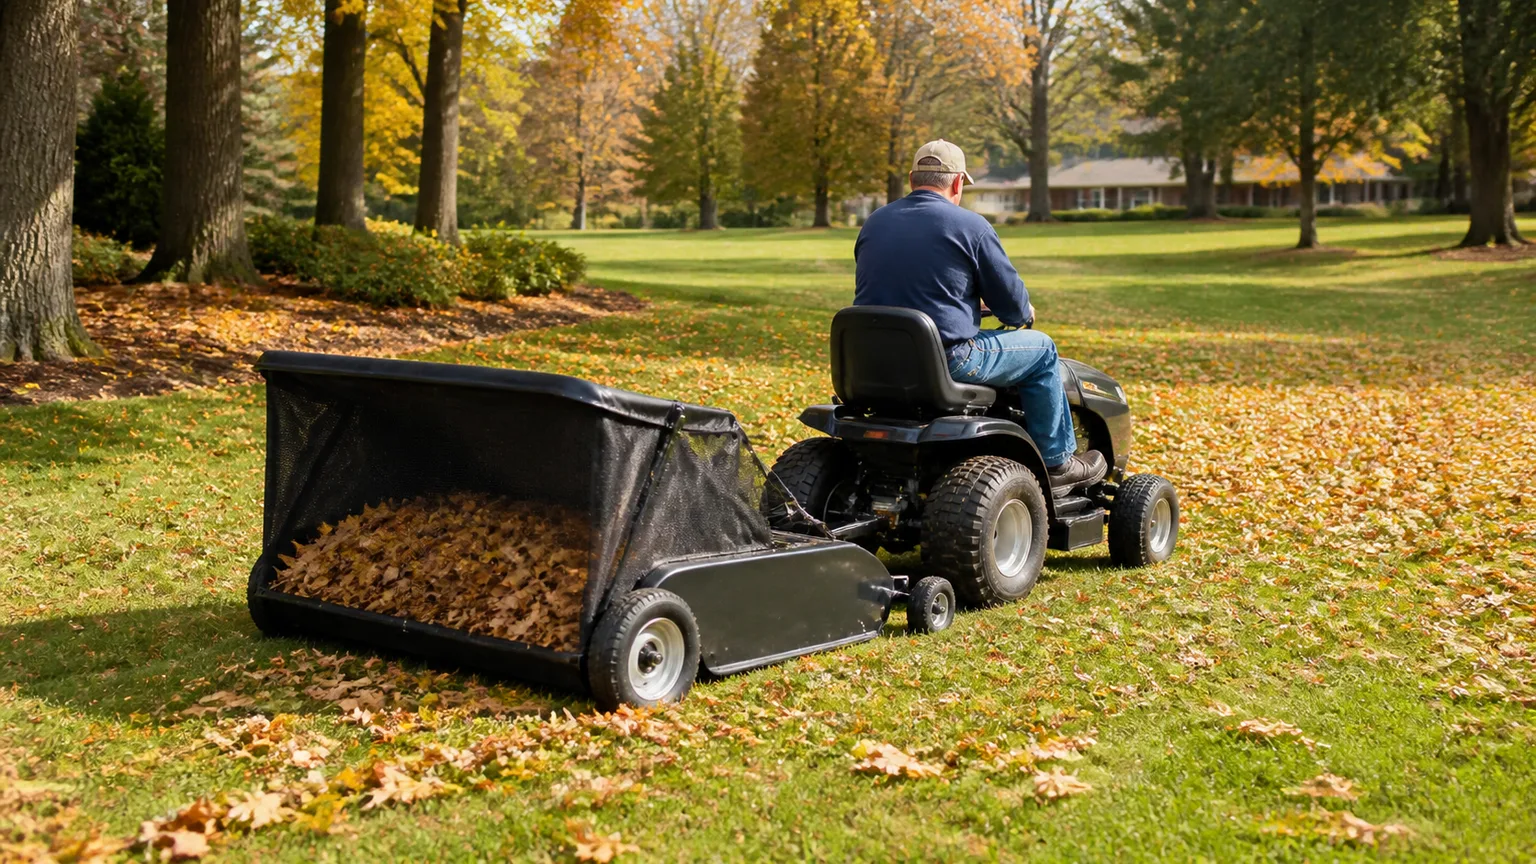
Work in parallel passes across the lawn, similar to raking leaves but with deliberate downward pressure so tines reach the thatch layer. Overlap passes slightly so you do not leave stripes of untouched mat. With a power rake, make one conservative pass, stop, and measure how much material you pulled before deciding whether a second pass is necessary.
You will remove a surprising volume of brown debris—often enough to fill several yard-waste bags on a modest front lawn. Rake the loosened thatch into piles and remove it from the turf. Leaving it on the surface smothers grass and invites mold. Compost only if your pile can heat adequately; thick thatch mats decompose slowly and may harbor weed seed.
Expect the lawn to look rough for a week or two. That is normal. It should not look scalped to bare soil across the entire yard. If you see wide bare patches after a single pass, you were too aggressive or the lawn was too weak for the tool you chose.
What to Do After Dethatching
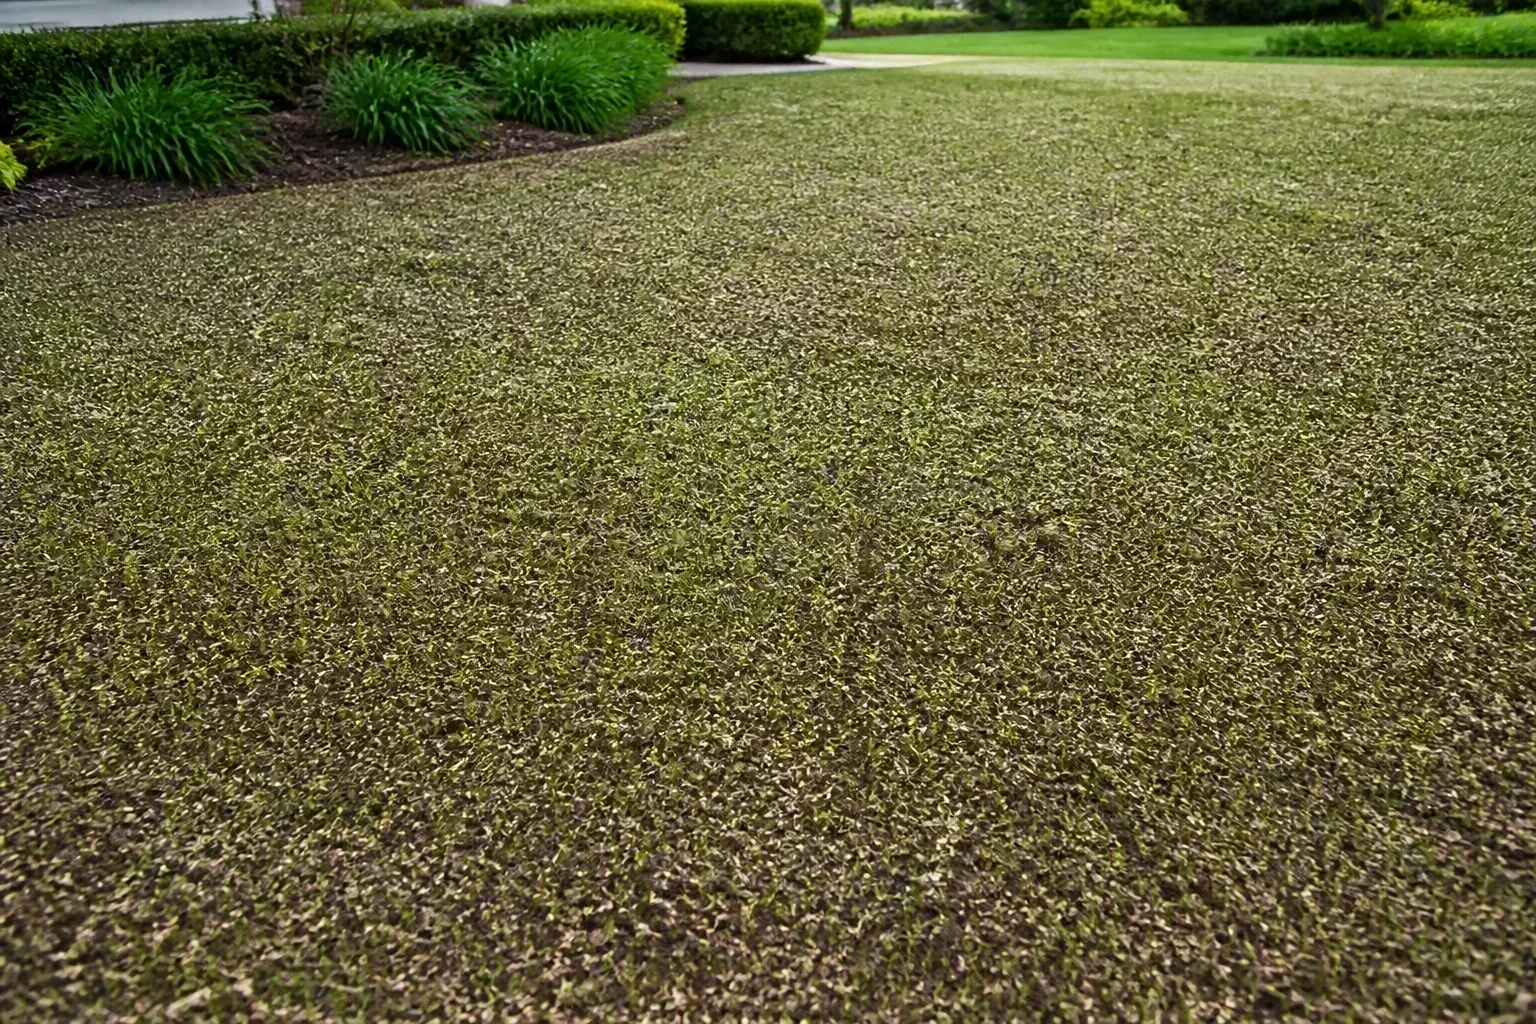
Recovery determines whether the job was worth the effort. Bare soil exposed after dethatching is an opportunity—and a weed invitation.
Water thoroughly within 24 hours to reduce desiccation stress on wounded crowns. If the lawn is thin or patchy, overseed the same week while seed can fall into soil contact rather than sit on debris. Our guides on how to plant grass seed on an existing lawn and whether fall overseeding is worth the cost walk through seed choice and watering budgets by season.
Apply starter fertilizer only if a recent soil test supports phosphorus for seedling establishment; do not blanket high-nitrogen feed on a shocked lawn without a reason. If compaction was part of the original problem, core aeration immediately after dethatching—before overseeding—opens the soil profile while holes are still accessible. See signs you need to aerate your lawn if you are unsure whether compaction still needs addressing.
Keep foot traffic light for at least one week. No pickup games, no furniture dragged across the turf, no mowing until the grass has regained color and the worst torn tips have healed—usually within five to ten days depending on weather.
Dethatching vs Core Aeration: Different Jobs
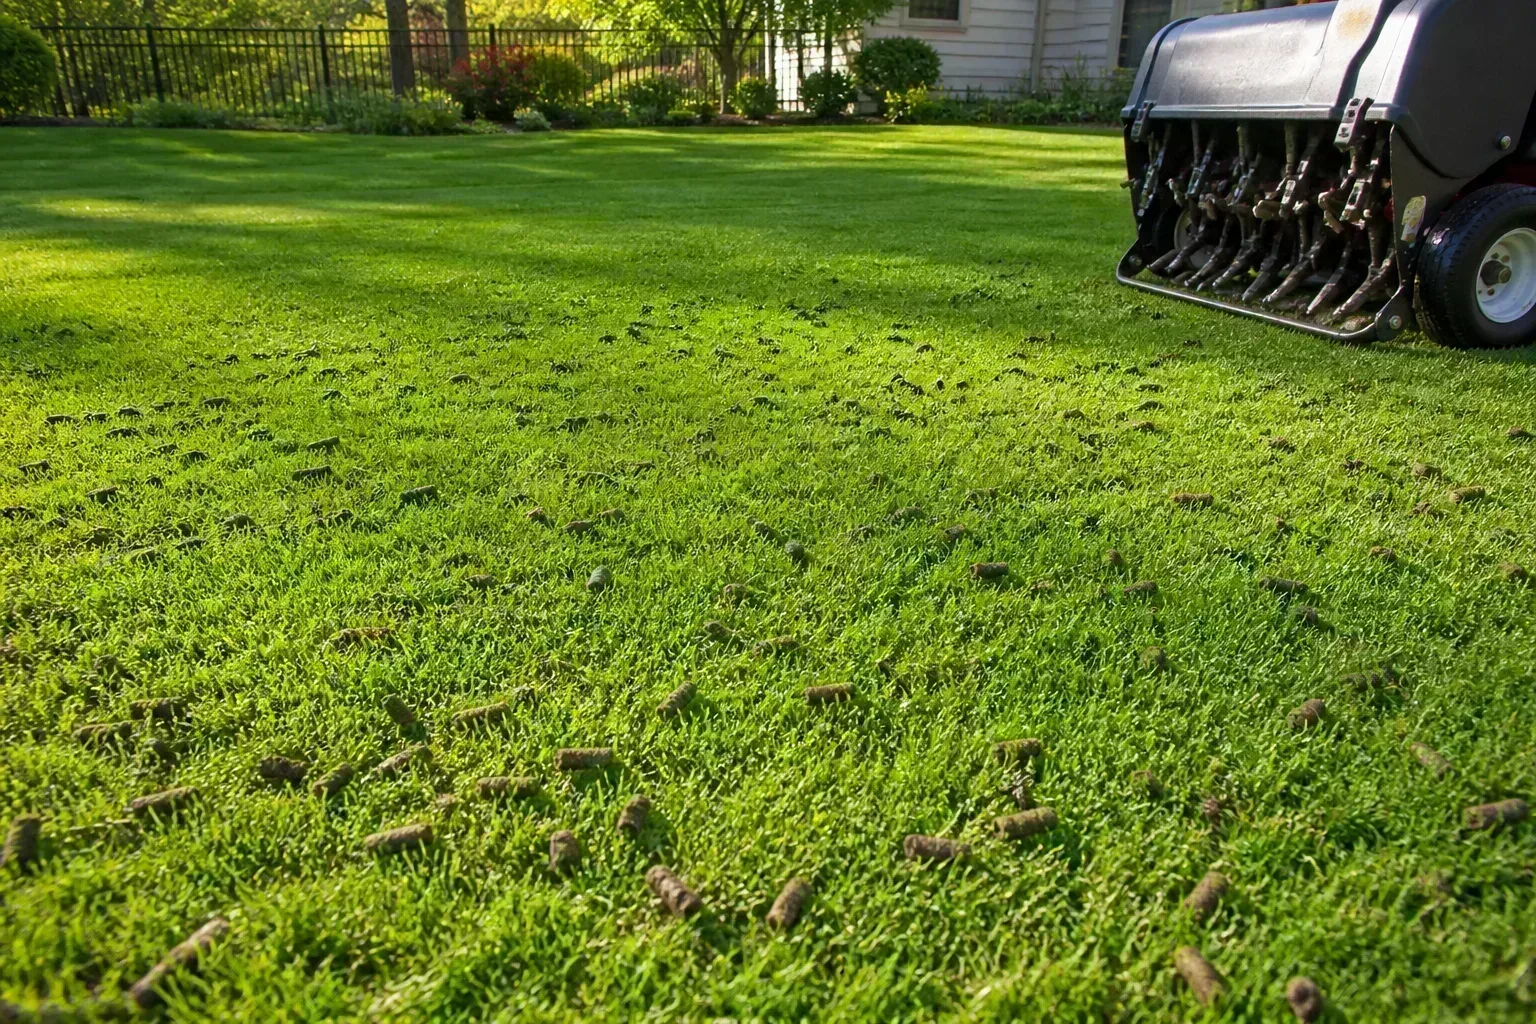
These two tasks are often confused because both involve rental machines and rough-looking lawns afterward. They solve different problems.
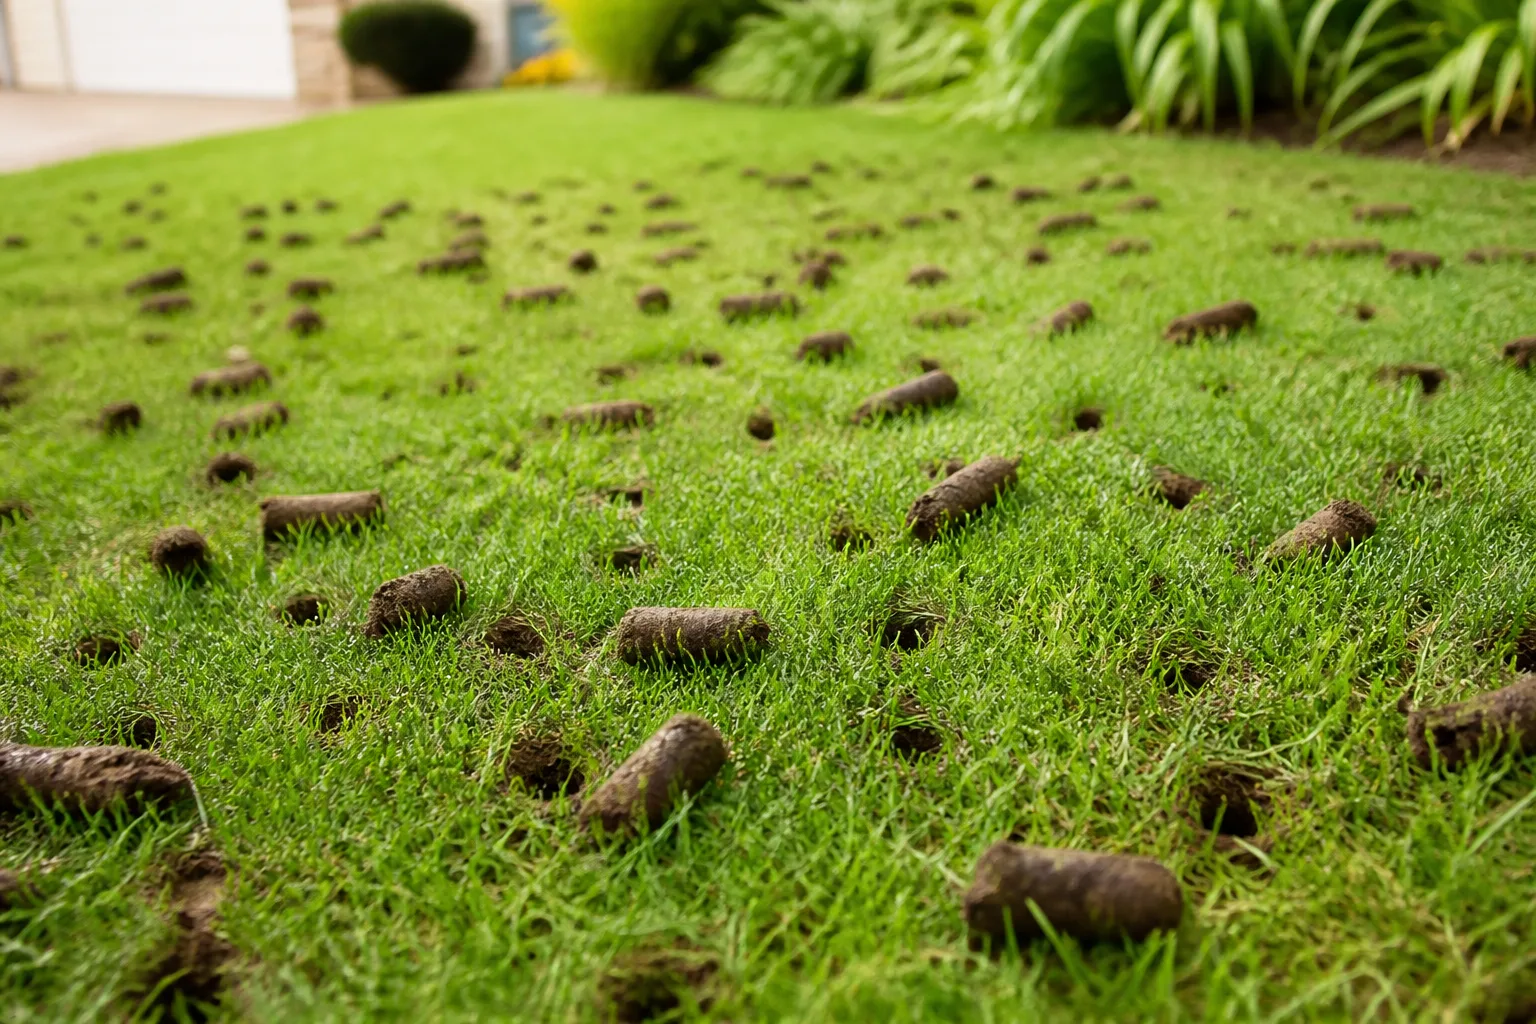
Dethatching removes organic mat between blades and soil. Core aeration pulls soil plugs to relieve compaction and improve air and water movement in the mineral profile. Aeration can help break down moderate thatch biologically by introducing soil microbes, but it does not pull out a 1-inch mat of dead stems. A thick thatch layer may need dethatching; hard, probe-resistant soil may need aeration; neglected lawns sometimes need both.
If you need both in one season, the usual sequence on an established lawn is light dethatch first, then core aerate, then overseed—so hollow tines reach mineral soil instead of bouncing off a mat. Renovation projects that are rebuilding the seedbed from scratch may deliberately aerate first and vertical-mow afterward to break up cores. Our dethatcher vs. aerator guide walks through plug tests for each problem and helps you rent only what the lawn actually needs.
Prevent Thatch Before It Becomes a Project
Because thatch accumulates when production outpaces decomposition, the long-term fix is cultural—not annual power raking.
Avoid overwatering. Frequent shallow irrigation encourages shallow roots and surface organic buildup. Water deeply and less often so roots grow into soil. Avoid excess nitrogen, especially quick-release formulations that push top growth faster than soil life can recycle clippings and stems. UC IPM notes that overwatered, overfertilized lawns on heavy clay accumulate thatch quickly.
Return clippings when mowing if you are not already building a mat; they recycle nitrogen without contributing much to thatch when decomposition is healthy. Reduce unnecessary pesticide use that harms earthworms and soil microbes—the organisms that break thatch down from below. Core aerate every two to three years on trafficked lawns to keep the profile open. Choose grass species suited to your site: tall fescue in a bluegrass yard on clay may stay thinner; bermuda in shade may weaken and complicate every other decision.
When NOT to Dethatch
Skip mechanical dethatching when the plug test shows ½ inch or less on a reasonably healthy stand. Do not dethatch dormant grass—cool-season lawns baked brown in midsummer or warm-season lawns tan in winter cannot heal crown wounds. Avoid the job during drought, extreme heat, or on saturated mud that will tear roots.
New sod or seeded lawns should not be dethatched for the first two to three years while root systems establish; early power raking can pull fresh sod apart. If the lawn is already stressed from disease, grubs, or chemical burn, fix the primary problem before adding mechanical injury.
Do not dethatch as a substitute for fixing grade, irrigation coverage, or shade issues. And if a screwdriver probe shows hard mineral soil within an inch but the thatch layer is thin, core aeration is the higher-return tool—see our best lawn aerators roundup when you are ready to rent or buy.
Conclusion
Dethatching is a targeted repair, not a calendar ritual. Measure the layer with a real plug, compare thickness to your grass type and maintenance history, and choose the least aggressive tool that solves the problem. Time the job for active growth, recover with water and selective overseeding, and fix the habits—overwatering, excess nitrogen, neglected aeration—that let thatch return.
Most lawns never need yearly dethatching. The ones that do benefit dramatically when the work is justified, timed correctly, and followed by light traffic and honest aftercare. When in doubt, aerate and improve mowing and irrigation first; come back with a dethatching rake only if the next plug still shows a mat thick enough to block roots. On large properties with mats well over 1 inch, or if you are uncomfortable operating rental equipment on slopes, hiring a lawn pro who runs power rakes weekly can be worth the cost—especially when debris removal and overseeding are bundled into the same visit.



