27 Eye-Catching Flower Garden Ideas and Layouts
Plan a flower garden around color, paths, wildlife, containers, slopes, or wet and dry sites with 27 adaptable layout ideas and practical design tips.

A flower garden feels intentional when its colors, paths, and plant shapes work together with the space around them. You do not need a large yard or a complicated plan: a few repeated groups can bring order to a border, while containers or a trellis can make a small patio feel lush. The best starting point is to choose a look that fits your site and the amount of time you want to spend caring for it.
These 27 flower garden ideas cover color-led beds, formal and informal styles, paths, wildlife plantings, containers, and challenging wet or dry spots. Use each as a layout prompt rather than a fixed recipe; plant choices should match local light, soil, water, climate, and mature size. If you want to plan an in-ground perennial bed plant by plant, continue with our perennial flower garden layout guide.
Before you plant, match the idea to your yard
Start with a rough sketch of the house, paths, existing trees, gates, windows, utility lines, and the area you want to plant. Mark where you sit or enter the yard, because a garden is most rewarding when its focal view is visible from a place you use every day. A border beside a dining patio can be planned for close-up color and fragrance, while a long boundary bed may need larger shapes that read from a distance.
A practical design also takes scale, line, balance, repetition, and texture into account. Penn State Extension explains that repeated shapes or colors create rhythm, while a focal point helps guide the eye through a space; those principles work in a tiny courtyard as well as a broad border (Penn State Extension).
Map light, runoff, views, and access
Watch the proposed bed at different times of day and note how much direct sun it receives, how quickly the soil dries, and where water collects after rain. A bright palette cannot make a shade-loving site sunny, and a plant that likes sharp drainage can struggle in a low, persistently wet patch. The University of Minnesota’s Plant Elements of Design resource likewise frames site-matched growing needs as a foundation for a healthy, long-lived garden (University of Minnesota Extension).
Measure the planting area and leave room for people and tools to pass. A garden path should connect actual destinations, such as a gate, seating area, or shed, and beds should be reachable without stepping into them; where you cannot reach from either side, plan enough width for comfortable maintenance access. For a slope, a narrow contour-following bed or stable terrace is usually easier to maintain than a steep, inaccessible planting strip.
Set a style and maintenance level
Pick one organizing idea before buying flowers: a small palette, repeated shapes, a straight formal axis, a winding path, or a wildlife function. The Royal Horticultural Society recommends considering style, site conditions, color, seasonal interest, mature size, and maintenance when planning a border; its guidance also suggests repeating plant groups to keep a long bed from looking bitty (RHS).
Be honest about upkeep. A crisp parterre needs edging and regular shaping, while a naturalistic meadow can look relaxed but still needs a suitable site, establishment care, and occasional editing. Better Homes & Gardens’ garden plans show how the same broad goal—season-long color—can be adapted for slopes, small sunny spaces, clay, and low-water beds rather than treated as one universal planting list (BHG).
27 flower garden ideas grouped by the job they solve
Use these concepts as starting points. Before you copy a plant combination, check whether its light, soil moisture, hardiness, mature height, and spread fit your own yard.
Color, contrast, and structure
1. Bold blocks of contrasting color. Choose two colors that stand apart—such as blue-violet and yellow—and repeat each in loose groups across the bed. Larger blocks are easier to read than a single plant of every color, especially from a porch or across a lawn; keep a band of foliage or a neutral path between intense colors if the whole scheme feels too busy.
2. A cool-toned retreat. Layer blues, purples, soft pinks, and white beside a bench or patio where you want a quieter view. Repeat one pale flower at intervals so the planting still feels connected, and use foliage in different shapes to keep the palette from becoming flat when blooms pause. This scheme often reads especially clearly in evening light, but the actual effect depends on the surrounding hardscape and exposure.
3. A single-color evening garden. Build a moonlit-looking bed from white flowers and silver or pale foliage, then use a dark fence or evergreen backdrop to make the lighter shapes stand out. Keep the palette to a few forms instead of planting every white-flowered variety available; a repeated edge plant and one taller focal cluster will make the simple color choice feel deliberate.
4. A warm-color entry bed. Put a compact drift of orange, coral, red, or magenta near the front step, gate, or driveway turn to create an obvious visual welcome. Repeat one of those colors farther into the yard to lead visitors toward a seat or path, and keep plants low near corners where they could block sightlines for drivers or people leaving a walk.
5. A texture-first border. Arrange flowers and foliage by shape: combine upright spikes, rounded flower heads, airy stems, and broad leaves rather than relying on bloom color alone. Repeat the most distinctive leaf or flower form two or three times to tie the composition together, then use a simpler ground layer as visual breathing room. Penn State Extension notes that plant foliage, flowers, bark, and fruit can all contribute texture and contrast.
Formal and informal garden styles
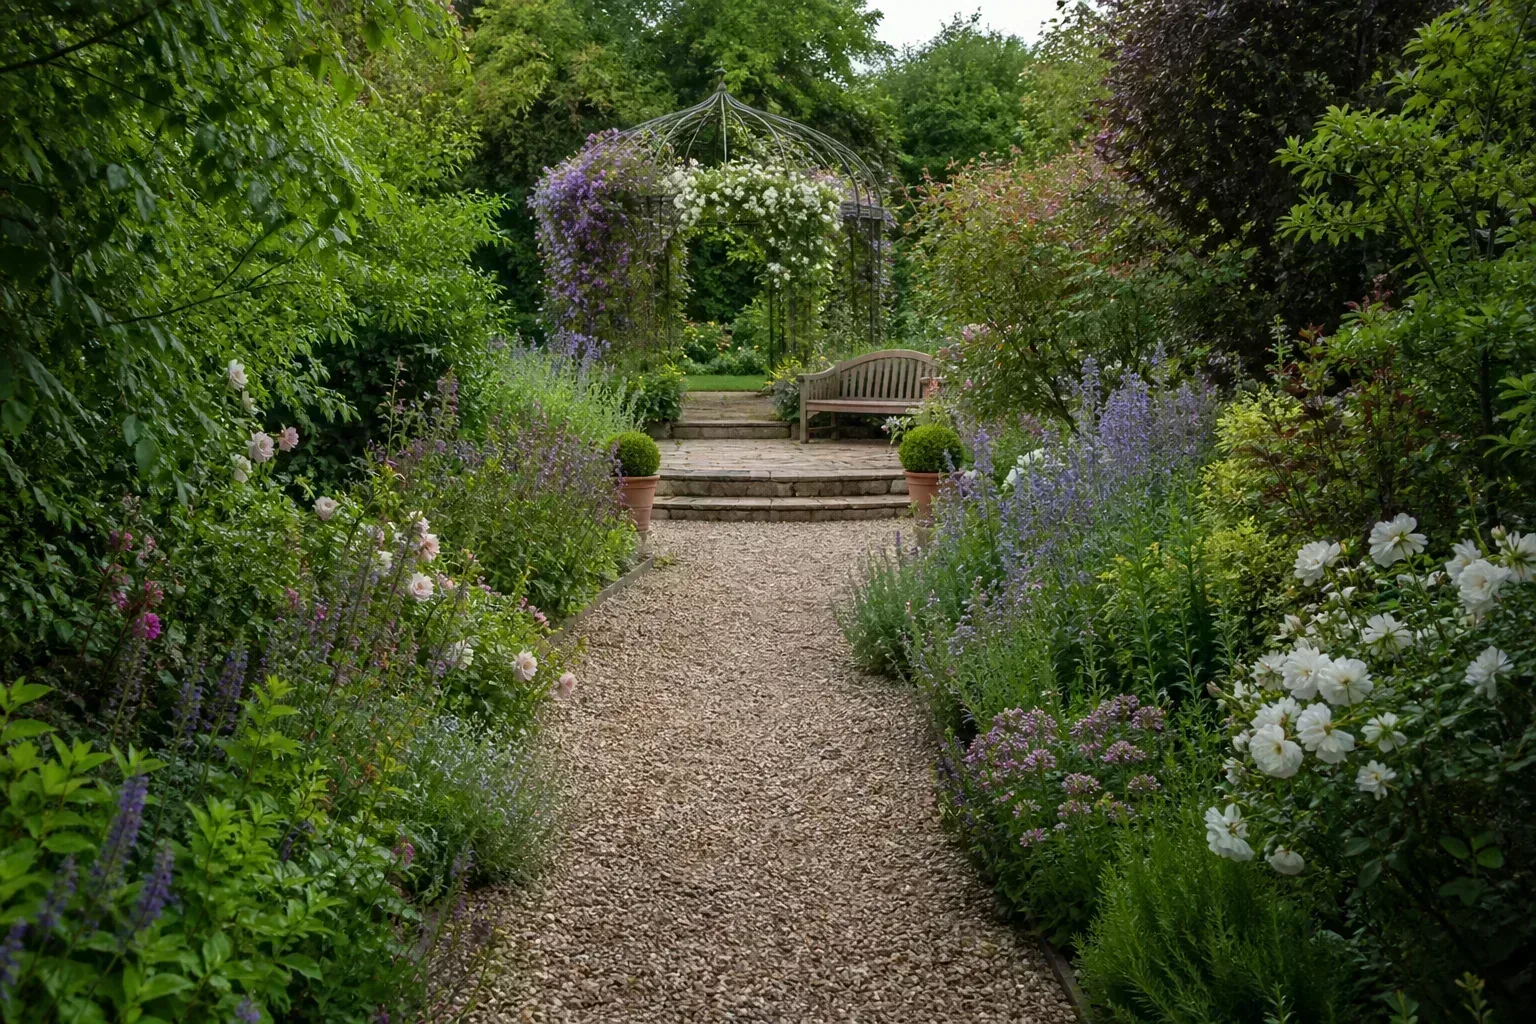
6. Topiary with a flowering base. Use clipped evergreen balls, low hedges, or a pair of shaped shrubs as year-round structure, then soften their edges with smaller seasonal flowers. Repeating the same clipped form at each end of a path or bed keeps the design orderly; leave enough room for the shrubs to reach their mature size and for a gardener to trim them without crushing nearby plants.
7. A cottage-style flower island. Mix several flower shapes and heights in a free-form bed, but repeat a short list of varieties and colors through the planting so it has a pattern. Place the tallest forms toward the center if the island is visible from all sides, or toward the back if it sits against a fence. A loose cottage look still needs access for weeding and deadheading, so avoid filling every gap before you know how wide plants grow. For more ideas on arranging a relaxed, densely planted border, see our cottage garden guide.
8. An English-inspired garden room. Use a path, arch, or low hedge to create a threshold into a tucked-away seating nook, with mixed planting on either side. Give the room one clear focal point—a bench, specimen shrub, or view through a gate—and repeat the same path material or flower color nearby to connect the room to the rest of the yard. A mixed border can combine woody plants, perennials, climbers, bulbs, and annuals for layered interest, as described by Fine Gardening’s garden-design educators (Fine Gardening). For more on formal paths and garden rooms, see our English garden design guide.
9. A symmetrical formal bed. Draw a straight center line from a doorway, path, or fountain and mirror the main shapes on each side with matching bed edges and repeated flower groups. Symmetry makes an entrance feel composed, but it is easiest to maintain when the plant palette is restrained and the edging is easy to trim. Use a small number of dependable plants rather than forcing every seasonal color into the geometry.
10. A minimalist courtyard or atrium. Keep the hardscape simple and use one or two flowering moments as accents: a sculptural pot, a narrow wall trellis, or a single raised planter against a clean backdrop. Repeating the same paving, container material, or foliage shape gives a small enclosed space a calm rhythm. Check how much direct sun reaches the courtyard before choosing the flowers, since surrounding walls can create deep shade or reflected heat.
Layouts for paths, slopes, and edges
11. A winding path through a deep border. Set a clear, gently curving route through the garden and let taller planting form a soft edge on the outside of each bend. Place a focal plant, seat, or gate where the path changes direction so there is a reason to keep walking. Keep the curve broad enough for a cart or two people to pass if the route is part of regular garden work.
12. A flower ribbon beside a walkway. Use one repeated flower group and a consistent low edge plant to make a sidewalk or patio route feel finished without narrowing it. Vary the planting in drifts instead of alternating one plant at a time, and keep the tallest blooms where they will not lean across the walking surface. A ribbon layout is especially easy to revise one section at a time.
13. A terraced slope garden. Divide a steep grade into a series of stable, accessible planting bands, or shape a single bed along the contour where a retaining wall is not needed. Place taller plants upslope and compact plants near the path or lower edge, then give water a safe route rather than letting it scour bare soil. Slope work may call for a landscape professional if retaining structures, erosion, utilities, or drainage near the home are involved.
14. A welcoming foundation bed. Make a broad, shallow curve around the front entry instead of a skinny strip that is hard to plant and weed. Keep the smallest plants near the path, step up the height toward the wall, and leave space around windows, vents, and doors. A pair of repeated flower groups can frame an entry without requiring a mirror-image design.
15. Simple raised flower beds. Arrange one or more rectangular raised beds in parallel with a path, driveway, or fence so the edges are easy to reach and mow around. Put a narrow path between beds if you want to tend each side without walking on the soil, and reserve one bed for cutting flowers or seasonal annuals. Better Homes & Gardens highlights raised or carefully planned beds as one way to adapt planting to the available space and site.

Pollinator, edible, and wildlife-friendly gardens
16. A pollinator corridor. Link two beds, a fence line, or a front and back garden with repeated groups of regionally appropriate flowers, rather than isolating one small patch in the middle of lawn. Aim for a succession of bloom times and include foliage or seed heads that remain after flowers fade; a connected border can also provide a more coherent view from the house. Fine Gardening’s mixed-border overview notes that layered plantings can combine long seasonal interest with opportunities for biodiversity.
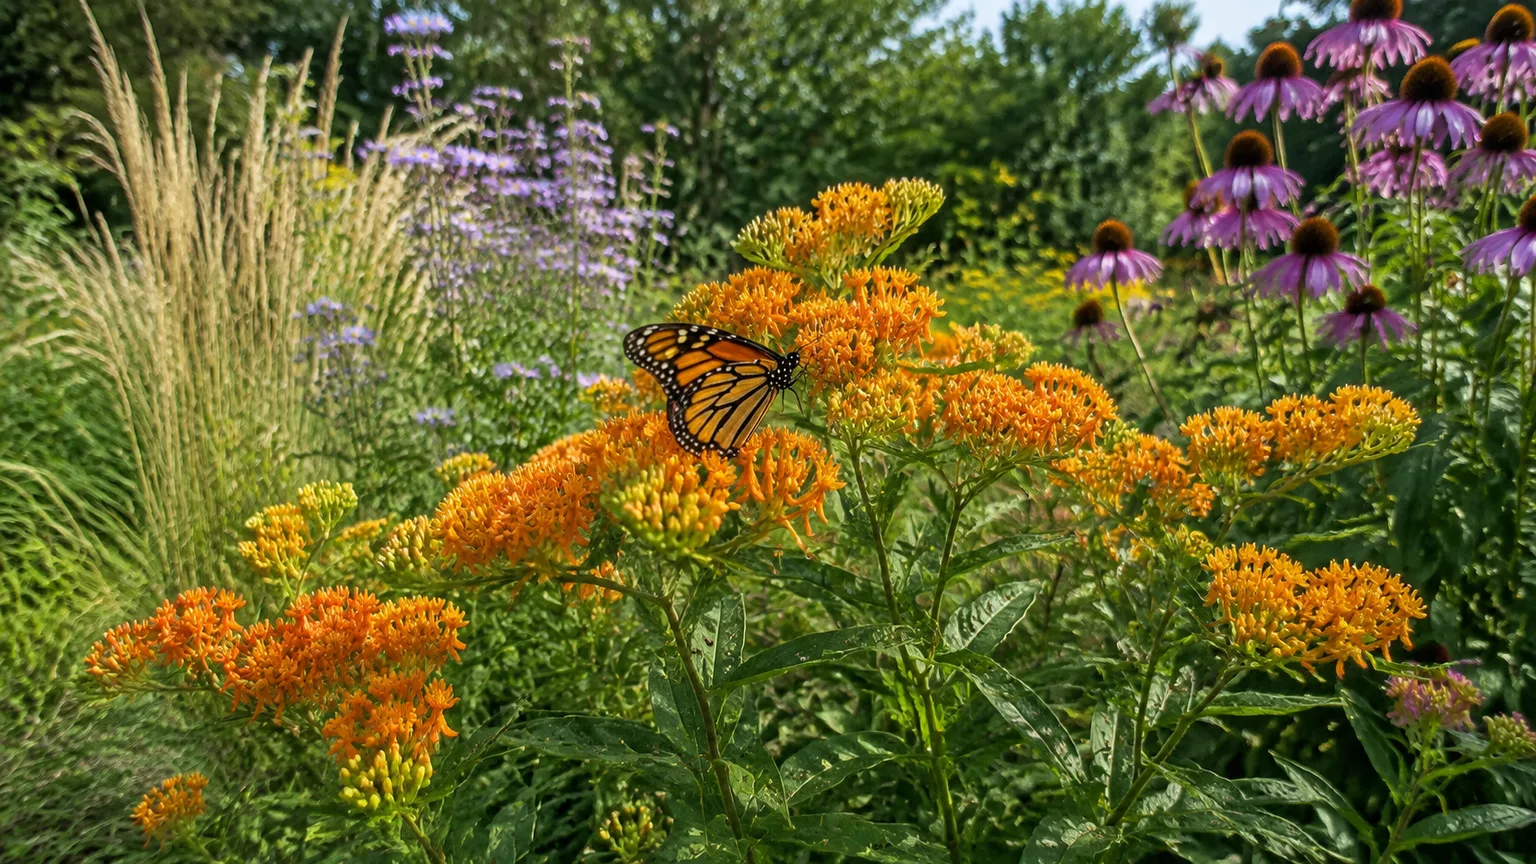
17. A butterfly-friendly sun patch. Place nectar-rich flowers in a sunny, sheltered bed where you can watch the visitors from a nearby seat or window. Use groups large enough to be easy to see and maintain, add a shallow water source only if you can keep it clean, and check regional guidance before adding host plants. Avoid pesticides that could harm the wildlife you are trying to invite; local extension or wildlife agencies can help identify appropriate plants for your area.
18. A native meadow pocket. Convert a section of lawn into a defined meadow-shaped bed with a mown edge, a simple path, and plant species suited to your region. This makes the naturalistic planting look intentional from the house and helps keep it from spreading into areas where you want a formal lawn. A meadow still needs a plan for establishment and periodic care, so use a locally appropriate seed mix and follow its planting instructions instead of scattering an unlabeled blend.
19. A flower-and-vegetable potager. Put edible beds in a simple grid or pair of rectangles and weave flower strips along the outer edges or between selected rows. The geometry keeps harvesting routes clear while the flowers make the productive area feel like part of the ornamental garden. Keep the edible and ornamental plants together only when their sun, irrigation, and soil needs align, and leave enough access to pick crops without stepping into a bed.
20. A bird-friendly seedhead corner. Dedicate one bed edge to flowers and grasses whose seed heads can remain through the colder months, and place a birdbath or shrub nearby if there is space. From the main seating area, the corner reads as a purposeful wildlife feature rather than an unfinished bed. If tidy winter borders matter more to you, leave only a portion standing and cut the rest back on a schedule that suits your plants and local wildlife guidance.
21. A reachable cut-flower garden. Plant a few straight rows with a central aisle, then keep a bucket, snips, and water source close to the entrance so harvesting is easy. Put the tallest flowers toward the back or north side where they will not shade shorter rows, and leave generous space at the ends for turning. This layout is practical for frequent cutting and lets you replace a row with a new seasonal favorite without reworking the whole garden.
Containers, vertical planting, and tight spaces
22. A clustered container garden. Group pots in a loose triangle or stepped cluster instead of scattering them across a patio. Vary container height and width, repeat one material or color, and place the largest pot at the back to anchor the display. Containers dry at a different pace from in-ground beds, so group plants with similar water needs and keep the cluster close enough to a hose for regular checks.
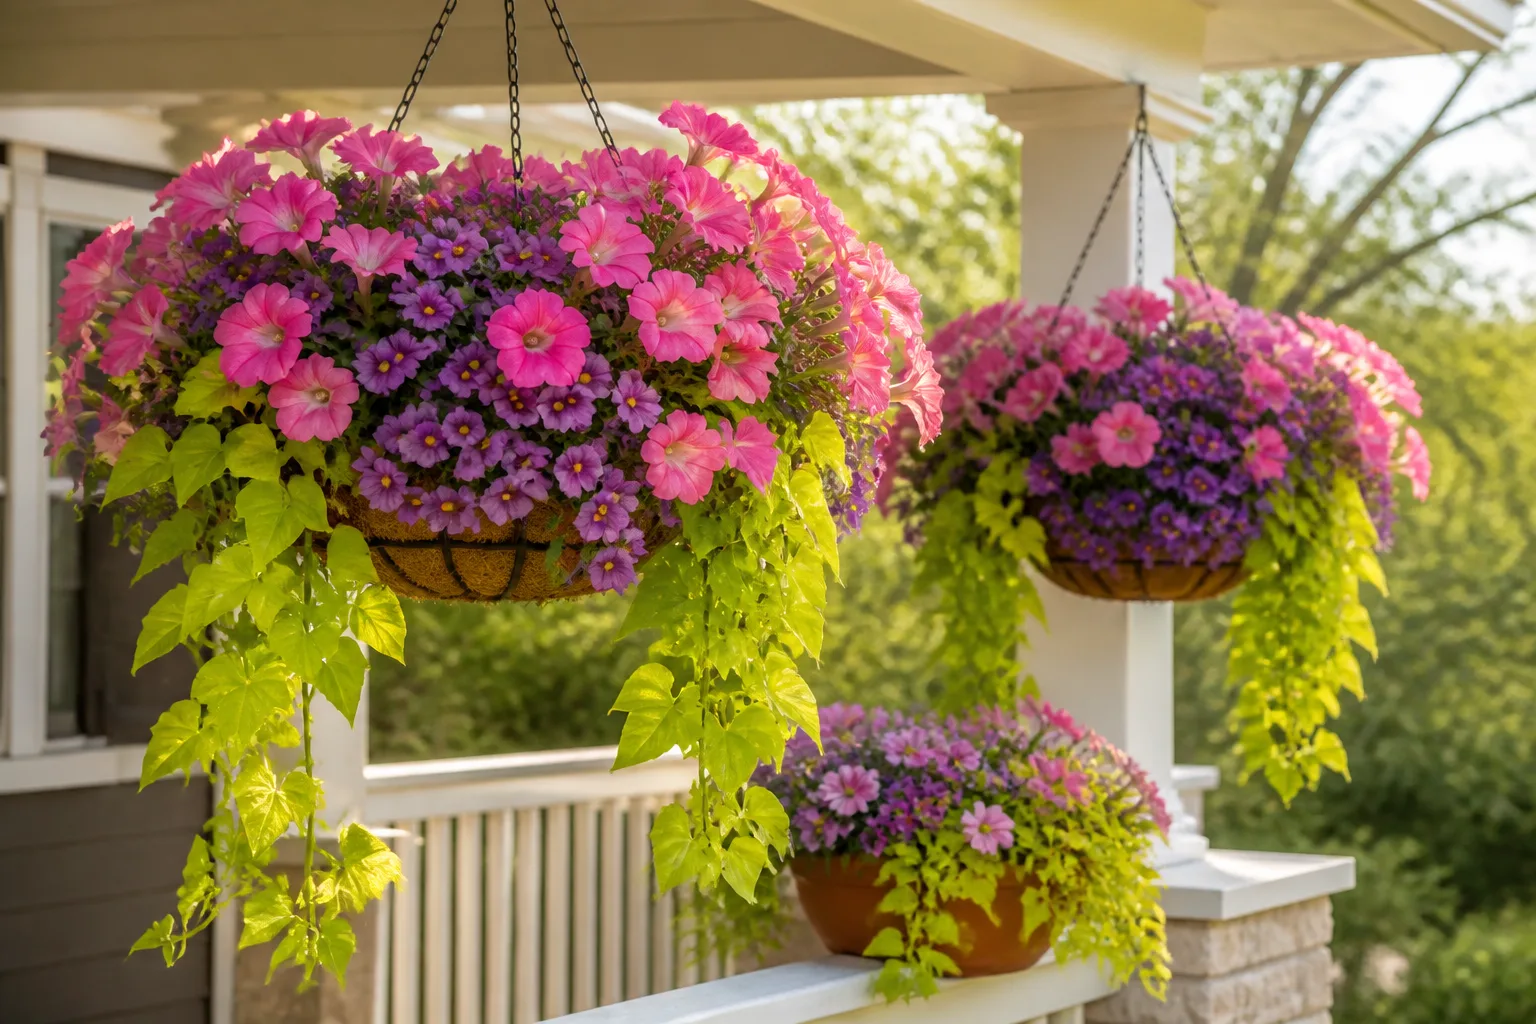
23. A tiered hanging-basket display. Hang baskets at two or three heights along a wall, porch, or sturdy pergola, with one repeated flower color to make the vertical arrangement read as a unit. Keep lower baskets clear of door swings and head height, and make sure each pot can be watered safely without climbing on unstable furniture. The display works well where ground space is scarce, but it requires more frequent moisture checks than many established beds.
24. A flowering trellis wall. Install a trellis beside a fence, patio, or sunny wall, then train one or two suitable flowering vines upward instead of letting the planting sprawl across a narrow path. Set the support before planting so roots are not disturbed later, and select a vine that fits the local climate and will not overwhelm the structure. Leave room for airflow and pruning access behind or beside the trellis.
25. A narrow side-yard garden. Treat a side passage as a long linear room: use a clear route down the center and repeat slim planters, wall-mounted containers, or narrow beds along one edge. A single flower color and a repeated vertical element can make the corridor feel longer and less cluttered. Keep gates, meters, hose connections, and emergency exits accessible, and do not let plants obstruct the path.
Wet, dry, and contemporary site plans
26. A rain garden for runoff. Shape a shallow planted depression where it can receive runoff from a suitable roof or paved area, with an overflow route for unusually heavy rain. This is not simply a bog planted in the soggiest corner: Penn State Extension advises placing a rain garden at least 10 feet from the house and designing it to drain completely within 24 hours, with plant choices matched to wetter and drier zones (Penn State Extension). Check local utility locations and soil conditions before digging, and follow local guidance for sizing and siting.
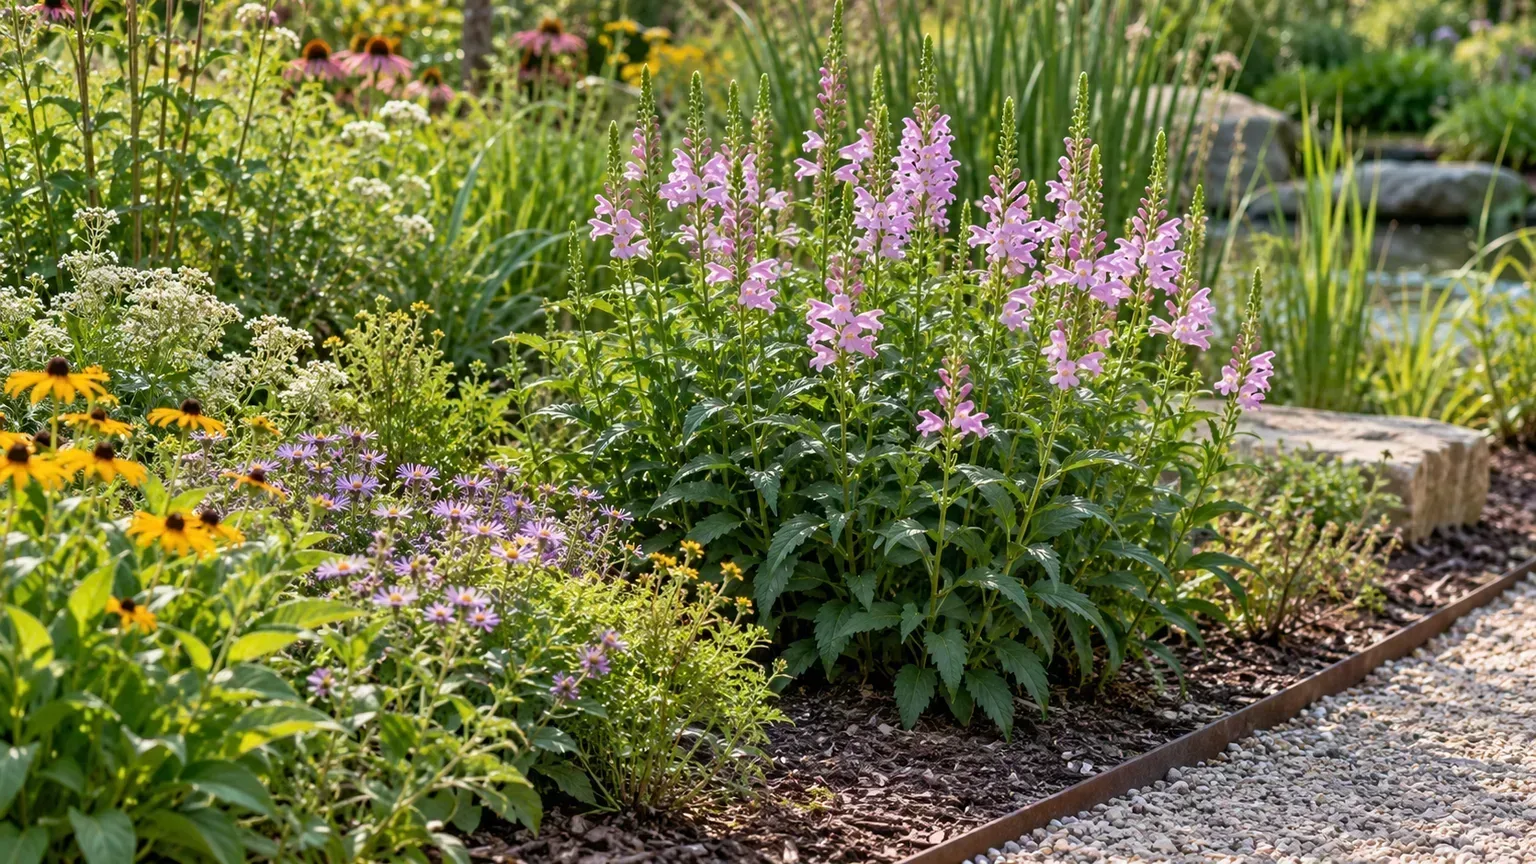
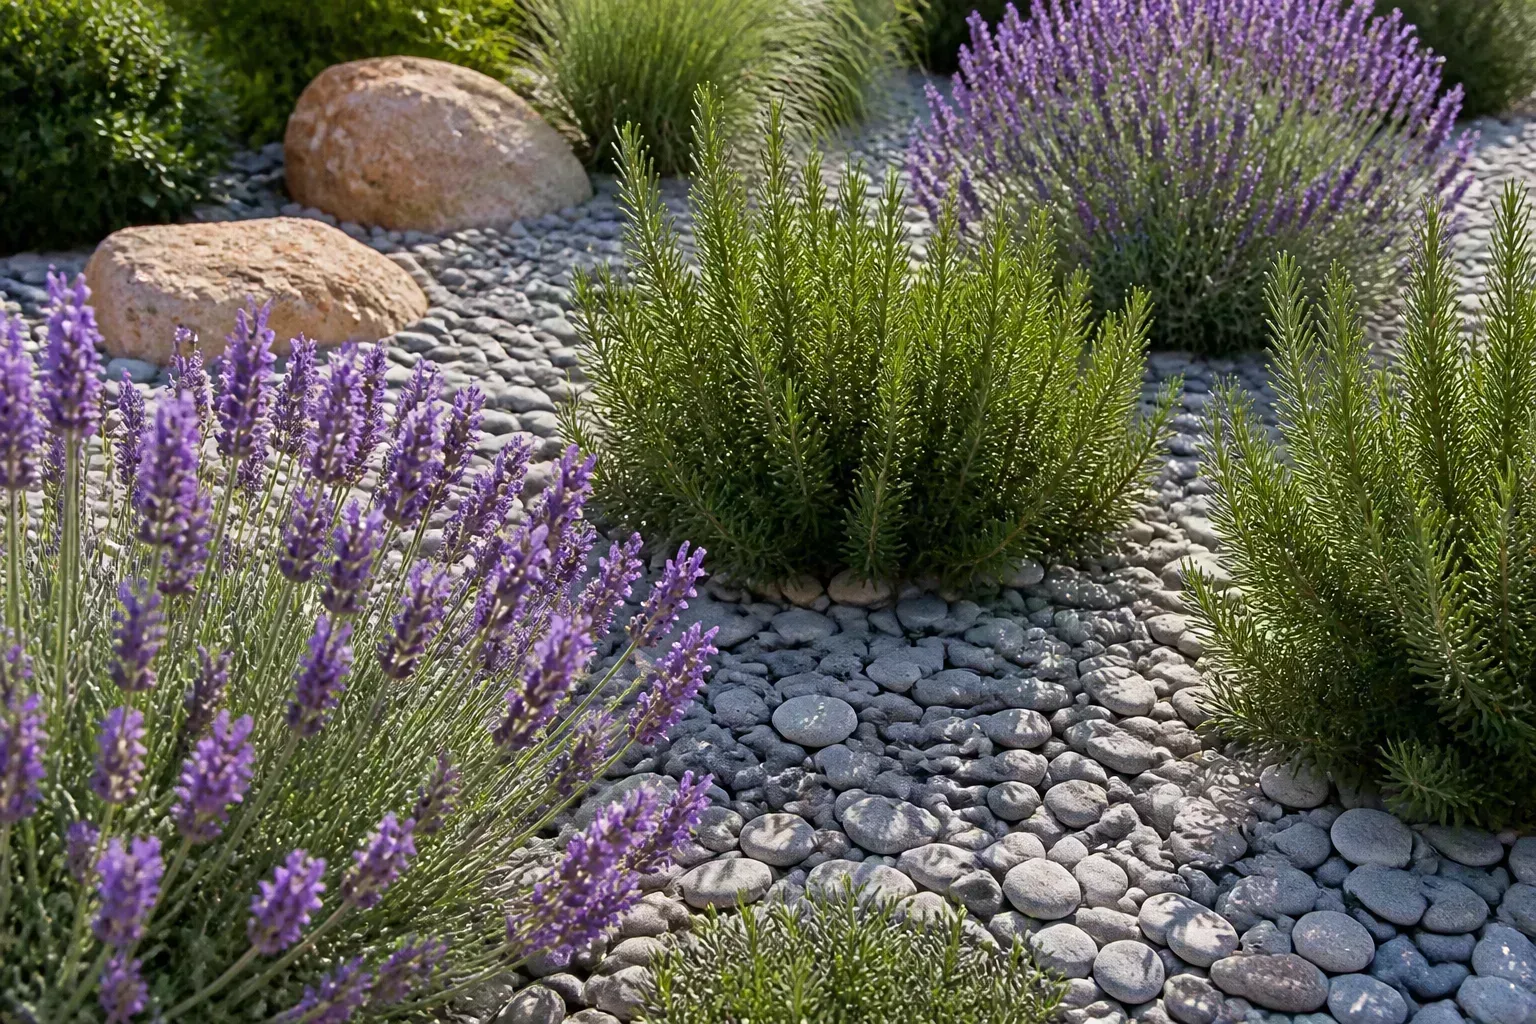
27. A dry rock garden. In a hot, sharply drained location, use a few large stones, gravel mulch, and drought-adapted flowers or foliage plants in small pockets. Repeat the same stone color or plant shape so the bed feels composed rather than like a collection of unrelated specimens. A rock garden is not a shortcut for every sunny yard: avoid placing moisture-loving flowers in it, and check winter hardiness and watering needs for your region.
Keep a flower garden interesting after the first flush
A flower bed looks fuller across the year when it has more than one kind of interest. Flowers bring color, but foliage, seed heads, evergreen structure, and a clear path can hold the composition together before and after the peak bloom weeks. Choose a few plants for each season rather than expecting every plant to flower all summer.
Use repeat bloom and foliage for sequence
Make a simple calendar with spring, early summer, late summer, fall, and winter columns. Add the main flowering or foliage contribution of each plant, then look for a blank season or a gap in a long bed; a repeated evergreen, ornamental grass, or foliage plant can provide continuity when there are fewer flowers. RHS border guidance recommends planning interest across the year, while its plant-layout advice describes repeating groups as a way to create flow.
The same technique can make an informal garden feel composed. Repeat a flower color or leaf shape along the border, then let smaller seasonal variations appear in the spaces between those anchors. Penn State Extension describes repetition as a way to create rhythm, while contrast adds interest; using both gives the eye a pattern to follow without making every section identical.
Pick plants with similar needs
Before placing plants together, compare their sunlight, soil moisture, drainage, hardiness, and mature size. A drought-adapted plant and a moisture-loving one may look appealing in a nursery pot, but a shared irrigation schedule can leave one stressed; group plants with comparable water needs and make separate zones if the site has both wet and dry pockets. The BHG plans show this idea in practice by grouping plants for particular site conditions, while the University of Minnesota’s resource emphasizes matching growing needs to the site.
Lay out plants at their eventual mature width, not their nursery-pot size. Place taller plants toward the back of a one-sided border or near the middle of an island bed, and keep enough open space to weed and divide plants as they grow. Those simple spacing decisions usually matter more than adding another accent flower.
Mistakes that turn a flower idea into a difficult bed
A photograph can make a garden style look effortless because it captures a particular season, angle, and level of maintenance. Your own garden needs to work on ordinary days too: from the route you walk, in the light it receives, and with the time you have for watering and trimming. A small sketch and a short plant list are often enough to reveal a mismatch before it becomes an expensive one.
Shop for a photo instead of a mature plant
Do not select a plant only because its bloom color matches an inspiration image. Check the label or a reliable regional source for its mature height, spread, light, water, and hardiness, then confirm that the eventual size fits the spot. The RHS planning guide stresses checking growing conditions and mature dimensions; the BHG plans also show how plant choices shift for clay, slope, or low-water areas.
Resist the urge to plant a dense pattern on day one. New perennials and shrubs need room to reach their intended size, and filling every gap with short-lived annuals may be a better temporary choice than crowding the permanent plants. If the visual effect depends on a repeated group, plant the group at its intended spacing instead of buying one of every variety.
Confuse drainage with a planting solution
A rain garden manages runoff in a designed depression; a wetland or bog garden is a different planting environment. Do not direct roof or driveway water toward a foundation, septic area, or neighboring property just to create a lush flower bed. For drainage problems or a retaining wall, consult local extension or a qualified landscape professional before digging or changing the grade.
Likewise, do not assume that gravel, raised beds, or a new flower border will solve compacted soil or standing water by themselves. Observe the site after rain, identify where the water comes from, and choose a layout that works with the conditions rather than concealing them. For slopes and tight paths, protect access and stability as well as appearance.
Conclusion
The most eye-catching flower garden is usually the one that has a clear idea and fits its setting. Choose a palette, path, focal point, or site-specific goal, then repeat a few shapes or colors to make the planting feel connected. Before you buy, sketch the bed, confirm light and drainage, and leave room for plants to reach their mature size; those practical choices let a beautiful layout stay useful as it grows.



