Gardening Tips: Plan, Plant, and Care for a Garden
Build a garden that fits your space and schedule. Learn to read sunlight, improve soil, choose suitable plants, water well, and solve common problems.
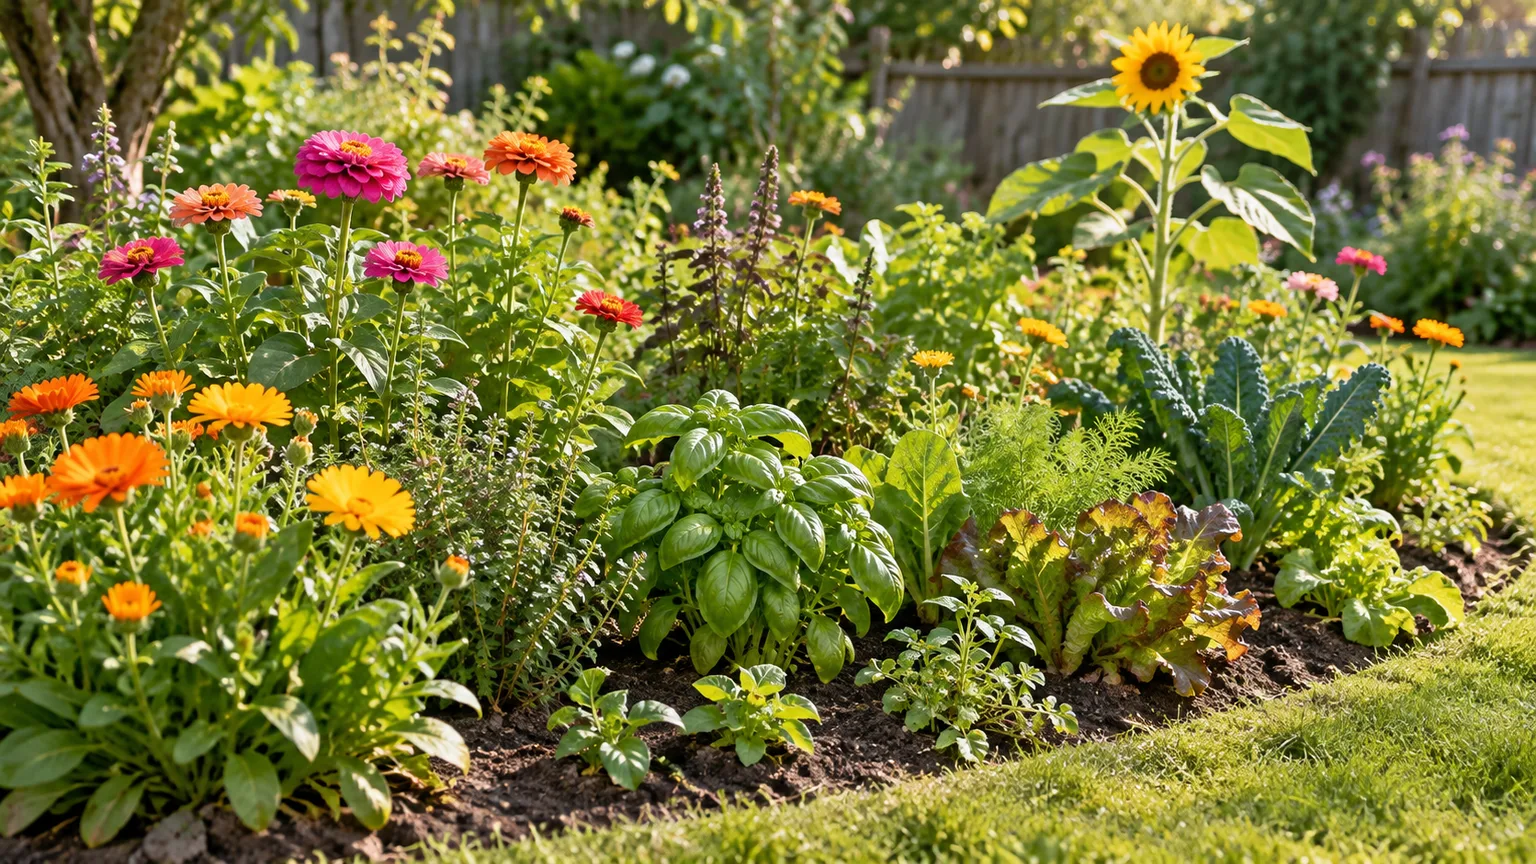
The most useful gardening tip is to make decisions in the order plants experience them: place, soil, timing, water, then maintenance. A plant that matches its light and climate usually needs less rescuing than one chosen only for its flower color; a good watering method cannot compensate for waterlogged roots or a pot without drainage.
You do not need to memorize every plant profile to start. Choose one garden goal, study the conditions you can actually offer, and grow a manageable number of plants. From there, watch what happens and change one thing at a time. That approach works for a vegetable bed, a flower border, a patio container, or a mix of all three.
Decide What You Want Your Garden to Do
Before buying seeds or digging, define what you want to get from the space. A garden might supply herbs for cooking, produce a few favorite vegetables, provide flowers for cutting, soften a patio, support pollinators, or simply give you a place to spend time outside. Naming the purpose helps you choose plants, set a realistic scale, and avoid paying for a setup that does not solve your problem.
Match your goal to your available time as well as square footage. A few containers can be a better first garden than a large plot if you can check pots most days but cannot weed a broad bed. A perennial border may take planning and watering while it establishes, then need less seasonal replanting than annual flowers. Vegetables reward frequent picking and often require steady moisture; choose crops you enjoy eating so regular care has a clear payoff. The Royal Horticultural Society’s vegetable-garden planning advice similarly recommends prioritizing what you actually use and accounting for space, time, and harvest.
Write down a short first-season plan: one goal, one planting area, a handful of plants, and the amount of time you can give it each week. Leave room to learn. A small area cared for consistently will teach more than a large, crowded planting that becomes hard to reach by midsummer.
Read Your Site Before Buying Plants
A garden is a set of conditions, not just an empty patch of ground. Sunlight, soil, drainage, wind, slope, nearby trees, and access to water all shape what will grow there. Take a few days to observe before you choose plants; if possible, check the area in the growing season, when leaves on trees and the sun’s angle change how much light reaches the ground. Fine Gardening’s beginner reference also puts site assessment and soil ahead of seed starting—a sensible order because plant purchases should follow conditions, not guess at them.
Map Sun, Shade, Wind, and Water
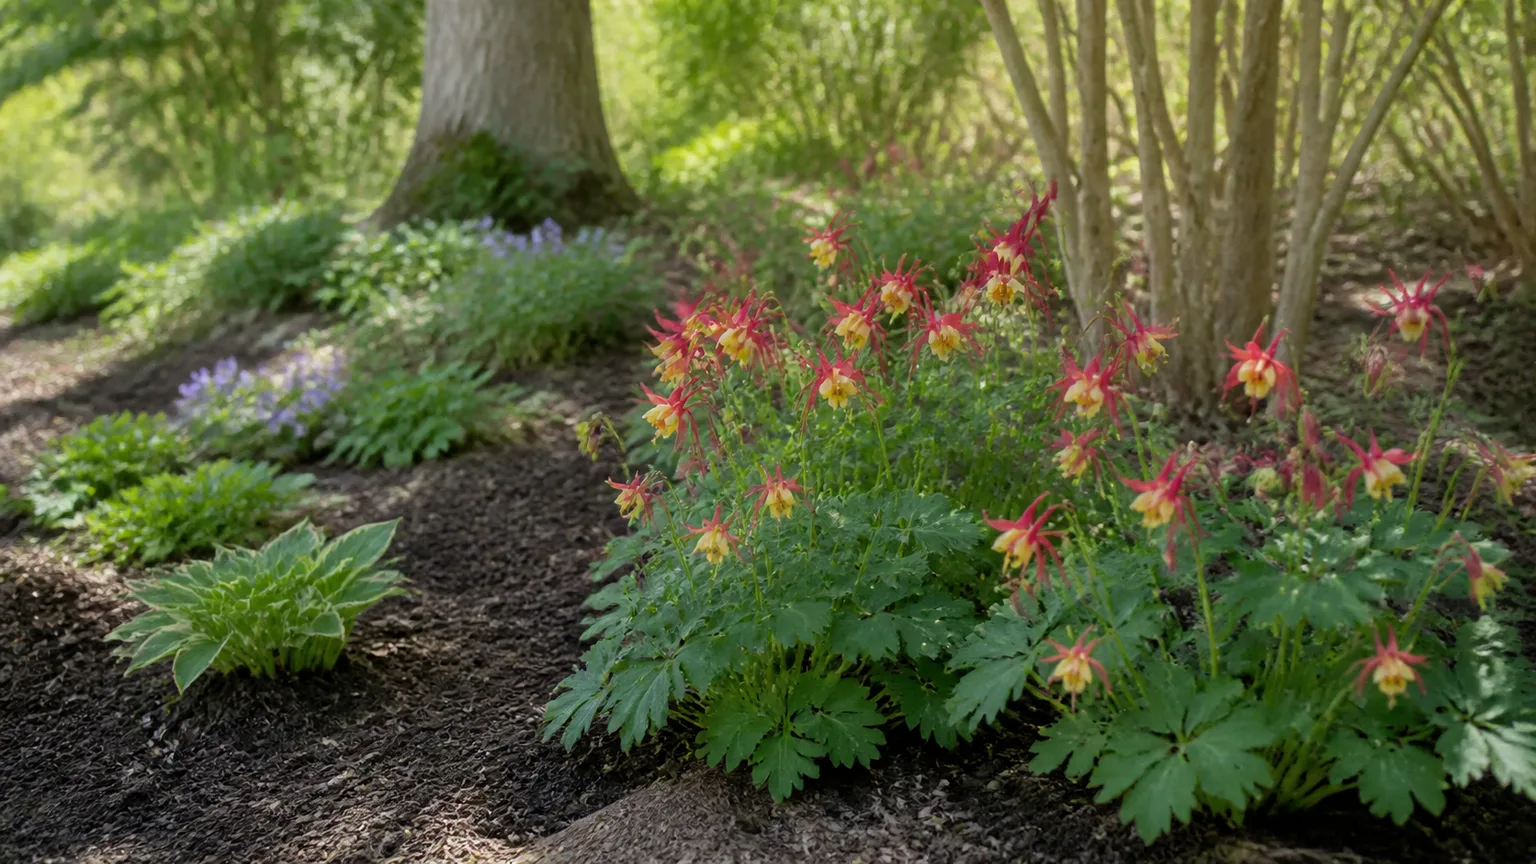
Track direct sunlight at morning, midday, and late afternoon, then note which areas stay shaded. “Full sun” generally describes a substantial period of direct light, but the requirement is not identical for every plant. Fruiting vegetables such as tomatoes usually need more sun than leafy crops such as lettuce; a north-facing, tree-shaded corner may be better used for shade-tolerant foliage or a sitting area than for peppers. Illinois Extension’s home-garden guidance notes that many fruiting vegetables do best with six to eight hours of sun and leafy crops can manage with less.
Also watch what happens after rain. Puddles that linger, soil that stays saturated, or runoff moving through the bed point to a drainage problem; a sunny site can still be wrong for plants that dislike wet roots. Look for wind tunnels between buildings, heat reflected from pavement, and dry strips beneath roof eaves. Those small microclimates can make two spots in one yard behave like different gardens.
Put the bed where you can reach it and carry water to it without a daily obstacle course. Avoid placing a large bed directly under trees: their roots compete for moisture and nutrients, while shade may increase as the canopy fills in. If you plan to grow food in old urban soil or near a building with peeling exterior paint, flag the site for a soil-contaminant test; a standard fertility test may not include lead.
Choose a Garden Format That Fits Your Space
The best format depends on existing soil, available room, mobility, budget, and how often you can water. None is universally superior. If you can grow in native ground without major drainage or contamination issues, an in-ground bed is often the least expensive way to begin. Raised beds make access and soil control easier, but their exposed soil can dry faster. Containers fit balconies, paved yards, and rentals, though they need the closest moisture checks.
In-Ground Beds, Raised Beds, and Containers
| Format | Best fit | Main advantage | Main trade-off |
|---|---|---|---|
| In-ground bed | Usable soil and room to expand | Lower setup cost; roots can reach deeper soil | Site soil and drainage need evaluation; paths prevent compaction |
| Raised bed | Poor drainage, compacted soil, limited bending, or a defined small plot | Controlled growing mix and easy access | More materials and faster drying; use a clean, suitable fill |
| Container | Balcony, patio, paved space, or portable planting | Small footprint and movable plants | Limited root volume; watering and feeding needs rise in hot weather |
A raised bed does not have to be waist-high or expensive to work. A shallow frame can define a bed over reasonably good ground; deeper-rooted plants need more soil volume, and containers need drainage holes that remain open. Do not line the bottom of a raised bed with landscape fabric if roots need access to the ground below. For pots, use a growing medium designed for containers rather than packing heavy yard soil into a small vessel; dense soil can hold too much water and leave roots short of air.
Build Soil for Roots, Not for a Label
Garden soil supplies roots with a changing balance of water, air, nutrients, and anchorage. The goal is not to make every yard look black and crumbly or to chase a bag labeled “premium.” A soil’s texture, drainage, organic matter, and pH determine whether the plants you want can use it. Clay, sand, and loam each have strengths and constraints; plant selection and a modest improvement plan often work better than trying to remake the entire site.
Test First; Amend With a Reason
For a new bed or a recurring growth problem, a laboratory soil test is more useful than guessing from leaf color. A test can report pH and nutrient levels and recommend amendments for the intended crop or planting area. Contact your local Cooperative Extension or university lab for its sampling instructions; taking several small subsamples from one uniform bed is often more representative than sending one random scoop. Keep lawn, vegetable beds, and ornamental beds as separate samples if they have different histories or uses.
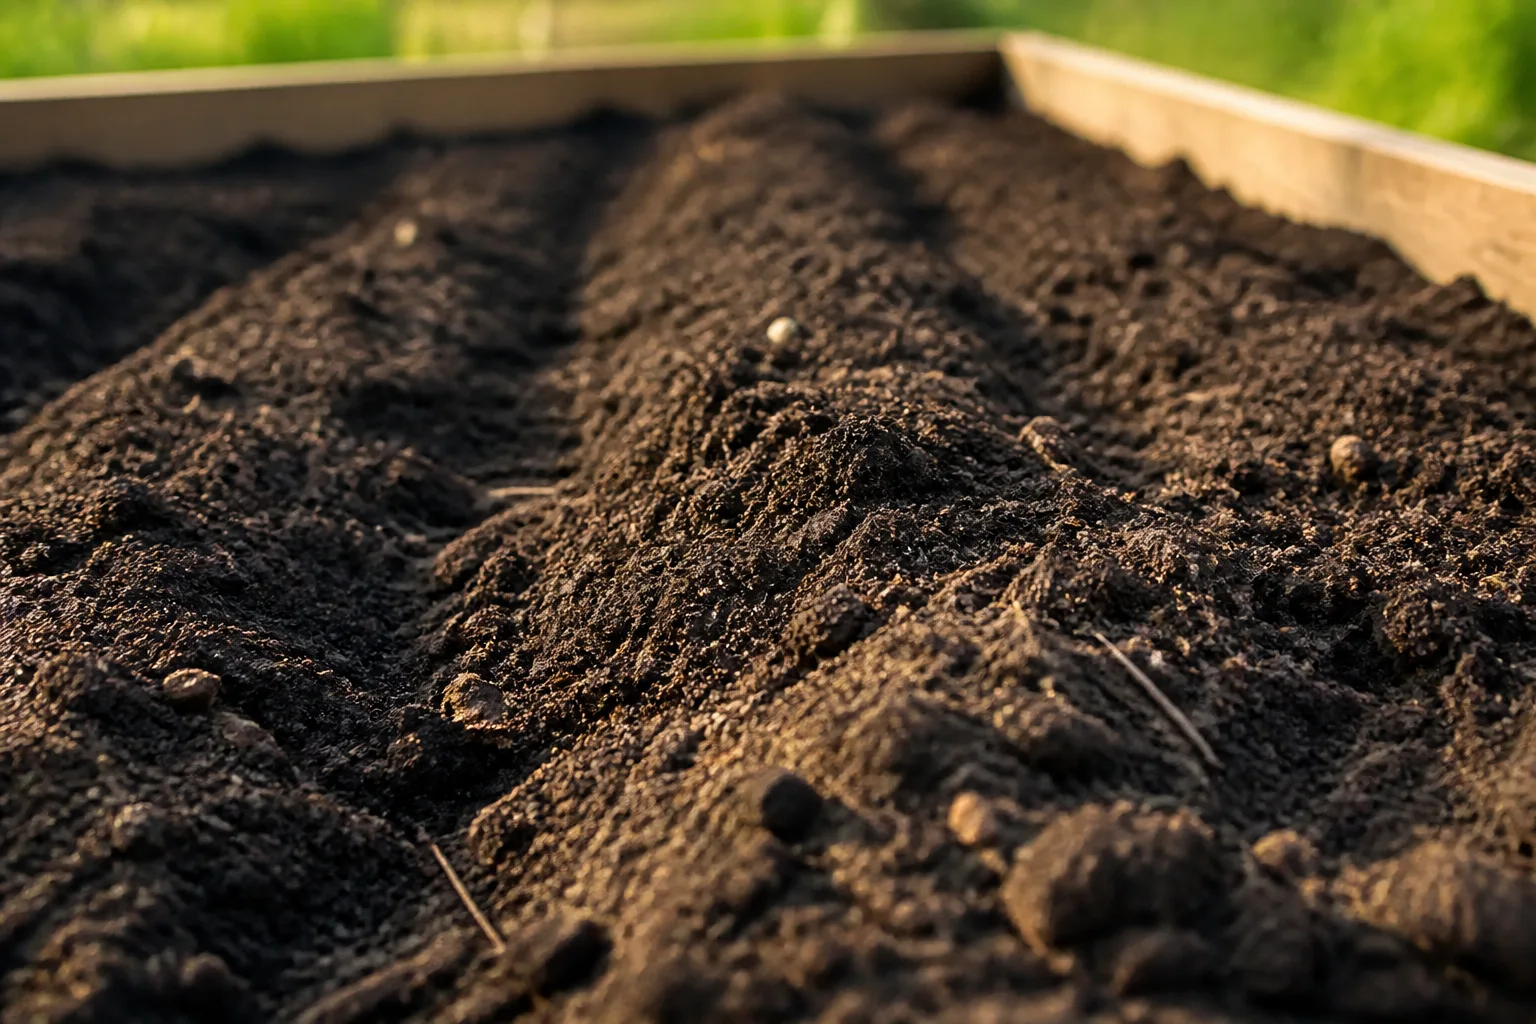
The University of Minnesota Extension soil-health guide explains that soil-test results can guide nutrient additions, while organic matter helps soil hold air and water that roots need. Compost can improve structure and supply some nutrients, but “more” is not always better. Repeated manure or fertilizer applications can push nutrients beyond what plants use, and changing pH with lime or sulfur without a test can make nutrients less available.
Protect soil structure as you prepare it. Do not dig or till when wet soil smears into a sticky ribbon; working it then can create compaction that persists. Keep foot traffic on paths, cover bare areas with an appropriate mulch or living plants, and add finished compost where tests or soil conditions support it. If lead contamination is a concern—for example, beside an older painted building or near heavy traffic—test the soil before growing food. The EPA’s healthy-gardening guidance recommends testing and, where levels are elevated, considering raised beds or containers filled with clean soil; compost improves soil structure but is not a lead test or a contamination fix.
Pick Plants for Your Climate and Conditions
Choose plants by matching their needs to your mapped conditions: light, moisture, drainage, mature size, soil, and winter or summer tolerance. This “right plant, right place” rule is more practical than choosing the most fashionable plant and then spending every week correcting its environment. Read the full tag or seed packet, not only the flower photo. A plant sold as “easy” may still fail in the wrong shade, climate, or watering pattern.
Use Plant Tags, Zones, and Local Advice Carefully
In the United States, the USDA Plant Hardiness Zone Map describes average annual extreme minimum winter temperatures and helps assess whether perennial plants are likely to survive winter. It is not a planting calendar, a forecast, or a measure of summer heat. The USDA’s current map uses 1991–2020 climate data, but local walls, slopes, tree cover, and urban heat can create microclimates smaller than the map can show. Use local frost-date guidance for sowing and transplant timing, and treat a plant tag’s zone as one filter rather than a promise.
For a first season, favor a few plants with compatible needs. In a sunny edible bed, that might mean lettuce or radishes in cooler weather and bush beans or a compact tomato in warm weather; choose varieties recommended for your region. In a flower bed, combine a small number of locally adapted perennials with annuals for quick color. In shade, select foliage and flowering plants specifically labeled for shade rather than expecting sun lovers to stretch toward light. Ask a local nursery, native-plant group, or Extension Master Gardener which varieties cope with your area’s humidity, heat, rainfall, and pest pressure.
Think beyond the first week of bloom or harvest. Combine plants that flower or produce at different times, check their mature size, and leave access for pruning and picking. If you want lower maintenance, group plants with similar water needs and choose durable species suited to the site; “low maintenance” means fewer repeated interventions, not zero establishment care.
Plant at the Right Time and Depth
Planting dates depend on the plant and local weather, so calendar dates from another region can mislead. Cool-season crops tolerate cool conditions and may be sown earlier; warm-season crops such as tomatoes and basil should wait until frost risk has passed and the soil has warmed enough for them to establish. Perennials, bulbs, trees, and shrubs have their own best planting windows, which may differ by climate. Follow a local planting calendar and the instructions for the species or variety.
Before planting, water a dry root ball and loosen circling roots gently. Set most herbaceous nursery plants at about the same depth they grew in their pot, unless species-specific directions say otherwise. For a tree, find the root flare—the trunk widening into the roots—and keep it visible at or just above the finished soil line, as University of Minnesota Extension explains. Seed depth matters too: tiny seeds often need light or only a thin covering, while large seeds can be sown deeper. Do not pack soil hard over seed; water gently so it settles without washing seed away. Label rows or pots with plant and date, then water the root zone after planting.
Seedlings started indoors need time to adjust to outdoor sun, wind, and temperature. Gradually expose them to outdoor conditions over several days rather than moving tender plants from a protected windowsill into full sun all afternoon. Keep new transplants evenly moist while roots establish, but do not leave them in waterlogged soil. A week of mild attention at establishment is easier than trying to recover a wilted or sun-scalded plant later.
Water by the Root Zone, Not the Calendar
There is no reliable universal schedule such as “water every Tuesday.” Need changes with rainfall, temperature, wind, soil texture, plant species, root depth, container size, and whether a plant is newly planted or established. Check moisture where roots are growing: push a finger or trowel into the soil near a plant, or use a moisture probe as a rough aid, and water when the root zone is drying to the point that plant needs call for it.
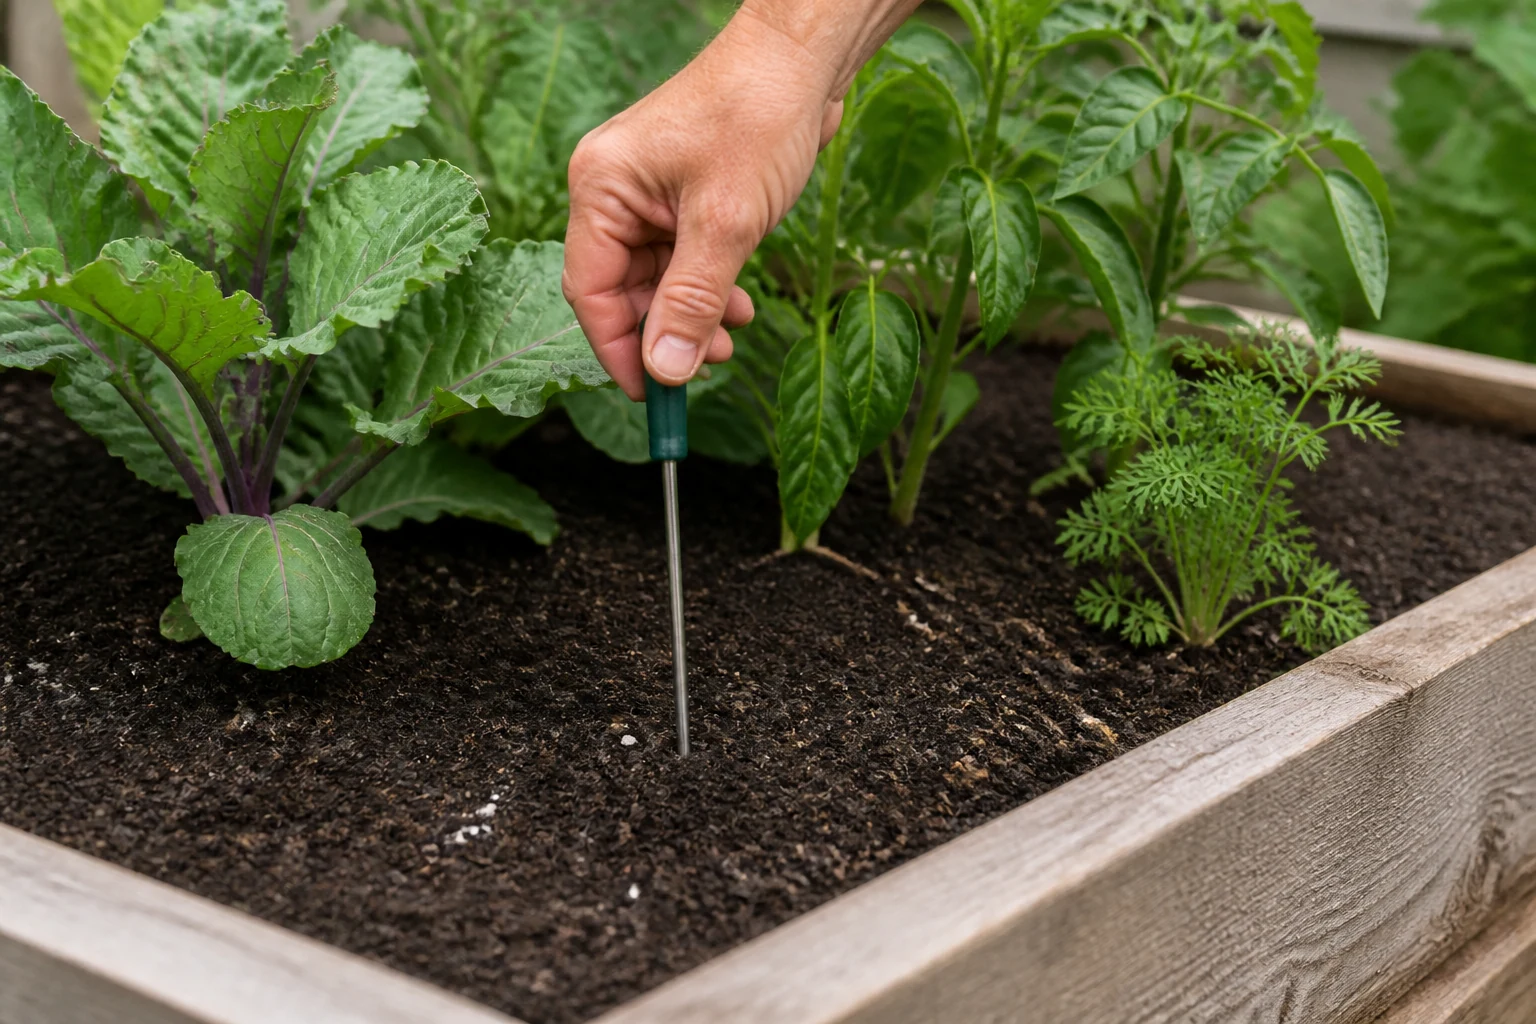
When a bed needs water, apply it slowly near the soil surface so it can soak in rather than run off. Less frequent, thorough watering usually wets more of the root zone than a quick surface sprinkle, but tiny seedlings and newly sown seed need the upper soil to stay consistently moist. A rain gauge can show whether a storm actually supplied meaningful water. “One inch a week” is a rough starting point for many vegetable gardens, not a fixed prescription for every garden; heat waves, shallow roots, and containers may require more frequent checks. University of Minnesota and RHS guidance both stress adjusting watering to soil moisture, plant type, and weather rather than following the calendar (UMN Extension; RHS watering advice).
Watering in the morning gives foliage time to dry and lets roots take up moisture before the hottest part of the day. Aim water at the soil instead of routinely wetting leaves, especially when nights are cool or humid. Containers are the exception to many in-ground assumptions: their limited soil volume can dry quickly in sun and wind, and a pot can need attention even after nearby ground receives rain. Always make sure excess water can drain from the pot.
Feed, Mulch, and Weed With a Light Touch
Fertilizer is not a general cure for slow growth. Yellowing, weak stems, or poor flowering can come from shade, overwatering, drought, root damage, pests, or a pH problem—not just a nutrient shortage. Start with plant needs and a soil test; use the product label’s rate and timing only if feeding is warranted. Too much nitrogen can produce lush foliage at the expense of flowers or fruit, while excess soluble fertilizer can injure roots.
Mulch covers the soil surface, moderates temperature, slows evaporation, and can reduce weed germination. Choose a material that fits the planting: leaves, bark, straw, or compost may suit different beds and seasons. Apply enough to cover soil without smothering small seedlings or burying plant crowns and stems. If rain or irrigation is not reaching the soil, pull mulch aside to check; a thick or water-repellent layer can intercept light showers.
Weed early, while seedlings are small and soil is soft. A short walk through the garden several times a week to pull a few weeds is usually easier than clearing a mature patch that has set seed. Identify unfamiliar weeds before composting them, especially if they spread by roots or seed. Keeping soil covered with healthy plants or a suitable mulch limits bare ground where opportunistic weeds establish.
Prevent Problems Through Integrated Pest Management
A chewed leaf does not automatically call for a spray. First identify the plant and the damage, then look for the actual insect, disease sign, or environmental stress. Some insects pollinate flowers, eat pests, or cause only cosmetic damage; misidentifying a beneficial insect can make a manageable garden problem worse.
The EPA describes integrated pest management (IPM) as a sequence of monitoring and identification, prevention, and proportionate control rather than one product or technique. In a home garden, check plants regularly, note whether damage is spreading, and decide whether it threatens plant health or your harvest. Remove a small number of pests by hand, use a barrier where practical, correct overcrowding or poor watering, and select resistant varieties next season. If a pesticide is genuinely needed, identify the target first, read and follow the label, and avoid exposing pollinators or people unnecessarily. See the EPA’s IPM principles for the reasoning behind this order.
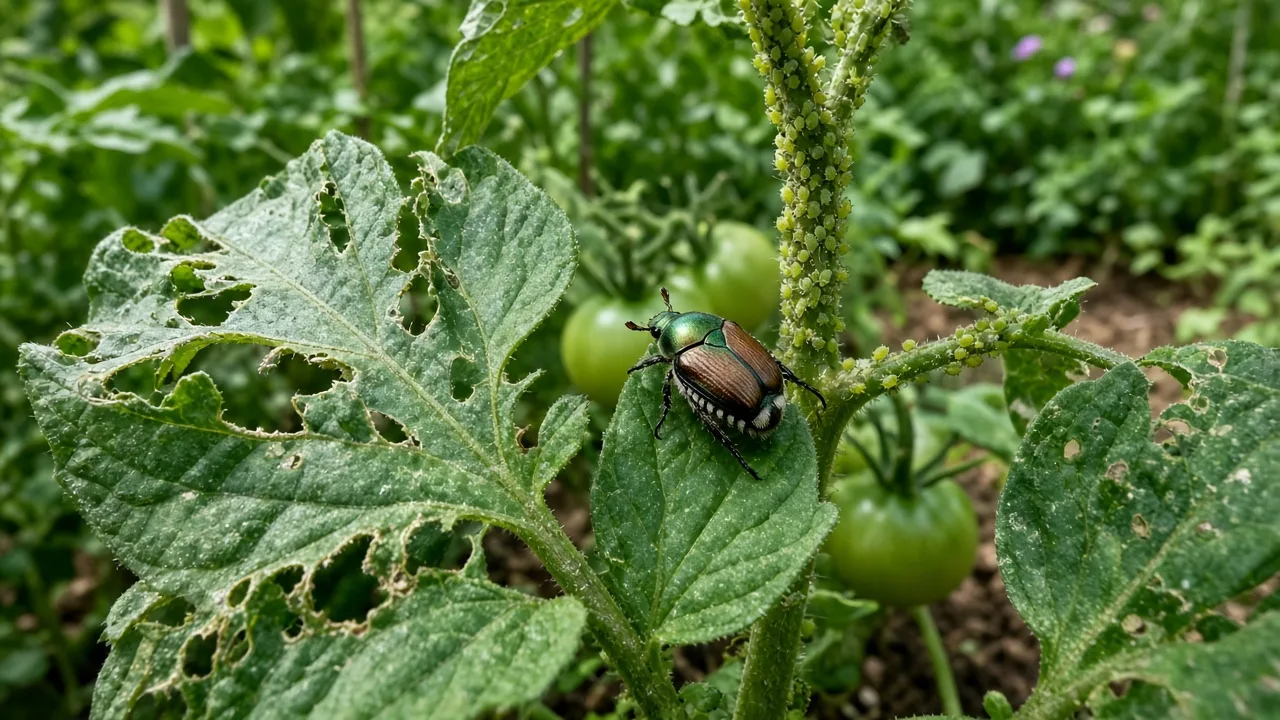
Prevention starts before a problem appears: give plants their required spacing and light, water the soil rather than splashing leaves, clean tools when disease is suspected, and remove badly diseased debris rather than leaving it in a bed. Do not treat every spot as a diagnosis. Photograph the whole plant and the close-up, check whether new growth is affected, and compare the pattern with trusted local Extension or botanical references before choosing a response.
Keep a Sustainable Week-to-Week Garden Routine
A useful routine is short and responsive. Once or twice a week, walk the space slowly: check soil moisture, look under leaves, pull small weeds, tie in climbers or tall stems, harvest ripe produce, and notice anything that changed after rain or heat. Water only where needed. In a dry spell, prioritize newly planted trees and perennials, seedlings, containers, and crops at flowering or fruiting; established plants suited to the site may need less help.
In spring, wait until soil is workable before digging or walking on beds, then sow or transplant crops according to local timing. During summer, keep up with moisture checks, harvest, and fast-growing weeds. In fall, remove diseased plants, leave healthy stems when they provide winter structure or wildlife habitat, and protect bare soil with mulch or a cover crop appropriate for your region. In winter, clean and store tools, review notes, and order only the seeds you have space to grow. Seasonal timing varies by hemisphere and climate, so use local calendars for the exact dates.
Build sustainability into the layout rather than treating it as a separate project. Place water-demanding plants where you can reach them, collect rain where permitted, maintain soil cover, and choose plants adapted to local rainfall and temperature. The RHS beginner guidance emphasizes starting small and understanding the plot before expanding; its advice is UK-based, so use it for general planning principles and localize planting dates and plant choices (RHS beginner’s guide).
Keep Notes and Let the Garden Teach You
A garden journal does not need to be a notebook full of measurements. Record the plant or variety, where it grew, planting date, approximate sun exposure, watering changes, pest or disease observations, and what succeeded. A phone photo taken every week from the same angle can reveal growth patterns that are hard to notice day to day. University of Illinois Extension’s garden-journal guidance recommends recording dates, varieties, weather, pest issues, and harvests because those details can guide future planting decisions.
When something struggles, use a simple diagnosis: what changed, where is the symptom, and which plants are affected? A whole bed wilting after a hot day suggests a different problem from one plant declining in consistently wet soil. Damage on new leaves differs from damage on older leaves. Check conditions before adding a treatment, then change one variable at a time so you can tell whether the fix helped. This is more reliable than copying a remedy for a plant with a similar-looking symptom but different growing conditions.
The observations also help you make next season smaller or smarter. If you had more zucchini than you could use, plant fewer or stagger sowings. If you spent too much time watering containers, group them together, add a larger container, or move them out of reflected afternoon heat. A garden gets easier when its design fits the care you are willing and able to give.
Avoid the Beginner Mistakes That Create Extra Work
The most common avoidable errors share one cause: acting before checking conditions. Planting sun lovers in shade, buying too many plants, ignoring mature size, fertilizing without a reason, and watering by a rigid schedule all create work that better observation could prevent. Start with a small area, label what you plant, keep paths accessible, and leave some empty space for growth and experimentation.
Another mistake is trying to fix every imperfection at once. A few insect holes, a late flower, or an uneven row do not mean the garden has failed. Focus on whether the plant is growing, whether damage is spreading, and whether the cause is correctable. Remove plants that are invasive or diseased when necessary, but avoid aggressive changes based on one bad day or one unfamiliar leaf.
Know When to Stop Adjusting
If a plant is healthy and growing, resist the urge to move it, feed it, prune it, and change its watering all in the same week. Each intervention can add stress and makes it impossible to learn what the plant needed. Adjust only when you have a clear reason—such as a confirmed pest, persistently wet roots, or a plant receiving far less light than its label requires—then give the change enough time to show a result.
Conclusion
Good gardening is a cycle of matching plants to place, supporting the soil, watering according to conditions, and observing before reacting. Start with one goal and a manageable area; map its light, check drainage, test soil when an amendment decision depends on it, and choose plants that fit the space and your schedule.
The first season is not an exam. It is a chance to learn how your garden behaves through rain, heat, growth, and rest. Keep notes, make small adjustments, and expand only when the care routine feels sustainable. Those habits are more useful than any single shortcut because they help you grow a garden that works in your actual yard.



