Hardscaping Design Ideas, Materials, and Planning Guide
Use this hardscaping design guide to map paths and patios, compare materials, manage runoff, improve access, and know which work is well worth hiring out.
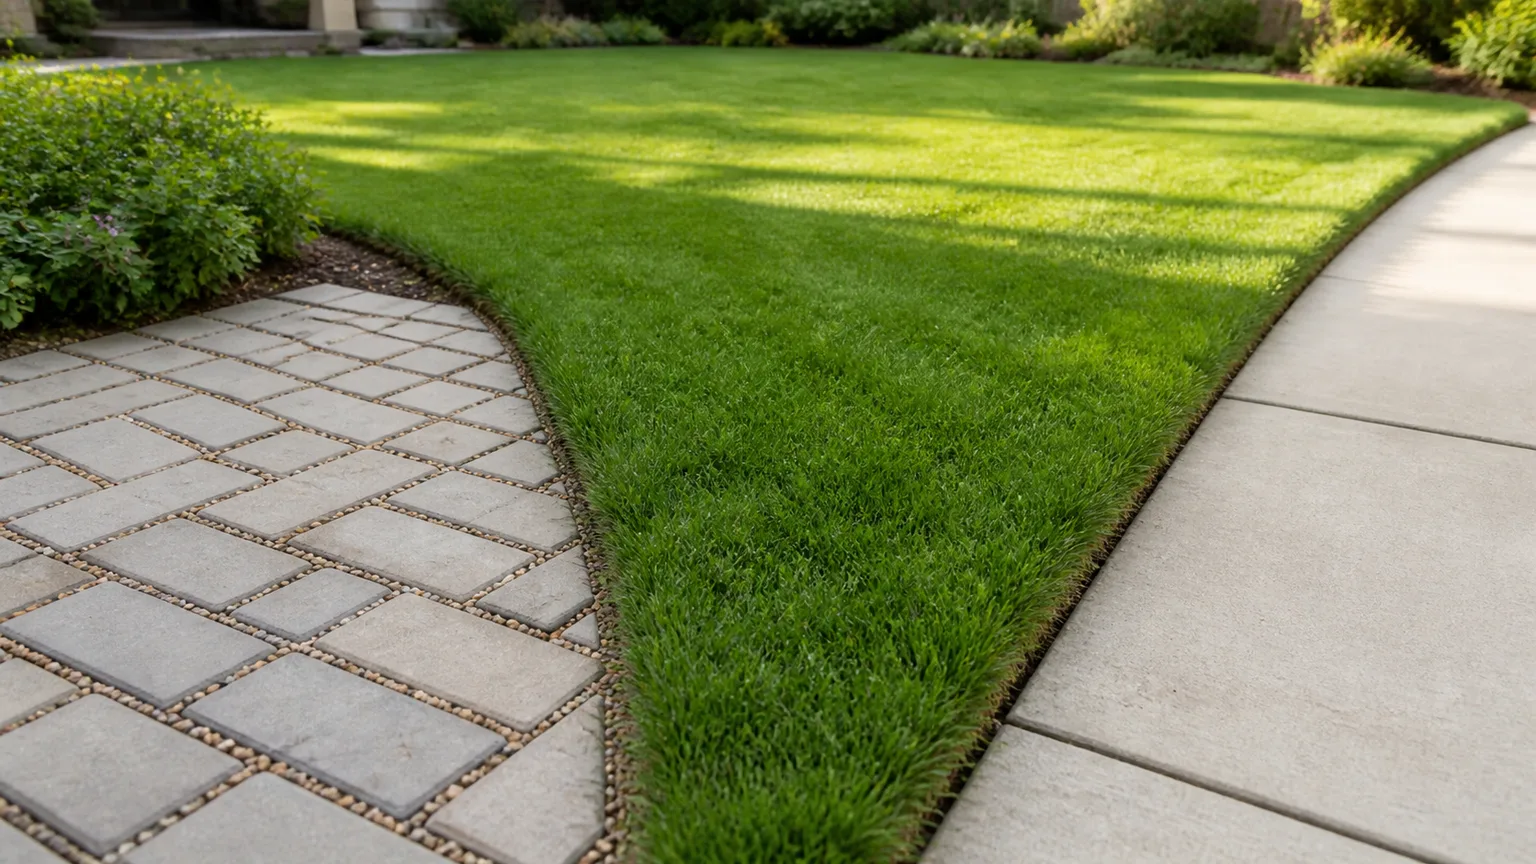
A good hardscape solves a job: it gives you a dry route to the shed, a level place for a table, a stable path through a slope, or a safe way to move water away from the house. The design succeeds when those jobs fit the site and the people using it—not when every corner is paved or every surface matches.
Hardscaping means the nonliving structures and surfaces in a landscape: patios, paths, steps, retaining walls, edging, decks, fences, and water features. These elements set the yard’s circulation and shape, while plants soften their edges and make the spaces feel connected. Plan both together so a new patio does not erase the best planting area or send runoff into a low spot.
Start With the Jobs Your Hardscape Needs to Do
Write down the three to five things you want to do outside before choosing stone color or paver pattern. A family that eats outdoors needs a different layout from a gardener who moves a wheelbarrow to a compost area, and a narrow side yard may need a clear service path more than a decorative patio.
Sort each item into a use zone: arrival, circulation, gathering, working, or screening. A front walk should lead clearly from the gate or driveway to the door. A patio needs enough level floor for furniture and movement around it. A work zone benefits from a firm surface near a hose and storage. A fence or screen may solve privacy, but it should not block a view or create a dead end in the route.
Use the smallest amount of hard surface that performs the task well. Keeping planting beds and existing soil in the plan can reduce excavation and give rain somewhere to soak in; a broad lawn or planted border can also visually connect separate paved areas. The RHS recommends limiting paved area and choosing permeable options where hard surfaces are needed in its permeable paving guidance.
Map the Site and Water Before Sketching
Walk the yard during dry weather and again after rain. Note where water already collects, where roof downspouts discharge, which corners stay muddy, and whether paths or driveways slope toward the house. Mark mature tree roots, existing utilities and irrigation, gates, doors, stairs, hose bibs, outdoor outlets, and the route for moving materials into the yard.
Measure the space and record changes in level rather than relying on a photograph. A gentle grade that is barely visible at eye level can still send water toward a foundation or make a table wobble. On a sloping lot, mark the top and bottom of the slope, any retaining walls, and the places where runoff accelerates; do not assume a new wall or patio will fix an existing drainage problem by itself.
Sun and shade matter to hardscape too. A stone patio beside a west-facing wall can become uncomfortably hot, while a damp north-facing walk may stay slick or grow algae. Watch how shadows move, and consider shade from trees or a pergola before placing a seating area. Leave enough soil around mature trees for their roots and trunks to grow rather than burying roots under a new compacted base.
Draw a Simple Bubble Plan and Test It Outdoors
Start with a rough plan at a consistent scale, even if the scale is as simple as one grid square per foot. Draw the house, property edges, trees, doors, slopes, and existing paths first. Add circles or blocks for a dining table, grill, bench, shed access, play area, and planting beds; connect them with the shortest comfortable routes.
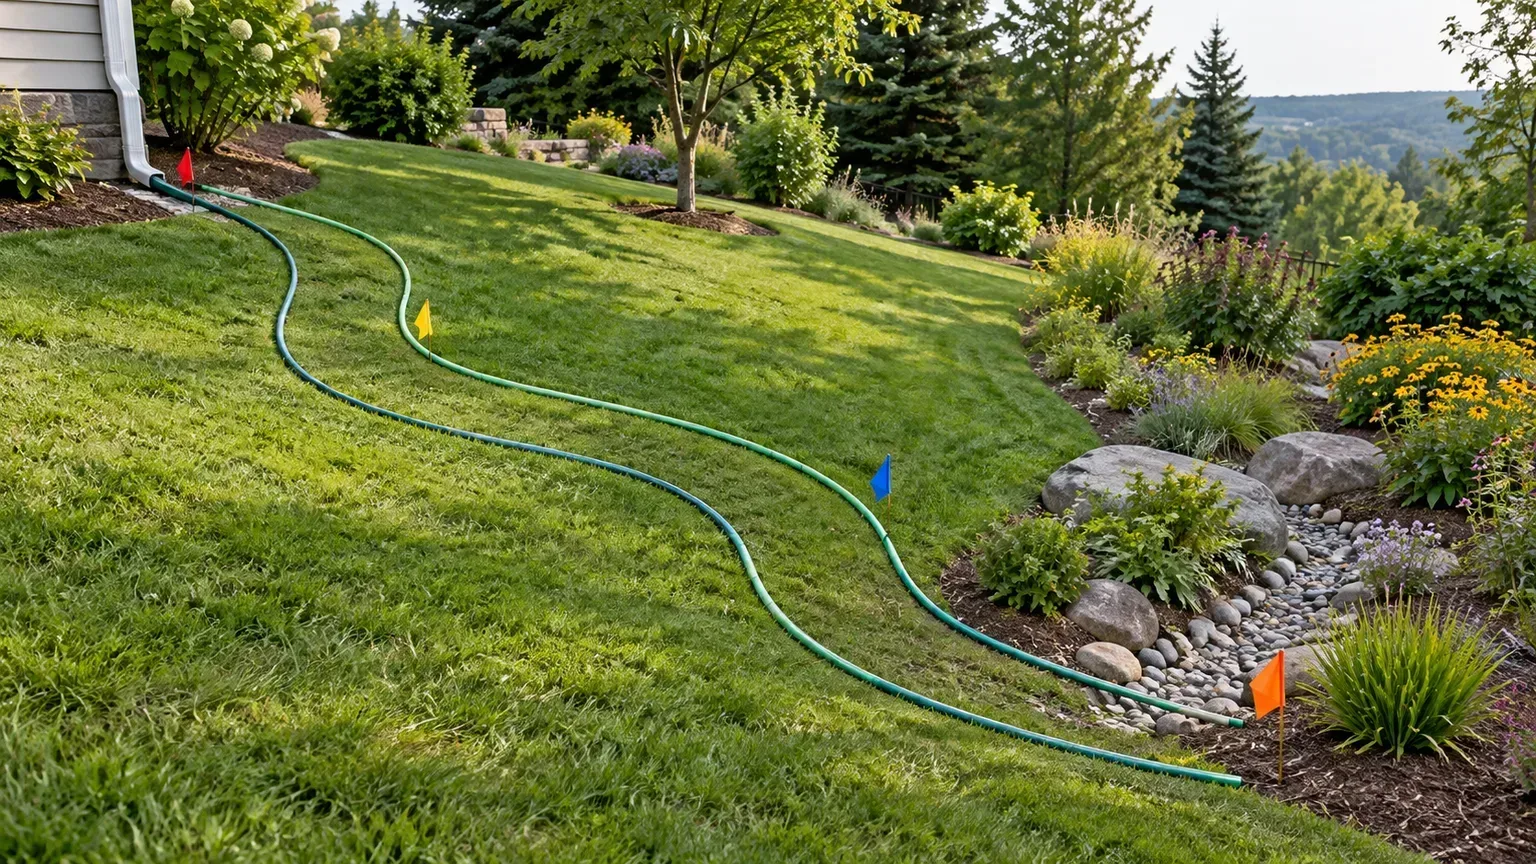
Then take the plan outside. Use a garden hose, rope, or marking paint to outline the proposed patio and paths, and place chairs where they would actually sit. Walk the route carrying a tray or pushing the wheelbarrow. If you have to cut across a bed, squeeze past a door, or take a sharp turn with a load, adjust the plan before ordering material.
This test also reveals whether a path should curve, run straight, or branch. A curve earns its space when it leads around a tree, eases a grade, or reveals a destination gradually. A direct line works better between frequently used doors. Avoid adding curves just to make a small yard look larger; extra length means more paving, more edge restraint, and more surface to maintain.
Connect the Yard With Paths That Feel Natural
A path should link destinations people actually use. Draw the route from the back door to the garden, shed, hose, gate, compost, or seating area, then notice the path people already take. If a shortcut crosses the lawn repeatedly, a formal path can prevent muddy wear—but its alignment should follow the desire line rather than force a longer detour.
For a main route, choose one continuous surface with predictable footing. Stepping stones scattered through grass can work for a lightly used route, but they are slower with a cart, walker, or wheelchair and can become uneven as soil shifts. Loose gravel is inexpensive and permeable, but its rounded pieces move under wheels and shoes; use it where that trade-off is acceptable, not automatically on the route everyone must use.
Use changes in paving to define zones rather than making every area a different material. A consistent field of pavers with a contrasting border can distinguish a patio from a path without making the yard visually busy. Align joints with the direction of travel when you want a path to feel direct, or use a crosswise pattern to slow the eye near a seating area.
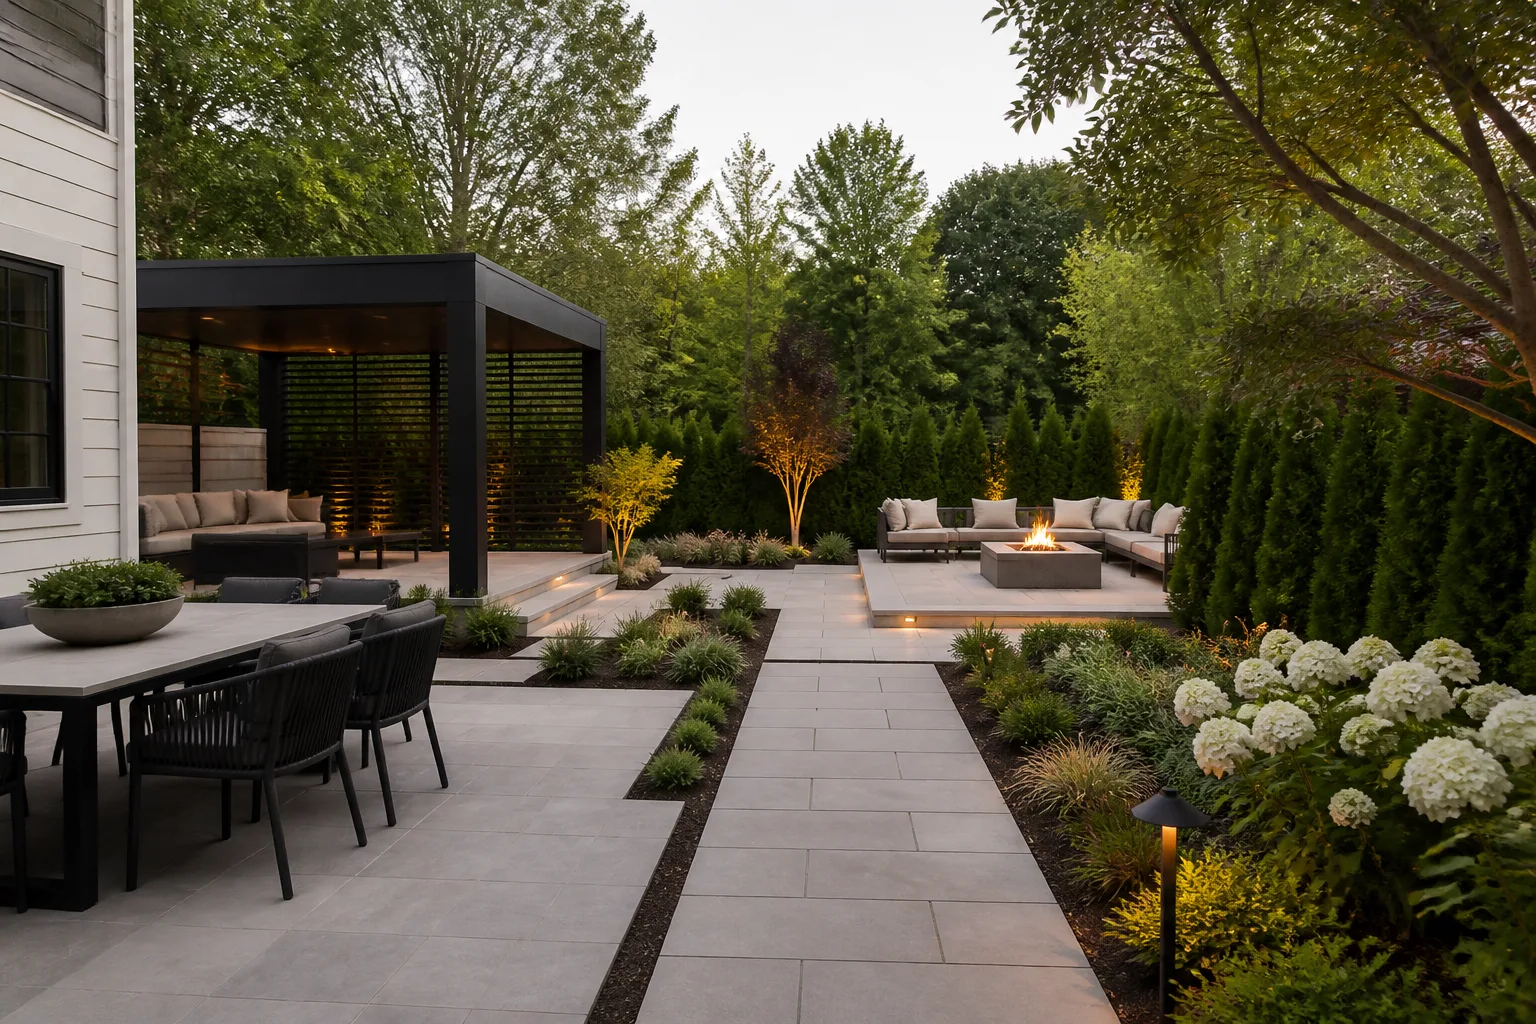
For additional path layouts, see these garden path ideas and affordable DIY garden path options. Treat both as inspiration, then adjust dimensions and surface details to the slope, drainage, and people who will use your path.
Size Patios and Outdoor Rooms for Real Use
Start patio sizing with furniture footprints and clearances, not a generic square footage target. Sketch the table, chairs pulled back from it, grill, planters, and the path from the house. Add enough room to walk behind seated people and to carry dishes without turning sideways. If you expect a gathering, mark the standing space too; a patio that fits chairs on paper can feel cramped when people move around them.
Place the main seating area where it has a comfortable combination of sun, shade, privacy, and a view. A sunny breakfast spot and a shaded late-afternoon retreat may be better as two modest pads than one oversized slab. Where space is tight, one well-shaped patio with a small landing or stepping-stone link can serve more than one function.
Make edges work. A low wall can double as informal seating, a raised bed can separate a patio from a slope, and a narrow planting strip can soften a long fence. A fire feature, fountain, pergola, deck, or outdoor kitchen may anchor a room, but each adds setbacks, utilities, maintenance, and sometimes permit requirements. Confirm local rules before buying a built-in feature or placing one near structures and property lines.
Choose Hardscape Materials by Use, Climate, and Upkeep
Choose materials with a short scorecard: expected load, drainage, traction when wet, sun exposure, freeze-thaw conditions, repairability, maintenance, and installed cost. Get physical samples and view them outdoors beside the house and plants; a color that looks neutral in a store can become glaring under full sun. Ask the supplier how the product is intended to be installed and whether the warranty depends on a particular base, joint fill, or sealer.
Do not compare only the price per paver. The finished cost includes excavation, hauling away soil, base aggregate, bedding material, edge restraint, joint fill, cuts, delivery, and labor. A low-cost surface may need more frequent topping up, while a premium stone can be expensive to repair if the exact color or thickness is no longer available.
Concrete and Concrete Pavers
Poured concrete creates a continuous, firm surface and can be shaped around an unusual footprint. It is a useful choice for a straightforward patio or route where low movement is a priority, but it can crack as the ground shifts or freezes, and patching rarely disappears completely. Color, finish, joints, and curing quality affect both the look and long-term performance.
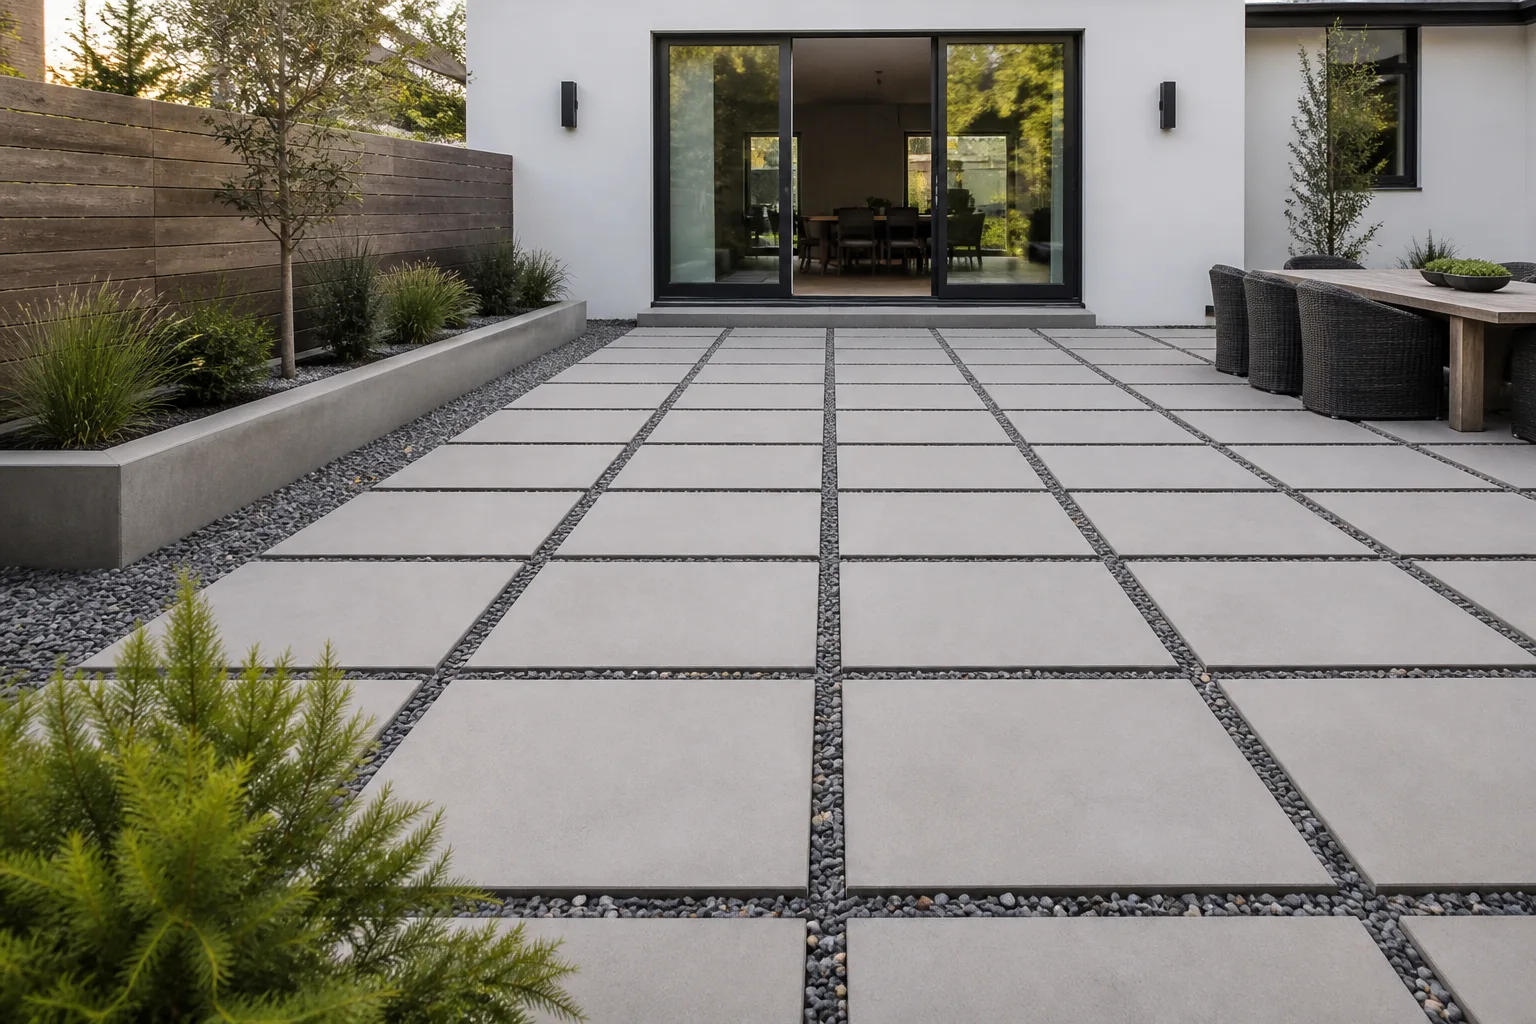
Individual concrete pavers offer more flexibility: a damaged unit can often be lifted and replaced, and small joints can accept permeable joint aggregate if the entire system is designed for drainage. Large slabs create a clean, modern look but need even support; point support or voids below a slab make rocking and cracking more likely. Choose a surface texture intended for outdoor footing, especially near steps or water.
In its garden paving guide, Gardens Illustrated emphasizes a stable sub-base and continuous support beneath slabs instead of small, isolated mortar dabs. That is a useful construction principle, but exact depths and bedding details should come from the chosen product’s instructions and local conditions.
Brick and Clay Pavers
Brick pavers give paths and patios a warm, established appearance and work well with traditional architecture. Their small unit size makes curves and repairs manageable, though the many joints can collect weeds or settle if the base is poorly prepared. For regions with hard freezes, confirm that the specific paver is rated for exterior paving and your climate; ordinary building brick is not automatically suitable for a wet, exposed walkway.
Patterns matter as much as color. Running bond is easy to read along a path, while herringbone can visually lock a surface together when installed with appropriate edge restraint. A contrasting border can frame a patio, but complex patterns increase cutting and labor. A simple pattern often gives a cleaner result and leaves more budget for a sound base.
Natural Stone
Flagstone, bluestone, granite, limestone, and other stones vary widely in texture, porosity, thickness, color, and weathering. Natural edges can make a garden path feel informal, while squared pieces create a more architectural patio. Select stone samples that have the surface finish and thickness you will actually install, and ask whether the material tolerates local winters and de-icing practices.
Irregular stone is not always the best choice for an everyday route. Wide joints and uneven tops can catch a cane tip, trip a visitor, or make a rolling cart difficult to push. For comfort, use consistent thickness and a carefully leveled setting bed; reserve highly irregular pieces for a low-traffic garden path where the footing is intentionally rustic.
Gravel, Decomposed Granite, and Permeable Surfaces
Loose gravel is often the simplest surface to install and can suit informal paths, courtyards, and drainage-friendly areas. It needs edging to keep it from migrating into beds or lawn, and it will require occasional raking and replenishment. Angular gravel tends to lock together more than smooth round stone, but its firmness still depends on particle size, compaction, and the route’s slope.
Decomposed granite and self-binding aggregates contain finer particles that can compact into a more continuous surface. They can feel firmer underfoot than loose gravel, but they may rut or erode where water concentrates and may need periodic grading or replenishment. Stabilizing grids or resin-bound surfaces can create a smoother finish, though each product has its own base, drainage, repair, and cost requirements.
Permeable pavers and porous pavement are systems rather than just surface products. Penn State Extension’s overview of porous and permeable paving describes how rainfall passes through openings or pores and into a prepared stone layer that stores or conveys water; it also notes that those surfaces need maintenance to prevent clogging. A permeable top over a compacted, non-draining subbase will not perform like a permeable system. Read the detailed permeable versus impervious hardscape comparison before choosing a product.
Make Drainage Part of the Design
A dry-looking surface depends on what is beneath it and where water goes after it leaves. Every paved area needs a plan for rainfall: shed it toward a suitable planted area, capture it in a designed drain or basin, or use a permeable system whose soil and base can accept the water. Never solve a puddle by sending concentrated runoff toward a foundation, neighboring property, public sidewalk, or eroding slope.
Set the finished height and slope before construction. A patio beside the house should direct water away from the building, not back toward a door or foundation. Keep paving below vulnerable siding and vents, and check how the new surface meets thresholds, downspouts, window wells, and existing drains. If the yard already floods or groundwater stays high, get a site-specific drainage plan before installing an impermeable patio.
Decide Where Water Can Safely Go
Start at the high point and trace water downhill with a simple sketch. Include roof downspouts, paved areas, lawn, planting beds, drains, and the final outlet. A rain garden, planted swale, or dry creek can slow and spread runoff when the site and soil suit it; a dry creek is a visible landscape feature, not a buried pipe replacement for every drainage problem. See how to build a dry creek bed for landscape drainage for that specific project.
Permeable surfaces are not a universal fix. They need soil that can take infiltration, a correctly sized and graded storage layer, and protection from sediment and fine soil that can clog openings. Penn State Extension notes that larger systems may also use piping, storage tanks, or basins, and that maintenance can include vacuum cleaning. If your soil is heavy clay, the site is steep, the groundwater is shallow, or the paving will carry vehicles, ask a qualified designer or stormwater contractor whether infiltration is appropriate.
Treat Retaining Walls and Level Changes as Structural Work
A retaining wall holds back soil, water, and sometimes the added load of a driveway, building, or slope above it. Its appearance is only one part of the design; the footing, wall system, drainage behind it, soil type, and load all affect stability. A decorative dry-stacked border and a wall supporting a parking area are not the same project.
Use a professional for tall walls, walls close to a house or property line, walls supporting vehicles or structures, unstable slopes, and sites with persistent groundwater. Local codes may require permits, engineering, setbacks, or specific construction details, and those rules vary by location. Do not rely on a generic online height limit to decide whether a wall is safe.
For a modest grade change, a broad planted slope or two lower terraces may be simpler and more natural than one tall wall. If steps are needed, make their location obvious and connect them to a comfortable route. Use a consistent tread and riser pattern, stable edges, and lighting that shows the change in level without glare. On a route intended for people with mobility limitations, consider whether a gentler route can reach the same destination instead of treating stairs as the only option.
Design Paths for Comfort and Access
Ask the people who will use the garden what makes a route comfortable for them. A person using a wheelchair or walker may need firm, stable, slip-resistant paving, room to turn, and regular places to rest; someone with low vision may prefer simple path geometry, clear edges, and consistent landmarks. Gardens Illustrated’s accessible garden guidance emphasizes asking users what works for them and choosing surfaces and layouts around those needs.
For a practical home route, a clear width around 4 feet gives more room for one person to walk alongside a mobility device or pass a garden cart than a narrow stepping-stone path. The same design source suggests domestic paths at least 1.2 meters wide and wider paths where passing is needed; treat this as professional design advice, not a universal code. At turns, gates, seating areas, or destinations, widen the route enough to maneuver rather than keeping one narrow width throughout.
For facilities covered by the ADA, the U.S. Department of Justice’s 2010 Standards for Accessible Design generally require an accessible walking surface to be stable, firm, and slip resistant, with a 36-inch minimum clear width and limits on running and cross slopes. Those are legal standards for covered settings, not a blanket code for every private yard; local and state requirements may also apply. If the route serves a public or commercial space, have the design checked against the rules that apply to that site.
Sequence Installation and Decide What to Hire Out
A well-built surface starts below grade. Before excavation, call 811 or use your state’s online locate request; the official Before You Dig guidance says buried utilities can be shallow and should be located before digging, even for small projects. One-call centers coordinate marks for participating utility-owned lines, but owner-installed systems such as sprinkler pipes, landscape-lighting cable, or a line to a shed may need a separate private locator; check your state center’s rules before assuming an unmarked area is clear, as New Mexico 811 explains for homeowners. Confirm property lines and local permit requirements too, especially for fences, walls, driveways, lighting, or work near drainage easements.
A small, low-traffic paver path on nearly level, well-drained ground may be a manageable DIY project for someone comfortable with excavation and compaction. A large patio, vehicle surface, steep slope, wall, engineered permeable system, drainage outlet, or accessible public route has more failure points; get a written scope from a qualified contractor or designer. Ask bidders to explain excavation depth, base material and compaction, bedding, edge restraint, joint fill, drainage direction, cleanup, and how settling or repairs will be handled. Comparing those details is more useful than comparing a single square-foot price.
The Basic Order for a Small Paver Path
For a simple pedestrian path, the work generally follows this order, but the exact depth and products depend on the pavers, soil, climate, and expected load. Use the paver manufacturer’s installation instructions and local construction guidance rather than copying one base depth from an unrelated project.
- Mark the route, set its finished height, and confirm where surface water will go.
- Call 811 and resolve utilities, permits, and access before digging.
- Excavate enough for the paving units, bedding layer, and compacted base system; remove soft or organic material rather than covering it.
- Grade and compact the subgrade, then install and compact the specified base in manageable lifts.
- Add a consistent bedding layer, set the pavers, and maintain even joints and surface levels.
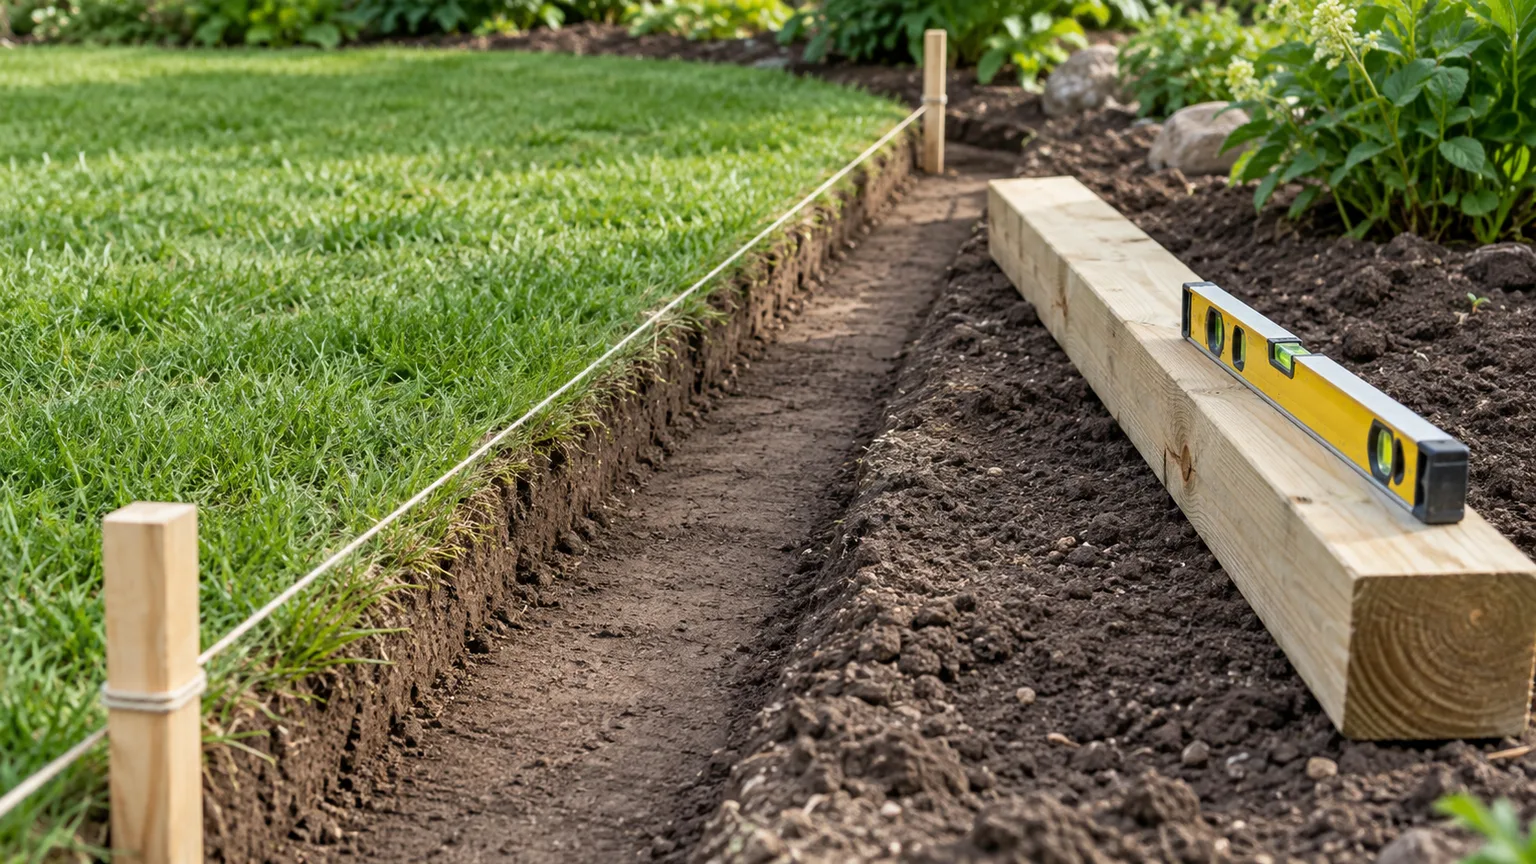
- Install secure edge restraint, fill joints with the specified material, compact as the system requires, and recheck drainage after water is applied.
Do not place pavers directly on loose topsoil or skip edge restraint because the path looks small. Soil compresses and shifts, and rain can wash bedding out from the sides. For an accessible route, also verify that joints, edges, transitions, and slopes remain comfortable when the surface is wet and after seasonal movement.
Common Hardscaping Mistakes to Avoid
- Buying materials before resolving drainage. A new patio can make a familiar puddle larger or redirect it toward the house. Decide the outlet and finished elevations before ordering.
- Paving more than the use requires. Oversized hardscape costs more, removes soil that can absorb water, and can leave the yard hotter and less inviting. Keep useful planting space in the plan.
- Treating a permeable product as a complete drainage system. The base, soil, slope, and maintenance all contribute to performance. Ask how the system handles overflow and what happens during very heavy rain.
- Ignoring the user’s footing. Loose stones, irregular slabs, slick finishes, and abrupt lips may be fine for a decorative corner but poor for a frequently used route. Match surface stability and joint detail to the people and equipment using it.
- Choosing a wall by appearance alone. A retaining wall that lacks drainage or support can shift, bulge, or fail. Respect site loads and get design help before building against a slope or structure.
- Forgetting access during construction. Narrow gates, protected trees, and no place to store excavated soil can add time and cost. Plan the route for equipment and materials before confirming the quote.
- Skipping maintenance in the material decision. Gravel needs topping up, porous joints can clog, and concrete may crack. Choose the surface you can maintain, not just the one that looks best on installation day.
Conclusion
Strong hardscaping design begins with how you move, gather, work, and manage water in the yard. Map the site, test the layout at full scale, and choose each surface for its real use, climate, drainage behavior, maintenance needs, and the people who need to move across it.
Keep the project modest where a simple route or sitting area will do, and bring in qualified help for walls, difficult grades, drainage systems, or regulated accessible routes. A thoughtful plan will look more cohesive because the paths, patios, edges, and planted areas solve the same set of problems together.



