How to Grow Vegetables in a Home Garden
Learn how to grow vegetables with a site-and-soil checklist, crop timing, seed choices, a practical watering rhythm, and harvest advice tailored to your climate.

A productive vegetable garden starts with a fit between the crops you want to eat and the light, soil, season, and time you can offer. A few well-tended plants often give a more useful harvest than a large plot packed with crops that ripen all at once or need care you cannot keep up with.
Plan from the site outward: observe sunlight and drainage, choose a manageable layout, then select crops and planting dates that match your region. Once plants are established, steady moisture, regular scouting, and timely harvests matter more than buying a long list of products.
Plan for the food and time you will actually use
Begin with the meals you want to cook, not a seed catalog. List vegetables your household eats regularly, then add one or two experiments; this keeps the first garden interesting without filling it with crops that will be wasted if everyone dislikes them. The RHS recommends planning around favorites, available space, harvest timing, and how much produce you can use, a practical way to avoid overplanting.
Next, be honest about your schedule. Tomatoes, cucumbers, and summer squash reward frequent picking, while a small patch of leafy greens can be harvested a little at a time; perennial crops such as asparagus need a longer establishment period before they pay off. A daily five-minute visit is useful during seedling establishment and peak harvest, but a garden that requires an hour of maintenance every evening is a poor match if you can only check it on weekends.
For a first season, choose three to six crops with different jobs: one leafy green, one quick root crop, one easy-to-pick bean, and a fruiting crop such as a tomato or pepper if your site gets enough sun. Grow a small quantity of each, note which ones thrive, and expand next year based on what you actually harvested. The National Gardening Association’s vegetable garden planning guide also emphasizes starting at a manageable scale and choosing crops you like.
Find a site with the right light, water, and airflow
Sun is usually the first limit to check. Many vegetables produce best with six to eight hours of direct sunlight, while fruiting crops such as tomatoes, peppers, cucumbers, and squash generally benefit from the sunnier end of that range; lettuce, spinach, and some other leafy crops can still grow with partial shade. NC State Extension’s home vegetable gardening guide gives crop-specific light expectations, including a higher target for fruiting plants than for leafy greens.
Map the proposed garden on a clear day during the growing season. Check the spot in the morning, around midday, and late afternoon, and record whether the light is direct, dappled, or blocked; tree canopies, fences, and buildings can cast longer shadows later in summer than they do in early spring. If your yard only has a few hours of sun, dedicate that brightest area to tomatoes or peppers and put leafy greens where they will get morning sun or filtered afternoon light.
For a first garden, GrowVeg’s planning checklist is a useful reminder to observe the site and choose a manageable space before buying seeds. A quick sketch of sunny areas, paths, and a nearby water source can prevent a promising plan from becoming awkward to maintain.
Air movement matters, but exposure to strong wind does not help tall plants. Avoid a low pocket where water stands after rain, and place the bed where you can run a hose without dragging it across the yard. A convenient site is easier to water and inspect, which makes small problems less likely to go unnoticed.
Choose a garden style you can reach and maintain
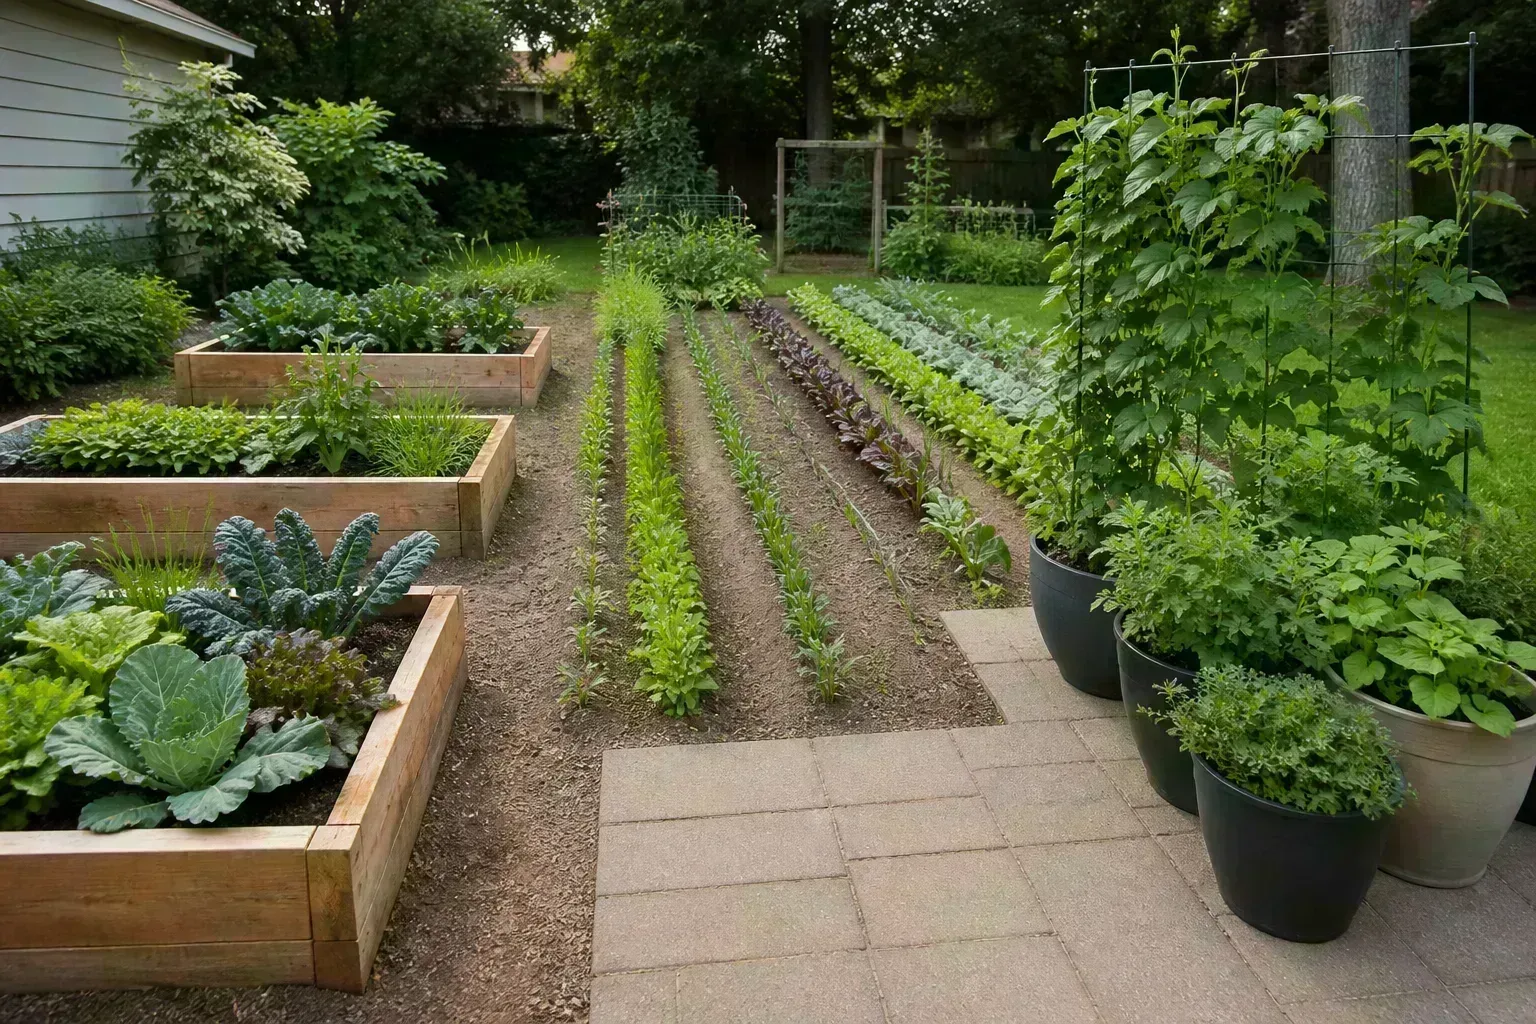
An in-ground bed is usually the least expensive option when the native soil drains and can be improved. Raised beds can help where soil is compacted, shallow, poorly drained, or difficult to reach; they warm earlier in spring, but their soil can dry faster, so expect more frequent watering. Containers make vegetables possible on a patio or balcony, but use a pot with drainage holes and a loose container mix rather than dense garden soil, and choose a container large enough for the mature plant.
A small bed can produce a meaningful amount when crops are spaced well and the growing area is not repeatedly stepped on. A four-by-eight-foot bed is a useful starting footprint for many households, while a few large pots are easier if the only sunny area is a patio. Keep beds narrow enough to reach from the sides and plan paths before planting; tramping through the growing soil compacts it and makes later weeding and harvesting harder.
Use trellises for climbing beans and cucumbers if you want to save ground space, but anchor them before vines become heavy. A trellis changes where the shade falls, so put it where it will not block low crops. For examples of rows, beds, trellises, and paths, see the LeafyPixels guide to vegetable garden layouts.
Prepare soil from a test, not guesswork
Vegetables need soil that holds enough water and nutrients while leaving air around roots. Many crops grow well in fertile, well-drained soil with a slightly acidic pH, but the right amendment depends on what is already there; adding lime, sulfur, or fertilizer without a soil test can move the soil in the wrong direction. Ask your local Cooperative Extension service how to submit a sample and use its recommendations for the crops and soil in your area.
Add finished compost to improve structure and support soil life, but do not treat compost as a magic fix for drainage or every nutrient problem. If water remains on the surface for hours, consider a raised bed, a different garden site, or a drainage improvement before planting; repeatedly adding fertilizer will not make waterlogged roots breathe. Sandy soil dries quickly, while heavy clay holds water longer, so the same irrigation schedule will not fit both.
Wait until wet soil crumbles rather than smears before digging or tilling. Working saturated soil squeezes its structure into dense clods that roots struggle to penetrate. In a container, use a potting mix formulated for outdoor containers instead of scooping in yard soil, which can settle, compact, and drain poorly in a confined pot.
Match crops to the season and your climate
Most annual vegetables fit into two broad groups. Cool-season crops such as peas, spinach, lettuce, radishes, carrots, broccoli, and kale grow best in cool weather and can often be planted before the final spring frost, while warm-season crops such as beans, corn, cucumbers, peppers, squash, and tomatoes need warmer soil and must be protected from frost. Those are broad categories: each crop and variety has its own timing and temperature tolerance.
Use your local planting calendar, average frost dates, seed packet, and actual soil conditions together. A hardiness zone describes typical winter lows for perennial survival; it does not tell you whether a tomato bed is warm enough to plant this week. For fall crops, count backward from the expected first frost using the “days to maturity” on the packet, then allow extra time because shorter autumn days slow growth.
A useful strategy is to plant cool-season greens early, follow them with a warm-season crop after the soil warms, then sow quick greens or radishes again in late summer if your fall is long enough. The RHS vegetable-growing basics and NC State’s planting calendar resources show why local dates and crop groups are more reliable than a single national “planting day.” For a month-by-month starting point, use the LeafyPixels guide to when to start planting a garden.
Choose seed or transplant for each crop
Direct sowing works well for crops that germinate quickly or dislike root disturbance, including beans, peas, carrots, beets, and radishes. You also get more variety from seed and can plant in small batches. Root crops are especially poor candidates for being moved after their taproots start developing, so sow them where they will mature.
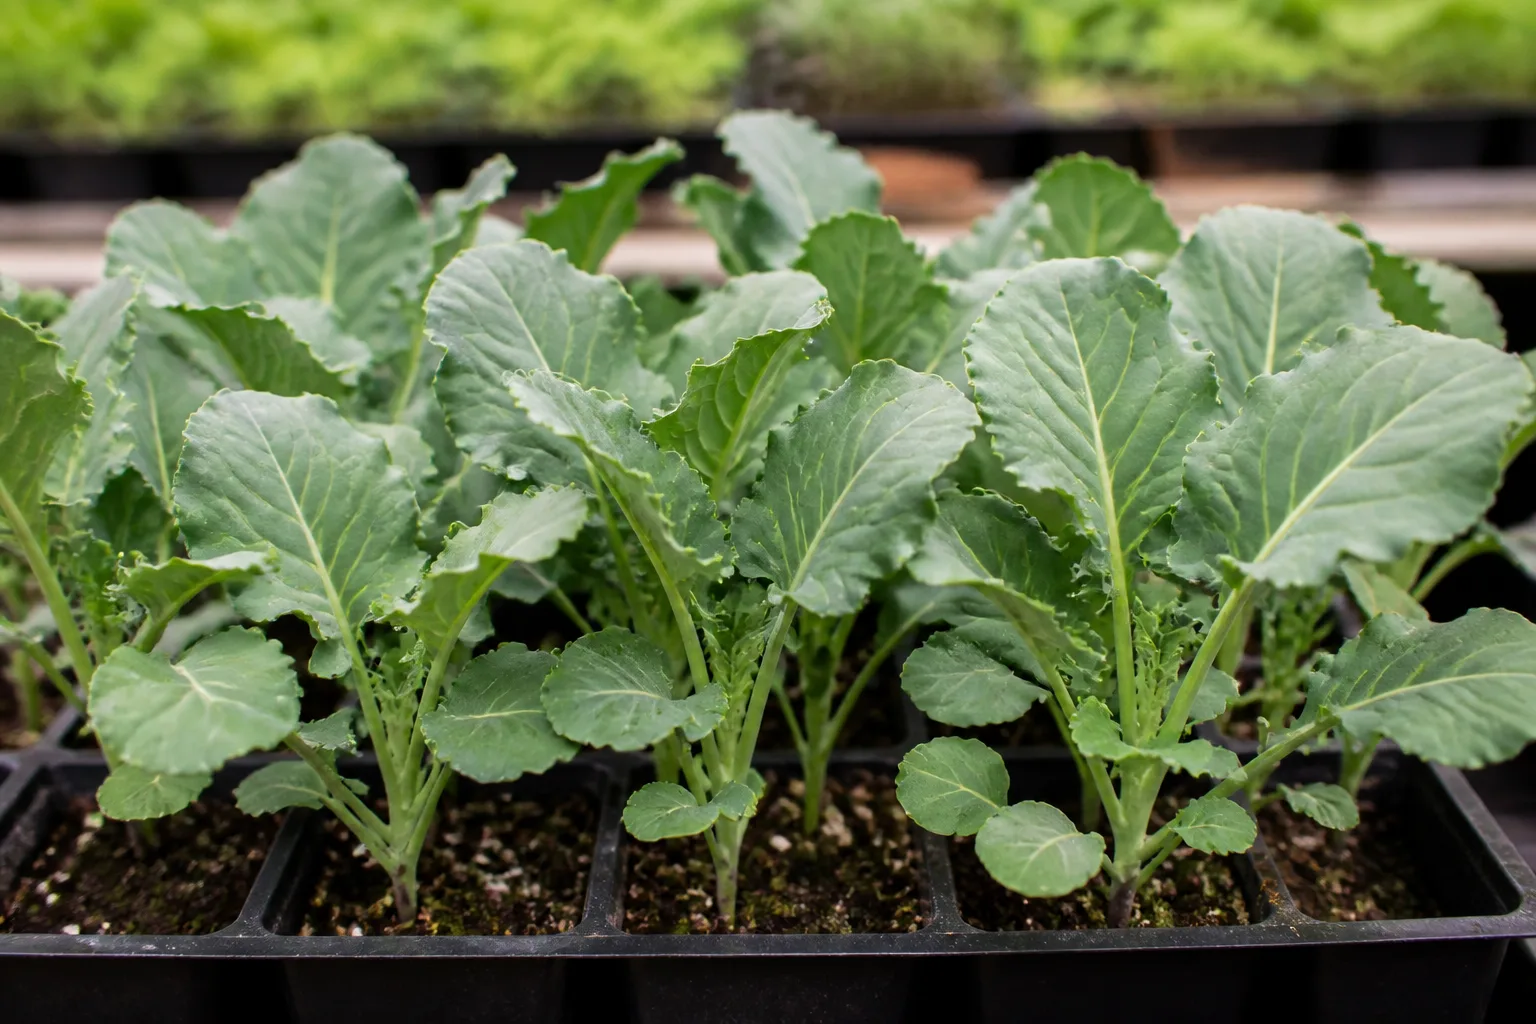
Transplants give slow-growing or heat-loving crops a head start when the outdoor season is short. Tomatoes, peppers, eggplants, and many brassicas are commonly started indoors or bought as young plants, while beans and peas usually grow well from direct-sown seed. Cucumbers and squash can be started indoors, but their roots dislike disturbance; use a biodegradable pot or wait until the soil is warm enough to sow outside.
If you raise seedlings indoors, give them bright light and avoid keeping them in a warm, dim windowsill where they stretch. Gradually expose them to outdoor sun and wind over about a week before planting; this hardening-off period reduces transplant shock. Set most transplants at the same depth they grew in their pots, following the tag for any crop-specific exception.
Plant at the right time, depth, and spacing
Follow the seed packet or plant label for depth and spacing because seed size, variety, and mature plant habit differ. When no better instruction is given, a common starting rule is to cover a seed to a depth roughly two or three times its diameter; very small seeds may need light to germinate and should sit at or near the surface. Firm the soil gently after sowing so the seed contacts moist soil, then water with a soft spray that will not wash it away.
Planting too close seems efficient on day one, but crowded leaves shade each other, compete for water, and stay damp longer after rain. Leave the recommended spacing even when seedlings look tiny, then thin a row promptly when seedlings emerge; you can often eat the thinnings from lettuce, beets, or radishes. If you plant in wide beds, keep paths wide enough to work without stepping between the plants.
Keep a short planting record with crop, variety, date, and location. If a row fails, that record helps you distinguish bad seed, planting too early, and uneven moisture from a general problem with the whole garden. A notebook also keeps you from sowing a slow crop in a space you will need for another planting.
Water where roots can use it
A common starting estimate is about one inch of water per week from rain and irrigation combined, but it is not a fixed schedule. Heat, wind, soil texture, mulch, plant size, and whether a crop is flowering or forming fruit all change how quickly the bed dries. NC State Extension uses this weekly average as a planning reference and recommends checking soil moisture rather than watering by habit.
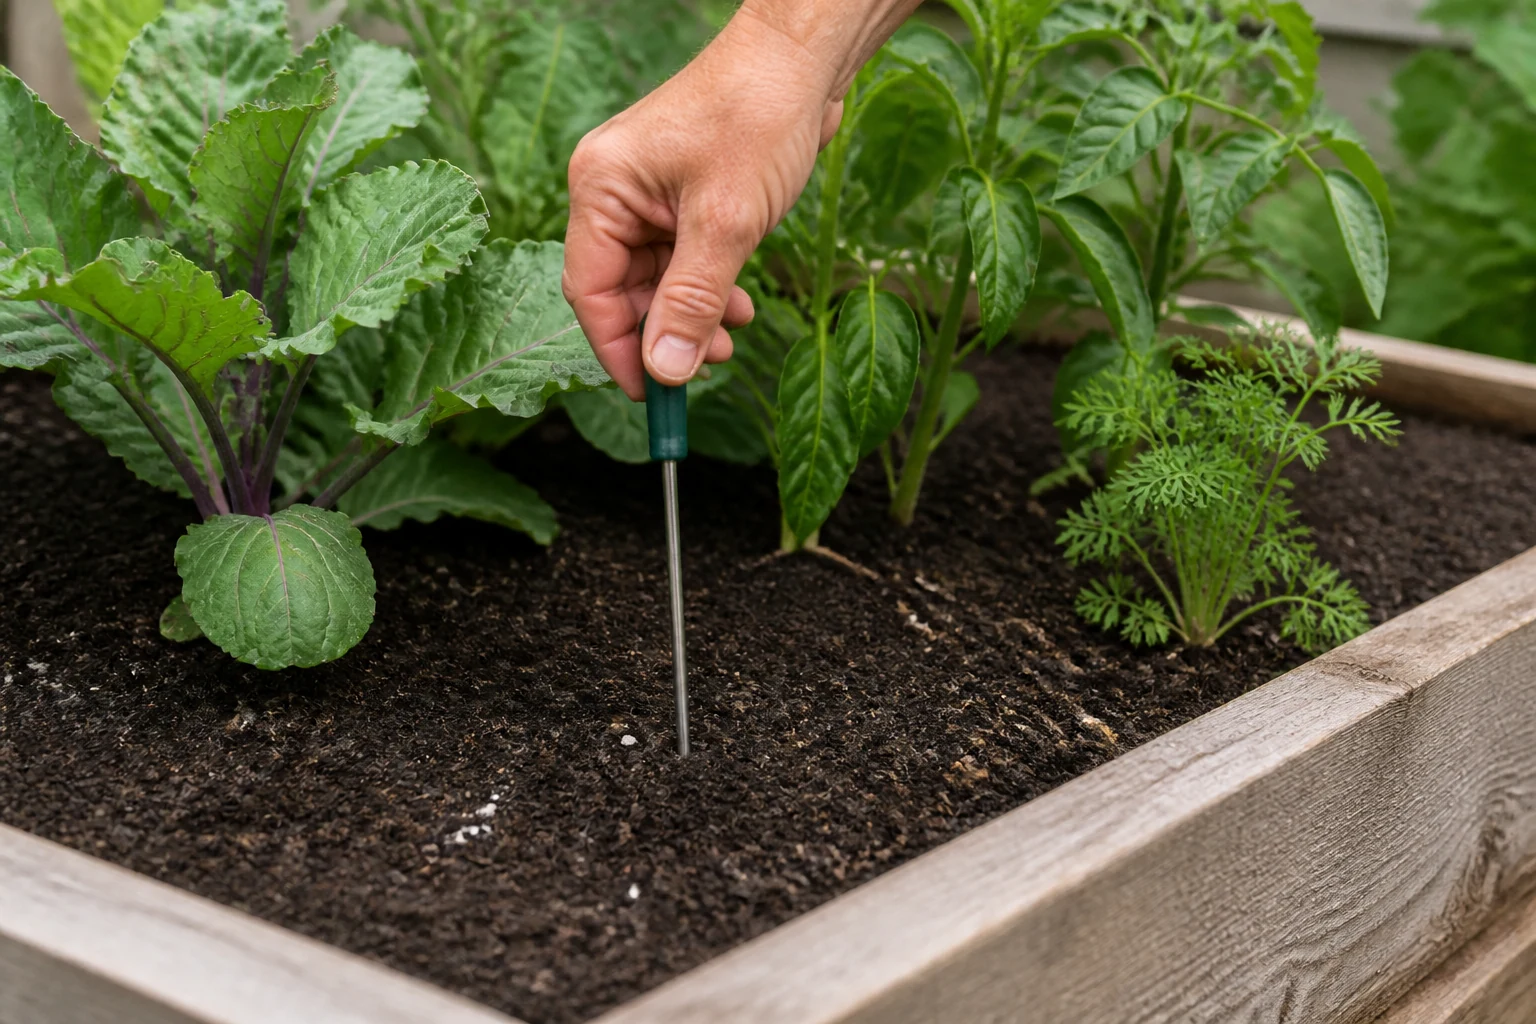
Water slowly at the base of plants so moisture reaches the root zone instead of wetting leaves and running off a dry surface. For established plants, push a finger or trowel a few inches into the soil; water if that root area is dry, and pause if it is still cool and moist. New seeds and transplants need more frequent checks because their roots are shallow, while mature plants often do better with a deeper soak followed by a short interval before the next watering.
Containers and raised beds can dry much faster than an in-ground bed, especially in hot or windy weather. Check them more often during heat waves, and make sure excess water can drain from the bottom rather than collecting around roots. A soaker hose or drip line makes it easier to water consistently without splashing foliage; see the LeafyPixels guide to watering a vegetable garden for a deeper schedule and moisture checks.
Feed, mulch, and weed with restraint
Fertilizer should correct a need, not serve as a substitute for diagnosing one. Start with soil-test recommendations and use the crop label for any additional feeding; too much nitrogen can produce large leafy plants with fewer flowers or fruits, and nutrients washed from the garden can become runoff. If growth is pale or slow, first check light, soil moisture, temperature, crowding, and roots before adding a nutrient product.
A layer of organic mulch helps slow evaporation, suppresses small weeds, and keeps soil from splashing onto leaves. Apply it after the soil has warmed in spring, keep it from piling against stems, and use clean material such as shredded leaves or straw that has not been treated with herbicide. Thick mulch on cold spring soil can delay warming, while too little mulch leaves bare ground open to weeds and rapid drying.
Pull or hoe weeds while they are small, before they set seed. A brief weekly pass is easier than clearing a dense patch after weeds have competed with seedlings for light and water. For a more focused guide to weed suppression and mulch choices, see how to keep weeds out of a vegetable garden.
Scout for pests and disease before reaching for a spray
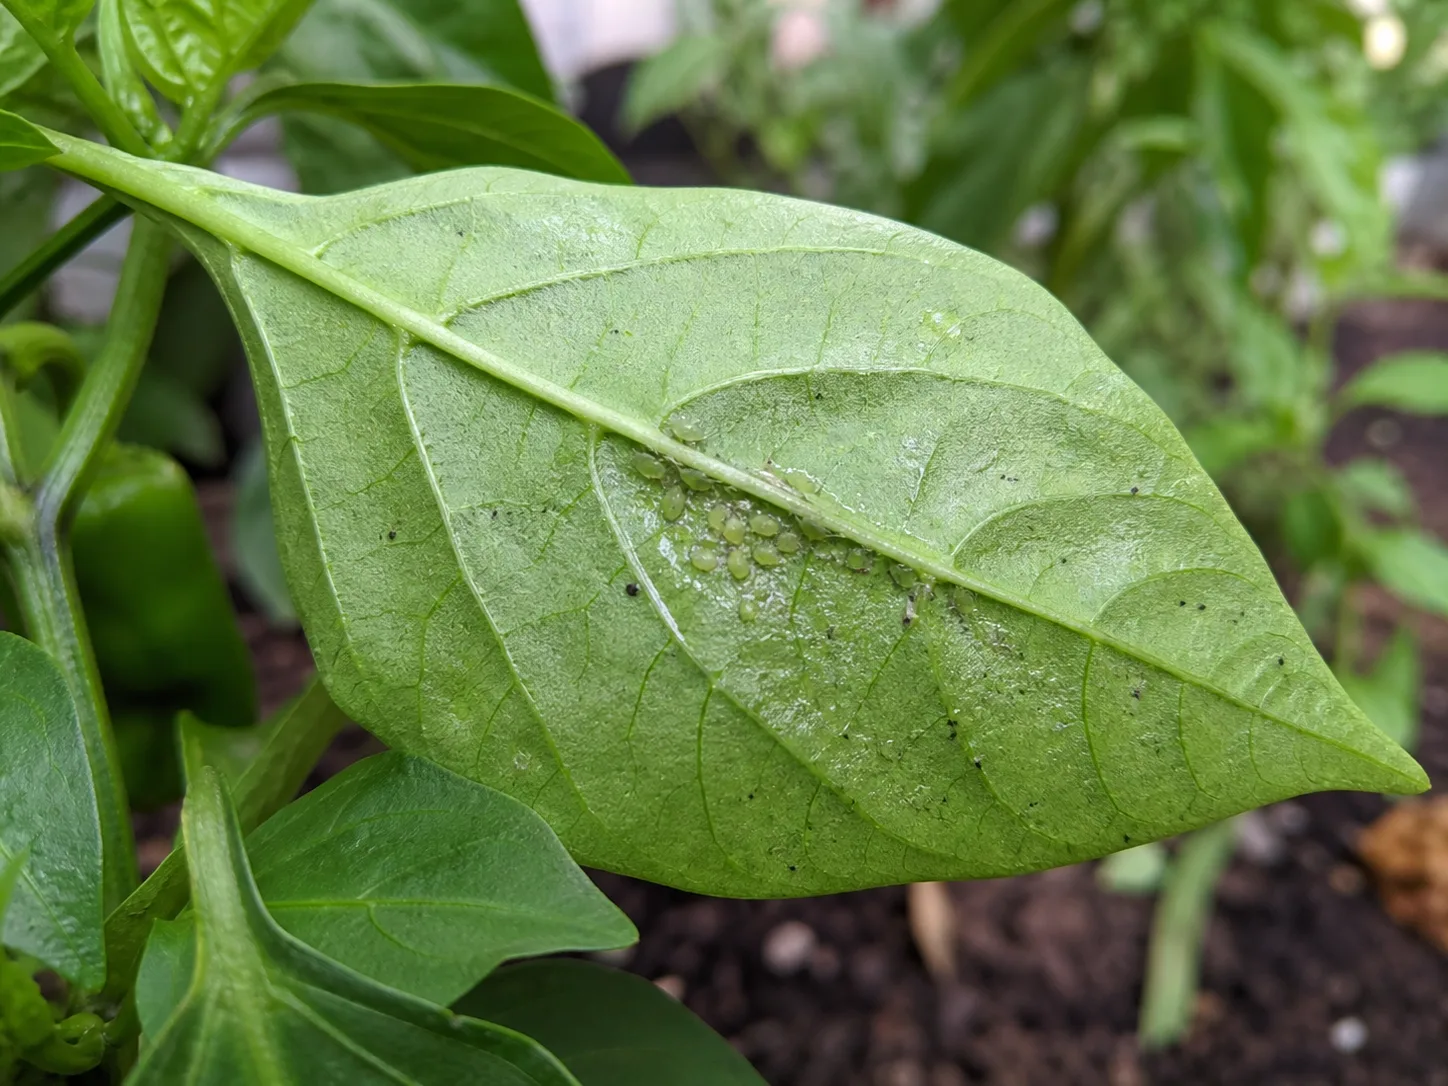
Walk through the garden every few days and look at the top and underside of leaves, stems, new growth, and developing fruit. Early signs can include chewed edges, sticky residue, clusters of insects, spots that spread after rain, or a sudden wilt; note which plants are affected and whether the damage is increasing before deciding what to do. A single damaged leaf does not always mean the plant needs treatment.
Use several small protections before relying on pesticides: choose resistant varieties, give plants enough airflow, water at the soil line, remove badly diseased leaves, and place floating row cover over vulnerable crops before insects arrive. Row covers may need to be removed when a crop needs pollinators, or temporarily opened for access, so learn the crop’s flowering needs. Rotate related crops between beds where possible, and clear diseased plant debris rather than leaving it to carry problems into the next season.
Identify a pest or disease before applying any product. For a pesticide, follow the product label exactly and check whether it is approved for the edible crop, pest, harvest interval, and pollinators involved; never spray flowering crops casually. NC State Extension’s vegetable resources link to crop-specific pest and disease references when a broad garden guide is not enough.
Use supports and weather protection when they solve a problem
Cages, stakes, and trellises keep sprawling or heavy plants upright and can lift fruit away from wet soil. Install supports while plants are small so you do not stab established roots later, and secure tall supports against wind before a vine fills them. Bush varieties need less structure than indeterminate tomatoes or pole beans, so check the plant label before building a complicated system.
Row covers, cold frames, and shade cloth can extend the season, but they solve different problems. A light row cover can reduce frost exposure or block certain pests, while shade cloth can reduce harsh afternoon heat for crops that struggle during a heat wave; neither makes an unsuitable season disappear. Vent covers on warm days and remove protection when it traps too much heat, blocks pollinators, or rubs against foliage.
Keep beds productive with succession and rotation
Succession planting means sowing a small amount of a quick crop repeatedly rather than planting the entire bed at once. For example, sow a short row of lettuce or radishes every week or two while temperatures suit them, then stop when the crop will no longer mature well in the coming heat or frost. This spreads harvests out and makes it easier to use what the garden produces.
When a crop finishes, clear the space and plant something that fits the next part of the season. A bed of spring radishes might give way to beans, while a spent summer bed can hold fall greens if there is enough time before frost. The RHS describes intercropping and “catch crops” as ways to use open space between slower crops; keep plants spaced and leave room to reach them.
Rotation is different from succession. Move crops from the same botanical family to a different bed in later seasons where space allows, especially tomatoes, peppers, eggplants, and potatoes, which share a family and some pest or disease risks. A three- or four-year rotation is a useful goal for a multi-bed garden, but a small patio gardener may have to focus instead on clean containers, fresh growing mix, healthy transplants, and removing plant debris. The National Gardening Association’s vegetable garden planning guide explains how crop families and staggered planting fit into a season-long plan.
Harvest at the right stage
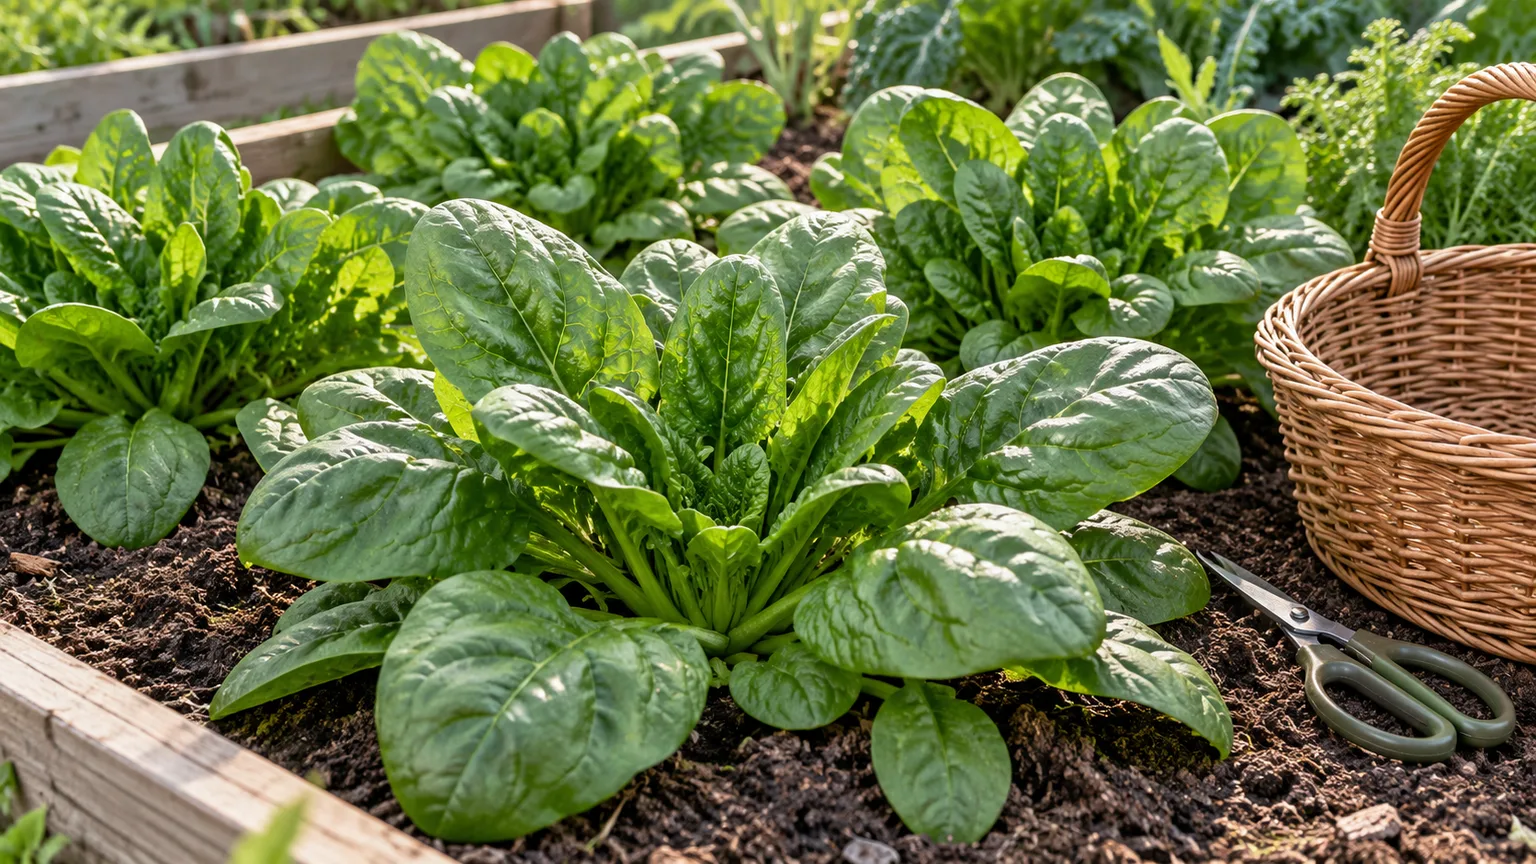
Use the packet or variety guide for expected maturity, but judge the crop itself before picking. Snap beans are best while pods are firm and still tender; cucumbers and summer squash are usually more productive when picked before they become oversized; leafy greens can be harvested leaf by leaf or cut as a small bunch. Picking frequently keeps ripe produce from sitting on the plant and helps you notice when a crop is ready.
Harvest in the cooler part of the day when convenient, use clean scissors or pruners for stems that resist snapping, and avoid tearing branches off the plant. If a leafy crop is meant to regrow, leave the growing point intact; if you need the whole plant, harvest it cleanly and use the space for another crop. For crop-specific timing, see LeafyPixels guides to harvesting lettuce and harvesting spinach.
Diagnose low yields by checking limits in order
When plants grow leaves but little produce, do not assume they need fertilizer. Start with the most limiting conditions: count direct-sun hours, check whether temperatures are appropriate for the crop, examine soil moisture and drainage, then look for crowding, pest damage, or flowers that are not setting fruit. Correct one likely cause at a time so you can tell which change helped.
A tomato that grows vigorously but barely flowers may have too much shade, excessive nitrogen, or heat stress during bloom. A root crop that produces leaves but poor roots may have been crowded, sown too late, or planted into compacted soil; a wilted plant in wet soil may have root damage rather than a need for more water. The symptoms overlap, so compare several clues and use a local extension diagnosis service if a spreading disease is involved.
If seedlings fail to emerge, check seed age, planting depth, soil temperature, and whether the bed dried out or flooded after sowing. If containers dry by afternoon, increase pot volume, group them away from wind, or add a reliable watering system instead of blaming the variety. For recurring tomato problems, the guides to tomatoes with leaves but no fruit and common vegetable overwatering mistakes offer crop-specific checks.
Use a simple first-season plan
Before planting, spend one clear day mapping sun and choose a water source you can reach. Pick a bed or a few containers small enough to tend, decide what you will eat, and check your local Cooperative Extension planting calendar for dates that fit your area rather than copying a schedule from another climate.
Prepare the growing space after soil is workable, use a soil test to guide amendments, and set out just a handful of crops. Direct-sow quick crops such as beans, radishes, or lettuce when conditions fit; use healthy transplants for crops that need a head start. Write the crop name, variety, and date on a label so you can learn from what happens.
For the first month, check moisture and seedlings every day or two, remove weeds while they are small, and inspect leaves for early damage. As crops mature, harvest often, clear finished plants, and plant another quick crop only if the remaining season gives it time to grow. Keep a short record of what thrived, what was eaten, and what took more work than it was worth.
Conclusion
The most reliable way to grow vegetables is to match a manageable set of crops to the sun, soil, season, and time you have. Start small, follow local planting guidance, water according to the root zone, and adjust when the plants show you what they need. A garden journal turns one season’s surprises into a better plan for the next.



