Houseplant Care: Light, Water, Soil, and Common Pests
Learn practical houseplant care for light, water, humidity, soil, repotting, pests, and seasonal shifts, with checks that fit each plant and room at home.
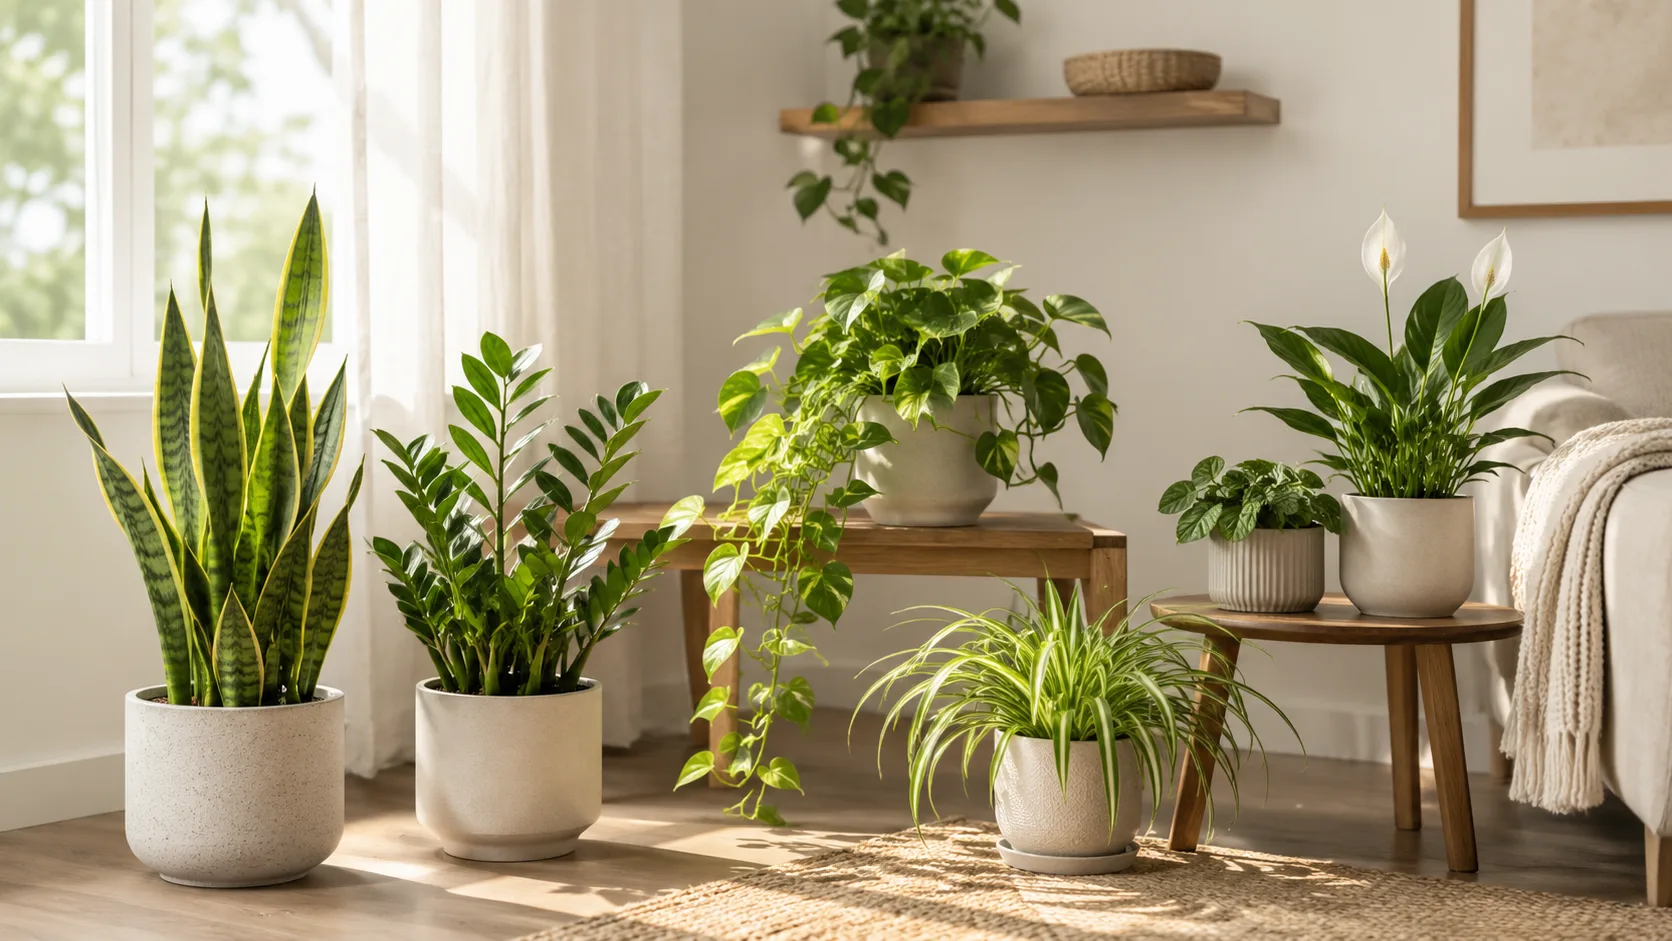
A thriving houseplant is less about keeping a strict schedule and more about matching its needs to the conditions in your home. A plant in bright light can use water quickly in a warm room; the same plant may stay wet for days after winter light drops. Your routine should respond to those changes instead of asking every pot to follow the same calendar.
Start with a sequence: choose a plant that fits the light you actually have, use a pot and mix that keep roots both moist and oxygenated, check moisture before watering, then adjust when growth or conditions change. This guide covers those choices, plus humidity, feeding, repotting, common symptoms, pests, and seasonal care.
Choose a plant for the room you have
Before buying a plant, observe the room for a day. Note which windows receive direct sun, how far the intended shelf is from the glass, whether a curtain or tree shades it, and if the room runs hot or cool. “Bright room” is not a useful measure by itself: the same room can have intense sun on a sill and dim light several feet away.
Then match the plant to that spot and to the attention you can give it. A snake plant or many pothos cultivars can tolerate less frequent watering than a thirsty fern; a flowering plant may need stronger light than a foliage plant. “Low-light tolerant” means a plant can persist in less light than many others, not that it can grow well in a windowless room. If you love a plant that needs more light than your home provides, consider a grow light before buying it rather than hoping a dark corner will work.
A BBC Gardeners’ World guide to philodendrons shows how much care can vary even within one familiar plant group: some species prefer to dry between waterings, while others need different humidity or light. Treat the plant label as a starting point, then confirm the care needs of the species or cultivar you actually bring home.
For a first plant, choose one with a clear identity and a care label you can verify. Keep it in its nursery pot for a few weeks while you learn how quickly its mix dries. That gives you time to spot pests and observe growth before adding the extra stress of repotting.
Read the light before you choose a spot
Light strength changes with window direction, season, cloud cover, glazing, and distance from the glass. In general, a bright window can support a wider range of plants; a room with filtered light may suit many foliage plants; and a distant interior spot is suitable only for plants known to tolerate lower light. These are starting categories, not guarantees. The Northern or Southern Hemisphere changes which windows receive the strongest sun, and nearby buildings or trees can matter as much as compass direction.
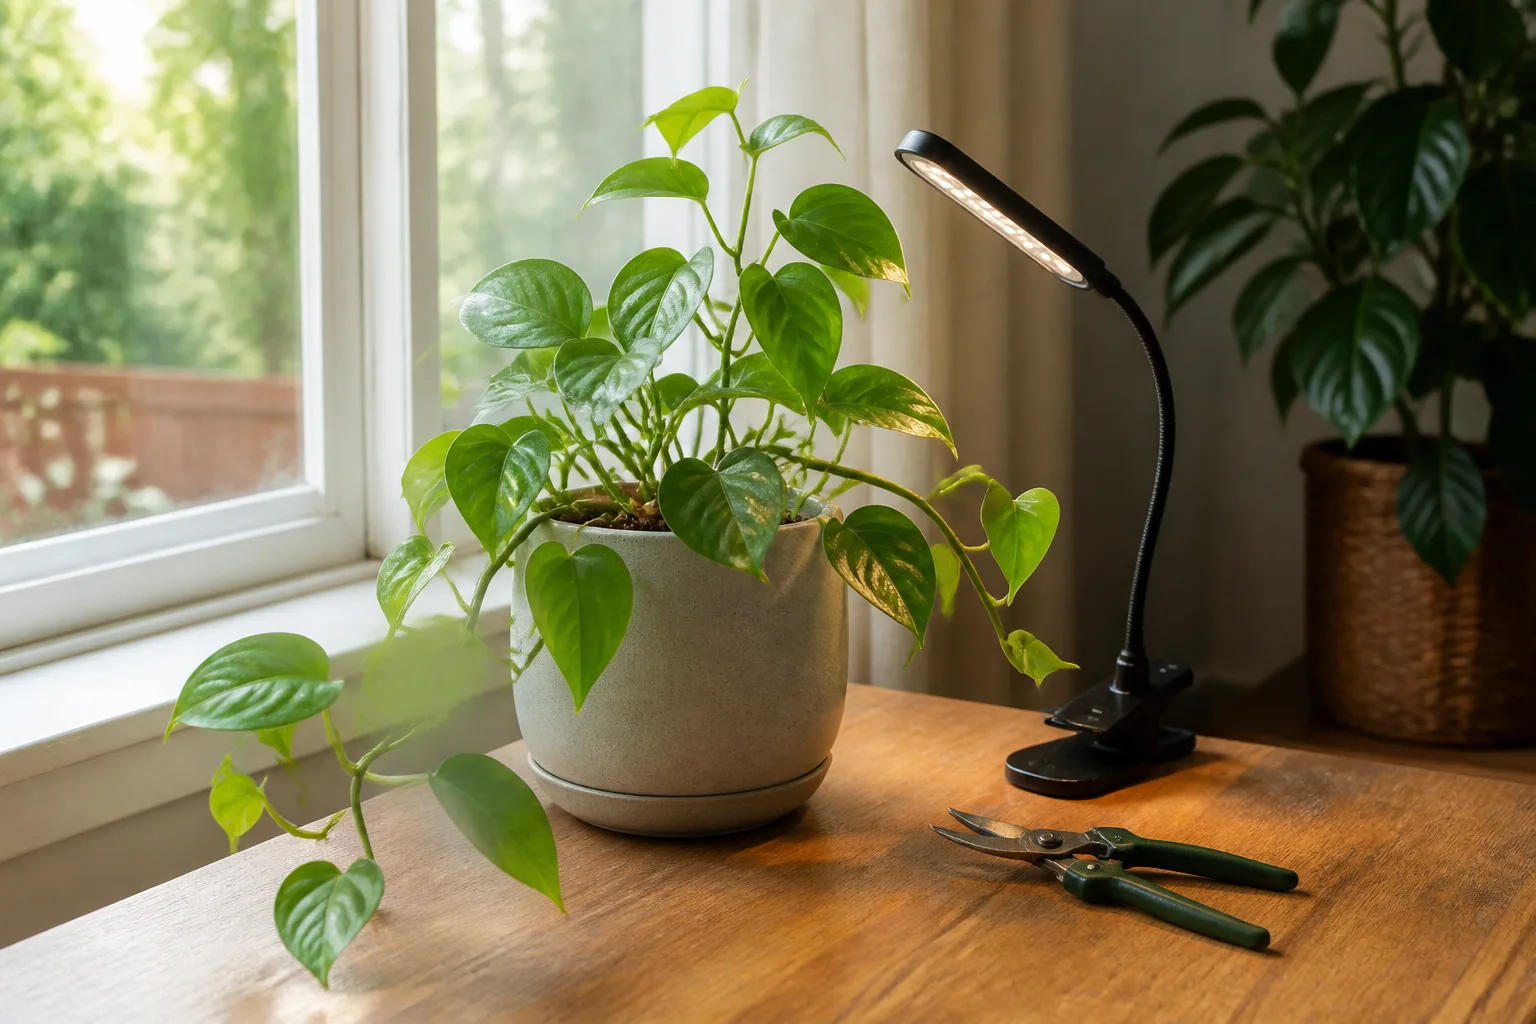
“Bright indirect light” usually describes a place with plenty of ambient daylight where direct rays do not repeatedly strike and scorch the leaves. A sheer curtain, a position just outside a direct sunbeam, or a few feet back from a bright window can create that situation. Some plants acclimate to direct sun, but move them gradually; a sudden move from shade to midday sun can bleach or scorch foliage.
Watch new growth rather than relying only on the plant’s current appearance. Long gaps between leaves, smaller new leaves, or stems leaning strongly toward a window can indicate insufficient light. Pale, crispy patches facing the window suggest that the exposure may be too intense or changed too quickly. Turn the pot a quarter-turn periodically if growth leans, but do not rotate a flowering plant if its bud placement or light direction needs to remain stable. In winter, shorter days can reduce growth and lengthen the time soil stays wet, even if the plant never moves.
Water after checking the root zone
There is no dependable “once a week” rule for every houseplant. Drying speed depends on the species, light, warmth, pot size and material, mix, airflow, and how full the roots have made the pot. Utah State University Extension explains that these variables prevent one general watering schedule from fitting indoor plants; it recommends checking the mix and watering thoroughly until excess drains away. Utah State University Extension’s houseplant watering guidance is a useful baseline, while Better Homes & Gardens’ indoor watering guide also emphasizes adjusting for plant type and conditions.
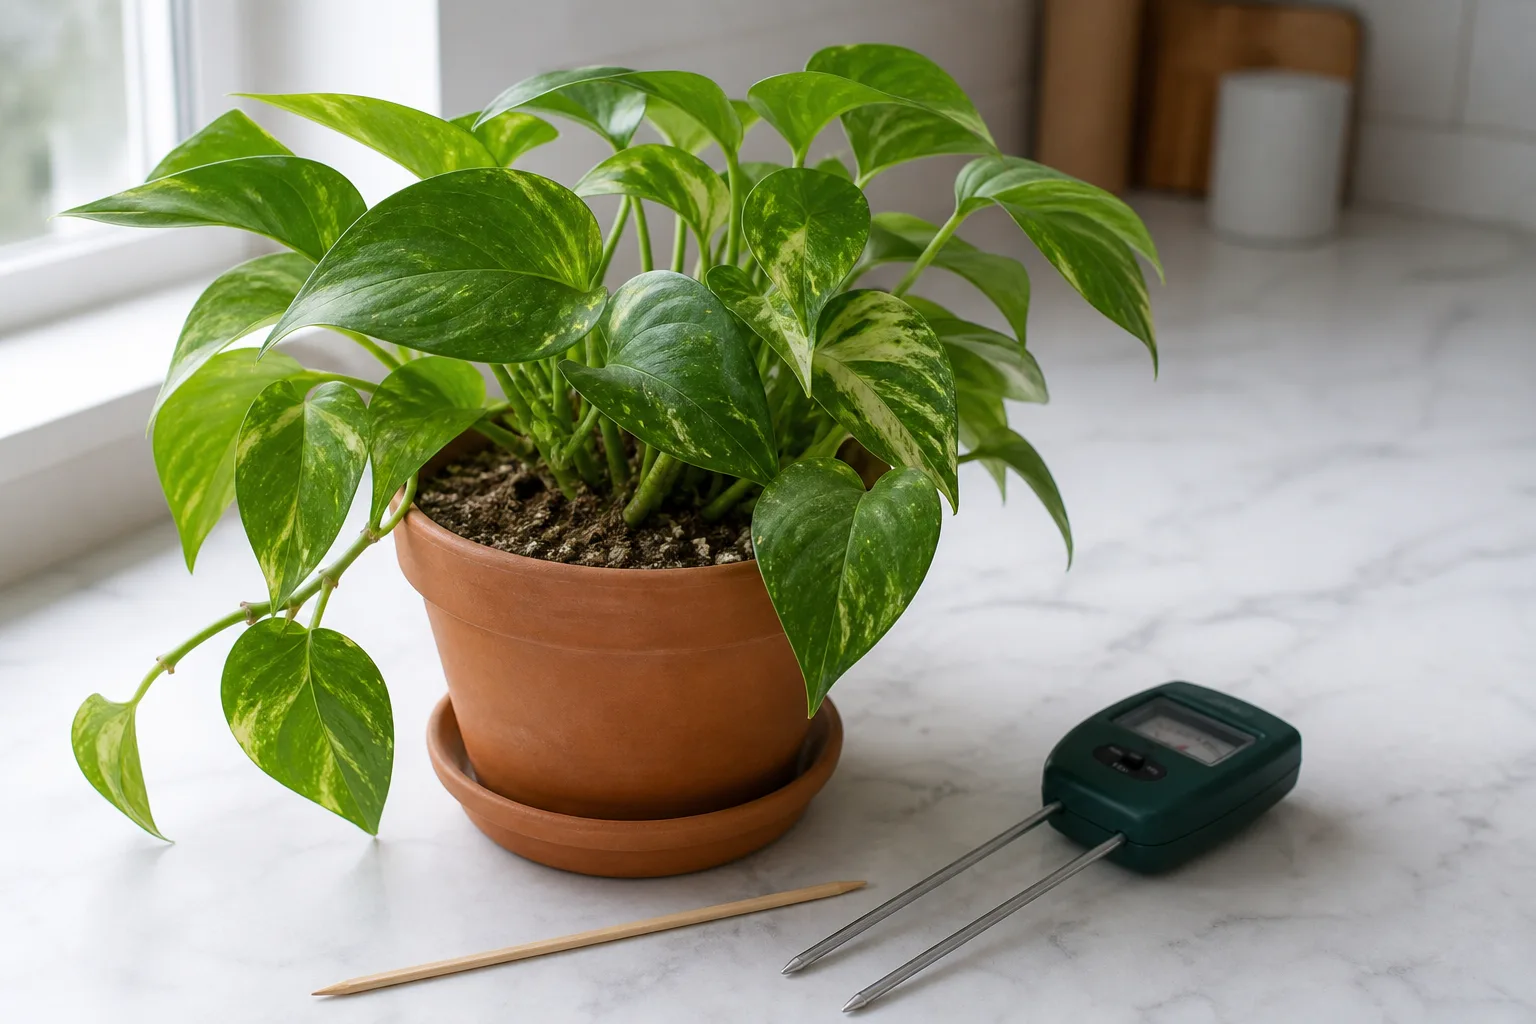
Check a few centimeters below the surface with a finger or a clean wooden skewer. If the mix is cool and damp at root depth, wait; if it is dry where that particular plant prefers to approach dryness, water. Lift the pot to learn its weight just after watering and again as it dries. With practice, those two signals are more useful than a phone reminder. A moisture meter can help with a large pot, but readings vary with the mix and salts, so use it alongside touch and pot weight rather than treating its number as an instruction.
When it is time, water slowly and evenly over the surface until water exits the drainage holes. This wets the root ball more reliably than a small splash. Empty the saucer or decorative outer pot afterward so the roots are not left sitting in runoff. A bottom soak can help a very dry, water-repellent mix absorb moisture; let the pot drain fully when you remove it. Do not leave a plant permanently in a water-filled saucer unless it is a plant and setup specifically adapted for that method.
If water rushes down the sides without wetting the middle, the mix may have shrunk away from the pot or become hydrophobic. Soak the pot briefly from below, then let it drain; next time, water in two slow passes. If the pot stays wet for many days, check whether the plant is in low light, in a pot that is too large, or in dense, degraded mix before watering again. Watering less often will not fix a mix that cannot drain or a pot with no outlet.
Choose a pot and mix that drain well
Most foliage houseplants grow best in a container with at least one unobstructed drainage hole. If you prefer a decorative cachepot without holes, keep the plant in a removable nursery pot inside it. Water over a sink, allow runoff to finish, and empty the cachepot before returning the plant. A layer of gravel at the bottom does not replace a drainage hole; it can leave saturated mix sitting above the gravel instead of giving water a way out.
Use a clean, packaged potting mix made for containers rather than garden soil, which is often too dense indoors and may introduce weeds or pests. The right texture depends on the root system. A general houseplant mix suits many common foliage plants; epiphytic aroids and orchids need more air space and a coarser medium, while succulents need a faster-drying mix. For a plant that is drying too slowly, a carefully chosen chunkier ingredient such as bark or perlite may improve structure, but adding amendments at random can make the mix dry too quickly or unevenly.
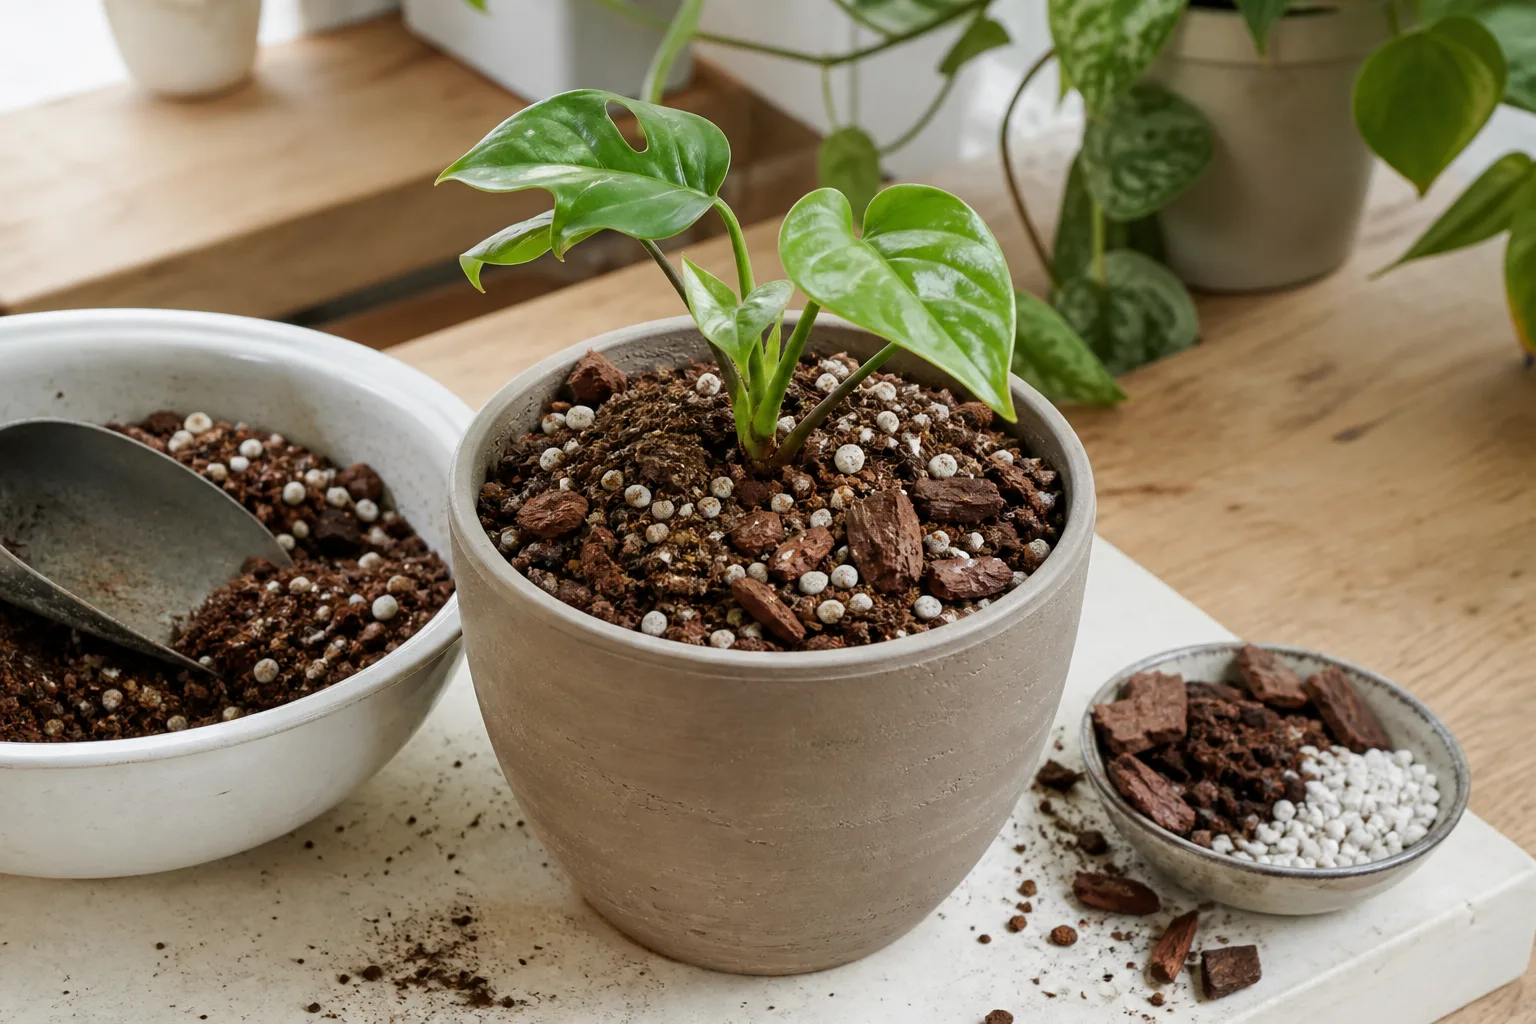
Penn State Extension’s orchid guidance illustrates why one recipe cannot serve every plant: it describes bark-rich, airy media for moth orchids and slipper orchids, while keeping moisture needs distinct by type. Penn State Extension’s orchid care notes are specific to those orchids, but the broader lesson applies across houseplants: choose a mix for the way that plant’s roots take up water and air, not just for a convenient bag label.
Pot material changes your watering rhythm. Unglazed terracotta loses moisture through its sides, so it tends to dry faster than glazed ceramic or plastic. A larger pot holds more wet mix around a small root ball and can dry slowly; choose a size that leaves room for growth without burying the roots in a reservoir of unused soil.
Manage humidity without creating new problems
Some tropical foliage plants grow best with more humidity than a heated or air-conditioned room provides, while other common houseplants adapt well to ordinary indoor conditions. Do not try to raise humidity automatically for every crispy tip: inconsistent watering, accumulated fertilizer salts, hard water, sun scorch, and root trouble can produce similar symptoms. Look for a pattern across several leaves and check the roots and mix before buying equipment.
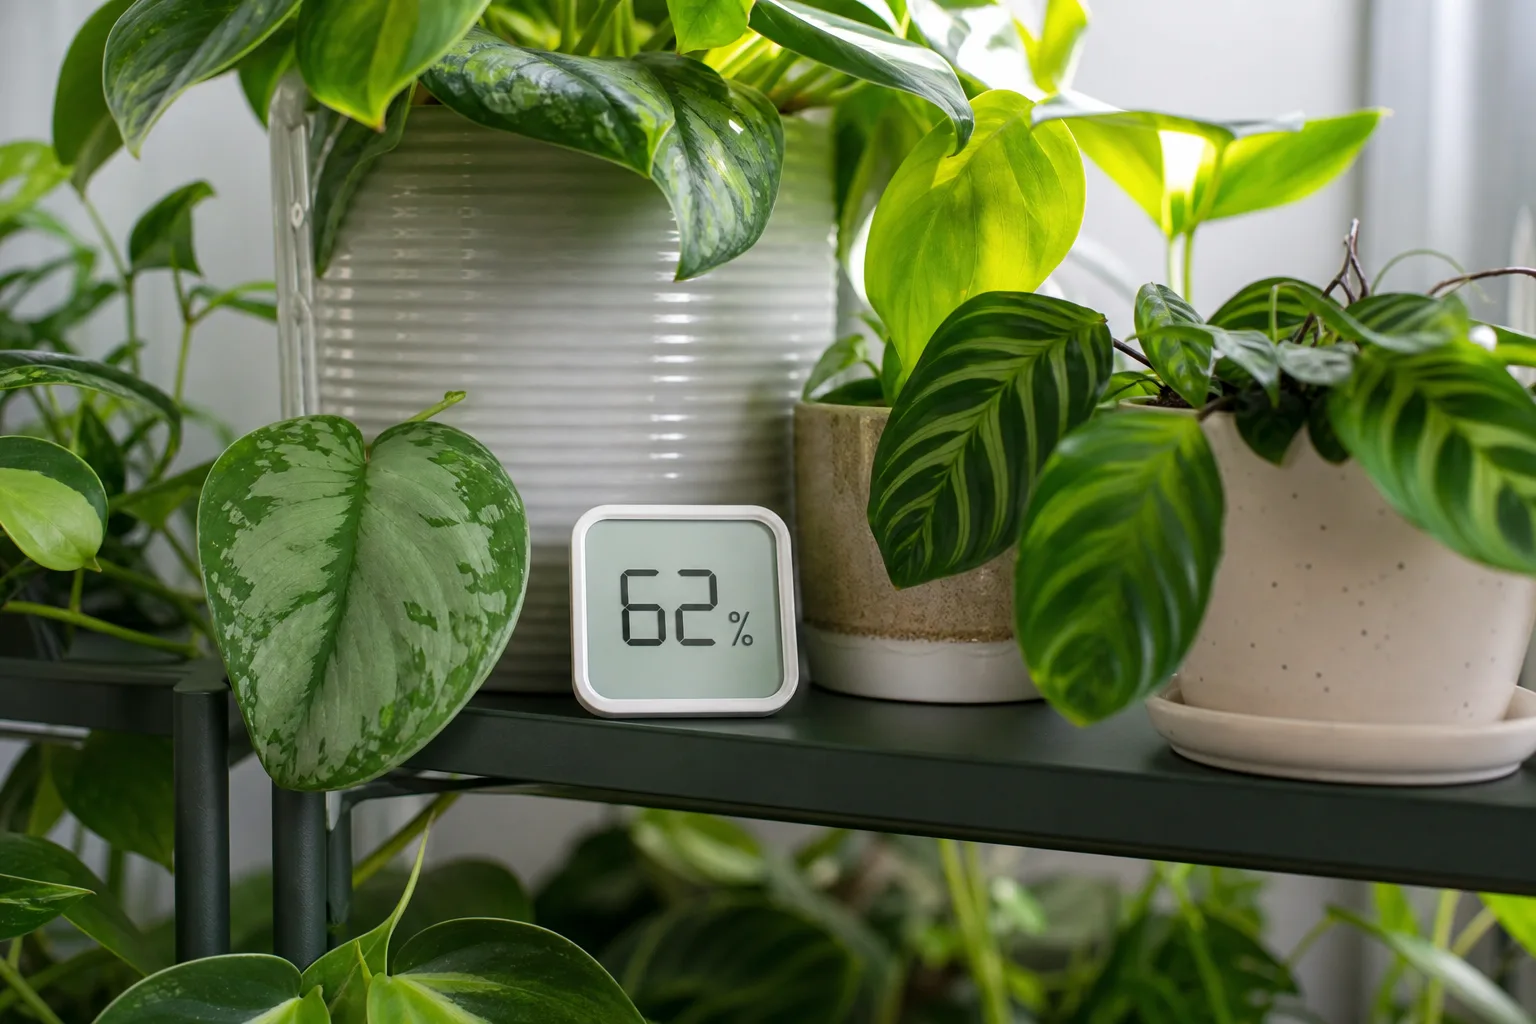
If humidity seems to be the limiting factor, measure it near the plants with a small hygrometer for several days. Grouping plants can create a slightly more humid local pocket, and a room humidifier is the more controllable option for a collection that consistently needs extra moisture. Keep enough space between foliage for airflow and clean the humidifier as its maker directs. A pebble tray may modestly change humidity immediately above its surface, but it will not turn a dry room into a tropical greenhouse; keep each pot above the waterline and never let roots sit in the tray.
Misting is short-lived and does not replace watering at the roots. Frequent wetting can also keep leaves damp in a crowded area without solving the actual room-humidity problem. Choose an intervention based on a measured, repeated need, and give the plant time to produce new growth before deciding whether it helped.
Feed during active growth, not by habit
Potting mixes often contain some starter nutrients, and a plant growing slowly in a dim room will not use fertilizer as quickly as one pushing new leaves in bright, warm conditions. Start with the product label for the plant group and season, and do not exceed its rate. Many growers reduce or pause feeding during a plant’s slow-growth period; the important cue is active growth, not a fixed date that ignores your climate and indoor conditions.
Fertilizer cannot compensate for poor light, waterlogged roots, or an exhausted potting mix. Applying more because a plant looks weak can increase salts around roots and worsen leaf-edge burn. Feed a normally hydrated plant, and if a white crust builds up on the mix or pot, flush it with plain water that is not softened, then let the container drain. Utah State University Extension specifically cautions against softened water because soluble salts can build up in the potting mix.
Keep temperature and airflow steady
Most common houseplants handle ordinary indoor temperatures better than repeated extremes. A plant can struggle when it sits against cold glass, in a draft from an exterior door, above a radiator, or directly in the stream of an air-conditioning or heating vent. The air near a window can be colder at night and hotter in afternoon sun than the center of the room, so move a sensitive plant back a short distance if leaves touch glass or show damage on the exposed side.
Airflow matters, but a strong fan aimed at foliage can dry leaves and mix quickly. Aim for gentle air movement and avoid packing leaves tightly against one another, especially when humidity is high. Do not use a windowless bathroom’s occasional shower humidity as a substitute for light: a dark room can still be too dim for sustained growth.
Repot only when the root system needs it
Repotting is useful when roots circle densely, emerge from drainage holes, the plant dries unusually fast despite sound care, or the mix has collapsed and drains poorly. A few roots at a hole do not always mean an emergency. Some plants flower or grow well while slightly snug, and an unnecessary move can set them back more than waiting.
When a plant needs more room, choose a pot only modestly wider than the root ball, with drainage, and use fresh mix suited to its roots. Loosen only roots that are tightly circling or dead; do not aggressively tease apart a healthy root system. Set the plant at the same depth it grew before, fill around the roots, and water so the mix settles. Keep it in similar light while it adjusts, and wait to fertilize until it resumes growth if the new mix already contains nutrients.
Repotting can also solve a root problem rather than a size problem. If a plant wilts while the mix remains wet and roots are brown, mushy, or smell sour, trim only clearly dead tissue with clean tools and replace soggy, degraded mix. If most roots have rotted, recovery is uncertain; taking a healthy cutting may be a more realistic backup than moving the remaining plant into a much larger pot.
Prune, clean, and rotate for balanced growth
Remove fully dead or badly damaged leaves with clean scissors, cutting close to the stem without injuring it. Wipe dust from broad leaves with a damp cloth so the leaf surface is not coated, and check the undersides while you work. Avoid oily “leaf shine” products; they can leave a film rather than solving the dust or pest problem.
Pruning can shape a plant or encourage branching when that species responds to it, but a cut does not create light or replace healthy roots. Learn where new growth emerges before shortening a stem, and do not remove a large share of healthy foliage at once. Turn a plant periodically if it consistently leans toward the window; if the plant is flowering, climbing, or trained to a support, preserve the orientation that best suits its growth.
Diagnose symptoms before changing care
One symptom rarely proves one cause. Yellowing can follow old age, low light, overwatering, underwatering, pests, or a nutrient issue; wilting can happen in dry soil and in wet, damaged roots. Before changing care, record where symptoms began, how fast they spread, whether the mix is wet or dry at root depth, and whether there has been a recent move, repot, heat wave, or cold draft. Make one reversible change at a time, then watch the next leaves rather than expecting damaged tissue to turn healthy again.
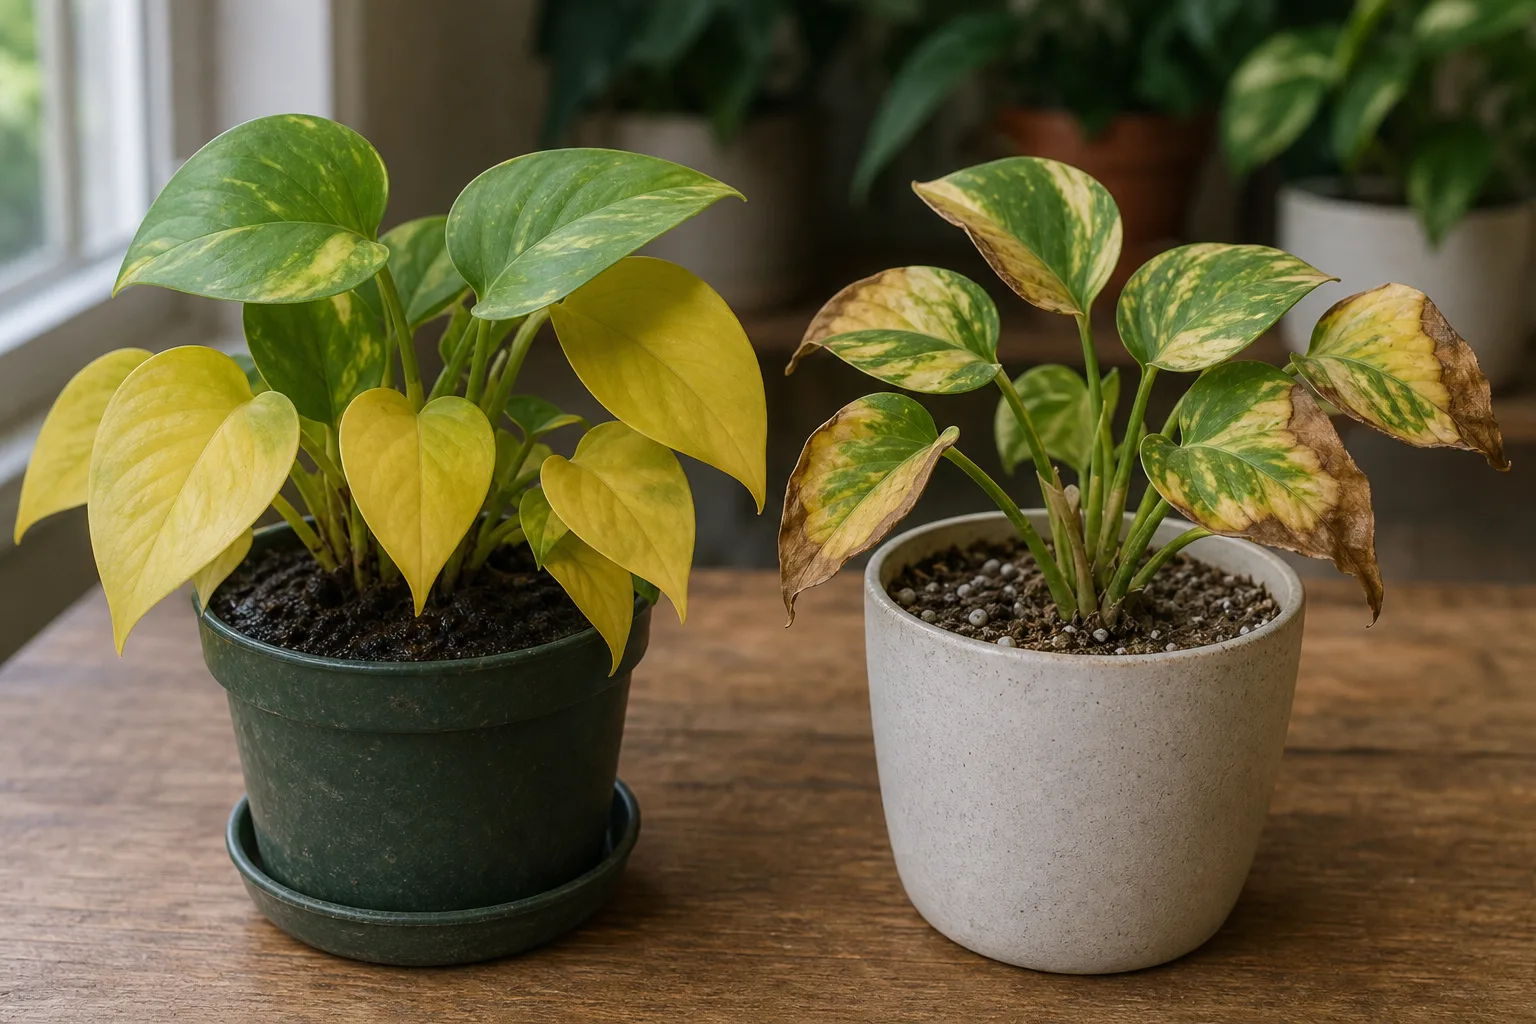
Yellow leaves: read the pattern and the soil
An occasional older lower leaf fading while new growth looks healthy may be normal turnover. Several yellow leaves appearing together, especially while the mix stays wet, point toward a root-zone problem: stop watering by calendar, empty standing runoff, and confirm that the pot drains. If soil is dry and the pot is unusually light, water thoroughly and check whether the mix accepts water. If yellowing begins on the side facing a cold window or vent, correct that exposure before adding fertilizer.
Brown tips, droop, or stretched growth: check more than water
Brown tips may follow dry air, uneven moisture, a salt buildup, or direct sun. Crispy patches on one exposed side suggest sun or contact with hot glass; limp leaves and wet mix raise concern about root damage; a light, dry pot supports a water shortage. Long, weak stems and increasingly small leaves point toward inadequate light, not a need for more water. Check the pattern, pot, and recent changes together; do not diagnose by leaf color alone.
Prevent and manage indoor pests
Inspect new plants before they join your collection, including leaf undersides, stems, leaf joints, and the soil surface. Keep a new plant separate for a few weeks when you can; isolation gives you time to notice pests that were hard to see at purchase. Check the plant again each time you water. Common signs include cottony clusters, hard bumps, fine webbing, sticky residue, tiny flying gnats, or pale stippling on leaves.
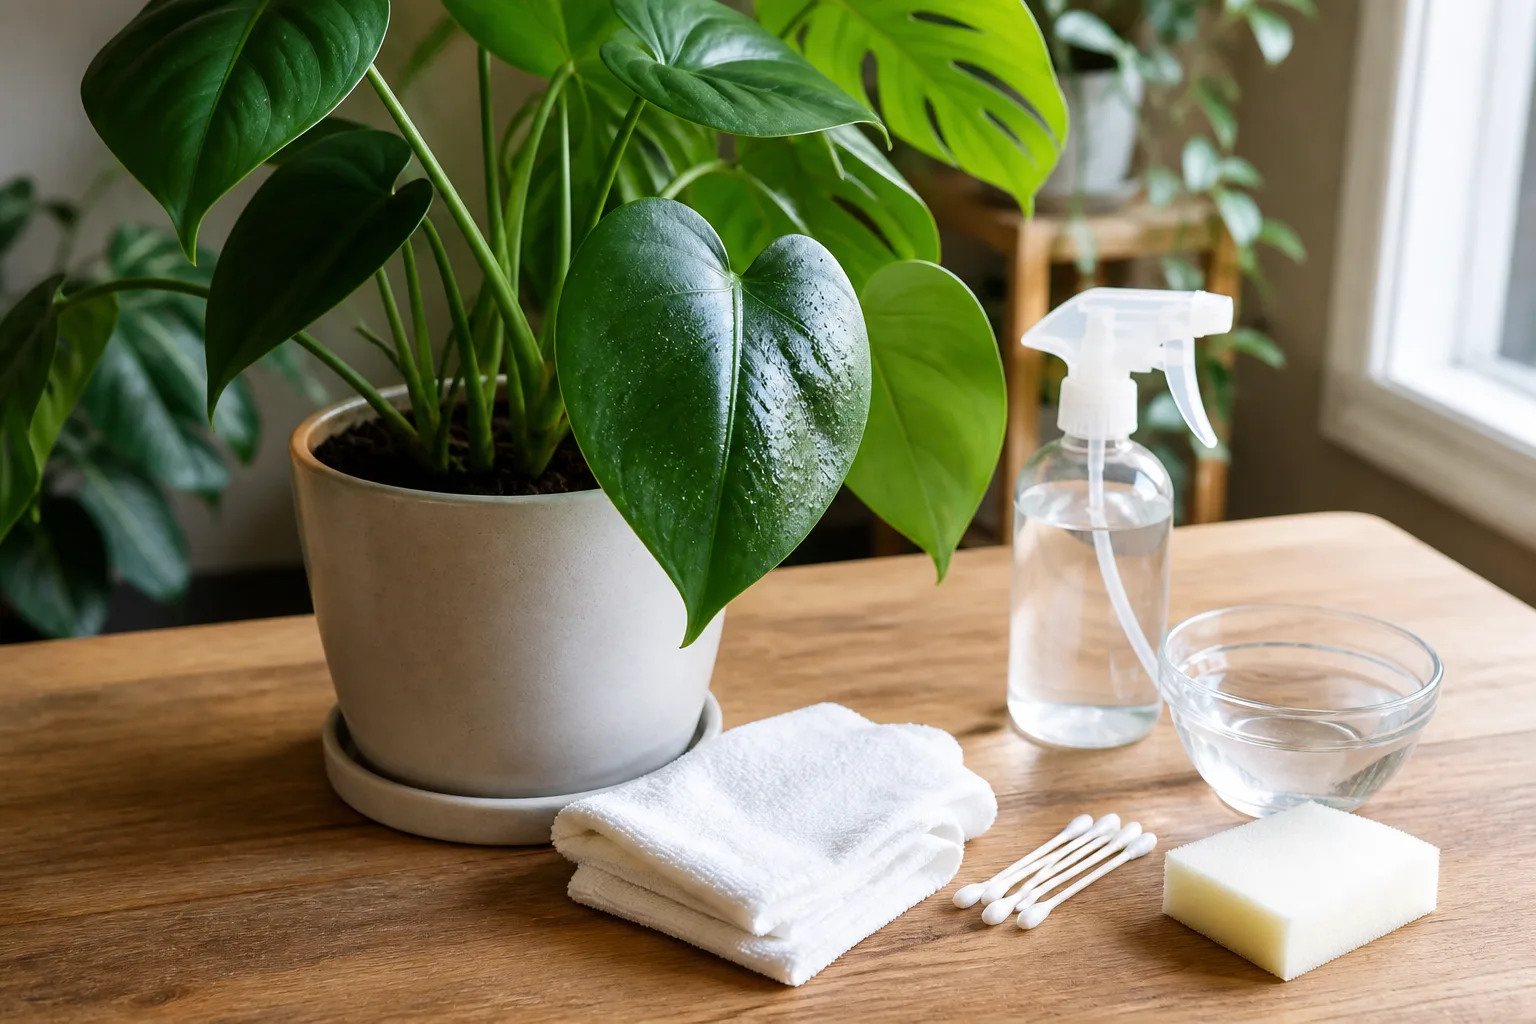
If you find a pest, move that pot away from other plants and identify what you see before treating it. Wipe or rinse off visible insects where the plant tolerates it, remove heavily infested leaves, clean the surface around the pot, and inspect nearby plants. Repeat checks because eggs or hidden insects may survive the first cleanup. If you use a pest-control product, choose one labeled for that pest and indoor ornamental use, follow its directions exactly, and test a small area first if the plant is sensitive. Do not mix household cleaners or homemade pesticide recipes.
Fungus gnats often signal potting mix that stays moist for too long, though seeing one gnat does not prove the plant is dying. Let the mix dry to the level appropriate for the plant, empty standing water, and improve drainage or light if the pot remains wet. Sticky traps can help monitor adult gnats but will not correct soggy mix by themselves. If pests keep returning, check neighboring pots and the root zone instead of repeating an ineffective treatment on leaves alone.
Adjust care as seasons and rooms change
In spring and summer, stronger light and active growth may mean more frequent watering and feeding; in fall and winter, shorter days, cooler rooms, and slower growth often extend the time between waterings. Do not reduce water merely because the calendar says winter if a plant is still growing in a bright, warm room. Check soil moisture and plant growth each time, then adapt.
Before moving houseplants outdoors for warm weather, confirm that the species tolerates outdoor conditions and wait until nights are reliably suitable for it. Acclimate gradually in shade, then increase light over several days to reduce sun scorch. Before bringing plants back inside, inspect leaves, stems, and pot rims for insects and remove debris from the surface. Sudden moves between bright patios and dim rooms can trigger leaf drop even when watering has not changed.
Seasonal heating and air conditioning affect both humidity and drying. A plant near a heater may dry faster on one side; one in a cool, low-light corner may stay wet longer. Move pots away from direct vents, check exposed windows at night, and use measured conditions instead of assuming all plants need the same winter setup.
Keep pets and children in mind
Plant names on store tags are not always precise, and similar common names can describe different species. If a pet or child may chew a plant, confirm its botanical name before purchase and check a reliable species-specific safety reference. The ASPCA’s toxic and non-toxic plant database notes that its list is not all-inclusive and that even plants listed as non-toxic may cause stomach upset when eaten. “Pet-safe” should therefore mean identified and placed thoughtfully, not simply bought under a reassuring common name.
Keep soil amendments, fertilizers, pruning tools, and pest-control products out of reach. If a pet eats a plant, save a clear photo and the botanical label and contact a veterinarian or animal poison-control service for advice; do not wait for symptoms if you are unsure what was eaten. In shared spaces, place toxic or irritating plants where curious animals and small children cannot reach them, or choose a different plant.
Build a simple weekly and monthly routine
A repeatable check is more reliable than a rigid watering reminder. Once a week, look at new growth, check the potting mix of plants that may be ready for water, empty saucers, and scan leaf undersides. Do not water a whole collection just because one pot is dry. Plants differ, and adjacent pots may also have different mixes, root sizes, and exposures.
Once a month, rotate leaning foliage plants, wipe dusty leaves, inspect for pests more closely, and note which plants are growing or resting. Every few months, review whether a plant still matches its place: has a tree leafed out and shaded the window, has a lamp moved, or has a seasonal shift changed room temperature? Repot only when root or mix cues support it. Use a short log if you are learning: date, moisture check, light change, and what the plant did afterward.
When a plant declines, take this order of action: check moisture at root depth; confirm that the pot drains; inspect light and temperature; look for pests; then consider fertilizer or repotting. That sequence tackles the most common environmental causes before adding products or disturbing the roots. Change one factor, give new growth time to respond, and keep the care that works for that particular plant.
Conclusion
Houseplant care gets easier when you observe first and respond to the plant in front of you. Match a species to real room conditions, give its roots a well-drained container and suitable mix, and water when the root zone—not the calendar—shows it is time. As light, temperature, and growth change through the year, let your routine change with them.
Treat leaf symptoms as clues, not diagnoses. A careful check of the soil, roots, light, and leaf undersides usually tells you what to investigate next. With a few consistent observations, you can keep common houseplants healthy without turning plant care into a complicated schedule.



