How to Grow Sweet Potato Slips Like a Pro
Grow sweet potato slips in water or soil with the right root, warmth, timing, separation, rooting, and planting steps for a stronger crop.
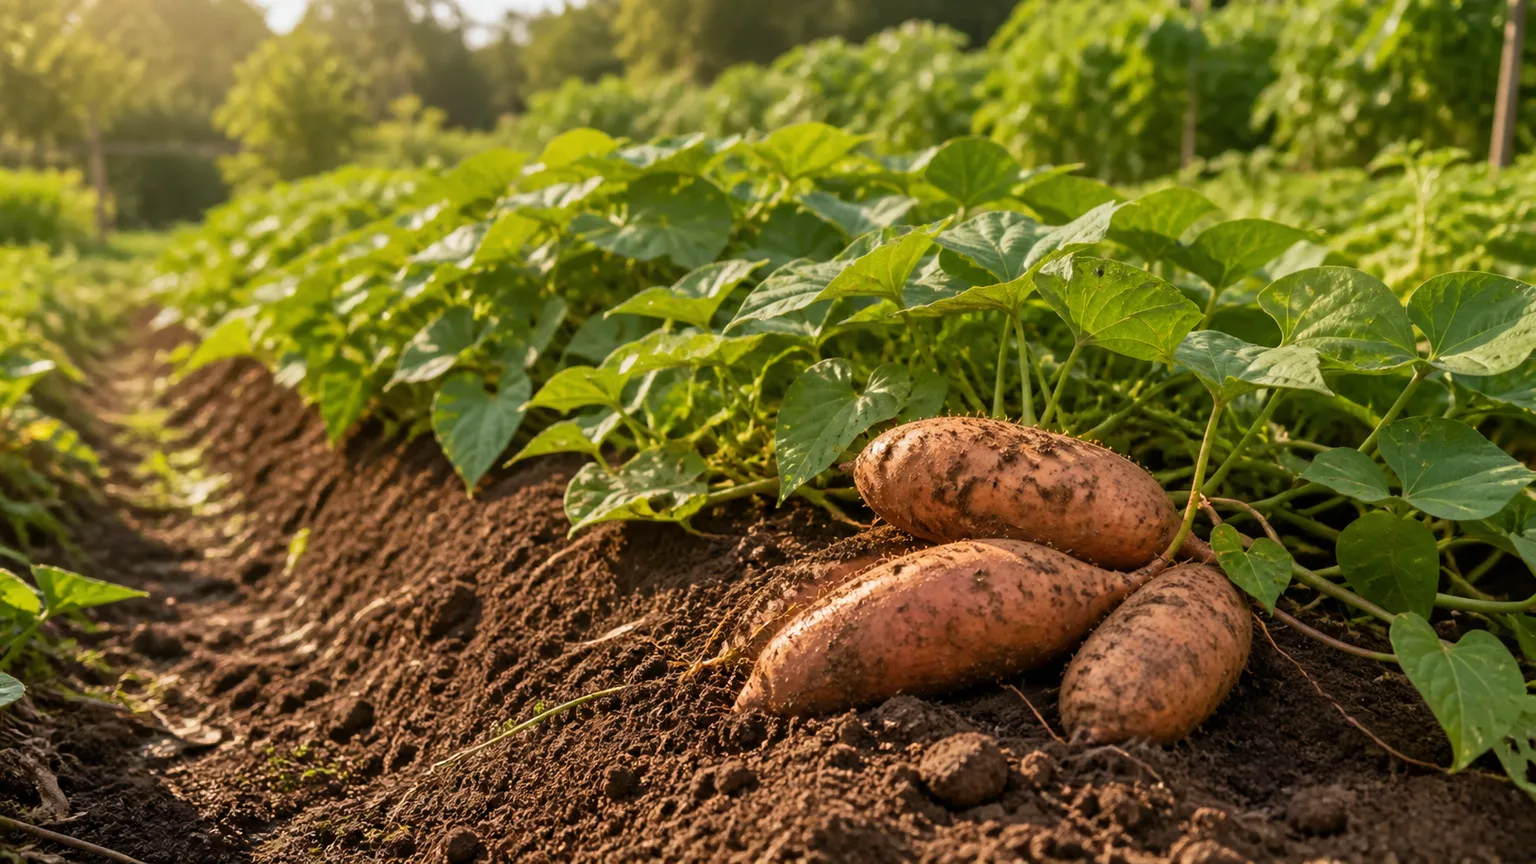
The most dependable way to grow sweet potato slips is to start with a healthy edible sweet potato, keep it consistently warm, and separate the shoots only when they have enough leafy growth to recover. You can sprout the root in a jar of water or in a shallow tray of moist growing mix, but the two methods behave differently: water makes the process visible, while soil usually gives the new slips a stronger start with less handling.
Plan the project backward from the day you expect to plant outdoors. Soil-grown slips may be ready in roughly four to six weeks, while water-grown slips commonly take about six to eight weeks; then allow a few days for rooting or hardening if the slips need it. Outdoor planting is a separate decision: wait until frost danger has passed and the soil is genuinely warm, because a vigorous-looking slip cannot make up for cold, wet ground.
The Reliable Plan at a Glance
| Stage | What you do | Typical timing |
|---|---|---|
| Choose the root | Select a firm, unblemished edible sweet potato | Day 1 |
| Produce shoots | Start it in water or moist growing mix | About 3–8 weeks |
| Separate slips | Remove leafy shoots without bruising the base | When shoots are leafy and several inches long |
| Build roots | Root in water or pot directly if roots are attached | Several days to about 2 weeks |
| Harden and plant | Acclimate to outdoor light and wind, then plant in warm soil | A few days to 1 week |
| Grow the crop | Keep the new plants watered while they establish, then let the vines run | About 90–120 days after planting |
The ranges are planning tools, not guarantees. A cool windowsill, a treated grocery-store root, weak light, or a waterlogged tray can add weeks or stop the project entirely. The best checkpoint is not “Has it been exactly four weeks?” but “Is the root firm, are the shoots leafy, and will the garden be warm when they are ready?”
What a Sweet Potato Slip Actually Is
A sweet potato slip is a young shoot produced by a storage root and then grown into a new plant. Once detached, it can make roots from its buried stem nodes, or it can be rooted in water first; either way, the slip is a vegetative cutting rather than a seedling grown from seed.
Sweet potato is Ipomoea batatas, a warm-season member of the morning-glory family. It is only distantly related to the white potato, so it does not sprout from “eyes.” NC State Extension’s Plant Toolbox describes it as a vigorous annual vine that is grown for edible storage roots as well as ornamental foliage.
That last distinction matters when you are buying a starting root or a plant. Ornamental sweet-potato vines are selected for leaf color and habit, not dependable edible roots. If the goal is dinner, choose a named edible cultivar or a root from a crop you know produced good eating-quality potatoes.
Choose a Starting Sweet Potato That Can Sprout
Start with a firm, mature root that has no soft spots, mold, deep cuts, or leaking areas. A medium-sized root is easy to handle and contains enough stored energy to produce several shoots; you do not need the biggest potato in the bin, and you should not count a damaged root as a bargain.
An organic grocery-store sweet potato, a farmers-market root, or a sound root saved from your own harvest can all work. Organic labeling is not a guarantee of sprouting, and conventional roots do not all fail, but a grocery root that has been chilled or treated to slow sprouting may simply sit there. If there is no activity after several weeks in a warm setup, restarting with a different source is usually more productive than waiting indefinitely.
Choose a variety that fits the season you actually have. A long-season cultivar can make healthy slips and still fail to size up before autumn in a cool or short-season garden. If you save roots for another year, save only clean, well-shaped potatoes from a vigorous plant; do not perpetuate roots that showed rot, serious pest injury, or suspicious discoloration.
One root can make more than one plant because each shoot becomes an individual slip. For planning, count only the slips that are leafy, undamaged, and easy to separate; the number of tiny buds you see is not the same as the number you will successfully plant.
Work Backward From Planting Day
Begin with the outdoor planting trigger, then count backward. The safer trigger is the later of these two events: the frost risk has passed, and soil at the planting depth is consistently at least about 60°F. For fragile homegrown slips, waiting closer to 65–70°F gives them a more forgiving start; UGA Cooperative Extension’s home-garden guidance uses 70°F as its soil-temperature target.
From that date, allow four to six weeks for the soil-tray method or six to eight weeks for the water method. Add several days for water-rooting, potting up, or hardening off. Starting much earlier than necessary creates a different problem: the slips may become long, tangled, root-bound, or difficult to keep in strong light while you wait for warm soil.
Do not substitute a calendar date for a soil check. “Two weeks after the average last frost” is a useful fallback if you have no thermometer, but a raised bed in full sun may warm earlier than a low clay bed, and a late cold snap can pull the root zone back below the safe range. In a short season, an early-maturing edible variety, a raised bed, and black plastic mulch can buy useful warmth; none makes a frost-tender crop cold tolerant.
Choose Water or Soil Before You Start
Both methods produce slips, so choose based on the kind of control you need. Water is excellent for seeing roots and diagnosing trouble early, while soil keeps the developing slip in the same medium from the beginning and avoids moving it between a jar and a bed. The Blooming Expert comparison of water and soil methods also treats the soil method as the faster option when warmth and drainage are under control.
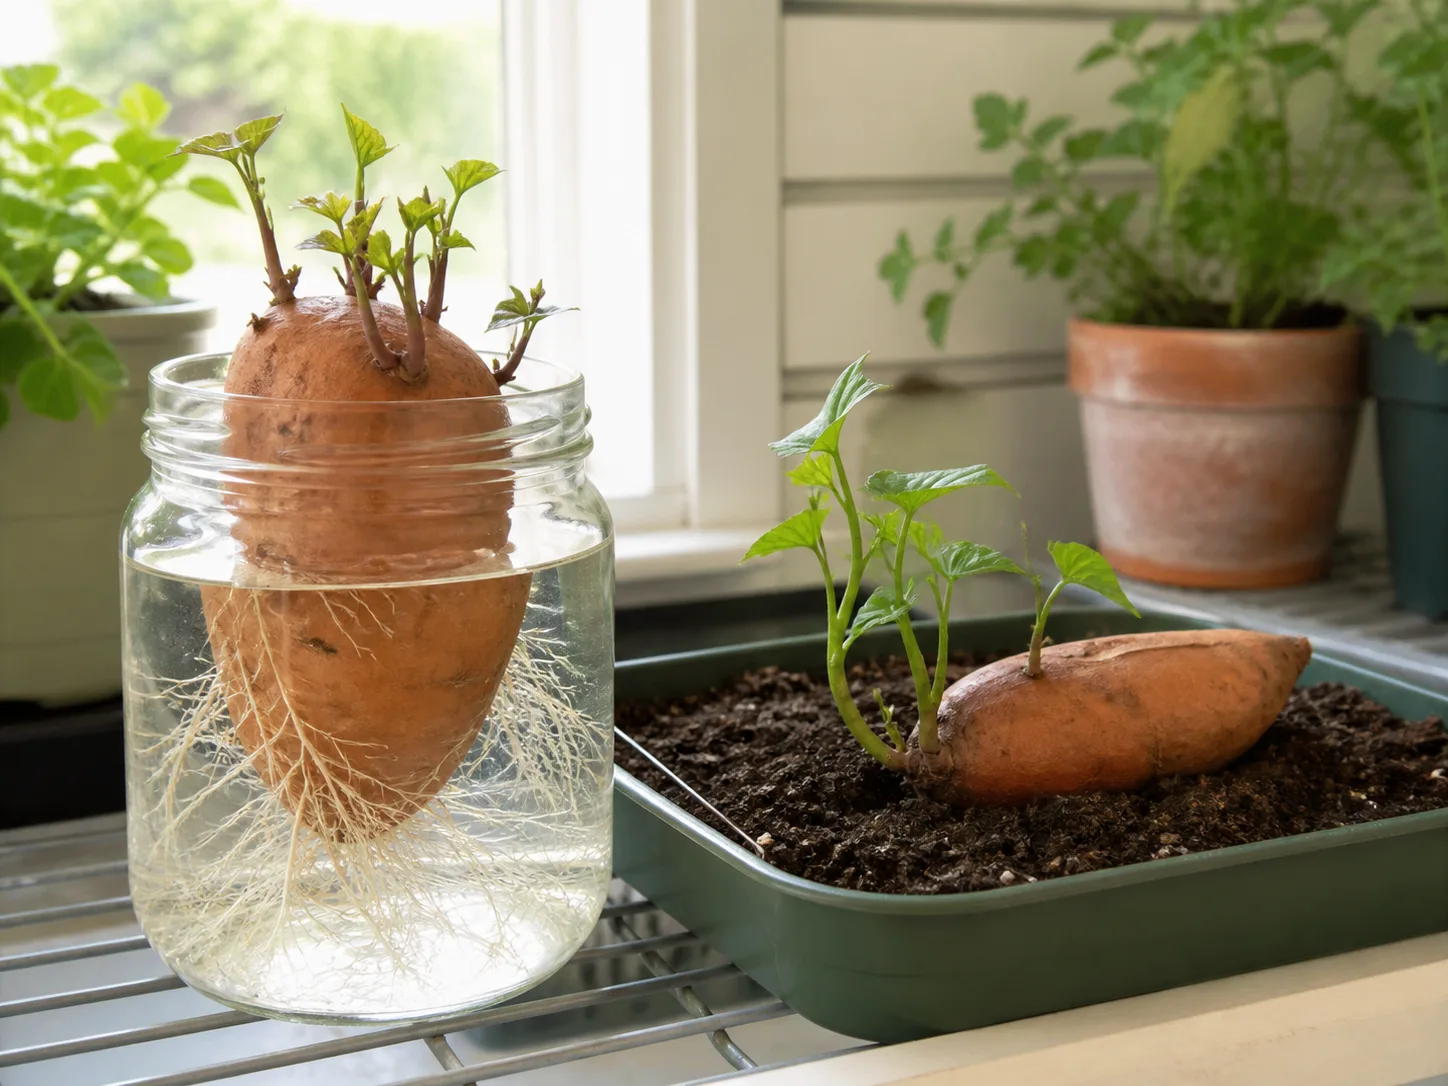
| Method | Best for | Main advantage | Main drawback |
|---|---|---|---|
| Water jar | First-time growers, classroom observation, checking root development | Roots and rot are easy to see | Slower and more vulnerable to stagnant water and softening |
| Soil tray | A stronger, more streamlined batch of slips | Slips can root where they grow | Root progress is hidden, and soggy mix can rot the mother root |
If the harvest matters more than watching the process, use a soil tray when you can provide warmth, light, drainage, and regular checks. If you are experimenting with one root or want to observe the biology, use water but treat cleanliness and warmth as non-negotiable.
The Water-Jar Method
Use a clean, wide-mouth jar, room-temperature water, and three or four toothpicks. Rest the toothpicks on the rim so the root is suspended with its pointed or rooting end down and roughly the lower third to half touching the water; keep the upper portion out of the jar rather than submerging the whole potato.
Place the jar somewhere consistently warm. A bright window can provide light after shoots appear, but an early-spring window may be too cool to start the root quickly, so a warm indoor spot or a properly used seedling heat mat can be more reliable. Keep the jar away from temperature swings, direct contact with a hot radiator, and places where it will be knocked over.
Refresh the water every few days if it becomes cloudy and at least weekly even when it looks clean. The water should not smell sour, and the root should remain firm. White root growth may appear before green shoots; that is normal, but roots alone do not mean the root is ready to be planted outside.
When shoots emerge, give them strong light. A bright window may work, but a grow light prevents the thin, pale growth that develops when a warm root is kept in dim light. Turn the jar if growth leans strongly toward the window, and keep leaves above the waterline.
Separate a shoot when it is leafy and several inches long, usually around 4–8 inches for a manageable slip. If one shoot is ready while others are still small, take the ready one and return the mother root to fresh water; it can continue producing more slips.
The Soil-Tray Method
Choose a shallow tray or pan with drainage and fill it with a loose seed-starting mix or coarse, well-drained medium. Moisten the mix before planting so it is evenly damp, not muddy. A clear cover can hold humidity during the first stage, but it should be loose enough for air exchange and removed once shoots are growing. This tray-based approach is also described by Piedmont Master Gardeners as a practical way to produce several slips at once.
Lay the whole root on its side and bury about half of it, leaving enough of the upper surface accessible for shoots to emerge. If you cut a root to fit the tray, use a clean knife and avoid packing the wounded surface into saturated mix; whole roots are simpler for beginners because they involve less exposed tissue.
Keep the tray warm, ideally in the 75–85°F range, and check the medium frequently. A heat mat can help in a cool room, but warmth does not excuse poor drainage. The root should never sit in runoff, and the tray should not be sealed under plastic after the shoots have emerged.
As shoots push through, move the tray under a bright window or grow light. Give the foliage enough light to stay compact and green, and water when the surface begins to dry rather than following a fixed daily schedule. Soil-grown slips often develop roots before you remove them, which can eliminate the separate water-rooting step.
The soil method is not rot-proof. If the root is soft, darkening, or foul-smelling, remove it promptly so it does not contaminate the rest of the tray. A slightly slower but well-drained tray is safer than a constantly wet one.
Separate and Root Slips Without Losing Them
Separate slips when they have several leaves and a sturdy-looking stem, not when they are only a tiny bud. A usable slip may be 4–8 inches long, and a 6-inch shoot with visible roots is generally easier to handle than a longer, pale stem with no root system.
The safest technique depends on where the slip grew. For a water-grown shoot, support the base and twist or snap it free with a controlled motion. For a soil-grown cluster, gently loosen the medium first, then twist a rooted slip away or use clean scissors to cut between crowded shoots; do not yank one slip through the roots of its neighbors.
Keep the leaves. Popular instructions sometimes remove the lower leaves before rooting, but leaves are still producing energy for a cutting that has not established. Remove only a leaf that would sit under water or be buried in a way that invites decay. Do not strip a healthy slip down to a bare stem just to make the jar look tidy.
For a slip without roots, place the bottom inch or two in clean water with the leaves above the surface. Change the water every few days and move the container into bright, indirect light or gentle morning light. Roots may appear within a few days or may take up to two weeks, depending on warmth, light, and the slip’s condition.
Rooting hormone is unnecessary for this job. Sweet potato stems readily form roots from nodes, so the useful variables are a clean base, warm conditions, oxygenated water or loose soil, and patience. Once roots are visible and the outdoor bed is ready, transplant; do not keep a slip in a small jar for weeks after it has a healthy root bundle.
Keep Slips Healthy While Outdoor Conditions Catch Up
If the slips are ready before the garden, pot them into small containers of loose mix rather than leaving their roots crowded in water. Keep them warm, bright, and just evenly moist. A pot is also the better holding method when a late cold snap is approaching because sweet potatoes are frost-sensitive and do not benefit from being “toughened” by cold nights.
Harden the potted slips over several days before planting. On the first outing, give them a short period in bright shade protected from wind; gradually increase outdoor time and morning sun over the next few days. The Seasonal Homestead’s gradual hardening sequence is a useful model, but the weather still determines whether the process should pause. Avoid putting tender, indoor-grown leaves straight into intense midday sun, hot pavement, or a windy exposed bed.
You can plant a rooted soil-grown slip directly when the weather and soil are ready. A water-rooted slip is also plantable, but handle its new roots carefully because they break more easily than a slip already established in mix. If the forecast is wrong for planting, keeping a healthy slip potted for a little longer is better than gambling the crop on cold soil.
Planting Day: Warm Soil Matters More Than a Calendar Date
Choose the sunniest practical location, with about eight to ten hours of direct light if possible. NC State notes that sweet potato tolerates full sun or partial shade, but an edible crop has more opportunity to size up in a bright, warm bed than in deep shade.
Prepare loose, well-drained soil before the slips arrive. Sandy loam or loosened loam is easier for storage roots to expand through than compacted clay. A slightly acidic soil around pH 6.0–6.5 is a useful target; UGA Extension’s home-garden publication also cautions that excess fertilizer can produce foliage without a proportionate root harvest.
Plant in the evening or on a cloudy day when possible. Make a hole deep enough to cover the roots and several lower stem nodes, set the slip in place, firm the soil gently, and water the whole root zone immediately. The leafy tip should remain above the soil; burying all the leaves turns a transplant into a rotting stem.
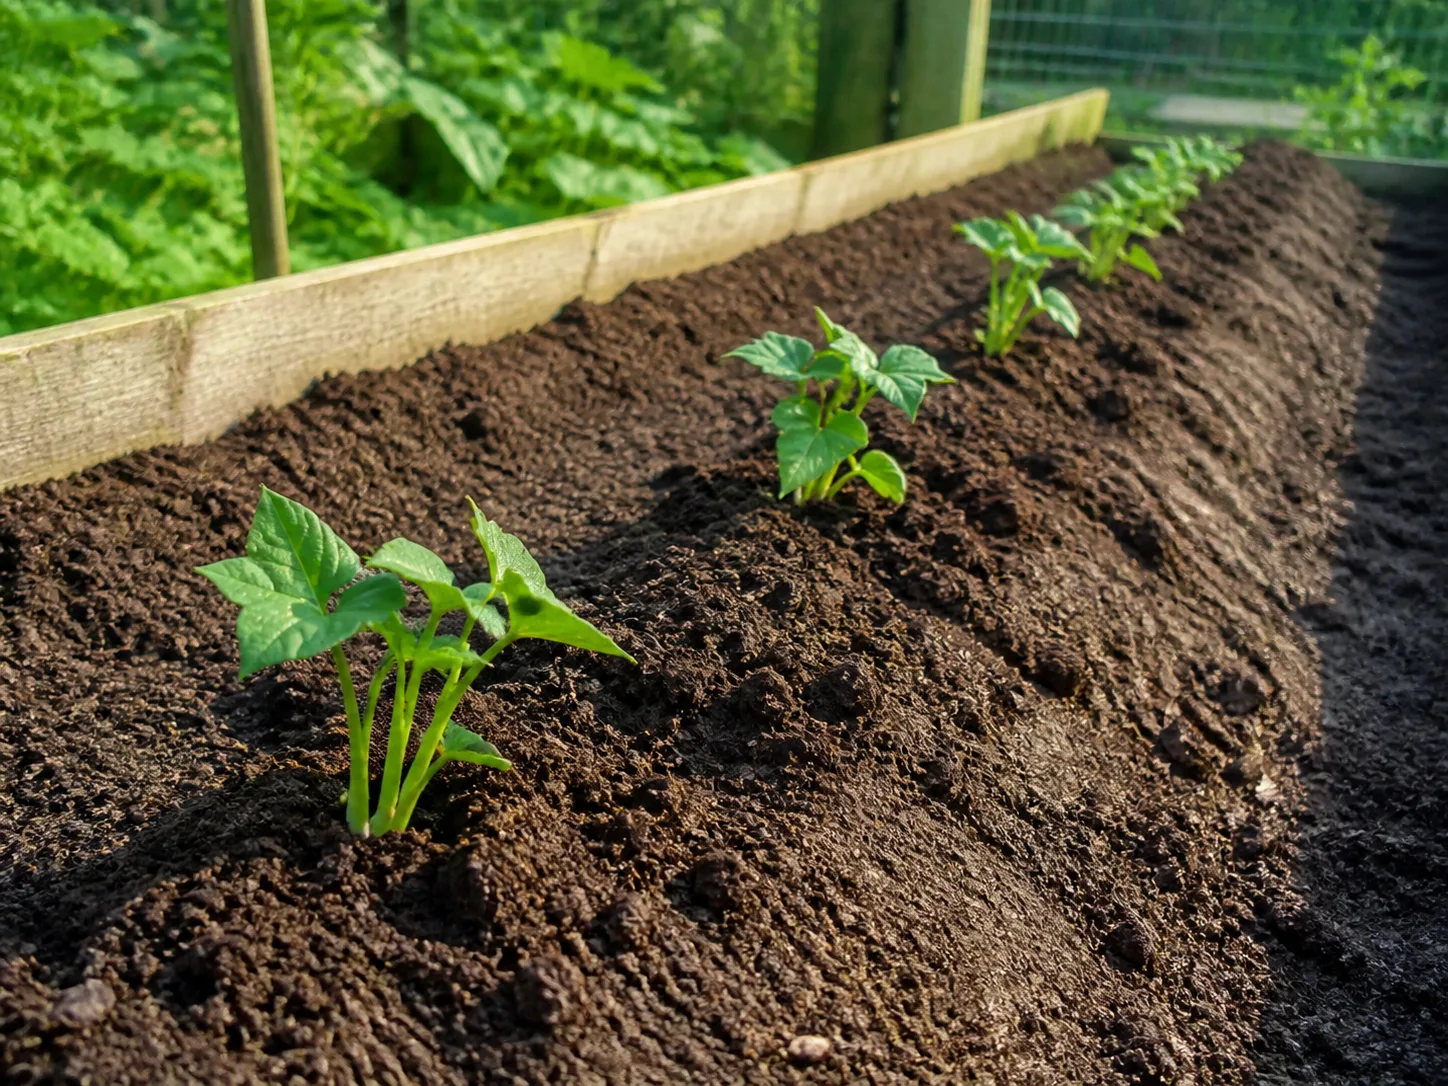
Depth, Spacing, and Vine Room
Set the rooted end about 4–6 inches deep, burying two or three nodes when the slip has a long enough stem. Space plants about 12–18 inches apart in rows roughly 3–4 feet apart as a practical home-garden starting point. Tighter spacing can produce more medium-sized roots, while wider spacing gives each plant more room; the vines, not just the holes, determine how much space the crop needs.
If the bed is heavy or slow to drain, plant on a broad ridge or in a raised bed. Black plastic mulch can warm the soil and reduce early weeds, but secure it well, cut openings large enough that stems are not constricted, and monitor soil moisture beneath it. In a hot climate, a light organic mulch applied after the soil has warmed may be a better choice than adding more heat.
The First Two Weeks Decide Establishment
New slips have a small root system and can wilt before they are able to draw enough water from the bed. Check them every day during the first week, especially in wind, heat, or sandy soil, and water deeply whenever the root zone begins to dry. UGA’s growing guide recommends daily watering during the first week and every other day during the second while roots establish.
That schedule is a starting point, not a command to keep a poorly drained bed wet. The goal is moist soil with air in the pore spaces, not a puddle. Once new growth is moving and the slip resists a gentle touch, taper toward roughly an inch of water per week from rain or irrigation, adjusted for your soil and weather.
Keep weeds down while the vines are small. Once the foliage spreads, it shades much of the ground, but early weeds compete for water exactly when each slip is trying to root. Avoid repeatedly lifting or flipping the vines to inspect the soil; the stem can root at nodes, and disturbing those roots can cost more than it reveals.
Do not rush to feed a struggling transplant with high-nitrogen fertilizer. First check soil moisture, temperature, light, and drainage. Fine Gardening’s growing guidance warns that excess nitrogen can push leafy growth at the expense of plump storage roots, so base any fertilizer decision on a soil test rather than the size of the vine.
Choose a Bed or Container That Can Hold the Vines
Sweet potatoes are space-hungry even when the slips are tiny. Healthy vines can spread several feet from the planting point, then form a living cover over the soil. Give them room to run, or decide in advance where you will guide them without repeatedly tearing rooted nodes from the ground.
Raised beds warm and drain earlier than many in-ground beds, which is helpful in a short season. Containers can also work if they have drainage and enough width for the roots; use one slip per large container as the simplest rule, and remember that a container will dry faster and heat up more quickly than garden soil. A trellis can support the vines, but it does not replace adequate root volume or warm soil.
If space is tight, choose a compact edible cultivar when one is available locally rather than treating an ornamental cultivar as a guaranteed harvest plant. If you are growing several varieties, label them at planting. Their harvest windows and root shapes can differ, and a single test dig from one variety does not perfectly predict the others.
Troubleshoot Slips Before They Reach the Garden
Most failures come from one of four conditions: the root is not capable of sprouting, the setup is too cold, the medium is too wet, or the new shoots are not receiving enough light. Diagnose the condition you can observe before changing several variables at once.
No sprouts after several weeks
First check warmth and orientation. A cool windowsill can keep a root alive without encouraging fast shoots, and a root with a treated surface or poor storage history may never respond. Move a firm root to a warmer, well-drained setup for another week or two; if it still shows no buds after about three weeks of genuinely warm conditions, restart with a different edible root rather than losing the planting window.
A soft potato or foul-smelling water
That is rot, not a sign that the slips are about to appear. Discard the soft root, wash the jar or tray, and improve drainage or water-change frequency before starting again. Do not try to salvage green shoots that are attached to mushy tissue unless you can separate clean, healthy material without spreading decay.
Long, weak slips or roots without shoots
Long, pale stems usually need more light after they emerge. Move them closer to a suitable grow light or brighter window while keeping them warm, and give them enough space that leaves are not stacked together.
If roots appear but green shoots do not, the root may be too cool, oriented poorly, or receiving a setup that is wet but not warm. For a firm water-grown root, move it into a shallow, warm, moist tray with the upper surface exposed; for a soil-grown root, check that the mix is not compacted or saturated. A healthy root that still does nothing after a reasonable warm trial is a candidate for replacement, not a reason to keep watering it.
From Slips to a Harvest You Can Cure
The clock for the edible crop begins when you plant the slips, not when the first root hairs appear in the jar. Many varieties take around 90–120 days after planting, with weather, cultivar, soil, moisture, and planting date moving the harvest earlier or later. Each slip may produce several storage roots, but yield claims are only rough averages; warm soil and adequate space matter more than a promise attached to one potato.
As autumn approaches, watch for natural yellowing or dieback while keeping the first frost in mind. UGA Extension recommends harvesting before frost and notes that freshly dug roots have delicate skin. If the foliage is still green but the season is closing, test-dig one plant rather than pulling the entire bed based on a guess.
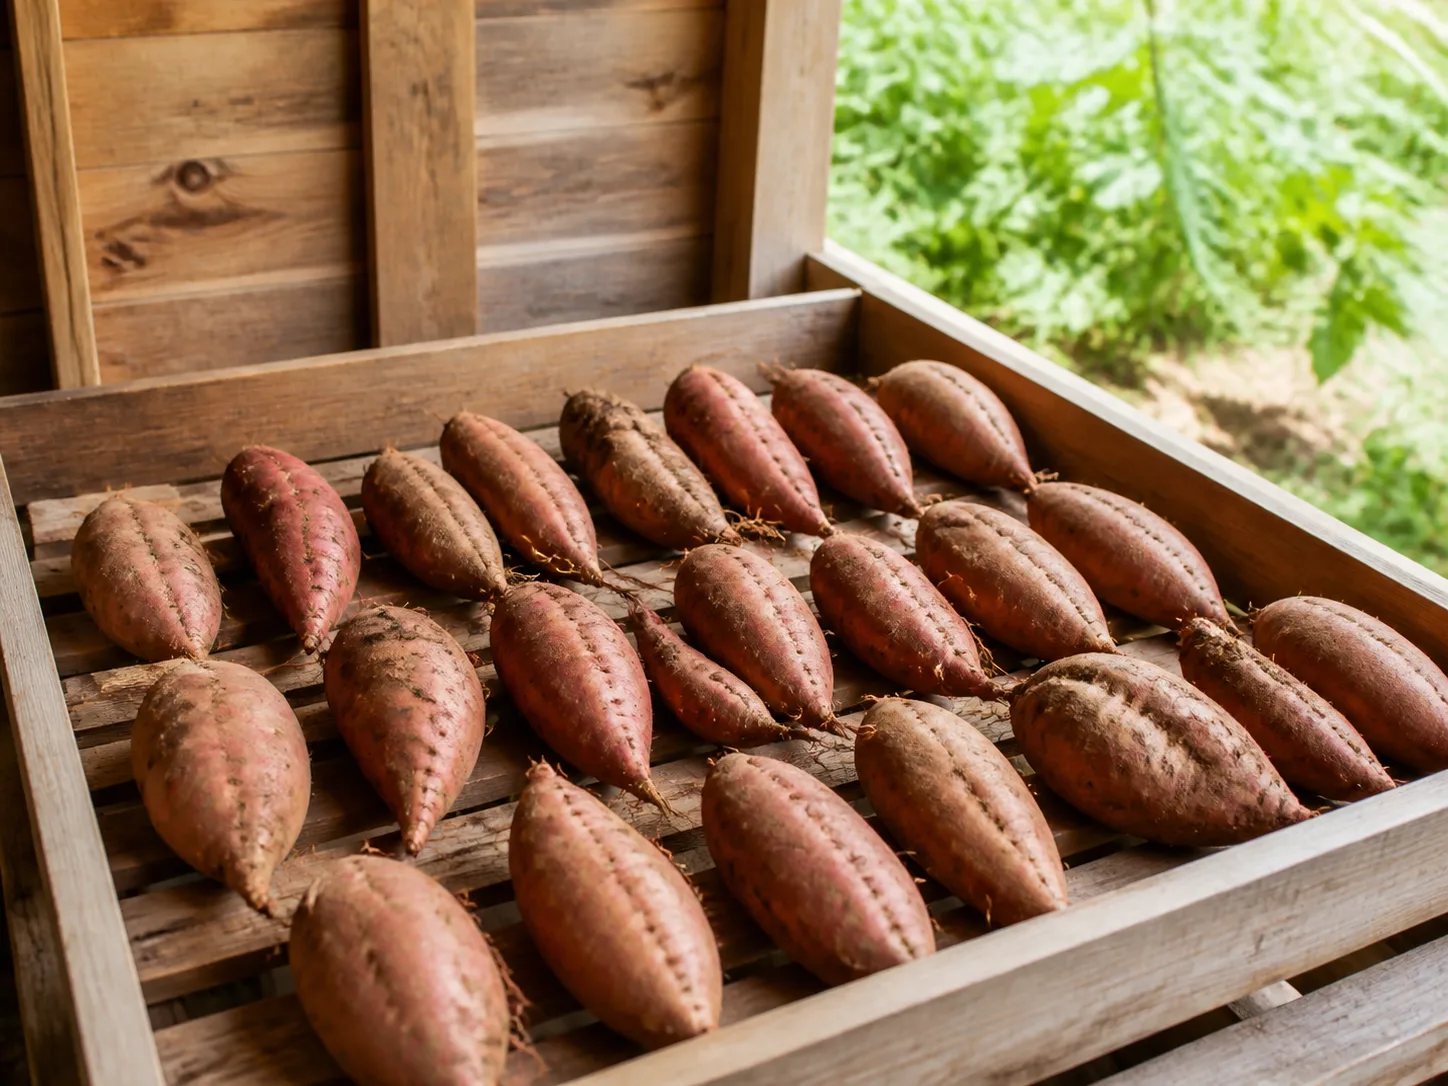
Cut or move the vines aside, then loosen soil well away from the plant base with a fork or trowel. Lift gently and handle the roots as little as possible because scratches and bruises become storage problems. Cure clean, intact roots in a warm, well-ventilated place for several days to about ten days; guidance varies with conditions, but roughly 80–85°F is a useful home target. After curing, keep them in a dark, ventilated place around 55–60°F and check periodically for decay.
Conclusion
Start with a firm edible root, provide steady warmth, and choose soil when you want the simplest route to rooted slips or water when you want the process visible. Separate leafy shoots carefully, keep their leaves, root any bare bases in clean water or loose mix, and wait to plant until both frost risk and soil temperature are on your side.
The most useful decision is also the easiest one to remember: count backward from a warm planting day, then let the plant—not a rigid calendar—tell you when each slip is ready. That small amount of timing discipline is what turns a sprouting sweet potato into a productive crop.



