How and When to Plant Bulbs for Every Season and Climate
Learn how and when to plant bulbs for spring, summer, or fall. Match planting time to your climate, prep well-drained soil, and set bulbs at the right depth.
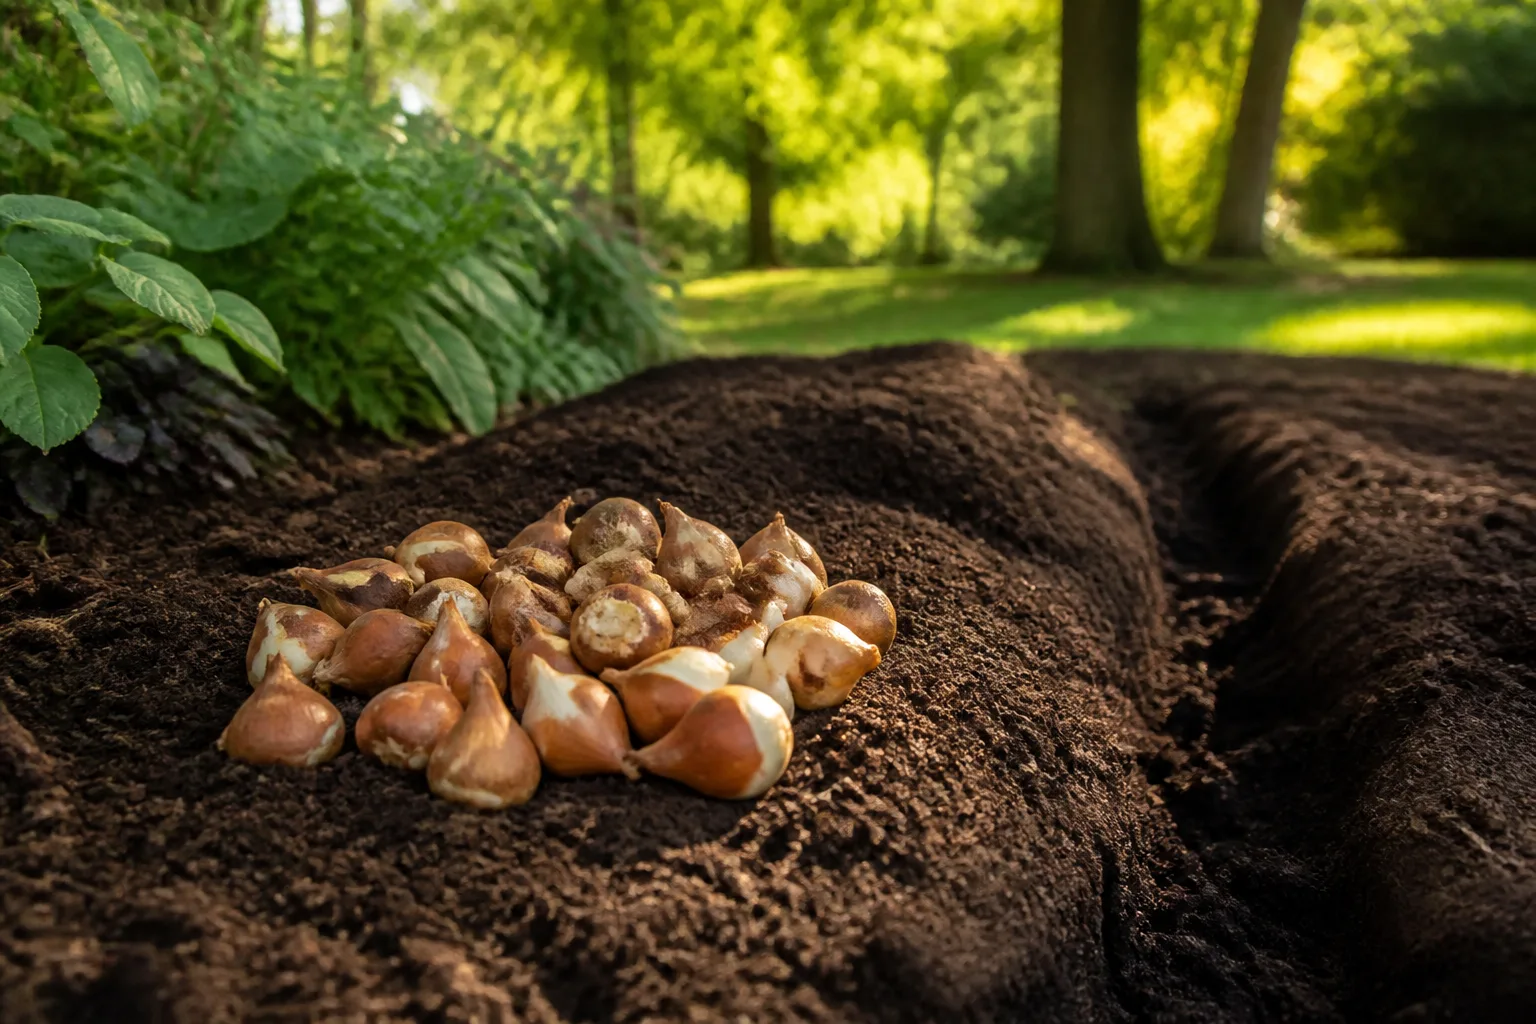
If you have a bag of bulbs on the potting bench and no idea whether to plant it now, start with the flower’s season and the plant’s cold tolerance. Most spring-flowering tulips, daffodils, hyacinths, and crocuses go into the ground in fall; many tender summer bloomers go in after spring frost; a smaller group of fall bloomers follows species-specific directions. “Bulb” is a garden-store umbrella term, so the label matters as much as the calendar.
The quickest route to a good display is to confirm what the plant is, choose a spot that drains, and follow its planting depth and chill requirements. The three-times rule is a useful starting point for many hardy bulbs, but it does not replace the instructions for dahlias, cannas, gladiolus, or other plants with different underground structures.
Start by identifying the storage organ
Bulbs store energy underground so the plant can survive a resting period and regrow. Gardeners often call every dormant, fleshy structure a bulb, but the group includes several different organs with different depth, orientation, hardiness, and storage needs. Knowing the plant name is more useful than judging by shape alone.
True bulbs, corms, tubers, and rhizomes
A true bulb, such as a tulip or daffodil, is made of layered fleshy scales around a growing point, protected by a papery skin on many species. Its flat basal plate is the bottom, where roots emerge. A corm, such as crocus or gladiolus, is a solid, compressed stem; a tuberous root such as dahlia has buds or “eyes” on its crown; a rhizome such as iris or canna is a horizontal stem. Extension references use “bulb” broadly for these storage organs, but they are not interchangeable in the ground. The University of Minnesota Extension’s overview of bulbs, tubers, and rhizomes lays out those differences.
| What you have | Examples | What to look for | Planting consequence |
|---|---|---|---|
| True bulb | Tulip, daffodil, hyacinth | Pointed shoot end, flat root plate | Usually point up, root plate down |
| Corm | Crocus, gladiolus | Solid, rounded or flattened body; bud at top | Often planted with the growing point upward; use the species depth |
| Tuber or tuberous root | Dahlia, tuberous begonia | Knobby storage tissue; buds or eyes near the crown | Set the eyes/crown according to the plant label; do not treat it like a tulip bulb |
| Rhizome | Bearded iris, canna | Horizontal, swollen stem with buds | Usually set horizontally and shallowly, not buried like a daffodil |
Buy firm material with no soft, leaking, or badly damaged areas. A dry outer skin or a few small surface marks are not the same as a mushy, moldy bulb; discard anything rotting rather than planting it beside healthy bulbs. If a package gives a named cultivar, save it and its depth information before the label disappears.
Match planting time to flowering season
The flower’s season is a starting clue, not a complete rule. The best planting time also depends on whether the plant needs winter chill, whether it survives local winters in the ground, and whether it is sold dormant or already growing.
| Group | Typical planting window | Examples | Why |
|---|---|---|---|
| Hardy spring-flowering bulbs | Fall, while soil is cooling but workable | Tulips, daffodils, crocuses, hyacinths | Fall roots establish before winter; many need a cold period to flower |
| Tender summer-flowering bulbs and tubers | Spring, after frost danger and soil warmth suit the species | Dahlias, gladiolus, tuberous begonias, many cannas | Tender material can be damaged by freezing soil or frost |
| Fall-flowering bulbs and corms | Species-specific, often late summer | Colchicum and saffron crocus | Dormancy and flowering cycles vary; one calendar does not fit all |
Spring bloomers: plant in fall
Hardy spring bulbs are planted after summer heat has eased and before the soil freezes solid. This gives them time to form roots and experience the cool period needed by many tulips, daffodils, hyacinths, and crocuses. In Iowa, October is the usual target; in Minnesota, mid-September to mid-October is common. Those are regional examples, not dates to copy everywhere: in a warmer area the right window may come later, while a very cold site may need earlier planting. Iowa State University Extension explains why October suits Iowa and why bulbs planted while September soil is still warm can emerge prematurely.
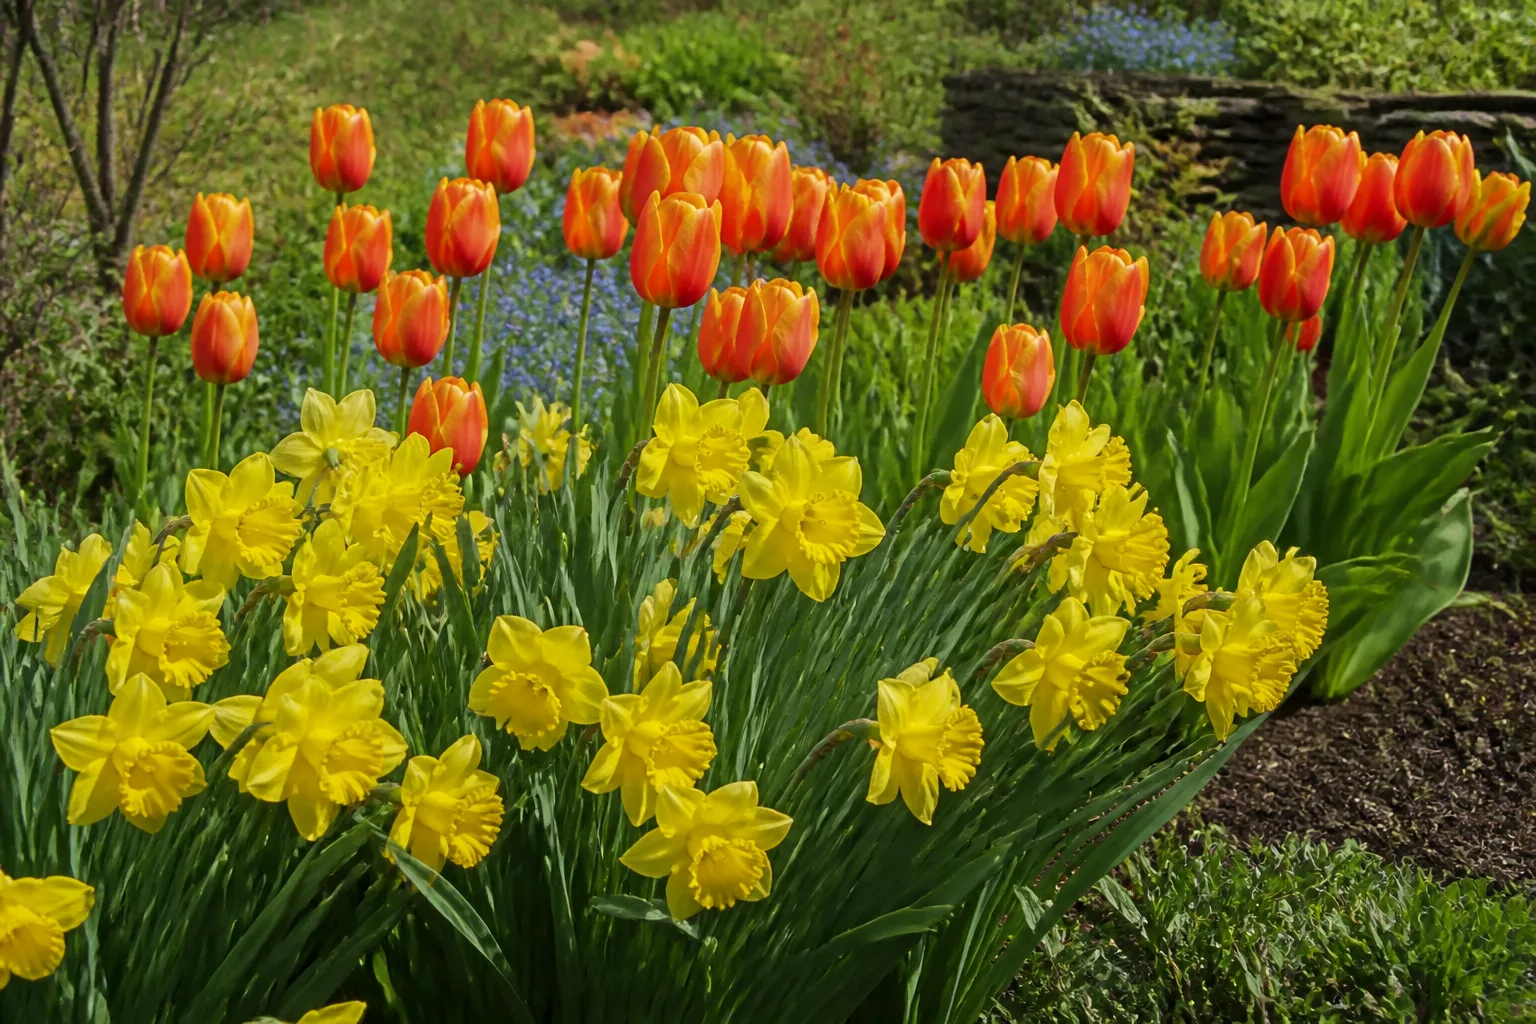
A late planting is generally better than leaving healthy bulbs in a warm cupboard until spring, provided you can work the soil without damaging it. Plant as soon as conditions allow, then expect that a very late or poorly rooted bulb may flower weakly or skip the first spring. Tulips are often more tolerant of late fall planting than many smaller bulbs, but package instructions and local guidance still come first.
Summer bloomers: mostly plant in spring
Many tender summer bloomers are planted in spring, once frost danger has passed and the soil has warmed. Dahlias, gladiolus, tuberous begonias, and many cannas fit this pattern, but their planting depths vary sharply. A dahlia tuber, a gladiolus corm, and a begonia tuber should not all be planted by the same “three times the bulb” calculation.
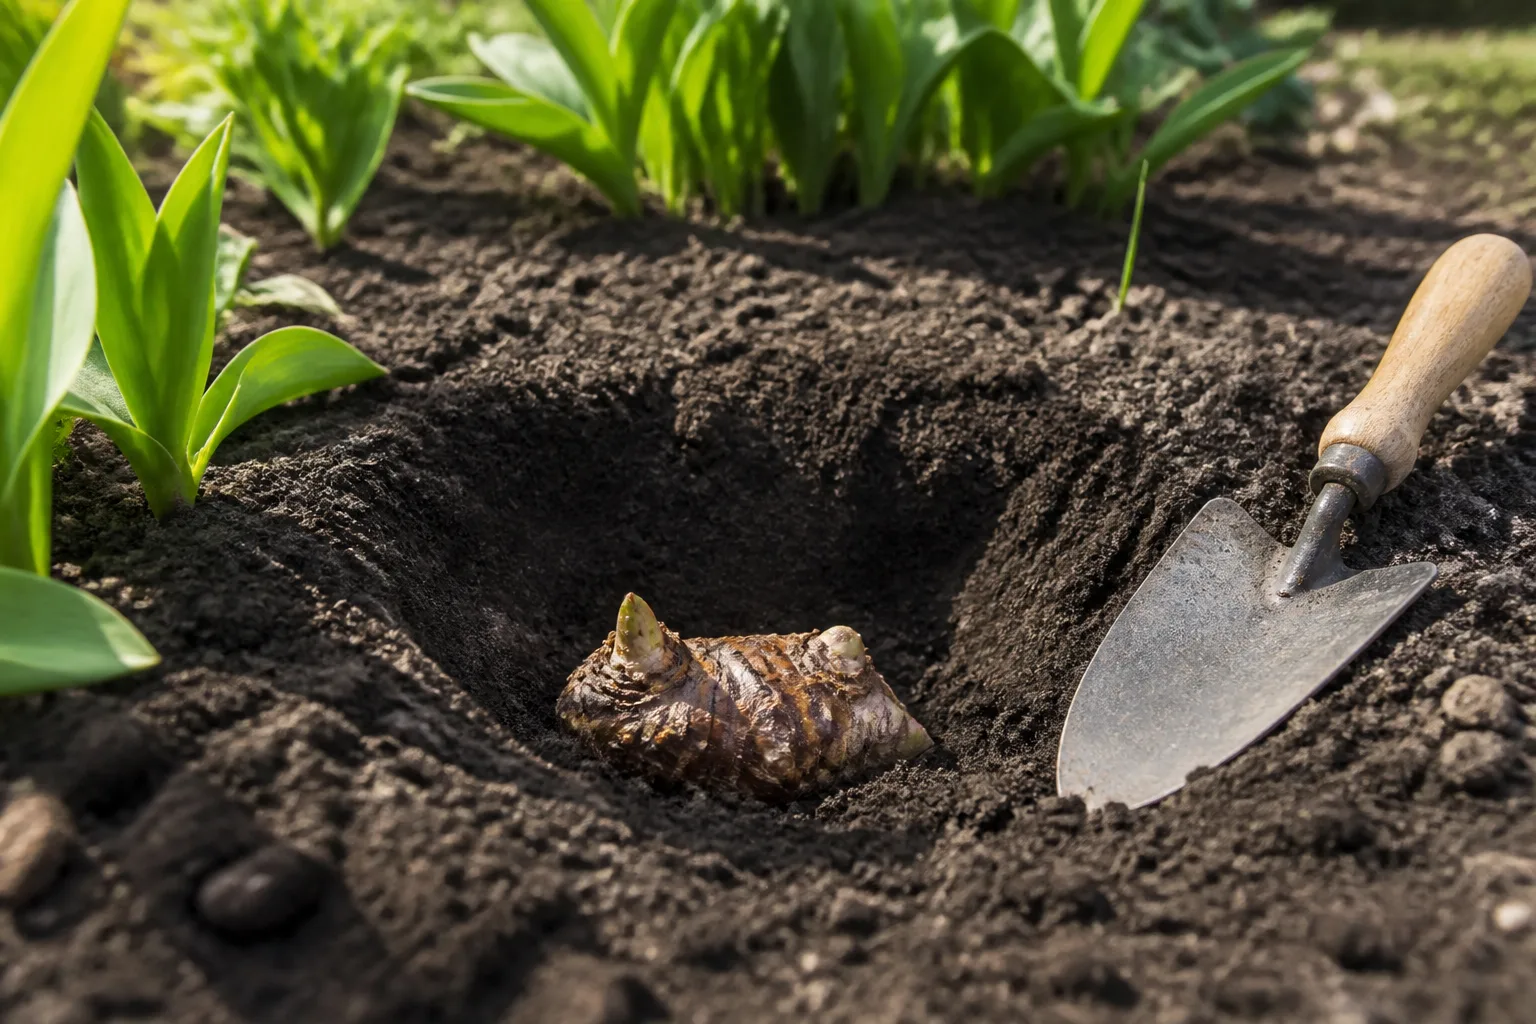
“Summer-blooming” does not automatically mean “tender.” Lilies are a useful exception: many garden lilies are hardy and are planted in fall or spring according to the species and local climate. Some other summer-flowering bulbs are also hardy enough for fall planting. The RHS growing guide separates hardy summer bulbs from tender summer bulbs and gives examples of shallow rhizome planting and species-specific tuber depth.
In a climate with freezing winters, tender bulbs may need to be lifted and stored rather than left outside. Wait until the foliage has died back or frost has killed it, then lift gently, label the plant, and follow its storage guidance. Dahlias, cannas, and gladiolus are not all stored identically; keeping each type labeled prevents a bag of dormant material from becoming a spring guessing game.
Fall bloomers: follow the species
Fall-flowering bulbs are a smaller and more varied group, so don’t infer their planting time from the word “fall.” Autumn crocus (including saffron crocus) and colchicum are often planted while dormant in late summer, whereas rain lilies and other species may be planted in spring. Some fall bloomers send up leaves in spring and flower months later, which can make an apparently empty planting area look as if it has failed.
Check the species label for planting season, depth, and whether the plant is winter-hardy where you live. If the packet is vague, use an extension or botanical-garden guide for that species rather than applying a generic spring-bulb rule. For a mixed bed, group fall bloomers where their different foliage and dormancy cycles will not surprise you or get disturbed by summer digging.
Use local soil and climate cues
A U.S. hardiness zone is useful for winter survival, but it cannot set one planting date for every yard. Elevation, exposure, slope, urban heat, soil texture, and autumn weather all change how quickly the ground cools and freezes. A sunny bed beside a south-facing wall may stay warm longer than an open north-facing garden.
A more reliable fall cue is the transition from hot soil to cool soil while the bed remains workable. Plant hardy bulbs after the soil has cooled from summer, with enough time for root growth before the ground freezes. Avoid rushing them into very warm soil in early fall, which can trigger premature shoots; also avoid delaying until the bed is frozen or waterlogged.
Cold-winter regions
In colder regions, use the local extension calendar as a guide, then adjust for your site. Minnesota Extension’s mid-September-to-mid-October window and Iowa State’s October advice show how timing shifts even between neighboring northern states. In a colder garden with early freezes, plant earlier within the local window; in a sheltered city garden with a late freeze, planting later may still work.
If you missed the preferred week but can still dig, plant the bulbs rather than saving them somewhere warm and dry for months. If the soil is frozen, consider potting them in a container with drainage and keeping it in a consistently cold, protected place where it receives the required chill without drying out. A heated living room is not a substitute for winter dormancy, and a container left exposed to repeated freeze-thaw cycles can be more vulnerable than a bed in the ground.
Warm-winter regions
In mild-winter regions, first ask whether the variety needs a cold treatment and whether the seller already chilled it. Many traditional spring bulbs are adapted to winters colder than those in warm regions; they may make leaves but fail to flower reliably when they do not receive enough chill. Some varieties are better suited to mild winters than others, so buying a variety selected for your climate is often simpler than trying to chill bulbs yourself.
The University of Georgia Cooperative Extension says many spring-flowering bulbs need about 12 to 16 weeks of cold treatment and advises checking with the supplier to learn whether bulbs were pre-cooled. That is not a universal requirement for every bulb, so use the cultivar’s label rather than treating the number as a guarantee. If you chill bulbs yourself, keep them in ventilated packaging at the recommended temperature and duration, and plant them when their schedule calls for it; UGA’s flowering-bulb guidance for Georgia gardens explains the region-specific options.
Choose well-drained soil and a suitable site
For most bulbs, soil that stays soggy is a more serious problem than soil that is merely imperfect. Dormant bulbs and corms can rot when they sit in saturated ground, especially in heavy clay or a low spot where rainwater collects. Before planting a large bed, watch it after rain; if water stands for hours or the soil stays sticky, choose another location, build a raised bed, or improve the whole planting area.
Light, drainage, and bed preparation
Many spring bulbs bloom before deciduous trees leaf out, so they can grow under open-branched trees even if the area becomes shaded later in summer. They still need enough light while their leaves are green and restoring energy to the underground storage organ. Summer bloomers have more varied light needs, so check the label instead of assuming every bulb wants full sun. UMN Extension notes both the value of spring light and the way deciduous shade arrives after many hardy bulbs have finished flowering.
Loosen the full bed to the intended planting depth and mix in mature compost across the area if the soil needs more structure. Avoid putting a rich, highly amended pocket only in each hole; a sudden change in texture can hold water around the bulb while the surrounding clay stays dense. In very heavy soil, solve the drainage issue across the bed or plant in a raised area rather than hoping a small handful of grit or compost will fix a waterlogged hole.
A soil test is a better basis for fertilizer than a generic bulb-food recipe. Extension advice on phosphorus varies by local soil: Illinois Extension discusses phosphorus at planting, while Minnesota notes that many local soils already contain ample phosphorus and advises against adding it unless a test shows a need. For a home garden, that is a good reason to skip automatic bone meal and high-nitrogen fertilizer; excessive nitrogen, fresh manure, and wet conditions can contribute to bulb rot. See Illinois Extension’s planting guide alongside UMN Extension’s soil and bulb guidance.
Plant at the depth and orientation the plant needs
The familiar rule for many hardy bulbs is to place them roughly two to three times their height below the soil surface. It is a starting point, not a universal formula: tiny bulbs, large bulbs, summer tubers, and rhizomes differ, and heavy or sandy soil can change the recommended depth. Read the package first, particularly for summer-flowering plants.
Measure depth and set each organ correctly
Depth instructions are not always measured the same way. Illinois Extension defines bulb planting depth from the bottom of the bulb, while UGA’s guide measures cover from the top; if you follow a package, use its stated convention. As a practical example, for a true bulb about two inches tall, a hole whose base is roughly four to six inches below the finished soil surface is a common starting range; that leaves less soil above the bulb than the hole’s total depth. Illinois Extension, UGA Cooperative Extension, and the RHS planting guide all emphasize using the bulb’s size while following the plant’s individual requirements.
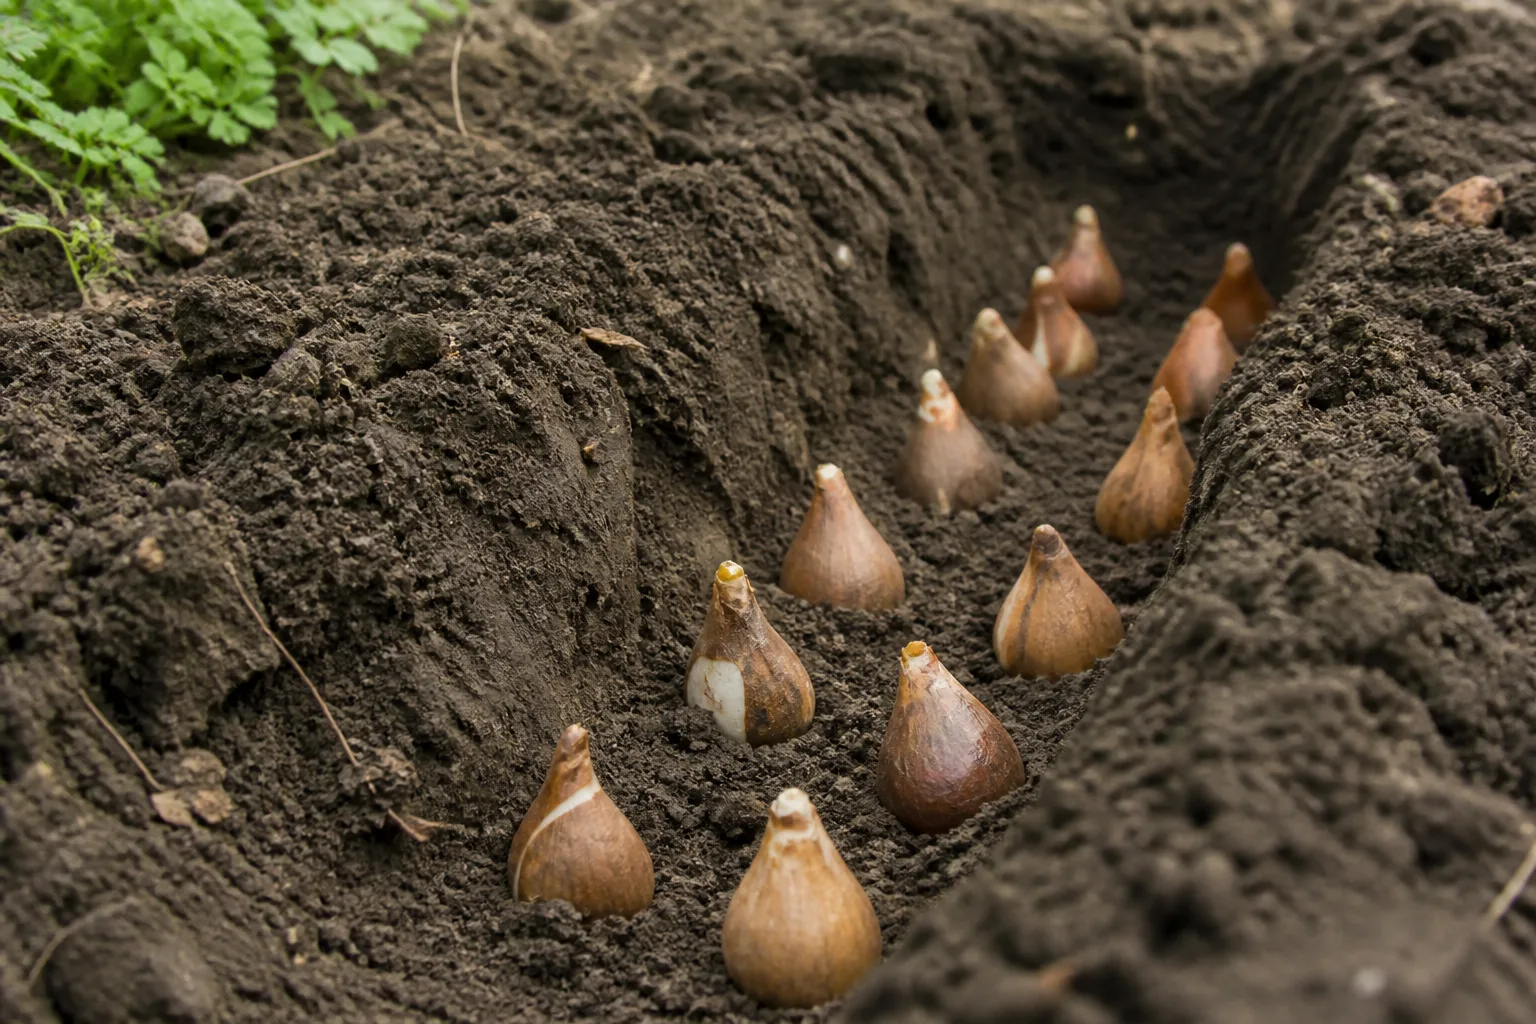
Set pointed true bulbs with the nose upward and basal plate down. If you cannot distinguish the ends, placing the bulb on its side is usually a better choice than guessing; the shoot can grow upward, though it may take longer. For a dahlia, locate the crown and eyes and follow the specified orientation; for a rhizome such as bearded iris, keep it shallow and horizontal rather than burying it like a tulip. Homes & Gardens’ depth guide gives species examples for daffodils, gladiolus corms, irises, hyacinths, and alliums, illustrating why one depth cannot fit every plant.
Dig a broad hole or trench for a group instead of forcing a narrow planter through compacted or stony soil. Loosen the soil beneath the bulb’s base, set bulbs on the prepared bed without pushing them into hard ground, and refill with the original soil. Large clusters are faster to plant this way and give roots an even bed to grow through.
Plan clusters, borders, and containers
Bulbs usually make a stronger display in loose groups than in single-file rows. Arrange them in clusters of an odd number or in drifts, keeping the distances on the packet so mature plants have room. For a natural look, place bulbs by hand in irregular patches; avoid dropping or throwing them, which can bruise them or leave them upside down. Gardener’s Supply’s spring-bulb planting guide describes dense informal groups and gives useful depth and spacing examples.
To stretch the season, combine early-, mid-, and late-flowering varieties that share compatible growing conditions. Bloom times are approximate and weather shifts them, so a layered sequence gives a better chance of weeks of color but not a date-by-date guarantee. Plant low crocuses toward the front of a border, taller tulips or alliums behind them, and leave space for the foliage to mature after flowers fade.
Layering bulbs in a pot
Use a container with open drainage holes and a potting mix that drains freely; bulbs dislike sitting in a water-filled cachepot. Place the largest or latest-flowering bulbs lower in the pot, cover them with mix, then add earlier, smaller bulbs above while keeping each layer at its recommended depth. Bulbs can be closer together in a short-term display than in a permanent bed, but they should not be packed so tightly that they touch or have no room for roots.
Water the pot after planting to settle the mix, then keep it cold enough for the varieties that need winter chill. In freezing climates, protect the container from repeated deep freezes by placing it in an unheated garage or other sheltered cold location, not a heated room. Layering is useful when garden space is limited, but tightly packed container bulbs may bloom less well in later years and are often treated as a seasonal display; the RHS container guidance discusses that trade-off.
Water and protect bulbs after planting
Water once after planting if the soil is dry, so it settles around the bulbs and roots can begin forming. Do not soak an already saturated bed or keep dormant fall bulbs constantly wet; frequent watering cannot compensate for poor drainage. During active growth in spring or summer, water deeply when rainfall is inadequate, because a brief sprinkle may only wet the soil surface.
In cold-winter gardens, apply a loose layer of mulch after the soil has cooled to moderate freeze-thaw changes and help prevent bulbs from being pushed toward the surface. Minnesota Extension recommends two to three inches of leaf mulch, wood mulch, or clean straw for its cold-climate context; warm-winter gardens may not need the same winter cover. Label the planting area and mark the bulb types so you do not dig through it when adding annuals in spring.
If squirrels or chipmunks dig up tulips, lay anchored wire mesh over the bed after planting and cover it with mulch. Shoots can grow through the openings, while the barrier makes casual digging harder. This is a practical deterrent for a bed with a known animal problem, not a guarantee against every rodent or animal.
Keep spring bulbs healthy after flowering
When flowers fade, remove the spent flower head from bulbs you want to keep, but leave the green leaves in place. The leaves make and store energy for the next growth cycle; cutting or tying them while they are green can weaken next year’s display. Let foliage turn yellow or brown naturally before removing it, even if that takes several weeks. Iowa State University Extension’s after-bloom guidance explains why premature leaf removal can reduce later flowering.
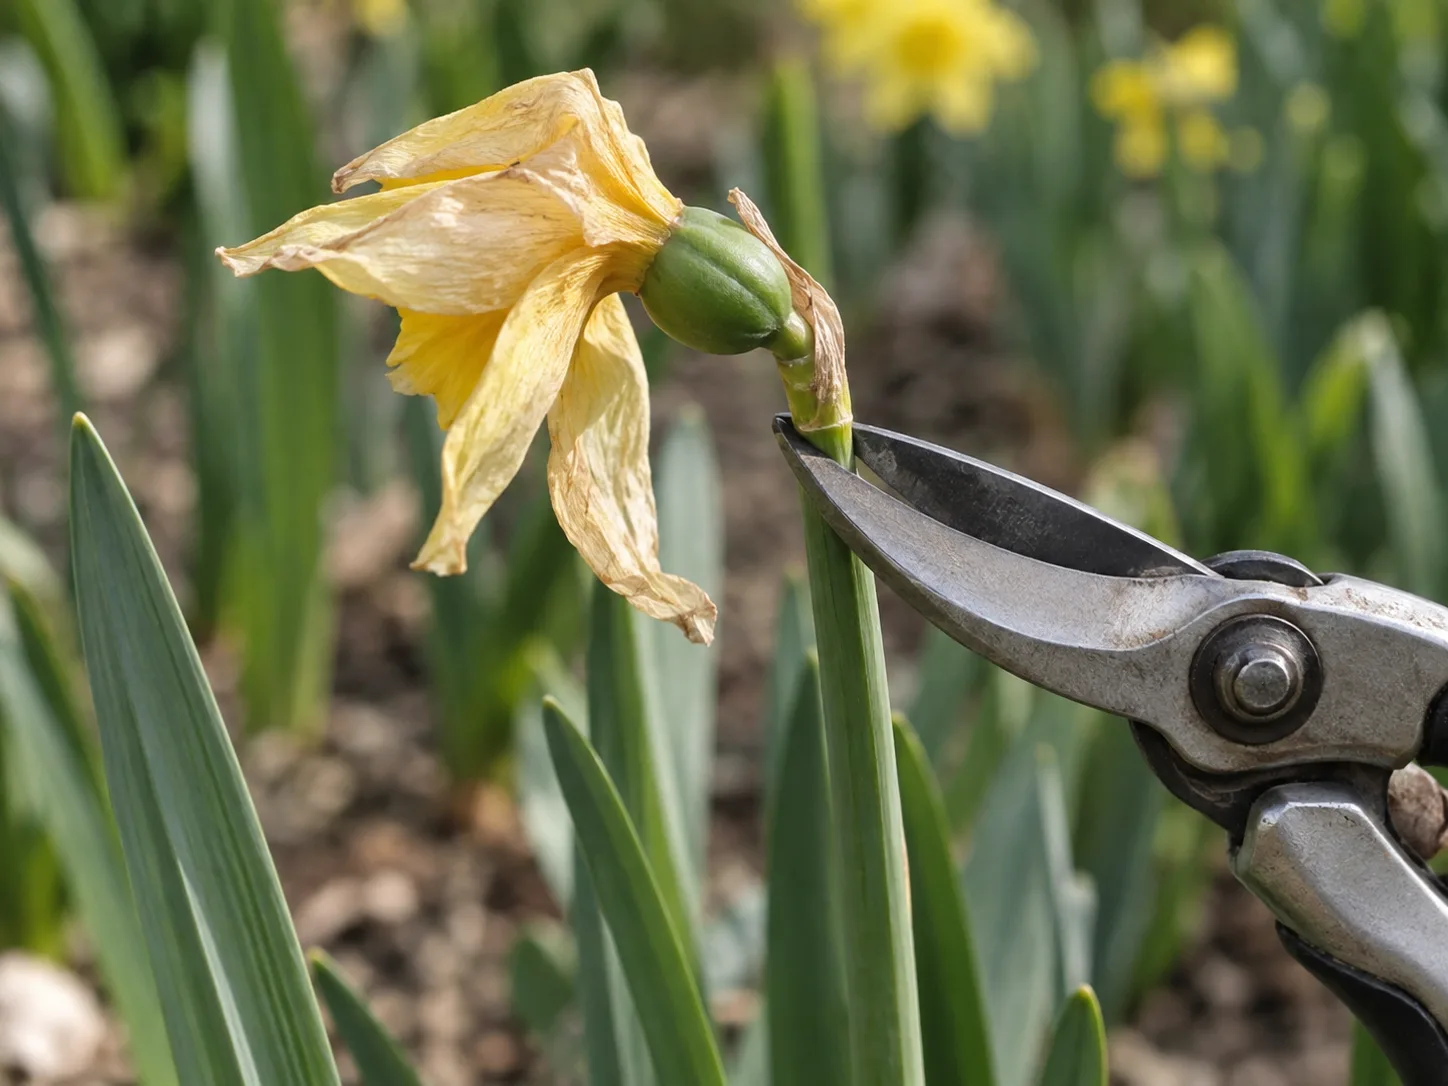
Make the resting foliage less conspicuous by planting bulbs among perennials that fill in as the bulb leaves fade, or place the clumps behind lower plants in a border. Do not mow a bulb-covered lawn until the leaves have yellowed if you want the bulbs to return; that makes some lawn settings a poor fit for larger bulbs with long-lasting leaves. Water in a dry spring while the foliage is still green, but avoid keeping the bed wet after the plants go dormant.
If flowers become smaller or stop appearing after several years, crowding may be the cause. Wait until foliage dies back, lift the clump carefully, separate healthy bulbs or divisions, and replant them at their proper depth. A soil test can help determine whether nutrients are actually missing before you fertilize.
Diagnose a planting that fails
If nothing appears, first ask whether the bulb was healthy and suited to your climate. A soft or dried-out bulb, premature fall sprouting, insufficient winter chill, late planting, animal digging, and a bulb planted too deep can all delay or prevent emergence. Mark the spot and wait until the expected bloom window has passed before digging; some species emerge later than familiar tulips or crocuses.
Leaves without flowers point to a different set of causes. The bulb may be too young or small to flower, may have missed its chilling requirement, may be shaded while its leaves are replenishing the bulb, or may have had its foliage cut early the previous year. Let the current leaves mature, improve light if needed, and check the label’s advice on chill and depth before replacing the planting.
A mushy bulb or a planting area that smells sour usually signals wet soil or decaying material. Remove rotting bulbs, improve drainage before replanting, and avoid adding fertilizer to a stressed bed as a quick fix. If bulbs disappear or sit on the surface after winter, investigate animal digging and freeze-thaw heaving; use a mesh barrier where rodents are a recurring problem and restore the planting depth.
Conclusion
For a reliable display, identify the plant before you pick a date: hardy spring bloomers usually go in during fall, tender summer bloomers usually go in after spring frost, and fall bloomers need species-specific timing. Then check the label, use a well-drained site, and set the storage organ at its recommended depth and orientation. Good soil, sensible watering, and intact foliage after bloom do more for repeat flowers than a calendar trick or a handful of untested fertilizer.



