How to Propagate Rosemary from Cuttings
Learn how to propagate rosemary from softwood cuttings in soil or water. Timing, node prep, humidity domes, and fixes when cuttings fail.
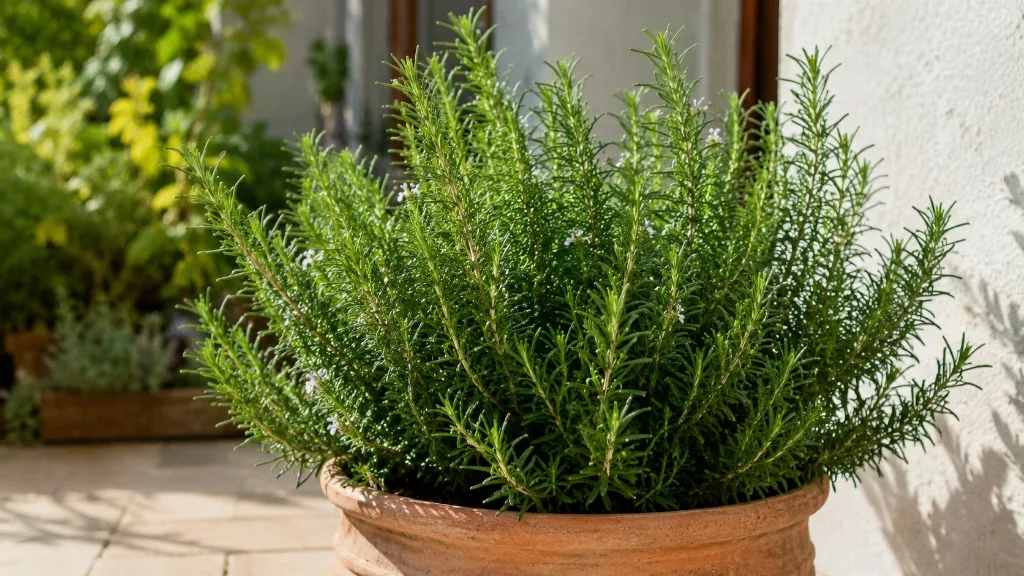
Rosemary is one of those herbs you never want to run out of — until winter kills the outdoor plant, the potted shrub outgrows its space, or you realize a single $6 nursery pot cannot supply every roast chicken and focaccia you planned. Propagating rosemary from stem cuttings solves that problem cheaply. Done with the right stem type, timing, and humidity, cuttings root often enough that experienced growers treat propagation as routine backup, not a gamble.
The phrase “every time” is honest only if you respect rosemary’s biology. This is not basil rooting in a week. Rosemary is a woody Mediterranean shrub (Salvia rosmarinus, formerly classified as Rosmarinus officinalis) that roots slowly and fails quietly when you grab the wrong stem or let cuttings dry out. The method below is the one extension offices and herb growers converge on because it stacks the odds in your favor — not because rosemary roots on autopilot.
Why Stem Cuttings Beat Seeds for Rosemary
Rosemary seed germination is notoriously uneven. Seed coats are slow to break, seedlings vary in vigor, and named cultivars do not come true from seed the way a cutting clones the parent plant. Vegetative propagation — taking a stem and convincing it to grow its own roots — gives you a genetic copy of a plant you already like: the prostrate type that spills over a wall, the upright kitchen hedge, the especially fragrant clone from a friend’s garden.
Stem cuttings also fit how rosemary grows in the garden. Mature plants benefit from regular pruning to stay bushy instead of leggy. Every pruning session is a chance to turn trimmings into new plants rather than compost. For gardeners in USDA zones 6 and 7, where rosemary is borderline hardy, cuttings taken in late summer or early autumn become small overwintering plants that replace what the cold may kill outdoors. In zones 8 and warmer, where rosemary often behaves as a perennial, spring cuttings expand your supply for new beds, gifts, or container replacements.
NC State Extension Master Gardeners in Chatham County note that only 30–50% of rosemary cuttings typically root under home conditions (Chatham County Extension). That is not a failure of the method — it is the baseline. Start two to three times more cuttings than you need, and you will still come out ahead of buying plants every spring.
When to Take Rosemary Cuttings (By Climate and Goal)
Timing matters more for rosemary than for soft herbs like basil because the stem changes character through the season. What roots easily in May may sulk in November.
Best Months for Softwood Cuttings
Late spring through summer is the sweet spot for most gardeners. After winter dormancy, rosemary pushes soft green growth that is flexible, hydrated, and full of rooting potential. The RHS classifies herbs among plants suited to semi-ripe cuttings taken from late summer into early autumn, when stem bases firm up but tips stay relatively soft. For rosemary, think of it practically: if the stem bends without snapping and the needles look bright green, you are in workable territory.
Take cuttings in the morning when the plant is fully hydrated, especially during hot weather. Water the mother plant the day before if soil is dry. Stressed, wilted stems root poorly and brown faster under a humidity dome.
Match your goal to the calendar:
- Expand an in-ground hedge or fill spring containers: Take cuttings from new spring growth through midsummer.
- Replace plants lost to winter in zones 5–7: Take cuttings in late summer or early autumn and grow them indoors through winter.
- Rescue a leggy potted plant: Prune and propagate whenever healthy soft growth is present, as long as you can provide warmth and bright indirect light.
Avoid taking cuttings from stems that are flowering heavily. Bloom diverts energy away from root formation. If only flowering tips are available, snip flowers off and use the stem anyway, but expect slower rooting.
Fall Cuttings for Cold-Climate Overwintering
If your rosemary dies outdoors every winter, fall propagation is less about speed and more about insurance. Experienced cold-climate herb growers often take cuttings just before the first frost, root them indoors under lights, and pot them up for kitchen harvests all winter (Savvy Gardening). Those same plants transplant into the garden after the last frost the following year.
Fall cuttings are often semi-hardwood — greener than winter wood, firmer than spring softwood. They can root in water or soil, though water propagation of very soft spring stems sometimes rots before roots form. Semi-ripe autumn material often tolerates water better, which is why you will see conflicting advice online. The soil method remains more forgiving year-round.
What You Need Before You Start
Propagation is simple, but sloppiness costs you weeks. Gather materials before you cut so stems are not sitting on the counter drying out.
Choosing a Healthy Mother Plant
Cuttings inherit everything from the parent: vigor, disease resistance, flavor, growth habit. Choose a plant that is:
- Free of pests (spider mites love dusty indoor rosemary)
- Free of obvious disease (blackened stems, widespread yellowing, powdery mildew)
- Actively growing with fresh green or semi-green stems
- Not drought-stressed or sitting in waterlogged soil
You can take cuttings from store-bought rosemary sprigs only if they are fresh, green, and not treated with anti-sprouting chemicals. Organic bunches from a grocer sometimes root; dry woody bundles from a spice aisle will not. When in doubt, use a living potted plant or a neighbor’s garden shrub you know is healthy.
Tools and Materials Checklist
For all methods:
- Sharp scissors, snips, or pruners — dull blades crush stems
- Rubbing alcohol or diluted bleach dip to sanitize blades between cuts
- Small clear jars (water method) or 3- to 4-inch pots with drainage holes (soil method)
- Bright indirect light location or grow lights; target around 70°F (21°C) for rooting
For soil rooting:
- Well-draining rooting medium: coarse sand, perlite, vermiculite, seed-starting mix, or potting soil cut 50/50 with perlite — never heavy garden clay (Chatham County Extension)
- Pencil or dibber to make planting holes without rubbing off hormone
- Optional rooting hormone powder (IBA) — helpful, not mandatory
- Clear plastic bag, humidity dome, or inverted zip bag to cover pots
For potting up later:
- Terracotta or breathable pots (rosemary hates wet feet)
- Cactus mix or potting mix amended with perlite, grit, or sand
- Space to harden plants before outdoor planting
For year-round care after roots form, keep our rosemary hub and watering guide bookmarked — overwatering young plants is the fastest way to lose a successful propagation batch.
How to Take Rosemary Cuttings That Actually Root
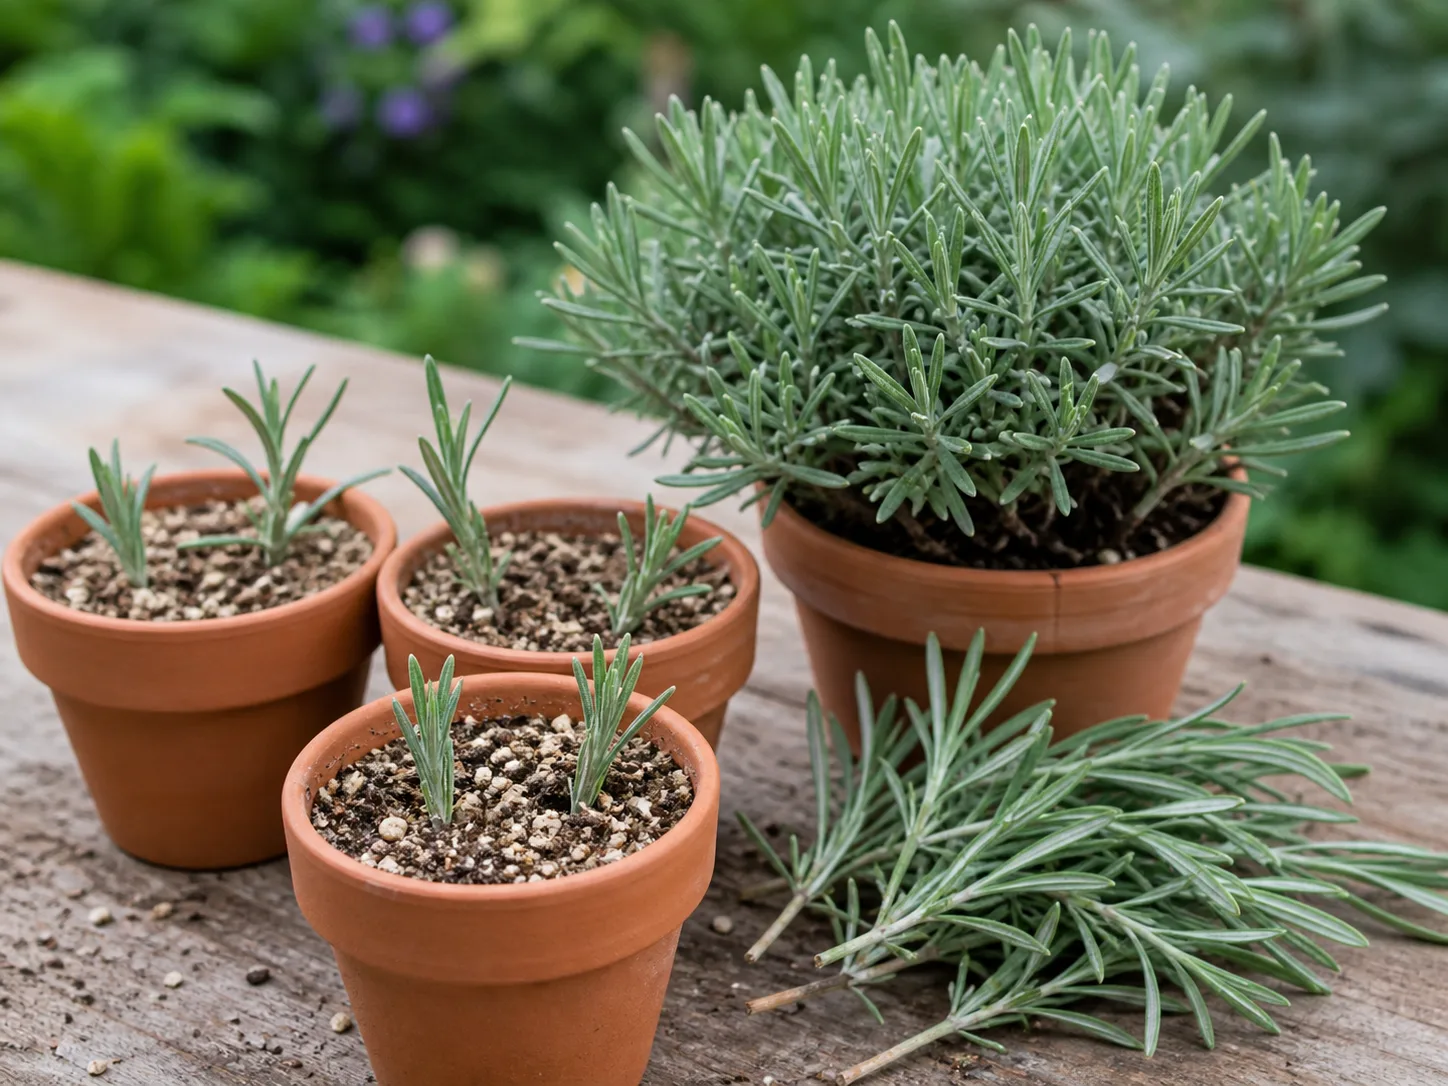
Bad cuttings fail before they reach the pot. Good prep takes two minutes and doubles your odds.
Softwood vs Semi-Ripe vs Woody Stems
Softwood (spring–summer green growth) roots fastest. Stems bend easily, needles are pliable, and bark has not thickened. This is what you want for first-time propagators.
Semi-ripe (late summer–early autumn) has a firmer base and softer tip. Still workable — the RHS lists rosemary among herbs propagated this way. Rooting may take slightly longer than peak softwood.
Hard woody stems from old wood or winter branches will not root. They look brown, snap instead of bend, and lack the meristem activity needed for adventitious roots. If you accidentally grab woody material, compost it and move on.
Cutting Length, Nodes, and Leaf Stripping
Follow this sequence every time:
- Select a healthy stem with no flowers if possible.
- Cut 3 to 6 inches (8–15 cm) from the tip or a medial section. Terminal tips and medial segments both work; one long branch can yield several cuttings.
- Cut just below a leaf node — the slightly swollen bump where leaves attach. Rooting hormones concentrate at nodes, and cutting there triggers the plant’s wound response (NC State stem cuttings guide).
- Strip leaves from the bottom half of the stem so two to three leaf clusters remain at the top. Any leaves buried in soil or submerged in water rot and invite fungus.
- Plant or place in water within minutes. Cuttings that sit out callus over and root more slowly — sometimes not at all.
Aim for at least two bare nodes below the soil or water line. More surface area at nodes means more potential root sites.
The Soil Method (Most Reliable for Long-Term Plants)
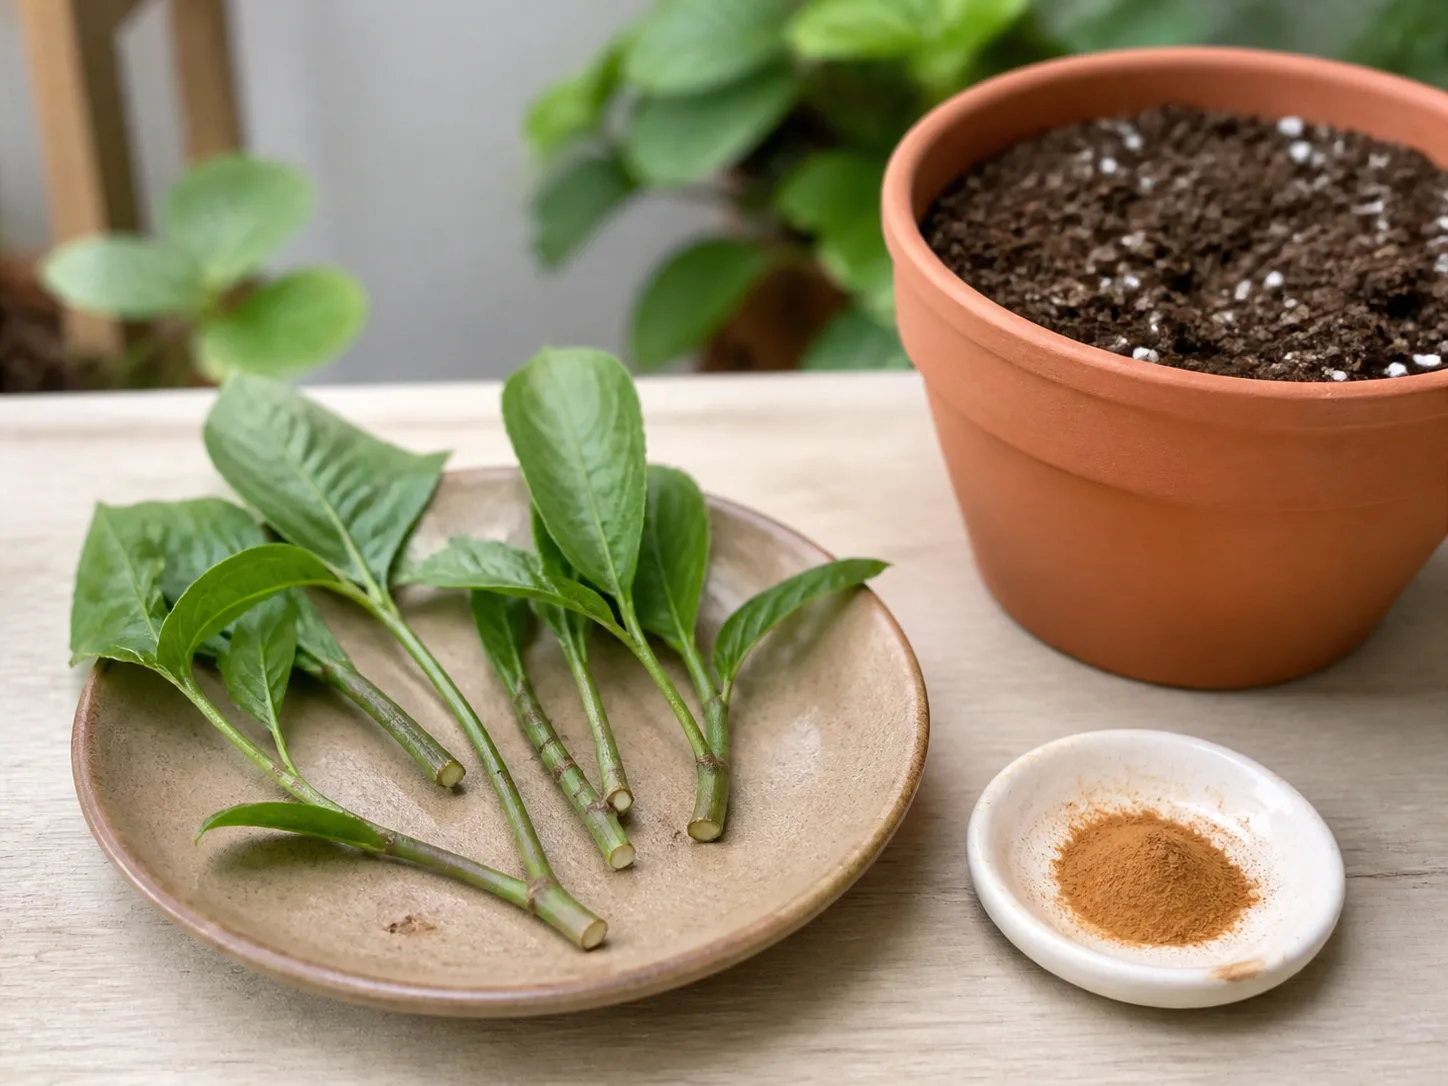
Soil propagation takes longer than water, but the roots that form are sturdier and transplant with less shock. If your end goal is a garden shrub or a long-lived patio pot, start here.
Mix, Pots, Rooting Hormone, and Planting Depth
Fill clean pots at least 3 inches deep with moist — not soggy — rooting medium. Pre-moisten mix so dry pockets do not wick water away from cut stems.
Dip the bottom 1 inch (2.5 cm) of each cutting in water, then into rooting hormone powder if using. Tap off excess; a heavy crust can inhibit contact with soil.
Use a pencil to poke a deep narrow hole along the pot wall. Insert the cutting so bare nodes sit below the surface and remaining needles sit above. Firm medium gently around the stem without compacting it into concrete. Space multiple cuttings 1–2 inches apart in the same pot — propagating several at once improves your statistical odds of success.
Humidity Dome Setup and Daily Care
Cover the pot with a clear plastic bag or dome, trapping humidity like a mini greenhouse. If using a bag, prop it with sticks so plastic does not rest on needles. Place pots in bright indirect light, not direct sun — trapped heat under plastic cooks cuttings quickly.
Temperature target: roughly 65–75°F (18–24°C). A warm windowsill away from cold drafts works; grow lights or fluorescent fixtures work well for winter batches.
Watering: Keep medium evenly moist, never waterlogged. Check every few days by lifting the pot — light weight means water soon. Ventilate daily: remove the cover for 30–60 minutes to exchange air and prevent mold. Replace cover afterward.
Rosemary hates wet feet even as a cutting. If needles look yellow and soil smells sour, you are overwatering.
How to Know Roots Have Formed
Patience is non-negotiable. Soil-rooted rosemary cuttings typically need 4 to 8 weeks before they are ready to move. Begin checking around week four by gently tugging the stem. Resistance means roots. No resistance after eight weeks usually means failure — discard those stems and diagnose what went wrong (see troubleshooting below).
Visible new green growth at the tip is encouraging but not proof of roots; sometimes tops linger while roots lag. The tug test plus a slight lift with a craft stick to peek at root mass below is the reliable combo extension educators recommend.
Once each cutting has a solid root ball, transplant into individual 4-inch pots with well-draining mix. Our rosemary propagation page walks through ongoing care as plants mature.
Rooting Rosemary Cuttings in Water
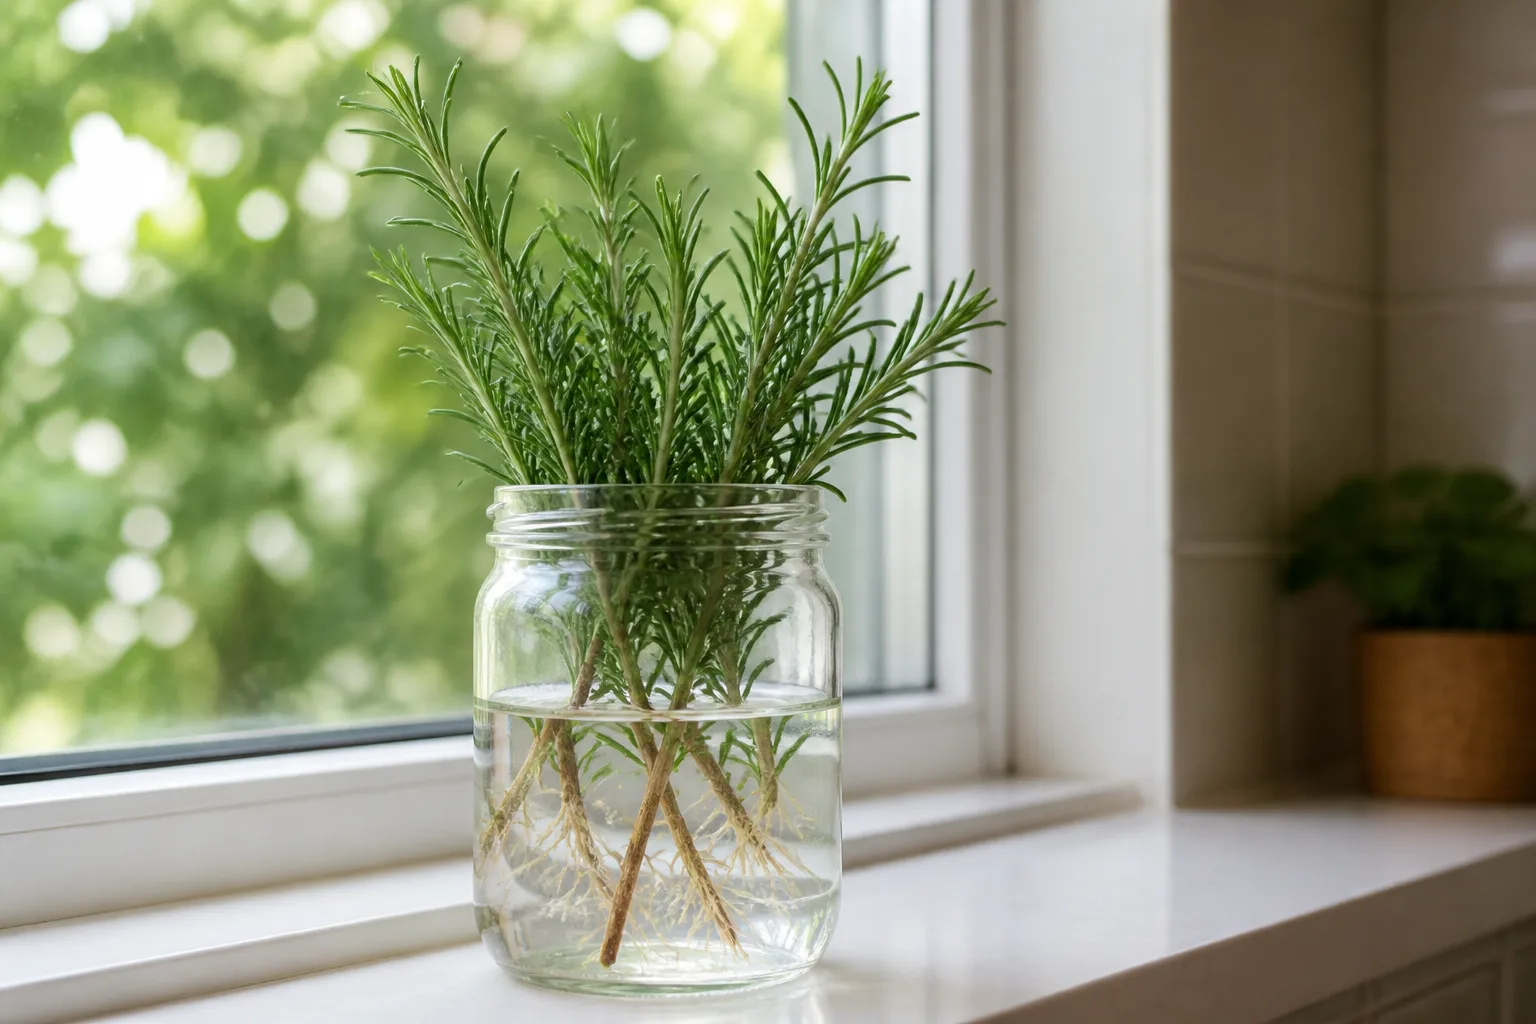
Water propagation is the method most beginners try first because you can watch roots form. It works — with conditions.
Take the same prepared cuttings: 3–6 inches, bottom leaves stripped, cut below a node. Place stems in a clear glass or jar with 2–3 inches of stem submerged and no leaves below the waterline. Use room-temperature tap or filtered water; change it every 3–5 days, or whenever it clouds.
Set jars in bright indirect light at warm room temperature. Roots often appear in 2 to 6 weeks, sometimes faster on semi-ripe autumn stems than on very soft spring growth. Soft spring cuttings in water are more prone to stem rot at the waterline — if the base turns mushy, switch those stems to soil or start fresh cuttings.
Do not leave water-rooted rosemary in jars indefinitely. Once roots reach ½ inch (1 cm) or longer, pot into soil. Water roots are fragile; handle gently and keep humidity high for the first week after transplant (a loose bag over the potted cutting helps). Transition to normal watering as new top growth firms up.
Water propagation is excellent for kitchen-window projects and for gardeners who want visual confirmation before committing potting mix. It is less ideal if you need tough outdoor-ready plants quickly.
Soil vs Water: Which Method Should You Use?
Use this quick decision guide:
| Your situation | Best method |
|---|---|
| First-time propagator in spring with soft green stems | Soil — fewer rot issues |
| Want to watch roots form on a windowsill | Water — then pot up promptly |
| Cold climate, fall overwintering indoors | Either; semi-ripe fall stems often handle water well |
| Need plants for outdoor beds long-term | Soil — stronger root structure |
| Only have grocery-store sprigs to try | Water first to test viability, then pot |
Neither method needs rooting hormone, but hormone powder modestly speeds soil rooting for woody herbs. Skip hormone in water — it washes off immediately.
Potting Up, Hardening Off, and Moving Outdoors
Rooted cuttings are babies, not finished shrubs. Treat the next month as nursery time.
Pot sizing: Start rooted cuttings in 4-inch pots. Rosemary prefers to settle before jumping to large containers. Repot into the next size up only when roots circle the pot — usually increasing diameter by 1–2 inches at a time. A mature container rosemary eventually wants a deep 10-inch pot with excellent drainage.
Soil: Cactus mix or quality potting soil with added perlite, grit, or sand. Terracotta helps dry soil faster than plastic — a real advantage for this drought-tolerant herb (RHS grow-your-own rosemary).
Light after rooting: Move plants gradually toward six to eight hours of direct sun once established indoors. Young cuttings scorch under sudden full-sun exposure.
Outdoor transplant timing: Wait until all danger of frost has passed and daytime temperatures reliably reach 65–70°F (18–21°C). Harden off for 5–7 days by placing pots outdoors in sheltered shade for increasing hours, then full sun. Skipping hardening causes wilting even on well-rooted plants.
In zones where rosemary survives winter outdoors, fall-propagated plants may stay potted until the following spring rather than planting late in the season. For full cultural guidance — pruning shape, harvest, winter protection — see our grow and care for rosemary guide and pruning page.
Common Rosemary Propagation Failures (and Fixes)
Brown, dry needles on the cutting tip. Usually dehydration, direct sun under plastic, or cutting taken from a stressed plant. Move to bright indirect light, mist inside the dome lightly if air is very dry, and ensure medium stays moist — not saturated.
Mushy stem base in water or soil. Rot from leaves submerged, cloudy water, or overwatered soil. Remove affected cuttings immediately so fungus does not spread. Strip leaves more aggressively next round; ventilate dome daily.
No roots after eight weeks, stem still green. Often woody cutting, cold temperatures, or dried-out medium. Verify stem was softwood, warm the rooting zone, and restart with fresher spring growth.
Roots in water, plant dies after potting. Transplant shock. Pot sooner when roots are ½ inch long, keep humidity high the first week, and avoid disturbing fragile roots. Shade for several days after transplant.
Everything rooted — then plants collapsed in winter. Rosemary is hardy only to about USDA zone 8 for in-ground culture; some cultivars survive zone 7 with protection. In colder zones, treat propagated plants as container or indoor winter specimens, not guaranteed perennials outdoors without mulch and drainage management.
If lower stems blacken after potting, review drainage and watering — that pattern often precedes root rot on established rosemary too.
Conclusion
Propagating rosemary “every time” is really propagating rosemary the right way every time you try: soft green stems, sharp sanitized cuts, nodes buried, humidity held, and expectations calibrated to a slow-rooting woody herb. Soil gives you the toughest plants; water gives you the clearest feedback. Start three times more cuttings than you need, check for roots at four weeks, and pot up with the same sharp drainage you would give a mature shrub.
Whether you are stocking a kitchen windowsill, replacing winter losses in zone 6, or cloning a favorite prostrate cultivar for a pathway edge, stem cuttings remain the most practical propagation path rosemary offers. Seeds can wait. Woody trimmings belong in the compost. The green spring growth on your mother plant — that is your next rosemary hedge.



