How to Repot a Fiddle Leaf Fig the Right Way
Learn how to repot a fiddle leaf fig with the right pot, loose soil mix, root check, watering method, and aftercare to avoid root rot.
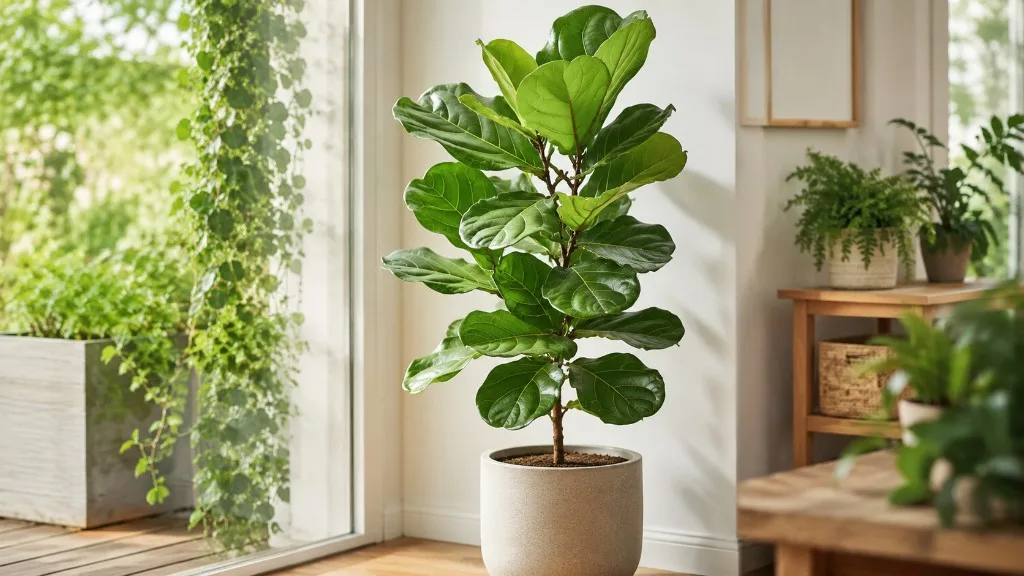
Repot a fiddle leaf fig when its roots or potting mix show a real problem—not because a calendar says it is time. The safest move is usually a modestly larger pot with a drainage hole, an airy houseplant mix, the original soil line preserved, and a quiet recovery period afterward.
Fiddle leaf figs (Ficus lyrata) are tropical trees that can reach 2 to 10 feet as houseplants, according to NC State Extension. Their large leaves make every change look dramatic, but the plant is not as fragile as its reputation suggests. What causes trouble is usually a chain of preventable choices: repotting a healthy plant unnecessarily, jumping to a pot that is much too large, burying the trunk, or leaving the new root zone wet for too long.
The short answer: repot only when the root zone asks
A fiddle leaf fig needs repotting when its current container is restricting the root ball, the mix has broken down, or a drainage or root-health problem requires a reset. The strongest signals are roots circling densely around the outside of the root ball, roots emerging from the drainage holes or soil surface, water running through without wetting the mix, or growth that has stalled while the plant otherwise receives enough light.
Spring or the beginning of the plant’s active growing season is the easiest time to repot because the fig has more energy and a longer warm season to rebuild fine roots. Both Epic Gardening and Gardening Know How emphasize a condition-based decision rather than a fixed annual schedule. Break that seasonal preference if the plant is sitting in stagnant water, the pot is failing, or the root system is visibly rotting.
If the only problem is that you dislike the nursery pot, use a decorative outer pot as a cachepot and leave the healthy plant in its current draining container. A cosmetic upgrade does not justify disturbing a stable root system.
Signs your fiddle leaf fig is ready
Look for a pattern, not one isolated symptom. A single yellow lower leaf can be normal aging or a watering fluctuation; roots packed into a solid ring plus water that races through the pot is a much stronger case for repotting.
Use this quick check before you buy a pot:
- Inspect the drainage holes. White or tan roots reaching out are a sign of crowding. Black, soft, or foul-smelling material points to root damage rather than simple crowding.
- Test how water behaves. If water immediately pours down the sides and out the bottom, the mix may have pulled away from the pot or become too compact and hydrophobic. If water sits on the surface for a long time, the mix may be dense or the root zone may already be waterlogged.
- Check the soil depth. A settled mix can leave the root ball exposed at the top, while a plant that has slowly sunk may have a buried trunk. Both situations deserve correction, but neither automatically means a larger pot.
- Look at growth and drying speed together. Stalled new growth, frequent wilting soon after watering, or a pot that dries unusually fast can indicate root crowding or degraded mix. Confirm light and pests before blaming the pot.
When yellow leaves do not mean “repot now”
Yellow or drooping leaves are not a repotting diagnosis by themselves. NC State Extension lists both too much and too little water as causes of leaf drop, while UC Agriculture and Natural Resources also points to drafts, low light, and moisture swings as common stressors.
If the soil is still wet several inches down, a larger pot will make the same problem last longer. If the plant sits beside a heater or air-conditioning vent, or has recently moved from a bright nursery to a dim room, fix that condition first. Repot only when you have evidence that the container or roots are part of the problem.
Pick a pot that fixes the problem
Choose a container with an inside diameter roughly 1 to 2 inches larger than the current root ball or pot for most indoor figs. A very small, fast-growing plant may use a slightly larger step; a mature tree often needs only a modest upgrade because its extra weight and slower growth make a huge reservoir of wet soil especially risky.
Measure the root ball, not the height of the leaves. A tall fiddle leaf fig does not need a giant pot simply because its canopy is tall. If the plant is top-heavy, choose a heavier container with a stable base, but keep the root-zone increase conservative.
The new container should be clean, structurally sound, and wide enough to accept the root ball without squeezing it. A pot that tapers sharply at the opening can make the next repot unnecessarily destructive; a straighter-sided nursery pot inside a decorative cover is often easier to manage.
Drainage holes are the non-negotiable
The growing pot needs one or more open drainage holes. NC State describes fiddle leaf figs as preferring moist but well-drained soil and flags wet soils as a problem, so a sealed vessel removes your most reliable way to control excess water.
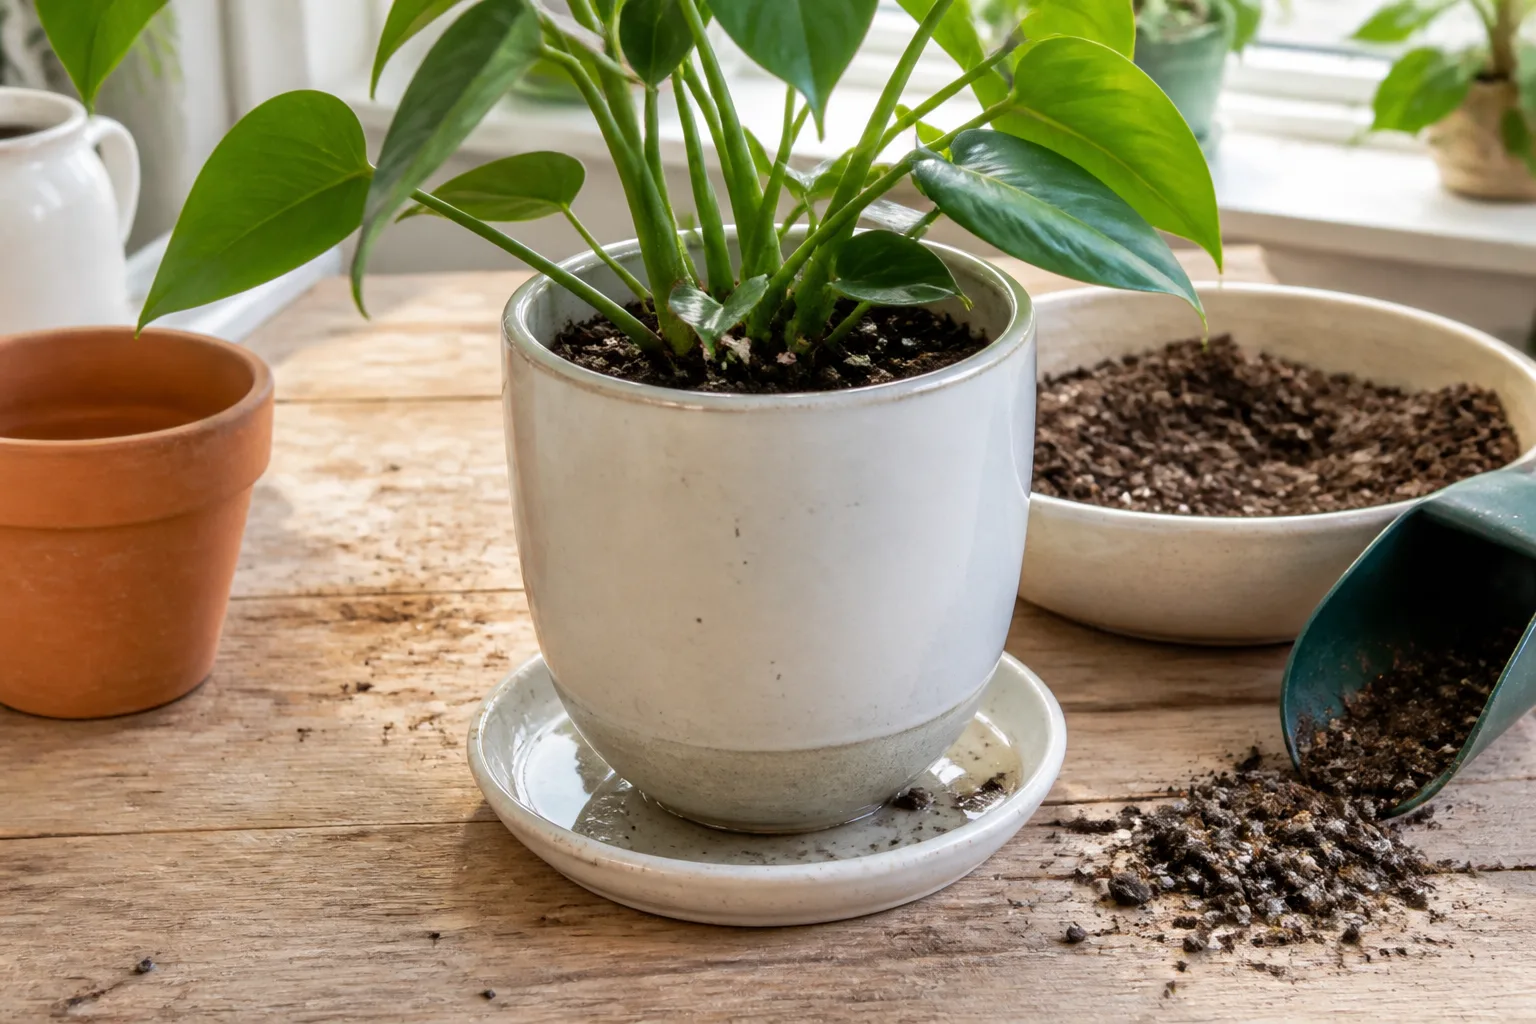
If you want a ceramic or woven look, plant the fig in a plastic or terracotta pot with holes and set that pot inside a cachepot. After watering, let the inner pot drain completely before returning it to the outer container. Do not let the inner pot sit in a hidden pool of water.
A layer of gravel, rocks, corks, or broken pottery inside a sealed pot is not a substitute for a hole. It may create a separate water reservoir below the soil while the lower part of the root zone remains saturated. Use a saucer under a draining pot to catch runoff; use the cachepot for appearance, not for drainage.
Build a loose, fast-draining soil mix
Fiddle leaf figs need a mix that holds enough moisture for the roots to drink while leaving air spaces between particles after watering. The goal is not a dusty, rapidly drying cactus mix and not a dense, peat-heavy blend that stays wet for a week. A quality indoor potting mix amended with perlite and fine pine bark is a practical starting point.
For a simple home blend, combine two parts indoor potting mix with one part perlite and one part fine orchid bark or aged pine bark by volume. If your home is cool, dim, or humid, use a little more aerating material. If your plant dries extremely quickly in a bright, warm room, keep the base mix slightly higher rather than adding a large amount of water-retentive material.
You can also use a commercial mix labeled for indoor tropical foliage plants. Read the texture rather than trusting the label: squeeze a handful when slightly moist. It should hold together loosely, then crumble when touched. If it forms a sticky ball or feels like garden soil, add an aerating component before using it.
Do not add a thick layer of fresh mix just to raise the plant. The trunk and original soil line should stay at the same depth. If the new pot is too deep for the root ball, choose a shorter pot or use a small amount of mix beneath the root ball—not a buried stem and not a permanent drainage layer.
Gather supplies and choose the safest timing
Set out the new pot, dry ingredients or finished mix, a clean trowel, a chopstick, sharp pruners, a soft cloth, gloves, and a saucer. Cover the floor with a tarp or newspaper, and have a second person available for a large tree; wrestling a tall plant alone is a good way to pull against the trunk or snap a branch.
Clean the new pot if it has been used before. Wipe soil from the work surface, and disinfect pruners before any root cuts. If the plant has visible pests, isolate it before repotting so insects do not move onto nearby plants while the canopy is being handled.
Wear gloves if you are sensitive to plant sap. NC State notes that fiddle leaf fig sap can irritate skin and that the plant is toxic if eaten by people, cats, or dogs. Keep broken leaves and root scraps away from pets and children, and wash your hands after the work.
Water before you unpot—but do not saturate
Water the plant about 24 to 48 hours before repotting if the mix is very dry and pulling away from the container. Slightly moist roots flex more easily and the root ball is less likely to crumble. Do not turn this into a heavy soaking session when the soil is already damp; you want a workable root ball, not a dripping one.
If the fig is already overwatered, delay the prewatering and inspect the root zone as soon as practical. A plant sitting in foul, saturated mix has a drainage emergency, not a scheduling problem.
Step 1: Set up the plant and protect the canopy
Choose a bright, calm work area away from direct midday sun, strong drafts, and children or pets. Place the new pot beside the old one and pre-moisten a small amount of the new mix only if it is bone dry; do not fill the pot before you know where the root ball will sit.
For a small fig, support the trunk near the soil line with one hand and steady the pot with the other. For a tall tree, have someone support the canopy while you work at the container. Avoid grabbing the leaves; their broad surfaces crease and tear more easily than the woody stem.
Before moving it, take a quick photograph of the plant’s orientation and soil line. Replanting it in the same direction can reduce the number of environmental changes at once, and the photo gives you a reference if the root ball is messy.
Step 2: Remove the root ball without pulling the trunk
Tip the pot gently onto its side and let gravity do most of the work. Squeeze a flexible nursery pot to loosen the sides. If the container is rigid, run a dull plant label or a clean, blunt knife around the inner edge; work slowly and keep the tool against the pot rather than stabbing toward the roots.
Never yank the plant by its trunk, branches, or leaves. If roots are growing through the bottom holes, tease them out one at a time when possible. If they are trapped, sacrifice the cheap nursery pot rather than tearing a large section of the root ball just to save the container.
Once the plant is out, place the root ball on a clean surface and keep it supported from underneath. Do not leave exposed roots in direct sun or let them dry while you search for supplies.
Step 3: Read the roots before you prune

Healthy roots are usually firm and light tan to cream, although color varies with the potting mix. A root-bound plant has dense roots circling the outer surface or forming a mat at the bottom, but those roots can still be healthy. Gently loosen only the outside layer with your fingers or a chopstick so the roots can grow into the new mix.
Do not strip every bit of old soil from a healthy root ball. Retaining some familiar mix reduces the size of the change and protects fine roots. Remove loose, exhausted mix from the edges, especially if it is sour-smelling, compacted, or no longer absorbs water.
Root rot calls for a different response. Mushy, black, hollow, or foul-smelling roots should be cut back with clean, sharp pruners to firm tissue. Remove the worst old mix, disinfect the tool between cuts, and use a clean pot and fresh mix. Do not combine a rotted root ball with a larger pot full of wet soil and expect the extra space to solve the disease.
The amount of root pruning should match the problem. A few broken feeder roots during ordinary repotting are not a disaster; aggressive trimming of a healthy root system is unnecessary. If most of the roots are damaged, the plant may need a smaller pot rather than a larger one because it can no longer use a large volume of mix.
Step 4: Set the original soil line at the right depth
Add enough fresh mix to the bottom of the new container to position the top of the root ball about 1 inch below the rim. Set the fig in the center and look at the trunk where it meets the soil. The new soil should meet the old soil at the same level as before.
Do not bury the trunk to make a tall plant look more stable. Buried stem tissue stays wetter than it evolved to tolerate and may soften or rot. If the tree needs support, stake it loosely for a short period or choose a heavier pot; do not solve a stability issue by changing the planting depth.
Rotate the root ball until the plant looks balanced from the side you want to face the room. A tall canopy can make a centered root ball feel off-center even when it is not. Check that the trunk is upright, the drainage holes are open, and there is enough rim space to water without washing soil out.
Step 5: Backfill without compacting the mix
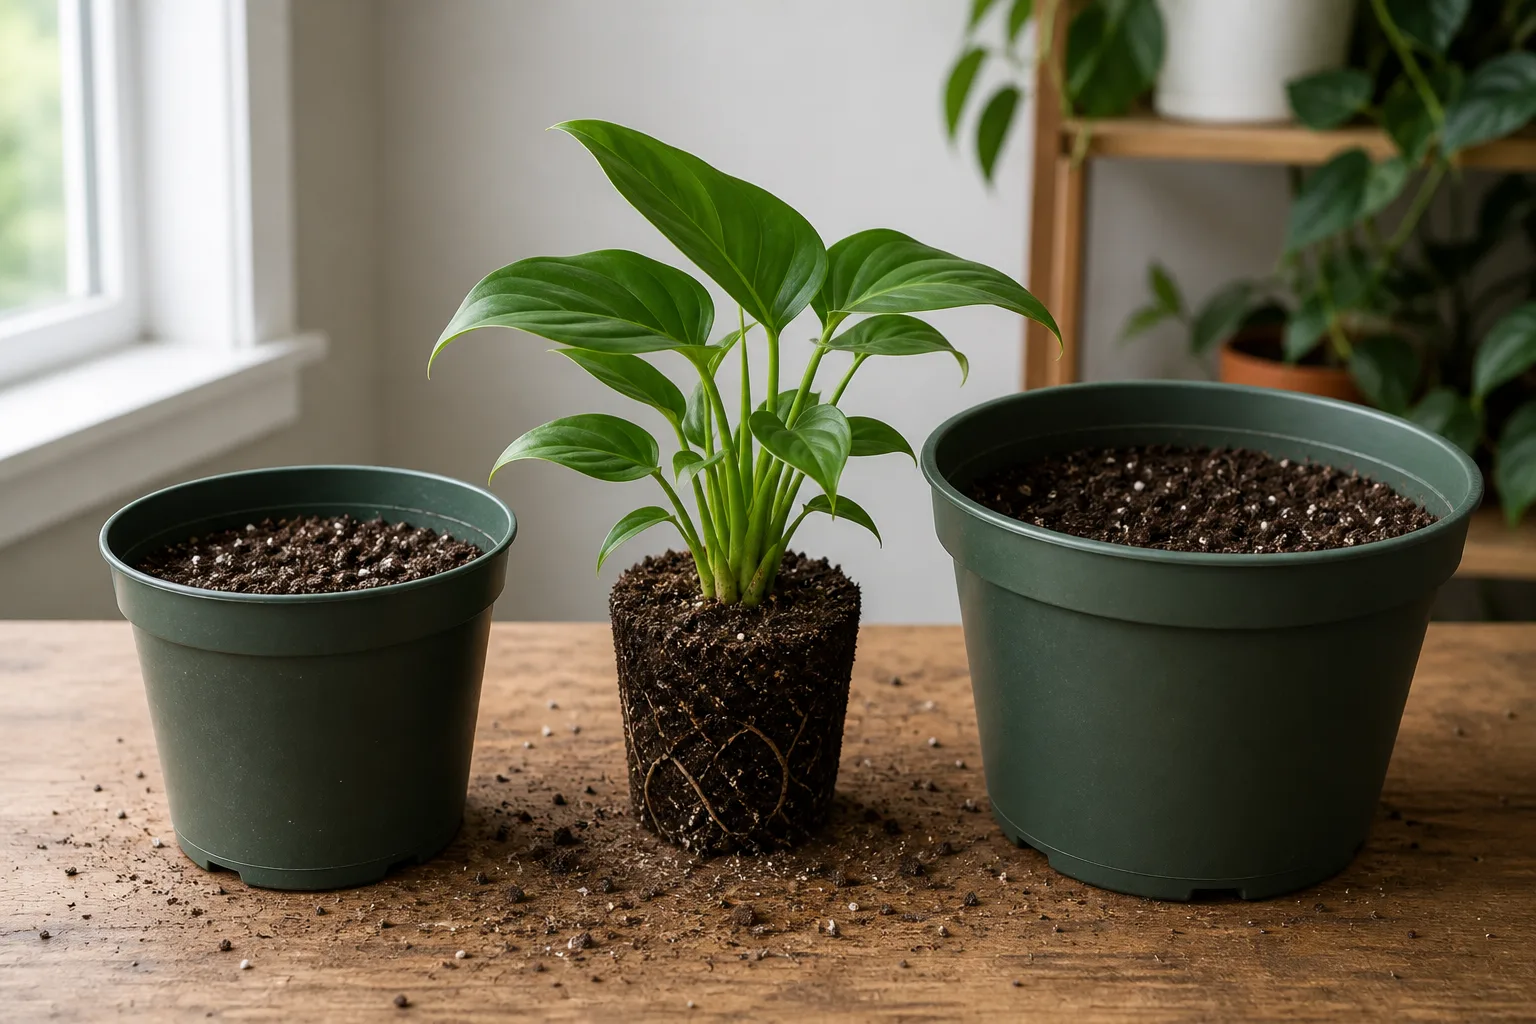
Add mix around the root ball in small handfuls, pausing to tap the sides of the pot. Use a chopstick to guide mix into large gaps, but do not pack it tightly. Roots need contact with the mix, yet the air spaces between particles are what keep the root zone from turning into a dense, waterlogged block.
Press only enough to steady the plant. Leave about half an inch to an inch of space below the rim so water can soak in rather than spill over. Do not add fertilizer to the planting hole, and do not bury fertilizer granules against newly disturbed roots; fresh mix usually contains enough nutrients for the short recovery period.
When the pot is filled, lift it a fraction of an inch and set it down gently to settle the mix. If the soil level drops after watering, top up around the edges later. Resist the urge to keep tamping until the surface looks hard and perfectly flat.
Step 6: Water through and let the pot drain
For a healthy root ball in a dry or moderately moist new mix, water slowly over the surface until a small, steady stream comes from the drainage holes. This settles the new mix around the roots and reveals whether water is actually moving through the container. Empty the saucer after the pot finishes draining.
If you removed extensive root rot or the fresh mix was already moist, use less water—just enough to settle the plant—and allow the root zone to dry slightly before watering again. The exact amount depends on the pot size, mix, light, and damaged-root percentage; a measured cup is not a universal rule for a tree.
Do not fertilize at this first watering. Wait until the plant has resumed active growth and the pot is drying normally, then follow the label for a balanced houseplant fertilizer. Overfeeding a stressed root system adds salt stress when the plant’s priority is rebuilding roots.
Aftercare: keep every other variable steady
Return the repotted fig to the same bright, stable location if that spot was working. NC State Extension recommends bright indirect light or partial shade and protection from harsh afternoon sun; Penn State Extension likewise emphasizes strong light, careful watering, and consistent observation.
Do not use repotting day as an excuse to move the plant across the room, rotate it repeatedly, start a new fertilizer, mist the leaves constantly, and change the watering routine all at once. Stable conditions make it easier to identify the actual cause if a leaf changes.
For the first few weeks, check the mix with a finger or wooden skewer before watering. The surface may dry before the center does, especially in a pot that is wider than the old one. Water based on the root-zone condition, then let excess drain fully; never leave the container standing in a saucer or cachepot of runoff.
Keep the leaves clean with a soft, damp cloth once the plant has settled. Dust can block light from the broad leaf surface, but avoid polishing products and avoid repeated handling while the fig is recovering. Inspect leaf undersides for scale, mealybugs, thrips, or spider mites each time you water.
Repotting shock: what is normal and what is a warning
One or two drooping or yellowing leaves can occur after repotting, especially if the plant was moved during low light or if some roots were disturbed. A pause in new growth is also not automatically a failure. Give the fig consistent light, sensible dry-down, and time before deciding that it needs another intervention.
Warning signs are different. A sour odor, persistently wet mix, a soft trunk base, rapidly spreading yellow leaves, or roots that remain black and mushy after the move suggests a moisture or root-health problem. Move the pot away from drafts and check the root zone rather than responding with more water.
If leaves drop but the soil is drying at a reasonable pace, check light changes, cold air, heater vents, and pests before unpotting again. Repeated emergency repotting can remove more functioning roots than the original problem did. Make one controlled adjustment, observe it for several days, and only escalate when the evidence points to the root zone.
Common mistakes that set a fiddle leaf fig back
Repotting on a calendar. A mature fig in a stable pot may be healthier left alone for another season. Use roots, soil behavior, and growth—not a yearly anniversary—as your trigger.
Choosing a huge pot. Extra soil holds extra water. A large decorative planter may be perfect as an outer cachepot but too large as the actual root container.
Using a sealed pot as if it drains. Rocks at the bottom do not create an escape route for excess water. Keep the fig in a pot with holes and protect furniture with a saucer or outer cover.
Burying the trunk. Plant at the previous depth. Stability comes from an appropriately sized, heavy container and a sound root ball, not from piling wet mix up the stem.
Shaking every bit of old soil away. Healthy roots do not need a bare-root washing. Preserve a manageable root ball and remove only what is loose, compacted, saturated, or clearly unhealthy.
Pruning healthy roots aggressively. Trim damaged tissue; do not reshape a healthy root system just because a few roots circle the pot. A little loosening is usually enough.
Fertilizing immediately. Fresh mix plus fertilizer can be too much for newly disturbed roots. Let the fig stabilize and restart growth before feeding.
Changing light and watering at the same time. A repot is already a major change. Keep the plant’s location stable and adjust watering only for the new pot’s actual drying speed.
Conclusion
The right way to repot a fiddle leaf fig is calm and evidence-led: confirm that the roots or mix need attention, choose a draining pot only modestly larger, use an airy soil blend, preserve the original soil line, and handle the root ball from underneath. Water according to the condition of the new mix, then let the plant recover without a parade of new changes.
If you are unsure whether the plant truly needs a larger home, wait and inspect again in a week. A healthy fiddle leaf fig does not benefit from being disturbed for decoration, but a crowded, waterlogged, or poorly draining root zone can improve quickly once the container and soil match what the roots need.



