How to Repot a Plant Without Killing It
A gentle houseplant repotting method with timing, pot size, soil, root-trimming rules, drainage checks, and aftercare for common exceptions.
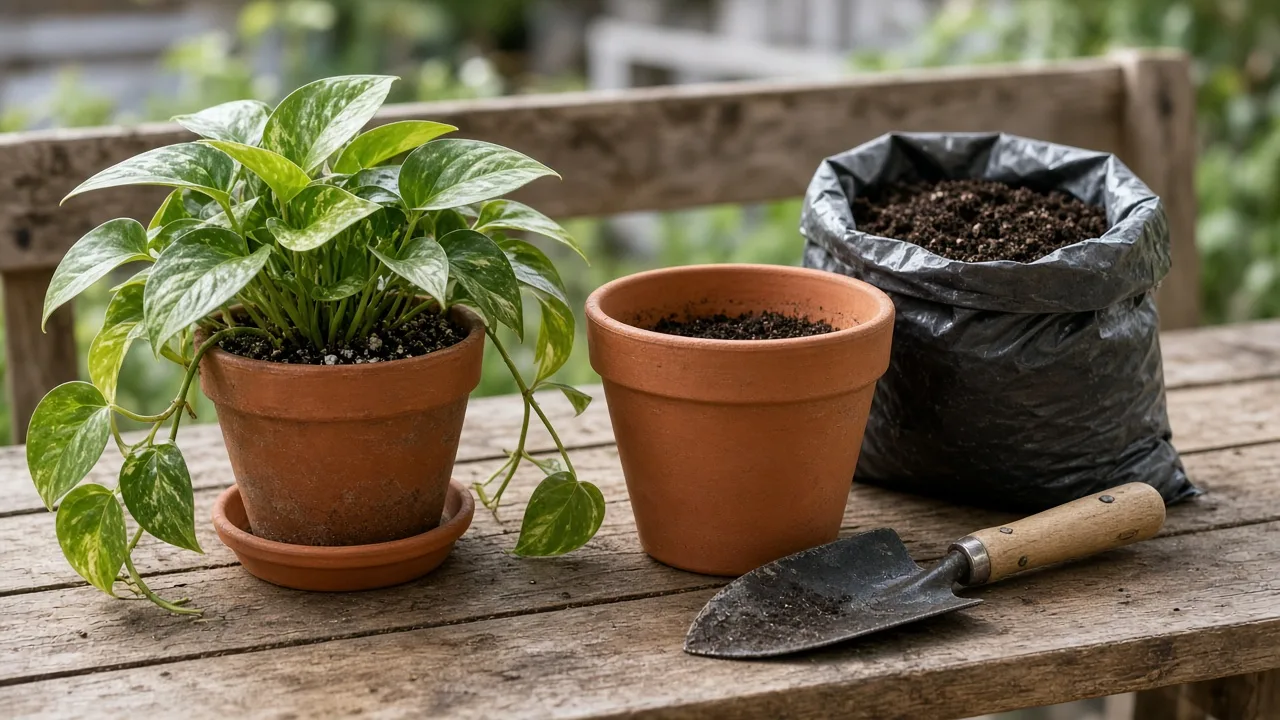
Repotting goes wrong less often because a plant “hates being moved” than because its roots, moisture, depth, or light change too abruptly. A successful repot is a controlled change: the root ball comes out with as much healthy fine root as possible, the new container is only as large as the plant can use, and the mix drains at a pace that suits that species.
The safest approach is not to repot on a fixed annual schedule. First decide whether the plant needs a larger home, a soil refresh, root surgery, or no intervention at all. Then work quickly but gently, preserve the original planting depth, and make the first week after the move boring: stable light, sensible moisture, and no fertilizer.
The low-shock repotting rule
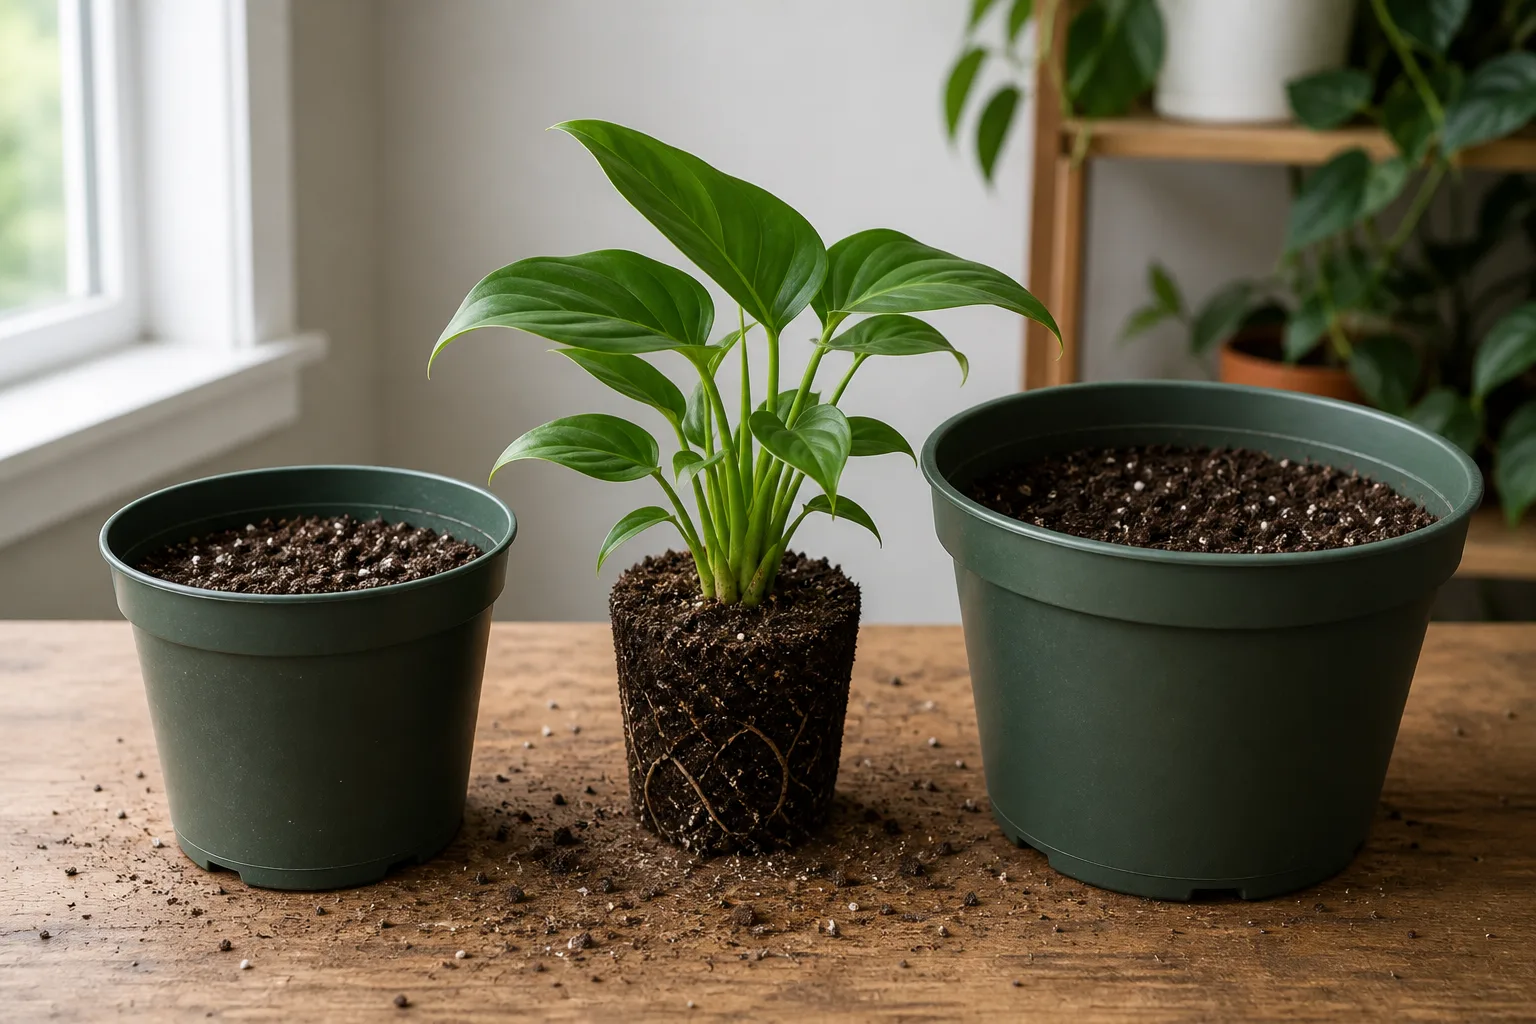
For most foliage houseplants, move up only one pot size—about 1–2 inches (2.5–5 cm) wider than the current container—and use a container with an open drainage hole. Keep the top of the root ball at its previous level, loosen only roots that are genuinely circling, and water according to the new mix and plant type rather than by habit.
That rule has an important exception. A plant with black, soft, foul-smelling roots, a broken-down mix that stays wet, or a pot that has no drainage may need an urgent corrective repot even if the season is poor. Emergency work is about stopping ongoing damage; it is not the same as moving a healthy plant into a decorative pot for appearance.
Check whether repotting is actually necessary
Lift the pot and inspect the drainage holes before disturbing the plant. Roots emerging from holes, a root ball that holds the pot’s shape, and water that races through a shrunken dry channel are useful clues. They are not automatic commands to buy the biggest pot: a plant can have exposed roots because the mix has settled, while fast drainage can also mean hydrophobic or compacted mix rather than a crowded root system.

The RHS container guide explains that repotting may mean moving into a larger container, refreshing compost in the same container, or root pruning. That distinction matters for mature plants that are already as large as your room can accommodate. A healthy plant with a stable root ball may need a surface refresh, a clean saucer, or a better light position—not a dramatic increase in soil volume.
Signs the roots or mix need attention
Use the following quick test:
- If the plant is top-heavy, dries unusually fast, and roots densely circle the sides and base, plan a modest size-up.
- If the pot is the right size but the mix has collapsed, smells sour, or repels water, refresh the mix or replace it in the same pot.
- If roots are firm and pale cream, tan, or white, preserve them. Color varies by plant and mix, so firmness and smell are more useful than color alone.
- If roots are slimy, hollow, dark, and smell rotten, remove the damaged tissue and treat the operation as an emergency.
- If the plant is flowering, fruiting, or dormant and none of those problems exists, postpone routine repotting until active growth resumes.
Do not diagnose root binding from one root at the drainage hole. Slide the plant out far enough to see the root ball, or wait until the plant is already due for maintenance. Repeatedly tugging a stable plant out of its pot can cause more damage than the original problem.
Pick the safest time for the move
Spring, as new growth begins, is the most forgiving time for routine repotting because roots can colonize fresh mix while the plant is actively growing. Early summer can also work for many vigorous plants. The RHS recommends avoiding autumn and winter for many container plants because slowed growth leaves fresh compost wet for longer.
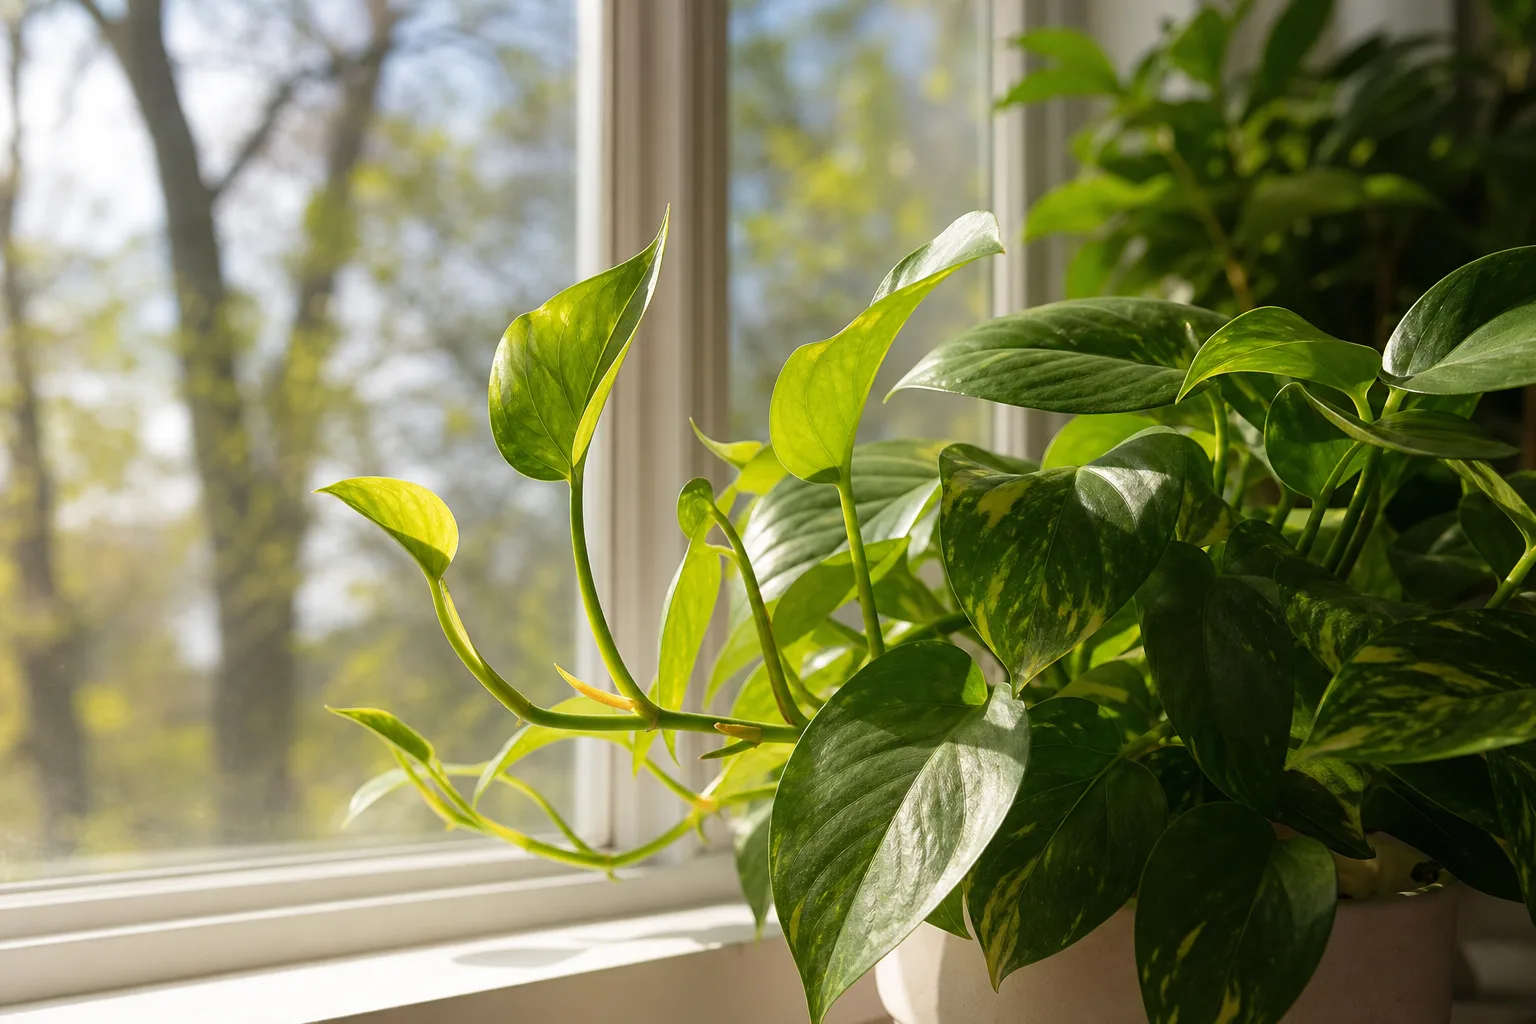
Indoor conditions complicate the calendar. A tropical plant under warm, bright, stable light may grow year-round, while a plant beside a cold window may be functionally dormant in January. Use new leaves, root activity, and room conditions as signals rather than treating a date as universal.
Repot sooner when the container is cracked, drainage has failed, pests are concentrated in the old mix, or root rot is advancing. Do not delay an emergency because it is not spring. Conversely, do not combine a routine repot with a move outdoors, a major pruning, and a sharp light change if you can stage those changes separately.
Choose a pot that dries at a reasonable pace
The new pot should have at least one drainage hole and should be only slightly larger than the root ball. For a small container, 1–2 inches wider is a practical range; for a very large pot, use the “no more than about one-third larger” principle from RHS guidance. A huge pot does not give a small root system a luxury suite—it creates a deep reservoir of wet mix that roots cannot use quickly.
Pot size, shape, and drainage
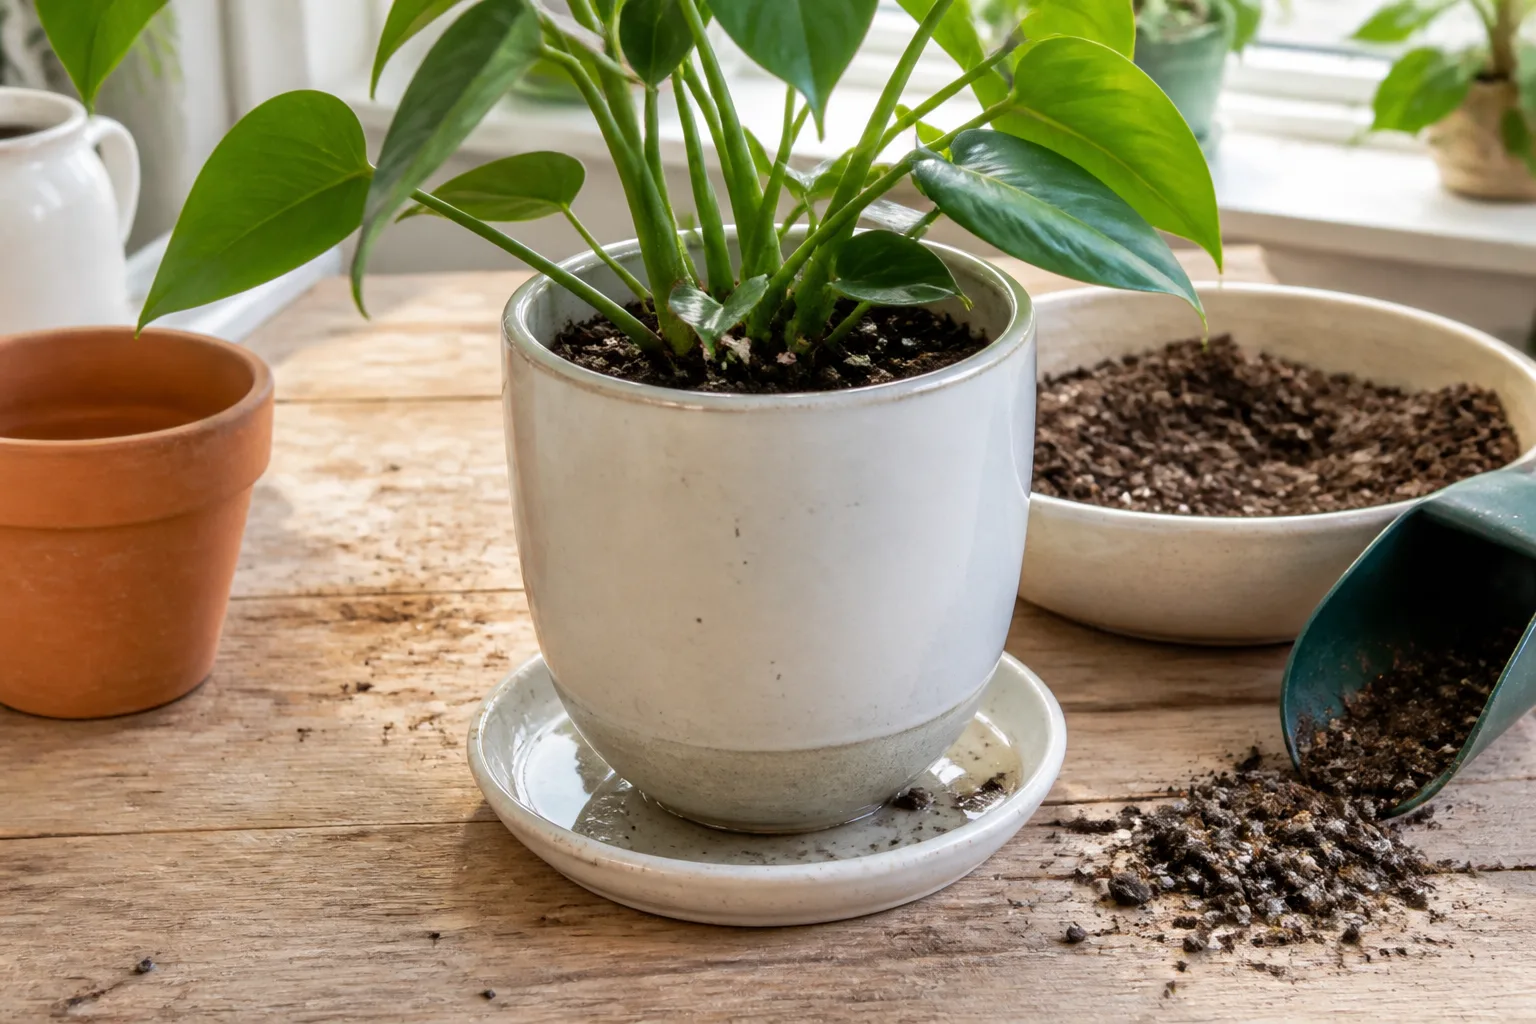
Match the shape to the plant. A shallow, wide container suits plants whose roots spread near the surface; a deep pot can be useful for a tall plant only when the mix and root system can occupy that depth without staying wet. Terracotta dries faster and adds weight, while plastic retains moisture and weighs less. Neither is automatically healthier; choose based on your watering habits, humidity, plant size, and the location.
Covering a drainage hole with a small piece of mesh is fine if mix escapes, but do not make a false drainage layer from gravel or pebbles. Water does not magically drain faster through a gravel layer beneath fine potting mix; the change in texture can leave a saturated zone above it. Keep the hole open, use a saucer underneath, and empty the saucer after excess water finishes draining.
Match the potting mix to the plant
Use fresh commercial potting mix or a tested blend—not soil dug from the garden. Garden soil is too dense for most containers and can bring in pests or disease. The mix should hold enough moisture to support the plant while retaining air spaces after watering.
For ordinary tropical foliage, a quality indoor mix amended with bark, perlite, or pumice can improve structure if the original mix is dense. Cacti and succulents need a much faster-draining blend and a pot that dries between waterings. Orchids need an orchid medium such as bark-based mix, not ordinary potting soil. African violets, carnivorous plants, and epiphytic species each have their own moisture and aeration needs.
Pre-moisten dry mix until it feels like a wrung-out sponge: damp enough to settle without becoming muddy. Very wet mix is difficult to place accurately and can make a freshly disturbed root ball stay saturated. Very dry mix can collapse away from the roots and make it hard to judge the final level.
Prepare tools and a clean workspace
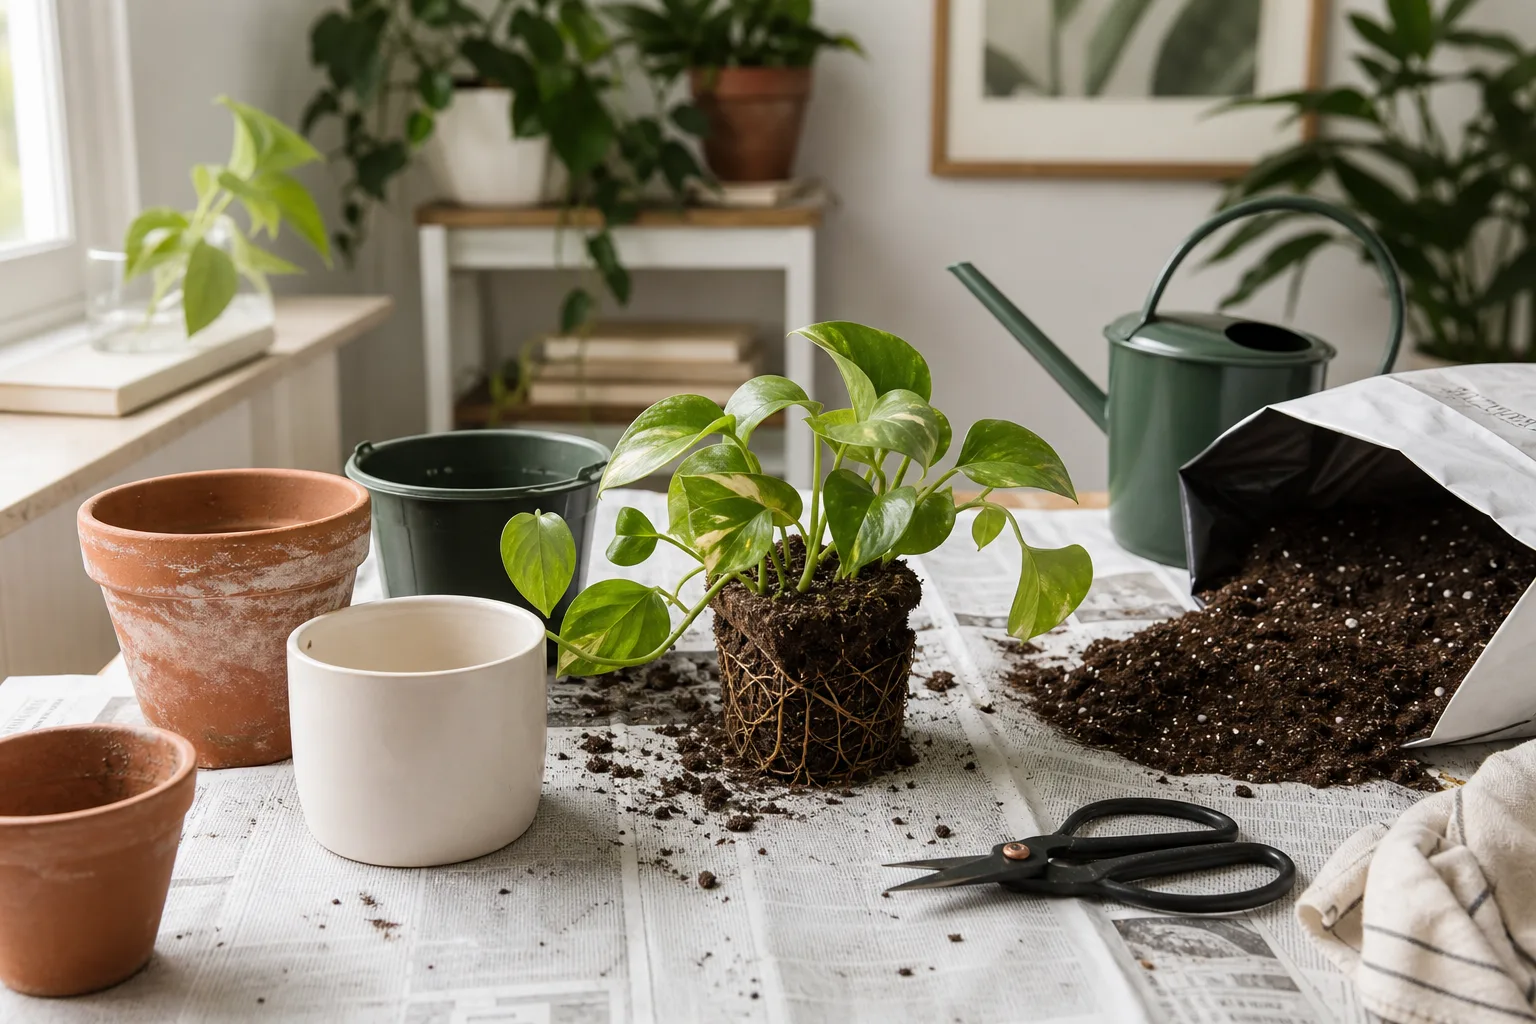
Set out the new pot, fresh mix, a tray or sheet to catch soil, a chopstick or pencil, clean scissors or pruners, and room-temperature water. Wash a reused pot and remove old mineral crust. Clean tools before cutting roots, and clean them again between plants if disease is suspected.
Watering the day before can help a root ball hold together, but do not do this automatically for a plant already sitting in wet, rotting mix. The target is slightly moist and cohesive, not saturated. A small plant can be handled alone; recruit another person for a large, top-heavy plant so nobody has to pull on stems while holding a pot.
The low-shock repotting method
First place a little mix in the clean container. The amount is not a decorative layer; it sets the plant at the correct height. Test the root ball before adding too much. The final soil line should leave a small watering gap below the rim while keeping the crown, stem base, or caudex at its original depth.
To remove the plant, loosen the pot edge and turn or tip it while supporting the root ball with your hand. Hold the container or sturdy base of the plant, never yank on leaves or a thin stem. If roots are attached to the inside, squeeze a flexible nursery pot or slide a blunt tool around the edge. Cut a pot only when freeing the plant is safer than continuing to pull.
Remove and inspect the root ball
Look at the outside first. A few circling roots are normal. A dense felt of roots around every surface means the plant may need teasing or a light trim so new roots can move into the fresh mix. Do not strip all old mix from healthy, fragile roots merely to make the root ball look clean.
Separate healthy roots with your fingers or a chopstick, starting at the bottom and working outward. Think of this as opening a tight coil, not combing every root straight. If the old mix is compacted and dry, a little patience and gentle tapping are safer than aggressive tearing.
Tease, trim, and position the roots
Cut only roots that are dead, soft, hollow, or clearly diseased, using clean sharp shears. Healthy roots are usually firm; they may be white, tan, brown, or dark depending on the species and medium. If a root is borderline, preserve it. It may recover, while an unnecessary cut cannot be undone.
For a severely root-bound plant, lightly loosen the outer layer and make a few shallow cuts through the circling roots rather than chopping the entire root ball. The RHS root-pruning guidance notes that light root pruning can keep many plants in the same container, and that reducing the root ball gradually limits stress. A mature plant is not a bonsai by default; extensive root pruning requires a plan to balance the reduced root system with the top growth.
Set the plant in the center and check the height before backfilling. Roots should not be folded into a tight knot at the base, but neither should you stretch them forcefully. Add mix around the sides in small handfuls, tapping the pot gently to settle it. Firm enough to remove large voids, not so hard that you crush the air spaces roots need.
Water and settle the new pot correctly
For most foliage plants in a slightly damp, well-draining mix, water thoroughly once the repot is complete. Apply water slowly until some exits the drainage hole, then let the pot drain fully. This settles the mix and shows whether water can move through the entire root ball. Add a little more mix if the level drops, keeping the stem base uncovered.
That advice changes for succulents, cacti, plants with extensive fresh root cuts, and plants moved from a wet root-rot situation. Let cuts dry as appropriate for the species and use a dry or barely damp fast-draining mix; do not add a heavy drink simply because the calendar says “water after repotting.” The Missouri Botanical Garden orchid guidance gives different aftercare for orchids, including a period without watering after root and stem cuts. Plant-specific guidance beats a universal timer.
Protect the plant during recovery
Return the plant to bright, indirect light or the light level it already knows. Avoid an immediate jump into hot direct sun, a cold draft, or a dark corner. A plant may wilt briefly because roots have been disturbed, but stable conditions let it show whether the problem is ordinary adjustment or continuing moisture stress.
For the first week, check the mix with a finger or moisture meter at the depth where roots are active. Do not water on schedule just to reassure yourself. A larger pot, fresh mix, lower light, or cooler room can make the same volume of water last longer. Empty the saucer every time and watch for a sour smell, collapsing stems, or increasingly soft tissue.
Hold fertilizer for about three weeks for a routine repot, or longer if the plant is weak and the fresh mix is already fertilized. Fertilizer cannot repair damaged roots and concentrated salts can add stress. Resume at the plant’s normal strength only after it is holding its leaves and beginning to grow or otherwise using water normally.
When same-pot repotting is smarter
Same-pot repotting is useful when the plant has reached its desired size, the container is structurally sound, or a larger pot would be too heavy for the shelf. Remove loose old mix from the sides and surface, inspect the roots, trim only what is necessary, and refill with fresh mix. If roots are severely congested, reduce the outer root ball conservatively rather than taking a large slice from every side at once.
This approach also reduces the risk of overpotting. It does not mean the plant can stay in the same volume forever without maintenance. A root system that has no room, a canopy that is chronically wilted despite correct watering, or a pot that dries in a few hours may eventually need division, top pruning, or a larger home.
Adjust the method for succulents, orchids, and large plants
Succulents and cacti: Repot when the mix is dry enough to release the root ball. Use a gritty, fast-draining mix and a container only slightly wider than the roots. Remove rotten tissue, let damaged areas dry when appropriate, and delay watering if the plant has significant fresh cuts. Their thick leaves can hide stress, so do not compensate for a disturbed root system with frequent water.
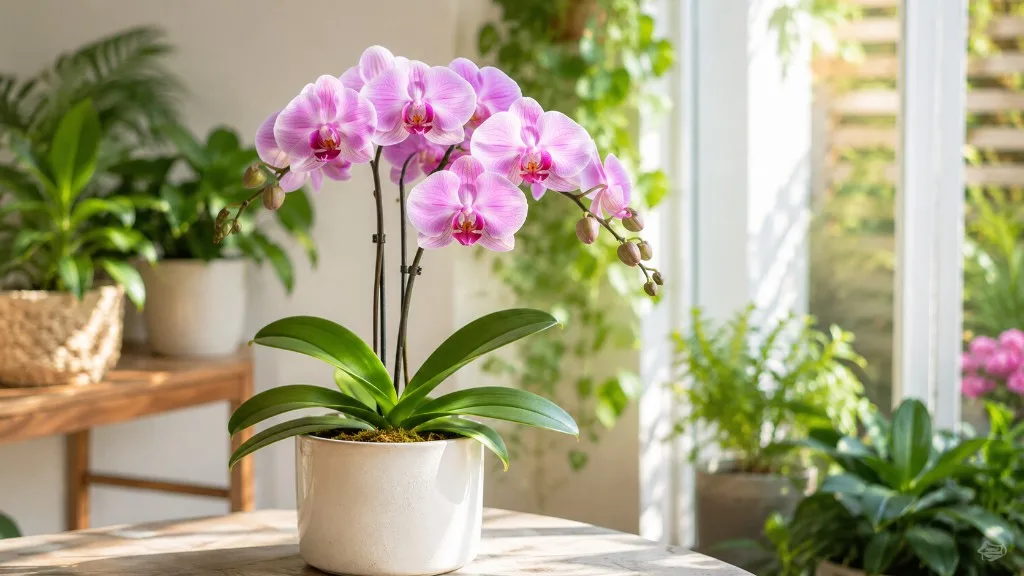
Orchids: Use a bark-based orchid medium and a pot that fits the roots, not a deep general-purpose container. Remove dead or hollow roots, keep the crown above the medium, and secure a loose plant so new roots are not rocked. Missouri Botanical Garden guidance places orchid repotting after flowering and before new growth when possible, with aftercare that differs from ordinary foliage plants.
Large or top-heavy plants: Have a second person support the canopy, use a heavier outer pot if needed, and prepare the final location first. Do not use a much larger pot simply to make the plant stable; a stake, tie, or stable cachepot can solve balance while preserving a manageable root-zone volume.
Troubleshoot wilting, yellow leaves, and rot after repotting
Some droop or one yellow older leaf immediately after repotting can reflect disturbed roots. Check moisture before acting. If the mix is wet and the plant is wilting, adding more water is the wrong response; improve drainage and allow the root zone to approach the plant’s normal drying point.
If leaves crisp while the mix is bone dry, the root ball may have become water-repellent or the plant may have lost too many functioning roots. Re-moisten gradually and move it out of harsh sun while it recovers. If the stem base softens, the smell turns sour, or roots continue to collapse, unpot again, remove damaged tissue, and use a clean, appropriately airy mix.
Avoid diagnosing every reaction as “transplant shock.” Shock is a description of stress, not a treatment. A useful diagnosis asks what changed: pot volume, light, temperature, root condition, watering frequency, or planting depth. Correct the changed variable instead of stacking more interventions on top of the first one.
Common repotting mistakes that kill plants
The most damaging mistake is overpotting. It often looks generous but leaves unused mix wet around a small root system. The second is burying the stem, crown, or caudex under fresh mix; roots want a new medium, while buried plant tissue may rot.
Other preventable failures include packing mix hard, placing stones in the bottom as a drainage layer, watering a plant with active rot on a routine schedule, trimming healthy roots for cosmetic neatness, fertilizing immediately, and moving the plant into a radically different light level on the same day. Cleaning pots and tools also matters when the old mix contained disease or pests.
Finally, do not confuse a decorative cachepot with a growing pot. A plant can sit inside a cover pot, but the inner pot still needs a drainage hole, and water collected in the outer pot must be poured away. Good repotting is mostly moisture management made visible.
Conclusion
To repot a plant without killing it, make the smallest change that solves the real problem. Confirm that the roots are crowded or the mix is failing, choose a modestly larger draining container, preserve healthy roots and the original depth, and tailor the first watering to the plant and the condition of its roots.
The best recovery plan is calm and observant. Stable light, a pot that can dry, an empty saucer, and a pause on fertilizer give the plant time to rebuild. If the plant does not need more room, refresh the mix in the same pot; if it has rot, act decisively but do not treat an emergency like a routine upgrade.