How to Store Flower Bulbs Over Winter Safely by Type
Find out which tender bulbs to dig, when to lift them, and how to cure and store dahlias, cannas, gladiolus, and more without letting them rot or shrivel.
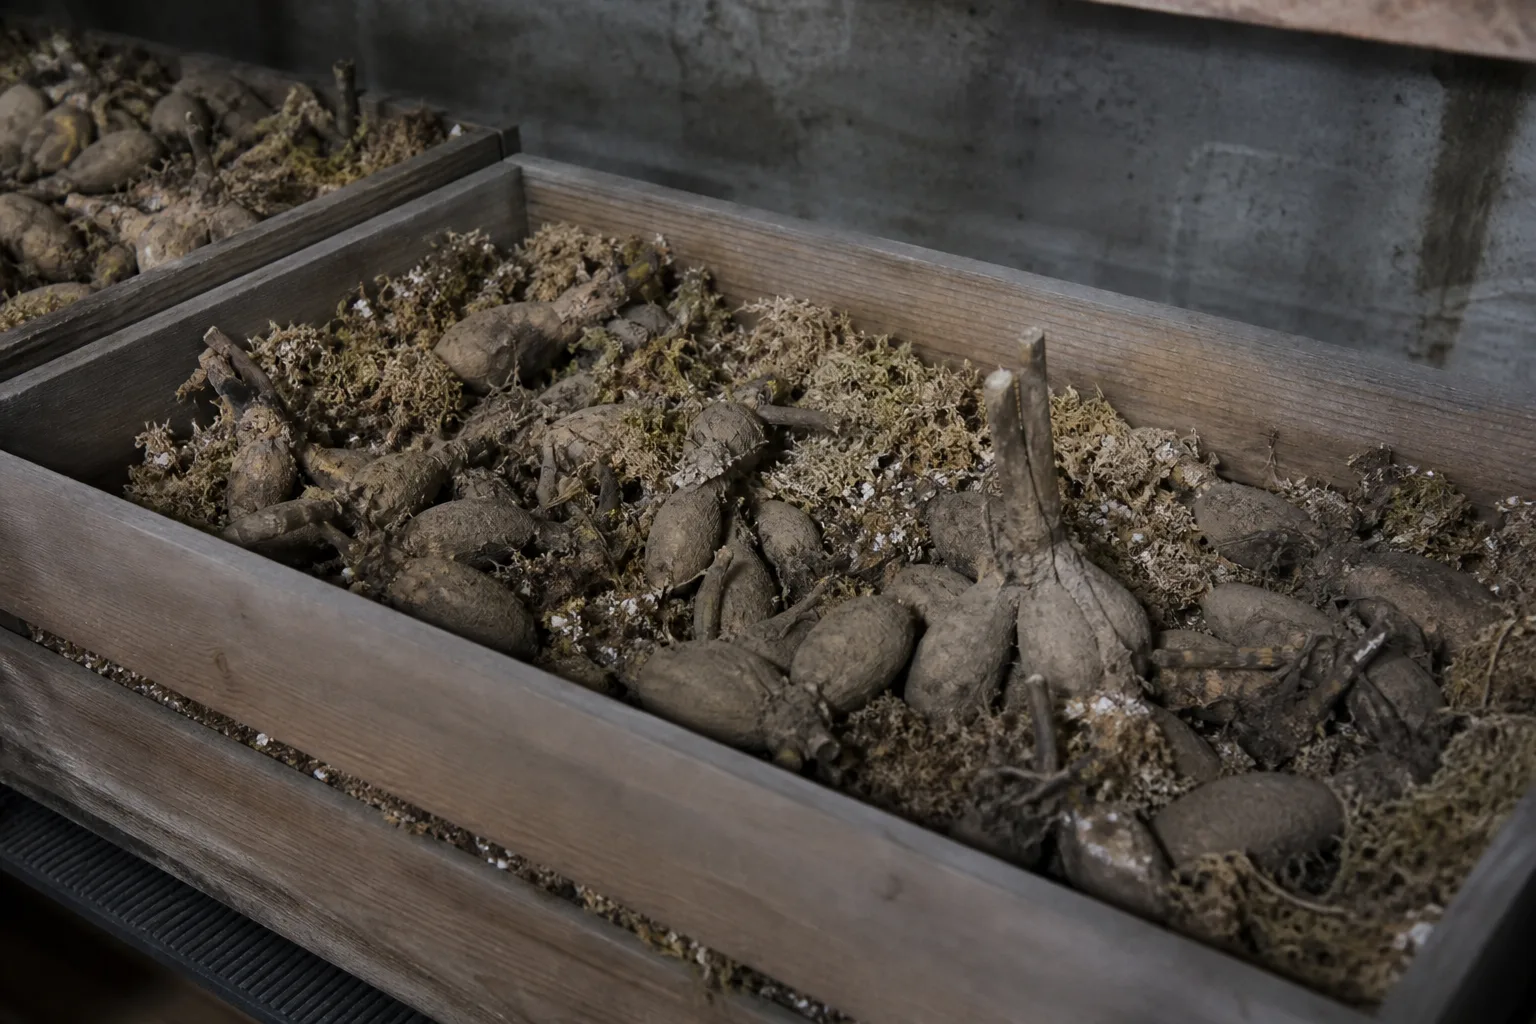
The right winter plan starts with the plant, not a storage box. Dahlias, cannas, gladiolus, caladiums, and tuberous begonias can be lost when their underground parts freeze, but they do not all need the same lifting date, drying period, or storage temperature.
“Bulb” is often used as a catchall for the swollen structures that carry a plant through dormancy. Some are true bulbs, while dahlias make tuberous roots, cannas have rhizomes, and gladiolus grow from corms. You do not need to identify every structure perfectly to save it; you do need to know its plant name and follow a method that matches it.
The safest system is simple: determine whether the plant is hardy in your garden, lift it before damaging cold, handle it gently, cure it only as long as its type requires, then store it cool and ventilated where you can check it. A calendar date or one universal humidity recipe cannot replace those decisions.
Decide whether to lift or leave bulbs in the ground
If the plant is hardy where you garden and the soil drains well, leaving it in place is usually easier and less disruptive than digging it every fall. Daffodils, tulips, many irises, and other spring-flowering bulbs are commonly grown outdoors through winter in climates suited to their species. Digging them up does not make them safer; it can dry them out, damage roots, or interrupt the seasonal conditions they need.
The plants most often lifted are tender summer bloomers such as dahlias, cannas, gladiolus, caladiums, elephant ears, calla lilies, and tuberous begonias. Their underground parts are at risk where winter soil freezes or stays cold and saturated. University of Wisconsin–Madison Extension describes these plants as a mix of bulbs, corms, rhizomes, and tubers, and emphasizes that the familiar word “bulb” does not mean they all behave identically. Its tender-bulb guidance is a useful starting point, but your plant label and local extension advice should settle cultivar-specific questions.
Know which storage structure you have
The botanical difference matters because it explains why handling differs. A true bulb, such as a tulip, is a compact structure with layers; a corm, such as gladiolus, is a solid stem base; a rhizome, such as canna, grows horizontally; and a dahlia’s storage organ is a cluster of fleshy roots attached to a crown. For this guide, “bulbs” sometimes refers to the whole group in everyday gardening language.
Label by plant and variety before the parts are separated or packed. A dahlia crown with its neck and eye, a gladiolus corm with its old base, and a canna rhizome with visible buds call for different spring handling, so an unlabeled box of brown underground pieces is a problem you can avoid in five minutes.
Separate hardy bulbs from tender plants
Hardiness zones describe average annual extreme minimum temperatures, not how wet your soil stays, how sheltered the bed is, or whether a brief freeze penetrates the planting area. A plant may survive outdoors at the edge of its listed range in a protected, well-drained bed and fail in a colder, wetter microclimate only a few miles away. Treat a zone rating as a clue, then factor in drainage, mulch, cultivar, and local experience.
In a mild-winter garden, some cannas or other tender perennials may stay in the ground if the species is suited to the area and the bed drains quickly. In a colder or persistently wet site, lifting is the lower-risk choice. If a plant is valuable or its hardiness is uncertain, store a portion and leave a portion outdoors as a trial rather than risking the entire clump.
Quick reference: winter storage by plant type
Use this table to plan the job, then follow the species notes below. Temperature ranges are guidelines from extension recommendations, not precision targets that override a plant’s needs or a storage space that fluctuates.
| Plant group | When to lift | Curing and storage cue |
|---|---|---|
| Dahlias | After tops are killed by a light frost or have begun to die back; before a hard freeze | Handle tubers gently; dry the surface, store cool and unfrozen, and inspect for shriveling |
| Cannas | After a light frost can kill the tops, but before a hard freeze | Dry for a day or two; store around 45–50°F in a breathable box or bag and do not let rhizomes become bone-dry |
| Gladiolus | When foliage yellows or after the first frost; before the corms freeze | Do not wash; cure in an airy place for about three weeks, then remove the old corm |
| Caladiums | Before frost | Cure warm for about a week; they need warmer storage, around 60°F |
| Calla lilies | Before hard freezing | Cure for roughly two to three weeks; store around 45–55°F |
| Tuberous begonias | Before a hard frost | Cure for one to two weeks; store near 50°F |
| Elephant ears | Before freezing, unless locally hardy and intentionally left outdoors | Store cleaned corms in a suitable medium, or keep a potted plant indoors with careful watering |
The University of Wisconsin–Madison’s general recommendation for many tender structures is a cool, frost-free location, roughly 35–45°F and about 50% relative humidity, but its species notes are more useful than that single range: caladiums need warmer storage, while cannas and callas have their own ranges. The detailed extension chart also distinguishes short curing from the longer cure required by gladiolus and calla. That is why a single temperature such as 40°F should not be treated as a universal rule.
Time the lift around maturity and frost
For many tender plants, let the foliage mature or allow a light frost to blacken the tops, then dig before the soil freezes hard. The foliage has been supporting the underground storage structure; cutting it off while it is still actively green can reduce the plant’s opportunity to replenish reserves. At the other extreme, waiting through a hard freeze risks damaged tissue and makes wet, frozen soil harder to work.
The “first frost” is a cue, not a mandatory appointment for every plant. Some species are better lifted before any frost, while others tolerate a light frost that helps signal dormancy. In Wisconsin’s guidance, for instance, Peruvian daffodil is an exception that should be lifted before frost damage, while many other tender plants can be dug after foliage dries or after a light frost. Penn State Extension’s dahlia account also explains why gardeners may wait for a light frost to enjoy late blooms but still dig before a hard freeze.
Check the forecast and the soil, not just the month. If the week ahead is wet and temperatures are about to drop sharply, lifting a little earlier is better than leaving a mature clump in waterlogged ground. If an early frost arrives while leaves are still mostly green, lift the plant if a hard freeze is forecast; do not sacrifice the storage structure while waiting for a perfect dieback signal.
Dig carefully to protect next year’s growth
Choose a dry day if possible and mark each plant before cutting back the foliage. Use a garden fork or spade to loosen soil in a wide circle around the stem, then lift from underneath rather than levering directly against the clump. The underground structure often extends farther than the stem suggests, so start wider than you think you need and work inward as you locate it.
Shake off loose soil and support the clump with both hands. Cuts, bruises, and torn skins create entry points for decay, especially in storage. Wisconsin Extension recommends using a digging fork and loosening soil several inches away on all sides; for a large dahlia clump, a cautious gardener may begin roughly a foot from the stem and adjust after seeing how broadly the roots spread.
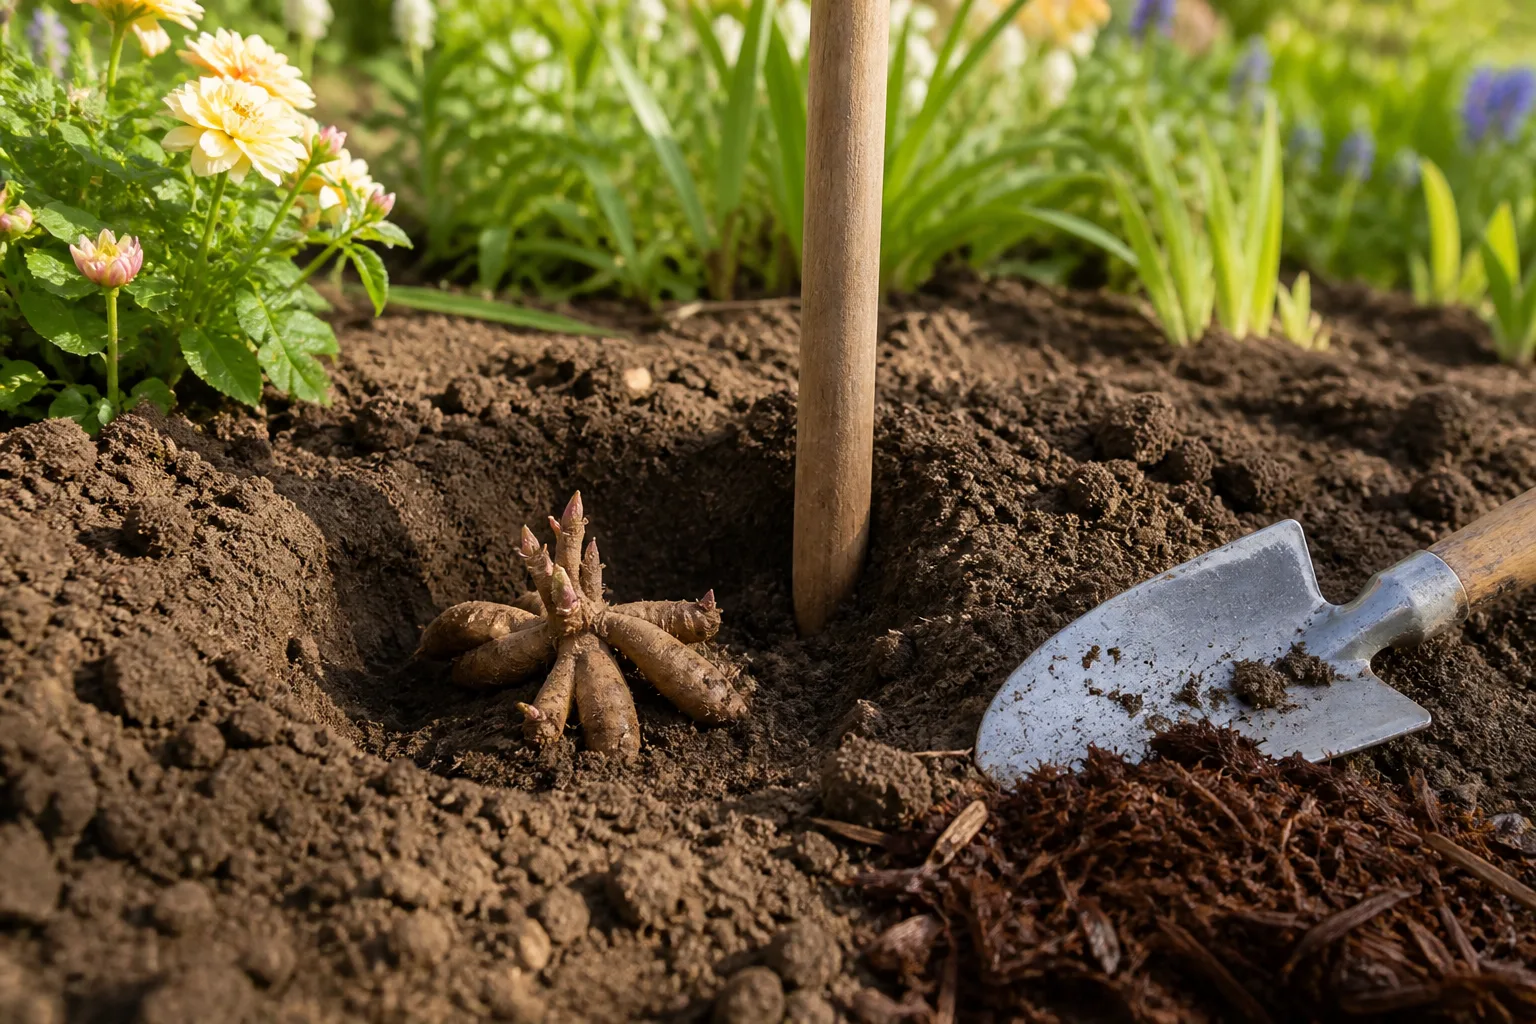
Do not pull a heavy clump by its stalk. If the stem breaks, you lose a useful handle and can tear the crown; instead, remove the top growth to a manageable length and lift from below. Brush soil away gently, and resist the urge to split every clump in autumn just to make it fit a box. Larger clumps are easier to identify, and dividing later can reduce fresh cut surfaces during the dampest part of the storage season.
Clean, sort, and label before curing
Start by removing loose soil, roots, and obviously damaged or diseased material. If the soil falls away dry, brushing is enough. If heavy clay remains packed between roots, a gentle rinse can make inspection possible, but washed material takes longer to dry; keep the water stream soft and allow full air circulation afterward.
Gladiolus corms are a notable exception: leave them unwashed and let the soil dry so it can be brushed off. Check every group for soft spots, open wounds, insect damage, or a sour smell. Discard severely rotted structures rather than packing them beside healthy ones, and clean the digging tools before moving to another plant if you encountered diseased tissue.
Attach a weatherproof label with the common and cultivar name, bloom color, location in the garden, and lift date. Write on the container as well as the tag in case the tag slips off. For mixed clumps, keep the variety label with the clump until you divide it; the color and shape of a dormant tuber rarely tell you what it will bloom like.
Cure each plant group for the right amount of time
Curing is a controlled drying period before storage, not simply leaving the plants out until they look shriveled. Its purpose is to dry damp surfaces and small wounds enough to lower rot risk while preserving the moisture needed for living tissue. Keep material out of direct sun, away from rain, and in a ventilated place where it will not freeze.
Most tender structures need only a few days of surface drying, while some plants need longer. Wisconsin Extension advises one to three days for many groups, but about three weeks for gladiolus and calla; its species guidance also gives caladiums about a week in a warm place and tuberous begonias one to two weeks. Harvest to Table’s practical overwintering guide likewise treats curing as a separate step from storage and cautions against direct sun.
Keep drying separate from winter storage
During curing, spread clumps in a single layer on a mesh tray, slatted shelf, or newspaper in a dry, airy room. Do not stack wet structures or seal them in plastic. Turn or reposition only if doing so will not bruise them; airflow matters more than frequent handling.
Dahlias create the most disagreement because a clump pulled from dry soil is not in the same condition as one washed after digging. Wisconsin Extension says dahlia tubers can dry for several hours before storage, while a Penn State Master Gardener describes drying washed clumps for four or five days in her storage conditions. The useful test is the surface: it should not be wet or slick, but the tubers should remain firm rather than deeply wrinkled. Adjust the duration to soil moisture, washing, clump size, and airflow rather than copying a fixed number of days.
Choose a stable storage location
The best location is cool, dark, frost-free, and reasonably steady in temperature, with enough ventilation to prevent condensation. A basement, root cellar, or unheated room can work if it stays within the range required by the plant. A garage may work in a mild climate but fail if the temperature swings below freezing or the stored boxes sit against an exterior wall.
Put a simple minimum–maximum thermometer beside the containers for the first few weeks. Measure the actual storage spot, not the temperature outside or the room across the house. Keep the boxes off a cold concrete floor and away from a furnace, water heater, sunny window, or damp foundation.
Avoid sealed, airtight storage. A lidded plastic tote may be convenient, but it should have ventilation and should not trap damp packing material. Penn State’s dahlia-storage contributor uses vented plastic bins and checks the shavings soon after packing; the broader lesson is to monitor your setup rather than assume a lid, a garage, or a bag is automatically safe. The Penn State example is useful as a practical method, not a guarantee for every home.
Pack bulbs in a breathable medium
Use a clean, dry-to-slightly-moist packing material that suits the plant and the humidity of your room. Peat moss, vermiculite, dry sand, wood shavings, coir, or shredded paper can buffer fluctuations when used loosely. A breathable cardboard box or ventilated crate makes it easier to maintain air movement; keep individual structures from touching when possible so one soft, rotting piece is less likely to affect its neighbors.
There is no universal winner among these materials. In a naturally damp basement, a dry medium and more ventilation may be safer; in a very dry room, a medium that slows moisture loss may help. Penn State’s dahlia method uses cedar shavings in vented bins and checks early for dampness, while UW–Madison lists several layering materials and advises lightly moistening the medium only if structures have dehydrated. Harvest to Table’s overview compares common media for home storage. Horticulture professor Leonard Perry’s Big Blog of Gardening guide makes the same distinction gardeners often miss: dahlia tubers may need slightly moist packing, while many corms are stored drier.
Do not drench bulbs or spray them directly because a tuber looks a little dry. First feel the medium and inspect several pieces. If the medium is dusty and the structures are visibly wrinkling, add a small amount of moisture to the medium, mix it through, and check again in a few days. If the box smells musty or the medium feels wet, remove the material, let the structures air-dry, and replace it.
Dahlias: protect the neck and crown
Dahlia tubers attach to a crown, and each viable tuber needs an intact neck and a growing eye. A plump root that has snapped away from the crown may not produce a new plant. Keep the clump whole through winter if you are unsure how to find the eyes; divide in spring when buds are easier to see, using a clean knife and retaining a piece of crown with each division.
After the surface dries, pack clumps in a breathable box with a loose layer of shavings, vermiculite, or another medium that does not stay wet. Store them cool but above freezing, and inspect more often during the first month as moisture equalizes. If one clump turns soft or smells rotten, remove it promptly; if several tubers wrinkle, check whether the room or packing material is too dry before adding moisture.
The storage process has a learning curve because a clump’s condition depends on the soil, weather, and room where it was kept. Keep notes on which medium and room worked, how many tubers shriveled or rotted, and when you checked them. That record is more useful next fall than trying to remember whether the basement felt “about right.”
Cannas and elephant ears: avoid hard-freeze damage
Canna rhizomes can usually be lifted after a light frost kills the tops, but do not wait for a hard freeze to turn the stems mushy. Let the rhizomes dry for a day or two, then pack or wrap them so they do not desiccate in storage. UW–Madison gives 45–50°F as a storage range for cannas and recommends checking that the roots do not become too dry.
Elephant ears are a common name for several genera, including Colocasia, Alocasia, and Xanthosoma, so check the plant label rather than assuming one rule fits all. In a cold climate, lift before frost or bring a container-grown plant inside. If overwintering the plant in its pot, reduce watering as growth slows; soggy soil in a cool room can rot the root system just as surely as an overly wet storage box.
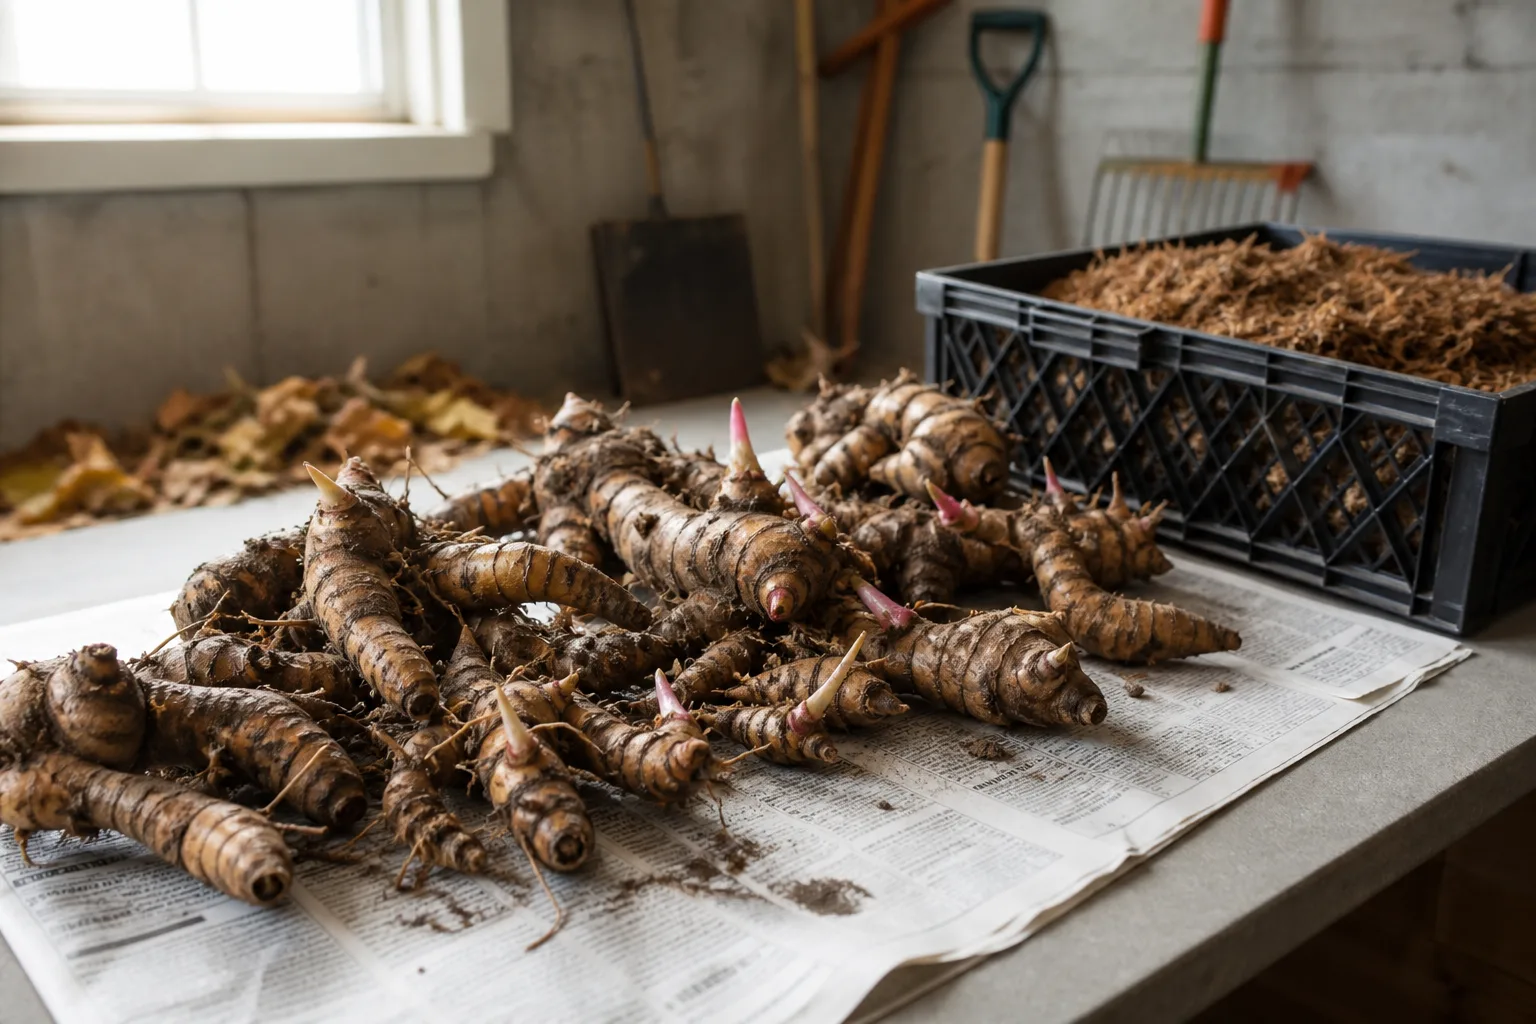
Some gardeners leave cannas in the ground in warmer regions, especially in raised or sandy beds that drain well. That is a local-climate decision, not a universal zone rule. If winter is mild but wet, a clump may be at more risk from saturated soil than from cold, and a dry mulch layer alone will not correct poor drainage.
Gladiolus: cure corms before sorting
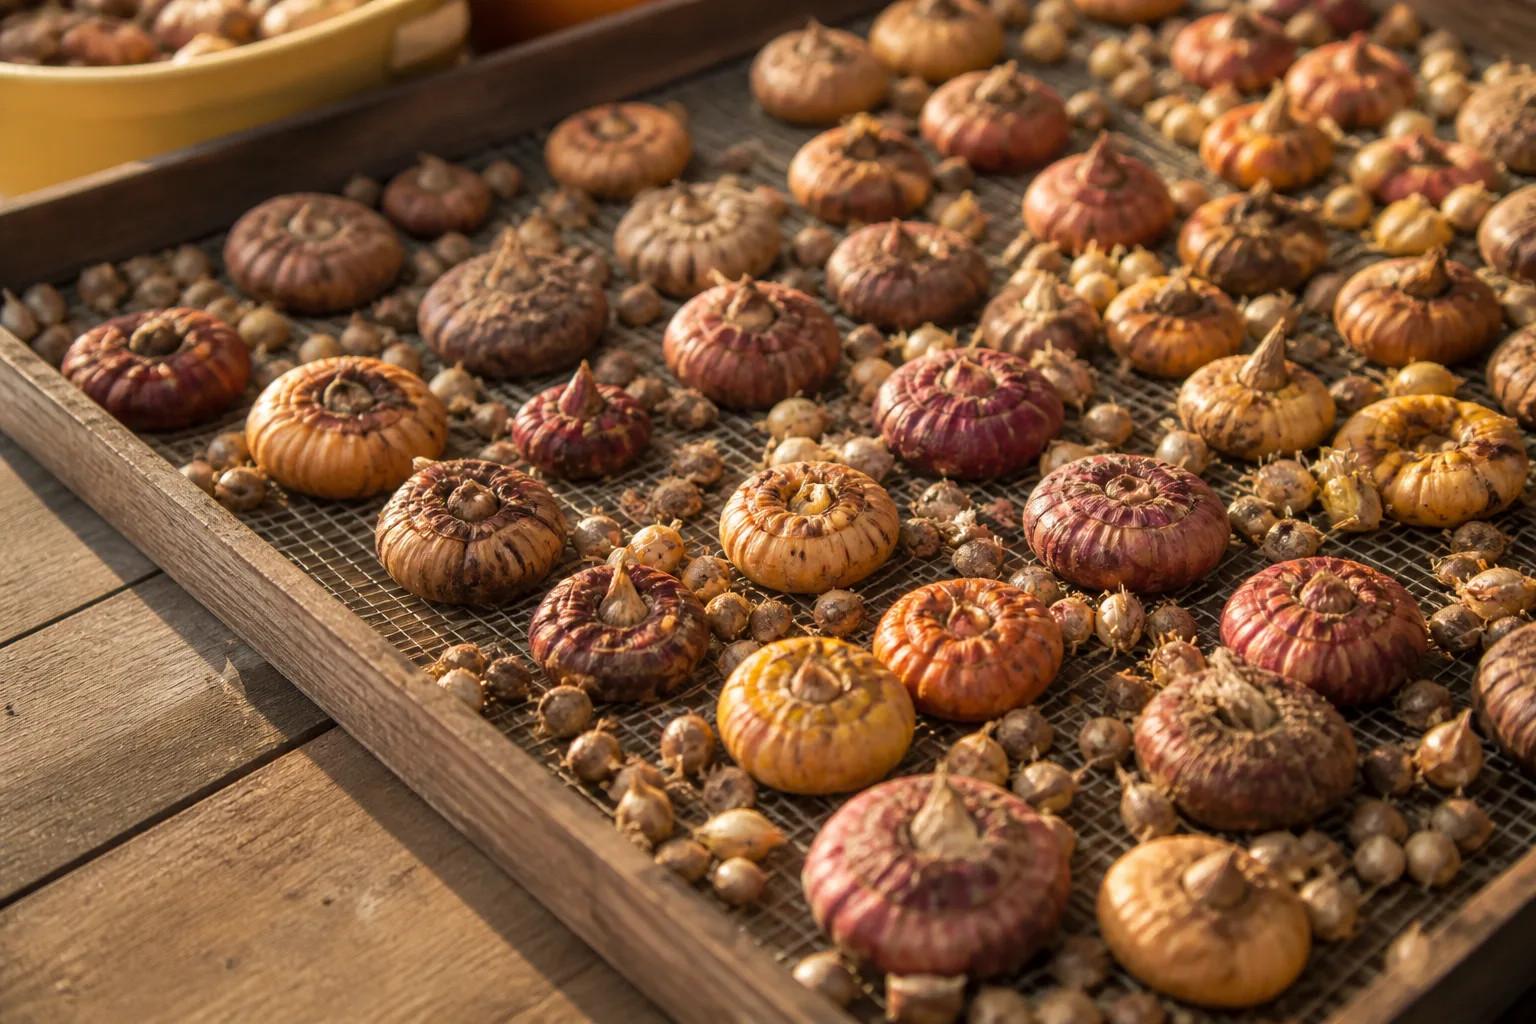
Gladiolus forms a new corm above the old one each year. Lift when foliage yellows or after a light frost, before a hard freeze; keep the corms dry while handling, trim stems to a short stub, and cure them in a ventilated place for about three weeks. Once cured, remove the shriveled old corm beneath the new firm one and keep the plump corms and any healthy offsets.
Do not wash gladiolus corms, and do not cut off the old base while it is still wet or soft. The long cure lets the outer surface dry before packing, which reduces the chance that trapped moisture will remain in a crowded container. Store them in a cool, airy place without letting them freeze; if the new corms start to wrinkle, reassess the temperature and room humidity before changing the medium.
Caladiums, callas, and tuberous begonias need their own rules
Caladium tubers prefer warmer winter storage than many other tender plants. Wisconsin Extension recommends curing them for about a week in a warm location and storing near 60°F; placing them in the coldest basement corner used for dahlias can damage them. Keep the label attached and separate them from plants that need cooler conditions.
Calla rhizomes need a longer cure, around two to three weeks, and storage roughly 45–55°F. Tuberous begonias are typically lifted before a hard frost, dried for one to two weeks, and stored near 50°F. These are starting points; local cultivar advice should take priority when it differs, and small or damaged pieces may not keep as well as mature, healthy structures.
Inspect monthly and adjust moisture
Set a recurring reminder to inspect the storage boxes every three to four weeks. Open one container at a time, check for condensation and odors, and feel several pieces from different parts of the box. A healthy dahlia tuber or rhizome should feel firm; a slightly dry outer skin is different from a deeply wrinkled, lightweight structure. Burpee’s tender-bulb guide likewise recommends monthly checks for firmness and adjustment of the packing medium when stored structures shrink or feel too damp.
Remove soft, wet, or foul-smelling material as soon as you find it. For a larger tuber with a small isolated soft spot, UW–Madison suggests cutting away damaged tissue and allowing the healthy surface to dry before repacking; if rot reaches the crown or most of the structure, discard it. Do not let one questionable piece remain in a sealed cluster until the next monthly check.
If the packing medium feels damp, spread the material out and air-dry it before repacking. If the medium is dry and the plants are shriveling, lightly moisten the medium rather than soaking the plant itself. The goal is not to keep everything moist; it is to prevent the living storage tissue from drying out while keeping surfaces free of persistent wetness.
Troubleshoot rot, mold, shriveling, and early sprouts
Softness and a sour smell usually point to too much moisture, poor ventilation, injury, or storage that is too warm. Remove the affected piece and check the rest of the box, not just the plant beside it. Reduce packing depth, replace damp material, and move the container if its temperature is unstable.
Wrinkles and shriveling usually signal excessive drying or heat. Check whether the medium and room are both dry, and whether the box sits near a heater or warm ceiling. Make a small adjustment, then recheck within a week; flooding a dry box can replace one problem with rot.
A small amount of surface mold can appear where air is limited, but fuzzy growth together with soft tissue or musty odor calls for removing the affected plant and drying the rest. Improve airflow and avoid piling clumps several layers deep. Do not apply a fungicide as a routine fix; only use a product specifically labeled for the plant and situation if a qualified local recommendation supports it, and follow the label exactly.
Early sprouts often mean the storage site has warmed enough to break dormancy. Move the box to a cooler frost-free place if possible, but do not keep moving it between extremes. If spring is near and shoots are growing, pot the plant in a suitable container and give it strong light rather than snapping off the new growth.
Replant after the soil warms
Before planting, sort through each container again. Keep firm structures with no major rot; discard completely soft, dry, or badly damaged pieces. Divide dahlia clumps only when you can identify a viable eye attached to the crown, and divide canna rhizomes so each section has healthy tissue and visible buds.
Wait until the danger of frost has passed and the soil is warming before planting tender summer bloomers outdoors. Cold, wet soil slows root activity and raises the risk of decay, even when the air feels mild. If you want an earlier start, pot selected tubers or rhizomes indoors several weeks before your local planting window and move them outside gradually after frost risk declines.
Plant at the depth and orientation appropriate to the species, water the soil to settle it, and avoid keeping dormant or newly planted structures saturated. Label the planting location so you can track which storage method produced the strongest plants. If a stored group fails, the notes on room temperature, curing, and moisture will help you change one variable at a time next season.
Conclusion
Successful winter storage depends on matching the method to the plant. Decide first whether the species and your site call for lifting; then time the job before a damaging freeze, protect the crown or corm from injury, and give each group the right cure and storage conditions.
Keep the containers ventilated and labeled, inspect them monthly, and respond to what you actually see instead of misting or drying everything by habit. A cool, stable room and a few careful checks give tender bulbs, tubers, rhizomes, and corms a better chance of returning for another season of flowers.



