How to Remove Lower Leaves From Tomato Plants
A practical guide to removing lower tomato leaves: timing, tools, determinate vs. indeterminate plants, mulch, supports, and disease warning signs.
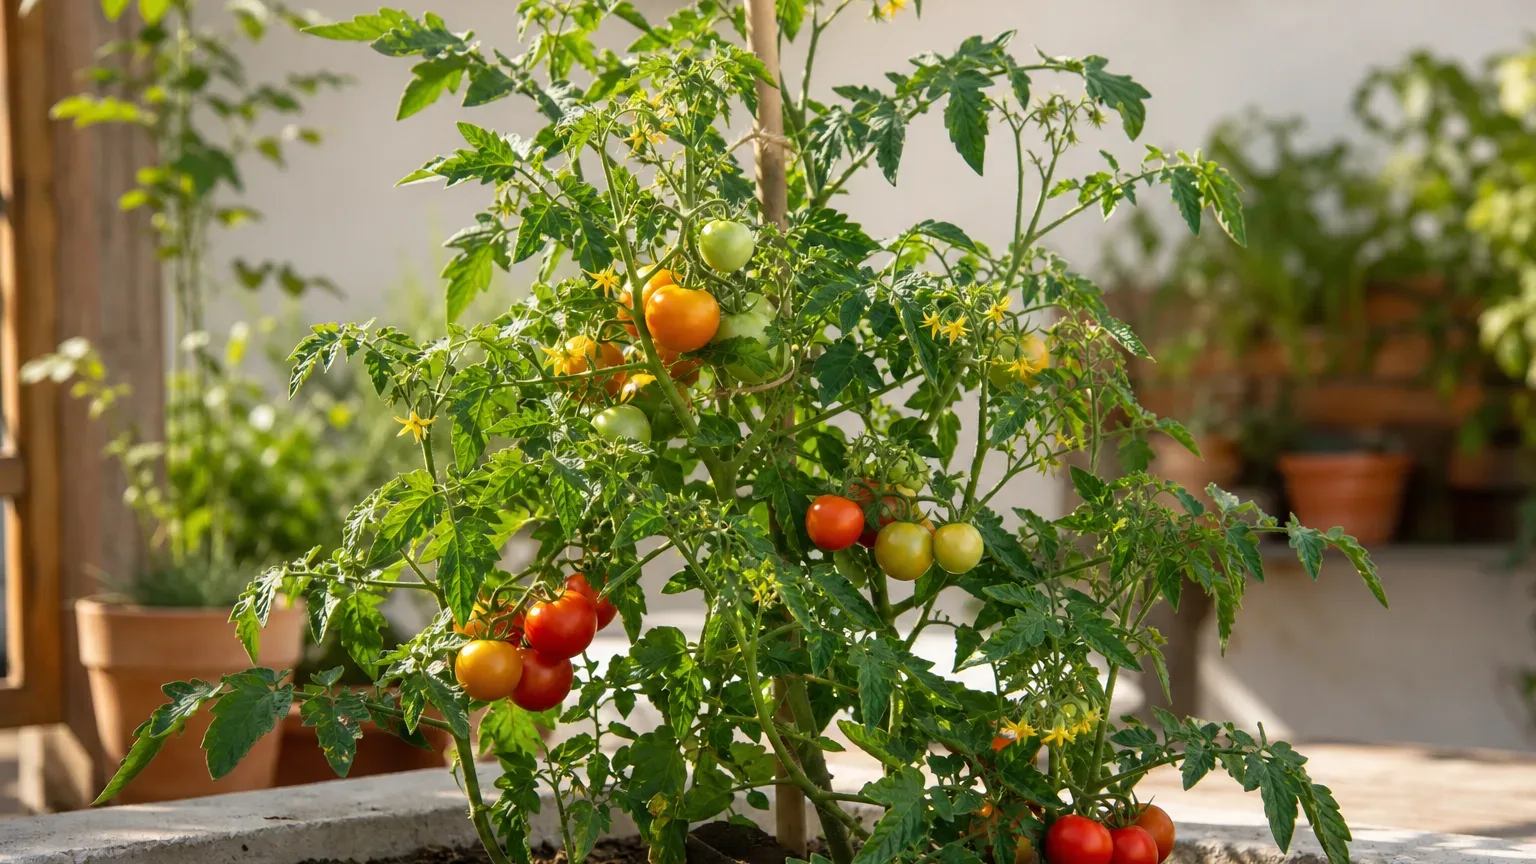
Removing the lowest tomato leaves is a useful bit of seasonal cleanup, but it is not a contest to see who can strip a plant bare. Start with leaves and branches that touch the soil, then stop long before you expose every fruit cluster. That small distinction protects the plant’s working leaf area while reducing the humid, splash-prone zone where many garden problems get started.
The safest approach is to prune from the bottom up, adjust the amount to the tomato’s growth habit, and treat diseased foliage as a diagnosis problem rather than a routine trimming job. The steps below work for tomatoes in beds, containers, cages, and trellises.
Why lower leaves matter near the soil
Lower leaves are the first to be hit by soil splashed during rain or irrigation. They also sit in the least ventilated part of a dense plant, where foliage can remain wet longer after a storm or a cool morning. Ohio State University Extension recommends minimizing lower-leaf contact with soil, using mulch as a barrier, and pruning lower leaves to promote air circulation during wet weather. (Ohio State University Extension)
Removing a leaf does not disinfect the soil and does not make a tomato immune to disease. It simply removes one easy route for splash, improves the space around the stem, and makes it easier to see pests, stems, and early symptoms. The benefit is greatest when pruning is combined with soil-level watering, a suitable support, enough space between plants, and mulch that does not touch the stem.
What pruning can and cannot prevent
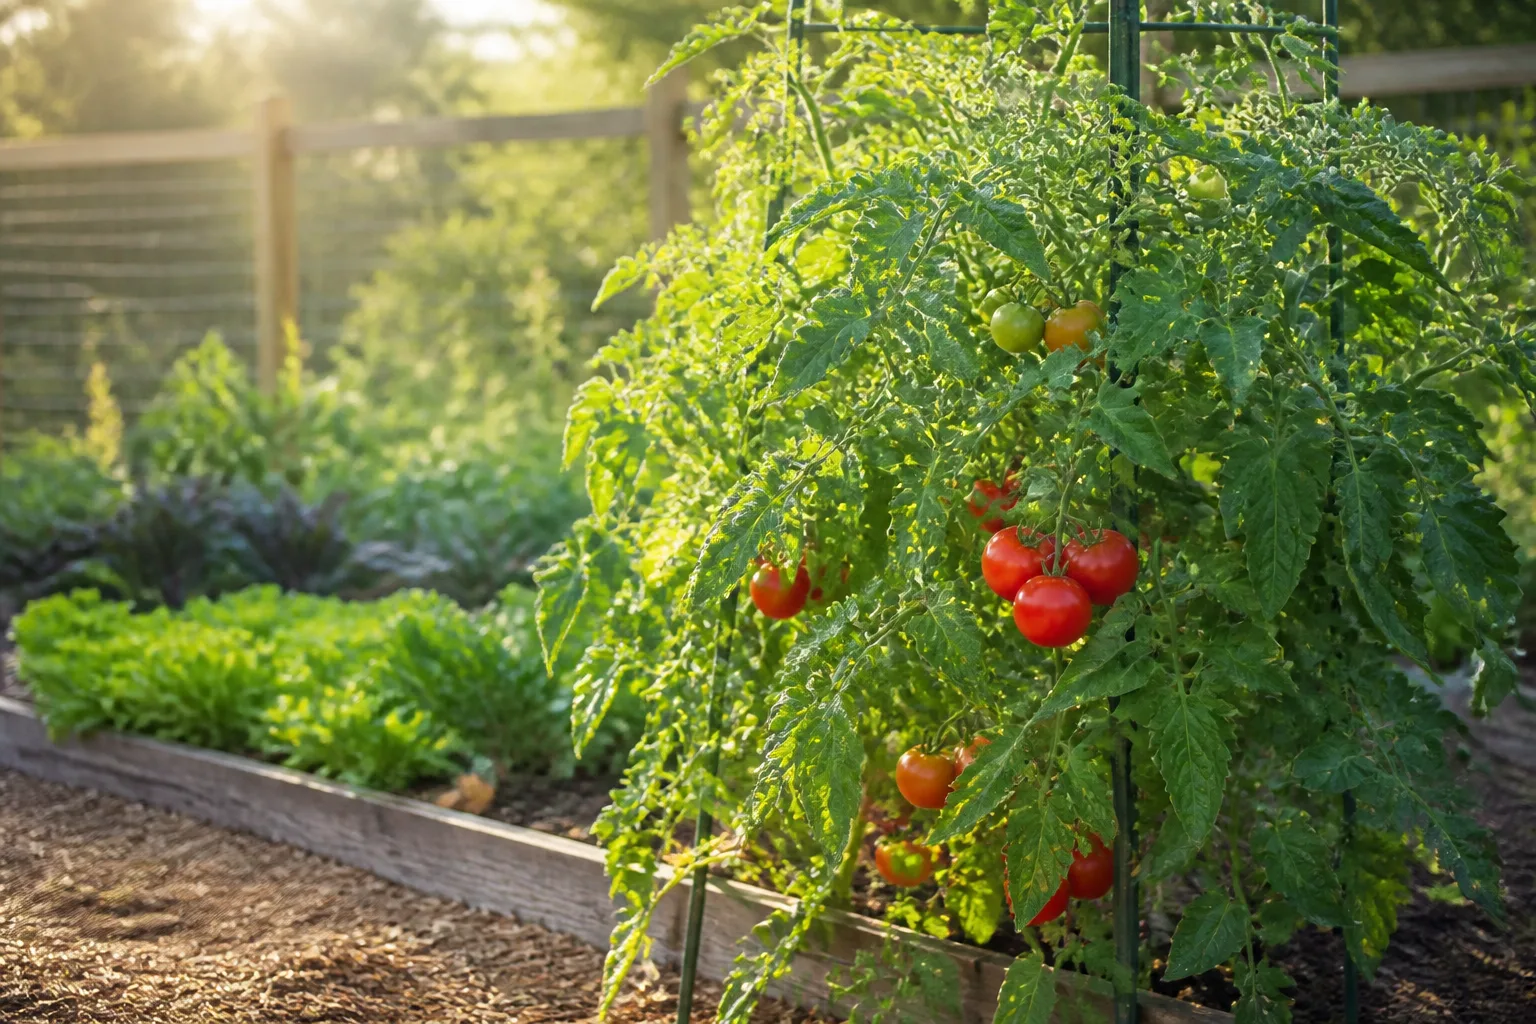
Think of lower-leaf removal as risk reduction, not treatment. Better airflow and less soil contact can make the plant’s base less favorable to some foliar problems, but wind-borne spores, prolonged rain, contaminated tools, crowded spacing, and stressed roots can still lead to disease. The RHS notes that late blight spreads rapidly in warm, wet conditions and that prolonged surface wetness is needed for infection; picking off a few affected leaves may slow progress only slightly and will not eradicate the problem. (RHS tomato blight guidance)
That is why a plant with a few clean, ground-touching leaves is a pruning job, while a plant with rapidly expanding watery brown lesions, collapsing stems, or rotting fruit needs prompt disease management. Cutting more healthy foliage from the second plant will not solve the underlying problem.
Identify what you’re growing before pruning
Find the plant label or seed packet and look for determinate, bush, dwarf, indeterminate, or vining. If the label is gone, watch the plant: a determinate tomato tends to form a compact canopy and finish its main flush, while an indeterminate tomato keeps extending its main stems and setting flowers over a longer season when conditions stay favorable.
The distinction matters because a determinate plant carries much of its crop on a finite framework. A hard prune can remove fruit-bearing branches and reduce the harvest. An indeterminate plant has more room for selective sucker removal and training, but it still needs enough leaves to shade fruit and power growth.
| Plant type | Good first cleanup | Be cautious about |
|---|---|---|
| Determinate or bush | Remove dead, diseased, broken, or soil-touching leaves; keep the main canopy intact. | Routine removal of healthy suckers and whole fruiting branches. |
| Indeterminate or vining | Remove soil-touching growth, manage suckers, and train a small number of stems to the support. | Stripping a large percentage of foliage or cutting the growing tip too early. |
| Unlabeled or uncertain | Make only the ground-contact cleanup until you can identify the type. | Making a major structural cut based on a guess. |
Determinate plants need a light hand
For a determinate tomato, the low-leaf rule is usually enough. Remove leaves that lie on the ground, yellow leaves that are fully senescent, and damaged or diseased tissue. Leave healthy leaves that are not creating a clear problem, even if the plant looks a little untidy.
You can support a determinate plant with a short cage or stake, and you can remove a branch that is broken or lying in wet soil. What you generally should not do is copy an indeterminate pruning routine and pinch every sucker or thin the interior on a schedule. If you want to make a determinate plant smaller, do it early and selectively, not after it has already set a substantial crop.
Indeterminate plants need ongoing structure
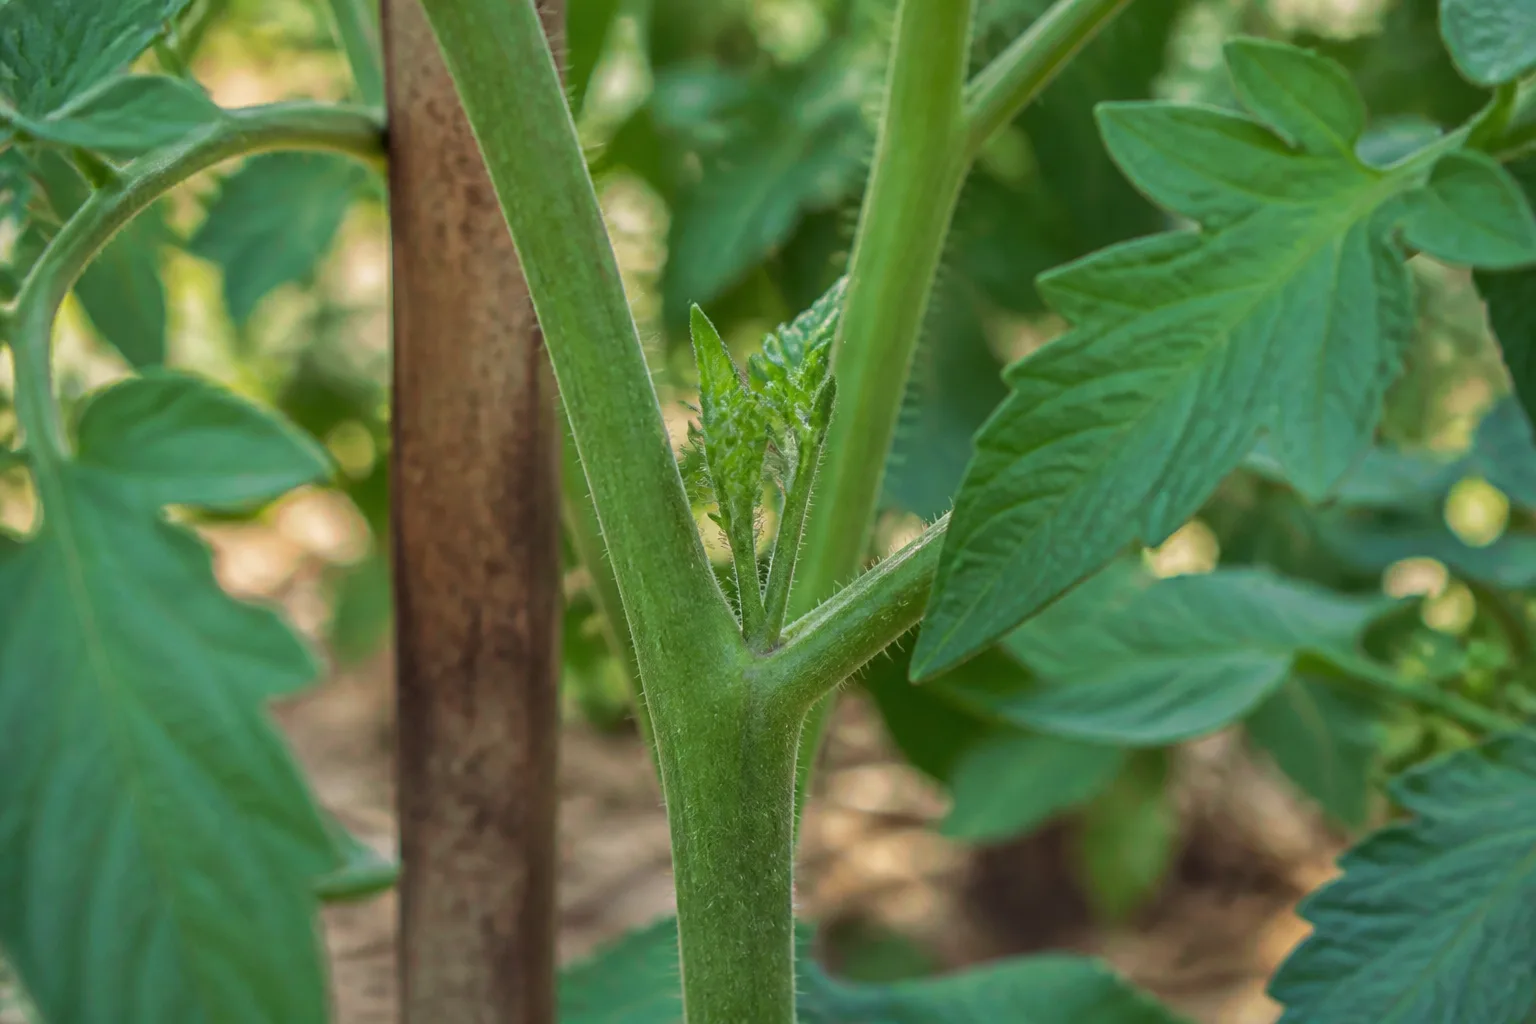
Indeterminate tomatoes can turn into a heavy, tangled canopy. Once the main stems are tied to a cage, stake, or trellis, you can inspect the leaf axils—the “armpits” where a leaf branch meets the main stem—and remove young suckers that are heading into an overcrowded space.
You do not have to force every indeterminate plant into exactly one or two stems. Choose a manageable number of strong stems that your support can carry, and remove competing growth while it is small. A vigorous plant in a hot, humid garden may benefit from more thinning than a plant in a dry, breezy bed; the plant’s climate and structure matter more than a universal pruning count.
The simple lower-leaf rule
Use this order of priority:
- Remove any leaf or branch touching the soil.
- Remove the next low leaves if they are close enough to receive soil splash or are trapped against wet mulch.
- As the plant grows, keep the lowest roughly 6 to 12 inches of stem clear when the plant is large enough to support that space without losing too much canopy.
- Stop if you are about to expose a heavy fruit cluster to harsh afternoon sun, remove a large share of the plant’s healthy leaves, or create a large wound.
The height is a guide, not a quota. A small container tomato may not have enough stem to clear a full foot, while a vigorous, well-supported vine may eventually need more room at the base. The target is a clean, ventilated base—not an artificially bare trunk.
The Connecticut Agricultural Experiment Station’s pruning and support guidance explains the underlying logic: tomato leaves need room and support above the ground so they can photosynthesize efficiently and avoid the conditions created by dense, ground-level growth. (Connecticut Agricultural Experiment Station tomato pruning guidance)
How to remove lower leaves step by step
Prepare tools and sanitation
Choose a dry morning when the foliage is not wet from rain or irrigation. Use clean fingers for tender suckers and small leaf stems, or a sharp bypass pruner for thick stems. Wipe the blades before you begin, and clean them again before moving from a visibly diseased plant to a healthy one.
Sanitation matters most when you are cutting spotted, collapsed, or suspicious foliage. Ohio State University Extension specifically recommends sterilized pruners for diseased leaves and placing diseased material in the garbage rather than the compost pile. (Ohio State University Extension)
Make the first pass
Walk around the entire plant before cutting. Look at where the stem emerges from the soil, where the support holds the branches, and whether a low leaf is healthy but simply hanging outward. Begin with the obvious problems: soil contact, broken stems, fully yellow leaves, and leaves with clear disease symptoms.
Cut a leaf stem cleanly near its junction with the main stem or branch, without gouging the stem. If a whole side branch is touching the soil, remove it at its base rather than clipping off several individual leaflets. For a soft, young sucker, pinch it between your fingers while it is small; for a thick stem, use a sharp pruner and avoid tearing the plant’s skin.
Work upward in small sections. After every few cuts, step back and check how much green canopy remains. Healthy leaves are not clutter; they are the plant’s solar panels and a useful shade layer for developing fruit.
Follow up without chasing symmetry
Tomato plants rarely need to look symmetrical. Return in several days or a week and remove new growth only where it is repeating the same problem: touching soil, blocking the center completely, or competing with the stems you chose to train.
Collect the trimmings as you work. Healthy green pieces can usually go into a properly managed compost system, but anything with spreading spots, a suspicious rot, or other disease symptoms should go into the trash or the disposal method recommended by your local authority. Do not leave cut foliage under the plant where it can stay wet and be splashed back into the canopy.
What to do with suckers
A sucker is a side shoot that starts in the angle between a tomato’s main stem and a leaf branch. On an indeterminate plant, a young sucker can become a full stem with flowers and fruit. Whether to remove it depends on the space, support, climate, and plant type—not on the idea that every sucker is useless.
Remove a sucker when it crowds the chosen stems, pushes foliage into the center of a cage, or creates a branch your support cannot carry. Pinch it while it is small and soft. If it has become thick, do not yank it; make one clean cut on a dry day and avoid removing several large stems at once.
On a determinate tomato, leave most healthy suckers unless the plant is clearly overcrowded or a branch is damaged. On an indeterminate tomato, you can keep one additional sucker as a planned second stem if the support and spacing can handle it. Mark your chosen stems with a soft tie so you do not accidentally remove the main growing tip later.
The easiest way to avoid a mistake is to trace a stem from the soil upward before cutting. If you cannot tell whether a large branch is a main stem or a sucker, leave it until you can follow its origin. One extra stem is safer than cutting off the plant’s growing point by guesswork.
Prune a crowded canopy without causing sunscald
Once the bottom is clear, look through the middle of the canopy. Remove only a few leaves that are dead, damaged, crossing, or creating a persistently damp pocket. Do not thin the plant simply because you can see green fruit; tomatoes need healthy leaf area, and suddenly exposing fruit can lead to sunscald, especially during a heat wave.
If a fruit cluster is hidden, try guiding the stem or tying the plant to its support before cutting leaves. If the plant is shading itself so heavily that air cannot move, remove the least useful interior leaf first: an old, damaged, inward-facing leaf is a better candidate than a healthy leaf shading a developing cluster.
Late in the season, an indeterminate plant that is running out of vertical space or approaching frost may be topped above the last useful fruit cluster. Timing depends on your local season, and topping is a separate decision from removing lower leaves. Do not top a healthy plant early just because it is tall; the growing tip is where new leaves and flowers are produced.
Mulch and supports complete the disease-prevention plan
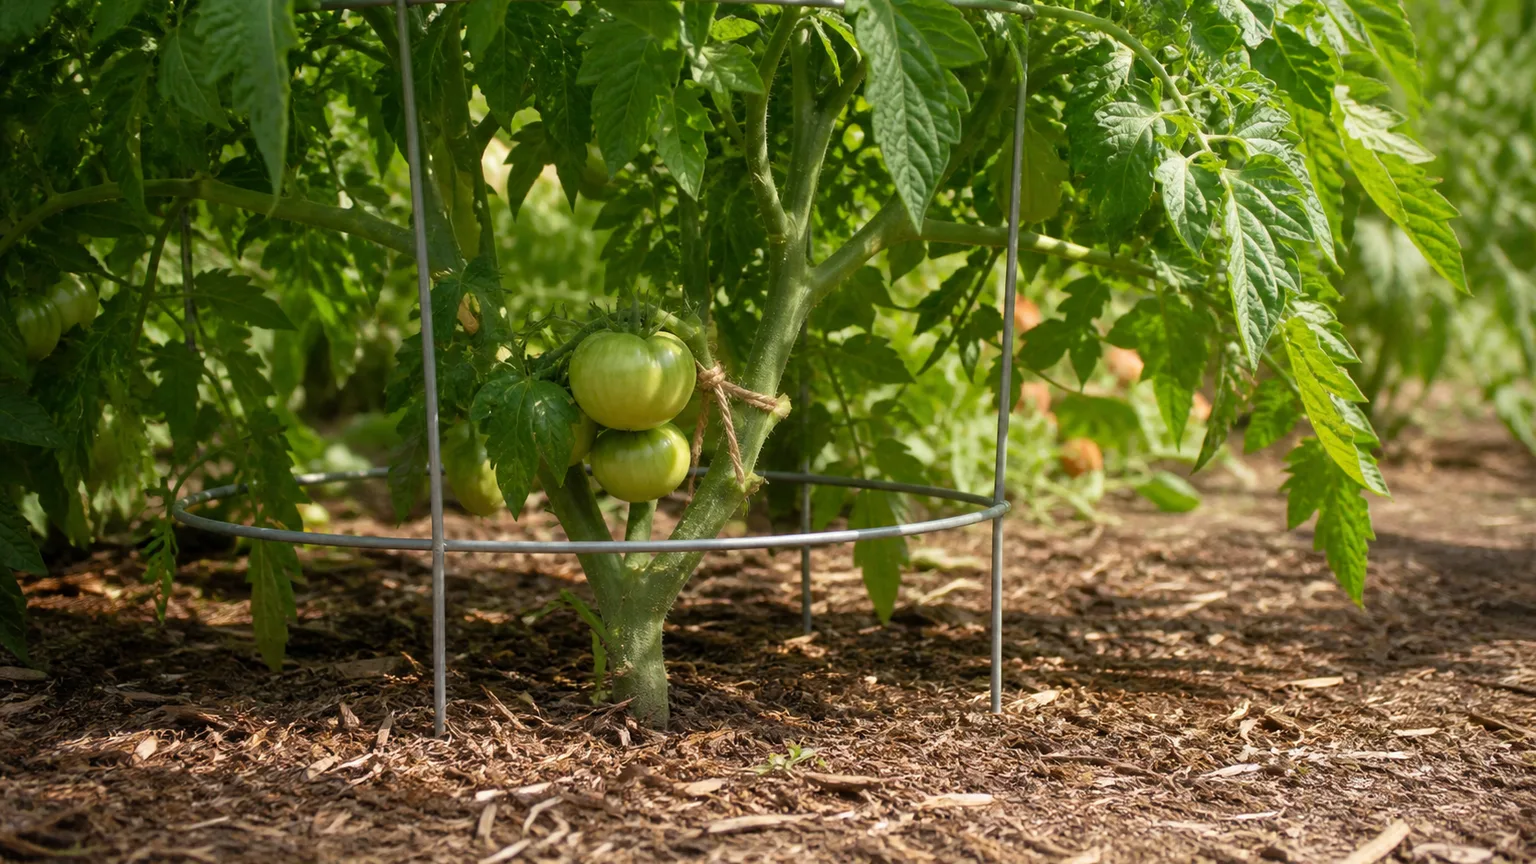
Lower-leaf pruning works best when the plant is supported and the soil surface is covered. Mulch creates a barrier between soil-borne spores and the foliage, helps the root zone hold moisture more evenly, and reduces the amount of bare soil thrown onto leaves during watering. Ohio State Extension recommends mulch for this purpose but cautions that an impermeable mulch can keep a very wet soil from drying.
Use clean straw, shredded leaves, finished compost, or another suitable mulch, and leave a small gap around the stem. Do not use lawn clippings from a lawn recently treated with herbicide, and do not pack wet mulch against the plant base.
Support the plant before branches flop. A sturdy cage, stake, trellis, or Florida weave can keep foliage off the soil, reduce breakage, and make the base easier to inspect. The best support is the one installed early enough that you are not wrestling a heavy vine through it after stems have stiffened.
Water at the soil line when possible. Overhead rain cannot be avoided, but repeated sprinkler wetting keeps leaves wet for longer and makes the airflow you created less useful. If a plant is growing in a container, check that the pot drains freely; no amount of leaf removal compensates for roots sitting in saturated mix.
Tomato leaves turning yellow or spotted: prune or diagnose?
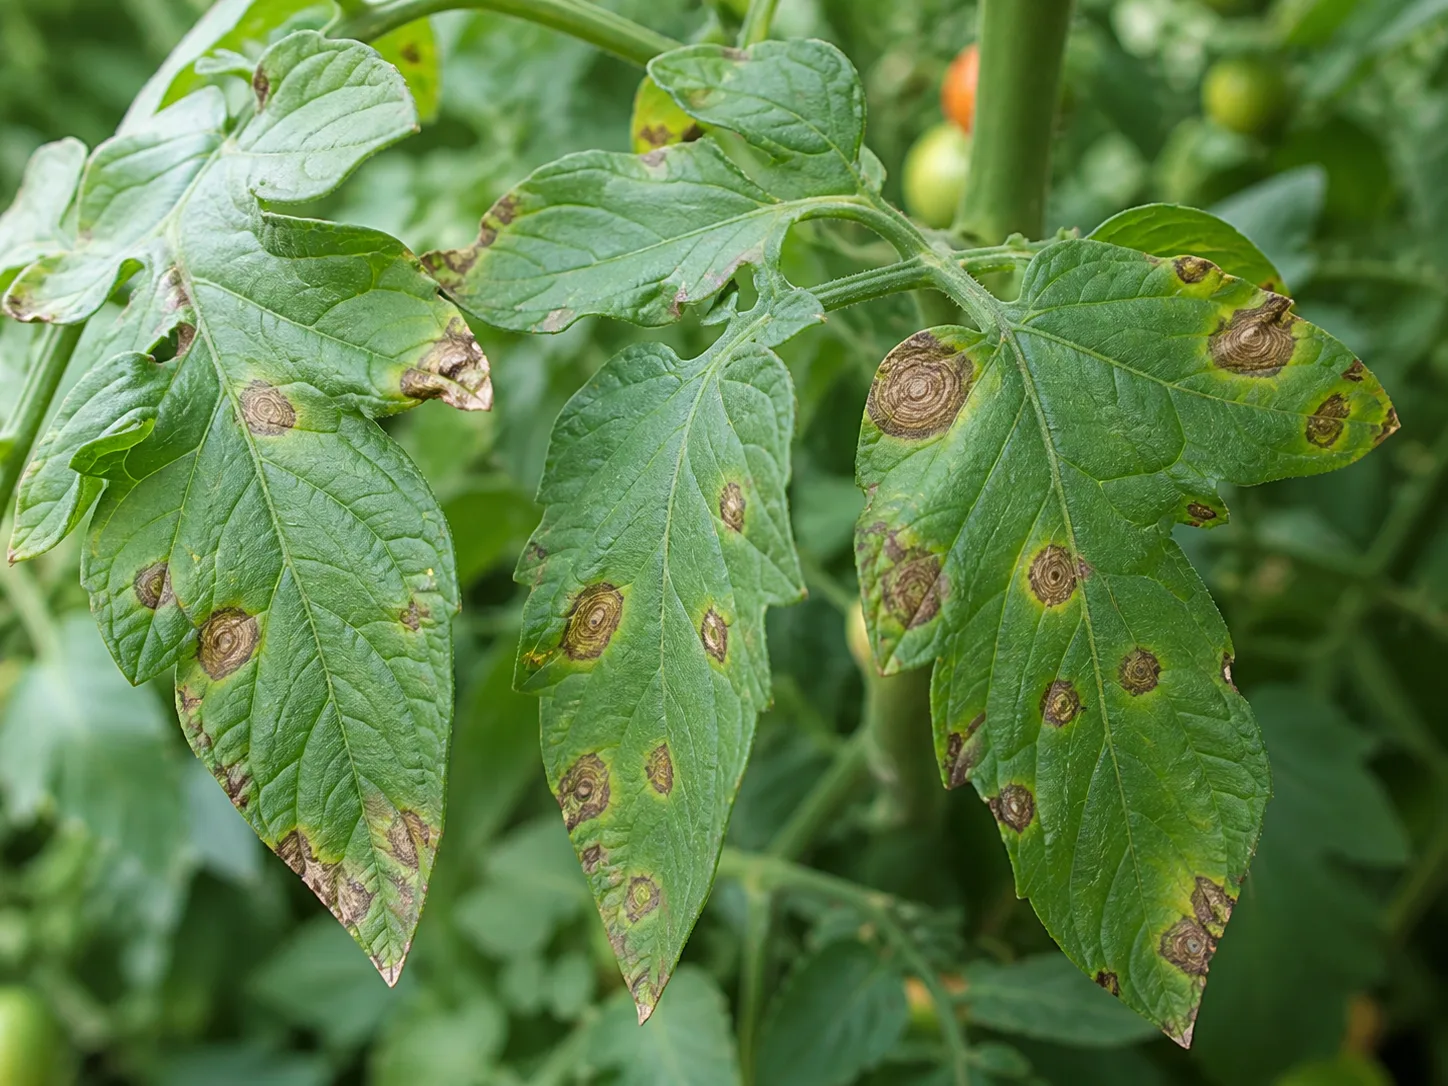
Not every discolored leaf should be treated the same way. One or two old bottom leaves that yellow gradually may be normal aging, while a pattern that moves quickly upward, appears on several plants, or includes spots on stems and fruit calls for closer inspection.
Signs to remove promptly
Remove a leaf when it is fully yellow and no longer contributing much, dead and crispy, torn, broken, or clearly diseased. Bag or discard suspicious material, clean the tool, and look for the same symptom elsewhere before continuing.
Rapidly spreading watery brown lesions, collapsing leaves, brown stem lesions, or rotting fruit are warning signs that should not be explained away as “old leaves.” The RHS describes those patterns as consistent with blight symptoms and notes that wet, humid conditions can accelerate spread. (RHS tomato blight guidance)
Signs pruning will not fix
Pruning is unlikely to solve a whole-plant problem caused by watering, temperature, nutrients, roots, pests, or a virus. The RHS groups many tomato leaf disorders under growing-condition problems and notes that curling, distorted leaves, nutrient-related discoloration, excess moisture, and disease can look different but overlap in the garden. (RHS tomato leaf problems)
If leaves curl after a sudden temperature swing but remain green, do not strip the plant. If older leaves show yellowing between veins but the plant is otherwise vigorous, check the root zone and nutrition before assuming infection. If new growth is badly distorted, growth is stunted, or symptoms appear on multiple plants in a pattern, seek a local extension diagnosis instead of pruning harder.
When only a few leaves are affected, remove them promptly with clean tools and improve airflow. When the disease is moving through the plant, isolate the issue as much as practical, avoid working through wet foliage, and follow local guidance for disposal and any permitted treatment. Leaf removal can reduce inoculum in a small problem; it is not a cure for an established epidemic.
Common mistakes that set plants back
Stripping a fixed height from every plant. A 6-to-12-inch guideline is useful only when the plant is large enough to carry it. Scale the cleanup to the plant’s size and the amount of healthy foliage remaining.
Pruning a determinate tomato like a vine. Bush varieties can lose a meaningful part of their crop when healthy fruiting branches and suckers are removed routinely. Start with the ground-contact leaves and stop there unless you have a clear structural reason to continue.
Removing leaves because fruit is hidden. Fruit needs leaves around it. Try support and gentle repositioning first, and keep enough canopy to shade fruit during intense sun.
Making big cuts in heat, drought, or wet weather. A stressed plant has less capacity to replace foliage, while wet conditions increase the chance that a fresh wound stays damp. Restore root-zone moisture, wait for a dry morning, and make a smaller cut.
Using dirty or dull tools. A torn stem is a larger wound, and dirty blades can transfer problems from plant to plant. Clean, sharp tools are a small investment in a cleaner recovery.
Composting suspicious leaves. If you cannot confidently call the material healthy, keep it out of a home compost pile. Diseased tomato foliage is not worth risking the next crop.
Cutting a stem you have not traced. The biggest avoidable error is removing the main growing tip. Follow the stem to its origin before cutting any mature sucker or branch.
A practical maintenance schedule
At planting or transplanting: Install the support early, water the root zone, and remove only leaves that will be buried or touch the soil. If the plant is small, do not force a full 6-inch clearance immediately.
When the plant reaches about 12 to 18 inches: Make the first deliberate bottom-up inspection. Clear soil-touching growth, add mulch after the soil is warm enough for your season, and tie the main stems loosely to the support.
During active growth: Check once a week. Remove new ground-contact leaves, young suckers that crowd the chosen structure, and damaged or diseased foliage. Increase the amount only if the canopy is genuinely trapping moisture or the support cannot manage it.
After rain or a humid spell: Inspect the lowest leaves and stems for splash, spots, and poor airflow. Let foliage dry, avoid unnecessary handling while wet, and sanitize before moving between plants if you cut anything suspicious.
As harvest approaches: Keep healthy leaves around fruit and avoid cosmetic over-pruning. If frost is approaching, decide separately whether the indeterminate growing tips should be topped to give existing fruit time to finish.
After the season: Remove diseased plants and clean supports before storing them. Rotate tomato and potato relatives when your space allows, and do not carry visibly diseased debris into next year’s bed.
Conclusion
Removing lower leaves from tomato plants is worth doing when it solves a specific problem: a leaf touching soil, a low branch trapped in wet mulch, damaged foliage, or a crowded base that cannot dry. Start with the bottom, keep the cuts small, and let the plant type determine how far you go.
Determinate tomatoes usually need a light cleanup. Indeterminate tomatoes can handle more deliberate training and sucker management when their support, spacing, and climate justify it. In every case, leave enough healthy foliage to shade fruit, use clean tools, mulch without smothering the stem, and remember that pruning lowers disease risk but cannot diagnose or cure every tomato problem.



