5 Spring Gardening Tasks That Gardening Pros Hate
Five spring gardening tasks pros dread—and the order, timing, and checks that make greenhouse cleanup, plant-loss decisions, lawn repairs, and drip setup easier.
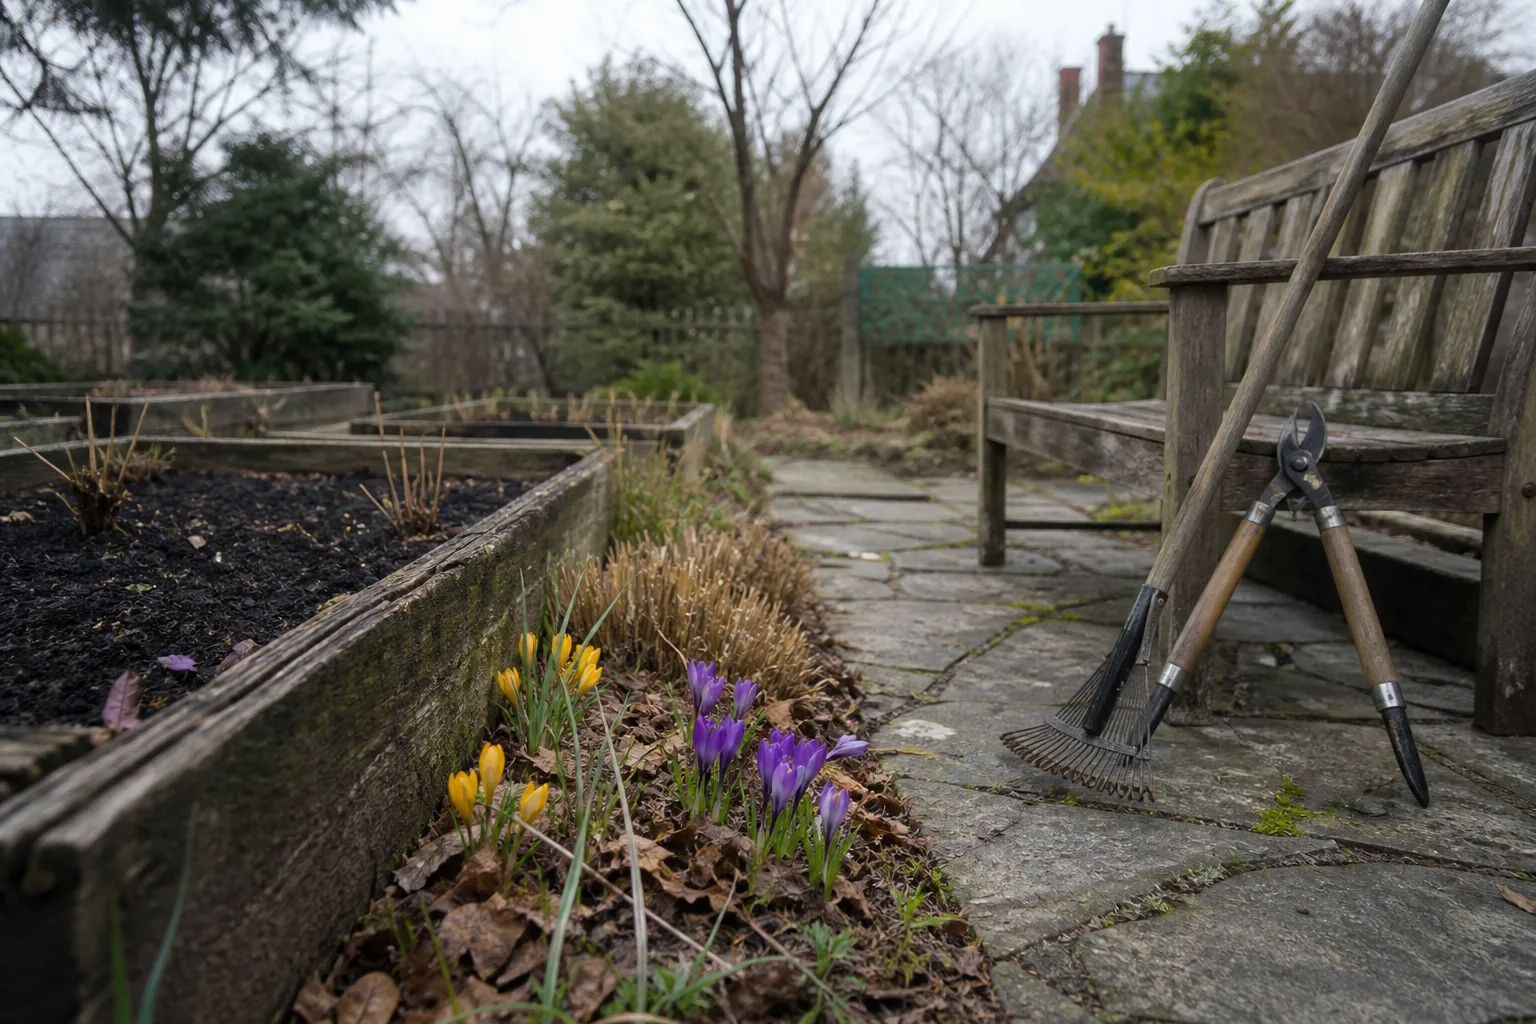
Spring has plenty of jobs gardeners look forward to: sowing, planting, and seeing what made it through winter. The jobs people dread are usually the ones that delay those rewards—cleaning the greenhouse, untangling the irrigation lines, deciding whether a shrub is truly dead, or repairing a lawn that looks worse than it did in fall.
These chores feel especially tedious when several are discovered at once. A better approach is to separate inspection from repair, do the jobs that affect planting first, and avoid turning every visible mess into an emergency.
Why these spring chores feel worse than the fun jobs
Many spring jobs have a hidden first step. Before you can sow, you may need to clear old pots from the greenhouse, remove last year’s soil from a tray, find the irrigation fittings, or wait long enough to see whether a shrub’s buds are alive. The task is not just the work itself; it is also figuring out what is safe to clean, what is actually broken, and what can wait.
Weather makes that uncertainty harder. A sunny afternoon does not mean the soil is dry enough to work, that tender greenhouse plants can sit outside, or that a dormant shrub has finished showing signs of life. If you treat spring as a deadline instead of a changing window, you can spend effort on jobs that would resolve themselves or damage plants by moving too soon.
The way through is to give each chore a decision point. Clear and inspect first, then clean, repair, prune, seed, or replace only when the evidence supports that next step.
1. Reset a greenhouse, shed, or potting corner
A greenhouse or potting space can become a catch-all over winter: empty trays, pots waiting to be cleaned, broken labels, coiled hose, leftover compost, and tools that did not make it back to their hooks. Starting to sow in that clutter means moving the same items repeatedly and can leave contaminated debris beside fresh seedlings.

You do not need a spotless greenhouse. The useful goal is a clear work surface, a clean path, accessible equipment, and fewer places for damp debris or old plant material to hide. The RHS notes that clean glazing admits more light, while sweeping away debris and cleaning growing structures can reduce the places pests and diseases persist; its guidance also says warm water is sufficient for general greenhouse cleaning.
Empty and clean in a useful sequence
Choose a mild, dry, relatively calm day if plants need to be moved outdoors. Shift movable pots and trays to a sheltered spot, and cover or bring in tender plants if the weather is still cold; do not leave them exposed just to make the job faster. If the greenhouse is actively holding seedlings, work in sections rather than emptying it all at once.
Start high and work down. Brush loose dust and dried plant matter from shelving and frame joints, gather plant labels and twine, then sweep or vacuum the floor before washing surfaces. Clean the panes with a soft cloth or sponge and warm water; abrasive pads and wire brushes can scratch glazing, and aggressive washing can force debris into places that are hard to dry.
Check gutters and downpipes while you are there, because leaves and algae can obstruct drainage or contaminate stored water. Only clear sections you can reach safely from the ground or a stable working position; do not lean your weight on greenhouse glass or climb onto a roof. The RHS greenhouse-cleaning guide and BBC Gardeners’ World’s greenhouse-cleaning steps both emphasize clearing debris, cleaning glazing, and checking gutters, while the RHS specifically cautions gardeners to avoid unsafe access.
Leave vents or doors open when conditions allow so wet floors and shelves can dry before you put everything back. Check for cracked panes, loose latches, blocked vents, or a water butt that needs cleaning, and write down repairs that require parts rather than letting them interrupt sowing day. If you do not own a greenhouse, the same sequence works for a potting bench or shed: remove the debris, make the work surface usable, then return only the equipment you can identify and use.
Sort for readiness, not just neatness
Set up three temporary zones: ready to use, needs attention, and discard or recycle. “Needs attention” is important because a broken dibber, cracked seed tray, or missing connector should not disappear back into the tidy pile and surprise you later. Keep similar items together—seed-starting supplies, irrigation parts, hand tools, labels—so the next task begins with fewer searches.
Look at stored growing media and fertilizers before using them. Keep products in their original packaging with labels readable, and do not use a bag that is wet, moldy, contaminated by pests, or of unknown origin around seedlings. Seed packets do not all expire on the same schedule, so use the printed year and the crop’s likely germination performance rather than tossing every older packet automatically; a small germination test can answer whether a valuable batch is still worth sowing.
The RHS advice on cleaning a greenhouse suggests organizing equipment as part of the cleanout, but perfection is not the goal. Put frequently used tools where you can reach them, keep chemicals and sharp tools away from children and pets, and stop once the space is ready for the next real job. A five-minute label check is useful; spending an afternoon decanting every packet into matching containers is not required to grow a garden.
2. Clean containers and tune up garden tools
Tools and containers create a frustrating pile because they need different kinds of care. A shovel with dried soil, a pruner with sticky sap, and a tray that held a diseased seedling are not solved by dropping everything into the same bucket. Separate ordinary cleaning from disinfection, then handle any repair while the tool is clean and easy to inspect.
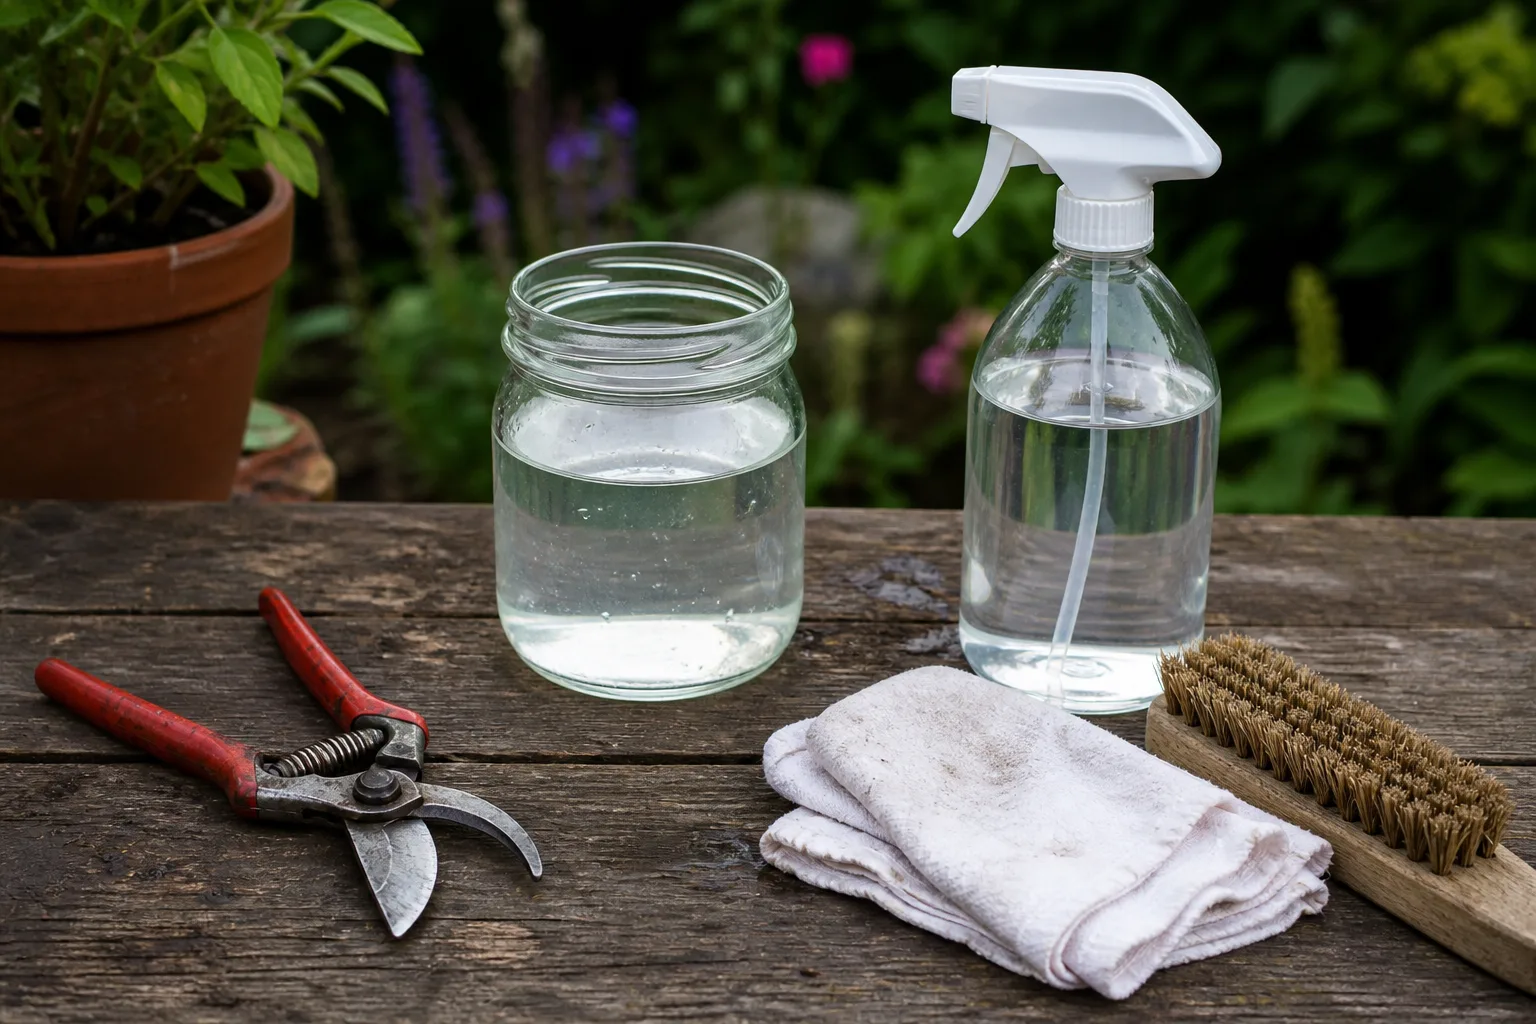
For tools that only have dirt or plant residue, brush or wash them, dry them, and lubricate moving parts when the manufacturer recommends it. A cutting tool that contacted a diseased plant, a shared tool, or a reused propagation container with a disease history deserves more careful sanitation. The RHS hand-tool guidance recommends removing soil, drying metal and wooden parts, and cleaning contaminated tools before applying an appropriate disinfectant.
Wash first; disinfect only when the risk warrants it
Visible soil and organic matter should come off before a disinfectant step; otherwise, grime can shield the surface you are trying to sanitize. For most reused pots, begin by emptying old mix, brushing out the drainage holes, and washing the container with detergent and water. Disinfection is most valuable for seed trays, pots that held diseased plants, and hard surfaces shared among plants—not as a ritual for every clean pot or every hand tool.
Oklahoma State University Extension’s pot-sanitation guidance describes scrubbing reused pots and, when sanitation is needed, soaking them in a solution of one part household bleach to nine parts water for about ten minutes, followed by a thorough clean-water rinse. Bleach can corrode metal, irritate skin, and damage clothing, so use protective gloves, follow the product’s current label, rinse thoroughly, and never mix it with vinegar, ammonia, alcohol, or other cleaners. If you are uncertain whether a pot material tolerates bleach, choose a compatible product or avoid reusing a container that held a serious disease.
Clay pots may also carry mineral or salt deposits that are not the same problem as pathogens. Scrub those deposits separately and rinse the container well before planting; a pot that is still dirty is not made safe by soaking it in sanitizer. Likewise, a porous, cracked container that is difficult to clean may be better retired from seed starting and used for a noncritical purpose.
The detailed LeafyPixels guide to cleaning garden tools and containers before spring covers material-specific cleaning, disease-risk sanitation, rust, sharpening, and container reuse. Use this quick spring pass to identify which items need that deeper treatment instead of repeating the same work or indiscriminately disinfecting everything.
Repair, sharpen, or replace before the first urgent job
Once tools are clean and dry, open and close pruners, check that the blades meet correctly, and look for loose pivots, cracks, or a bent cutting edge. Digging tools should have secure heads and handles without splinters or soft, rotten wood; a tool that may detach under pressure is a safety problem, not a cosmetic one. If a repair will require parts or professional sharpening, mark the tool and set it aside now rather than discovering the fault when a planting hole is half-dug.
Sharpen sound edges only when you can follow the tool’s existing bevel and work safely. The RHS recommends cleaning sap from cutting tools, checking moving parts, and storing tools dry; a sharp, correctly aligned blade is easier to use than one that crushes stems or sticks halfway through a cut. Do not try to rescue a badly cracked, bent, or unstable tool with tape or a quick file.
Finally, group equipment by the job it supports. Put cleaned seed trays with seed-starting supplies, keep pruning tools reachable without burying them under hoses, and place the checked drip fittings together in a small labeled container. The win is not a magazine-ready shed; it is having reliable gear at hand when weather gives you a short planting window.
3. Count winter losses without pulling living plants
Finding dead or damaged plants after winter can feel like a grim inventory. The easiest mistake is to call a plant dead because it looks brown, bare, or late to wake while nearby plants are already growing. Species and microclimates differ: a sheltered shrub may break bud weeks before one exposed to cold wind, reflected sun, salt spray, or a shaded wall.
Separate the plants into three categories: clearly dead, damaged but growing, and uncertain. Mark the uncertain ones with a date to revisit rather than digging them out on the first warm weekend. That small pause can save a healthy plant and keeps cleanup from turning into unnecessary replacement shopping.
Use buds, bark, and timing instead of first impressions
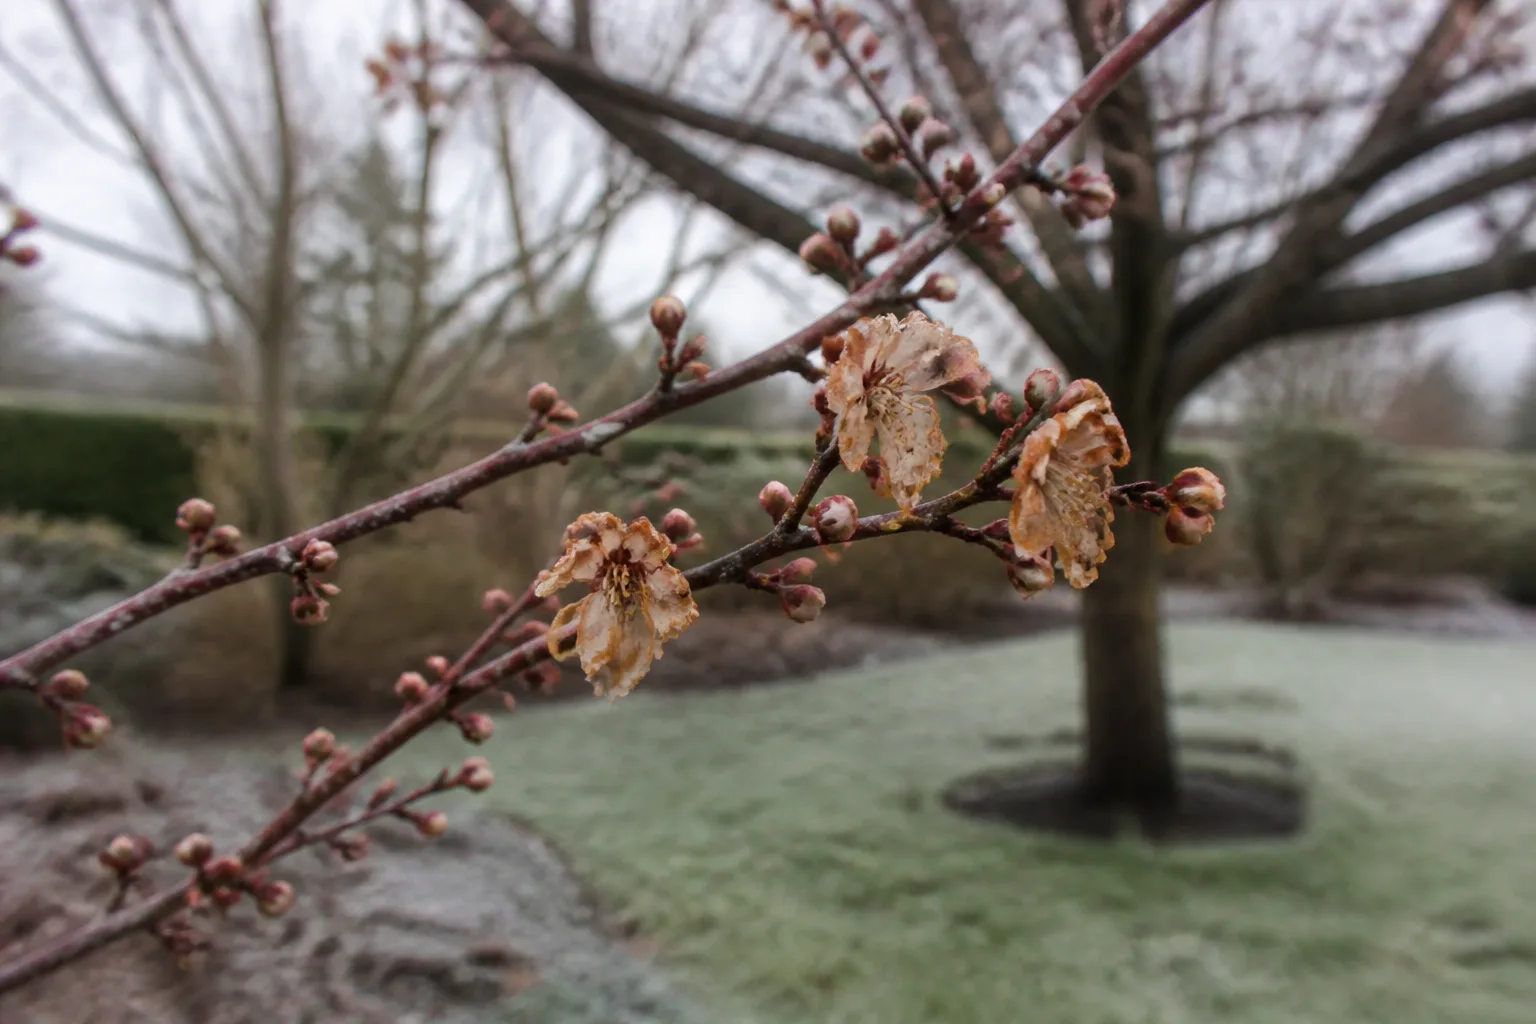
For deciduous shrubs, look for swollen buds, flexible living stems, or green tissue beneath a tiny, careful scrape on an inconspicuous twig. Do not repeatedly scratch the main trunk or remove large branches just to investigate. If the plant’s normal bud-break period has not arrived locally, an apparently bare branch is weak evidence that the whole plant is dead.
Evergreens can show winter burn after they lose water through foliage while frozen soil prevents roots from replacing it. The University of Wisconsin–Madison Extension’s winter-burn guidance recommends waiting until mid-spring, after new foliage is produced, before pruning damaged evergreen tissue; green buds or tissue under the bark can signal that a branch may still grow. That is a useful rule for many situations, but timing still depends on the plant and local conditions, and not every brown needle or leaf has the same cause.
Penn State Extension notes that winter injury can show up as browned foliage, dieback, and stress on recently planted or drought-affected ornamentals. Its Penn State Extension winter-injury guidance distinguishes damaged tissue from management decisions: remove confirmed dead branches, but do not assume that every discolored evergreen needs immediate shearing. If damage reaches a major trunk or branch, affects a large tree, or is accompanied by cracks or a leaning structure, stop and ask a qualified arborist rather than making a high-risk cut.
Record what you see before removing anything: plant name if known, location, which side is browned, whether buds are swelling, and when you checked. The pattern can point to a site issue—winter wind, late planting, poor drainage, salt exposure, or drought before the ground froze—rather than a plant that was simply “not hardy enough.” Take a photo and compare again after the species’ normal spring growth begins.
When a plant is clearly dead, remove it in a way that fits the cause. A broken, diseased branch should not go into the compost unless local guidance says the pathogen is managed by that method; a dead annual can often be composted if it shows no disease or pest concern. Check the root system and nearby plants before replanting the same spot, because a repeat loss may reflect drainage, shade, exposure, or a pathogen that a new plant would inherit.
4. Triage vole damage before reseeding the lawn
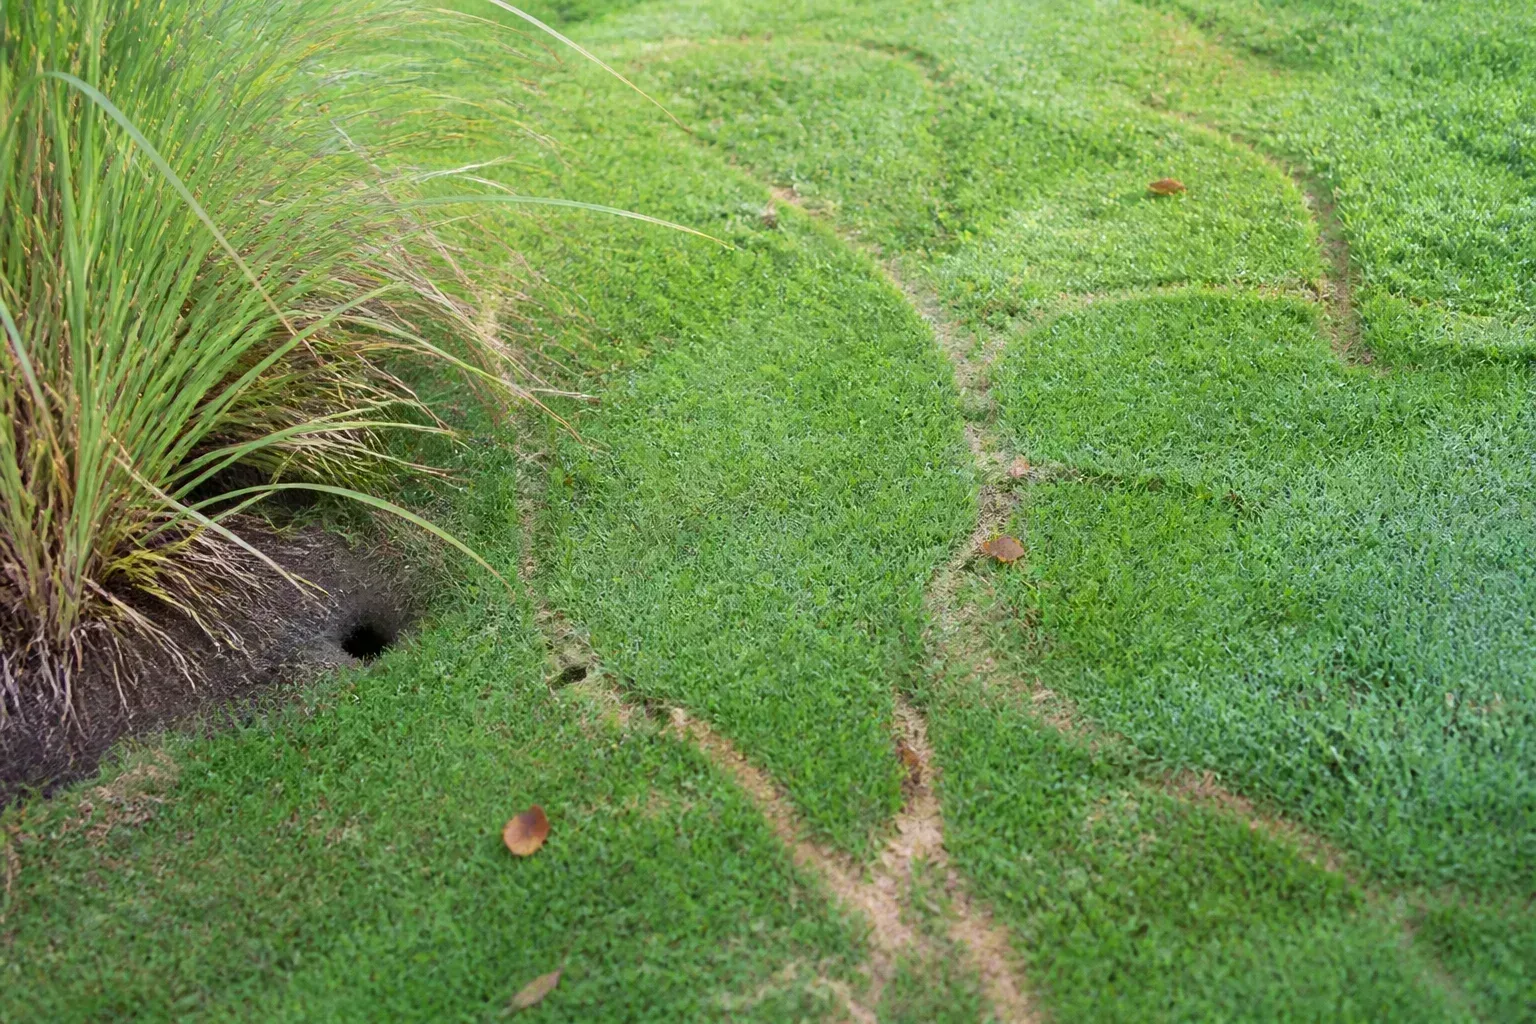
Snowmelt can uncover winding paths through the lawn that look like a major repair project. Some are surface runways made by meadow voles moving under snow, and the turf often fills back in as growth resumes; Penn State Extension describes these spring runways as an unsightly but commonly temporary problem. If you rush to reseed before you know whether grass is alive or whether the soil is ready, you can spend money and effort twice.
Confirm vole activity rather than guessing from a ridge
Meadow voles leave narrow surface pathways through grass, often with clipped vegetation or droppings nearby. Penn State Extension notes that well-used runways are about an inch and a half wide, though width alone is not a diagnosis; fresh clipped grass and droppings are stronger clues that the path is active. A raised ridge or mound of loose soil is more suggestive of a mole or another underground digger, and mice, shrews, and voles should not be treated as interchangeable pests.
Look for several signs before deciding on control: surface paths, fresh plant clippings, burrow openings, bark chewing near small trees, or current activity. Old runways with vegetation growing across them may already be abandoned. The Penn State Extension vole guide explains that meadow vole trails often become visible after snow melts and that lawn damage commonly recovers; it also warns that correct identification matters before any control method is chosen.
If the lawn is still wet, frozen, or soft enough to leave footprints, stay off it except for a quick inspection. Heavy raking or rolling on saturated soil can compact it and turn a small winter mark into a bigger turf problem. Take a few photos, note whether the tracks are fresh, and give the grass a chance to green up before treating the entire path as dead.
Let the grass show whether repair is necessary
When the soil is workable and the lawn has begun to grow, inspect the damaged area again. If grass blades are flattened but rooted and green growth is appearing, rake lightly only to lift matted material and remove loose debris; do not scalp the area or aggressively dethatch it. A uniform brown patch in early spring can still contain living crowns, so check the base of the grass rather than judging by the leaf tips alone.
Reseed only where the turf is genuinely bare or too thin to close over. Match the seed to your existing lawn’s grass type, sun exposure, and local planting window, and prepare only the small patch that needs seed; grass species have different germination temperatures and best seeding seasons. Follow the seed label for coverage and keep the surface evenly moist while seedlings establish, without washing seed into a low spot or saturating the soil.
Avoid applying a generic weed-and-feed product or pesticide just because the tracks are visible. The immediate lawn-repair question is whether the turf can recover, not whether the vole must be eliminated. If you see continuing damage to trees, bulbs, or vegetable crops—or repeated fresh runways—use local extension guidance to identify the species and consider proportionate exclusion or control; do not put toxic products where children, pets, or wildlife can reach them.
If reseeding does not take, investigate the conditions instead of adding more seed. Compacted soil, shade, poor drainage, unsuitable grass, or a seedbed that dried out can all prevent establishment. A small soil test or local lawn-extension recommendation is more useful than buying another bag of seed without changing what caused the first attempt to fail.
5. Recommission drip irrigation before planting
Drip irrigation is convenient once it is working, but a system stored for winter may come out tangled, cracked, clogged, or missing a connector. The worst time to discover that is after seedlings are planted and a timer has begun watering an entire bed unevenly. Do the first test while the lines are visible and you can still change their route without stepping around crops.

Map the route and check system-specific parts
Before uncoiling anything, sketch the water source, filter, regulator, timer if you use one, mainline, branches, and row ends. Add the bed layout and the crop rotation you actually plan to use; if rows moved since last season, last year’s hose arrangement may send water to bare soil or miss a new planting. The Well Kept Garden’s raised-bed drip guide emphasizes measuring the route and matching compatible fittings rather than assuming that tubing labeled with the same nominal size will always connect.
Inspect tubing for brittle spots, kinks, flattened sections, rodent chew marks, and damage where a hoe or shovel may have crossed it. Check filters, pressure regulators, connectors, stakes, end caps, and any backflow part required by your system or local plumbing rules. Pressure limits, emitter spacing, and compatible repair fittings differ by product, so follow the kit or manufacturer instructions rather than guessing from another gardener’s setup.
Lay the line loosely along the intended route before securing it. Avoid tight bends that pinch flow, keep connectors accessible, and mark where tubing crosses a digging area so you do not cut it during later planting or cultivation. If plants have not gone in yet, you can adjust emitter positions to the root zones you expect; after planting, take care not to disturb established roots while moving tubing.
Flush, run, inspect, and only then set a timer
If the system was stored with water inside or the manufacturer calls for flushing, follow the product’s startup directions before attaching or closing line ends. Open one zone at a time, run water through the system, and check each connection and row end. A clean start can clear loose debris, while checking the filter and emitters helps catch blockages before the crop depends on them.
Walk the entire line as it runs. Look for leaks, spray, unexpected puddling, dry sections, loose fittings, or one branch delivering noticeably less water than the others. If you see a problem, shut the zone off before tightening or replacing parts; use fittings compatible with the exact tubing family, then run the line again to verify the repair. DripWorks’ practical repair guidance recommends checking lines under flow and flushing repaired drip tape, but product-specific pressure limits and repair parts still govern.
Do not set the timer until the system has passed a visual check and water is reaching the intended areas. Even then, a timer duration is not a universal schedule: soil texture, crop stage, weather, emitter flow, and rain all change how long a zone should run. The EPA WaterSense overview of microirrigation describes low-flow delivery near plant roots, not one watering duration that works for every garden.
Make one final check after planting and after you cover any lines with mulch. Emitters can shift, a row can be kinked by a footstep, or a repaired connection can loosen once the system warms and moves. Keep a note of the route, fittings, and any part that needed replacement so fall storage is simpler—and so you know which checks matter first next spring.
Put the jobs in a low-friction order
You do not have to finish every spring chore in a single weekend. Start with a walk-through and a short list of things to verify: greenhouse space, tools and containers, uncertain plants, vole paths, and irrigation parts. This first pass takes little time and helps separate immediate planting blockers from jobs that can safely wait.
Next, reset the greenhouse or potting corner and clean the items needed for the first planting. Check winter-damaged plants while you are already walking the garden, but mark uncertain specimens rather than pruning or replacing them prematurely. Commission drip irrigation before the beds are full, when you can still route tubing and observe the flow without disturbing seedlings.
Leave lawn repair until snow has melted, the soil can support your weight, and the grass has begun to show what survived. Then address only the thin or bare spots that remain; a path that is disappearing on its own does not need a full lawn renovation. If the forecast turns cold or rainy, pause work that depends on dry soil or exposed tender plants and choose an indoor organizing task instead.
This order reduces rework: inspect before removing, clean before planting, test irrigation before relying on it, and repair turf only after the lawn has had a chance to respond. It also makes the season feel less like a backlog and more like a series of small decisions, each with a clear stopping point.
Conclusion
Spring gardening tasks are easier when you do not treat every mess as an emergency. Clear and organize the growing space, clean tools and containers according to their actual condition, wait for evidence before declaring plants lost, and give the lawn time to recover before reseeding vole trails.
Test drip irrigation before planting depends on it, and let the equipment manual guide pressure, fittings, and startup details. You may still dislike the cleanup and troubleshooting, but a short inspection-first sequence prevents much of the wasted effort that makes these chores feel worse than they are.