How to Start a Garden: A Practical Beginner’s Guide
Learn how to start a garden by choosing a workable site, testing soil, picking plants for your climate, and building a simple routine for the first season.

The first garden does not need to be large, expensive, or perfectly designed. It needs to fit the light, soil, climate, and time you actually have. A few well-chosen plants in a reachable spot will teach you more than a crowded bed full of varieties you bought before checking their needs.
Start by observing the site, then choose a garden format and a short plant list. Test the soil before adding amendments, use local planting dates, and treat watering and pest control as things to adjust through observation. That sequence keeps early decisions reversible and prevents common problems from turning into unnecessary purchases.
Define what a successful first season looks like
Before buying seeds or seedlings, decide why you want to garden. If you want food, choose crops your household already eats; if you want color, decide whether you want a brief burst of annual flowers or plants that return in future seasons. A mixed garden can do both, but each plant still needs enough room, light, and water.
Then define a first-season goal you can recognize: harvest a bowl of herbs, keep one small bed weeded, or see a few flowers bloom from seed. Gardening takes regular attention, but most beginners do not need to spend hours every day tending a small plot. A realistic goal turns “I should grow everything” into a manageable experiment.
Write down three constraints before shopping: how much space you can reach, how often you can water, and how much time you can give the garden each week. Include travel and hot-weather absences, not just an ideal week at home. If you will be away often, choose fewer plants and arrange reliable watering before planting.
Map the site before you choose plants
Walk the space at several times of day and look at more than sunlight. Note where water pools after rain, where the ground dries first, whether a wall or tree creates shade, and how far you will carry a hose or watering can. A beautiful corner that is difficult to reach often gets neglected; convenience is a real growing condition.
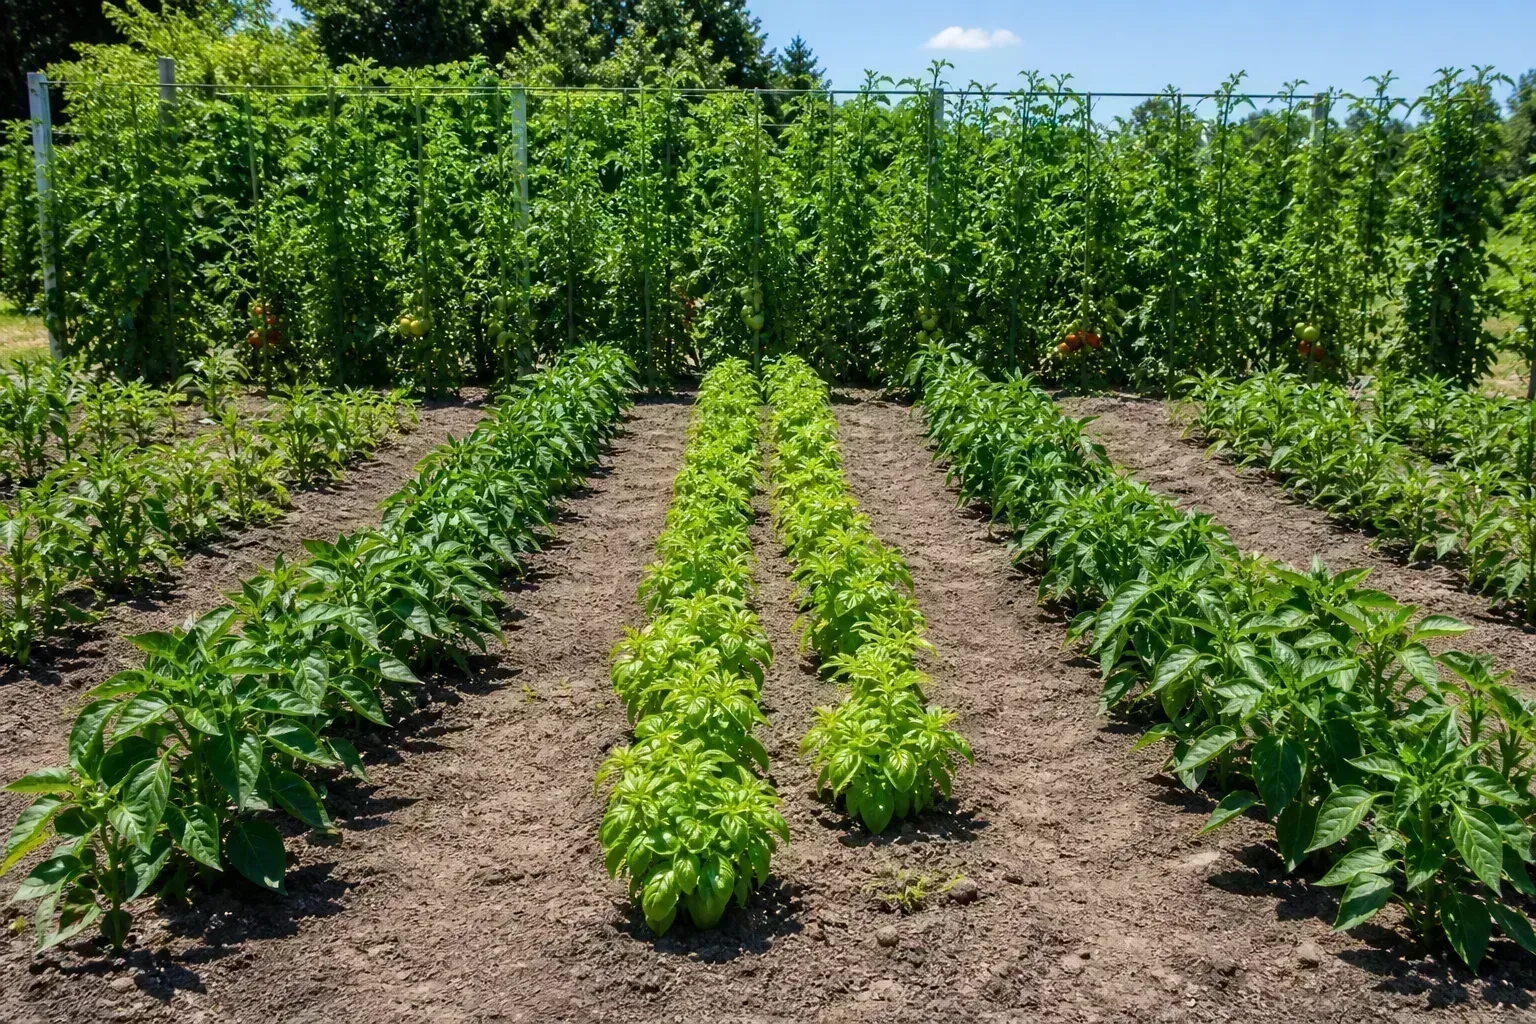
Most vegetables need a sunny, reasonably level, well-drained place with a convenient water source. UW–Madison Extension uses at least six hours of direct sunlight as a practical baseline for many vegetables and advises avoiding areas where water puddles or rushes through during heavy rain. Its site-selection and soil-preparation guide also flags frost-prone low spots and steep slopes, where cold air or runoff can make growing harder.
Make a quick map rather than trusting a glance. Mark the house, fences, large trees, paths, tap, and the proposed bed; then add where direct sun falls in the morning, around midday, and late afternoon. This tells you whether to shift a bed, choose shade-tolerant plants, or use a container that can be moved.
Measure sunlight at plant height, in more than one season
“Full sun” is not simply “the yard looks bright.” For many common garden crops, it means roughly six or more hours of direct light, though exact needs vary by plant and climate. The Epic Gardening guide to sun exposure explains why the time of day and season matter: a tree without leaves may let in spring light that disappears by summer, while intense afternoon heat can stress a crop that tolerates cooler sun.
On a clear day, check the proposed bed every hour or two and count only the periods when the sun reaches the planting area directly. Repeat the check after nearby trees leaf out if that will change the shade pattern. If you have only four or five hours of sun, do not assume the yard is unusable; choose crops and ornamentals suited to that light rather than expecting sun-loving tomatoes or flowers to perform as if they were in an open field.
Choose a garden style and size you can maintain
An in-ground bed makes sense when the soil is workable, drainage is acceptable, and you can remove the existing turf. A raised bed can make access easier and gives you more control over the growing mix, but it costs more to build and fill and can dry faster than surrounding ground. Containers suit patios and small yards; they need drainage holes, a suitable potting mix, enough root space, and closer moisture checks.
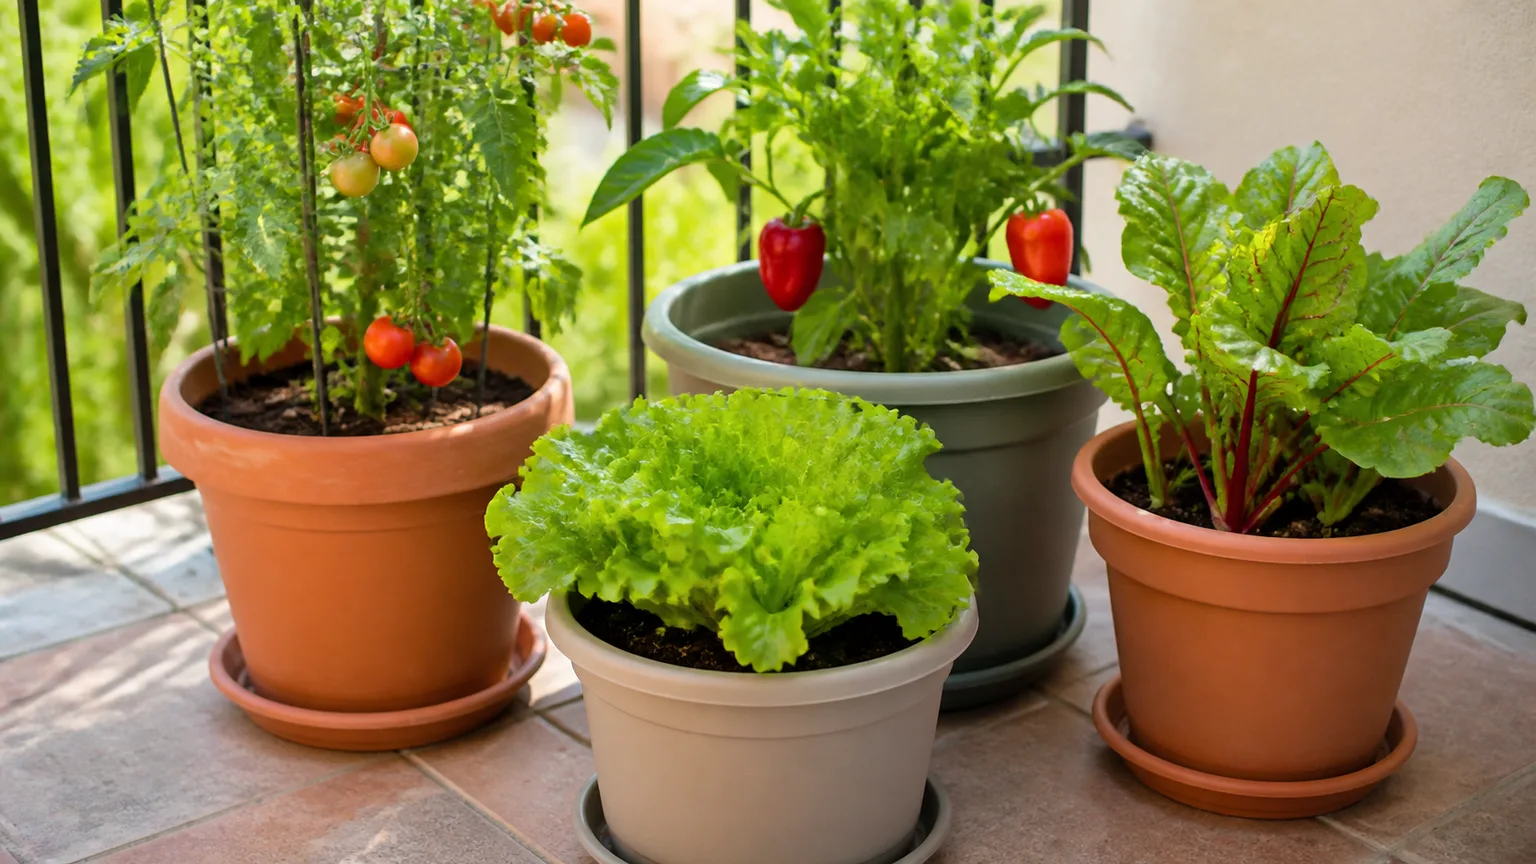
Choose the smallest format that can hold the plants you genuinely want. One compact bed or a few large pots is enough to learn spacing, watering, and seasonal timing. Leave room to walk and reach the center without stepping on the soil; when a bed is too wide to tend from its edges, you end up compacting the root zone just to weed or harvest.
Your starter tool kit can stay short: a hand trowel for small planting jobs, a sturdy spade or fork if you are opening ground, and a watering can or hose that reaches the plants. Gloves can make thorny or rough work more comfortable, but specialized tools are easier to choose after you discover which chores your garden actually creates. Borrow or rent a large tool before buying it for a one-time task.
Use local climate and frost information to set timing
Planting dates depend on both the plant and your local weather. Cool-season crops can tolerate cooler conditions than tender warm-season crops, and some flowers or vegetables need protection from frost while others cope with it. A packet or plant label should give a sowing window, temperature preference, or transplanting instruction; use that information alongside a local calendar from a cooperative extension office or equivalent regional horticulture service.
In the United States, a local average last-spring-frost date is a planning estimate, not a promise that frost is impossible afterward. Tender plants such as tomatoes and many summer annuals should wait until the risk of frost has passed and nights have warmed to the crop’s needs. If the forecast changes, delay planting or have a temporary cover ready rather than treating a calendar date as a guarantee.
Also plan for the season’s length. A crop may be hardy enough to survive winter but still need more warm growing days than your location provides to ripen fruit. Choose varieties with a maturity period that fits your local season, and check whether the days-to-maturity count starts at sowing or transplanting.
What a hardiness zone tells you—and what it does not
The USDA Plant Hardiness Zone Map groups locations by average annual extreme minimum winter temperature. It is useful when deciding whether a perennial shrub, tree, or flower is likely to survive winter outdoors; the USDA map describes zones in terms of that winter-temperature measure.
A hardiness zone does not tell you the date of your last spring frost, how hot your summer gets, how much rain your site receives, or how long a vegetable season lasts. Use local frost guidance for tender planting dates and the crop label for heat, spacing, and maturity requirements. Outside the United States, use the equivalent regional climate and frost information rather than trying to translate your location into a USDA zone.
Test the soil before adding fertilizer or amendments
Garden soil is a growing environment, not just a place to anchor roots. Plants need a balance of air, water, and nutrients around those roots; a hard, waterlogged, or very dry soil can limit growth even when you add fertilizer. A handful test may hint at texture and moisture, but it cannot tell you the soil’s pH or whether a nutrient is genuinely lacking.
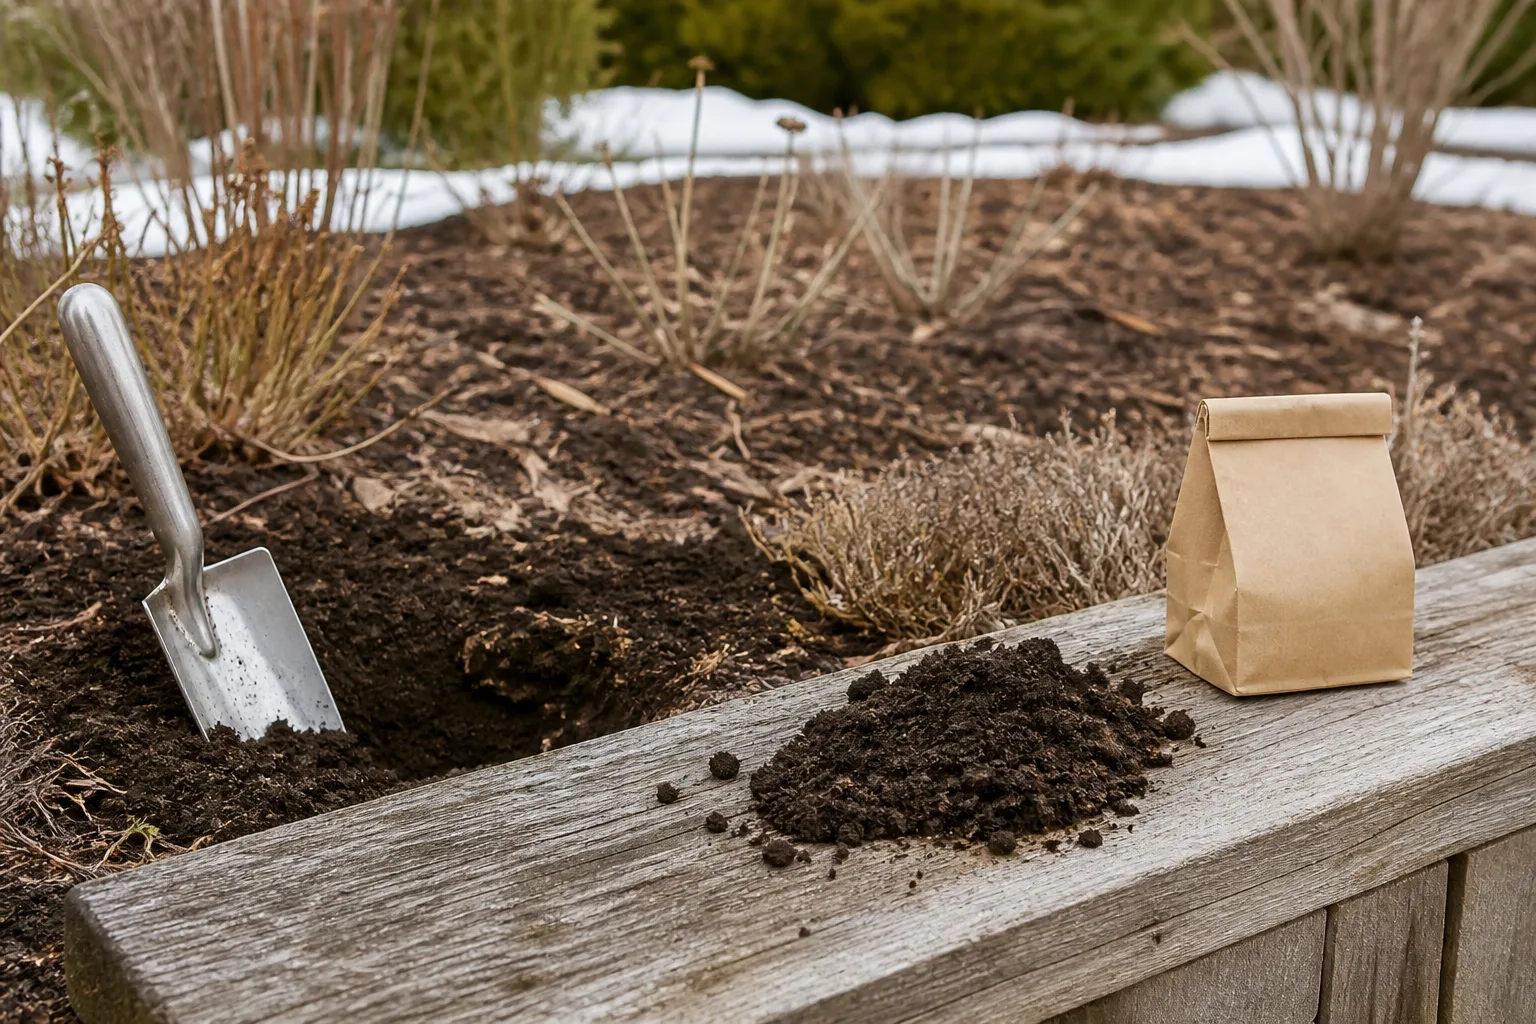
For an in-ground edible garden, contact your local extension service or a certified soil-testing lab and follow its instructions for collecting a representative sample. A report can show pH and nutrient levels and recommend what, if anything, to add. UW–Madison Extension notes that its vegetable-garden soil guidance targets a pH near 6.5, while many vegetables tolerate a broader range; the right adjustment still depends on the crop and your own lab result. Fine Gardening’s gardening basics collection likewise puts soil testing before digging and amending.
Do not add lime, sulfur, or a high-nitrogen fertilizer just because a plant looks pale or because a bag promises faster growth. The wrong amendment can move pH or nutrient levels in the wrong direction, and symptoms such as yellow leaves can also come from excess water, poor drainage, cold, or root damage.
Compost can improve soil structure and add organic matter, but “more” is not always better. Use a mature, clean product and apply it in a moderate layer; avoid burying stems or seeds in unfinished material. In a new bed, do not assume that compost replaces a soil test or that every plant needs the same fertility.
When a raised bed or container solves a site problem
Choose a raised bed when the ground is difficult to access, poorly drained, heavily compacted, or not practical to use. Fill it with a growing medium intended for raised beds and make sure water can drain out; an elevated box over concrete needs a different depth and mix from a shallow frame over soil. A raised bed cannot fix shade, lack of water access, or an unsuitable location by itself.
Choose a container when you need mobility or have no safe planting ground. Use a pot large enough for the mature plant, confirm that excess water can escape, and use potting mix rather than dense garden soil. Because a container holds a limited volume of moisture and nutrients, expect to check it more often in heat and wind than a bed in the ground.
Select plants that fit your light, climate, and schedule
Make a shortlist from the site map, not from whatever looks attractive at the garden center. For each plant, check the mature width and height, sun requirement, expected water need, planting window, and time to harvest or bloom. Plants that outgrow their space or ripen after your season ends are not “easy” choices for your particular garden, even if they are popular beginner recommendations.
Choose a few varieties with different but compatible jobs. A small food garden might combine one compact tomato with basil and a short row of radishes or leafy greens, provided the season and light suit them. A flower bed might use a couple of annuals for first-year color and one or two perennials suited to the site; the latter may take time to establish, so do not judge them only by their first weeks.
Consider how often you will harvest. Lettuce and herbs can provide repeated small harvests, while a large zucchini plant may produce more than a household can use and needs room to spread. If a crop needs a trellis or stake, place the support before planting so you are not pushing through established roots later.
Seeds and transplants solve different problems
Seeds are an economical way to grow many plants and give you more variety, but they need the right soil temperature, planting depth, moisture, and timing. Crops that dislike having their roots disturbed or develop quickly from seed are often best sown directly outdoors according to the packet. Root crops such as carrots are commonly direct-sown because transplanting can distort their roots.
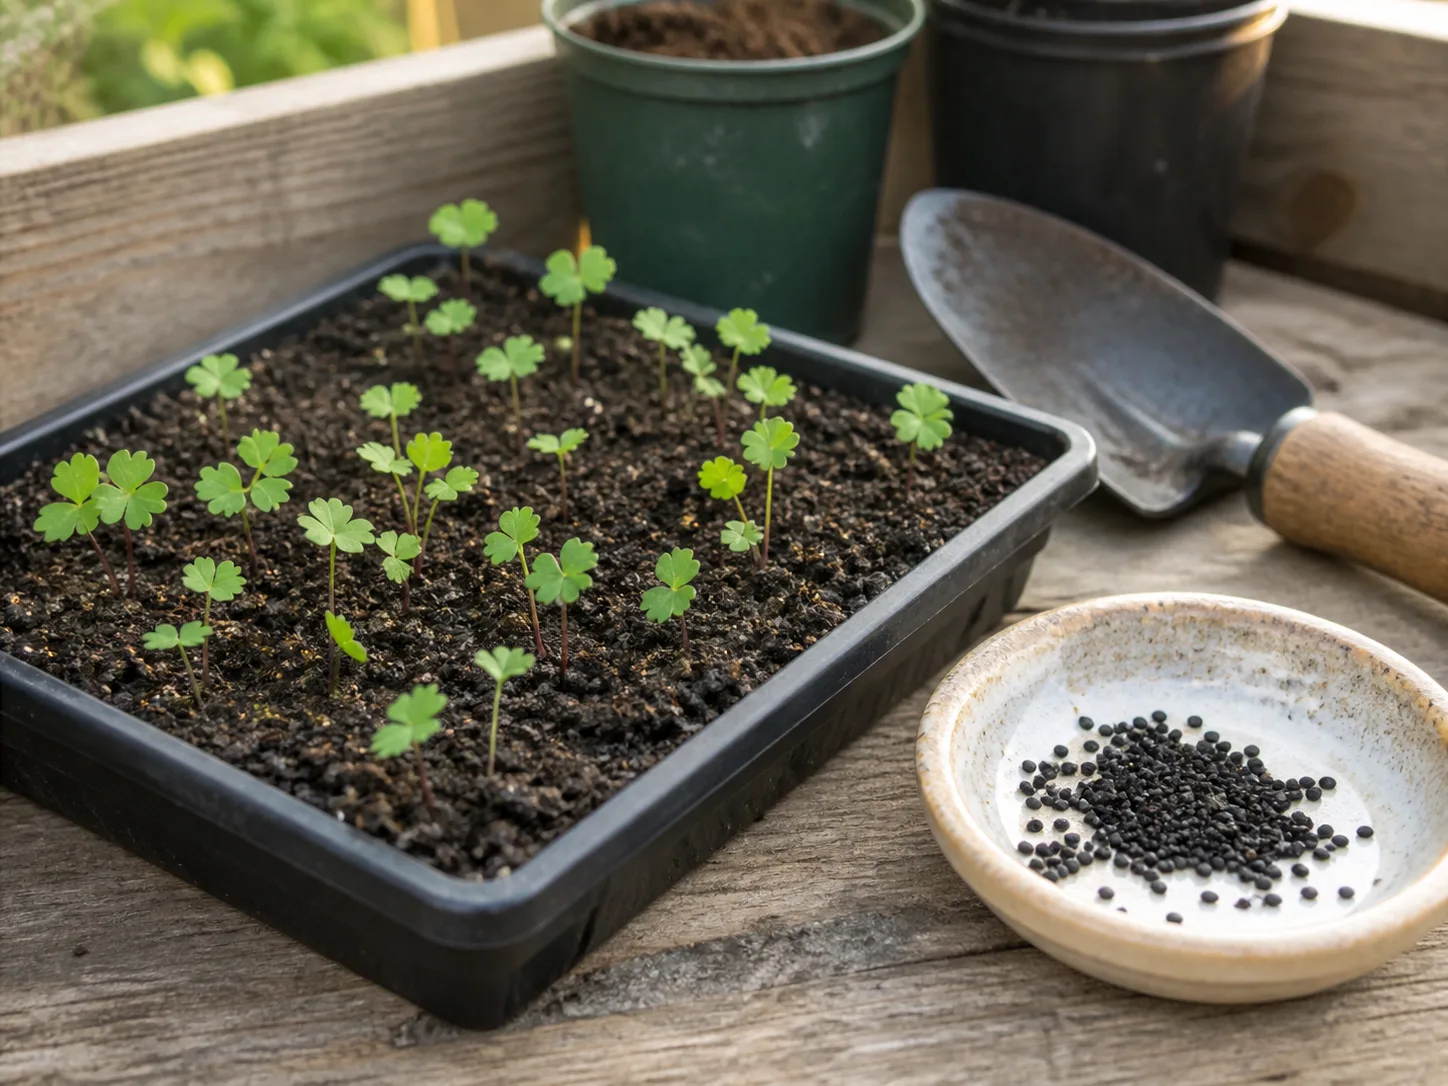
Transplants are young plants started elsewhere and sold in pots or cells. They can save time for crops with a long growing season, but they cost more per plant and may need gradual acclimation to outdoor sun and wind before planting. For a first season, it is reasonable to buy a few transplants and sow one easy crop directly; you do not need to turn seed starting into a separate indoor project.
If you do start seeds indoors, follow the packet’s lead time rather than starting every crop as early as possible. Seedlings stretched toward a dim window, crowded in a tray, or kept too wet can be weaker than a healthy nursery transplant. Use seed-starting mix, provide adequate light, and harden off young plants over several days before exposing them to outdoor conditions.
Prepare the planting area without compacting it
Clear grass and perennial weeds from the area you intend to plant, including as much of the roots as practical. For a small bed, remove the sod by hand; for a larger space, a smothering method can reduce digging but takes weeks or months, so start well before the planting date. Better Homes & Gardens estimates that a newspaper-and-compost sheet-mulching bed can take about four months to break down in its beginner garden guide; local weather and materials affect the pace. Covering grass immediately before planting does not make it disappear overnight.
Work the soil only when it is moist enough to crumble. If it sticks to a shovel in heavy clumps or smears into a slick surface, wait; working very wet soil can damage its structure and leave it compacted. If the bed is already workable, loosen only the planting area and mix in the amount of compost or other amendment recommended by the soil report.
Avoid repeated deep tilling as a default. It may be useful for opening a large new plot or incorporating a recommended amendment, but constant disturbance breaks up soil aggregates and brings weed seeds to the surface. In a small garden, a spade or garden fork and careful hand work are usually enough; keep paths separate from beds so feet do not compress the root zone.
Follow the packet for planting depth and spacing
Seed packets and plant labels are practical instructions for that variety, not optional fine print. A seed planted too deeply may not reach the surface, while seeds sown too close together compete for light and water after germination. Mark each row with the crop name and planting date so a slow seedling does not get mistaken for a weed.
For transplants, water the pot first if the root ball is dry, then set the plant at the depth recommended for that crop. Firm the surrounding soil gently and water to settle it; do not press so hard that the surface becomes a crust. Keep newly planted seedlings evenly moist while they establish, but let the crop’s needs and the soil—not a standing puddle—guide the next watering.
Plant taller crops where they will not shade shorter ones, and leave access paths wide enough to harvest. A simple sketch with the mature plant dimensions is more useful than trying to remember a crowded layout once everything is in the ground. If you are unsure, use fewer plants and expand next season.
Water based on the root zone, not a fixed calendar
Water needs change with plant size, soil texture, temperature, wind, rainfall, and whether the plant is in a pot or the ground. A weekly schedule can be a starting reminder, but it is not a reliable instruction by itself. Check the soil near the roots: if the upper layer is dry, probe a little deeper before deciding whether established plants need water.
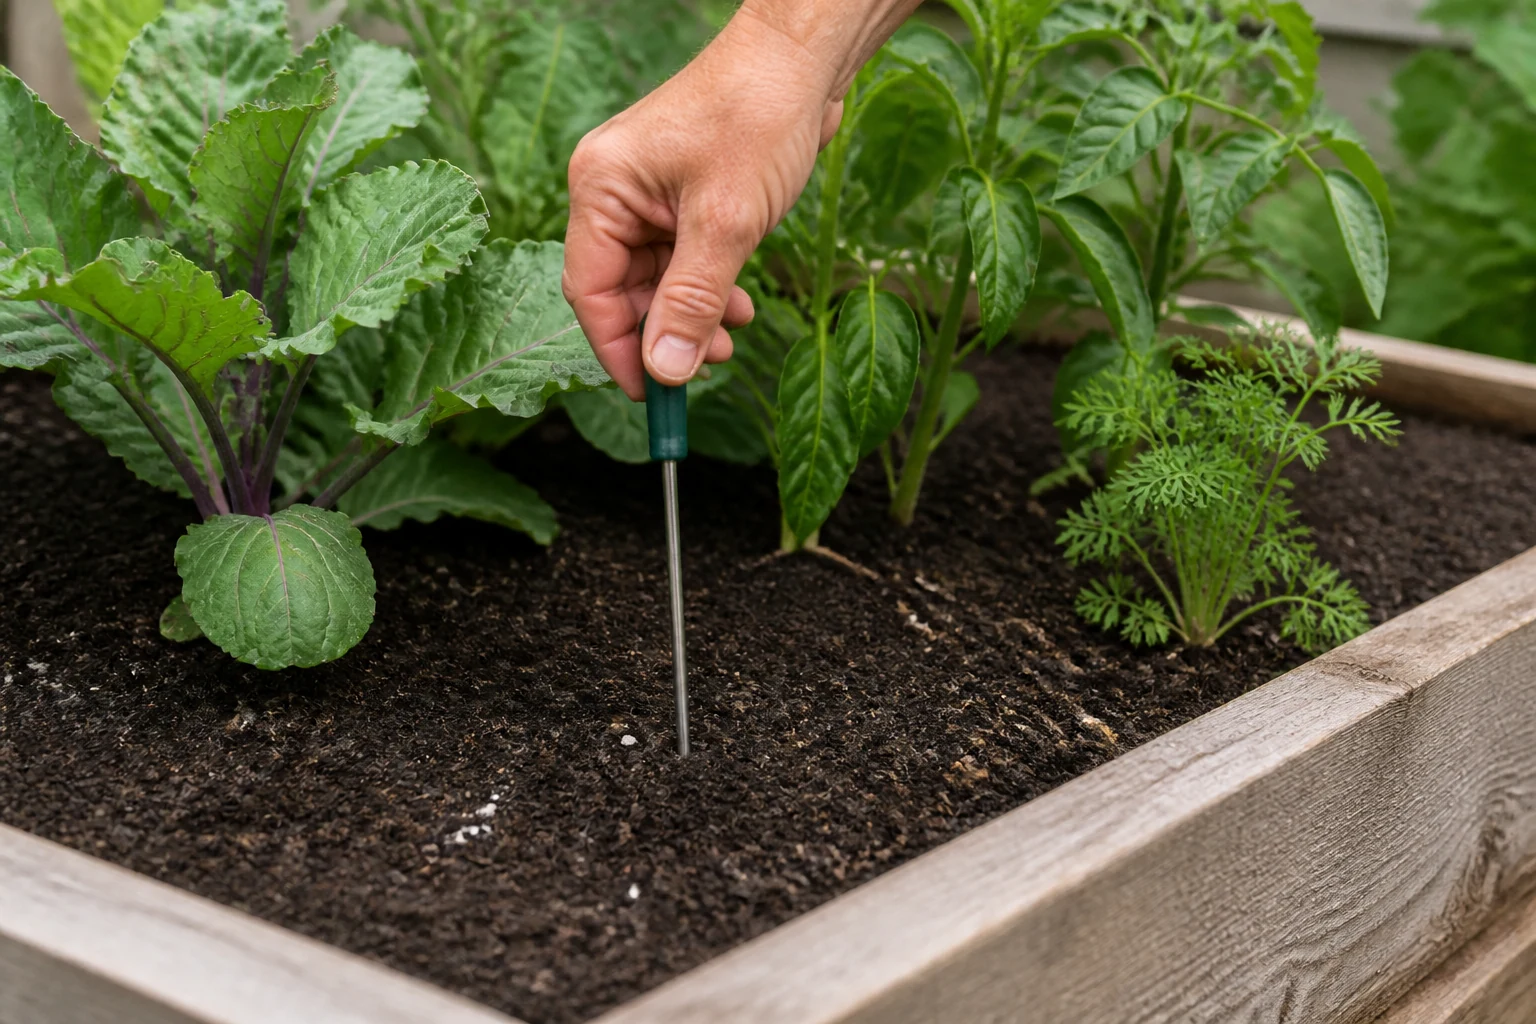
When watering, apply it slowly at the soil surface so moisture can soak into the root zone instead of running off or spraying foliage. Early morning is often convenient because plants have time to take up water before the hottest part of the day. New seeds and young transplants need more frequent checks than established plants because their roots occupy less soil.
Learn the difference between brief midday droop and a plant that remains wilted in dry soil. Some plants sag temporarily in heat and recover as the evening cools; watering every time you see a drooping leaf can leave the roots saturated. If the soil is wet but the plant still wilts, stop adding water and check drainage, roots, and signs of disease or damage.
Rainfall does not always wet the whole bed, especially under foliage or beneath an overhang. Check more than one spot, and adjust for sandy soil that dries quickly or clay soil that holds water longer. In containers, lift a pot if you can or feel the mix below the surface; a dry crust alone does not show whether the center of the root ball is dry.
Use mulch and early weeding to stay ahead
Weeds compete for water and light, and small weeds are easier to remove than established ones. Walk the bed briefly every few days and pull or hoe seedlings while the soil is loose. If you wait until the plot is visibly overgrown, weeds may already have set seed or spread underground.
Mulch helps cover bare soil, reduce evaporation, and block some weed seedlings. Apply an appropriate organic mulch around established plants, leaving a clear ring around stems; a thick layer pressed against a stem can keep it damp and create other problems. Do not cover rows of seeds before they germinate, because the mulch can block light or prevent small seedlings from emerging.
Choose mulch for the planting, not just appearance. Straw or shredded leaves may suit a vegetable bed, while a longer-lasting bark mulch can fit a perennial border. Keep track of how the material changes soil moisture: mulch slows surface drying, but it does not eliminate the need to check the soil after rain and during hot spells.
Feed plants only when the soil or crop calls for it
Fertilizer supplies nutrients; it does not repair every poor growing condition. If the soil test shows a deficiency, follow its recommendations and the fertilizer label for the crop and application rate. Adding more than directed can burn roots, push leafy growth at the expense of flowers or fruit, or allow nutrients to wash away.
Compost and fertilizer are not interchangeable in every situation. Compost contributes organic matter and releases nutrients gradually, while a concentrated fertilizer is meant to supply specific nutrients in measured amounts. A new garden may need one, both, or neither depending on the soil, crop, and test results.
If growth is weak, pause before feeding. Check sunlight, temperature, water at root depth, spacing, and signs of root or pest damage; then compare those conditions with the plant’s requirements. Correct the cause you can identify instead of applying a general-purpose product in the hope that it solves an unknown problem.
Check plants for pests and stress before treating them
Inspect the plants during your regular walk, including the undersides of leaves and the newest growth. Look for a pattern—holes, sticky residue, chewed edges, distorted leaves, or a cluster of insects—rather than reacting to one imperfect leaf. A few insects may be harmless or beneficial, and different damage patterns call for different responses.
First check whether water, sunlight, or crowding explains the symptom. If you identify a pest, use the least disruptive response that fits the problem: remove a small number by hand, wash them off, protect young plants with an appropriate barrier, or remove badly affected material. Give the plant time to respond before repeating an intervention.
If damage keeps appearing after you remove visible pests, inspect fresh growth and the undersides of leaves rather than repeating the same fix. Take close photos of the whole plant and the damaged area, note the crop, location, recent weather, and watering, and ask an extension educator or knowledgeable local horticulturist for an identification. Clear observations turn “something is eating it” into a more useful diagnosis.
Make a simple weekly routine and record what happens
A short weekly check can prevent small issues from turning into a weekend-long rescue project. Walk the bed, look under leaves, check soil moisture in more than one place, remove small weeds, guide or tie plants that need support, and harvest anything ready. Seedlings may need a daily glance during hot or windy weather, even if the rest of the garden does not.
Keep a simple note with the planting date, variety, location, weather, and what you observed. Record when a crop germinated, began flowering, or showed stress, plus what you changed. These notes help distinguish a one-off weather problem from a repeating site mismatch and make next year’s choices less dependent on memory.
When something looks wrong, make one change at a time when practical. If you change the watering, add fertilizer, move the plant, and spray for insects all at once, you will not know which action helped—or caused a new problem. Gardening is a cycle of noticing, checking, and adjusting, not a test you either pass or fail on the first try.
Common first-year mistakes—and the fix for each
The most common beginner problem is planting too much at once. A dozen crops sound exciting before you account for spacing, watering, harvest, and weeds; begin with a few plants and add more only when you understand the routine. A small, well-tended bed is more informative than a large one that becomes hard to manage.
Another mistake is choosing plants first and trying to force them into the site. A sunny crop placed under a tree, a moisture-loving plant in a fast-drying pot, or a tender seedling set out during a cold spell will struggle even when you water and feed it correctly. Match plants to light, drainage, season, and mature size before purchasing them.
Beginners also tend to overcorrect. Yellow leaves do not automatically mean “add fertilizer,” drooping does not always mean “water,” and a few holes do not automatically justify spraying. Check the plant, soil, weather, and pattern of damage before acting; if you cannot identify the cause, ask a local extension service or trusted nursery for help with a clear photo and your growing conditions.
Finally, do not judge the whole garden by one failure. A seed may not germinate, a transplant may be damaged, or a crop may be poorly suited to that season. Remove what is not recovering, note what happened, and try a better-matched variety or location next time; a failed plant is useful information when it changes your next decision.
Conclusion
To start a garden, begin with the conditions you have: measure sun, check drainage and water access, learn your local planting window, and test in-ground soil before changing it. Pick a small group of plants that fit those conditions and your schedule, then follow their labels for spacing and timing.
After planting, focus on steady observation rather than a rigid routine of watering and feeding. Check the root zone, remove weeds while they are small, identify problems before treating them, and write down what worked. Your first garden is both a growing space and a practical guide to what your next one should be.