How to Grow and Care for Creeping Thyme
Learn how to grow and care for creeping thyme with practical rules for sun, drainage, spacing, watering, pruning, propagation, blooms, and winter care.
Quick answer: give creeping thyme sun, drainage, and time
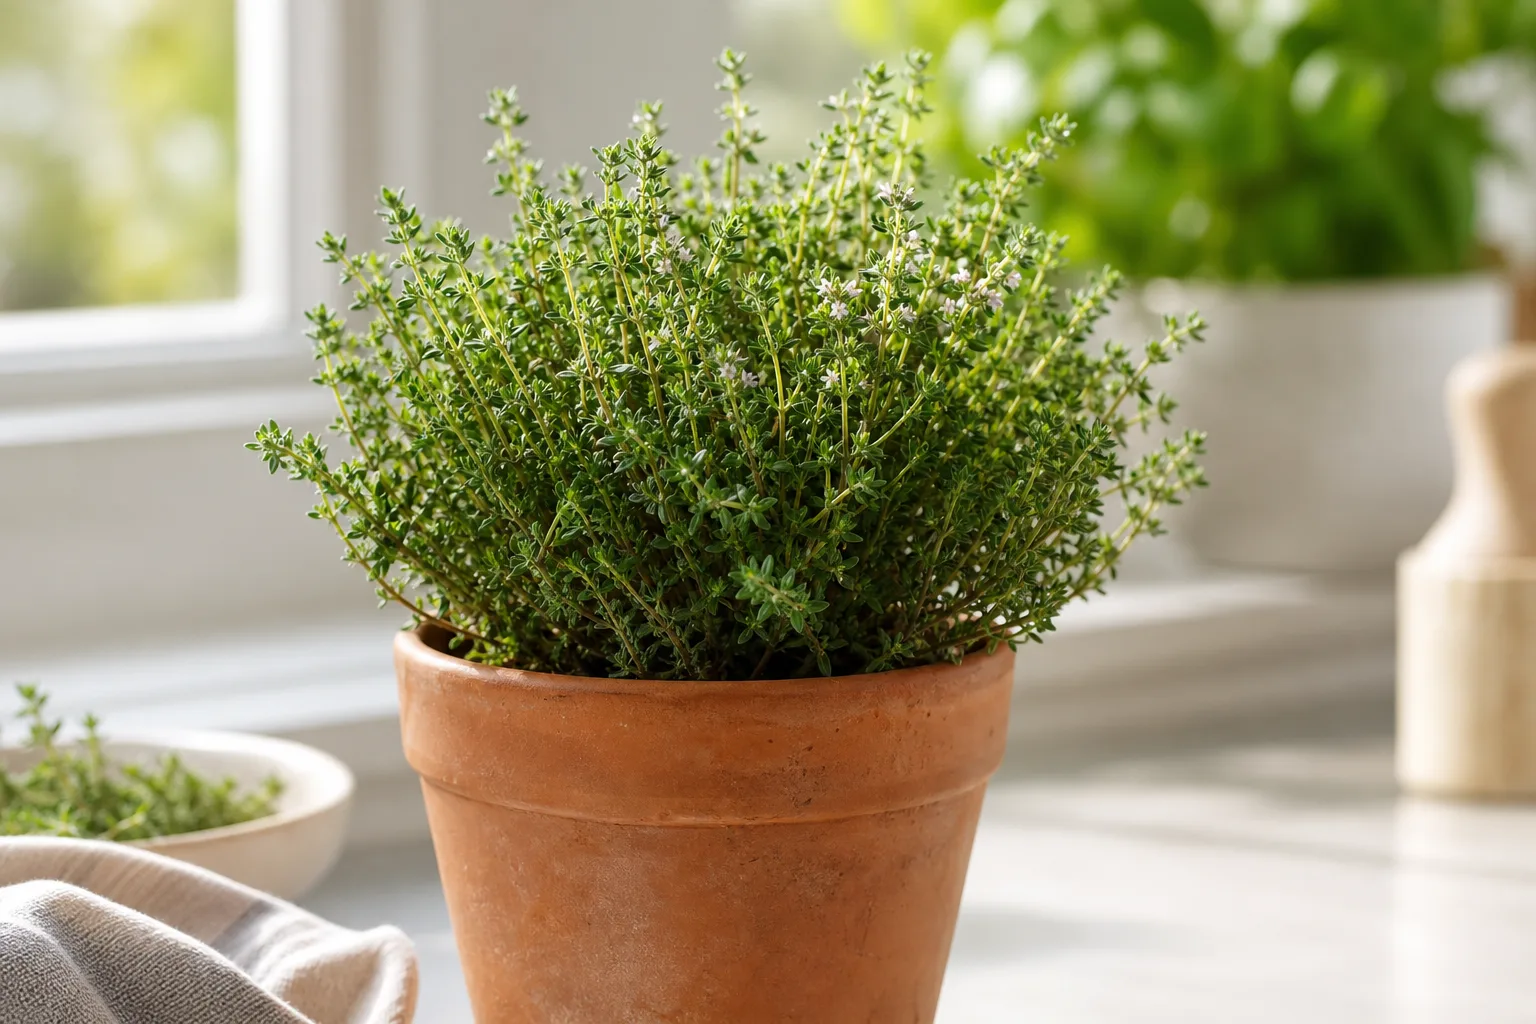
Creeping thyme is easiest to grow when you treat it as a dry-site ground cover first and an herb second. Give it at least six hours of direct sun, plant it where water can leave the root zone quickly, and keep taller, thirstier plants from crowding it. Water new plants while they establish, but do not keep mature plants on a constantly wet irrigation schedule.
The name creeping thyme covers several low-growing Thymus species and cultivars, so the plant you buy may be a 2-inch mat, a slightly taller flowering spreader, or a woolly form that is mainly ornamental. NC State Extension describes Thymus serpyllum as a low, aromatic woody perennial that prefers sandy, gritty, or rocky soil, while Thymus praecox forms horizontal stems that root as they spread. Those differences matter when you are choosing a plant for a path, rock garden, container, or possible lawn alternative. (NC State Extension Plant Toolbox: Thymus serpyllum, NC State Extension Plant Toolbox: Thymus praecox)
Know which creeping thyme you are buying
Read the botanical name and cultivar label instead of relying on a tag that only says “creeping thyme.” Thymus serpyllum is commonly sold as wild, mother-of-thyme, or Breckland thyme. Thymus praecox is also sold under the common name and is often called early thyme or woolly thyme. Common culinary thyme, Thymus vulgaris, can spread or mound when young, but it is usually a more upright herb and should not be assumed to behave like a flat ground cover.
NC State lists ‘Coccineus’, ‘Elfin’, ‘Magic Carpet’, and ‘Pink Chintz’ among T. serpyllum selections, and ‘Albus’, ‘Annie Hall’, ‘Coccineus’, ‘Minus’, and ‘Pseudolanuginosus’ among T. praecox selections. Use the label to match the plant to the job: a tiny, dense cultivar for a narrow crevice; a vigorous spreader for a rock garden; or a cultivar described as more traffic tolerant when a path will be nearby. Flower color and mature height are useful selection details, but they do not override the basic need for sun and drainage.
Some creeping thymes are aromatic but rarely used as culinary herbs. If you want leaves for cooking, buy a variety specifically sold for culinary use and confirm its identity; do not assume that every ornamental mat is interchangeable with common thyme. This distinction also makes the guide more honest: creeping thyme is a beautiful landscape plant even when its best use is not the kitchen.
Choose a site before you plant
The most important preparation is choosing a place that is sunny and physically dry enough. A low-growing plant cannot escape a bad site by growing above the wet layer, and its woody stems often decline slowly, so the mistake can look like a fertilizer problem long after planting.
Light and soil drainage decide success
Aim for six to eight hours of direct sun. Creeping thyme will tolerate some partial shade, but fewer hours generally mean fewer flowers, slower drying after rain, and a looser mat. Morning sun with afternoon shade can work in a hot climate if the soil drains sharply; dense shade under a tree is a poor match even if the ground looks dry on the surface.
Test the soil before you amend it. Dig a hole about 12 inches deep, fill it with water, let it drain, and fill it again. If water remains for hours or the site is regularly puddled after rain, move the plant, raise the bed, or build a mounded pocket with a gritty mineral component. Simply adding compost to saturated clay may increase organic matter without solving the standing-water problem.
Choose sandy, gritty, rocky, or otherwise free-draining soil with average to low fertility. Penn State Extension describes thyme cultivation in light, dry, well-drained soil and notes that established plants need little water or fertilizer. A neutral to slightly alkaline soil is commonly recommended, but drainage and sun are more important than chasing a precise pH number. (Penn State Extension: Herb Garden Plants—Thyme)
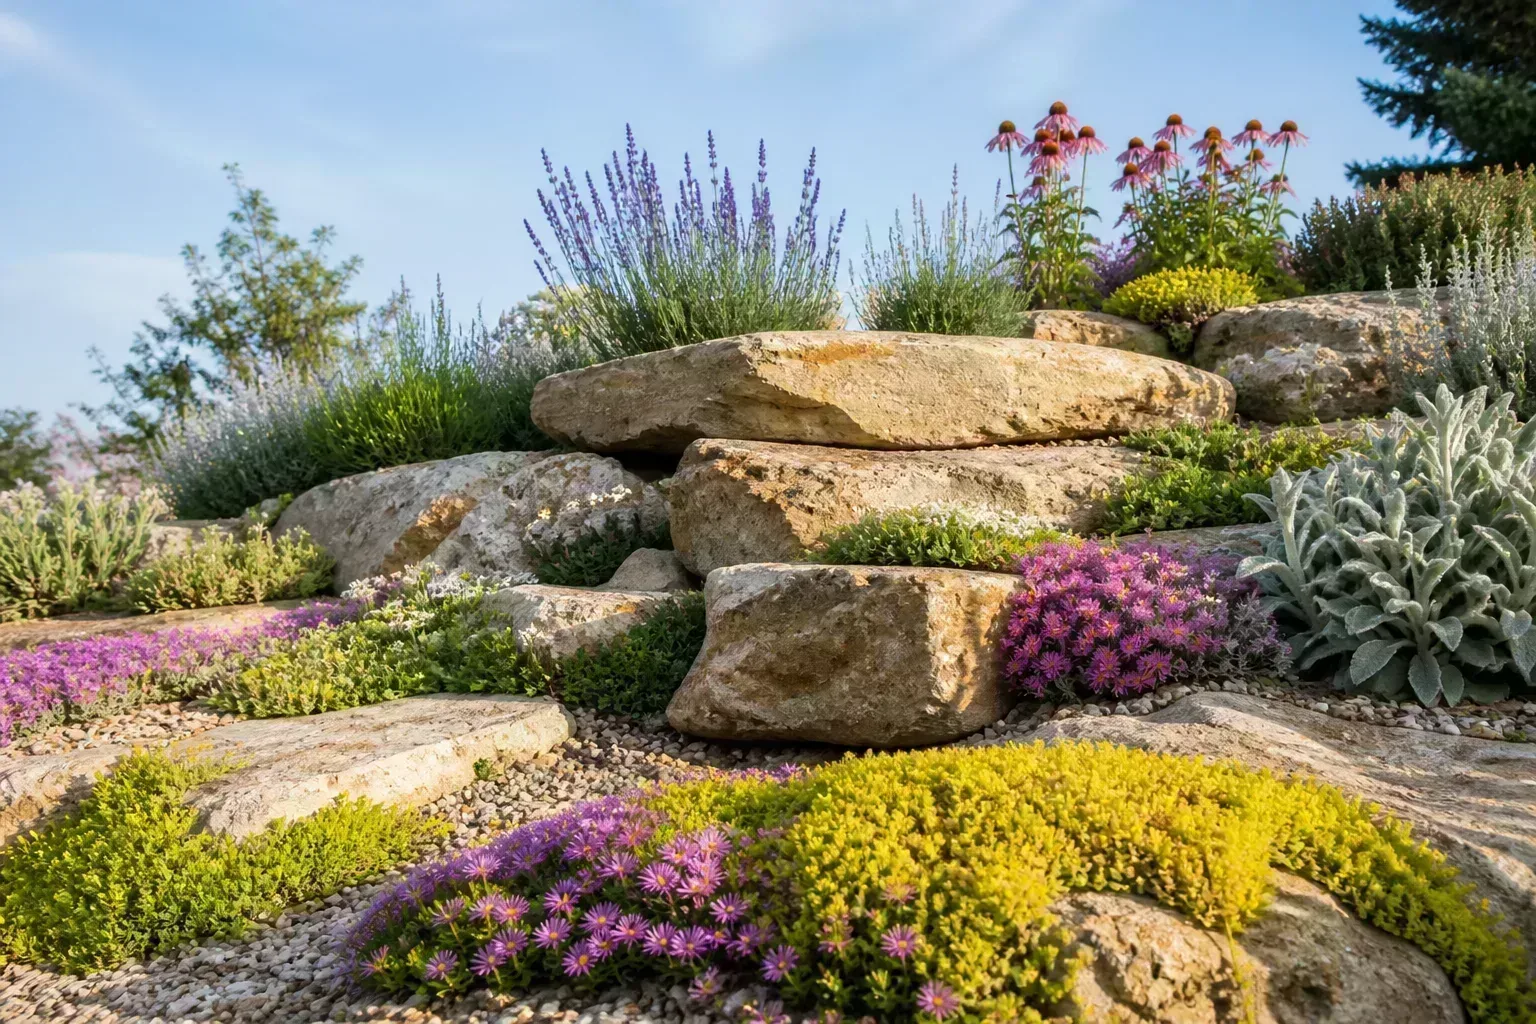
Place creeping thyme where it will not be buried by leaf litter or overtaken by aggressive ground covers. It can soften the edge of a rock garden, spill over a dry bank, or fill a deliberately wide gap between stepping stones. It is a poor choice for a low hollow that receives roof runoff, the wet edge of a downspout, or a bed irrigated like thirsty annuals.
Plant nursery starts for faster coverage
Nursery plugs or small pots are the most predictable way to establish a visible mat. Plant in spring after the ground is workable and the danger of hard frost has passed, or in early fall where the plant has time to root before the soil freezes. Spring planting is the safer default in cold regions; fall planting can work well in mild climates if the site drains and the plants are not entering winter bone-dry.
Water the pot before planting so the root ball holds together. Slide it out, tease apart circling roots only if necessary, and set the crown at the same level it occupied in the container. Do not bury the creeping stems under soil or mulch; those stems need contact with air and light while they root along the surface.
Backfill with the excavated soil or a modestly improved mix, firm it gently, and water once to settle the roots. Avoid creating a rich, soft pocket surrounded by heavy native soil, because the pocket can act like a basin. The goal is even contact with soil that drains—not a bathtub of compost around a drought-tolerant plant.
Set spacing by the job, not just the mature width
For a general bed, start plants 8 to 12 inches apart on center. Twelve inches costs fewer plants and lets each one spread naturally; closer spacing gives quicker visual coverage but raises the risk of crowding, trapped moisture, and a larger initial bill. If you are filling a narrow crevice, measure the space between stones and use a small cultivar rather than forcing a wide variety into it.
For a lawn-like effect, do not plant a large area on the assumption that a tight grid will make a durable turf. A denser planting may close the gaps sooner, but creeping thyme still needs a weed-free establishment period and does not tolerate the repeated running, pets, carts, and mowing that grass is selected to withstand. Use stepping stones or a defined path through the planting so the ground cover is not asked to carry every footstep.
Water during establishment without creating rot
Newly planted creeping thyme needs more attention than an established mat. For the first several weeks, water when the upper soil begins to dry, applying enough to wet the root zone rather than sprinkling the leaves every day. In hot, sandy soil, that may mean checking every few days; in cool or heavy soil, the interval may be longer. Weather and soil texture are better guides than a fixed “every 10 days” rule.
After roots have moved into the surrounding soil, let the surface dry between thorough waterings. During a long, hot drought, water slowly at the root zone and then allow the site to dry again. A plant that is drought tolerant after establishment can still fail if it is planted in a dry pocket with no roots and then ignored through its first heat wave.
Containers need a different rhythm because they have less soil and more exposed surface area. Check the pot with a finger or wooden label, water when the mix is dry several inches down, and let excess water drain completely. If the saucer stays full, the container is too wet regardless of how dry the top looks. Frequent automatic irrigation is especially risky for a plant whose main defense against root rot is fast drying.
Fertilize sparingly and mulch carefully
Creeping thyme is a light feeder. A healthy plant in lean, well-drained soil usually does not need routine fertilizer, and a high-nitrogen feed can encourage soft, leafy growth that is less compact and more vulnerable to moisture-related problems. The University of Arkansas System Division of Agriculture specifically advises against fertilizing creeping thyme and emphasizes a dry, well-drained site. (University of Arkansas System Division of Agriculture: Creeping Thyme)
If a soil test shows a genuine deficiency, correct that deficiency modestly and follow the product label. Do not use fertilizer as a substitute for sun, drainage, or a larger planting site. A thin layer of fine gravel can keep the crown and low stems off persistently damp soil, while a thick layer of moisture-holding organic mulch can work against the plant. Keep mulch away from the crown and do not bury the stems.
Prune creeping thyme to keep the mat young
Pruning has two jobs: keeping the mat within its boundaries and removing enough old growth to encourage fresh, leafy stems. Lightly trim after flowering if the plant has spilled into a path, and remove dead or winter-damaged tips in spring once you can see which tissue is alive. Use clean shears and cut into leafy growth rather than making a low, indiscriminate chop.
Older creeping thyme can become woody in the center, especially after several seasons of drought, crowding, or poor drainage. Penn State recommends trimming to limit woody growth or stimulate new growth, while the University of Arkansas notes that established plants may spread quickly for a few years before the original center thins. At that point, a division or replacement is often more reliable than cutting deep into leafless wood. (Penn State Extension: Herb Garden Plants—Thyme, University of Arkansas System Division of Agriculture: Creeping Thyme)
Do not prune simply because the plant looks dormant in winter. In cold climates, wait until late winter or early spring to assess living tissue. Cutting too early can remove the plant’s insulation and leave tender regrowth exposed to another freeze. If the goal is rejuvenation rather than shape, divide a healthy outer section and replant it instead of repeatedly shearing the exhausted center.
Propagate by division, cuttings, or seed
Division is the fastest way to make more plants that match the parent. It also solves the common problem of a mature mat that is vigorous around the edges but thin in the middle. Water the plant a day before dividing, lift a rooted section with a spade or knife, and keep several stems plus a functioning piece of root in each division. Replant immediately at the original depth and keep the divisions lightly moist while new roots settle.
Take stem cuttings from healthy, non-flowering or recently finished growth in late spring through summer. Cut a few inches of leafy stem, remove the lower leaves, and insert the bare portion into a small pot of sharply draining propagation mix. Keep the medium lightly moist and the cuttings in bright light; saturated mix is more likely to rot the base than speed rooting. Transplant only after you can tug gently and feel resistance from roots.
When growing from seed is worth the wait
Seed is useful when you want many plants at low cost or you are comfortable with variation. The tiny seeds need light to germinate, so sow them on the surface of a fine seed-starting mix and press them in rather than covering them deeply. Keep the surface evenly moist, bright, and protected from drying drafts until seedlings appear.
Seed-grown plants may take longer to make a substantial mat and may not repeat the flower color, height, or habit of a named cultivar. Choose division or cuttings when you need a specific ‘Elfin’, ‘Coccineus’, or other selection to remain true to type. Better Homes & Gardens also recommends surface sowing and notes that seed propagation is a slower route to a finished ground cover than starting with nursery plants. (Better Homes & Gardens: How to Plant and Grow Creeping Thyme)
Grow creeping thyme in containers
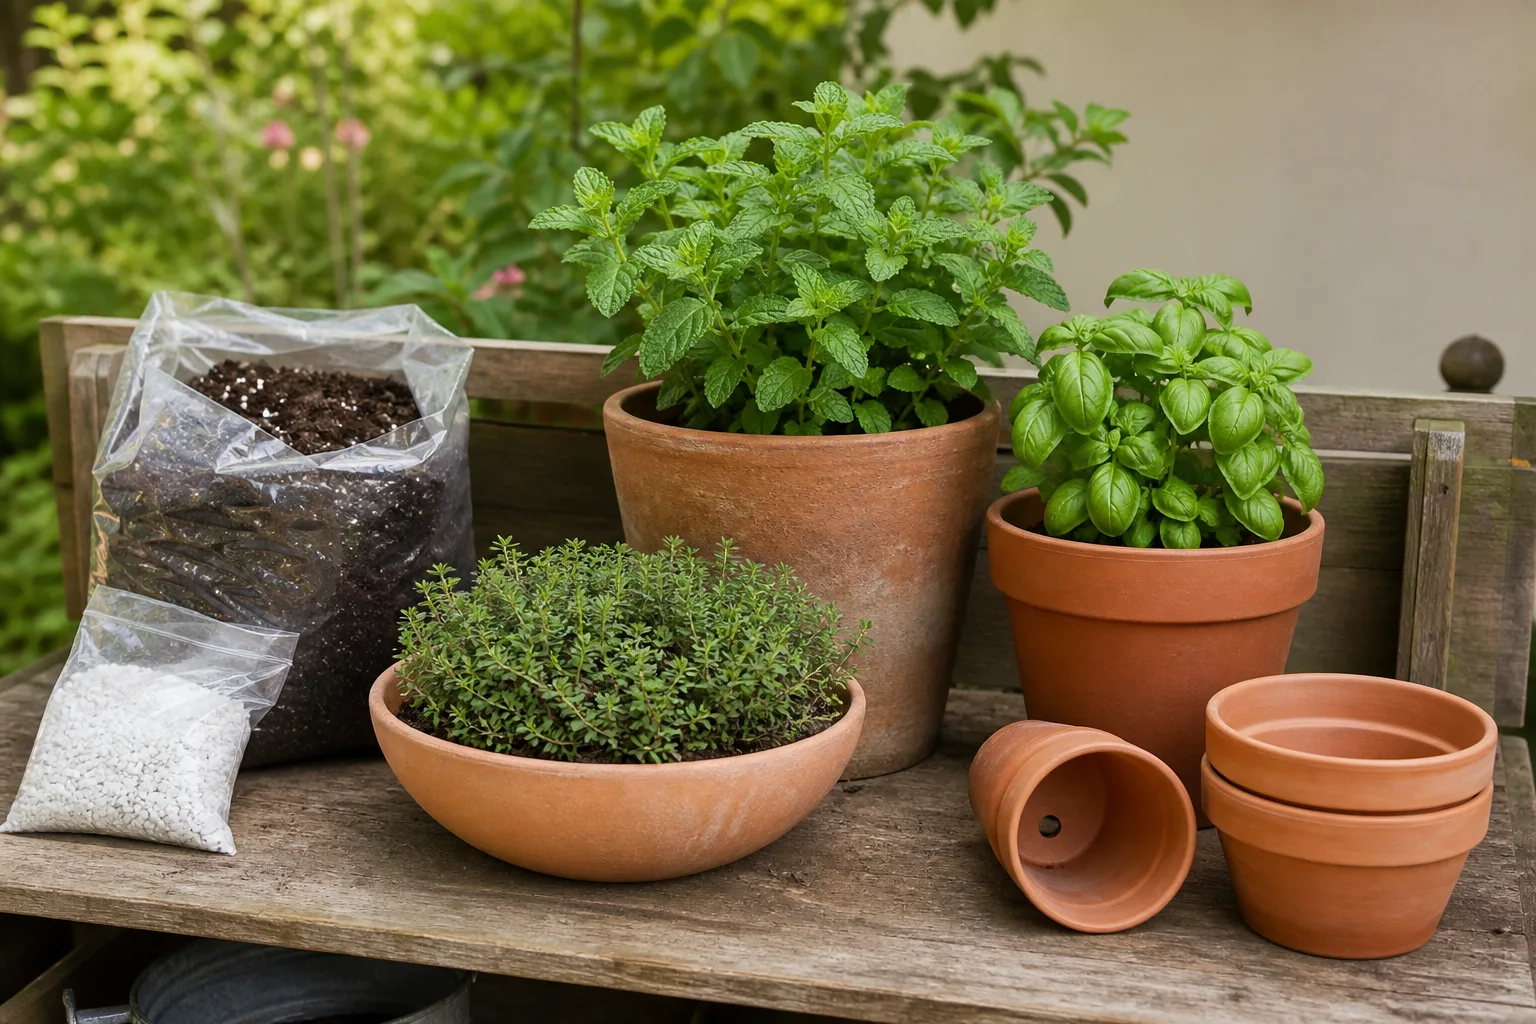
A container is a good solution when your garden soil is heavy, your path is too wet, or you want to move the plant near a sunny patio. Choose a wide pot with several drainage holes rather than a deep, narrow pot that holds a large column of wet mix below a shallow root system. Terracotta dries faster and can be useful in a rainy climate; plastic or glazed pots need especially careful watering.
Use a quality potting mix amended with a drainage-friendly mineral component such as perlite, pumice, or coarse grit. Do not fill the bottom with a separate layer of rocks and assume it creates drainage; the entire mix needs to drain. Set the plant at its original depth, leave room for stems to spill over the rim, and place the pot where it receives direct sun and moving air.
Repot only when the plant is genuinely crowded or the mix has broken down. If the root ball is full and the center is woody, divide the plant and return one healthy division to the pot instead of moving the entire old clump into a much larger container. That keeps watering manageable and gives the plant a fresh start.
Plan for bloom, pollinators, and foot traffic
Creeping thyme flowers in late spring or summer depending on the species and climate, producing small pink, lavender, purple, or white flowers above a low mat. The flowers are valuable to bees and butterflies, and the aromatic foliage makes a path edge more interesting even when the plant is not in bloom. Leave some flowers for pollinators unless you have a specific reason to trim the plant immediately after flowering.
Think of creeping thyme as walkable near a path, not a replacement for a heavily used lawn. A few careful steps on an established, well-watered mat may be tolerated, and some T. praecox selections are described as moderately traffic tolerant. But repeated traffic, running, pet play, or walking on drought-stressed plants will flatten stems and create bare patches. The University of Arkansas recommends recessing the soil between path materials because thymes do not tolerate foot traffic well; that design lets shoes land on stone while the plant fills the edges. (University of Arkansas System Division of Agriculture: Creeping Thyme)
Harvest a few leafy stems for fragrance or cooking only when you know the plant is a culinary type and has not been treated with an ornamental pesticide. For the best flavor, harvest leafy stems before or around flowering on a dry morning after dew has evaporated, and never strip so much foliage that the plant cannot photosynthesize and regrow.
Overwinter creeping thyme by climate
Most creeping thymes are hardy perennials, but exact hardiness varies by species and cultivar. NC State lists T. serpyllum as a woody perennial that can remain evergreen in mild winters, while T. praecox is also described as evergreen in mild conditions. In colder climates, expect some browning or dieback without assuming the plant is dead.
The best winter protection is usually excellent drainage and a site that does not alternate between saturated and frozen. In colder regions, a light, loose mulch after the ground has cooled can reduce heaving and temperature swings; avoid packing wet leaves tightly over the crown. Remove winter cover gradually in spring so new growth can dry and receive light.
In a container, roots are more exposed to freezing than roots in the ground. Move the pot to a sheltered location against a building, group it with other containers, or protect the container according to your local winter conditions. Keep the mix from becoming a waterlogged block, but do not let a small pot go bone-dry during a long freeze-free winter.
Troubleshoot the problems that look alike
Woody centers and bare patches
A woody center after several years is often normal aging, not proof that the plant needs more fertilizer. It can also be accelerated by shade, competition from taller plants, repeated drought, or pruning that removed all leafy growth. Check the site first: if the plant is shaded or the soil stays wet, correcting those conditions matters more than cutting.
If the outer stems are green and rooted, divide the vigorous edge and replant it in a prepared spot. If the entire clump is brittle, brown, and poorly rooted, replace it. A creeping thyme mat is not immortal, and a planned division every few years is often easier than trying to force an exhausted center back into youth.
Yellow, browning, or soft stems
Start with the root zone, not the fertilizer shelf. Yellowing leaves, collapsing stems, and a sour or constantly wet potting mix point toward excess water or poor drainage. Dig or lift the plant to inspect roots if the symptoms progress: firm, pale roots are encouraging; dark, mushy roots indicate rot.
If rot is limited, cut away dead roots with sterilized tools, remove saturated soil, and replant the remaining healthy section in fresh, fast-draining mix. Reduce irrigation and improve the site before watering again. If the crown is mushy or most roots are dead, discard the plant and replant elsewhere; returning a rotted crown to the same wet pocket repeats the problem.
Brown, crispy foliage with dry soil tells a different story. Check for a missed establishment watering, reflected heat, a pot that dries within a day, or roots competing with a nearby tree. Water deeply once the cause is clear, then adjust the container or planting site so the plant can access moisture without staying wet.
Spider mites in hot, dry weather
Spider mites are more likely during hot, dry conditions and can cause dull, stippled, or bronzed foliage. Tap a stem over white paper and look for tiny moving specks, or inspect leaf undersides for fine webbing. Do not diagnose every brown leaf as mites; drought and root damage can look similar.
Rinse the plant thoroughly, improve air movement, and remove badly affected growth. If mites persist, use an insecticidal soap or other product labeled for the plant and pest, following the label exactly and testing a small area first. Avoid spraying a stressed plant in harsh midday heat. The NC State plant profiles list spider mites as a possible problem but describe creeping thyme as generally free of serious insect and disease issues when planted appropriately. (NC State Extension Plant Toolbox: Thymus serpyllum, NC State Extension Plant Toolbox: Thymus praecox)
Conclusion
To grow creeping thyme well, make the site do most of the work: give it full sun, fast drainage, modest fertility, and enough space to spread without being buried or trampled. Buy by botanical name and cultivar when the exact habit matters, water more carefully during the first season than after establishment, and use division or cuttings when you want quick, true-to-type new plants.
The plant is a strong choice for rock gardens, dry borders, containers, and the edges of paths. It is not a wet-soil plant and it is not a durable lawn, but in the right place it makes a fragrant, flowering mat that asks for less intervention each year. When a clump thins, inspect light, drainage, age, and traffic in that order; the next step is usually a site correction or a healthy division, not more fertilizer.



