5 Underrated Spring Gardening Rules Pro Gardeners Follow
These spring gardening rules show when to plant by frost and soil, tidy beds without harming useful habitat, clean tools, and amend only after a soil test.
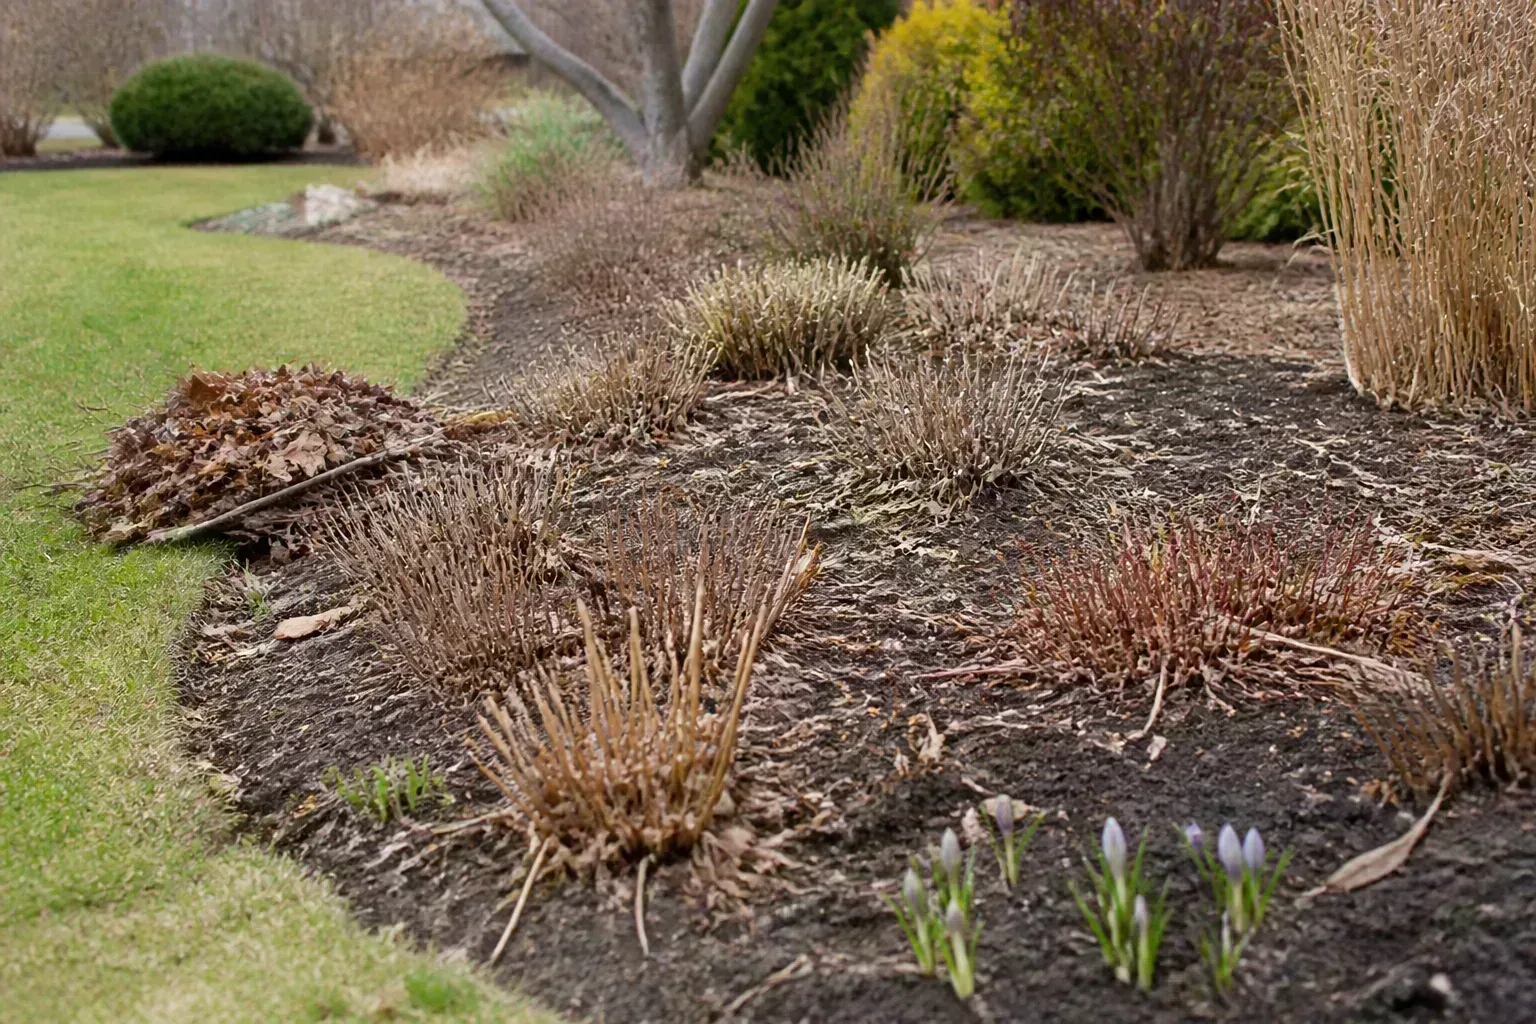
A bright Saturday can make the whole garden feel ready at once. In reality, a sunny bed may still be too wet to work, a tender annual may be weeks from a safe planting window, and the bare-looking corner that bothered you in February may fill with shade once a tree leafs out.
The best spring gardening rules are about reading those conditions before you act. A short site walk, a soil test, selective cleanup, and staged planting can prevent the familiar cycle of buying too early, compacting a bed, then replacing plants after a cold night.
1. Map the garden before buying plants
Make one slow lap of the garden before you make a shopping list. Look at the bed edges, downspouts, low spots, paths, and the plants that survived winter; note what changed since last year, including new fences, construction, or a neighbor’s tree work. A five-minute sketch can reveal that a bed is narrower than it looked from the patio or that runoff now crosses the spot you meant to fill with flowers.

Track sun, drainage, and traffic
Sunlight is easy to misread in early spring. Deciduous trees have not leafed out, the sun sits at a different angle than it will in midsummer, and a spot that looks open now can become shaded for much of the growing season. Record when direct sun reaches a bed in the morning and afternoon, then repeat the check after the nearby canopy fills in; use the plant tag or a reliable growing guide to match the plant’s needs to the light the site actually receives.
Drainage needs the same kind of observation. After a soaking rain, see where water runs, where it ponds, and how long the surface stays saturated. A persistently wet hollow is not solved by adding more compost on top or choosing a plant from a generic “easy flowers” list; it may need a plant that tolerates moist soil, a change in the planting location, or professional advice if water is moving toward a foundation.
Include the working space in the plan. Leave paths wide enough to carry a hose or harvest basket, and allow each plant its mature spread so air and light can reach the foliage. A crowded nursery pot can look small on the sales bench and become an overcrowded patch by midsummer; buying fewer plants at the right spacing often produces a fuller-looking bed than packing in extras.
Plan for summer shade and mature size
The spring view is a snapshot, not a planting map for the whole season. Check the position of large shrubs, fences, buildings, and tree canopies, and think about where their shadows will land later; also note whether a plant near a path will block access when it reaches full size. The Royal Horticultural Society’s month-by-month garden jobs are a useful reminder that seasonal tasks depend on what is growing and what the local garden is doing, not simply on the month printed on a calendar.
This walk also gives you a reason to delay impulse purchases. Buy for a specific place and purpose: a low border, a wet corner, a sunny container, or a gap between established perennials. If you cannot yet describe the site’s light, moisture, and available width, take a photo and return to the nursery after you have checked those details.
2. Plant by weather and soil, not a holiday
“Spring” covers very different conditions across regions, elevations, and even neighboring yards. A last-frost date is a planning estimate; it does not promise that cold weather is finished, and it does not tell you whether a particular seed needs warmer soil. Use your local extension planting calendar and recent forecast together, then check the plant label or seed packet for the temperature and timing that apply to that crop.
Treat a last-frost date as a planning baseline, not a guarantee. A sheltered courtyard, a low pocket where cold air settles, and an exposed hillside can all behave differently from a regional average, and a warm spell can still be followed by a cold night. Pair a local extension planting calendar with the current forecast, and be more conservative with frost-sensitive plants in exposed or low-lying beds.
Separate cool-season plants from tender annuals
Cool-season flowers and vegetables can often go out while nights are still chilly, provided the soil and the species are suitable. Pansies, violas, snapdragons, peas, spinach, and lettuce are examples gardeners commonly grow in cool conditions, although cultivar hardiness and local weather still matter. A short cold snap may be manageable for a hardy transplant with protection, while a week of cold, saturated soil can stall growth even when the air feels pleasant at midday.
Heat-loving or frost-sensitive plants need a different schedule. Basil, tomatoes, peppers, zinnias, and many other tender annuals can be damaged by frost; they also struggle when their roots sit in cold ground. Wait until the local frost risk has passed and the soil has warmed enough for the species, rather than using a holiday or one warm afternoon as the signal. The Old Farmer’s Almanac frost-date lookup can help locate a regional estimate, but check a current forecast before planting a frost-sensitive flat.
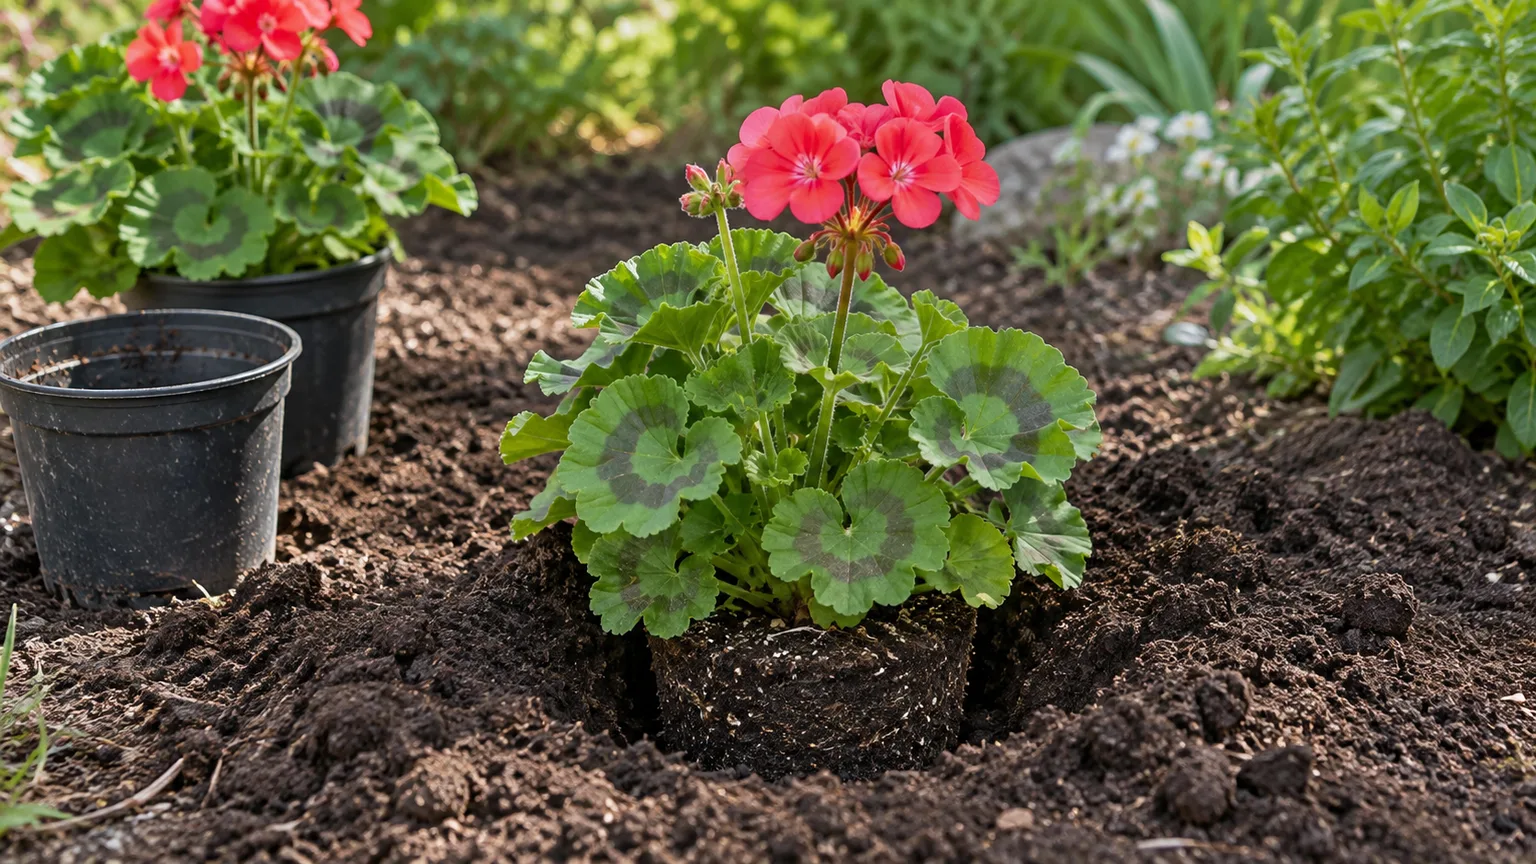
The soil itself is a second gate. A bed may be free of frost but still too wet to dig. Squeeze a small handful from planting depth: if it smears, shines, or stays in a dense sticky ball, wait; soil that breaks apart into crumbs is closer to workable. The Planet Natural spring soil-preparation guide describes this practical squeeze check and warns that working saturated soil can leave compacted clods that are difficult to repair.
Use the check in more than one part of a large bed if the ground varies. A raised edge in full sun may dry quickly while a shaded center remains saturated, and clay-rich soil behaves differently from a loose sandy mix. If only one section is ready, work from a path or board and prepare that section without repeatedly stepping on the wet parts; waiting for the rest protects its structure.
Do not use the squeeze test as a substitute for crop-specific temperature instructions. A crumbly surface does not mean warm-season seeds will germinate quickly in cold soil, and a dry crust can cover a wet layer below. If a seed packet gives a minimum soil temperature, measure at the stated depth or wait for a steadier warming trend instead of guessing from the afternoon air.
Harden off nursery transplants
Plants raised in a greenhouse or indoors have not yet experienced full sun, wind, and wide temperature swings. Before planting them permanently, acclimate them gradually: start in a sheltered, bright spot for a short period, then increase their exposure over several days. Bring tender plants back under cover when frost or harsh wind is forecast; one abrupt move from a protected bench to all-day sun can scorch leaves even when the plant is technically in season.
Watch the plant, not just the number of days on the calendar. If leaves bleach, wilt sharply, or develop dry edges after an outdoor session, give it more shade and time before increasing exposure. Keep the root ball evenly moist during this transition, but do not leave pots sitting in water; acclimation is meant to build tolerance to outdoor conditions, not add drought or waterlogging stress.
Water the root ball before transplanting, plant at the depth recommended for that species, and water the soil around it so roots make contact with the bed. Avoid planting into a waterlogged hole or burying the crown of a plant that needs it exposed. A cloudy, calm day is often easier on a new transplant than a hot, windy afternoon, but the weather window should never override frost sensitivity.
3. Clean the bed selectively
Spring cleanup should remove problems and make room for growth; it does not need to make every bed bare. First identify what is actually dead, broken, diseased, or blocking a new shoot. Gently move leaves aside with your fingers rather than raking hard through the whole bed, because bulbs and perennial crowns can be close to the surface before they are easy to see.
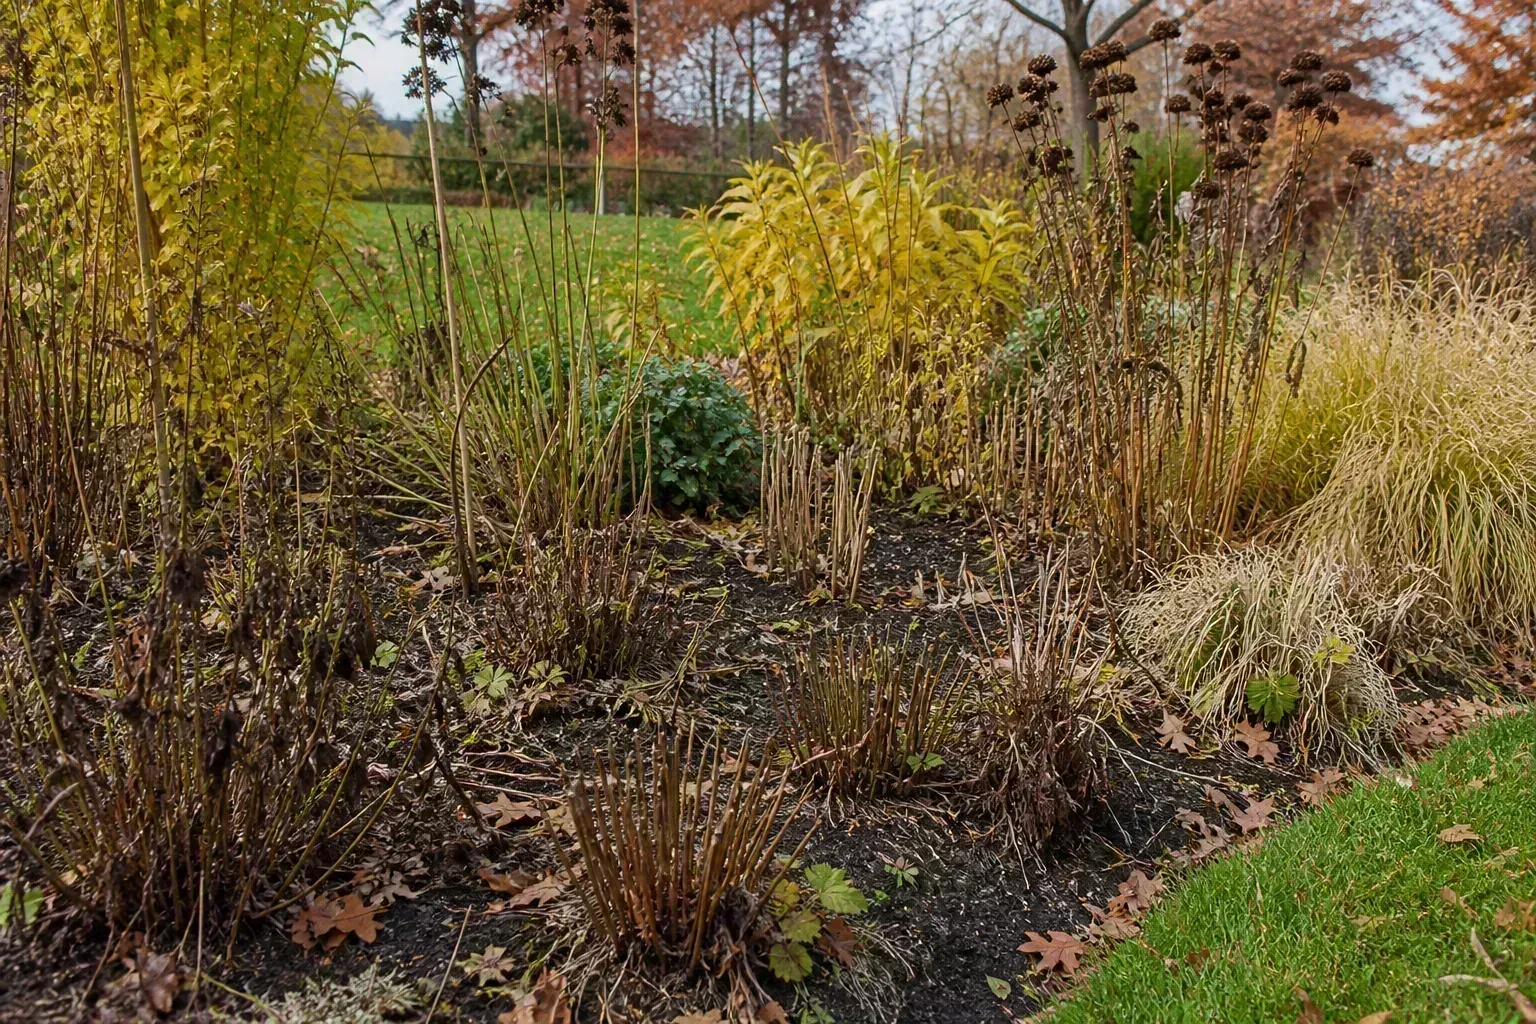
Remove diseased debris and identify live growth
Remove plant material that clearly carried a serious disease or pest problem, and keep it out of the home compost unless your local guidance says that composting method reaches the needed temperatures. Pick up matted debris that is smothering new growth, but leave healthy leaf litter in a suitable bed if it is not causing a plant-health or drainage problem. A neat edge around a bed can make the garden look cared for without exposing every patch of soil.
Before cutting a perennial, locate its crown and any new shoots. Some ornamental grasses and herbaceous perennials are cut back close to the ground once new growth begins, while others are evergreen, have hollow stems, or hold seed heads that feed birds. If you cannot identify the plant or the crown, wait until growth makes the structure clearer; a few untidy stems are easier to correct later than a crown cut off by mistake.
Woody shrubs need their own schedule. Spring-flowering shrubs often set flower buds on growth made the previous year, so a hard early-spring trim can remove the season’s bloom. The RHS guide to pruning early-flowering shrubs recommends pruning after flowering because these shrubs generally bloom on the previous year’s growth. Identify the shrub and its flowering habit before pruning; shrubs that flower on new growth may be pruned at a different time. Dead or broken branches are a separate case, but make clean cuts and avoid reshaping an unidentified shrub just because the bed is being tidied.
Time perennial-stem cleanup around bee nesting
The advice to leave every perennial stem until late spring is too broad. In a study of nearly 3,000 stems from 20 gardens in 10 North Carolina counties, NC State Extension researchers found no nests or overwintering bees in intact stems during their first winter. Bees were more likely to use stems after they had weathered, broken, or been cut, and the researchers found the most occupied stems in spring.
Their practical recommendation is to trim the previous season’s intact stems during their first winter, between the first fall frost and the last spring frost, leaving roughly 12 to 24 inches of stem where possible. That creates cut ends for stem-nesting bees to use later; the stems should then be left standing through the following growing season. The finding is about the stems sampled in North Carolina, not every insect or every kind of winter habitat, so it is not a reason to strip leaves, mulch, or all wildlife shelter from a garden.
If that winter window has passed, do not panic or rush to cut old stems to the ground. Leave older, already cut or broken pithy stems where they stand when practical, especially if you see small openings in the pith; they may be in use. Remove diseased or hazardous material when necessary, but make the decision stem by stem. For next year, mark the newer stems for a first-winter trim and leave those trimmed stubs alone afterward.
4. Clean tools and disinfect when disease risk calls for it
Tool care is more precise than either ignoring the shears all season or soaking them after every harmless cut. Soil, sap, and plant residue make blades sticky and blunt; diseased tissue can also carry pathogens from one plant to another. Start with ordinary cleaning, then disinfect when the plant or the job gives you a reason.
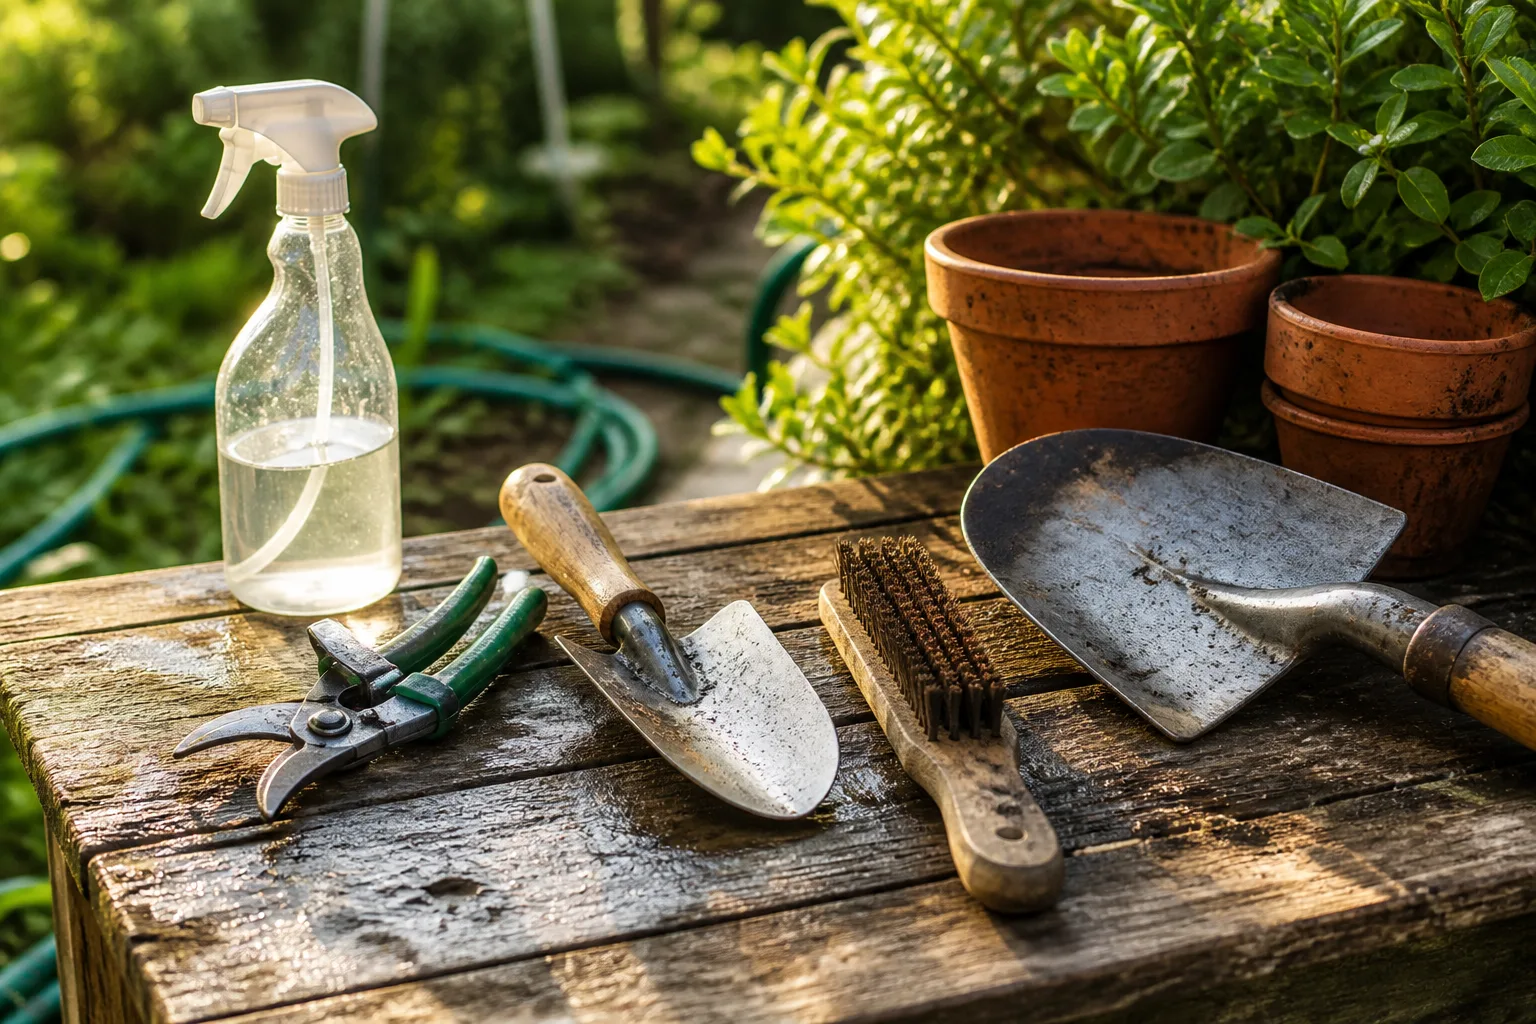
Remove soil and sap before storing
Brush off dried soil and plant debris after digging or pruning, then wash stubborn residue with soap and water. Dry metal parts fully before putting tools away, and apply a small amount of oil to the pivot or other moving joint if the manufacturer recommends it. Clean blades cut more predictably, and dry storage helps prevent rust; keep sharp tools closed and stored where children cannot reach them.
This routine is different from disinfection. Cleaning removes visible soil and residue, while disinfection is an additional step intended to reduce disease organisms on the blade. Do not use a dirty brush or bucket to “sanitize” the tool, and do not assume a quick rinse has disinfected it.
Sanitize pruners when cutting infected tissue
If you remove a branch or stem with a suspected infectious disease, clean and disinfect the blade before moving to another plant. Iowa State University Extension’s pruning-shear guidance recommends disinfecting at least between plants when removing infected material, and ideally between cuts in that situation. For home gardeners, it identifies alcohol as a practical option that is readily available and less corrosive to tools than bleach-based methods.
Use the method and contact time in the extension guidance or product label, keep alcohol away from flame, and wipe the blade dry before the next cut. Bleach can corrode metal if used carelessly, so do not improvise a stronger mixture or leave tools soaking. If you are pruning healthy plants with no sign of disease, ordinary cleaning and a sharp blade are usually more useful than repeatedly applying a harsh disinfectant.
5. Test soil before adding amendments
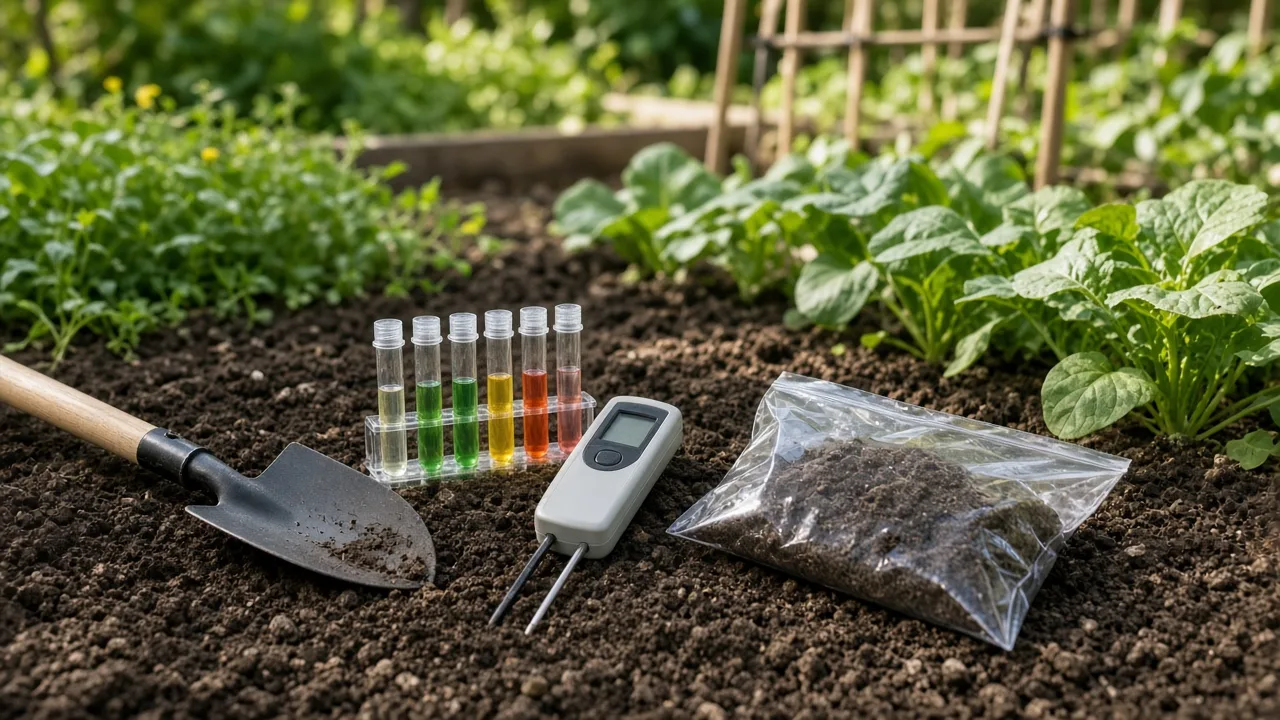
“The garden needs food” is not a soil diagnosis. A soil test can report pH and nutrients and give regionally appropriate recommendations; adding lime, fertilizer, or a popular mineral by habit can move the soil farther from what a plant needs. Test before buying amendments, then match the recommendation to the bed and the crop you plan to grow.
Sample separate areas consistently
Take separate samples from areas that differ in use or condition. A vegetable bed, lawn, and acidic shrub border should not be mixed into one bucket because the combined result would describe none of them well. Within one uniform bed, collect several small subsamples from a zigzag pattern, mix them in a clean plastic container, and submit the amount requested by the testing lab.
For garden beds, UGA Extension’s soil-testing guide specifies sampling to about six inches and collecting eight to ten subsamples for each area; follow the instructions from your own local lab if its depth or container differs. Penn State Extension’s soil-sampling demonstration also explains why clean tools, consistent depth, and a mixed sample matter: one scoop from a single spot may not represent the soil where roots will grow.
Take the sample before adding lime or fertilizer, and mention the intended use of the bed on the submission form. Soil next to a compost pile, a recent fertilizer spill, a fire pit, or a path treated with de-icing salt may need to be sampled separately. If a bed has sharply different drainage or plant performance across it, split it into zones rather than averaging the problem away.
Keep a simple record of the bed name, sample date, crops grown, and amendments applied. Repeating a test in the same area makes it easier to tell whether a change is a trend or just a different sampling spot. It also helps you avoid correcting the same condition twice because an old bag of lime or fertilizer was left on the shed shelf.
Follow recommendations instead of chasing pH
There is no single ideal pH for every garden plant. A soil test report interprets the result for a stated crop or landscape use; acid-loving shrubs and many vegetables do not share identical preferences. UGA Extension notes that lime reacts slowly and, when the report calls for it, may need to be mixed into soil two to three months before planting. That is one reason a fall test can be more useful than a rushed spring correction.
If you receive a recommendation, follow its rate and timing rather than adding “a little extra” to make the result faster. If you do not understand the report, contact the lab or your county extension office before applying amendments. A home color kit can be a rough screening tool, but it cannot replace a lab’s nutrient recommendation or tell you whether a bed drains well. UGA Extension’s soil-testing guide explains how a representative sample supports recommendations for lime and nutrients.
Compost has a different job from lime or a complete fertilizer. Mature compost can add organic matter and help improve soil structure over time, but it does not automatically correct every nutrient imbalance or pH problem. Add it where the bed needs organic matter, keep it away from crowns that are sensitive to burial, and avoid tilling or turning soil while it is wet. If the soil test says no fertilizer is needed, take that result seriously.
Put the five rules in a spring sequence
The order matters because later tasks depend on earlier observations. Testing after you have spread fertilizer muddies the baseline, planting before you have checked the forecast risks tender plants, and digging wet soil can create a compaction problem that outlasts the warm spell that tempted you outside.
A practical pre-planting order
- Walk and map. Note sun, summer shade, runoff, traffic, and the bed’s usable width before buying plants.
- Sample and identify. Take soil samples from distinct areas before adding amendments; identify shrubs and perennials before pruning.
- Clean with purpose. Remove diseased debris and material blocking new growth, while preserving older stems or undisturbed patches where they may support wildlife.
- Wait for workable soil. Do not dig, till, or walk repeatedly across beds while they smear underfoot; prepare the soil when it crumbles and the crop’s temperature needs are met.
- Plant in stages. Set out hardy cool-season crops when conditions suit them, harden off nursery transplants, and hold tender annuals until frost risk and soil temperature are appropriate.
This sequence leaves room for a second trip to the nursery, which is often a good thing. If a bed is still wet or the forecast is unsettled, use the time to finish the map, review the soil report, clean tools, and decide where plants will fit at mature size. A week of waiting can be cheaper than replanting a flat of frost-damaged annuals or repairing a compacted bed.
Conclusion
Spring gardening goes better when you match each job to a real cue: light and drainage for the site, soil texture and temperature for planting, the plant’s growth habit for pruning, disease risk for tool disinfection, and a lab report for amendments. Those checks turn a burst of seasonal energy into work that helps the garden rather than creating a new problem.
Start with the walk around the beds, then test and prepare the soil when it is ready. Plant hardy choices first, protect tender ones from late cold, and leave yourself time to learn what changed over winter before you fill every gap.



