How to Grow and Care for Vanilla Bean Orchid
Learn vanilla bean orchid care, including light, humidity, support, cuttings, hand-pollination, harvest timing, and the limits of home curing.
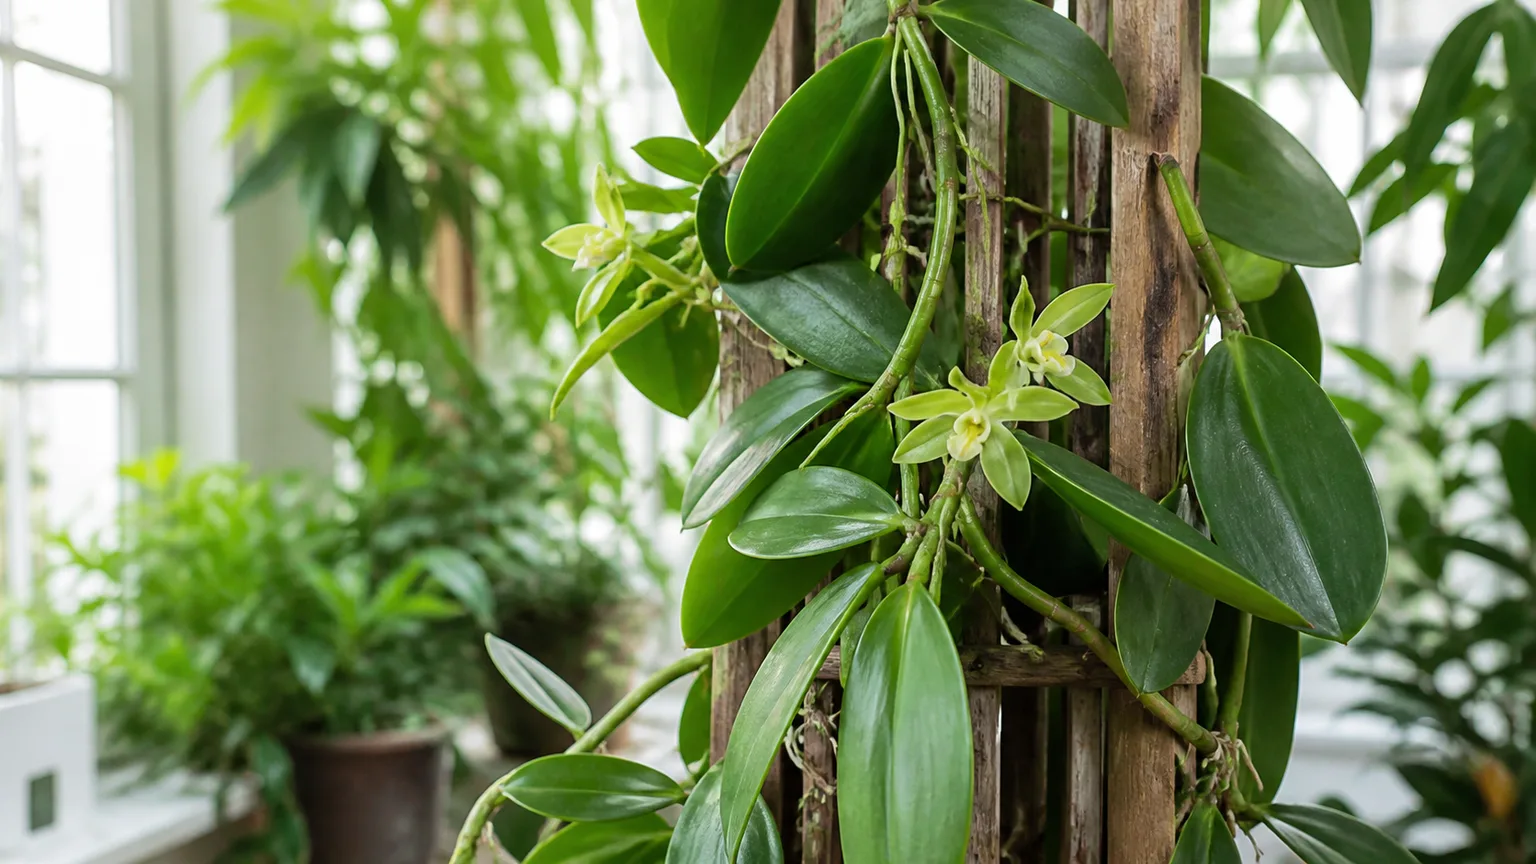
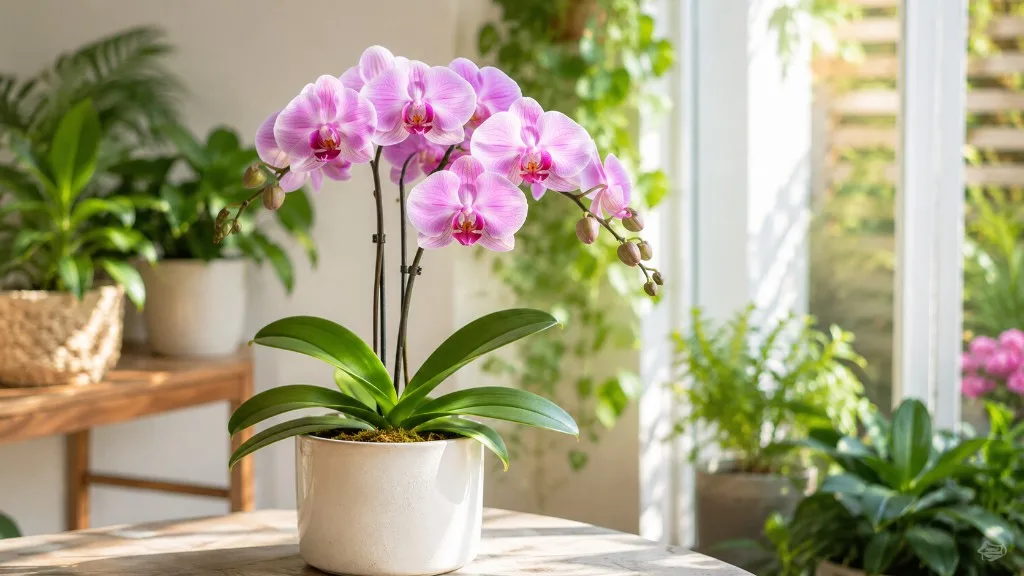
Vanilla bean orchid, or Vanilla planifolia, is a tropical climbing orchid that produces the pods used to make natural vanilla. It is possible to grow one indoors or in a greenhouse, but success depends less on orchid tricks than on building a warm, humid, airy climbing system and being present on the mornings when flowers open.
The realistic sequence is long: a cutting needs years to reach flowering size, a flower must be hand-pollinated within a short window, a successful pod takes about eight to nine months to mature, and curing takes several more months. Treat the plant first as a beautiful vine and second as a spice crop; that mindset prevents overwatering, overfeeding, and disappointment.
Vanilla orchid care at a glance
Use these ranges as a starting point, then adjust to the pot, season, and airflow around your plant. A newly rooted cutting needs more even moisture than an established vine, while a flowering vine needs a support you can inspect quickly every morning.
| Care factor | Practical starting point | What matters most |
|---|---|---|
| Plant | Vanilla planifolia, a tropical semi-epiphytic vine | Buy a nursery-grown plant or cutting rather than attempting seed |
| Light | Bright filtered light for much of the day | Avoid hot direct afternoon sun through glass |
| Temperature | Warm days around 70–90°F; nights above about 55–60°F | Protect from frost, cold drafts, and air-conditioning blasts |
| Humidity | High humidity, often around 60–80% indoors if achievable | Pair moisture with moving air; stagnant wetness invites rot |
| Support | Sturdy trellis, post, moss-covered support, or suitable tutor tree | Loop the vine so mature flowers stay within reach |
| Medium | Airy bark-based orchid mix with organic moisture retention | The root zone must drain quickly without becoming bone-dry |
| Water | Thoroughly wet, then let the upper mix partly dry | Never leave the pot standing in runoff |
| Feeding | Light orchid fertilizer during active growth | More fertilizer cannot compensate for weak light or roots |
| First flowers | Commonly two to four years from a cutting, depending on size and conditions | Vine diameter, support, light, and seasonal rhythm all matter |
| Pod timeline | About eight to nine months after successful pollination | Harvest before the capsule splits, then cure it separately |
Choose the climate and support before planting
Vanilla is not a compact windowsill orchid. UF/IFAS describes V. planifolia as a fleshy perennial vine that can become extremely long and as a plant able to root in soil or grow attached to another plant. Its natural habit explains the care plan: it climbs toward light, uses aerial roots to grip a support, and keeps producing new growth long after an ordinary orchid would have filled its pot. UF/IFAS describes the plant’s habit and home-garden requirements.
Outdoor growing is realistic only in a warm, frost-free climate. South Florida is a useful reference because UF/IFAS grows vanilla in roughly USDA Zones 10a–11a, but a zone label is not a guarantee: a cold pocket, exposed balcony, or winter greenhouse can still chill the vine. In colder areas, plan for a greenhouse, a heated grow room, or a permanent indoor setup rather than moving the plant outside for a few warm weeks and then exposing it to a sudden cold night.
Build the support before the cutting arrives. A narrow trellis, wooden post, or moss-covered pole is easier to manage than a decorative lattice that flexes under a mature vine; outdoor growers can also use a shaded tutor tree. Keep the main pollination and harvest zone at a height you can inspect without a ladder. UF/IFAS production guidance commonly keeps supports around six feet or less for precisely this reason.
Loop the vine for reachable growth
Vanilla can climb straight up, but a long vertical vine quickly becomes inaccessible and may run into a ceiling or roofline before it flowers. As the stem lengthens, guide it around the support and back across or down in broad, loose loops. The goal is not to coil the stem tightly; it is to keep more mature vine in a small footprint while leaving each leaf and aerial root exposed to air.
Use soft ties only where the vine needs temporary direction. A tight wire, twist tie, or plastic clip can constrict a thickening stem and create a wound that stays wet. Let aerial roots contact a textured or slightly moist surface, but do not pack the entire support with constantly saturated moss. Roots need access to moisture and oxygen, not a permanently soaked sleeve.
Balance light, warmth, humidity, and airflow
Vanilla prefers bright, filtered light rather than deep shade or harsh afternoon sun. An east-facing window, a bright greenhouse position under shade cloth, or a south or west window softened by a sheer curtain can work. If leaves develop a bleached tan patch, feel hot at midday, or crisp along the exposed surface, move the vine farther from the glass or add filtering; do not respond to scorch by putting the whole plant in a dark corner.
Light is also a maturity signal. A vine that stretches with long gaps between leaves, produces thin new growth, and never thickens after several growing seasons is usually not receiving enough usable light. Increase exposure gradually, because a plant adapted to dim indoor light can burn when moved directly into strong sun. A grow light can supplement short winter days, but it does not remove the need for warmth, humidity, and a support.
Warmth and humidity need to operate as a pair. Fine Gardening places vanilla in a high-humidity, filtered-light setting with nighttime temperatures kept above roughly 55°F, while UF/IFAS notes that chilling and freezing can kill vanilla. Fine Gardening’s growing profile covers the basic indoor and greenhouse conditions.
In a dry home, aim for a consistently humid microclimate rather than chasing a single perfect number. A practical target around 60–80% relative humidity can help an established vine, but a hygrometer at leaf height is more useful than guessing from a pebble tray. Keep leaves and aerial roots from staying wet overnight, and use a small fan on a gentle setting if the air is still. Humidity without circulation is an invitation to fungal and bacterial problems, not a shortcut to tropical growth.

Build an airy but moisture-retentive root zone
Vanilla has both ground roots and aerial roots. Ground roots at the base or wherever the vine contacts the substrate take up water and nutrients; aerial roots along the stem primarily anchor the vine and help it use moisture at the support surface. Cutting off every exposed root because it looks untidy removes part of the plant’s natural climbing system.
Use a bark-based orchid medium that holds some moisture but has visible air spaces. A quality fine or medium orchid bark mix can be blended with a moisture-retentive organic component and perlite if your home dries it too quickly. The exact recipe matters less than the result: water should pass through the pot freely, the mix should not collapse into mud, and the roots should not sit against a cold, sour-smelling mass for days.
BBC Gardeners’ World groups Vanilla with orchids that need air around their roots and recommends an orchid compost built largely from pine bark. That is a better starting point than dense garden soil or a small pot filled with pure peat. BBC Gardeners’ World’s orchid-care guide explains the bark-based approach and the need for drainage.
Choose a container with generous drainage and enough weight to keep the trellis upright. A nursery pot inside a heavier cachepot works if runoff is emptied immediately. Terracotta can help a wet grower dry the root zone faster, but it can also dry a small cutting too quickly; match the pot to your watering habits instead of treating one material as universally best.
Water and feed without causing rot
Water by the condition of the mix and the weight of the container, not by a fixed weekly calendar. When the upper layer has begun to dry and the pot feels noticeably lighter, wet the medium thoroughly until water exits the drainage holes. Let the pot drain completely before returning it to a saucer or cachepot.
The best balance is moist but oxygenated, not wet at all times. If the mix stays saturated, roots lose access to air and the stem base may soften. If the vine shrivels, leaves lose firmness, and exposed roots become brittle, the plant is staying dry too long or the surrounding air is too arid. Correct the cause instead of adding frequent sips that keep the center of the pot perpetually wet.
An established vine may need less frequent irrigation than a fresh cutting because its aerial and contact roots can use moisture from the support and humid air. A young cutting needs close observation while roots form. In bright, warm weather it may dry rapidly; in cool winter conditions, the same amount of water can linger for days.
Feed lightly during active growth with a fertilizer made for orchids, following the product label and starting conservatively. Fine Gardening describes light feeding about every two weeks in spring and summer, while UF/IFAS cautions that vanilla’s nutrition comes substantially from decomposing organic material and that scientifically validated tests for extra foliar feeding are limited. The practical takeaway is to avoid a fertilizer blitz: feed a growing, well-watered plant, flush accumulated salts occasionally, and never fertilize a dry or recently damaged root system.
Train, prune, and repot only when needed
Pruning is mainly a space-management and crop-management task. Remove dead or diseased sections with sterilized, sharp tools, and make a clean cut well below visibly soft tissue. Healthy green vine can be redirected, looped, or used for propagation; it does not need routine shearing to bloom.
If the vine reaches the top of its support, loop it back rather than cutting it just because it is long. A mature, healthy vine can be tipped or shortened as part of a flowering strategy in tropical production, but a weak indoor plant may respond to hard pruning by losing its only productive growth. Let the plant establish a thick stem and a substantial root system before experimenting with a dry-season or tip-pruning trigger.
Repot only when the medium has broken down, the roots have outgrown the container, drainage has slowed, or the plant must be moved into a more stable support. Repotting a large, attached vine is disruptive and can tear aerial roots from the trellis. If the mix is still open and the plant is actively climbing, refresh only the portion you can safely reach.
Propagate from a healthy cutting
Stem cuttings are the normal home route because vanilla seed is difficult and slow. UF/IFAS reports that a cutting around 12 inches can take roughly three to four years to flower, while a meter-long cutting may flower in two to three years when conditions are favorable. Bigger is not automatically better, but a longer, healthy, disease-free cutting carries more nodes and reserves for establishment. UF/IFAS propagation guidance compares cutting lengths and explains how to prepare the nodes.
Choose a cutting with firm green tissue, intact leaves, and several nodes. Avoid material with dark sunken spots, a soft base, a sour smell, or unexplained leaf loss. A cutting taken from a flowering section may root, but a vigorous vegetative section is a more sensible starting point for a home grower who wants the plant to establish before it carries flowers.
Root a cutting step by step
- Use a clean blade to take a section with at least two viable nodes; longer cuttings can establish faster when they are healthy.
- Leave the cut surface in a shaded, airy place for about one to two days so the wound can dry and seal, as UF/IFAS recommends.
- Remove leaves from the node that will contact the mix. Do not bury a leaf or a large stretch of stem.
- Place one node into a lightly moist, airy orchid medium and secure the upper stem loosely to a support.
- Keep the cutting warm, humid, and brightly shaded while roots and new growth form. Water enough to prevent desiccation, but allow excess to drain.
- Once the cutting holds itself and produces new growth, begin looping it onto the permanent support rather than repeatedly disturbing the root zone.
Do not start a vanilla cutting in a sealed plastic bag that stays dripping wet. A humidity dome can help a very young or tissue-culture plant harden, but it must be opened gradually and paired with clean tools and moving air. The transition from enclosed humidity to free-flowing air is a process, not a single day.
Prepare an established vine to flower
Flowering usually comes when the vine is mature enough, thick enough, and long enough to experience a useful change in season. UF/IFAS notes that flowers often appear two to three years after planting a new cutting and that productive vines commonly reach about 0.25–0.5 inch in diameter. A small cutting may remain healthy for years without being ready; that is a maturity issue, not automatically a fertilizer deficiency.
Give the vine strong filtered light through the active growing season, a sturdy looped support, warm temperatures, and steady but not waterlogged moisture. In tropical cultivation, a dry season of about two months helps initiate flowering. For an established container plant, that does not mean abandoning it until the leaves wrinkle. It means allowing a modest seasonal reduction in watering while maintaining enough humidity and checking the roots, then resuming more active irrigation as new growth and flower buds begin.
Expect flowers to arrive over a period rather than all at once. A raceme can carry several buds, but only one or a few may open on a morning. Mark the first buds with a soft plant-safe tag or keep a simple calendar so you know when to begin daily checks. The support, not a ladder, should bring those flowers to eye level.
Hand-pollinate before the flower closes
Vanilla flowers contain both male and female structures, but V. planifolia is not reliably self-pollinating in ordinary home conditions. A flap called the rostellum separates the pollen mass from the stigma. In its native range, specialized bees can navigate the flower; elsewhere, commercial and home growers usually bypass the flap by hand. Cornell University explains how the absence of the natural pollinator outside the native range led to the manual technique associated with Edmond Albius. Cornell’s conservatory profile explains the flower, pollinator relationship, and manual pollination history.
Time matters more than force. UF/IFAS recommends attempting pollination in the morning, generally from about 6 a.m. to noon, and its extract-production publication describes an even shorter receptive period of roughly six to seven hours. A flower that has already dried or fallen is not a candidate for rescue. Check the vine early in the flowering season and inspect every open blossom before the window closes.
Identify the pollination parts
The central column is the fused floral structure that holds the male and female parts. The pollinia are compact pollen masses beneath the anther cap; the stigma is the receptive surface behind the rostellum. The lower lip helps you orient the flower, but it is delicate, so avoid dragging a tool across the petals.
You do not need to cross two different vanilla plants. V. planifolia is generally self-compatible, so pollen from the same flower or another flower on the same vine can fertilize the stigma. The important step is placing the pollen on the receptive surface after gently moving the rostellum out of the way.
Use a toothpick safely
- Approach a freshly opened flower in the morning with a clean, narrow toothpick or similarly slender implement.
- Support the flower without squeezing the petals, and locate the column above the lip.
- Gently lift the rostellum to expose the stigma. If the tissue resists, stop; tearing the column wastes the flower.
- Press the pollinia or anther cap against the exposed stigma with a small, controlled movement.
- Leave the flower alone and check the raceme over the next few days. A successful flower generally stays attached while the base begins to swell; an unsuccessful one commonly drops.
Pollinate only as many flowers as the vine can carry. UF/IFAS advises no more than about 10 developing beans per raceme and notes that lower-side flowers are often selected to reduce the burden on the plant and improve crop quality. A smaller number of healthy pods is a better goal than setting every flower and weakening the vine for the next season.
Manage pods after pollination
Within days, a retained flower may begin to look spent while the ovary stays attached. Over the following weeks the green capsule elongates. This early swelling is encouraging, but it is not a promise that the pod will finish; drought, root damage, cold, wet weather, and an overloaded raceme can still stop development.
Keep the plant’s care steady while pods develop. Do not move a flowering vine between a hot patio and a cold room, let the trellis dry to the point that aerial roots collapse, or increase fertilizer dramatically because pods have appeared. Protect the developing capsules from rubbing against rough wire and from prolonged wetness that can encourage rot.
Harvest vanilla capsules at the right stage
Harvest is about maturity, not maximum length alone. UF/IFAS’s natural-extract publication places the optimum harvest stage at about eight to nine months after pollination. Immature capsules have less of the precursor compounds needed for good vanilla aroma, while capsules left too long can split along their seams. UF/IFAS explains harvest timing, capsule maturity, and why split pods lose value.
Record the pollination date for each raceme. As the target window approaches, watch for a dark-green capsule with a tip beginning to yellow. Cut the capsule cleanly rather than pulling it from the vine, and process or preserve it promptly. If a pod has split but remains free of decay, it may still be useful for quick processing, but do not store a split, wet capsule as if it were a sound one.
Cure and store beans with care
Fresh green vanilla capsules do not taste like the cured beans in a pantry. Curing transforms glucovanillin into vanillin and develops the aroma through a controlled series of heat, moisture, drying, and conditioning steps. UF/IFAS describes five broad stages: killing, sweating, drying, conditioning, and storage.
The extension sequence includes scalding the harvested capsules, warm high-humidity sweating, controlled drying, parchment-wrapped conditioning, and dark storage in an inert container. Their published examples use temperatures and humidity levels that need reliable measurement, not a sunny windowsill and guesswork. UF/IFAS’s natural vanilla extract publication outlines the curing stages and their controlled conditions.
For a small home harvest, treat curing as a food-processing project with a real mold and spoilage risk. Do not improvise high heat near flammable materials, use a dirty container, or seal beans while they are still wet inside. If you cannot monitor temperature, moisture, and ventilation, the sensible choice is to buy cured beans or work with an experienced processor rather than risk a valuable pod and an unsafe food product.
After conditioning, store cured beans in a dark, well-sealed glass container and inspect them periodically. A surface sheen from natural oils is not the same as fuzzy mold. When in doubt about a questionable pod, do not taste it to test safety.
Fix yellowing, rot, and dry roots
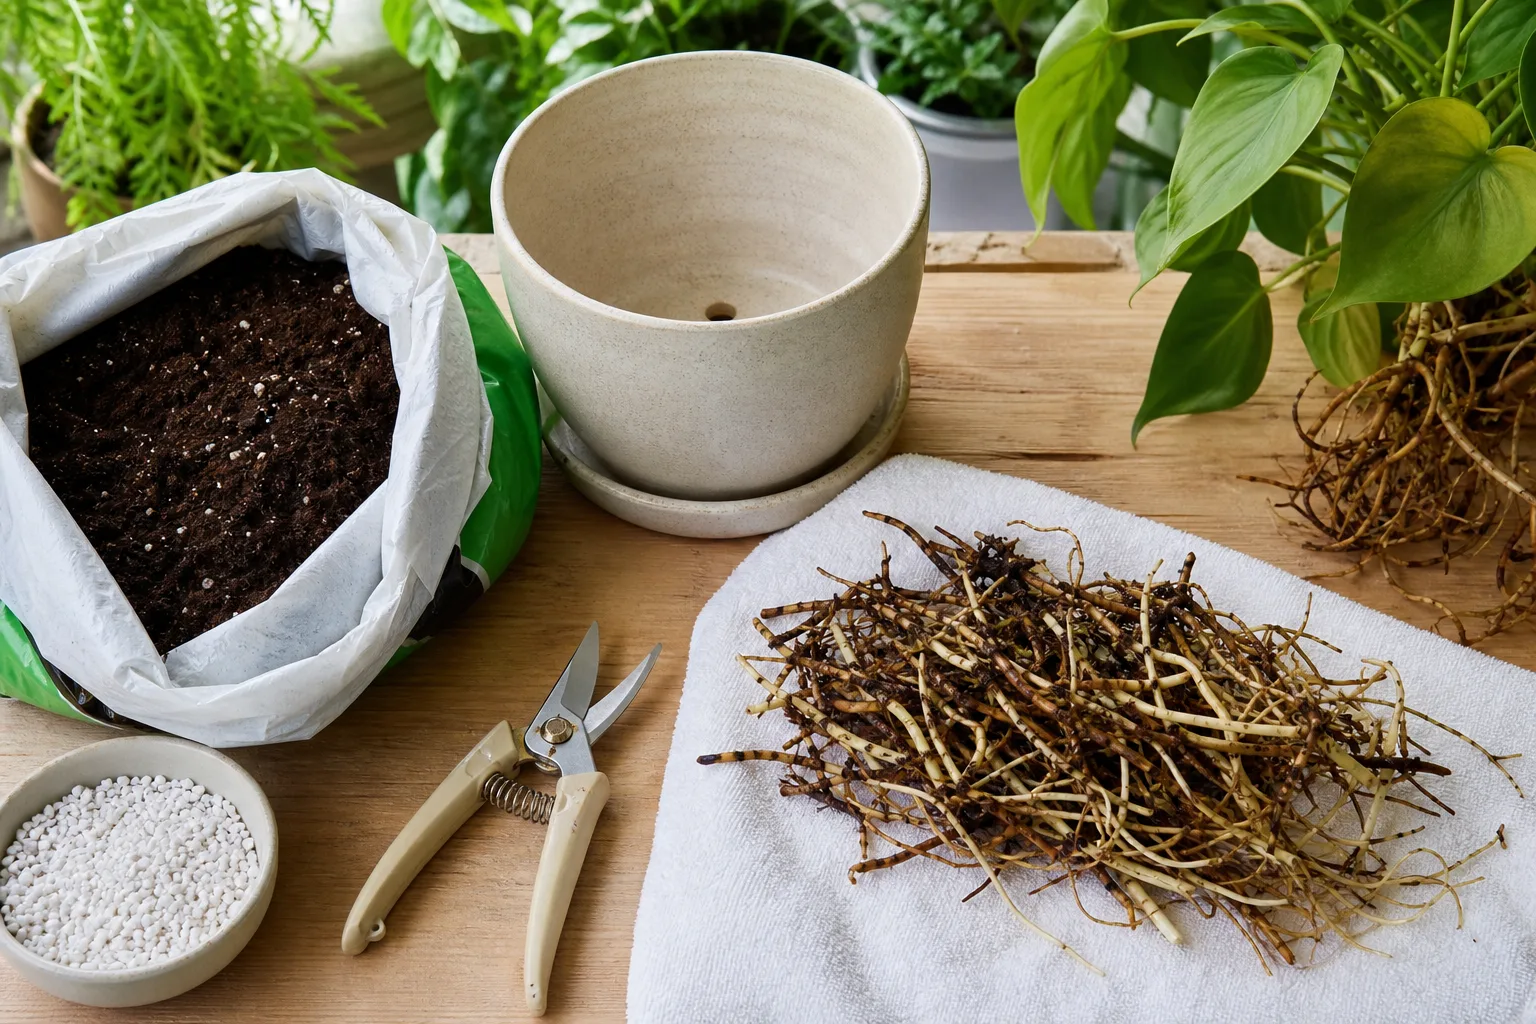
Vanilla problems are easiest to solve when you separate the root-zone evidence from the leaf symptom. Check the mix, pot weight, stem firmness, root color and texture, recent light changes, and whether the plant has been exposed to cold. The same yellow leaf can follow old age, low light, drought, salt buildup, or root loss, so do not pour on fertilizer before looking at the base.
Several rapidly yellowing leaves plus a wet, sour-smelling mix, soft stem, or brown collapsing roots points toward excess moisture and possible root or stem rot. UF/IFAS identifies Fusarium root and stem rot as a major production limitation and emphasizes avoiding waterlogging. Isolate the plant, remove visibly rotten tissue with sterile tools, move it into fresh airy medium, and reduce the conditions that keep the base wet. Severe, spreading rot may not be recoverable; taking a clean cutting from unaffected green tissue can be safer than trying to preserve a collapsing base.
Dry, crispy aerial roots or leaves tell a different story. The plant may need more consistent watering, a less exposed position, or a more humid root environment, but humidity should not be “fixed” by keeping the pot saturated. Water thoroughly when the medium has dried partway, mist or moisten the support early enough for it to dry before night, and check whether a fan, heater, or air-conditioner is stripping moisture from the vine.
Mealybugs can hide at leaf joints and along the stem, while spider mites become more likely in hot, dry conditions. Inspect weekly, isolate a plant with an active infestation, and use a treatment labeled for the pest and crop. Snails and slugs are more relevant outdoors, especially around damp mulch. Remove them manually where practical and keep the plant base open enough to inspect.
If the vine grows but never flowers
First check age and stem diameter. A young or thin cutting may simply be on schedule, especially if it has spent its first seasons making roots. Next check usable light, support length, and temperature; a vine that climbs in deep shade or is repeatedly chilled is unlikely to reach flowering strength.
If the plant is mature and healthy, review its seasonal rhythm. Tropical production relies on a drier period before flowering, but an indoor grower should make only a modest, monitored reduction in irrigation rather than forcing drought. Finally, consider access: if buds form at the top of an unreachable vine, you may miss the morning pollination window even though the plant is technically flowering. Re-loop the vine while it is young enough to handle safely.
Conclusion
Vanilla bean orchid care is a long practice in managing relationships: moisture with oxygen, humidity with airflow, growth with a reachable support, and flowering with daily attention. Start with a healthy nursery cutting, bright filtered light, warm conditions, an airy root zone, and a trellis that lets you inspect every node and blossom.
The first goal is a vigorous vine, not an immediate bean. Once it reaches maturity, pollinate open flowers in the morning, limit the pod load, record the dates, harvest at eight to nine months, and treat curing as controlled food processing. With that sequence, even a plant that never produces a pod can remain a rewarding tropical orchid, and a successful harvest has a far better chance of becoming safe, aromatic vanilla.