When to Replace Lawn Mower Blades
Learn when to replace lawn mower blades versus sharpen them. Spot turf damage, inspect safely, set a sharpening schedule, and balance blades for a cleaner cut.
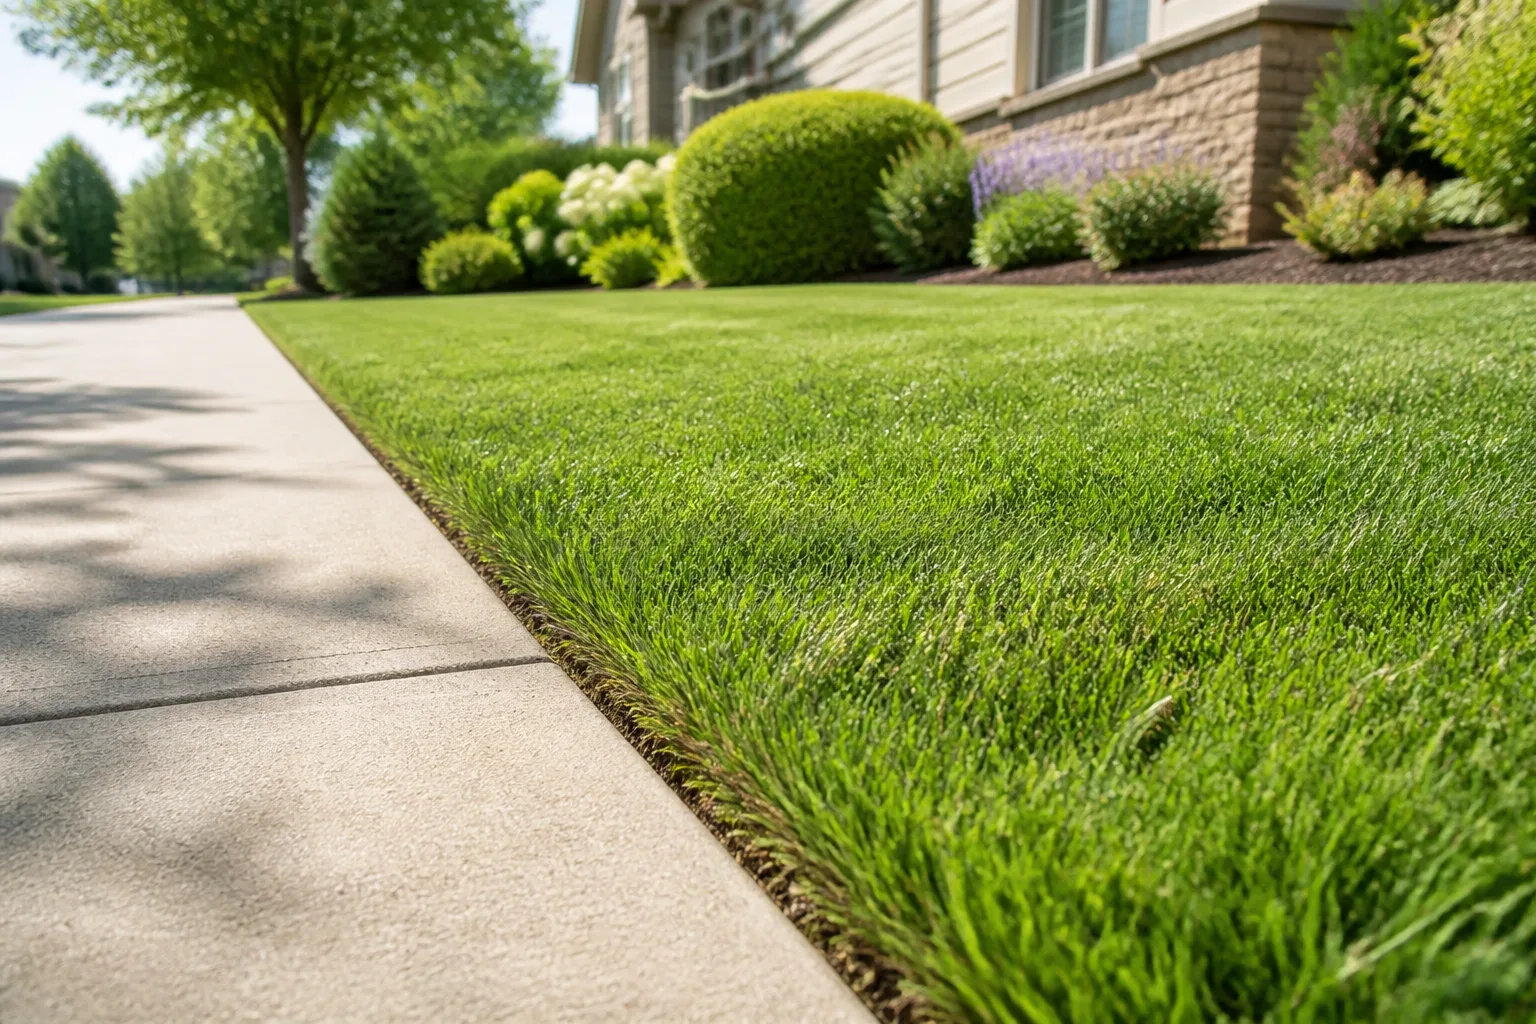
The neatest yards rarely come from a fancier mower. They come from a sharp, balanced blade that slices grass cleanly instead of bruising it. When the cutting edge rounds off, nicks up, or warps after hitting a hidden rock, the lawn shows it first—ragged tips, stripes of missed grass, and brown edges that look like drought stress even when you have been watering.
That single adjustment—maintaining the blade on a schedule and replacing it when metal is compromised—is what separates a crisp cut from a tired-looking lawn. Most homeowners do not need a new blade every season. They need a honest inspection, a sharpening routine measured in mowing hours, and the willingness to swap the blade when damage goes beyond what a file can fix.
Why Sharp Blades Matter More Than Most Homeowners Think
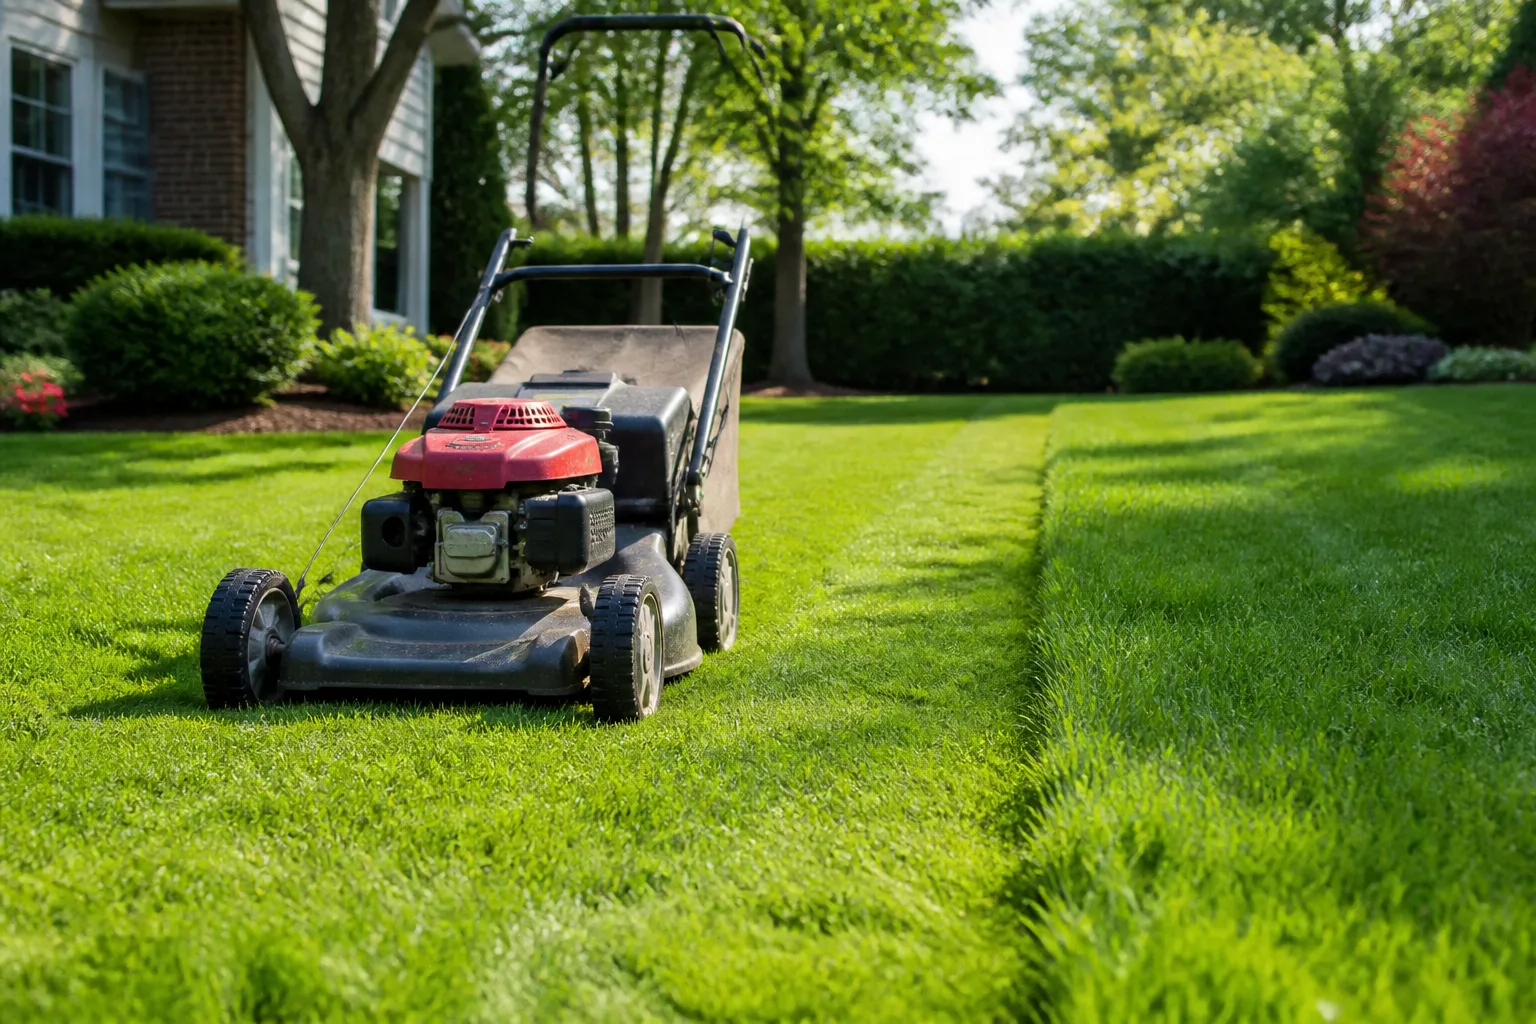
Mowing is not decorative trimming. Every pass is a wound on thousands of grass plants. A sharp blade makes a clean slice that seals quickly. A dull blade rips and shreds leaf tissue, leaving frayed edges that lose water faster and invite fungal problems during humid stretches.
Pennsylvania State University Extension is blunt about equipment care: all mowing equipment should be kept sharp and in proper adjustment (Penn State Extension). That guidance sounds basic, but it is the foundation of healthy turf—more important than chasing the perfect bagged fertilizer program while running a beat-up blade all summer.
What a dull blade does to grass
Look at individual grass blades a day or two after mowing. Healthy cuts show a straight, green tip. Dull-blade damage shows white or brown fraying at the ends, sometimes a torn “beard” of fibers instead of a single clean line.
Torn tips stress the plant because the open tissue dries out faster. Stressed turf is weaker turf—more vulnerable to heat, drought, and disease. If you are already fighting brown patches or wondering why the lawn still looks tired after watering, blade condition belongs on your short list before you assume the sprinkler system is the problem.
Dull blades also make it harder to follow good mowing habits. When you mow in August or any peak-growth month, you should remove no more than one-third of the leaf blade at a time, as University of Minnesota Extension and other turf programs recommend. A sharp mower respects that rule. A dull one often needs second passes, which removes extra leaf area and compounds stress.
How blade condition affects your mower
Grass is not the only victim. A dull or imbalanced blade increases drag under the deck. The engine works harder, self-propelled models feel sluggish, and battery mowers drain faster. Vibration from an out-of-balance blade can loosen deck hardware over time and wear spindle bearings on riding mowers faster than normal.
Think of the blade as the part of the system that converts engine power into a clean cut. When that interface is compromised, everything upstream works overtime for a worse result.
Sharpen vs Replace: The Quick Decision Framework
Use this sequence every time you suspect blade trouble:
- Read the lawn for tearing, uneven height, or extra passes.
- Shut the mower down safely and inspect the blade on the bench—not while it is on the deck.
- If the metal is straight, crack-free, and evenly thick, sharpen and balance.
- If the blade is bent, cracked, heavily thinned, or still cuts poorly after sharpening, replace it.
Most residential blades can be sharpened multiple times before the metal is too thin to be safe. Replacement is for damage you cannot grind out, not for every dull edge.
When sharpening is the right call
Sharpen when the cutting edge is rounded or lightly nicked but the blade body is sound. Minor stone chips along the edge are normal in real yards. If you can restore a clean bevel without removing huge amounts of metal, sharpening is the economical choice.
Sharpening is also the right move when:
- Grass tips look frayed but the blade has no bends or cracks
- The mower feels harder to push but the engine otherwise runs well
- You are on schedule—roughly every 25 to 30 hours of mowing for typical home use, per maintenance guidance from Gardening Know How and similar seasonal lawn-care references
- You hit a small hidden object once and the edge dinged without warping the blade
After sharpening, balance the blade. An uneven blade spins like a wobbly tire. Even a sharp edge will cut poorly if one side is heavier.
When replacement is non-negotiable
Replace the blade—do not try to straighten it on a grinder—when you see:
- Cracks anywhere in the steel
- Bends or warp that do not sit flat on a flat surface
- Deep nicks you cannot remove without grinding away half the blade width
- Uneven thickness or a “knife-edge” that has been sharpened so many times the metal is too thin
- Persistent poor cut quality after a proper sharpen and balance
Bent blades are a safety issue. Centrifugal force on a spinning deck is unforgiving. A weakened or warped blade can fail without warning.
Lawn Clues That Your Blade Needs Attention
You do not need to pull the blade every week. Turf and mower behavior tell you when to look closer.
Ragged tips, uneven cuts, and extra passes
Ragged or brown grass tips one to two days after mowing are the classic dull-blade signal. The damage is at the top of the leaf, not random patches in the canopy—though severe tearing can make the whole lawn look uniformly stressed.
Uneven height—tall strips beside scalped strips on the same pass—often means a dull edge is folding grass instead of cutting it, or an imbalanced blade is lifting one side of the deck. Check tire pressure too, but do not skip the blade.
Extra passes are a hidden cost. If you routinely mow the same area twice to “even it out,” you are removing more leaf tissue, spending more time, and stressing turf during heat. Pair blade maintenance with sensible mow-first edging workflow on dry days so you are not compensating for equipment problems with more traffic on the lawn.
Clumping or poor discharge on side-discharge mowers can also trace back to a dull edge that shreds clippings instead of slicing them cleanly—especially when the deck is already packed with dried grass from skipped clean-outs.
How Often to Sharpen Lawn Mower Blades
Calendar reminders help, but hours of use are more accurate because every yard is different.
Hour-based schedules for different yards
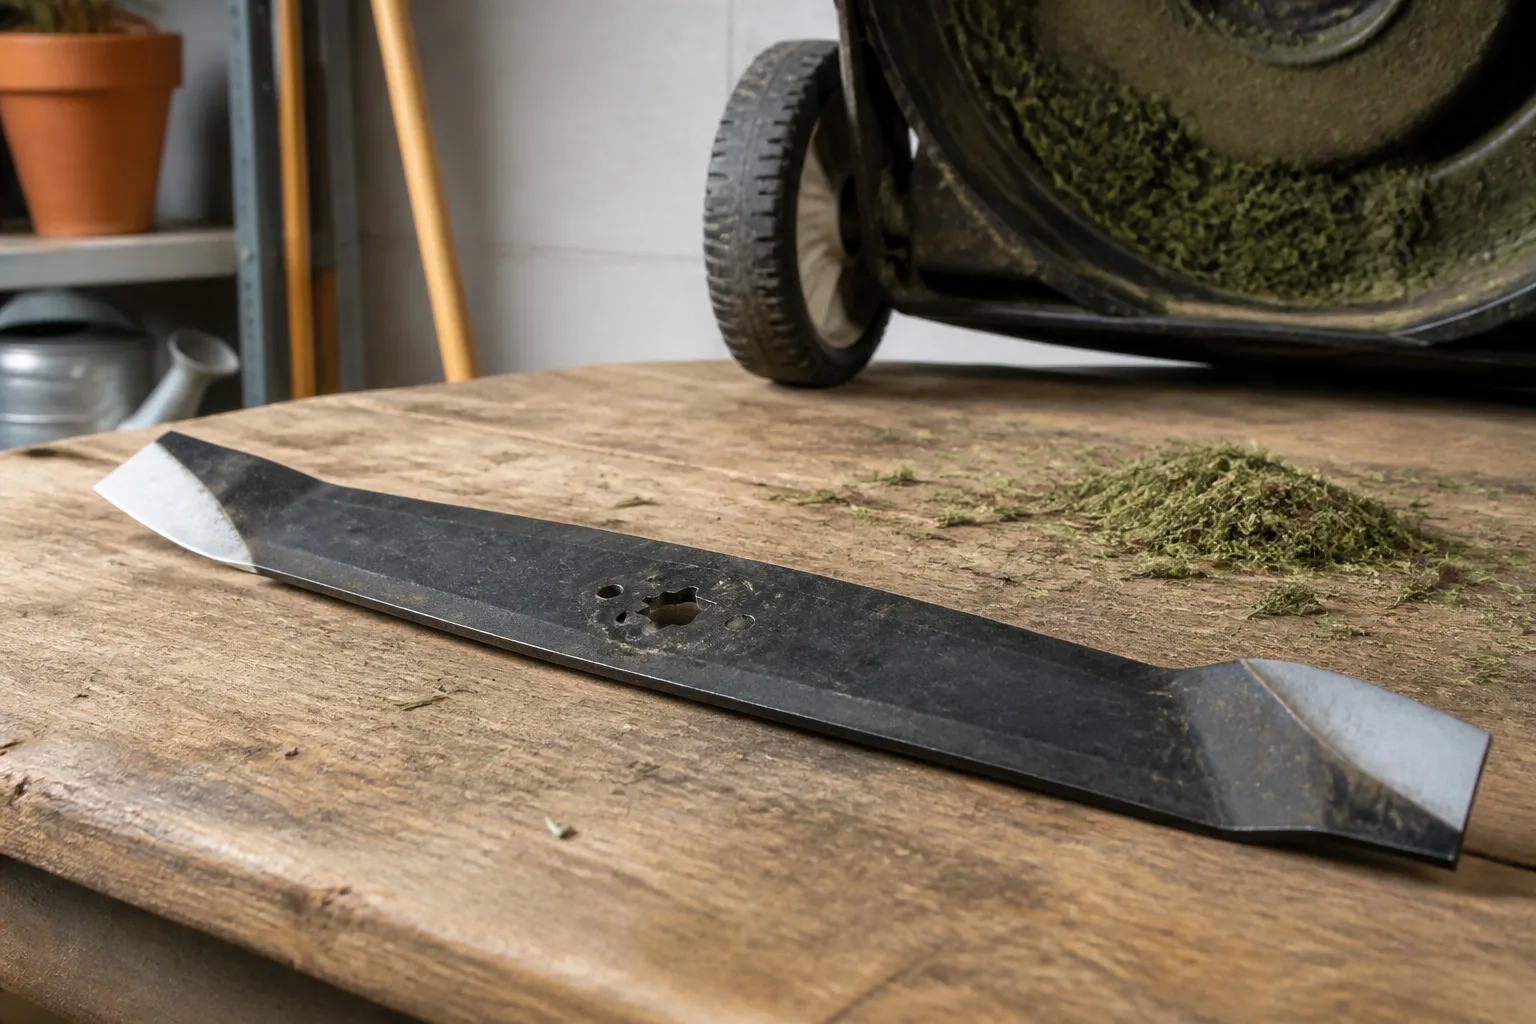
For a typical suburban lot mowed weekly through the growing season, plan to sharpen about twice per season—often early summer and again around midseason. Gardening Know How recommends sharpening every 25 to 30 hours of mowing and replacing damaged blades every one to two years, which matches what many equipment dealers see in the field.
Translate hours to your yard:
| Yard size (approx.) | Mowing time per cut | Hours to ~25–30 hr mark |
|---|---|---|
| Small urban lot | 20–30 minutes | About one full season of weekly cuts |
| Quarter-acre | 45–60 minutes | Midseason for weekly mowers |
| Half-acre+ | 60–90+ minutes | Possibly twice before peak summer ends |
If you mow twice a week during spring flush, hit the hour threshold faster. If drought slows growth and you skip weeks, the calendar stretches—but inspect the blade anyway before storing the mower.
August is a smart checkpoint for much of the country. Warm-season lawns are in heavy growth; cool-season lawns are gearing up for fall recovery. By late summer, spring sharpening is often spent. A midseason touch-up keeps cuts clean heading into fall and avoids scrambling for the correct replacement part when dealers stock seasonal items differently.
Log hours roughly: note the date when you sharpen, estimate total mowing time since, and add a reminder on your phone. Precision within an hour or two is enough for home use.
Inspect the Blade Safely Before You Decide
Never inspect or touch a blade with the mower capable of starting.
For gas mowers: disconnect the spark plug boot so the engine cannot fire if the blade turns. For electric or battery models: remove the safety key or battery pack. Wear heavy gloves—the edge may look dull but still cuts skin.
Tilt or lift the deck according to your manual. On many gas walk-behinds, tilting with the air filter and spark plug side up prevents oil from flooding the filter—a mistake that causes smoke and hard starts. When in doubt, use a mower lift or jack stands for a riding mower rather than guessing tilt direction.
Remove the blade bolt with a breaker bar if needed; many are tightened firmly at the factory. Note bolt orientation, washers, and blade direction—some decks use marked “grass side” or lift-wing orientation. Photograph the assembly before disassembly if this is your first time.
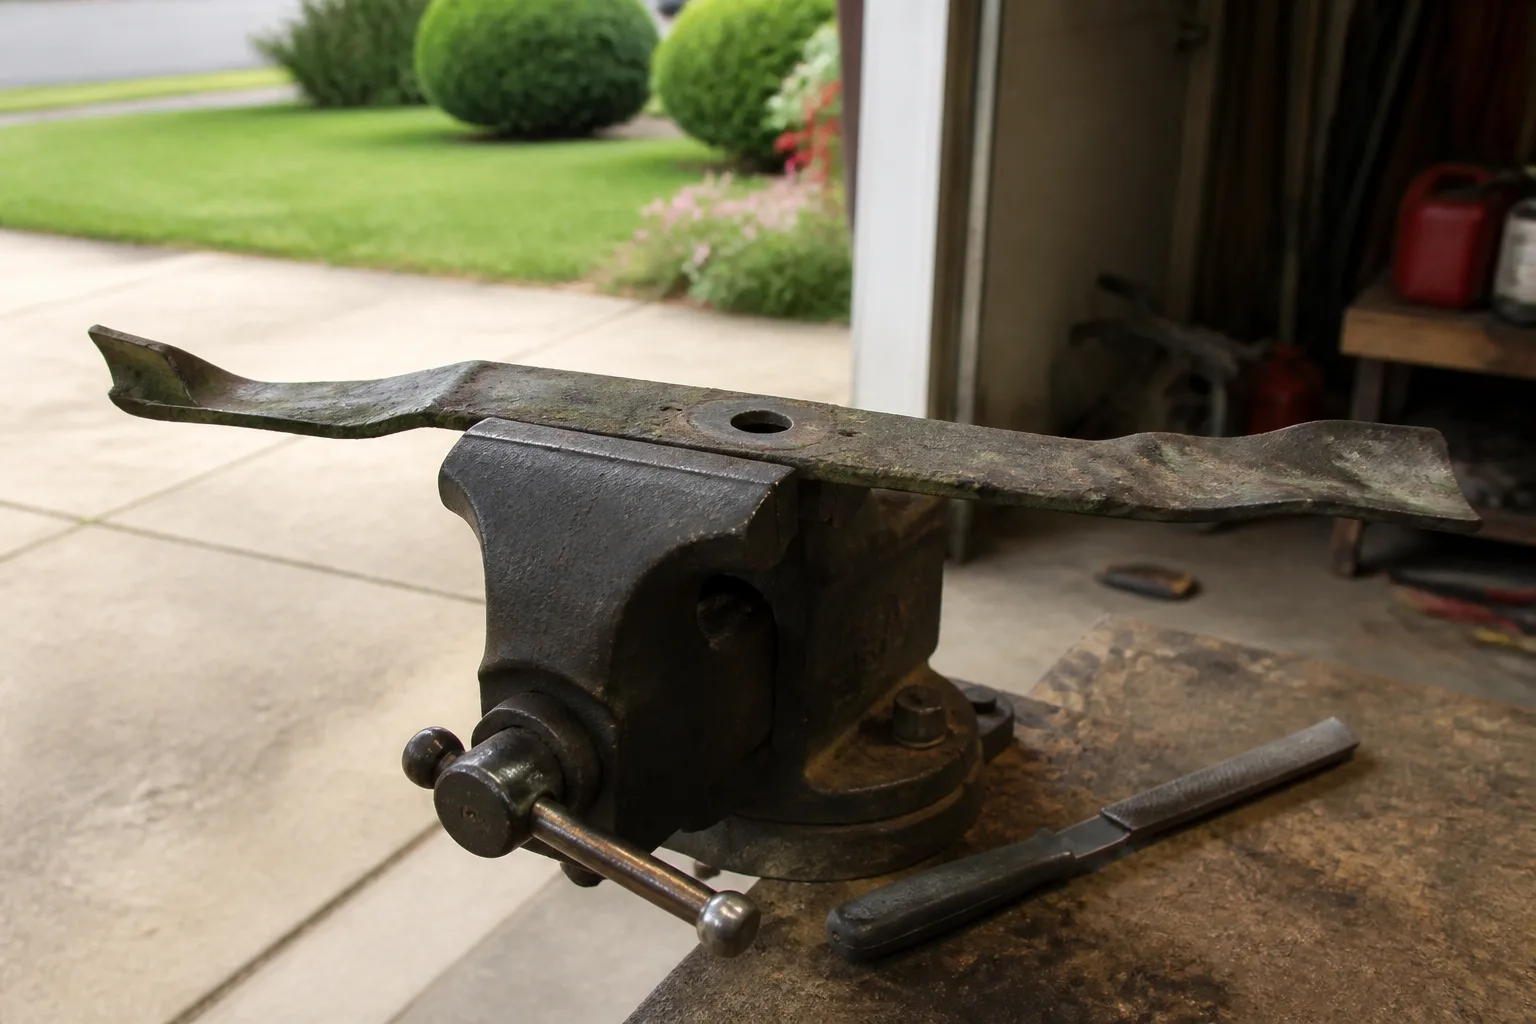
Clean caked grass from the blade and deck underside. Wet clippings accelerate rust and hide cracks. With the blade on a flat surface or in a vise, look along the edge for rounding, chips, and color changes that indicate thin metal.
Five Physical Signs You Should Replace the Blade
Visual inspection beats guessing from the lawn alone. Replace the blade when you find any of the following:
- Cracks or stress lines in the steel— even hairline cracks can propagate at operating speed.
- Bends or warp visible when the blade does not lie flat; do not attempt to hammer straight.
- Deep gouges from rocks or roots that remove a large chunk of the cutting edge.
- Uneven thickness along the blade length—often from repeated over-sharpening on one side.
- No improvement after sharpening and balancing—if the edge is true but the cut is still ragged, the blade may be too thin or the wrong type for your deck.
If you are unsure, compare against a new OEM blade of the same model. The difference in metal width and edge geometry is often obvious side by side.
How to Sharpen a Lawn Mower Blade at Home
You do not need a machine shop. You need a secure blade, the correct angle, and a balance check before reinstalling.
Remove, clean, sharpen, and balance
Remove and clean. After the blade is off, scrub dried grass and rust scale. Dry the metal so you can see the factory bevel clearly.
Sharpen at the factory angle. Match the existing bevel—usually around 30 to 45 degrees depending on manufacturer—using a metal file, handheld blade sharpener, or bench grinder. Work in one direction along the cutting edge; avoid random back-and-forth scrubbing that creates a wavy edge. Remove only enough metal to restore a clean line. The goal is sharp, not razor-thin.
Check both ends. Most walk-behind mowers use a single blade; some riding decks use two or three. Service every cutting edge on the deck, not just the one that looked worst.
Balance before reinstalling. Hang the blade on a nail through the center hole or use a cone balancer. If one side drops, remove a small amount of metal from the heavy end—often just a few strokes on the file—and test again. Running an unbalanced blade causes vibration and uneven cuts.
Reinstall to spec. Torque the bolt to manufacturer settings if listed in your manual. A loose blade is dangerous; an over-tightened bolt can be hard to remove next season.
If sharpening feels intimidating, many hardware stores and mower shops offer blade sharpening for a modest fee—often worth it for riding mowers with multiple blades.
Mulching Blades, High-Lift Blades, and OEM Matchups
Blades are not interchangeable decorations. Mulching blades use extra cutting surfaces to recirculate clippings; high-lift blades move clippings aggressively into a bagger chute; standard straight blades suit side discharge on many walk-behinds.
When replacing, match:
- Length and hole pattern (center hole diameter and any secondary holes)
- Blade type for your mowing mode—mulching, bagging, or discharge
- Rotation direction and lift wing orientation stamped on the metal
Universal “fits most mowers” blades can work, but OEM or manufacturer-specified replacements guarantee correct lift and airflow. Wrong geometry leaves clumps, overloads the engine, or recuts poorly even when the edge is sharp.
If you switch from standard to mulching blades, expect to adjust mowing speed and deck height slightly—mulching works best when you mow often enough that clippings are small.
Common Mistakes That Shorten Blade Life
Mowing over debris. Stones, sprinkler heads, and buried tree stakes destroy edges instantly. Walk the yard before you mow, especially after heavy rain softens soil and exposes rocks.
Skipping deck cleaning. A packed underside rusts blades faster and makes every cut feel dull. Scrape the deck after wet mowing sessions.
Sharpening bent metal. A bent blade will not track true in the deck. Replace it.
Over-sharpening. Chasing a razor edge removes too much steel and shortens blade life. Restore the factory bevel and stop.
Forgetting balance. This is the most skipped step after DIY sharpening—and the easiest way to get vibration and uneven stripes.
Assuming brown grass is always drought. If tips are frayed uniformly after mowing, fix the blade before you change irrigation. If the lawn is brown between mow lines with a different pattern, read why the lawn stays brown after watering for irrigation and disease checks.
Using the wrong blade type for bagging or mulching modes confuses airflow and mimics dull performance even on a sharp edge.
Conclusion
Knowing when to replace lawn mower blades comes down to two questions: Is the steel structurally sound, and does the lawn show clean cuts after a proper sharpen and balance? Sharpen on an hour-based schedule—roughly every 25 to 30 hours of mowing for typical home lawns—and inspect the blade midseason when growth is highest. Replace when you see cracks, bends, deep gouges, thin metal, or a cut that stays ragged after maintenance.
That one adjustment—a sharp, balanced blade on a clean deck—protects turf, reduces engine strain, and keeps the yard looking intentionally maintained instead of accidentally ragged. Pull the blade once, decide honestly, and your next mow will tell you whether you got it right within a single pass.