How to Propagate Chives: Seed and Division Methods
How to Propagate Chives: Seed and Division Methods
How to Propagate Chives: Seed and Division Methods
Quick answer
You can grow common chives (Allium schoenoprasum) from fresh seed or by dividing an established clump. Division is faster and preserves the traits of the parent plant; seed is useful when you want several new plants or have no mature clump to split. Divide in spring or mild early autumn, keeping several bulbs and roots in each section. To sow, use fresh seed in a shallow tray or directly in the garden after local frost risk has passed. NC State Extension lists both division and seed as propagation methods and recommends spring or fall division (NC State Extension).
Choose seed or division
Choose division when a mature clump is crowded and you want usable plants sooner. Each piece already has bulbs and roots, so it can resume growth after settling. Choose seed when starting a larger patch from scratch or when you want to avoid disturbing an established clump. Seedlings take longer to reach harvest size and their early growth needs steady moisture. Wisconsin Extension describes chives as easy to grow by seed or division and recommends dividing crowded plants every two to three years (Wisconsin Horticulture). If you want an exact cultivar or reliable parent form, use a division from that plant.
Know which chives you are propagating
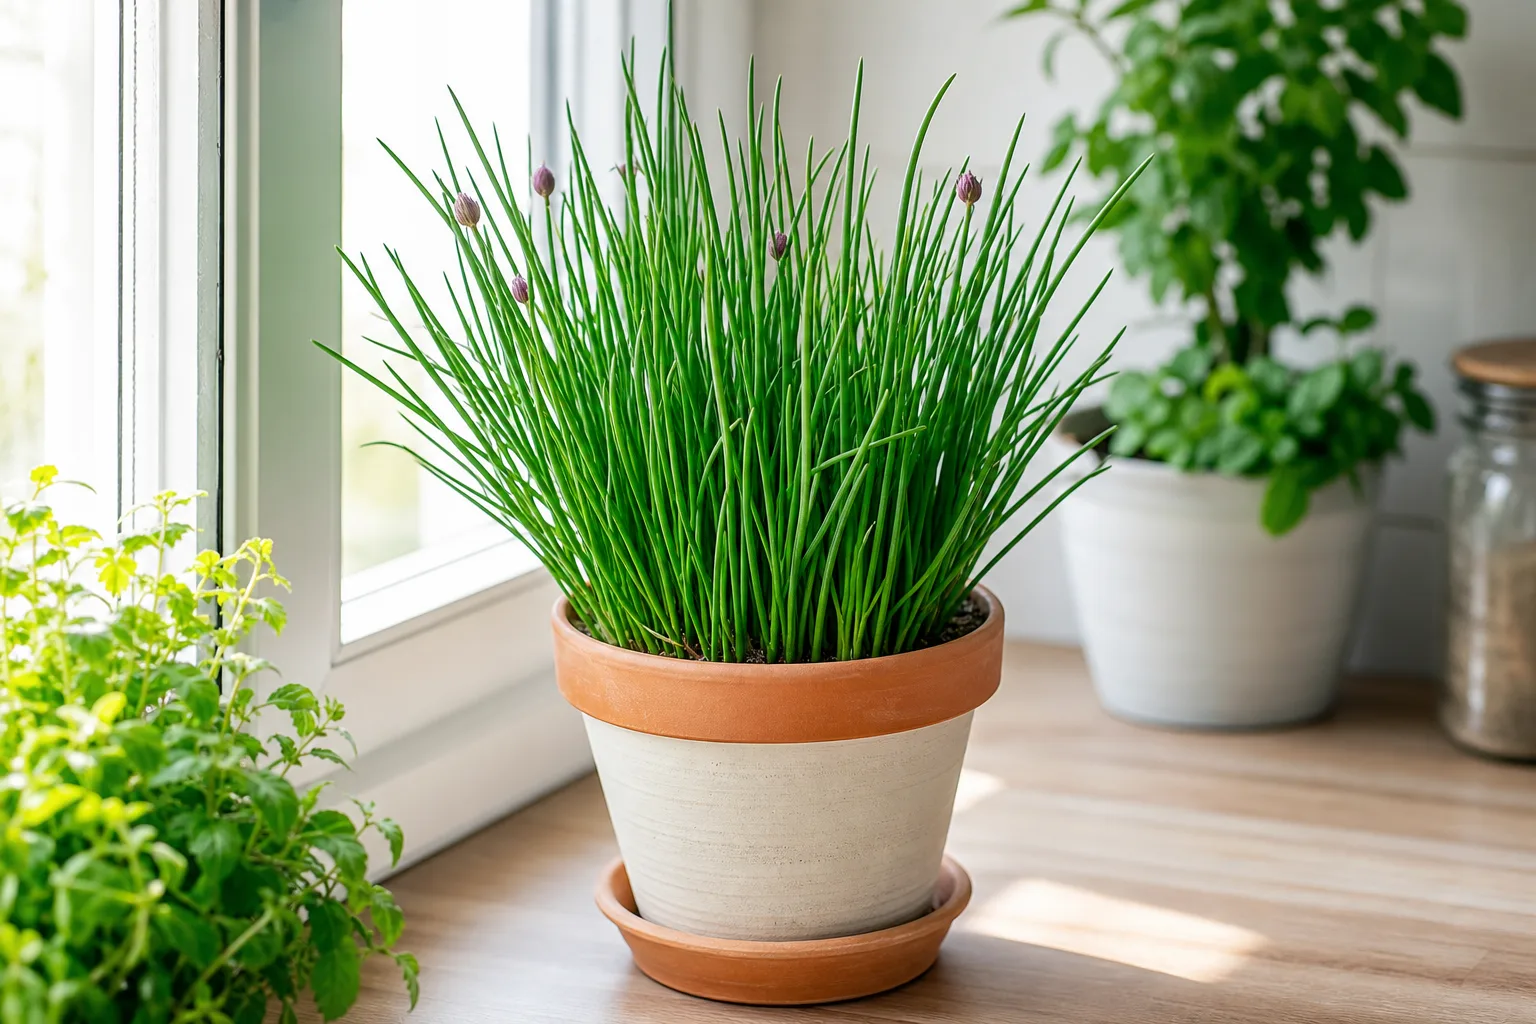
This guide covers common chives, with round hollow leaves and purple flower clusters. Garlic chives (Allium tuberosum) are a related but different species, recognized by flatter leaves and usually white flowers; their seed and division instructions can differ in detail. GrowVeg describes the contrast between the two and explains that common chives form a clump that can be divided (GrowVeg). Check the plant label and leaf shape before following advice for garlic chives. Both can be grown from seed, but do not mix them if you want a uniform harvest or flower display.
Propagate by dividing an established clump
Water the clump lightly the day before if the soil is dry, then lift it with a garden fork or trowel, keeping the tool outside the bulbs. Shake or brush away loose soil until you can see natural groups of bulbs. Pull or cut the clump into sections, each with several bulbs and healthy roots. Wisconsin Extension recommends divisions containing at least five bulblets, a useful minimum for a sturdy transplant. Remove dead central material and discard soft or damaged bulbs. Do not make many tiny pieces simply to increase the count; small divisions take longer to establish and may dry quickly.
Choose a good time to divide
Spring as new leaves appear is a reliable window because the plant is entering active growth. Early autumn can also work in climates with a mild fall, giving divisions time to settle before cold or heat extremes. NC State Extension names spring and fall as suitable seasons, while Utah State Extension recommends renovating chive beds every two to three years (Utah State University Extension). Avoid dividing during a heat wave, drought, frozen soil, or prolonged rain. If the clump is vigorous and not crowded, wait until it needs renewal rather than dividing on a fixed annual schedule.
Prepare divisions and planting spots
Before lifting the plant, water the bed if the soil is very dry, but wait until heavy soil is workable rather than sticky. Prepare new locations first so roots are not left exposed. Choose sun or light partial shade, and ensure the soil drains freely. For pots, prepare fresh potting mix and a container with an open drainage hole. The RHS recommends dividing established chives and growing them in the ground or containers (RHS). Keep divisions shaded and lightly covered while you work; do not leave roots drying in direct sun or wind.
Replant at the right depth
Set each division at the depth where it grew before, with bulbs covered and the base of the leaves near the soil surface. Spread roots downward rather than bending them upward in a shallow hole. Space separate garden clumps roughly 30–50 cm apart if you want room for mature clumps; tighter planting can create a continuous edging but needs more frequent division. Wisconsin Extension recommends spacing clumps 12 to 20 inches apart, while Utah State gives 4 to 6 inches for a productive bed, reflecting different planting purposes and systems. Press soil gently around the roots and water to settle it. For potting details, see the Chives repotting guide.
Start chives from seed indoors
Sow in a tray or small pots filled with seed-starting medium. The RHS recommends placing a few seeds in each module at about 0.5 to 1 cm deep and keeping the compost slightly moist (RHS). NC State suggests starting indoors eight to ten weeks before the last frost, while other sources use shorter lead times; follow local climate and expected transplant date rather than treating one calendar range as universal. Keep the tray bright and warm according to the seed packet, and avoid waterlogging. If sowing into individual cells, thin or separate seedlings only when they can be handled without tearing the root ball.
Sow chives directly outdoors
Direct sow after local frost risk has passed and the soil is workable. Utah State Extension recommends sowing seed about a quarter inch deep and later thinning plants to a few inches apart (Utah State University Extension). Harvest to Table likewise recommends sowing after frost and planting divisions in spring (Harvest to Table). Keep the seed row evenly moist until germination, but do not let the surface crust or wash seeds away with a forceful stream. Mark the row so you do not weed out the slow-growing seedlings. A small clump of seeds can also be sown in a pot, giving you a compact planting that can be moved to a brighter protected spot if weather is unsettled.
Care for seedlings as they emerge
Keep the seed-starting mix slightly moist while seedlings are small; water gently from below or with a fine spray so the roots stay covered. Once several seedlings emerge, give them bright light and good air movement. Thin crowded seedlings instead of pulling strongly on neighboring plants. If the surface stays wet or seedlings collapse at the base, reduce moisture and improve airflow. Do not feed young seedlings heavily; seed-starting mix and their initial growth stage do not call for a concentrated dose. BHG notes that chives can be grown from seed as well as division and that excessively wet or fertilized soil can contribute to seedling problems (BHG).
Pot up and transplant young plants
Move seedlings when they have several true leaves and enough roots to hold a small plug of mix together. Harden indoor-grown plants gradually by placing them outdoors in a sheltered, bright position for increasing periods over about a week. Transplant after local frost risk has passed, then water them in. For a windowsill herb pot, keep seedlings together in a small cluster but leave room for the clump to expand. Savvy Gardening describes growing chives from seeds in trays or dividing a mature pot-grown clump, so either method works for container culture (Savvy Gardening). Harvest lightly until plants are established and leaves have grown to a useful length. The Chives overview describes the normal growth habit and first harvest timing.
Water and feed new starts carefully
New divisions need regular checks while roots grow into the surrounding soil; seedlings need steady moisture until they are established. Keep both lightly moist but never saturated. Once a division resumes growth, let the surface begin to dry before watering again, particularly in a container. Established chives have low nutrient needs, so do not feed every new plant automatically. A small addition of compost is enough where the soil lacks organic matter. See the Chives watering guide for soil checks and the fertilizer guide before adding nutrients.
Troubleshoot slow germination or weak divisions
If seeds have not emerged, check the packet’s age, sowing depth, temperature, and moisture. Chive seed loses viability with age; GrowVeg notes that stored seed can germinate poorly after a couple of years. Keep the tray moist but aerated and allow time for uneven emergence before resowing. If a division wilts, check whether it was planted too deeply, dried out, or placed in harsh sun immediately after lifting. A soft, foul-smelling bulb suggests rot rather than ordinary transplant adjustment. Do not fertilize a weak transplant before checking the roots, drainage, and light.
Avoid common propagation mistakes
Do not divide a healthy small clump just to produce many pieces, bury bulbs deeply, or leave roots exposed while preparing the next planting spot. Avoid sowing seed thickly without thinning, then trying to separate it after the roots have intertwined. Do not keep seedlings saturated or put a fresh division directly into a hot, dry spot. Chives take time to fill in, and aggressive harvesting can delay a new plant’s establishment. If you need more plants quickly, use several healthy divisions; if you have time and want many starts, sow seed and keep the seedlings evenly moist.
When to use this page vs other Chives guides
Use this guide to start new plants from seed or division. If the clump is already filling a container, use the repotting guide; for post-planting moisture checks, use the watering guide. The soil guide covers mix and drainage, while the light guide helps choose the new location. Start at the Chives hub for general care.
Related Chives guides
After your new clump establishes, the pruning guide explains when to harvest and trim flower stalks. If the plant grows slowly after transplanting, compare light, water, and soil before feeding; use the fertilizer guide only when conditions suggest a nutrient need. Each guide focuses on one part of the same care routine.
Conclusion
Divide a mature chive clump for faster, predictable new plants, or sow fresh seed when you want several starts. Spring is the easiest season for either method, with early autumn division suitable in mild climates. Keep several bulbs and roots together, replant at the original depth, and maintain steady moisture while new growth begins. Once established, chives need ordinary light, drainage, and modest feeding rather than intensive aftercare.