Best Soil for Chives: Drainage, pH and Potting Mix
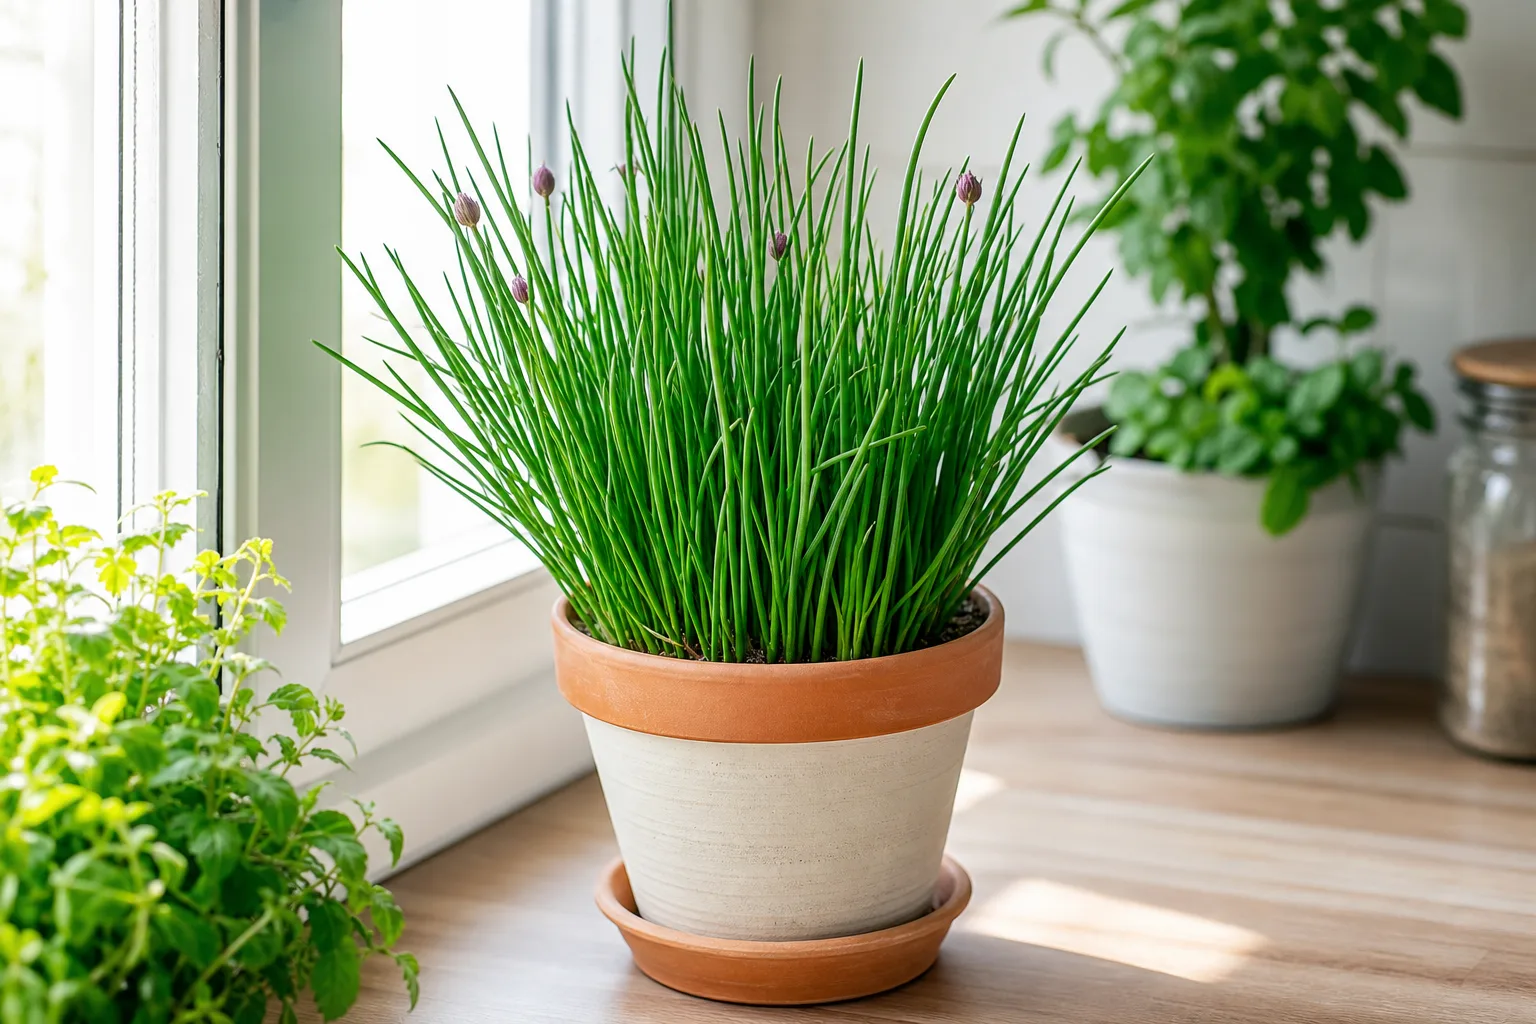
Best Soil for Chives: Drainage, pH and Potting Mix
Best Soil for Chives: Drainage, pH and Potting Mix
Quick answer
Grow chives in loose soil that stays lightly moist but drains freely. A moderately fertile garden bed with organic matter usually works; a pH around 6.0 to 7.0 is a useful reference, not a reason to amend a healthy bed without testing. In a pot, use a fresh, well-draining potting mix rather than dense garden soil, and choose a container with an open drainage hole. Utah State University Extension says chives can grow in different soil types when the soil is rich, moist, and well drained (Utah State University Extension). First check how quickly water drains before adding compost or changing the mix.
What the chive root zone needs
Common chives (Allium schoenoprasum) form clumps of small bulbs and shallow roots. The roots need access to moisture, but air must also return to the soil after watering. North Carolina State Extension recommends average, well-drained soil and notes that root rot can occur where drainage is poor (NC State Extension). That makes the balance more important than a particular premium soil recipe: avoid hard, compacted ground and avoid a rich mix that stays wet. When deciding whether to amend, assess texture, drainage, and the plant’s growth rather than assuming sparse leaves mean the soil needs more fertilizer.
Prioritize drainage over richness
Chives grow across a range of soils, but persistent saturation is a poor fit for their bulbs. Wisconsin Extension recommends organic-rich, well-drained ground and describes chives as tolerant of most soil types (Wisconsin Horticulture). If water stands on the surface or the bed remains muddy after ordinary rain, improve the planting location before increasing organic matter. A raised bed or a pot can help when the native soil drains slowly. The RHS likewise recommends free-draining soil for chives, including when they are grown in containers (RHS).
Aim for a workable soil texture
A loose loam is convenient because it holds some water without becoming airless, but chives do not need a single exact texture to survive. A sandy soil may dry faster and benefit from compost, while dense clay often needs a raised planting position or a broader soil improvement rather than a small handful of grit in the planting hole. Harvest to Table describes a sandy loam rich in organic matter as suitable and advises against wet soil (Harvest to Table). Use these descriptions as practical guidance, not a requirement to rebuild the whole garden around one herb.
Use pH as a guide, not a target to chase
Several horticulture references place suitable chive soil around pH 6.0 to 7.0. Better Homes & Gardens gives that range alongside its advice to use rich, well-drained soil (BHG); Gardeners’ Path also describes chives as suited to organic, well-drained soil in this slightly acidic to neutral range (Gardeners’ Path). If a clump is growing well, there is usually no reason to add lime or sulfur simply to move a number. Test first if growth is poor and the garden soil is unusually acidic or alkaline, and follow the test recommendation for the whole bed rather than guessing.
Improve a garden bed before planting
Loosen compacted soil across the intended area rather than making a narrow pocket that holds water like a bowl. If the bed is low in organic matter, mix in mature compost before planting and level the surface so water can soak in evenly. Leave the top of each division at the same depth it was growing before; burying the crown deeper than necessary can keep it too wet. After planting, water to settle the soil and watch the bed after rain. If puddles linger, prioritize drainage and bed height over adding more compost. The Chives propagation guide covers planting a division at the right depth.
Handle heavy or clay soil
A heavy soil is not automatically unusable, but it should not stay saturated around the bulbs. Start by checking whether the problem is a low spot, compaction, or a high water table. A raised bed, broad organic improvement, or a container may be a better fix than mixing a small amount of sand into clay, which can make the soil denser. Do not dig or cultivate saturated ground; working it wet can damage its structure. NC State Extension identifies poorly drained soil as a potential root-rot condition for chives, so relocating the clump can be safer than repeatedly treating a wet bed as a watering problem.
Choose a container mix
For a pot, use a commercial multipurpose potting mix with a loose structure and good drainage. A little mature compost can add organic matter if the mix is very lean, but avoid making the blend dense or overly rich. Savvy Gardening recommends a well-draining potting medium for chives and cautions against regular garden soil in containers because it can be too heavy (Savvy Gardening). If a mix collapses or packs down after a season, refresh it when dividing or repotting the clump rather than repeatedly topping it with new material.
Check pot drainage and depth
Choose a pot with at least one unobstructed drainage hole. Decorative cachepots are fine if the growing pot can drain and the outer container is emptied after watering. A container should have enough room for the clump to expand, but an oversized pot filled with wet mix can stay damp longer than the roots can use it. A small pot also dries rapidly and may need frequent watering. Savvy Gardening identifies drainage as the first pot-selection priority for chives; keep the container stable and check the bottom opening periodically for roots, blocked debris, or pooled runoff. The Chives repotting guide explains when to move a crowded clump.
Add compost only when it helps
Compost is useful when the bed or potting mix lacks organic matter, but chives do not need a heavy nutrient-rich soil. A thin addition of mature compost in spring can refresh the surface around an established clump. Keep it away from the crown and do not bury the bulbs under a thick layer. Gardeners’ Path recommends incorporating compost when planting chives, while Wisconsin Extension notes that the plant has low nutrient requirements. Those statements are compatible: improve a poor soil structure or replenish a lean bed, but do not treat compost as a mandatory monthly feed. See the Chives fertilizer guide for feeding decisions.
Keep shallow roots undisturbed
Chives are shallow rooted, so avoid deep hoeing or digging close to the clump when removing weeds. Pull small weeds by hand while they are young, or use a thin surface mulch to suppress them without covering the crown. Wisconsin Extension cautions gardeners to take care when cultivating around chives because the roots are close to the surface (Wisconsin Horticulture). If the soil crusts, loosen only the surface between clumps and do not cut through the bulbs. A layer of compost can improve a bed over time, but repeated deep cultivation can undo that progress and disturb the roots.
Refresh soil around an established clump
Established garden chives do not need to be dug up just because the surface looks tired. Remove dead leaves, add a modest layer of compost if the soil needs it, and keep the crown visible. If the centre has become crowded or weak, dividing the clump lets you renew the soil and replant healthy sections. A pot that is full of roots can be moved to fresh mix at division time. Do not add more soil on top until the bulbs disappear; raising the soil line can leave the crown too deep. The repotting guide explains root-bound signs and the timing for division.
Diagnose soil-related problems
If chives decline, check whether the soil is dry, compacted, saturated, or simply crowded before changing its composition. A wet, sour-smelling pot calls for better drainage and a pause in watering; dry soil may need a more frequent check or a mulch layer outdoors. Weak growth can also reflect low light, seasonal dormancy, or an old clump, not only soil. Utah State Extension notes that chives can survive drought stress but growth and productivity may decrease. Use the watering guide for moisture checks and the light guide if the spot is shaded.
Avoid common soil mistakes
Do not use garden soil as the only medium in a small pot, bury the crown under thick compost, or add a pH amendment without knowing the soil reaction. Do not attempt to fix waterlogging by increasing watering frequency or by adding a little sand into one planting hole. For beds, think about water movement across the whole area; for pots, ensure the drain hole stays open and the mix remains loose. A soil that drains but dries too quickly may need more organic matter or a larger container, while persistently wet soil needs a different structure or location.
When to use this page vs other Chives guides
Use this guide to choose or improve the root-zone medium. The watering guide helps distinguish dry soil from waterlogging, and the light guide covers low growth caused by shade. Read the fertilizer guide before feeding, and the repotting guide when container roots have filled the pot. Start with the Chives overview for the complete care routine.
Related Chives guides
For planting fresh divisions in soil, use the propagation guide. For the seasonal cut and removal of old growth, see the pruning guide. These pages help you change one part of care at a time, so soil, watering, and feeding do not get confused with one another.
Conclusion
Chives need a root zone that retains some moisture yet drains freely. Use moderately fertile garden soil, add compost only where it helps, and treat pH 6.0 to 7.0 as a useful range rather than a universal target. In pots, choose a loose potting mix and a container with a working drainage hole. If growth is weak, check the soil’s moisture and structure before adding fertilizer or repeatedly disturbing the clump.