Anthurium Veitchii Care: Light, Water, Soil & Humidity
Learn Anthurium veitchii care with a practical plan for bright light, airy mix, balanced watering, warmth, humidity, repotting, propagation, and leaf problems.
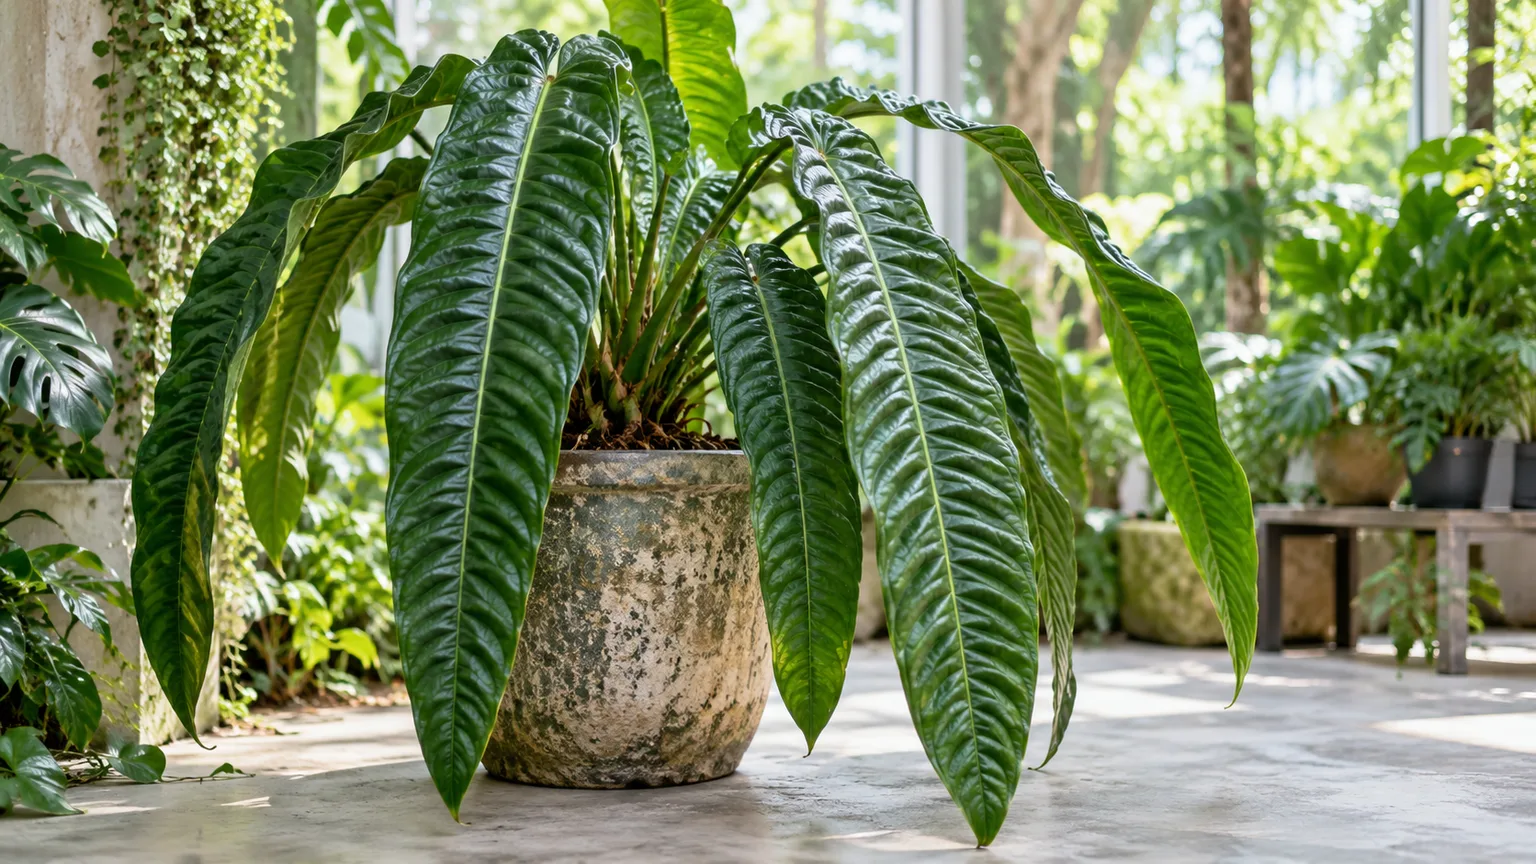
Anthurium veitchii, often called King Anthurium, is grown for its long, pleated leaves rather than for showy flowers. A mature leaf can approach four feet in favorable conditions, but that size is a possibility, not a promise for a living room plant. Light, root aeration, warmth, and a steady supply of moisture matter more than a strict weekly routine.
The simplest starting setup is bright filtered light, an open potting mix that drains freely, and a pot with a drainage hole. Water thoroughly when the mix has partly dried, then let the pot drain; keep the plant warm and watch new leaves for clues about whether the spot is working. This guide combines species notes with practical anthurium care guidance, while flagging where recommendations apply to the genus broadly rather than to A. veitchii alone.
What makes Anthurium veitchii different?
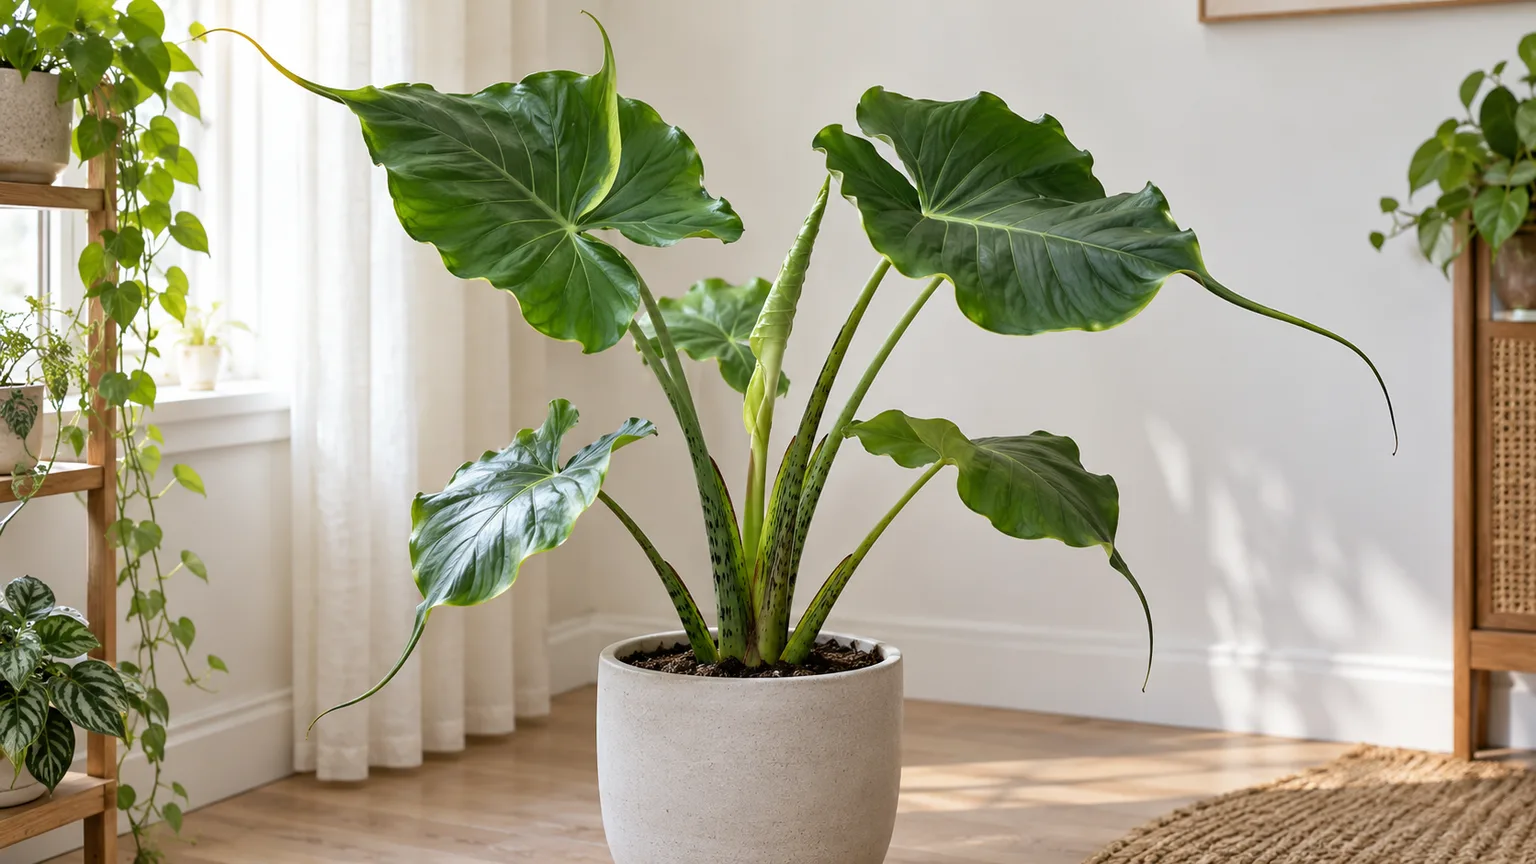
The King Anthurium is a tropical member of the Araceae, or aroid, family. Its distinguishing feature is its foliage: long, straplike blades with deep, regular corrugations that run across the leaf. Those ribs give the leaves their sculptural look and make them heavier and more awkward to handle than the smooth, heart-shaped leaves of common florist anthuriums.
NC State Extension lists A. veitchii leaves up to four feet long and describes narrow and wide forms; the narrow form has more closely spaced ribs, while the wide form has broader leaves and fewer ribs (NC State Extension Plant Toolbox). These forms are not different care categories. Treat a nursery label as a useful starting point, then judge the plant you actually have by its leaf width, root mass, and growth response.
The species is a foliage plant first. It may produce a modest spathe and spadix, but indoor growers generally keep it for the leaves, not a steady stream of colorful blooms. It also is not a vining plant that needs a moss pole; provide room for the plant to widen and for its long leaves to hang without hitting a wall or floor.
Set up an indoor growing spot before repotting
A new plant usually benefits from a stable place before it benefits from a new pot. Choose a warm room with a bright window nearby, but keep the leaves away from hard afternoon sun, cold glass, heating vents, and frequently opened exterior doors. A table or sturdy plant stand gives long leaves room to drape and keeps the crown above drafts and splash zones.
Keep the original nursery pot for a few days while you observe how quickly it dries and whether the plant is actively pushing a new leaf. Repot immediately only if the medium smells sour, stays saturated, has no drainage, or the plant is packed in a collapsing plug. An otherwise healthy plant can acclimate first; changing light, humidity, watering, and potting mix at the same time makes it harder to tell which adjustment caused stress.
In warm, humid climates, A. veitchii can be grown outside in bright shade, protected from wind and heavy rain. Use a pot you can move indoors when nights become cool. Broad hardiness-zone labels are not a guarantee for a particular patio: a sheltered courtyard, a windy balcony, and an exposed garden bed can experience very different temperatures.
Give bright, indirect light without scorching leaves
Place King Anthurium near a bright east-facing window or behind a sheer curtain at a south- or west-facing window. The RHS recommends bright, indirect light for anthuriums, and Better Homes & Gardens similarly advises protecting the foliage from direct sun (RHS anthurium growing guide; Better Homes & Gardens). Light through a window is not automatically indirect: a beam that lands on the leaves for hours can still scorch them.
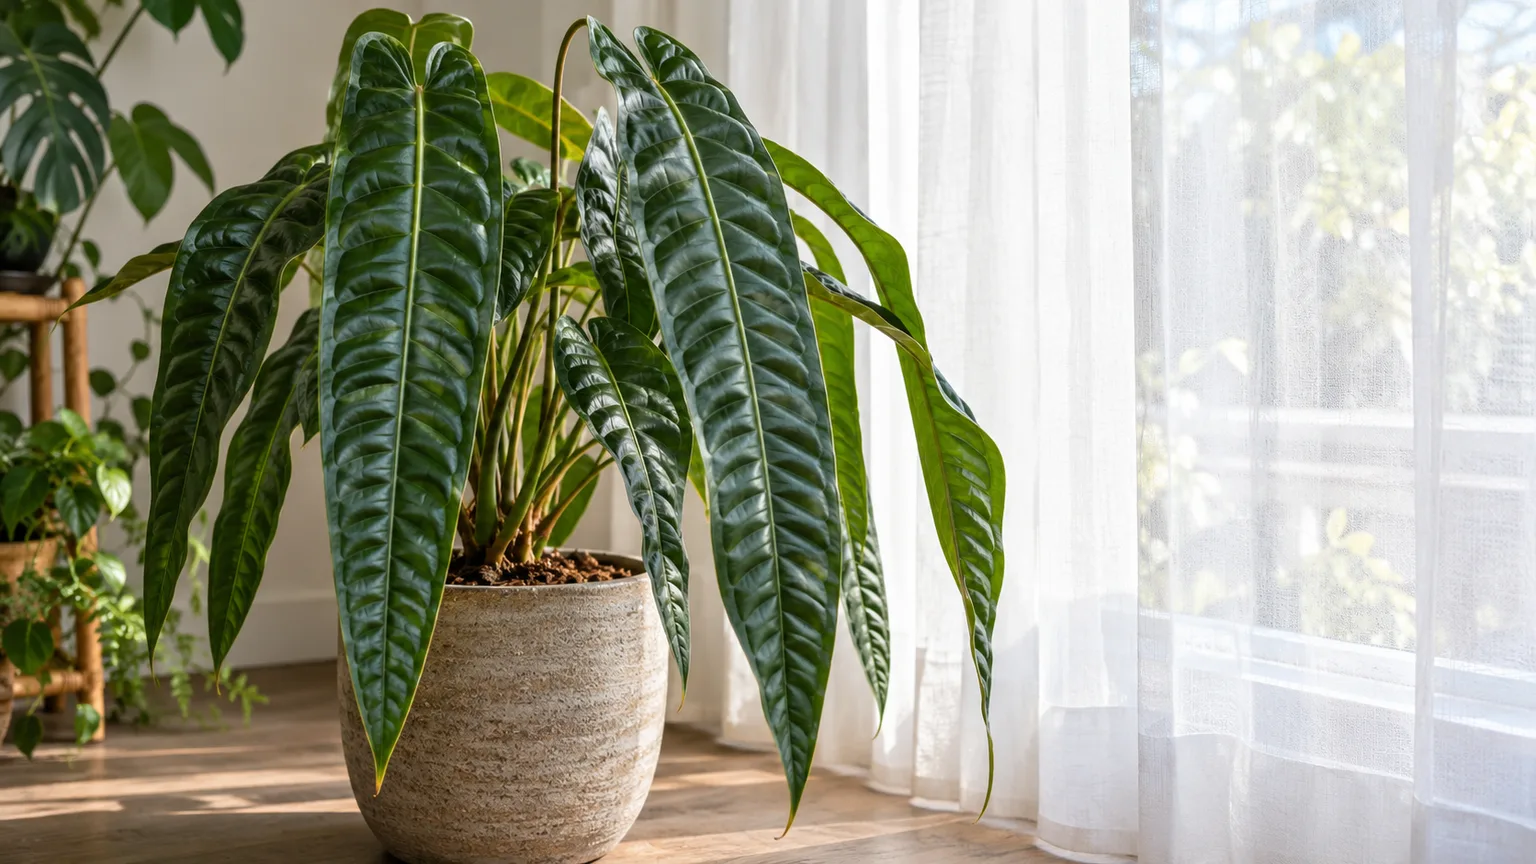
Acclimate a plant gradually after bringing it home or moving it from a dim corner. Start a few feet from a bright window, then move it closer over a week or two while watching the foliage. Pale, papery patches on the window-facing side point to too much direct sun or a sudden exposure change; stretched petioles and stalled growth suggest the spot may be too dim.
A simple check helps when you are unsure: read a book comfortably at the plant’s position during daytime without turning on a lamp. If the room is consistently gloomy, move the plant closer to the window or add a grow light on a timer. A longer photoperiod cannot make up for a lamp that is too weak or placed too far away.
Use an airy mix and pot with drainage
Anthurium roots need moisture, but they also need air. A dense, fine mix can stay wet in the center after the surface looks dry, especially in a cool room or an oversized pot. A useful starting blend is two parts peat-free acidic potting base or coir, one part medium orchid bark, and one part perlite or pumice. The RHS gives a similar anthurium mix using two parts peat-free ericaceous compost, one part perlite, and one part bark; choose ingredients that are clean, coarse enough to leave air spaces, and easy to source locally.
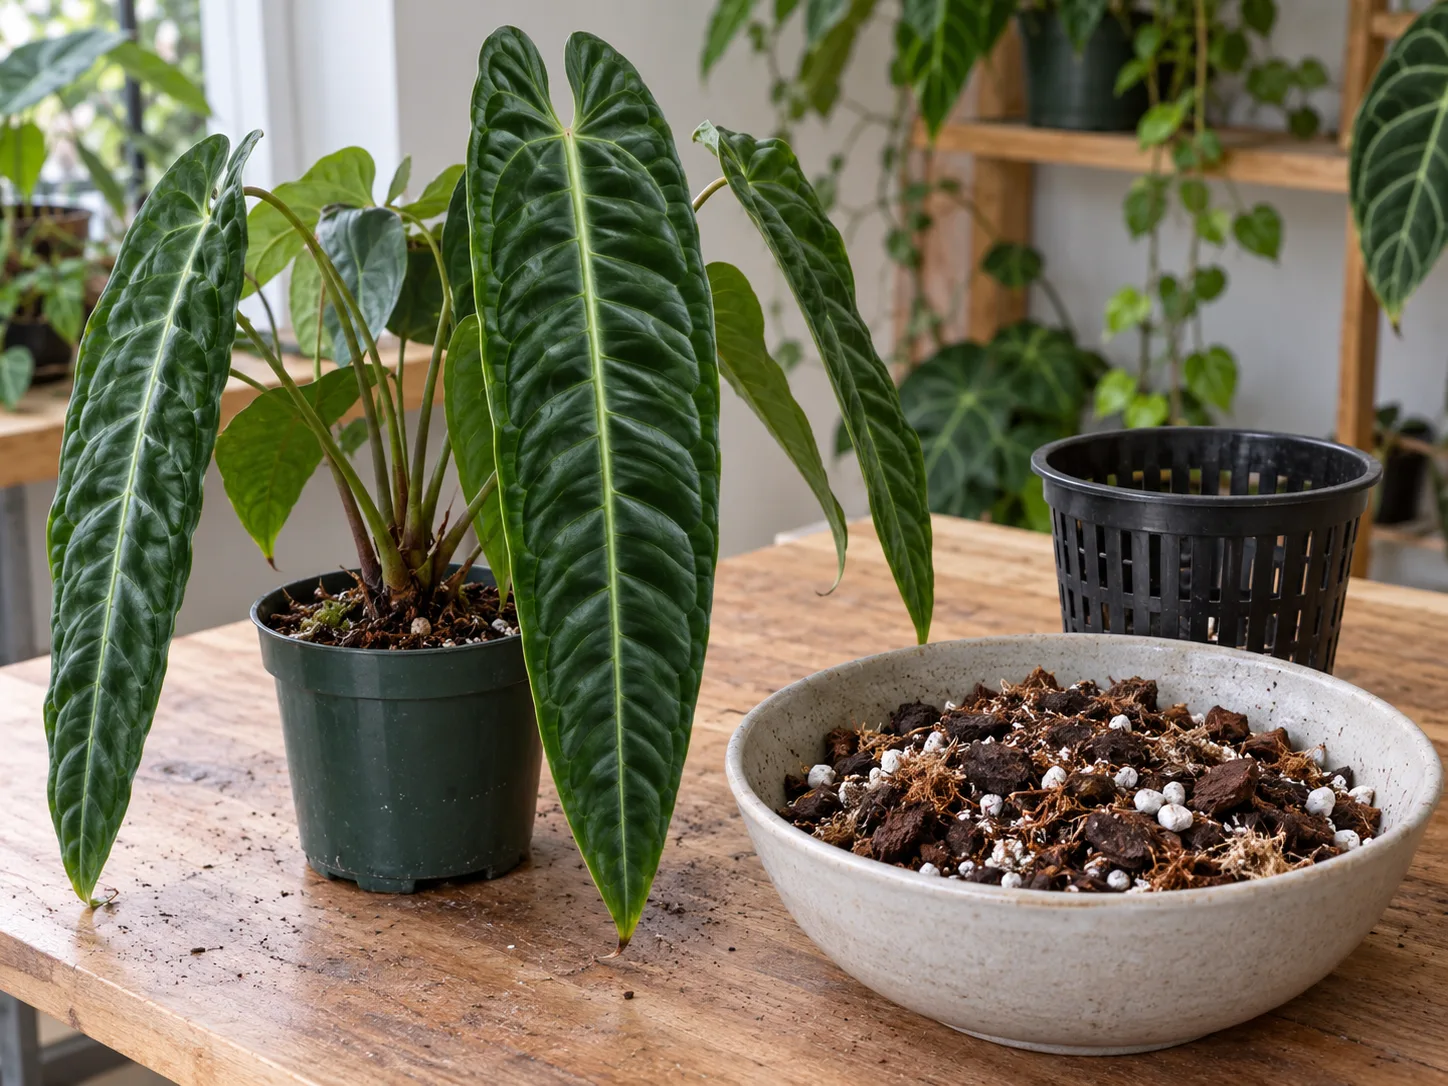
| Ingredient | Starting amount | What it contributes |
|---|---|---|
| Peat-free acidic potting base or coir | 2 parts | Holds some moisture and anchors the roots |
| Medium orchid bark | 1 part | Creates larger air spaces and slows compaction |
| Perlite or pumice | 1 part | Keeps the mix open as it settles |
The ratio is a starting point, not a recipe that fits every room. If your home is cool or you tend to water often, use a little more bark and less fine base; if the mix dries completely in a day under warm, bright conditions, use a little more moisture-holding base. Do not pack sphagnum tightly around the roots or add a layer of gravel at the bottom of a pot: both can leave the root zone wetter than expected.
Choose a pot with open drainage holes and only a small step up from the current root ball. A pot that is much wider than the roots holds a large volume of unused mix, which can stay wet and deprive roots of oxygen. Plastic retains moisture longer than unglazed terracotta, so match the pot material to how quickly your mix dries rather than to appearance alone.
Water when the root zone is partly dry
Watering is a check, not a date on the calendar. The RHS suggests watering anthuriums as the compost approaches dryness, checking below the surface; it also advises watering less in winter than during active growth. For a veitchii in a chunky mix, let the upper inch or two begin to dry while the lower mix remains lightly moist, then water the whole root ball thoroughly.
Use three signals together:
- Feel the mix a finger-depth below the surface, not just the dry bark chips on top.
- Lift the pot before and after watering so you learn what it feels like when heavy versus nearly dry.
- Water until excess runs through the drainage holes, then empty the saucer or cache pot.
Do not leave the roots bone-dry for long periods, but do not keep them constantly saturated to imitate rainforest humidity. A coarse mix can look dry at the surface while the center is damp; a small pot in warm air may dry much faster than a large one in low light. Recheck more often during warm, bright growth and less often when days are short, the room is cool, or the plant has stopped making leaves.
If tap water leaves a white crust on the pot or mix, try rainwater or filtered water. The RHS recommends rainwater or filtered water for anthuriums, especially in hard-water areas where alkaline water can affect acidic compost. Water temperature should be close to room temperature, and water should go onto the mix rather than into the crown.
Balance warmth, humidity, and airflow
Keep the plant in a warm, steady room. RHS guidance gives a broad anthurium range of 18–30°C (65–86°F), while Better Homes & Gardens recommends typical indoor warmth and protection from drafts (RHS; Better Homes & Gardens). For a valuable King Anthurium, avoid cold windowsills in winter and do not let the temperature swing sharply when a door opens or an air conditioner cycles.
Humidity affects how quickly a large leaf loses water, but the answer is not to trap the plant in a sealed, stagnant box. If the air in your home is dry, a small room humidifier is more consistent than misting; measure humidity near the foliage rather than assuming a bathroom or pebble tray is humid enough. Grouping plants can soften the immediate microclimate, but leave space between leaves so they dry and air can move.
A closed cabinet can help a young plant acclimate, but it needs ventilation and gradual adjustment when opened. Persistent condensation, wet leaves overnight, and warm still air create conditions in which spotting and rot are harder to manage. Aim for stable warmth and moderate-to-high humidity with gentle circulation, not a sealed environment that stays dripping wet.
Feed lightly during active growth
Feed when the plant is producing leaves and has enough light to use the nutrients. A balanced liquid houseplant fertilizer diluted to one-quarter or one-half the label strength every four to six weeks during active growth is a cautious starting point. If a new leaf is forming normally and the mix is fresh, there is no need to increase feeding just because the plant is not producing a larger leaf immediately.
Apply fertilizer to already moist mix, never to a dry root ball. Pause or reduce feeding when growth slows in winter, after repotting, or while roots are recovering from overwatering. A white crust on the mix, browned margins after feeding, or fertilizer residue on the pot are reasons to flush the medium with plain water and hold fertilizer for a while.
Do not use a bloom booster to force flowers on a plant grown mainly for foliage. More fertilizer will not fix dim light, cold roots, or a mix that stays soggy; it can add salts and worsen root stress. Start with a complete formula and let healthy new leaves, not fertilizer marketing, guide whether the routine is working.
Repot only when the root zone needs it
Repot when roots densely circle the pot, push through several drainage holes, or the mix has broken down and no longer wets and drains evenly. A plant that dries quickly could be rootbound, but it could also be in a warm room, a small nursery pot, or an airy bark-heavy mix. Slide it out far enough to see the root ball before deciding.
Repot during active growth when possible. Choose a pot only one size larger, preserve healthy roots, and set the crown at the same height it was growing before. Remove loose, decomposed mix, trim roots that are clearly mushy or hollow with clean shears, and refill with a fresh open mix. Water once to settle the substrate, allow complete drainage, and wait for signs of resumed growth before feeding again.
Avoid washing every root bare or dividing the plant during a routine repot. Both add stress without solving a problem if the old medium is still structurally sound. If the root ball smells sour or many roots are soft, remove failing mix and inspect more carefully; if it is firm and odorless, disturb it as little as practical.
Clean and prune without damaging the leaves
King Anthurium leaves are large but can crease or tear where their deep ribs fold. Support a leaf with one hand underneath while you move the pot, wipe it with a soft damp cloth, or guide it around a shelf. Do not pull a leaf flat or bend its tip to fit a space; a split leaf will not knit back together.
Routine pruning is limited to old, fully yellow or badly damaged leaves. Use clean, sharp shears and cut the petiole close to its base without cutting into the crown or nearby roots. A browned tip can be trimmed for appearance, but leave a thin brown edge rather than cutting into green tissue; the remaining green area still contributes to the plant.
Dust reduces the leaf’s ability to use available light. Wipe the upper and lower surfaces gently with plain water, and dry standing water from the crown if it collects there. Skip oily leaf-shine products, which can leave a coating and make it harder to inspect the plant for pests.
Propagate from a rooted division or viable seed
The safest home method is division, but only when a mature plant has more than one growth point and roots that can support each section. A single leaf or petiole is not a complete plant. Before cutting, look for a crown or stem section with its own growing point, healthy roots, and at least one viable leaf.
The RHS lists division, stem or rhizome cuttings, and seed among anthurium propagation methods; its guide also describes keeping cuttings warm in a humid propagation setup (RHS). That genus-level advice does not make every cutting equally likely to root, so do not divide a small or recently stressed King Anthurium just to make a second plant.
Division is the reliable home method
Water the plant the day before dividing so the roots are pliable, then ease the root ball from its pot. Find a natural separation between growth points and gently loosen the roots with your fingers. If they are tightly fused, use a sterilized blade to make one clean cut; make sure each division keeps both roots and a growing point.
Pot each division in a snug container with the crown at its original level. Use fresh airy mix, water it through, and let it drain. Keep the new plant warm in bright indirect light and avoid fertilizer until you see fresh growth. Some temporary leaf droop is possible, but repeated watering to fix transplant stress can turn a manageable adjustment into root rot.
Seed growing takes patience and good seed
Growing from seed is a longer project than dividing an established plant. It requires pollinated flowers and viable, fresh seed, plus warmth, humidity, and clean medium; seedlings may not match the parent form exactly. If you buy seed, ask when it was collected and how it was stored, because a packet of old or dried seed may not germinate reliably.
Sow seeds on the surface of a moist, airy propagation medium rather than burying them deeply. Cover the tray to retain humidity but vent it regularly, keep it warm and out of direct sun, and transplant seedlings only after they have several leaves and roots that hold the medium together. For most indoor growers, a healthy rooted division or a reputable young plant is more predictable than starting King Anthurium from seed.
Diagnose leaf damage by checking the whole plant
One marked leaf does not identify one cause. Look at whether the problem is on an old leaf or new growth, whether it affects one side or the whole plant, and how wet the mix is several days after watering. Check the underside of leaves, the crown, petiole bases, and roots before changing several care variables at once.
A quick pattern check can guide the next step:
| What you see | Check first | First adjustment |
|---|---|---|
| One older lower leaf yellows | Is new growth still firm and normal? | Remove only the fully spent leaf and keep observing |
| Several leaves yellow while the pot stays heavy | Is the mix sour or are roots soft? | Pause watering and inspect the root zone |
| Pale or tan patches on the window side | Does direct sun hit that surface? | Filter the light and acclimate gradually |
| Brown tips on several leaves | Is the room dry, mix inconsistent, or water mineral-heavy? | Check humidity, pot dry-down, and water source one at a time |
Yellowing and drooping
A single old leaf that slowly yellows while the rest of the plant remains firm may be ordinary aging. Widespread yellowing is more concerning when the pot stays wet, growth is stalled, the crown feels soft, or the mix smells sour. In that case, stop watering on a schedule and check the roots: healthy roots should be firm, while rotted roots feel soft and may shed their outer layer.
If the mix is saturated and roots are damaged, remove only the soft sections and repot into fresh, airy medium in a clean pot with drainage. Do not immediately move the plant to a much brighter window or fertilize to “restart” it; warm stability and a measured watering pause give remaining roots a chance to recover. If the root ball is firm and the mix is not wet, examine light, temperature, and recent location changes instead.
Drooping is also not proof of thirst. A dry, lightweight pot and limp leaf suggest underwatering; a heavy pot with limp leaves points toward roots that cannot take up water because they are oxygen-starved or cold. Weighing the pot and checking below the surface helps distinguish these opposite problems before you add more water.
Brown tips, patches, and distorted leaves
Brown tips can follow low humidity, a long dry spell, irregular watering, root damage, or a buildup of fertilizer salts. The RHS notes that dry air can brown anthurium leaf edges, while NC State Extension also flags brown tips under low-humidity conditions for the genus (RHS; NC State Extension). Check whether several leaves show the same pattern, whether the pot is drying too far between waterings, and whether a white crust has formed before buying a treatment.
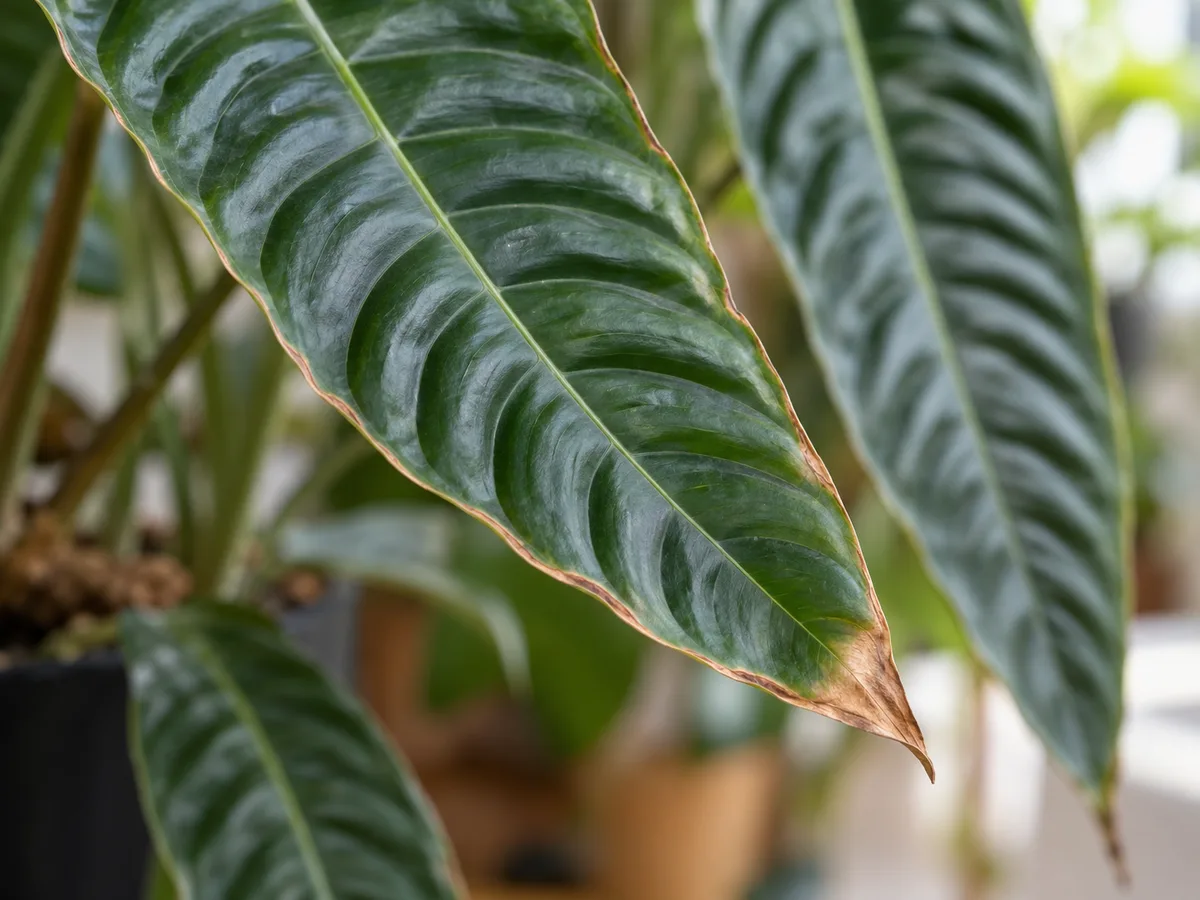
A few pale or tan patches on the side facing a bright window are more consistent with sun scorch than with a root problem. Move the plant a little farther back or filter the window and watch the next leaf; damaged tissue will not turn green again. If dark spots spread from leaf to leaf, keep foliage dry, improve air movement, isolate the plant, and seek a diagnosis before applying a pesticide or fungicide.
A new leaf that is small, stuck, or misshapen can reflect a rough transition, dry air during unfurling, root stress, or pests feeding in the crown. Do not pull a rolled leaf open. Check for thrips, mealybugs, and scale, steady the conditions, and give the leaf time to finish expanding.
Manage pests and reduce disease spread
Inspect a King Anthurium every week or two, especially where petioles join the crown and along the undersides of leaves. Mealybugs look like white cottony clusters, scale like small fixed bumps, and spider mites may leave fine stippling or webbing. Aphids, thrips, and whiteflies can also affect anthuriums; NC State Extension lists these among the genus’s common pest problems (NC State Extension Plant Toolbox).
Quarantine a new plant for a couple of weeks and keep it away from neighboring foliage if you find pests. Wipe or rinse what you can see, repeat inspections to catch newly hatched pests, and use only a product labeled for the plant and pest if further treatment is needed. Follow the product label exactly; a stronger homemade mixture is not automatically safer or more effective.
Avoid leaving the crown wet overnight, keeping the plant crowded in stagnant air, or splashing water between plants. Those habits do not guarantee disease, but they make it harder to keep leaf spots from spreading. Remove badly damaged leaves with clean tools, discard them rather than composting visibly diseased tissue, and correct the watering or airflow problem that preceded the damage.
Handle King Anthurium safely around pets
Keep leaves, cuttings, and any berries away from children and pets that chew plants. NC State Extension flags poison characteristics for Anthurium, and the RHS advises gloves because anthurium sap can irritate skin. Wash your hands after pruning or repotting and avoid touching your eyes while handling the plant.
The ASPCA’s flamingo-flower entry describes insoluble calcium oxalates and lists Anthurium scherzerianum as toxic to cats, dogs, and horses; that entry is for a different species, so it should not be presented as a species-specific study of A. veitchii (ASPCA Animal Poison Control). NC State’s genus-level warning is enough reason to keep King Anthurium out of reach and clean up fallen plant material. If a person or animal chews it, contact a medical professional or veterinarian for guidance rather than trying a home remedy.
Conclusion
A King Anthurium grows best when you solve the root-zone problem first: give it an open mix, a draining pot, and enough light and warmth for the mix to dry at a reasonable pace. Water when the root zone is partly dry, not because a certain number of days has passed. Stable conditions and gentle handling are especially valuable while those long leaves are unfurling.
Start with one manageable change if the plant struggles. Check the pot and roots for a watering problem, then review light, temperature, humidity, and pests; give the next leaf time to show whether the adjustment worked. A mature plant may eventually produce enormous corrugated foliage, but healthy roots and undamaged leaves are better measures of care than a promised leaf length.