How to Grow and Care for Burgundy Rubber Plant
Learn how to grow and care for a Burgundy Rubber Plant with clear light, watering, pruning, repotting, propagation, pest, and pet-safety guidance.
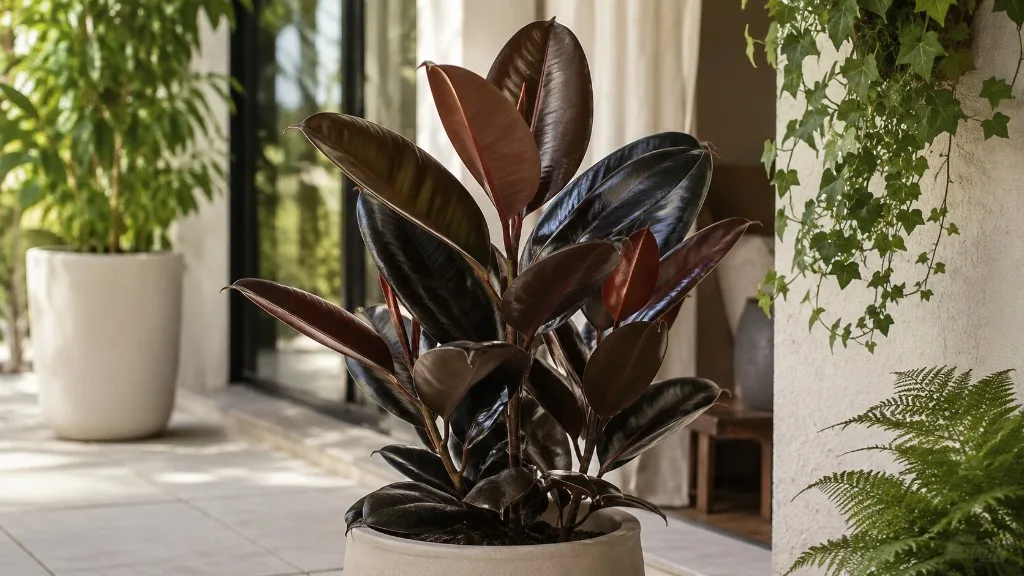
A Burgundy Rubber Plant (Ficus elastica ‘Burgundy’) earns its name from thick, glossy leaves that can look wine-red, deep green, or nearly black depending on age and light. It is a sturdy tropical tree indoors, but “easy” does not mean indestructible: the two mistakes that cost the most leaves are keeping the root ball wet for too long and putting a recently purchased plant in a radically different light level.
The reliable routine is simple. Give it bright filtered light, let excess water drain freely, wait until the mix has partly dried before watering again, and keep it away from cold drafts. Then use pruning and repotting to manage its size rather than trying to force a tall plant to behave like a compact shrub.
Quick Care Profile for Burgundy Rubber Plant
| Need | Practical target |
|---|---|
| Light | Bright indirect light; gentle morning sun is often suitable after acclimation |
| Water | Water thoroughly after the upper part of the mix dries; drain the cachepot |
| Soil | Airy houseplant mix amended with perlite, pumice, or fine pine bark |
| Temperature | Comfortable household temperatures; protect from cold below about 50°F (10°C) |
| Humidity | Average home humidity is usually workable; moderate humidity supports steadier growth |
| Feeding | Balanced liquid fertilizer at reduced strength during active growth |
| Size | Several feet indoors; much larger outdoors in a frost-free climate |
| Safety | Irritating latex sap; keep away from pets that chew plants |
This is a care target, not a rigid laboratory recipe. A plant in a small terracotta pot beside a sunny window may dry in days, while the same plant in a large plastic pot in a dim room may stay wet for weeks. Pot size, light, season, root health, and airflow all change the schedule.
What Makes ‘Burgundy’ Different From the Species
The Burgundy form is a selected cultivar of Ficus elastica, a broadleaf evergreen in the Moraceae family. Its large, leathery leaves and upright woody stems give it the architecture of a small indoor tree rather than a trailing houseplant. NC State Extension describes the species as capable of becoming enormous in the landscape, while indoor plants are usually kept much smaller through container growing, support, and pruning; its plant record also lists ‘Burgundy’ among the dark-leaved cultivars.
Indoors, expect a plant that may eventually occupy a floor corner and become top-heavy. It can stay a single-stemmed column, branch after a strategic cut, or grow as several stems if a nursery has grouped cuttings in one pot. Those forms are not different care problems, but they do change how quickly the pot dries and how much support the plant needs.
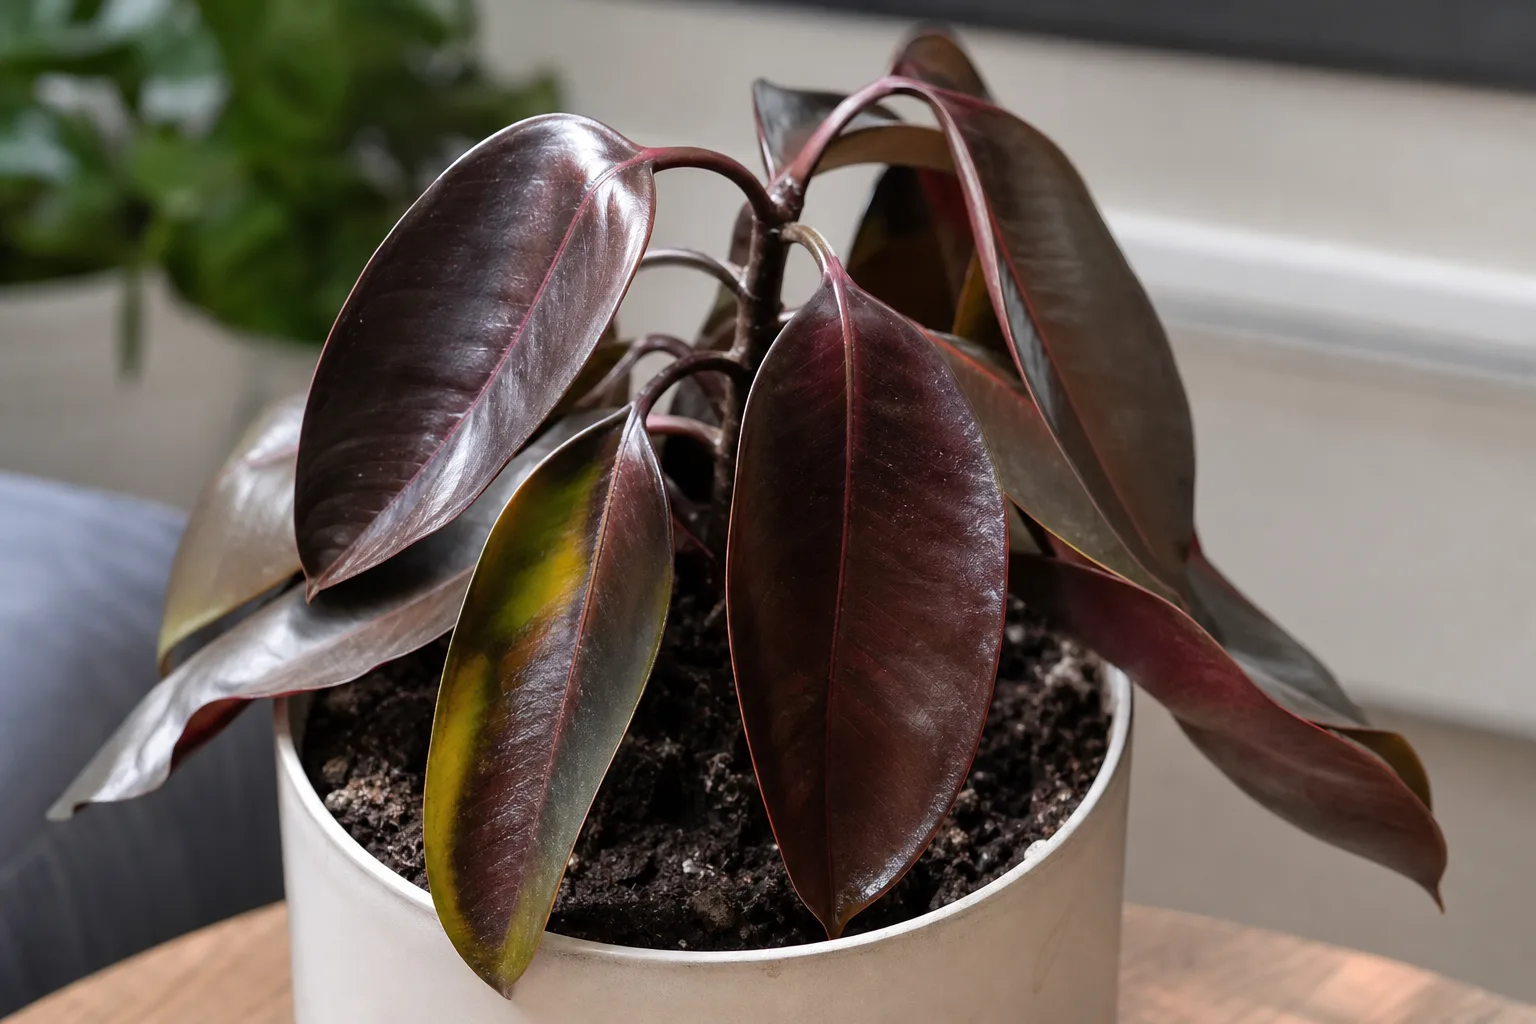
The dark color is not a sign that the plant wants a dark room. Burgundy leaves can tolerate a little less direct sun than many variegated rubber plants, but insufficient light still produces long spaces between leaves, slower growth, and less vigorous new shoots. Plant Care Today’s Burgundy profile also notes that lower indoor light can make the foliage less vibrant, a useful grower observation rather than a reason to treat the plant as shade-loving. Light is the first variable to correct before increasing fertilizer or watering.
Choose Light by Growth, Not by Room Name
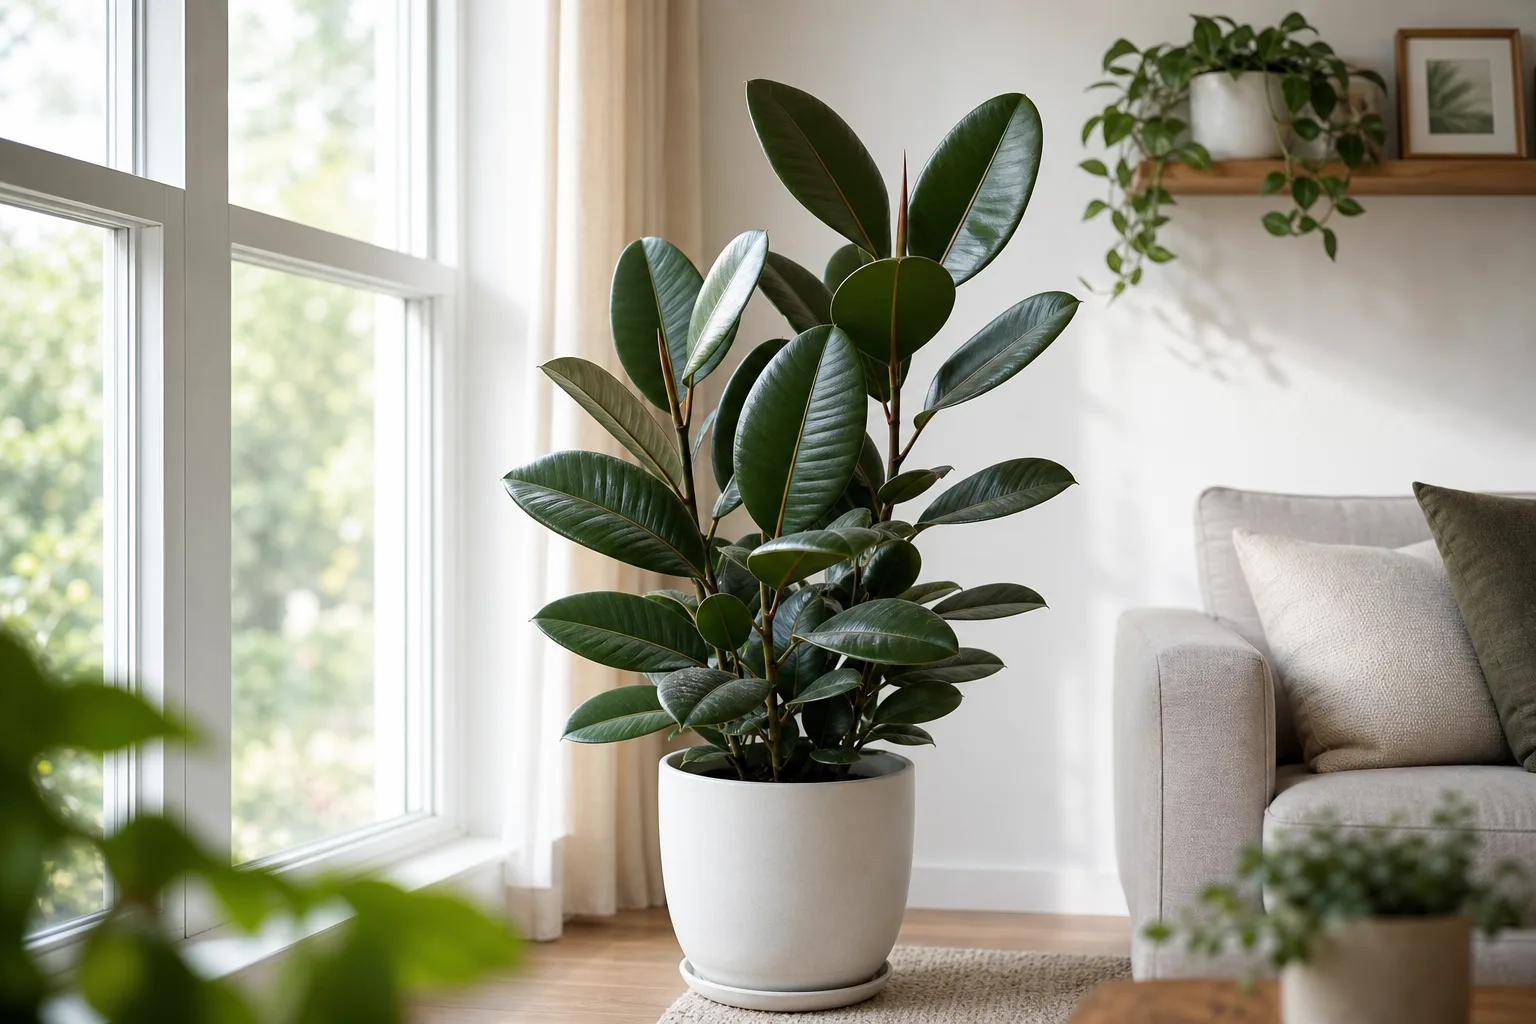
Place a Burgundy Rubber Plant close to a bright east window or a few feet back from a bright south- or west-facing window. A sheer curtain can soften intense afternoon sun, but a plant across a large room from the window may be in low light even if the room feels bright to you. The Gardener’s Path rubber tree guide similarly recommends bright filtered light and notes that direct midday sun can scorch leaves that have not adjusted to it.
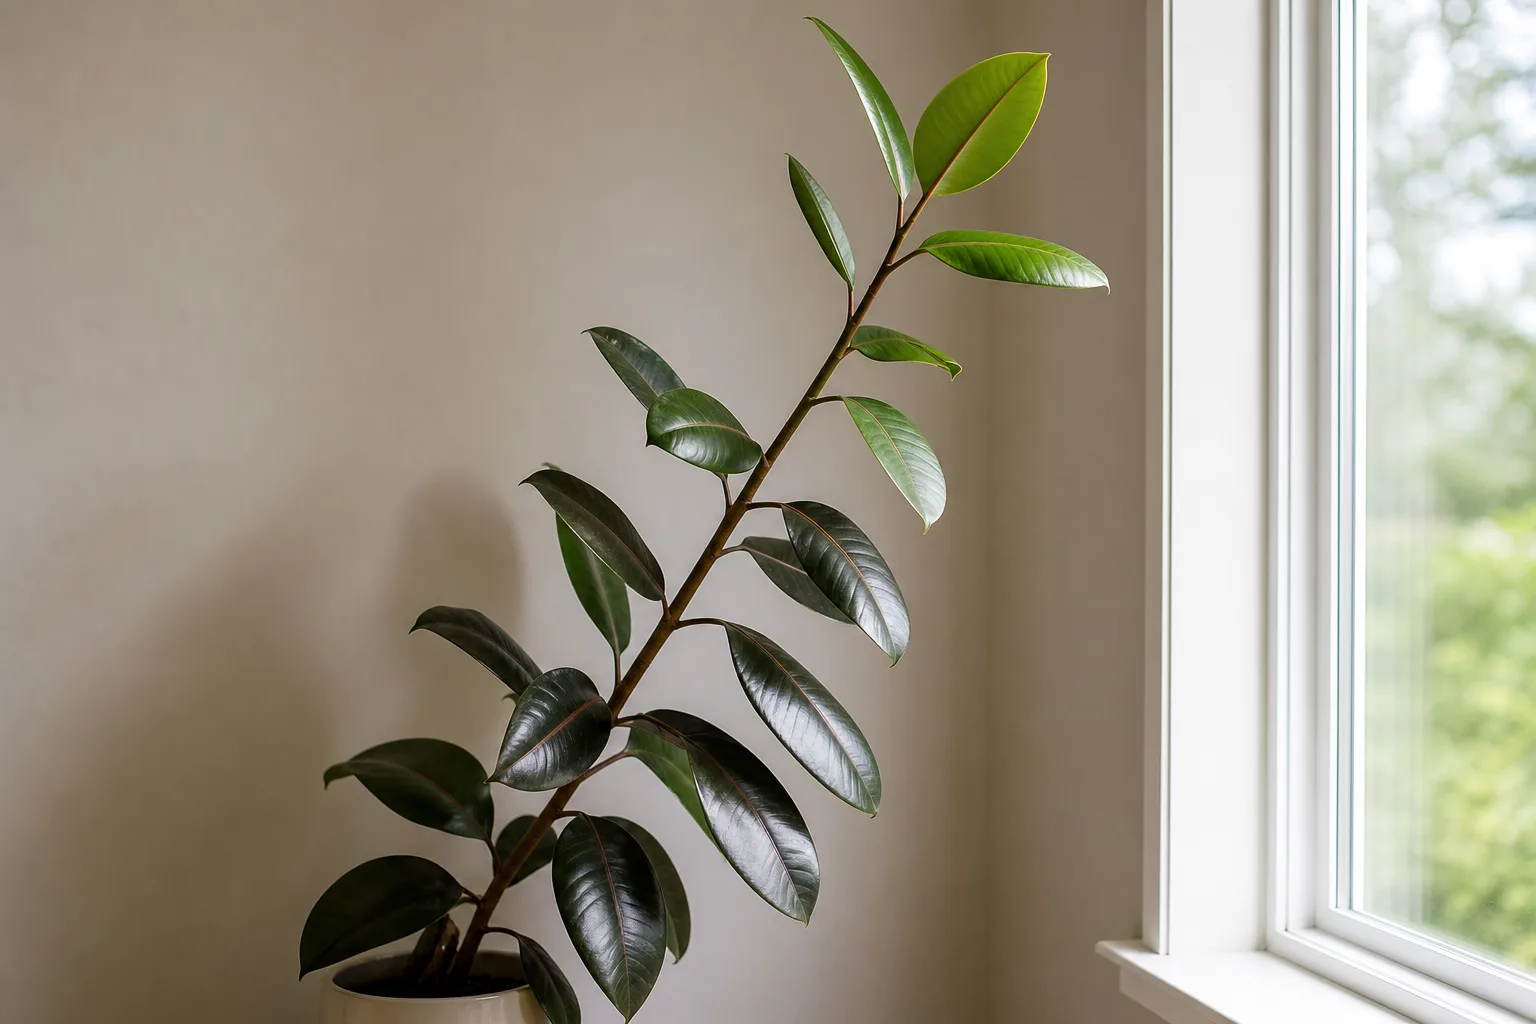
Use the plant’s growth as your light meter. Compact spacing, sturdy stems, and a new leaf that opens at a reasonable size suggest the position is working. A stem that leans, stretches, or produces tiny leaves is asking for more light; a bleached patch with a crisp tan edge after a sudden move into sun is asking for slower acclimation, not more water.
Rotate the pot a quarter turn every week or two if one side is reaching toward the window. Do not rotate a plant that has just been moved between dramatically different light levels every day; give it a stable position first. If you use a grow light, keep it above and slightly in front of the canopy on a consistent schedule and watch the leaves for heat stress.
Acclimate Before Moving Into Stronger Sun
A store-grown plant may have been raised under shade cloth, then placed in a home with very different glass, angle, and afternoon intensity. Move it closer to the window in stages over roughly one to two weeks: start with bright indirect light, add a little gentle morning sun, and increase exposure only if the leaves remain unmarked.
This matters even though Burgundy foliage is often more sun-tolerant than heavily variegated foliage. Sun tolerance is not a switch that the cultivar carries from the nursery; it is also a function of recent light history, water status, window heat, and airflow. If the leaf surface becomes hot or develops sharp bleached patches, step it back and try again more slowly.
Build an Airy Root Zone
Use a quality indoor potting mix that holds some moisture but does not collapse into a dense, muddy mass. A practical starting blend is two parts houseplant mix to one part perlite, pumice, or small pine bark, adjusted for your conditions. In a cool, dim room, use more aeration; in a bright, warm room where the pot dries quickly, retain a little more of the base mix.
The pot must have a drainage hole. A decorative cachepot without a hole can still be useful as an outer sleeve, but remove the nursery pot for watering, let it drain fully, and empty any water left in the sleeve. Roots need both water and oxygen; a container that keeps the bottom half permanently saturated can cause decline even when the top looks dry.
Avoid making garden soil the main ingredient of an indoor pot. It can compact around the roots, bring in pests, and drain unpredictably in a container. Check the root zone once or twice a year: if water runs down the sides while the center stays dense and dry, the mix may have become hydrophobic or root-bound and needs attention rather than more frequent small sips.
Water When the Root Ball Has Earned It
Do not water a Burgundy Rubber Plant on a weekly promise. Push a finger or wooden skewer into the upper few inches of mix, lift the pot to feel its weight, and look at the drainage hole if you can. Water when the upper zone is dry and the pot feels noticeably lighter, but before the entire root ball has become a hard, shrinking block.
When it is time, water slowly over the surface until a steady amount exits the drainage hole. Let the pot drain for several minutes, then empty the saucer. This wets the full root zone and helps prevent the “small drink on one side” pattern in which the surface looks damp while deeper roots remain dry.
The interval may be every five to ten days in a bright, warm summer room or several weeks in winter in a dim, cool room. Treat those numbers as examples, not instructions. North Carolina Extension describes rubber plant culture as regular watering with care to avoid overwatering and reduced watering while the plant is dormant; that seasonal adjustment is more useful than a fixed calendar.
Use This Simple Watering Decision
- Check the mix, not just the leaves. If the top few inches are still cool and damp, wait and recheck in several days.
- Check the pot. A light pot with dry mix needs water sooner than a heavy pot in the same room.
- Water to runoff. Soak the root ball evenly rather than adding a few tablespoons every day.
- Drain completely. Never let the pot stand in water inside a saucer or cachepot.
- Recheck after changes. More sun, a new pot, a heater running, or a plant moved outdoors all change drying time.
If the soil is bone-dry and has pulled from the pot wall, water in two passes ten minutes apart so the mix can absorb rather than shed the first pour. If water races through immediately every time, investigate a compacted or badly shrunken mix. Do not solve that problem by watering daily; rehydrate carefully once, then repot at an appropriate time if the root ball remains unevenly wet.
Keep Temperature Steady and Humidity Moderate
Normal household temperatures work well when they are stable. Aim for roughly 60–85°F (16–29°C), and be especially cautious about cold windows, open doors, and air-conditioning vents. A brief cool night can be survivable, but repeated cold drafts or a sharp temperature change can trigger leaf drop even when the watering routine has not changed.
Humidity does not need to become a second job. A room around 40–60% relative humidity is a reasonable comfort range, but a healthy root system and good light matter more than chasing a perfect number. If winter heating dries the room, group plants, run a humidifier nearby, or move the plant away from the heat stream. Misting may make the leaves look wet for a short time; it does not reliably raise the humidity of the room and can leave water spots on large foliage.
Summering the plant outdoors can accelerate growth, but wait until nights are reliably warm and place it in bright shade or filtered light first. Wind, sudden sun, hard rain, and a sharp jump in evaporation can stress a plant that was comfortable indoors. Bring it back before cold nights and inspect the foliage and pot for hitchhiking pests.
Feed for Growth Without Salt Buildup
Fertilizer supports new leaves; it cannot compensate for low light, damaged roots, or inconsistent watering. During active growth, use a balanced liquid houseplant fertilizer at half the label strength about every four to six weeks. Water the plant first if the mix is very dry, because fertilizer solution on dehydrated roots can be harsh.
Pause or greatly reduce feeding in fall and winter when growth slows, especially if the plant sits in a dim room. Feeding a plant that is not making leaves can leave unused salts in the pot. Every few months during the growing season, flush the pot with plain water until it drains freely, then let it empty completely.
Watch the new growth rather than trying to force a darker color with extra fertilizer. Browning leaf tips, a white crust on the mix, or a stalled plant after repeated feeding points to salt stress or root trouble. Correct the root-zone conditions first and resume a gentler program only after the plant is growing normally.
Prune for Shape and Branching
Prune when you need to control height, remove a damaged stem, or encourage a fuller silhouette. Use clean, sharp shears and cut just above a leaf node or old leaf scar; the nearest viable node is where a new branch is most likely to develop. A top cut can redirect growth into side shoots, so choose the height with the future shape in mind rather than trimming randomly from several places.
Wear gloves and protect the floor before cutting. Burgundy Rubber Plant stems and leaves release a sticky, milky latex sap when injured. Make one clean cut, allow the sap to stop flowing, blot it without smearing it across the leaves, and keep the plant away from children and pets while the wound dries.
Avoid removing more than about one-third of the canopy in one session unless you are taking emergency cuttings from a failing plant. A hard haircut can shock a plant that is already short on roots or light. Prune during active growth when possible, then give the plant stable light and let it rebuild before making another major cut.
Repot Only When the Roots Need It
Repot in spring or early summer when the plant is actively growing, or sooner if the mix has collapsed, the roots are rotting, or water cannot move through the pot. A plant does not need a larger container merely because the calendar says two years have passed. Roots circling densely, emerging from the drainage hole, drying unusually fast, or lifting the plant out of the pot are stronger evidence.
Choose a container only one size larger—usually about 1–2 inches wider than the current pot. A much larger pot can hold more wet mix than the existing roots can use, stretching the dry-down time and increasing the risk of root rot. Set the root ball at its original depth, loosen only tightly circling roots, backfill with fresh mix, and water once to settle it.
After repotting, expect a short pause rather than instant new growth. Keep the plant in the same stable light, protect it from drafts, and do not add fertilizer until you see signs of recovery. If a decorative pot has no drainage, keep the plant in a holed nursery pot inside it rather than drilling a token hole that cannot drain the whole base.
Propagate From Stem Cuttings
Stem cuttings are the most accessible way to make a new Burgundy Rubber Plant, especially when pruning a healthy parent. A leaf by itself cannot produce a new plant because it lacks a node; take a section of stem with at least one viable node and one healthy leaf. Late spring through summer, when the parent is actively growing and warmth is dependable, gives the cutting the best odds.
Prepare gloves, clean shears, a small pot with drainage, and a lightly moist, airy propagation mix. A simple sequence is:
- Choose a healthy stem and cut a 4–6-inch section with two or three nodes when possible.
- Remove lower leaves so the bottom node can sit in the mix; keep one leaf at the top.
- Set the cutting aside until the latex stops flowing, then wipe the cut clean. Rooting hormone is optional, not a substitute for warmth and sanitation.
- Insert the lower node into the mix and firm it so the cutting cannot wobble.
- Enclose the pot loosely in a clear bag to hold humidity, leaving air space around the leaf and opening it periodically for ventilation.
- Place it in bright indirect light and steady warmth. Keep the mix lightly moist, never saturated.
Rooting may take several weeks. Tugging the cutting every few days breaks new roots, so look for resistance or a new bud instead. Once the cutting is growing, gradually remove the humidity cover and move it into the same light routine as a mature plant. The Gardener’s Path propagation instructions also emphasize clean tools, a protected cutting, humidity, and patience while roots form.
Use Air Layering for a Tall Bare Stem
Air layering is useful when the parent has a tall, bare section that you do not want to discard as a short cutting. Choose a healthy branch, make a shallow ring cut through the bark between nodes, allow the sap to stop, and wrap the exposed area with damp sphagnum moss. Cover the moss with clear plastic and secure both ends so it stays moist but not waterlogged.
Check for roots without opening the wrap every day. When a visible root ball has formed, cut below it, pot the new plant in an airy mix, and keep it in bright indirect light while it establishes. Air layering takes more time and materials than a cutting, but it gives a large top section a head start and can rescue the shape of an overgrown plant.
Handle Latex Sap and Pet Safety Before Maintenance
The white latex released by Ficus elastica is an irritant. Pet Poison Helpline identifies the rubber tree plant as containing irritating sap and reports oral irritation and minor gastrointestinal signs such as drooling, retching, or vomiting after animals ingest it. Keep the plant where curious pets cannot chew the leaves, and do not treat a high shelf as secure if a cat can climb to it.
Wear gloves when pruning, propagating, or removing a damaged leaf. Keep a damp cloth and a waste bag nearby, protect porous surfaces, and wash exposed skin with soap and water. If a pet has chewed the plant, contact a veterinarian or an animal poison service promptly; the exact risk depends on the animal, amount, and symptoms.
Diagnose Yellow Leaves, Leaf Drop, and Brown Edges
A single old lower leaf turning yellow is not automatically a crisis. Burgundy Rubber Plants replace older leaves as they grow. A pattern—several leaves yellowing together, sudden drop after a move, wet soil with a soft stem, or crispy margins spreading across new leaves—contains more useful information than any one color.
| Symptom pattern | First checks | Best first action |
|---|---|---|
| Several yellow leaves and wet mix | Drainage, pot size, root smell, recent watering | Pause watering and inspect roots if the mix stays wet |
| Leaf drop after moving or a cold night | Window draft, vent, light change, temperature swing | Stabilize the position and wait; do not flood the pot |
| Brown, dry edges with very dry mix | Dry-down speed, low humidity, hot glass, missed watering | Rehydrate thoroughly, then adjust light and watering interval |
| Long gaps between leaves and leaning stems | Distance from window, light blocked by curtains or buildings | Move brighter gradually and prune only after new growth is stronger |
| Sticky leaves, bumps, cottony clusters, or fine webbing | Leaf undersides, nodes, and nearby plants | Isolate, wash or wipe the plant, and repeat a labeled treatment as directed |
Do not diagnose every yellow leaf as a nutrient deficiency. Fertilizer is a poor first response when the soil is waterlogged or the plant is in low light. Correct the environmental cause, remove only leaves that are fully dead, and give the plant time to show whether new growth improves.
Fix Leggy Growth and Washed-Out Color
Leggy growth cannot be compressed back into a short, leafy stem. Move the plant toward stronger filtered light, turn it so the canopy develops evenly, and wait for healthy new growth before pruning the bare section. You can then cut above a node to encourage branching and use the removed healthy section for propagation.
If the Burgundy color looks greener or less intense, check light before changing fertilizer. A darker cultivar can still photosynthesize in moderate light, but it may not produce the same compact growth or rich coloration it shows in a bright position. Increase light gradually and watch for scorch rather than placing a shaded plant directly against hot afternoon glass.
Treat Pests With a Measured Plan
Inspect new plants for scale, mealybugs, spider mites, and aphids before placing them beside a collection. Look along midribs, leaf undersides, stem joints, and the newest growth. Scale may look like fixed brown or pale bumps; mealybugs look cottony; spider mites may leave fine webbing and stippling; aphids cluster around soft new growth.
Start with isolation and physical removal. Rinse sturdy foliage with lukewarm water or wipe leaves and stems with a damp cloth, then repeat the inspection several days later. For a persistent infestation, use an insecticidal soap or horticultural oil that is labeled for the plant and pest, test a small area first, keep the plant out of harsh sun while wet, and follow the label for dilution, coverage, and repeat timing.

Do not spray a stressed, drought-dry plant and assume the problem is solved. Repeated treatment can damage foliage, while missed eggs or hidden scale can restart the infestation. Treat the whole plant and nearby susceptible plants, clean the growing area, and keep monitoring after the visible insects disappear.
Recover From Root Rot
Root rot is a root-zone failure, usually associated with prolonged saturation, poor drainage, or a pot that is too large for the root system. The warning combination is yellowing or leaf drop plus wet mix, a sour smell, a soft stem base, or roots that are brown, mushy, and easily pulled apart. Wilting does not rule it out: damaged roots cannot move water, so a waterlogged plant can still look thirsty.
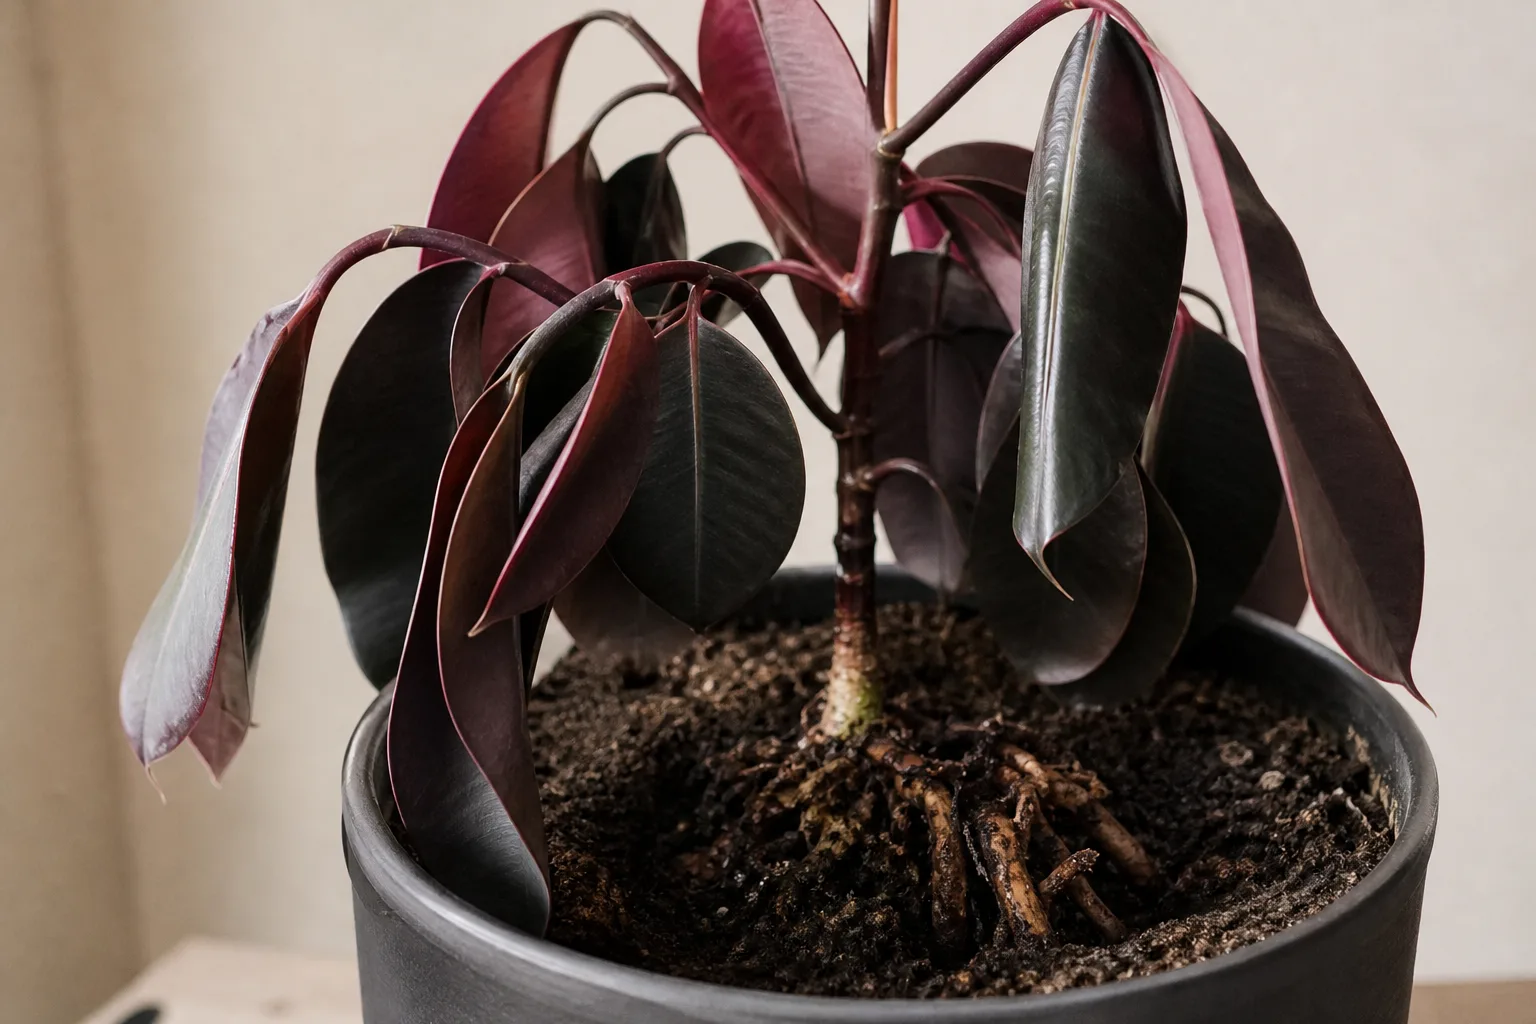
If you suspect rot, stop watering and slide the plant from its pot. Remove the wet mix gently, rinse enough soil away to see the roots, and cut off soft, hollow, or black sections with sterilized shears. Keep firm cream, tan, or light-brown roots. If most roots are gone but the upper stem is healthy, take a clean cutting before the remaining tissue declines.
Repot into a clean, appropriately sized pot with fresh, airy mix and a drainage hole. Water once to settle the roots, let the pot drain completely, and return it to bright indirect light without intense heat. Do not fertilize immediately, do not keep the soil constantly damp “for recovery,” and do not reuse the old saturated mix.
Recovery is measured by stable stems and new growth, not by a fast return of damaged leaves. Some yellow leaves may still fall after the root problem is corrected. If the plant continues to decline, inspect the root collar again rather than cycling through more water, mist, or fertilizer.
Conclusion
Burgundy Rubber Plant care comes down to managing a tropical tree’s competing needs: bright light for compact growth, a root zone that dries between thorough waterings, warmth without drafts, and enough room to grow without an oversized wet pot. Once those foundations are right, feeding, pruning, propagation, and pest control become occasional maintenance instead of emergency repairs.
Use the plant as your feedback system. Check the mix before watering, inspect roots when symptoms disagree, acclimate before stronger sun, and make one environmental change at a time. That rhythm will keep the foliage glossy and dramatic while giving you a clear next step whenever a leaf changes.



