How to Grow and Care for Black-Eyed Susan
Learn how to grow and care for black-eyed Susan, including sunlight, soil, watering, seed starting, pruning, winter care, and common problems.

Black-eyed Susan is one of the most forgiving flowers for a sunny garden, but “easy” does not mean every plant sold under that name should be grown the same way. The common name can refer to short-lived Rudbeckia hirta, long-lived clumping species such as Rudbeckia fulgida, and cultivars that differ in height, flower color, bloom timing, and tendency to reseed.
The best results come from matching the plant to the space before you plant it. Give black-eyed Susan strong light, soil that drains, regular moisture while it establishes, and enough room for air to move through the foliage. After that first season, most plants need little more than occasional watering, sensible deadheading, and a decision about whether you want the dried seed heads to remain for birds and next year’s seedlings.
The quick care decision
Plant black-eyed Susan in full sun—ideally six or more hours of direct light—in average, well-drained soil. Water new plants when the top inch of soil begins to dry, aiming for steady moisture rather than daily shallow sprinkling. Once roots are established, the plant tolerates ordinary dry spells, but it will flower more reliably when a prolonged drought is not allowed to continue.
Do not automatically fertilize. Black-eyed Susan usually grows well without rich soil, and excessive nitrogen can produce floppy foliage at the expense of flowers. A thin layer of compost around, not against, the crown is generally enough. Cut back diseased foliage promptly, thin crowded seedlings, and leave a few healthy seed heads standing if wildlife value matters to you.
Know which Rudbeckia you are buying
The label matters more than the common name. Rudbeckia hirta is often biennial or short-lived perennial in gardens. It may bloom in its first year from a nursery plant or an early start, then renew itself through seed. That habit is useful in a relaxed meadow-style planting, but it can disappoint someone expecting one permanent, expanding clump.
Perennial Rudbeckia fulgida cultivars, including ‘Goldsturm’, generally form more dependable clumps and return for more years when planted in a suitable site. Other species, including Rudbeckia laciniata, can become tall and broad. Read the botanical name, mature height, width, and spread habit on the tag. A plant described simply as “black-eyed Susan” is not specific enough for a narrow border.
Choose a compact cultivar for the front or middle of a bed, a taller form for a naturalistic drift, and a reliably clumping perennial when you want predictable year-to-year structure. If you want volunteers, choose an open area where seedlings can be thinned. If you want crisp edges, deadhead more consistently and remove unwanted seedlings while they are small.
Choose the planting site
Sun, soil, and drainage
Full sun produces the strongest flowering and sturdier stems. Black-eyed Susan can tolerate partial shade, especially in hot climates, but fewer hours of light usually means fewer flowers and a greater chance of stretched, leaning growth. Morning sun is particularly useful where afternoon heat is intense, provided the soil does not stay waterlogged.
Average soil is usually better than an over-amended bed. A loam or sandy loam that drains after rain works well; compacted clay can be improved with organic matter worked through the planting area, but do not bury the crown in a low spot that remains saturated. The Penn State Extension profile describes black-eyed Susan as a valuable native wildflower for sunny conditions, while the NC State Plant Toolbox provides species-level details for growth habit and site fit.
Test drainage before planting a large group. Dig a hole about as deep as the nursery pot, fill it with water, let it drain, and fill it again. If water remains for a long time after the second fill, improve the bed, plant on a slight rise, or select a different location. More water is not a cure for poor drainage.
Planting black-eyed Susan step by step
Plant nursery starts after the danger of hard frost has passed in spring, or in early fall early enough for roots to settle before the ground freezes. A spring planting may flower the first summer, while a fall planting often spends more energy on roots and shows its strongest display the following season.
- Water the nursery pot before planting so the root ball is evenly moist.
- Clear competing grass and weeds from a circle at least twice the pot’s width.
- Dig a hole no deeper than the root ball and about twice as wide.
- Set the crown at the same level it was growing in the container. Do not bury the stem base.
- Backfill with the native soil, firm gently, and water slowly.
- Add a thin mulch layer, keeping it a few inches away from the crown.
Spacing should reflect the mature width, not the size of the plant you bought. Six to twelve inches may suit a compact cultivar, while taller or wider plants may need 18 to 30 inches. More room is not wasted space: it helps leaves dry after rain and makes powdery mildew less likely.
Watering from transplant to establishment
During the first growing season, check the soil every few days instead of watering by a fixed calendar. Water deeply when the upper inch or two has begun to dry, then allow excess water to drain. In hot or windy weather, a new plant in sandy soil may need attention more often than one in heavier soil.
Aim for moisture at the root zone, not a constantly wet surface. A soaker hose or slow hand watering is preferable to a brief spray that wets leaves and never reaches the lower roots. After several weeks, gently check growth and soil moisture before extending the interval between waterings. Once the plant has rooted into surrounding soil, it can handle short dry periods, but established does not mean drought-proof.
Container-grown black-eyed Susan needs closer observation because pots dry faster. Use a pot with drainage holes, avoid letting the container sit in water, and move it to a larger container if roots circle densely or water runs straight through without wetting the mix.
Feeding, mulching, and spacing
Black-eyed Susan rarely needs routine high-nitrogen fertilizer. In fertile ground, feeding can create soft, leafy growth that flops or hides the flowers. If growth is weak and the soil is genuinely poor, top-dress with finished compost in spring or use a balanced fertilizer according to its label. Do not apply more because the plant is not blooming yet; first check light, planting depth, crowding, and moisture.
Mulch conserves moisture and reduces weeds, but a thick, wet layer against the crown can encourage rot. Keep mulch shallow around the root zone and renew it only as it breaks down. In a pollinator bed, leave some open soil for self-sown seedlings, then thin them rather than allowing every volunteer to compete.
How to keep black-eyed Susan blooming
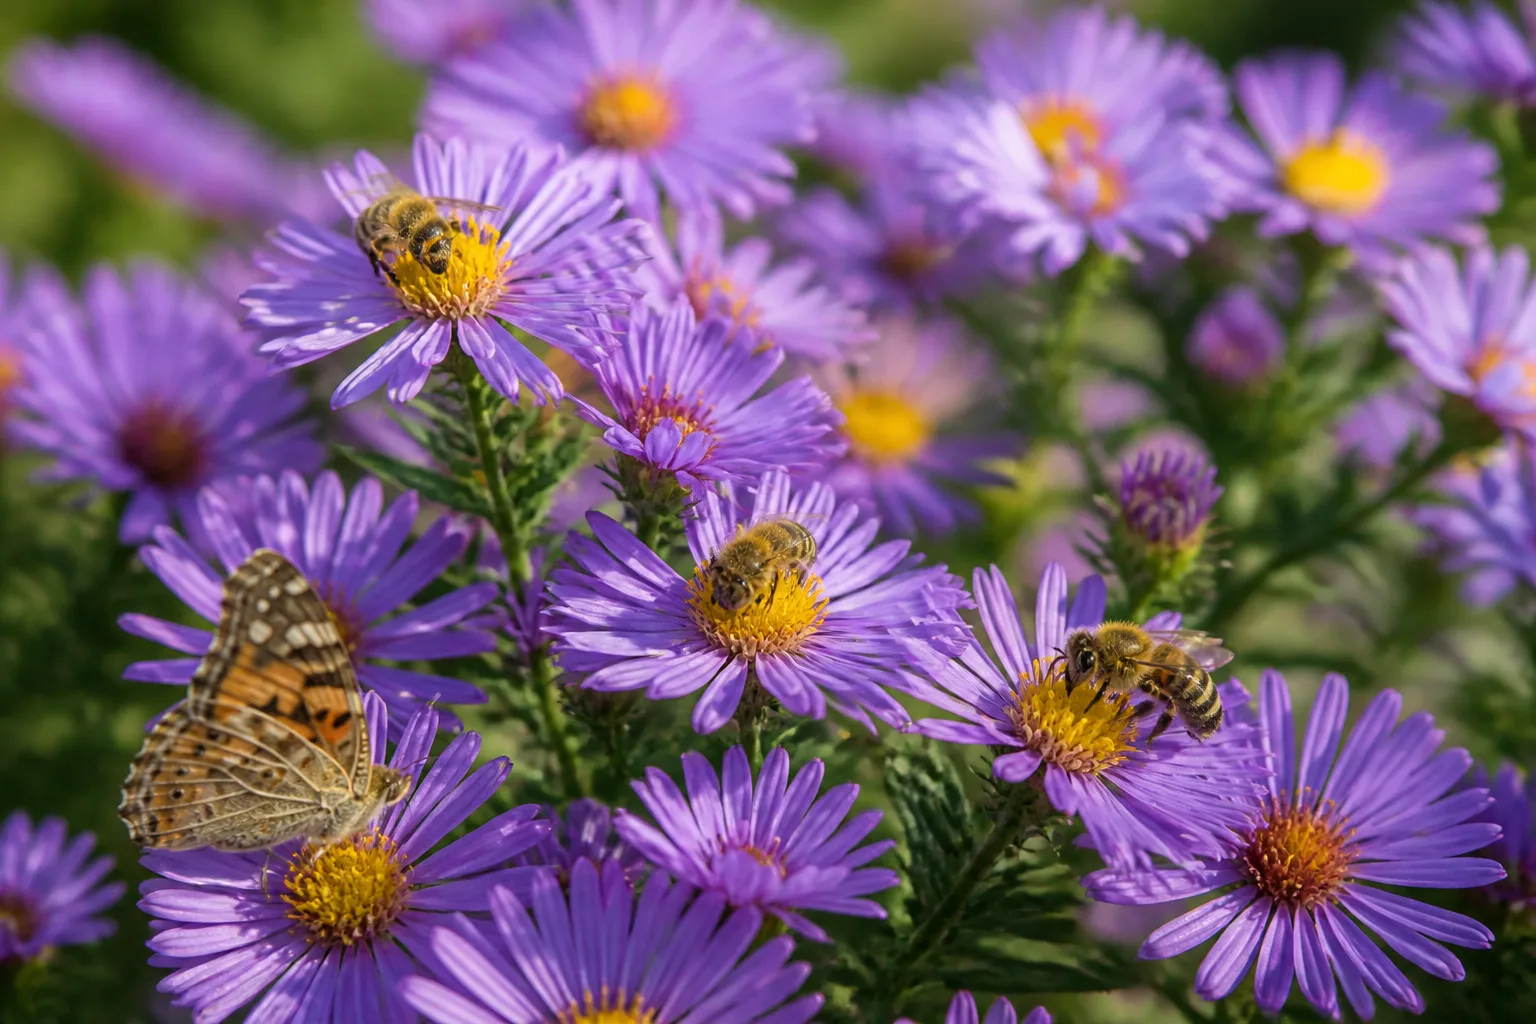
The most reliable bloom strategy is simple: give it enough sun, avoid excess nitrogen, and do not let new plants dry repeatedly. Deadheading can encourage a tidier succession of flowers, especially on branching cultivars. Cut the spent flower stem back to a healthy leaf joint or to the point where it meets a larger stem.
Deadheading versus seed heads
Deadhead during the main display when you want more flowers and fewer seedlings. Stop deadheading late in the season if you want the dark cones to provide winter structure and seed for birds. This is not an all-or-nothing decision: leave a few seed heads at the back of the bed and remove the rest for a cleaner front edge.
Do not cut a plant to the ground simply because one flower has faded. Remove the individual stem or spent head first. A full cutback is a seasonal maintenance choice, not a bloom-by-bloom task.
Growing black-eyed Susan from seed
Seed is an economical way to establish a drift, but it requires patience and correct timing. Sow outdoors after the soil has warmed, or start indoors roughly eight to ten weeks before your expected last frost. Seedlings need light and good airflow after germination; crowded, damp trays are more likely to fail than slightly lean conditions.
Indoor sowing and cold treatment
Some perennial Rudbeckia types germinate more evenly after a cold, moist period, while many Rudbeckia hirta selections can germinate without lengthy treatment. Follow the packet for the exact cultivar rather than applying one rule to every Rudbeckia. Sow on moistened seed-starting mix and cover only lightly, because the seed is small.
Keep the medium evenly moist, not saturated, and expect germination in roughly one to three weeks when conditions are suitable. Provide bright light as soon as seedlings emerge. Before planting outside, harden them off over about a week by gradually increasing exposure to outdoor light and wind.
Direct sowing and thinning
Direct sow after the last hard frost when the bed is workable and temperatures are warming. Press seed into prepared soil or cover it with only a thin layer, then keep the surface from drying until seedlings appear. Once seedlings have several true leaves, thin them to the spacing required by the mature cultivar.
Thin with purpose. Keep the most vigorous plants in the best-drained spots, remove seedlings that crowd the crown of an existing plant, and transplant only small volunteers before their roots become tangled. Expect some seed-grown plants to vary in height or flower color, especially if they came from an open-pollinated mix.
Propagating established plants
Divide a mature clump in early spring as new growth starts, or in early fall after flowering. Lift the plant with a sharp spade, separate it into sections with roots and shoots, and replant immediately at the original depth. Water each division until new growth shows.
Division is more useful for a clumping perennial such as Rudbeckia fulgida than for a short-lived R. hirta that is already declining. For the latter, collecting seed or allowing controlled self-sowing may be more productive than repeatedly dividing a small crown.
Seasonal care through winter
In fall, remove clearly diseased foliage and discard it rather than adding it to home compost. Leave healthy stems and seed heads if birds, winter structure, and self-sowing are priorities. If the bed must look tidy, cut stems back after they finish and the foliage has browned, but avoid disturbing the crown.
Black-eyed Susan is broadly cold-hardy, but new fall plantings benefit from consistent moisture until the ground freezes and a light mulch in climates with freeze-thaw cycles. Do not wrap the plant or keep its crown wet under a heavy blanket of mulch. In spring, remove old stems before vigorous new growth emerges and check whether seedlings have filled the intended spacing.
Pests, diseases, and airflow
Aphids, spider mites, slugs, and snails may appear, especially on tender growth or stressed plants. Start with inspection and a strong stream of water for aphids; hand-pick slugs and snails where practical. Avoid spraying a blooming plant indiscriminately, because flowers may be visited by pollinators.
Leaf spots and powdery mildew are more likely when plants are crowded, leaves stay wet overnight, or air movement is poor. Water at the soil line, thin congested stems, and remove heavily affected leaves. Do not diagnose every dark mark as one disease: check whether spots are angular or round, whether a white coating is present, and whether the problem is spreading from lower leaves upward.
The hairy foliage is often less attractive to deer after plants mature, but no plant is perfectly deer-proof. Young growth can still be browsed, and local pressure varies. Protect a new planting if browsing is a recurring problem rather than assuming the mature texture will solve it.
Why black-eyed Susan is not blooming
Work through the causes in this order:
- Too little light: Move shade from nearby branches or relocate the plant if it receives fewer than several hours of direct sun.
- Too much nitrogen: Stop routine feeding and inspect whether foliage is lush but stems carry few buds.
- First-year growth: Seedlings and freshly divided plants may spend their first season building roots.
- Crowding: Thin neighboring plants so the leaves receive light and air.
- Water stress: Check moisture below the surface during bud formation, not only after leaves wilt.
- Wrong plant for the expectation: A short-lived R. hirta may be reseeding between seasons rather than forming the permanent clump you expected.
If a plant has abundant foliage and no buds, do not immediately add bloom fertilizer. Correct the site or cultural problem first. Phosphorus-heavy products are not a substitute for adequate light and appropriate moisture.
Choosing companions and managing spread
Black-eyed Susan combines well with plants that share sun and moderate drainage, including purple coneflower, liatris, asters, yarrow, ornamental grasses, and blue-flowering perennials. Use height and bloom timing to build a layered bed: shorter cultivars near the path, medium plants in the middle, and taller Rudbeckia or grasses toward the back.
Leave enough space for each plant to be seen and inspected. A dense “pollinator” planting can still become a humid disease pocket if every crown touches. If you want a naturalistic effect, use repeated groups rather than one crowded mass.
Self-seeding is a management choice. Let a few heads mature in an open border, then remove volunteers from paths, lawn edges, or places where they would shade slower perennials. If you need exact color and height, buy a named cultivar and deadhead before seed dispersal; if you want a looser meadow effect, let the strongest plants set seed and thin in spring.
Conclusion
Black-eyed Susan earns its reputation when the basics are right: strong sun, drainage, steady first-season water, moderate fertility, and room for airflow. The most important care decision is not whether to follow a rigid schedule; it is whether the plant you bought—Rudbeckia hirta, R. fulgida, or another species—matches the permanence and size you want.
Plant it at the correct depth, water until established, deadhead according to your goals, and leave a few seed heads when wildlife and self-sowing matter. With those choices in place, this bright, durable flower can provide a long summer display without demanding constant attention.



