How to Compost in Winter (Outdoor & Indoor)
Keep composting through winter with the easiest methods: freeze-and-store scraps, insulated piles, trench composting, vermicomposting, and Bokashi—plus what to skip in cold weather.
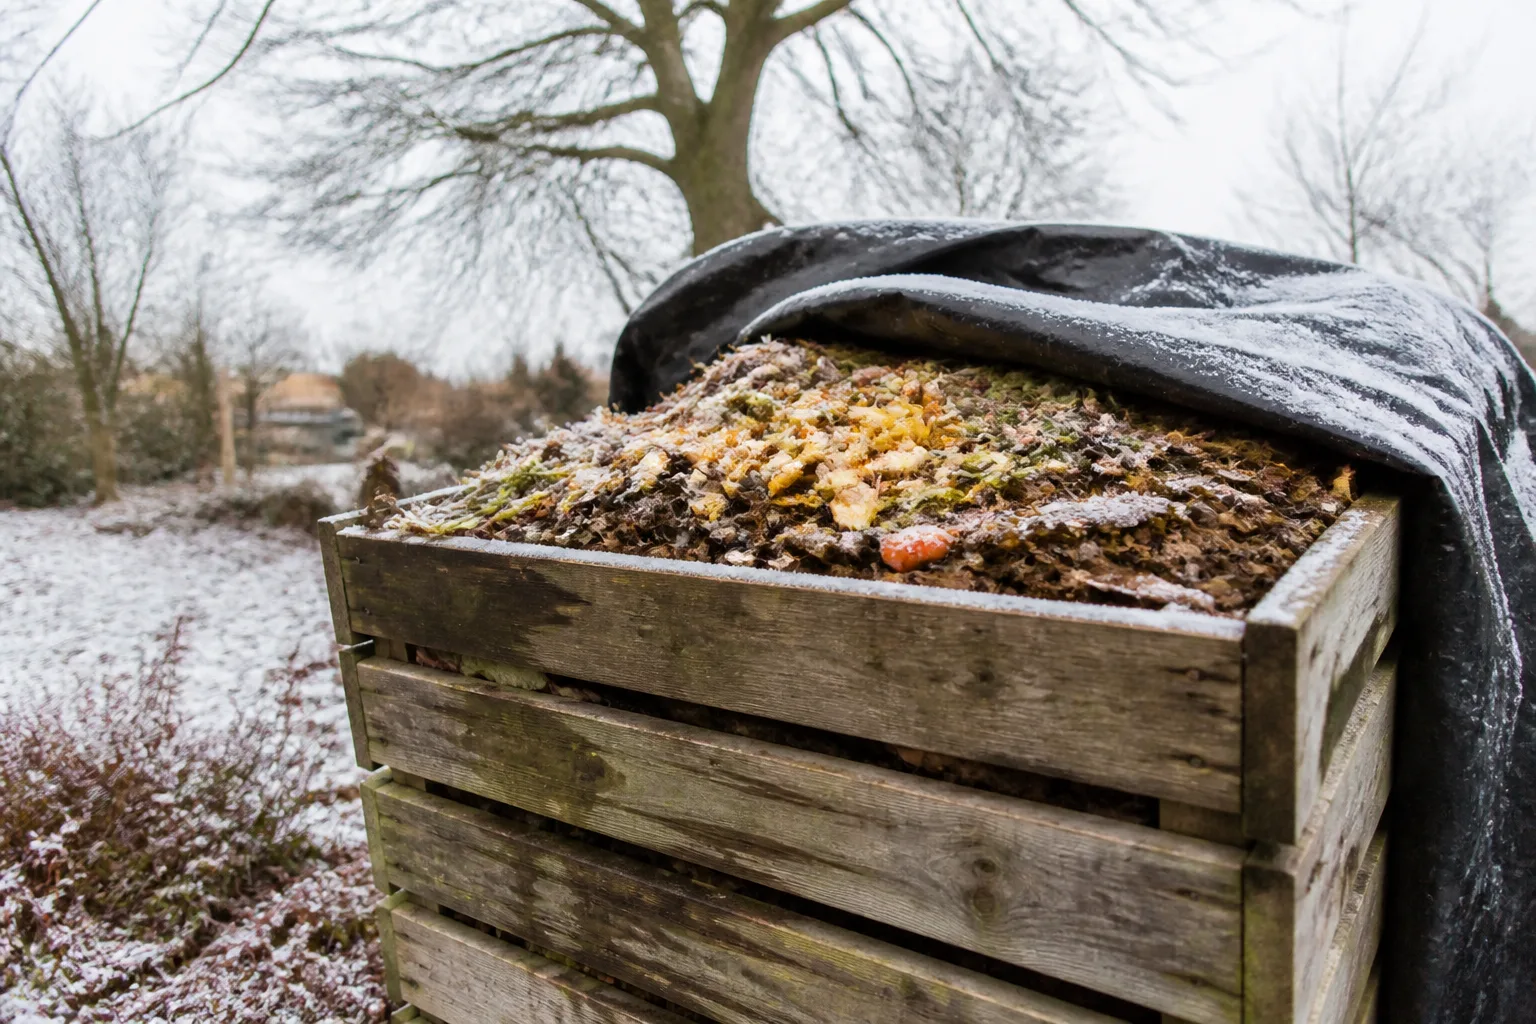
Snow on the lid, kitchen scraps in the freezer, and a compost bin you have not opened in three weeks—that is not composting failure. It is winter composting in its most honest form. Decomposition slows when air temperatures drop, but organic matter does not stop being useful. The scraps you bank in January become the humus your tomatoes want in June.
Composting in winter is less about keeping a pile steaming and more about choosing a strategy that matches your yard, your tolerance for shoveling, and how much risk you are willing to carry in a cold pile. You can accelerate breakdown outdoors, compost indoors, trench before the soil freezes—or deliberately do almost nothing and let thaw do the work. All of those are valid. The mistake is quitting entirely because the pile looks dormant.
Why Winter Composting Still Matters
Kitchen waste, paper, cardboard, and fallen leaves do not pause when the calendar flips. Every bag sent to landfill represents carbon you could return to your soil. Continuing—or at least stockpiling—organics through winter keeps that loop alive and prevents the spring scramble when planting season arrives and you realize you have no finished compost and a backlog of frozen scraps.
A well-managed pile also rewards you on the first mild day. The center may still hold warmth while steam rises from the top on a sub-freezing morning. Freeze-thaw cycles in soil and in a pile mechanically break plant fibers, which speeds microbial work once temperatures climb. Material added in February often decomposes quickly in March because it is already in place, moist, and partially processed at the edges.
What Your Pile Is Actually Doing Below Freezing
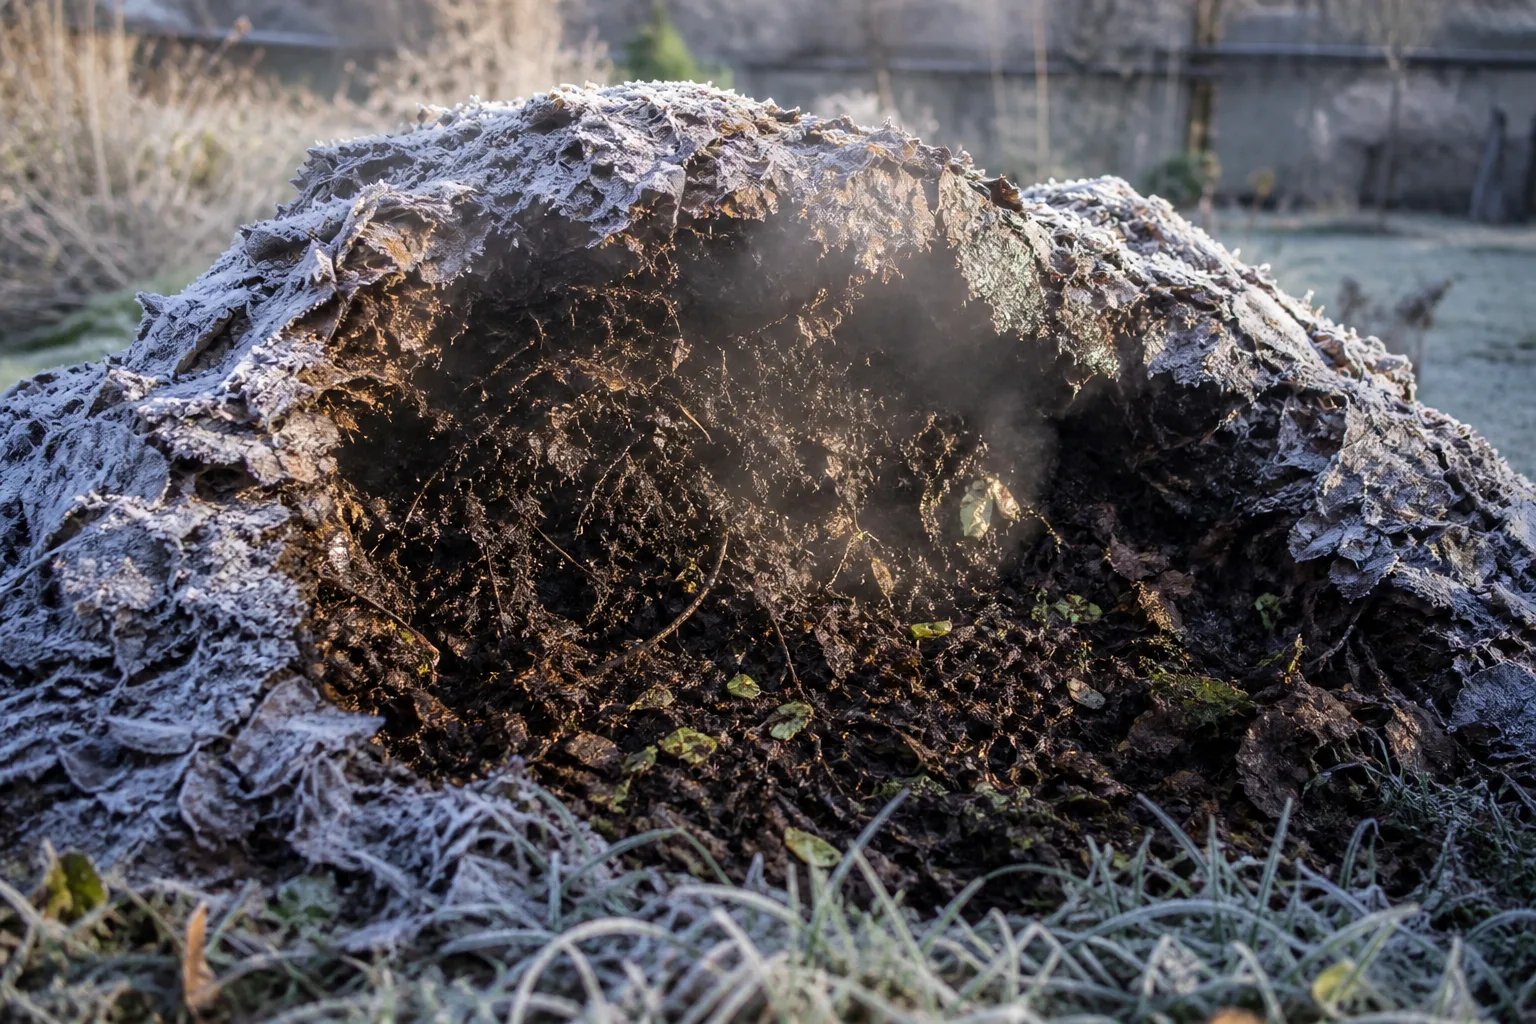
Composting is microbial digestion. Bacteria and fungi consume greens (nitrogen-rich material like fruit peels and coffee grounds) and browns (carbon-rich material like dried leaves and shredded cardboard), releasing heat stored in plant carbohydrates. When ambient temperatures fall, heat loss through radiation and convection outpaces what a small pile can generate.
Extension compost educators describe a clear slowdown below about 55°F, when enzymatic activity drops and evaporation decreases (NM Healthy Soil Working Group). Below 32°F, outer layers freeze and decomposition essentially pauses there. The center of a large, well-insulated pile may stay warmer, but most backyard bins and small tumblers behave like a cold-process storage heap until spring.
That is normal—and useful. John Zarola of the Bernalillo County Extension Master Composters program puts it plainly: organics added in winter are in place and ready for faster decomposition when temperatures rise (NM Healthy Soil Working Group). You are banking material, not wasting it.
Hot-process composting—building at least one cubic yard all at once with careful green-brown balance, moisture, and turning—can sustain internal temperatures of 100–140°F even in winter when managed well. That path demands attention. Most home gardeners run a cold process: occasional additions, light or no turning, and seasonal slowdown. Know which system you actually operate before you copy summer rules.
Choose Your Winter Composting Strategy
Pick one primary path. Mixing all three without a plan usually means a frozen outdoor pile plus a neglected indoor bin plus guilt.
| Strategy | Best for | Effort | Spring payoff |
|---|---|---|---|
| Cold storage (“do nothing”) | Busy households, deep snow, small bins | Lowest | Fast catch-up composting in thaw |
| Active outdoor | Large piles, mild winters, dedicated composters | Medium–high | Earlier finished compost |
| Indoor (worms or Bokashi) | No yard access, rodent pressure, high scrap volume | Medium | Continuous small-batch soil food |
The “Do Nothing” Cold-Storage Method
This is the easiest winter composting method—and the one most ranking pages bury under “tips.” Doing nothing active means you still collect scraps but stop expecting thermophilic heat.
Melissa J. Will of Empress of Dirt describes winter composting as summer composting in slow motion: save kitchen scraps, add them to a closed outdoor bin when convenient, cover each layer with browns, and let freeze-thaw cycles handle the rest (Empress of Dirt). Frozen scraps in a bin are not rotting—they are preserved until microbes wake up.
Setup that makes “nothing” work:
- Place an animal-resistant bin (galvanized can with tight lid, sealed tumbler, or food-grade bucket) where you can reach it without shoveling a long path.
- Before winter, add 12 inches of browns to the bottom of the bin.
- Keep a stash of extra browns beside the bin—saved leaves, straw, shredded cardboard.
- Freeze kitchen scraps in a dedicated bag if daily trips outside are unrealistic. Chopped scraps break down faster when thawed.
- Each time you add greens, cover with a thick brown layer. Too many greens without browns causes fermentation and odor on warm spells.
On thaw days, roll or mix the bin, add water if material looks dusty-dry (aim for damp cloth, not wet sponge), and re-cover. When spring settles above freezing, dump the winter bin into your main pile and resume normal composting.
Active Outdoor Composting
Choose active management if you want finished compost earlier or you already run a hot pile in summer. The goal is minimizing heat loss and feeding the core.
Active outdoor rules:
- Harvest finished compost before hard frost frees space and reduces volume.
- Build or maintain a pile at least 3 feet wide, 3 feet deep, and 3 feet tall. Smaller masses freeze solid more easily.
- Insulate with straw bales, cardboard blankets, or an insulated commercial bin placed in a sunny spot.
- Chop materials small before adding to improve moisture absorption and microbial access.
- Add coarse bulking material (small twigs, straw chunks) as you build to prevent compaction and improve airflow.
- Do not turn during deep cold unless you are rebuilding a hot batch. Turning releases core heat (NM Healthy Soil Working Group).
Feed the center: create a working pocket in the middle, drop new greens there, and cover immediately with browns. A tarp, leaf blanket, or straw cap holds heat and sheds excess rain that would cool the pile.
Indoor Composting When the Yard Is Off-Limits
When outdoor access is miserable—or raccoons treat your bin like a buffet—move composting indoors. Vermicomposting (worm bins) and Bokashi (fermentation) are the two reliable winter indoor methods. Both produce soil amendments faster than a frozen yard pile but require different finishing steps. See the dedicated sections below.
Trench Composting Before the Ground Freezes
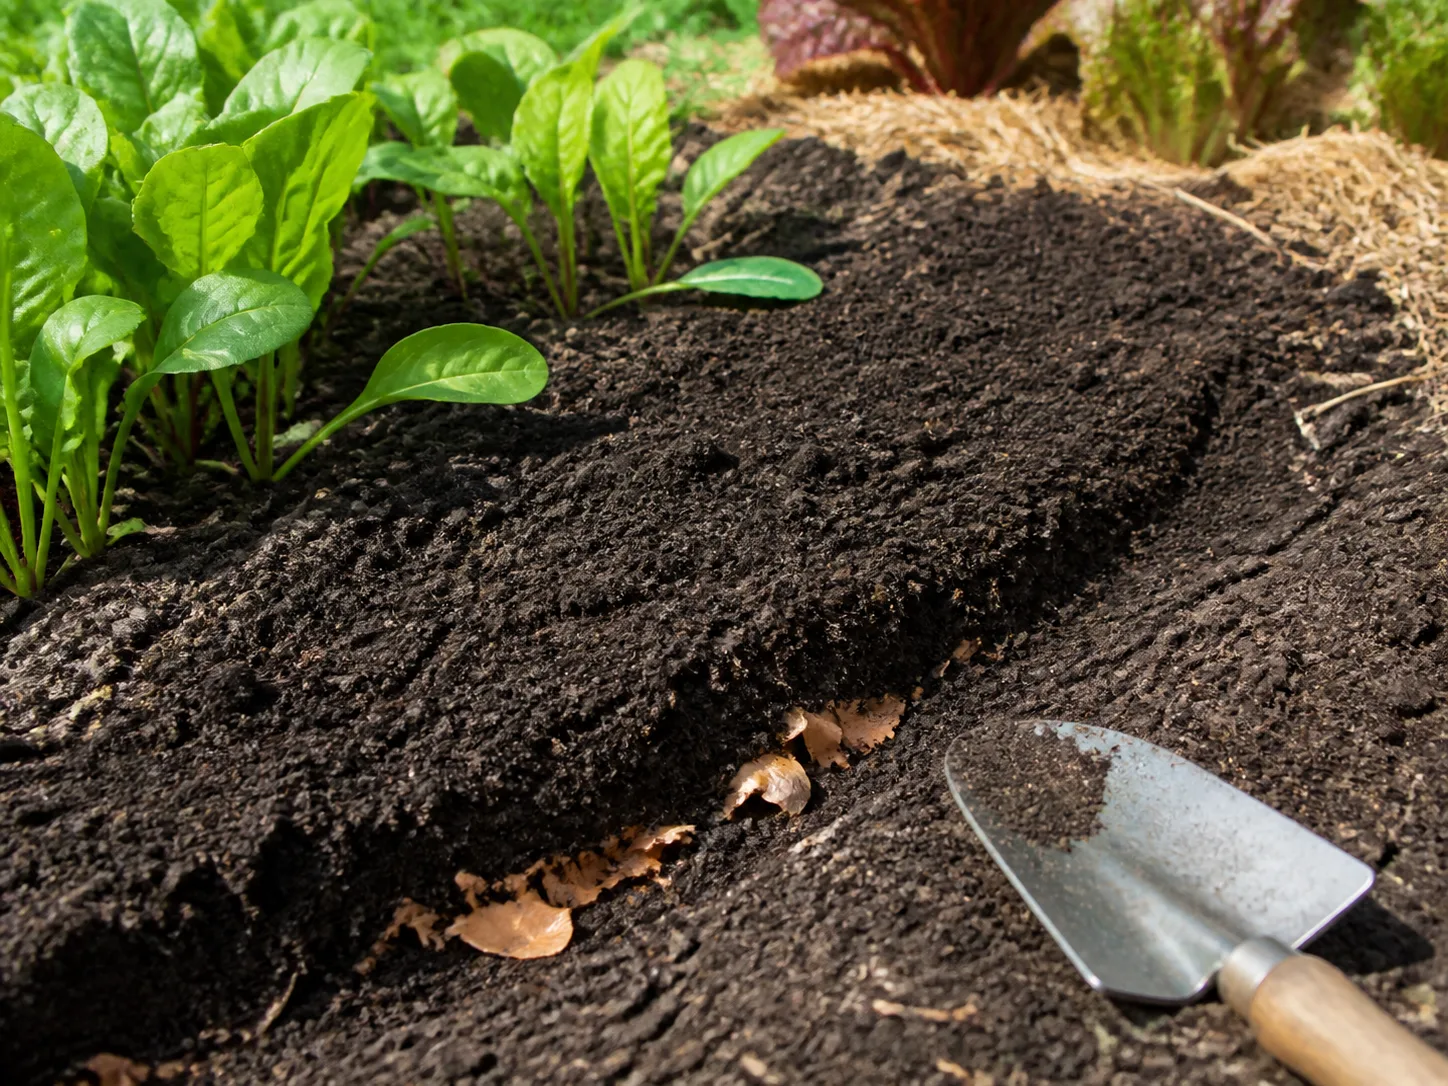
Trench composting is burial composting: dig a trench, fill it with organic waste, and cover with soil. Soil insulates the material, and underground warmth helps breakdown continue longer than an exposed pile.
Timing is everything. Start while soil is workable—late fall before sustained hard freeze. Once ground is frozen solid, trenching requires breaking ice and is rarely worth the effort.
How to trench compost for winter:
- Dig a trench 10–20 inches deep and wide enough to hold your winter scrap volume plus cover soil.
- Layer kitchen scraps and garden waste with thin brown layers if material is very wet.
- Cover with at least 8 inches of soil (more is better in cold climates).
- Mark the spot so you do not dig into it in spring.
- Plant over the trench once soil warms—many gardeners use trenches in empty beds destined for heavy feeders.
Freeze-thaw cycles in soil mechanically break fibers while microbial activity stays slow until spring (NM Healthy Soil Working Group). Trench composting is faster than an exposed cold pile for spring planting in the same bed, though slower than a hot active pile.
Sheet Composting for a Spring Planting Bed
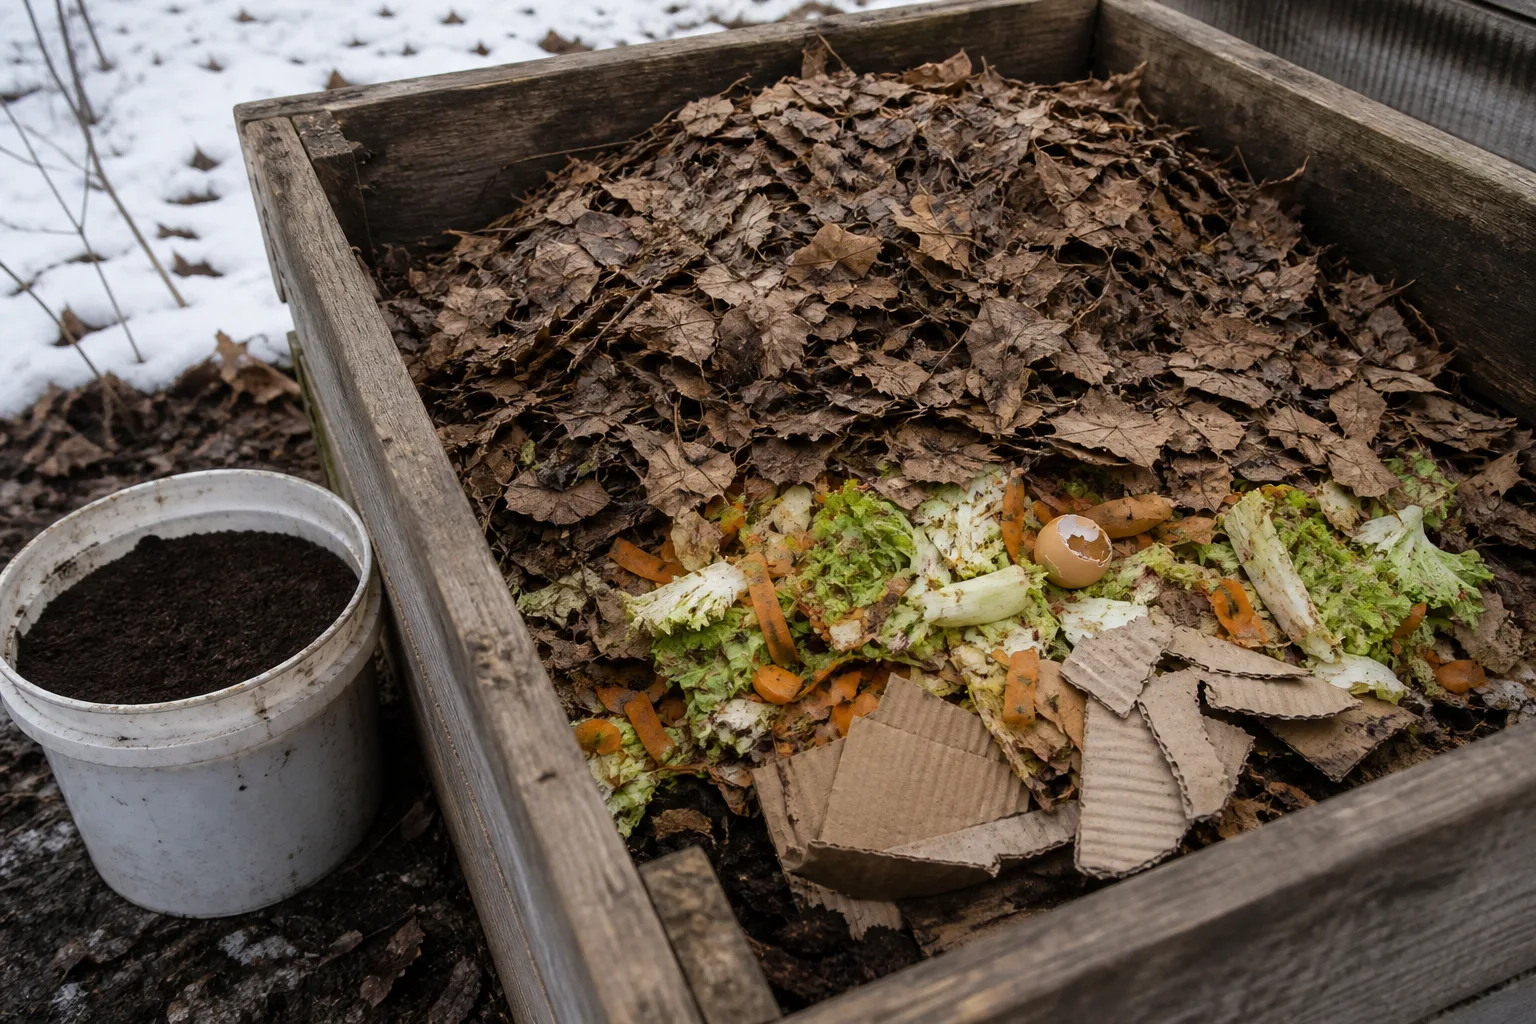
Sheet composting—also called lasagna gardening—builds a planting bed from layered organics on the soil surface rather than in a bin. Alternate green layers (kitchen scraps, fresh grass if you still have them) and brown layers (leaves, cardboard, wood chips), with thin soil or finished compost between strata. Top with mulch.
Sheet beds decompose slowly in winter, then accelerate in spring. Plan six months or more for heavy wood and cardboard layers; lighter leaf-and-scrap beds may be plantable sooner depending on climate and thickness.
Winter sheet composting tips:
- Start the bed in late fall on mowed, weeded soil.
- Water during dry winter spells if layers stay dusty—decomposition needs moisture in all seasons.
- Avoid diseased plant material and persistent weeds; cold sheet beds will not reliably kill seeds or pathogens.
- In spring, test softness with a shovel. If large chunks remain, plant transplants rather than fine seeds until the bed settles.
Outdoor Pile Tips That Actually Work in Cold Weather
Whether you are storing scraps or running an active pile, these outdoor habits prevent the smells, ice blocks, and rodent visits that make gardeners quit.
Size, Cover, and When Not to Turn
Size fights freeze. Aim for one cubic yard minimum for any pile you expect to stay biologically active. Tumblers help because sealed drums retain heat and exclude animals, but small tumblers still freeze faster than large stationary piles.
Cover retains heat and sheds rain. A tarp, old carpet, or deep leaf/straw blanket reduces heat loss. Leave the cover loose enough for some air exchange unless you are in a dry climate where you need to trap moisture.
Turning in deep winter usually hurts more than it helps. A frozen outer shell insulates the core. Breaking that shell dumps heat. Add new material to the top or center pocket instead. Plan a full rebuild and turn after the first sustained warm spell above 50°F when the pile softens.
Skip wood ash in winter piles unless you know your soil needs it. Ash is alkaline and can shift pH away from the neutral-to-slightly-acid range many compost organisms prefer. Small amounts on a large hot pile differ from repeated ash dumps on a cold bin.
Browns to Stockpile Before Hard Frost
Winter composting fails when gardeners have endless greens (kitchen scraps) and zero browns (dried carbon). Stockpile browns in fall:
- Shredded or whole tree leaves (oak and maple are excellent; avoid thick walnut leaf mats if you compost heavily in one spot)
- Pine needles in moderation—they are slow but usable browns
- Shredded cardboard and plain newsprint (avoid glossy color inks when possible)
- Straw (verify herbicide-free; see companion guide below)
- Dry garden stalks chopped small
Bag leaves beside the bin or stash them under a tarp where you can reach them when snow is deep. For every container of kitchen greens, plan two to three containers of browns in winter—more than summer, because cold piles cannot vent fermentation odors as easily.
Coffee grounds count as greens, not browns. If you save them, pair with extra leaves; see our leftover coffee grounds hacks for balance tips.
Indoor Vermicomposting in Winter
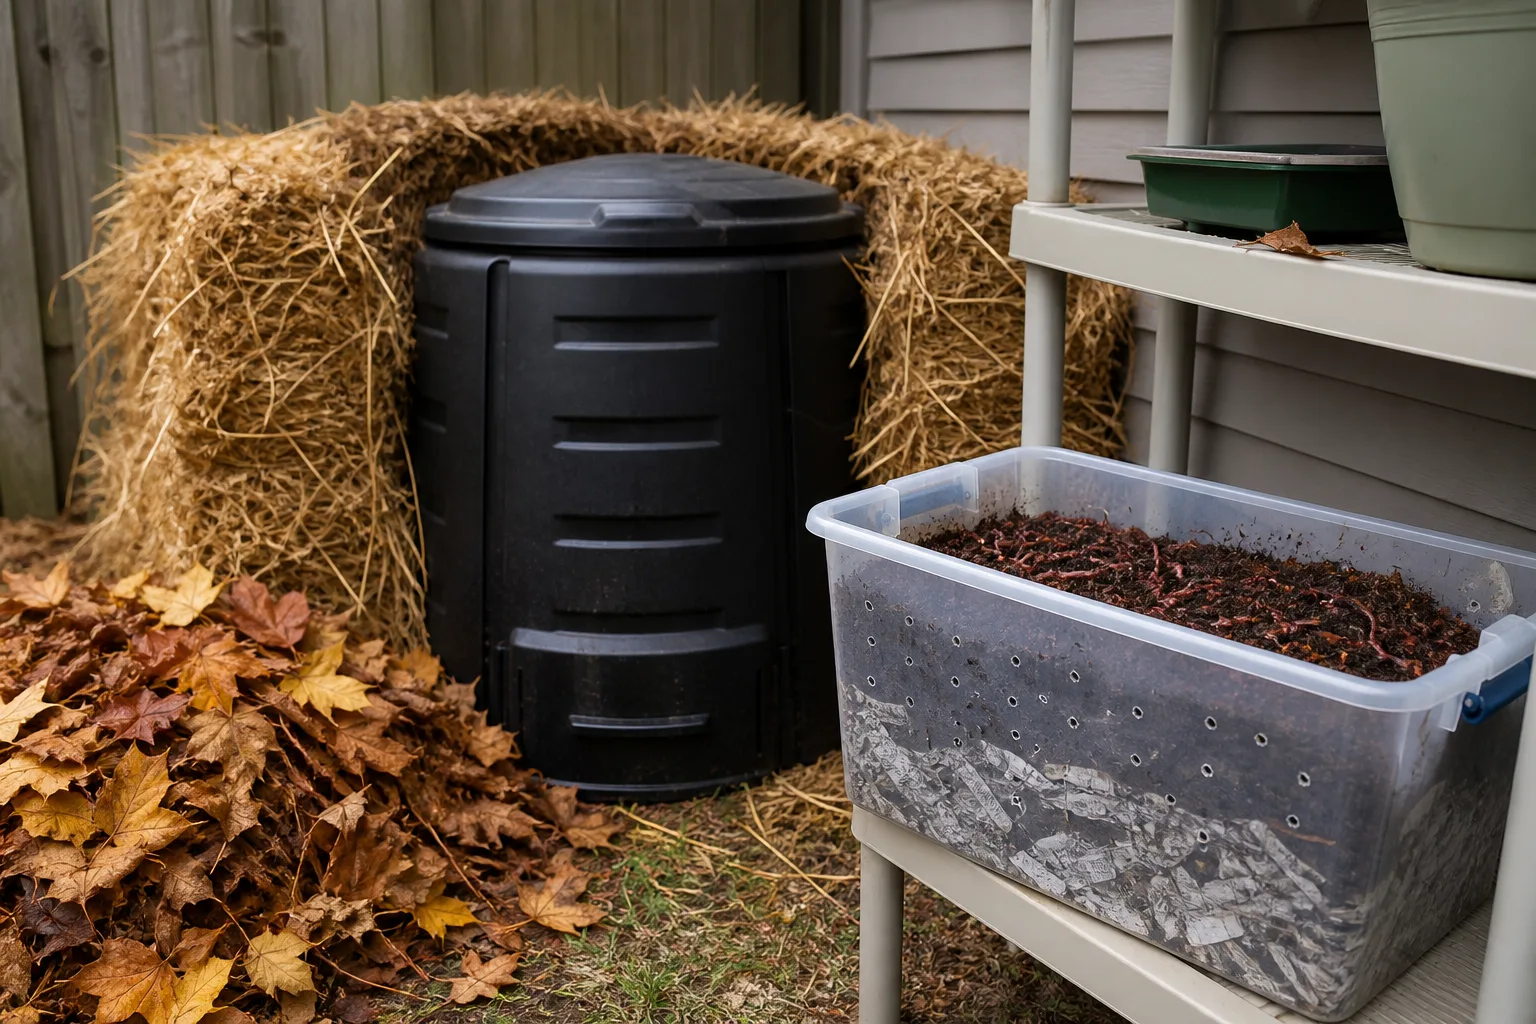
Vermicomposting uses composting worms—usually red wigglers (Eisenia fetida)—to consume kitchen scraps and produce worm castings, a mild, plant-ready amendment. Worms work year-round indoors at comfortable room temperatures.
UMaine Extension’s gardening manual notes vermicomposting as an efficient small-scale method suitable when outdoor piles are impractical (UMaine Extension). A basic worm bin needs:
- A shallow container with drainage and airflow holes (or a commercial stacking worm system)
- Bedding: moist shredded newspaper, cardboard, or coconut coir—not garden soil as the primary medium
- Small, regular feedings of fruit and vegetable scraps, coffee grounds, eggshells (crushed)
- No meat, dairy, or oily foods in most home worm bins
Winter-specific worm care:
- Keep the bin between roughly 55–80°F. Basements and heated mudrooms work; unheated garages freeze worms.
- If you must keep worms in a cool space, insulate the bin with straw bales or blankets and reduce feeding when temperatures dip.
- Outdoor worm bins in mild urban areas can survive with insulation, but sustained hard frost kills worms unless the bin is protected (NM Healthy Soil Working Group).
Harvest castings every few months by moving finished material to one side and feeding the other, or by light harvesting from stacking trays. Castings store well in a breathable bag until spring top-dressing season.
Bokashi for Winter Kitchen Scraps You Cannot Pile
Bokashi is a Japanese fermentation method: layer kitchen waste with Bokashi bran (typically wheat bran or sawdust inoculated with effective microorganisms) in an airtight bucket. Over six to seven weeks, material ferments—not fully composts—into a sour, pickled state.
Bokashi accepts items cold outdoor piles should not handle, including small amounts of meat and dairy, because fermentation acidifies the mass before soil incorporation. It fits apartments and winter kitchens where worms are not welcome.
Critical finishing step: Bokashi pre-compost is too acidic to plant into directly. Dig it into soil or an outdoor compost pile, bury it in a trench, or add it to a worm bin in small amounts so soil organisms complete breakdown. A 12-inch soil cover over buried Bokashi is standard practice.
Run two buckets in rotation: fill one while the second ferments. Winter fermentation is slower in cold rooms; keep buckets indoors above 60°F for reliable results.
What to Skip or Redirect Until Spring
Cold piles are storage banks, not sterilizers. Without sustained 130°F+ core heat, many risky inputs persist until you spread compost on edible beds.
Redirect until your pile runs hot again:
- Raw livestock manure and pet waste
- Diseased plants and seed-heavy weeds
- Meat, dairy, and oily kitchen waste in outdoor piles (Bokashi or municipal green waste instead)
- Herbicide-suspect grass clippings, straw, or hay
- Large loads of wood ash
Our companion guide What Not to Compost in Winter walks through temperature thresholds, manure pathogens, and herbicide test protocols in depth. The short rule: only add what would be safe if it never got hot.
Plain fruit and vegetable peels, coffee grounds, tea leaves, crushed rinsed eggshells, shredded leaves, and cardboard remain fine year-round—bury in the center and cover with browns. If you are composting holiday greenery, prep evergreens properly first; see Can You Compost Your Christmas Tree? for branch sizing and flocking cautions.
Harvest Finished Compost Before Hard Frost
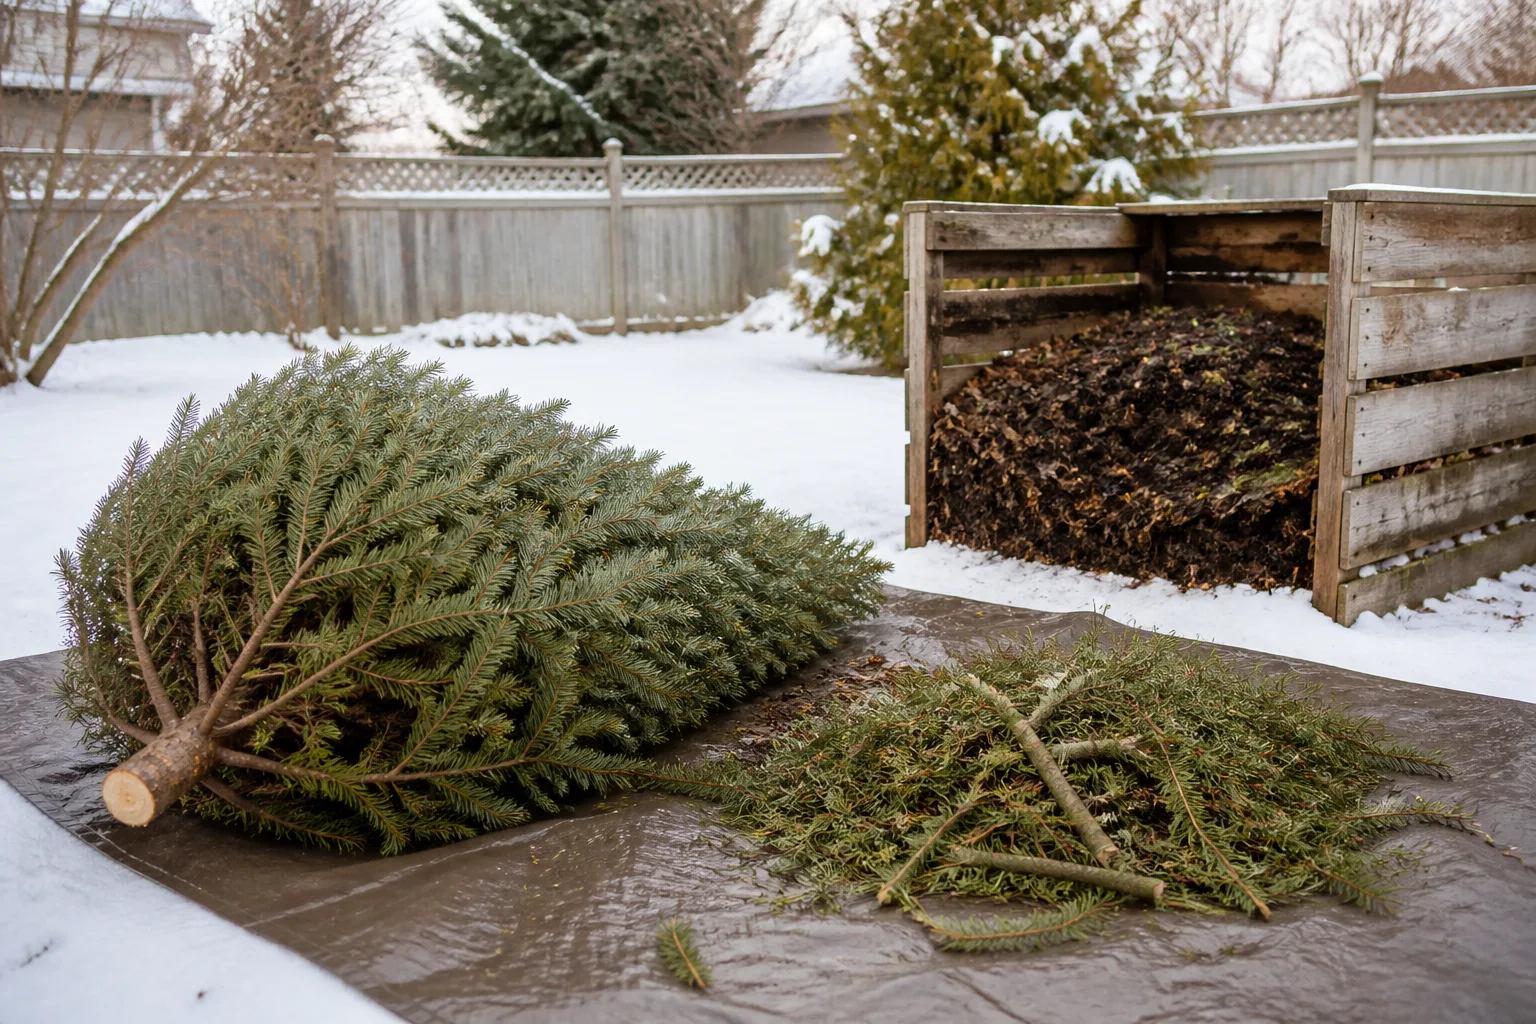
The most overlooked winter compost task happens in late fall, not January: harvest what is already done.
Before cold weather locks your bin:
- Sift or shovel finished compost from the bottom of bins and static piles.
- Spread compost on empty beds, around perennials, or under leaf mulch where it can continue mellowing in place.
- Store finished compost in covered bins or trash cans with lids so spring application is easy.
- Clear volume in your working pile so winter additions do not overflow.
Finished compost applied in fall gives soil organisms months to integrate humus before spring planting. Compost you leave trapped inside a frozen bin does nothing for your garden until you free it—and you lose space for winter scrap banking.
Conclusion
Winter composting does not require heroics. Doing nothing—freezing scraps, adding them to a covered bin with ample browns, and waiting for thaw—is a legitimate, effective plan. If you want more, trench before freeze, sheet-build a spring bed, insulate a large outdoor pile, or run worms or Bokashi indoors.
Match your method to your pile’s real temperature, not your summer ambitions. Stockpile browns, harvest finished compost in fall, and keep risky materials out of cold heaps. When March arrives, the organic matter you banked in January will already be where it belongs—ready to break down fast and feed the garden you are about to plant.



