7 Early Spring Planter Ideas for a Brighter Garden
Try seven early spring planter ideas with bulbs, pansies, salad greens, herbs, and pollinator flowers, plus container sizes and late-frost protection.
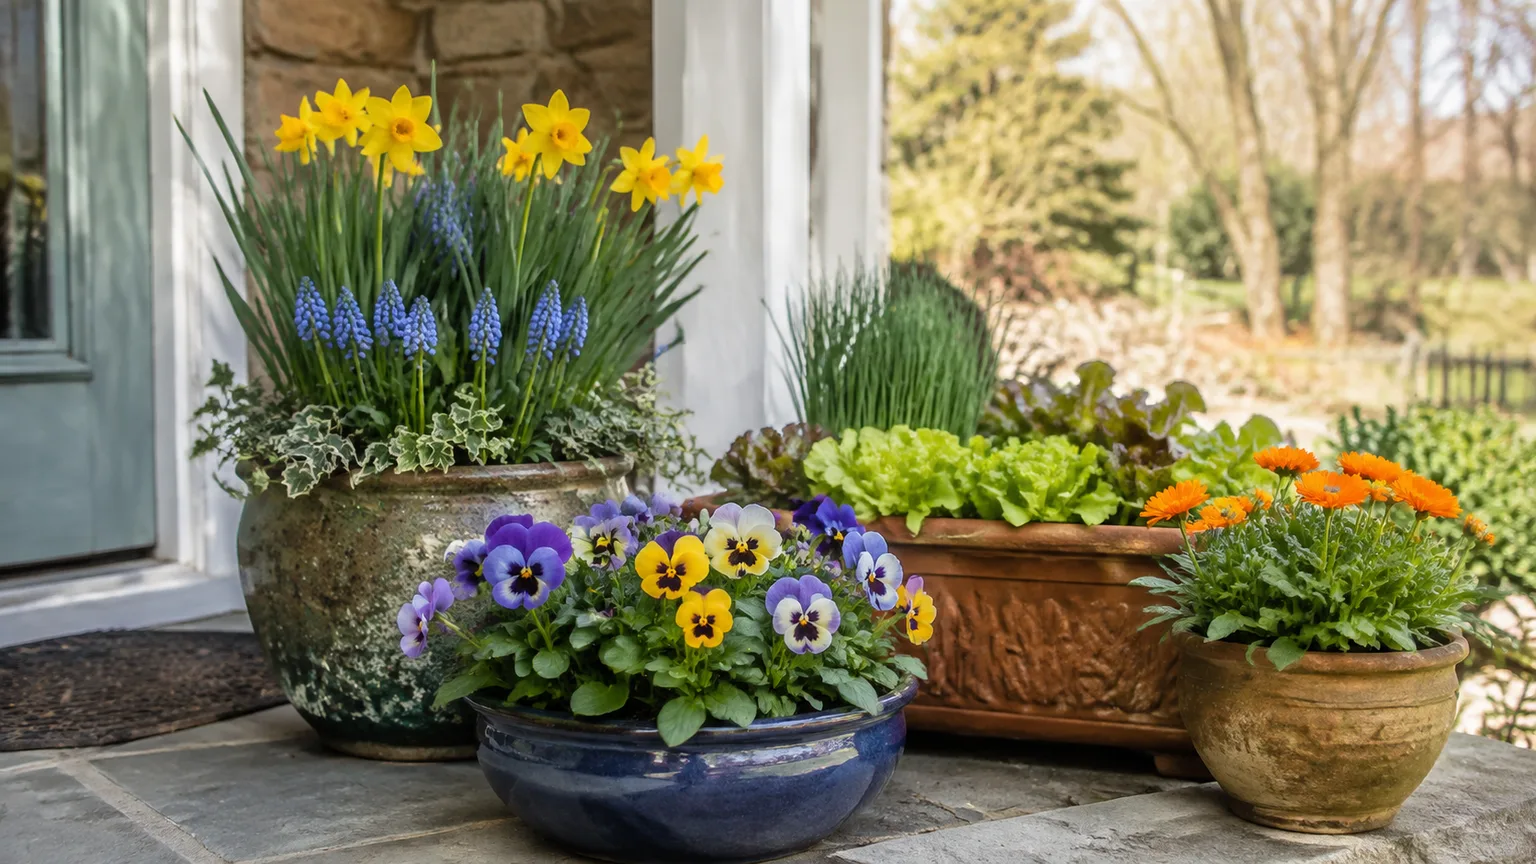
Early spring planters work best when they are built around the weather you actually have, not the date printed on a seed packet or the first warm afternoon of the year. Start with plants that prefer cool conditions, use a container large enough to keep their roots steady, and leave yourself a way to move or cover the pot when winter makes a brief return.
The seven ideas below cover different jobs: a bulb display for instant spring drama, flower pots for color, edible bowls for quick harvests, herbs for the kitchen, and a pollinator-friendly combination for a busy doorstep. Each recipe includes a useful limitation, because the plant that looks perfect in March may need replacing or pruning when summer heat arrives.
What makes an early spring planter work
The strongest early spring container has three things in common: a plant list matched to cool weather, a potting mix that drains while holding enough moisture, and a location that can be adjusted. Spring sunlight can be bright, but the air, roots, and wet soil may still be cold. A sheltered south- or west-facing wall can create a warmer microclimate, while an exposed balcony can make the same plant feel several degrees colder and dry out the pot faster.
For edible crops, Colorado State University Extension separates cool-season vegetables from warm-season vegetables. Cool-season crops such as lettuce, kale, carrots, chard, radishes, and spinach can tolerate light frost and are generally planted before the average spring frost date in suitable climates; warm-season crops such as tomatoes, peppers, eggplant, and summer squash are frost-intolerant and belong in a later planter. Use that distinction as a starting point, then adjust it to your local forecast and the hardiness information for the exact cultivar. (Colorado State University Extension)
Choose the container around the roots
A planter should be selected by mature root needs first and appearance second. A shallow bowl can be excellent for crocuses, small bulbs, lettuce, or radishes, but it is a poor long-term home for carrots, kale, a large herb, or a plant that will be carried into summer. University guidance from NC State lists a minimum depth of about 6 to 8 inches for shallow-rooted annuals, lettuce, radishes, and scallions; carrots need closer to 10 to 12 inches. Larger plants such as kale, tomatoes, and peppers need considerably more volume. (NC State Extension)
As a practical rule, use a window box at least 6 inches deep for loose-leaf greens and herbs, a 10- to 12-inch-deep pot for root crops, and a container of roughly 3 to 5 gallons for a full-sized leafy vegetable or a mixed display that must stay productive for several months. More soil usually means a slower swing between dry and wet, which gives you a more forgiving watering routine. A tiny pot can still be beautiful, but it is a high-maintenance choice rather than a low-maintenance one.
Build for drainage, not just decoration
Every container needs a real drainage opening, and the opening must remain above a surface where water can escape. Do not add a layer of gravel, broken pottery, or stones underneath the potting mix as a drainage shortcut. NC State Extension explains that this creates a perched layer of wet mix above the coarse material; it does not make the usable root zone drain better. Fill the container with a continuous, lightweight potting mix instead. (NC State Extension)
Use fresh commercial potting mix for new edible plantings, or reuse old mix only when you know it has not held diseased plants and you can restore its fertility. Garden soil is too heavy and compacting for most pots. A suitable mix holds moisture without staying saturated, leaves pore space for oxygen, and is light enough that you can shift the planter when frost threatens. If an ornamental cachepot has no hole, keep the plant in a separate nursery pot inside it and empty any collected water after rain or irrigation.
Planting day: a simple setup
Before filling the pot, place it where you can reach it with a watering can and where the drainage water will not stain a wall or pool on a deck. Add the potting mix slightly damp, not bone-dry, then set plants at the same depth they were growing in their nursery cells. Do not bury a crown or compress the mix around the stems. For direct-sown greens, water the mix first, sow more seed than you need, and thin by snipping extras once seedlings are large enough to handle.
Plant for the view from the main approach. Put the tallest plant toward the back of a wall-side box or in the center of a pot that can be seen from every direction. Keep low fillers near the rim, and use a trailing plant only when it will not shade the crop you want to harvest. A full-looking pot on planting day is tempting, but leaving a little air between plants lowers competition and makes watering, deadheading, and pest checks easier.
Choose location by light, not by convenience alone. NC State Extension notes that most flowers and fruiting vegetables prefer 6 to 8 hours of sun, while many herbs and cool-season vegetables tolerate partial shade and can manage with roughly 3 to 5 hours of direct light. A bright eastern exposure is often a useful compromise for pansies and tender spring transplants: it gives morning light without the strongest afternoon heat. (NC State Extension)
Idea 1: The layered bulb planter
For the most theatrical spring display, build a bulb “lasagna” in a broad, stable pot. Use firm, healthy, already-rooted or already-shooting bulbs from a garden center when you want flowers this season. Place later-blooming, larger bulbs such as daffodils or short-stemmed tulips in the lower layer, cover them with mix, add hyacinths or other medium bulbs, then finish with crocuses or grape hyacinths near the top. The flowers emerge in succession, so the pot changes rather than peaking on one day.
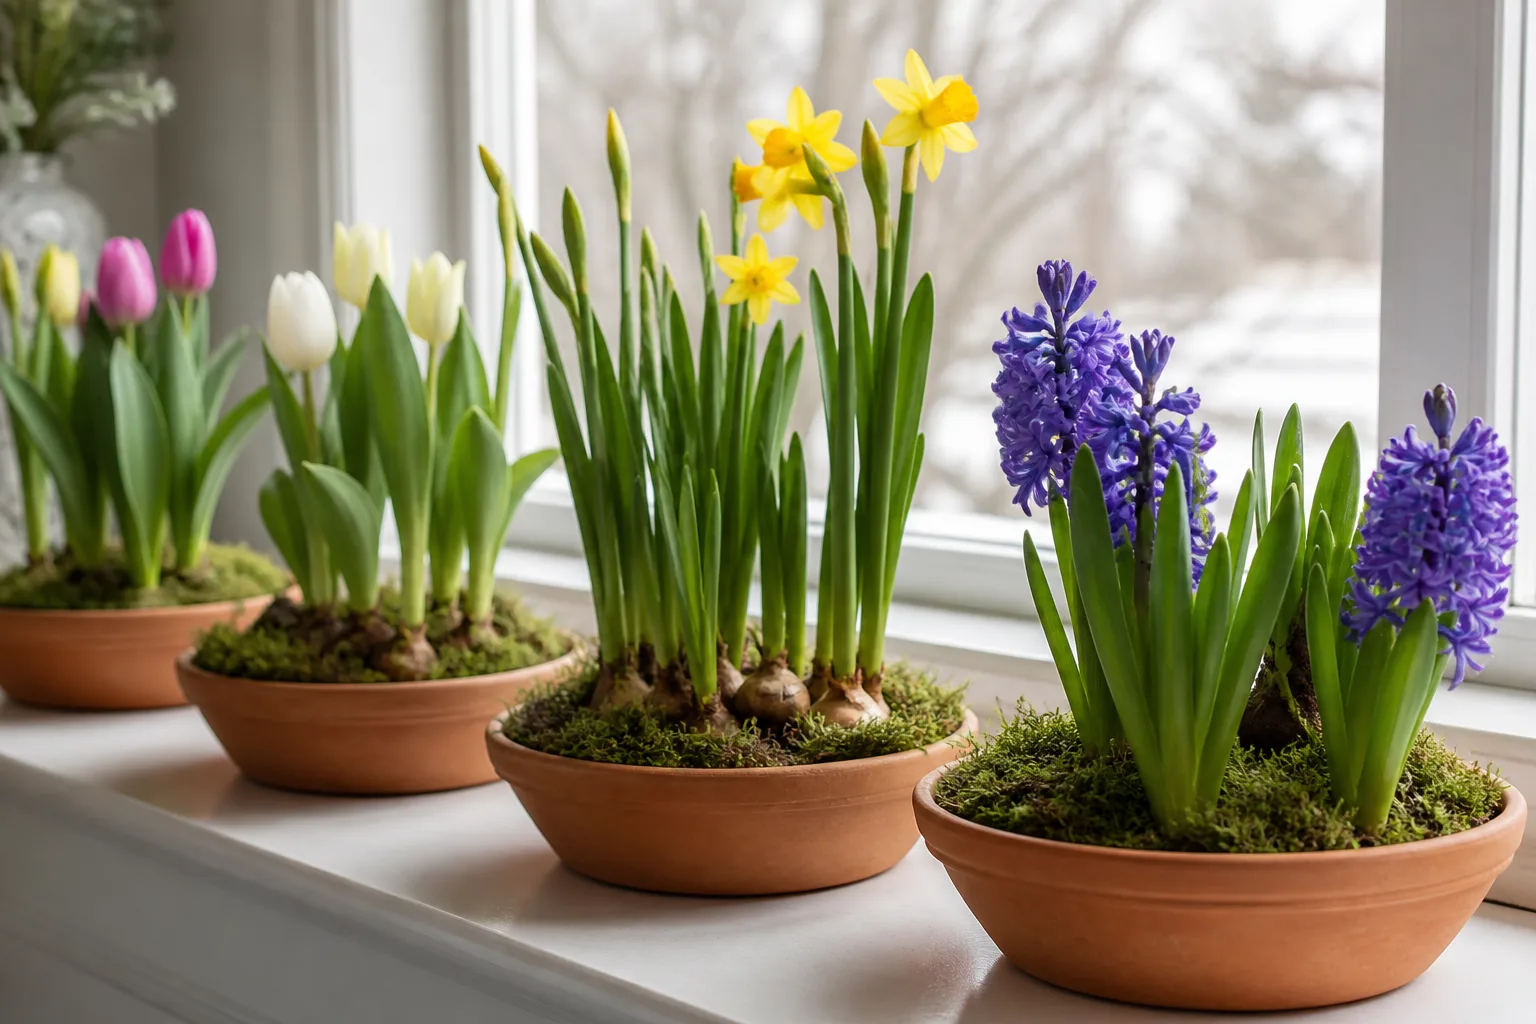
The exact planting depth and chilling requirement vary by bulb, so follow the label for each type and choose bulbs sold for the same growing conditions. Keep bulbs separated by soil rather than touching one another, and leave enough room for water to pass through. A broad pot at least 10 to 12 inches deep is easier to manage than a shallow bowl, particularly when it contains several layers. BBC Gardeners’ World Magazine describes using bulbs deep beneath other container plants to extend the season and notes that small bulb groupings can also work in compact pots. (BBC Gardeners’ World Magazine)
Here is the important timing distinction: a dry tulip or daffodil bulb bought in early spring may not have enough time or cold exposure to flower well immediately. A potted bulb, a pre-chilled bulb, or a bulb already showing a healthy shoot is the better choice for an instant display. Dry bulbs are usually an autumn project for next spring. Once the flowers fade, remove spent blooms but leave green foliage until it yellows so the bulb can rebuild energy. If you want a pot that is attractive after bloom, tuck in a few pansies or low herbs, but do not crowd the bulbs before they emerge.
Idea 2: A pansy-and-viola color block
For a fast, reliable-looking porch planter, choose one strong color family of pansies, violas, or a deliberate pairing such as purple and yellow. Pansies supply larger, expressive flowers; violas have smaller blooms and a compact habit that often holds up better in wet, unsettled weather. Three or five plants in a 10- to 12-inch pot can look fuller immediately, while a window box can hold a repeating rhythm of one color with a contrasting edge.
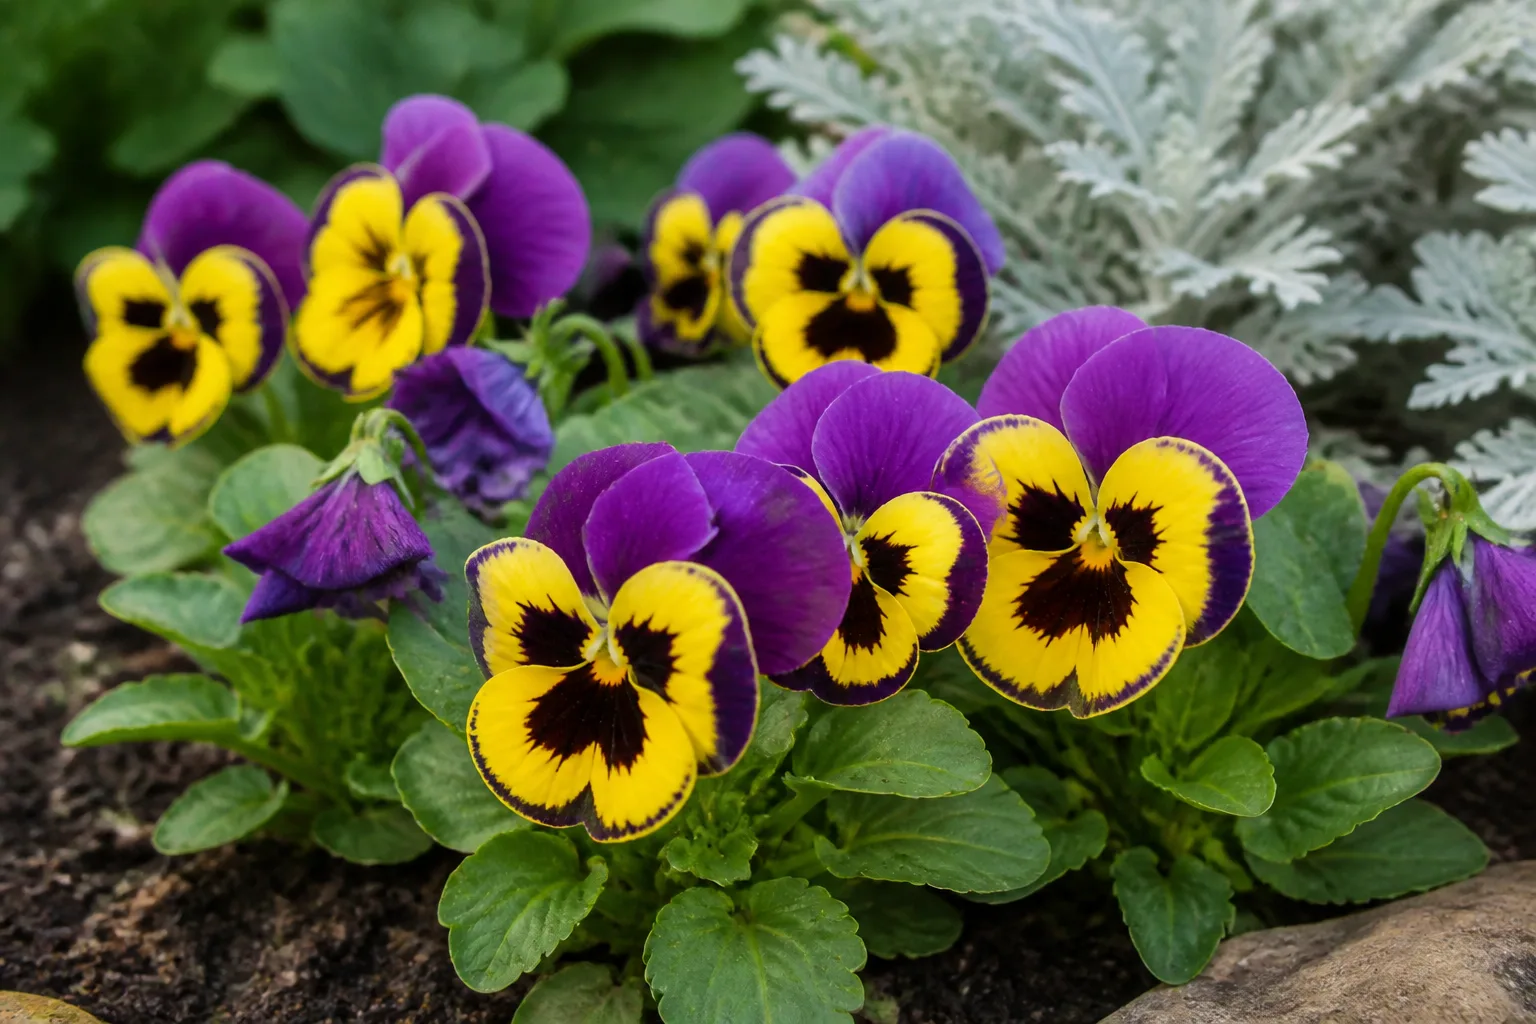
Use a light, well-drained potting mix and keep the soil evenly moist without leaving the pot in a full saucer. Pansies prefer cool conditions and can handle light frost, but a forecast of a prolonged freeze, strong wind, or a hard temperature drop is still a reason to move or cover the container. Epic Gardening’s horticulture-reviewed guidance recommends regular checks, morning sun or partial shade, and deadheading to keep container pansies flowering. (Epic Gardening)
To make the display look intentional, repeat one visual decision: one bloom color, one pot color, or one foliage accent. Silver foliage can cool down a hot purple-and-yellow scheme, while a simple dark container makes pale blooms stand out. Pinch or snip spent flowers at their stems rather than letting the plant spend its early energy on seed. When temperatures rise, move the planter to morning sun and afternoon shade, or replace it with a warm-season combination before the flowers become stretched and tired.
Idea 3: The edible salad bowl
A salad bowl is one of the easiest early spring planter ideas because it rewards partial harvesting. Fill a wide container at least 6 to 8 inches deep with leaf lettuce, arugula, spinach, and a few scallions. Sow radishes around the edge for quick roots, or add a small patch of colorful lettuce so the pot reads as a designed planting rather than a row of anonymous leaves.
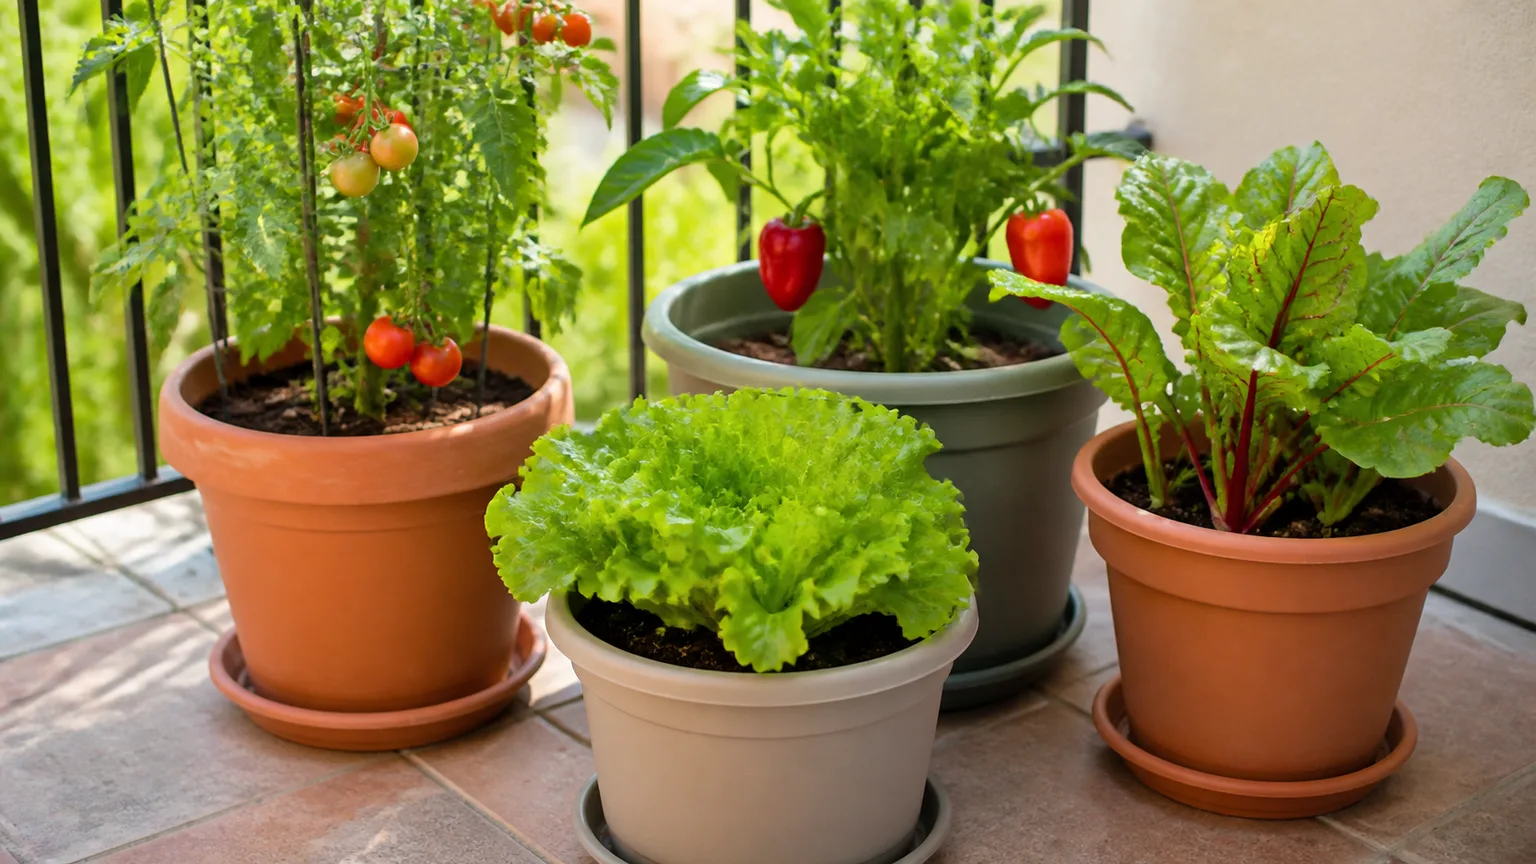
Do not pack the plants as tightly as a nursery display. Give lettuce and Swiss chard roughly 4 to 6 inches of room if you want full plants, and thin radishes to about 2 to 3 inches so their roots can develop. University of Wisconsin Horticulture identifies arugula, kale, lettuce, and spinach as particularly useful container crops because they can be harvested repeatedly and replanted through the season; it also recommends compact varieties and a container with a drainage hole. (University of Wisconsin Horticulture)
Harvest the outside leaves first and leave the center growing point intact. For baby greens, snip a portion of the leaves when they are young, then reseed an open patch rather than waiting for the entire bowl to finish. Keep the pot close to the kitchen, where you are more likely to notice a dry surface. Colorado State University Extension cautions that container vegetables lose quality when water or fertility lapses; leaves can become tougher or stronger-flavored when growth slows. (Colorado State University Extension)
If carrots are part of the plan, give them their own 10- to 12-inch-deep container rather than squeezing them into a salad bowl. Short-root varieties are easier, but depth and even moisture still matter more than a decorative pot shape. Use a clean container intended for growing food, especially if you are reusing a vessel with an unknown history.
Idea 4: The jewel-toned kale and chard pot
Make an ornamental edible centerpiece with one compact kale plant, one Swiss chard plant, and a small ring of parsley or pansies around the outside. Red-veined chard and purple or blue-green kale bring color and texture long after the first flowers fade. This is a useful choice for a patio or balcony where you want one substantial pot that can be harvested rather than several small pots that dry out quickly.
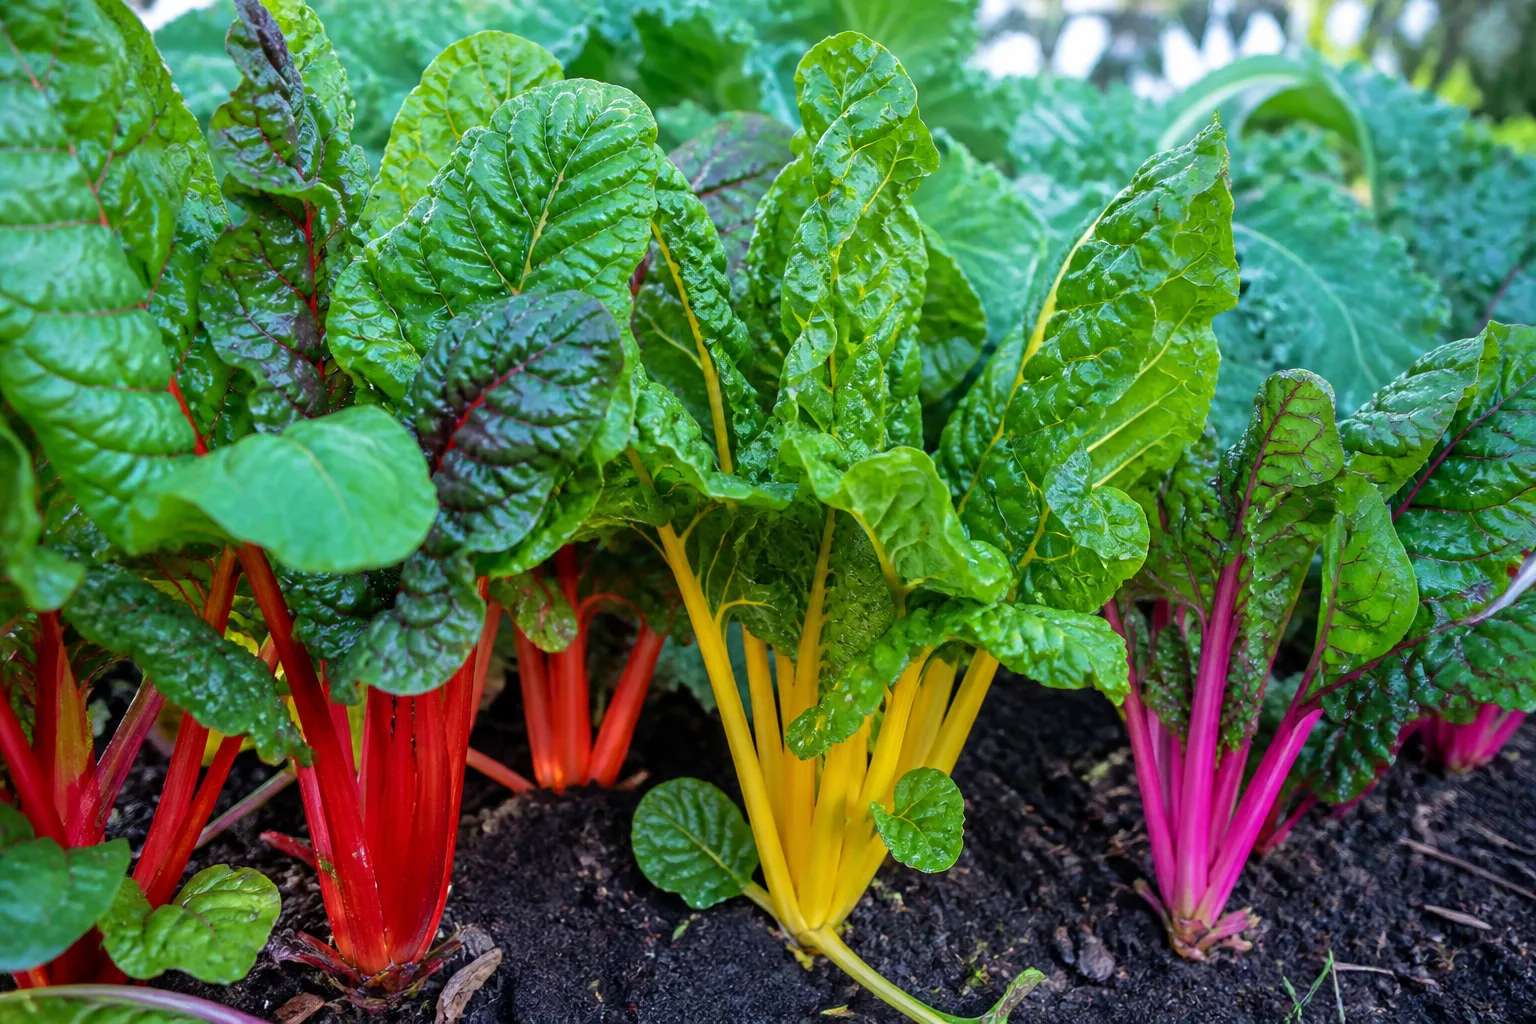
Use a 3- to 5-gallon container, or a box at least 10 to 12 inches deep, with the plants spaced so leaves can expand without folding into a damp mass. A kale plant can become broad, so put it toward the back or center and let chard occupy the lower side of the composition. Parsley can fill a gap while staying useful in the kitchen; pansies add a temporary flower layer but should not be allowed to shade the leaves.
This pot is more forgiving than a delicate flower arrangement, but it still needs a steady routine. Check the mix a couple of inches down, water thoroughly when it is dry, and allow excess to drain. NC State Extension notes that frequent container watering can wash nutrients out of the mix, while overfertilizing can damage roots and produce leafy growth at the expense of flowers or fruit. Use a vegetable fertilizer only according to its label, and do not feed a stressed, cold, waterlogged pot just to make it grow faster. (NC State Extension)
As spring turns warm, keep harvesting the outer leaves. If the kale or chard bolts or becomes too large for the pot, remove it and replant the opening with a heat-tolerant crop suited to your conditions. The original mix can support a second planting if it remains loose, drains well, and is replenished as directed on the fertilizer label.
Idea 5: A fragrant cool-season herb box
Put parsley, cilantro, dill, and chives in a window box or long planter near the kitchen door. Their different leaf shapes give you height and texture without requiring a flower-heavy design: upright dill and chives add fine lines, parsley forms a dense mound, and cilantro fills gaps with soft, rounded foliage. This is a planter you can use every day, which makes it easier to notice when it needs water or when a plant is beginning to flower.
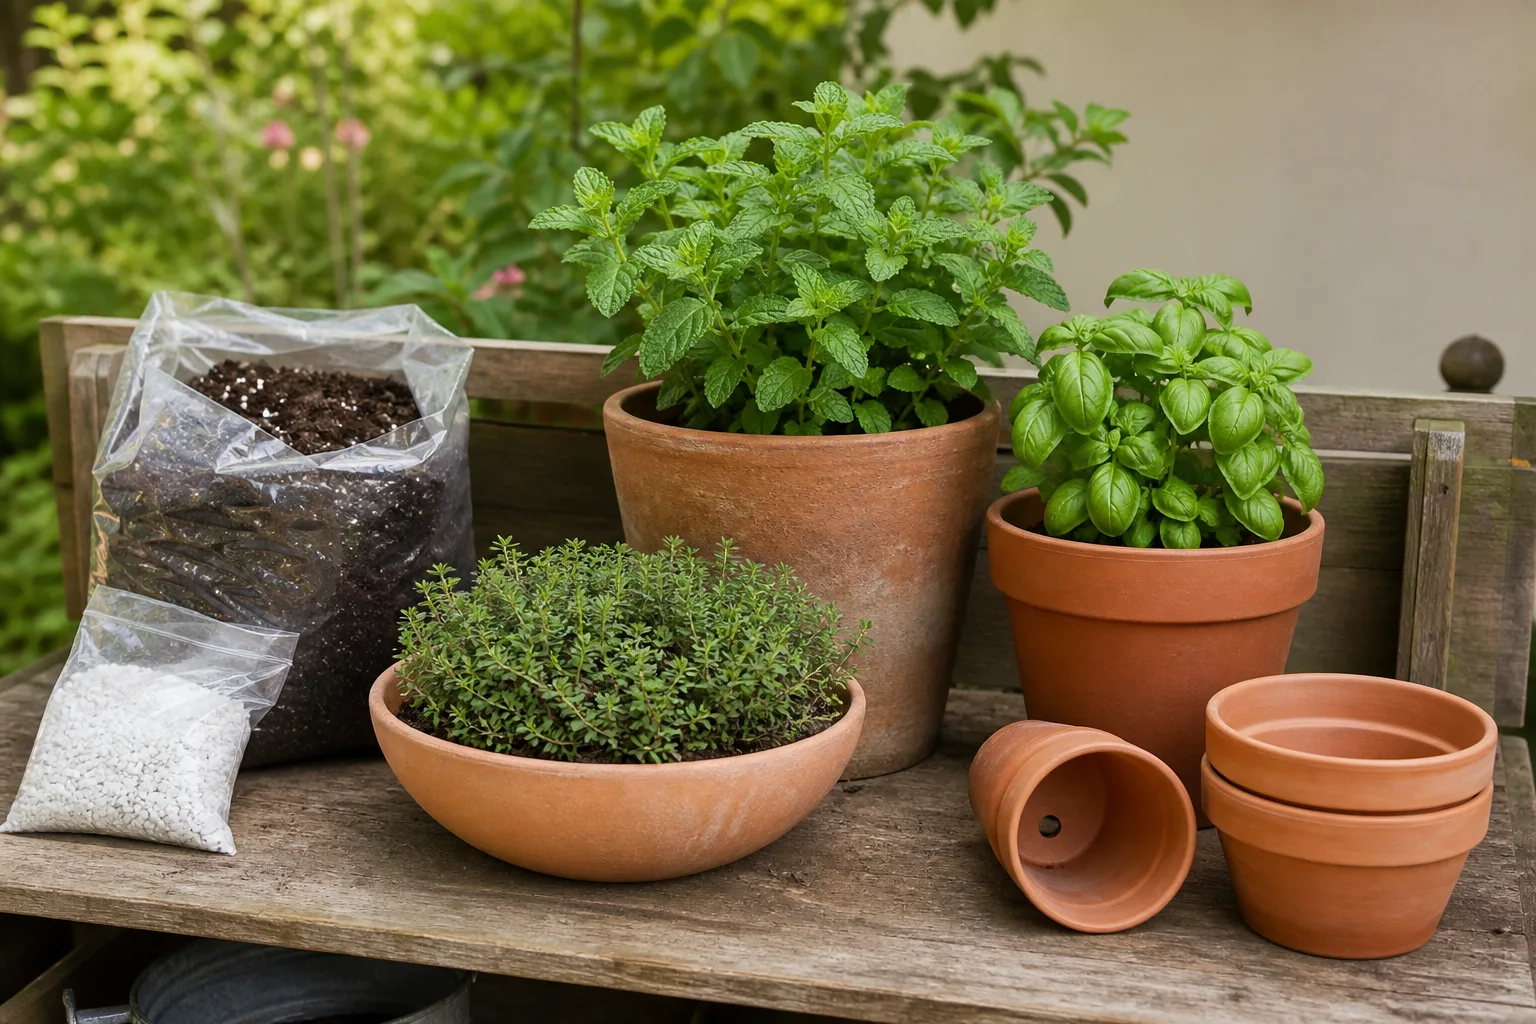
Keep the herbs together only when their moisture and light needs overlap. NC State’s container tables list chives, cilantro, dill, and parsley among herbs that tolerate some shade, while rosemary prefers brighter conditions and a drier mix. If you want rosemary, give it a separate pot or place it at the driest end of a very well-drained box. Do not let a thirsty herb routine keep a drought-tolerant herb constantly wet. (NC State Extension)
Harvest little and often. Snip chives above the base, cut outer parsley stems, and take cilantro or dill from the outside so the center can keep producing. Cilantro and dill may flower or bolt as days lengthen and temperatures climb; that is not a failure, but it marks the time to sow a new round or switch to a summer herb. If you include mint, keep it in its own pot inside the box because its runners can turn a tidy mixed planter into a crowded root competition.
For a decorative edge, add a few edible flowers only if you have positively identified the plant and know it has been grown without ornamental pesticides. Otherwise let the herbs provide the fragrance and use a separate flower pot for color. Keeping food plants and unknown nursery ornamentals distinct is a simple way to avoid accidental harvest mistakes.
Idea 6: The pollinator breakfast pot
Create a small early-season nectar stop with a cluster of crocuses, calendula, primrose, or another locally appropriate early bloomer. The goal is not to make a tiny pot carry an entire pollinator garden; it is to offer an accessible patch of flowers when few other containers are blooming. Choose flowers with different shapes and bloom times, and keep the pot in a bright, visible spot where you can watch which insects actually visit.
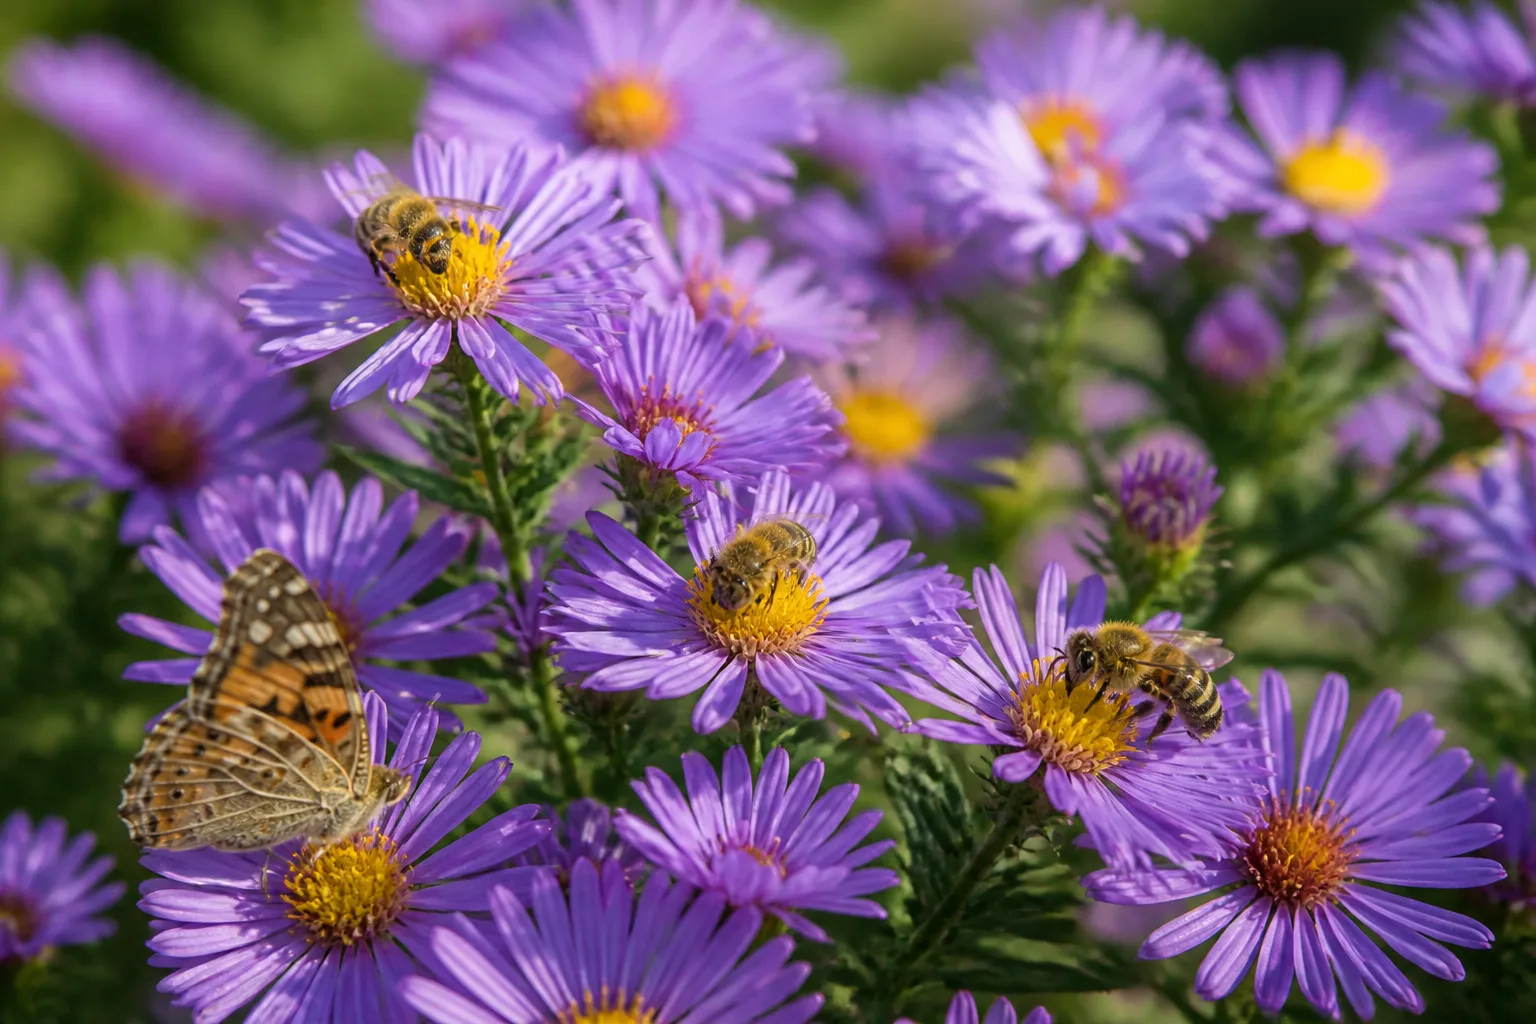
A 12-inch pot can hold one compact focal flower surrounded by two or three low fillers, but avoid treating “pollinator-friendly” as a license to overplant. Plants still need air movement, room for roots, and water that drains. If your area supports native spring plants that can thrive in containers, prioritize those; a locally native plant can fit the timing and pollinator community better than a generic flower selected only for color. Non-native annuals can still add useful nectar, but they should complement rather than replace habitat in the ground.
Use a soft color scheme if you want a calm entryway display—yellow calendula with white or pale primrose—or create contrast with purple crocuses and yellow flowers. Skip pesticides in the planter unless a genuine pest problem warrants an accurately identified, label-directed response. A few chewed leaves are often less important than keeping flowers open and the container healthy. Deadhead selectively: remove ruined flowers for appearance, but leave a few seed heads when they add value and do not create a messy or unsafe situation.
Idea 7: The one-plant statement pot
A single plant repeated in a group of pots is the best answer when mixed combinations feel busy. Fill three matching containers with pansies, violas, calendula, or another cold-tolerant plant, then place them at slightly different heights. One plant type creates rhythm; three pot sizes create variation. This approach also avoids the most common mixed-container mistake: pairing plants with different light, water, or temperature needs because they look good together in a garden-center tray.
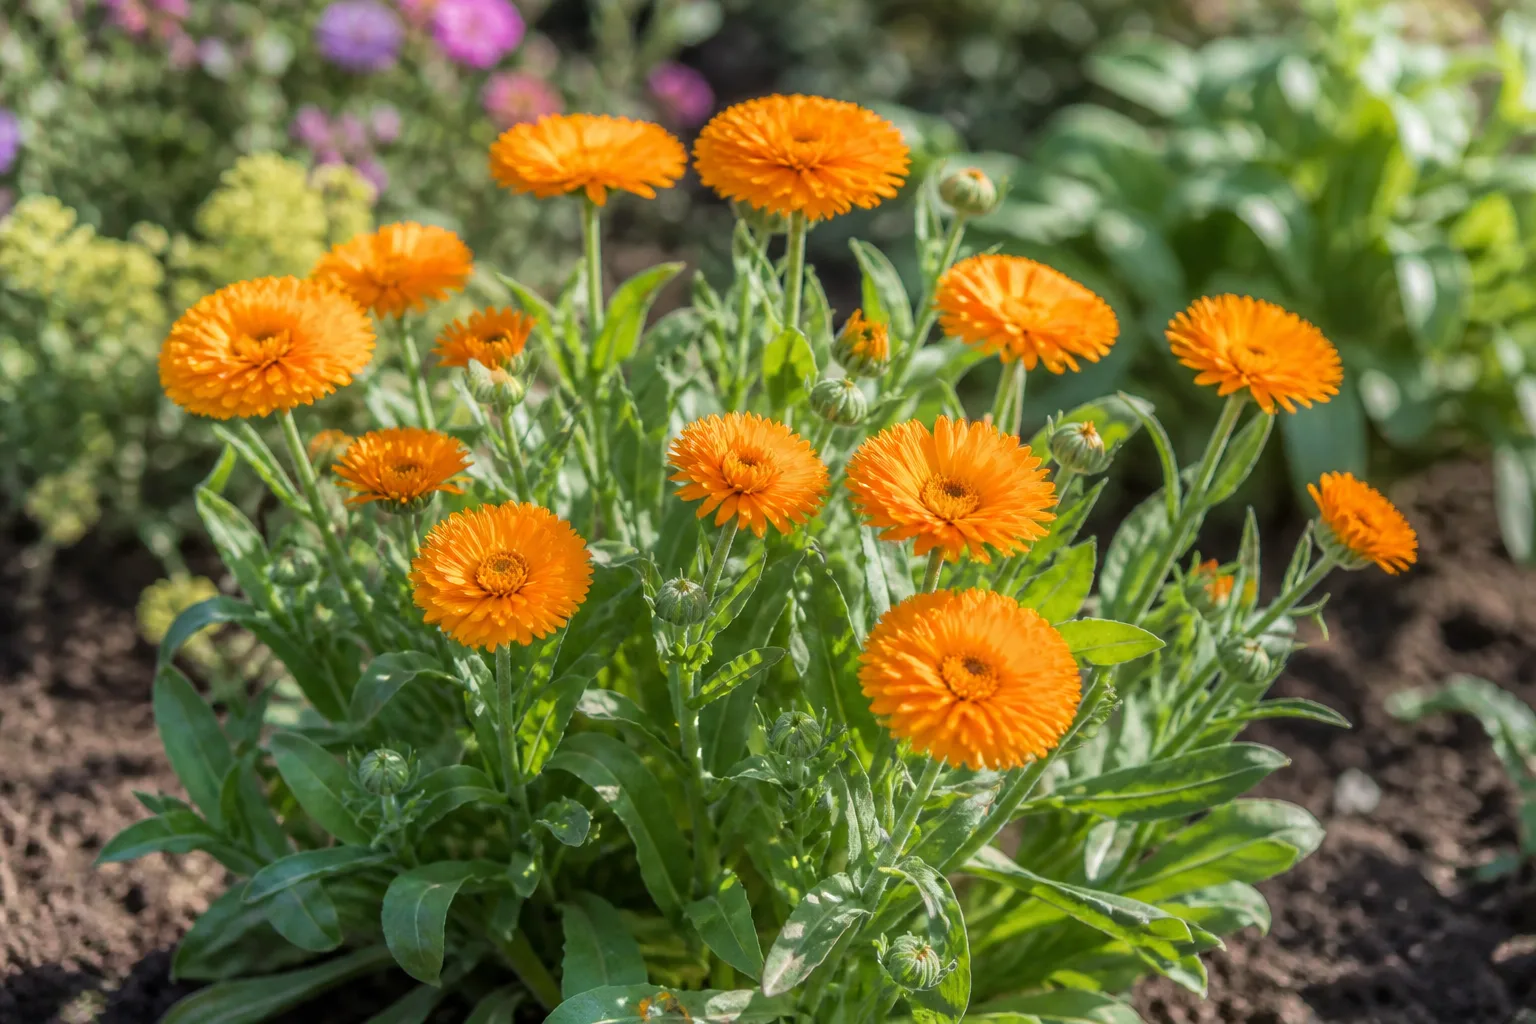
For one large statement planter, use a dense cluster of the same flower rather than one lonely transplant in an oversized pot. Leave enough mix for the roots and enough headroom for watering, then use the pot as a movable focal point near the front door, steps, or patio seating. If the planter is on a balcony, account for the full weight of wet soil and consider a stable base before filling it.
This is also the easiest design to refresh. When the spring plant begins to fade, lift the root ball, shake away only loose exhausted mix, and replace it with a summer plant that suits the new light and temperature. You do not need to keep a spring container alive indefinitely to get value from it; a strong six- to ten-week display followed by a clean seasonal handoff is often better than forcing a cool-season plant through heat.
How to protect planters from a late frost
Treat a late frost as a short decision problem, not as a reason to abandon early planting. First check the forecast at your plant’s location, not just the official weather station. A pot on an exposed roof, a dark balcony, and a sheltered wall can experience different wind and temperature patterns. Consider the predicted low, wind, how long the cold will last, whether the plant is newly transplanted, and whether the container can be moved.
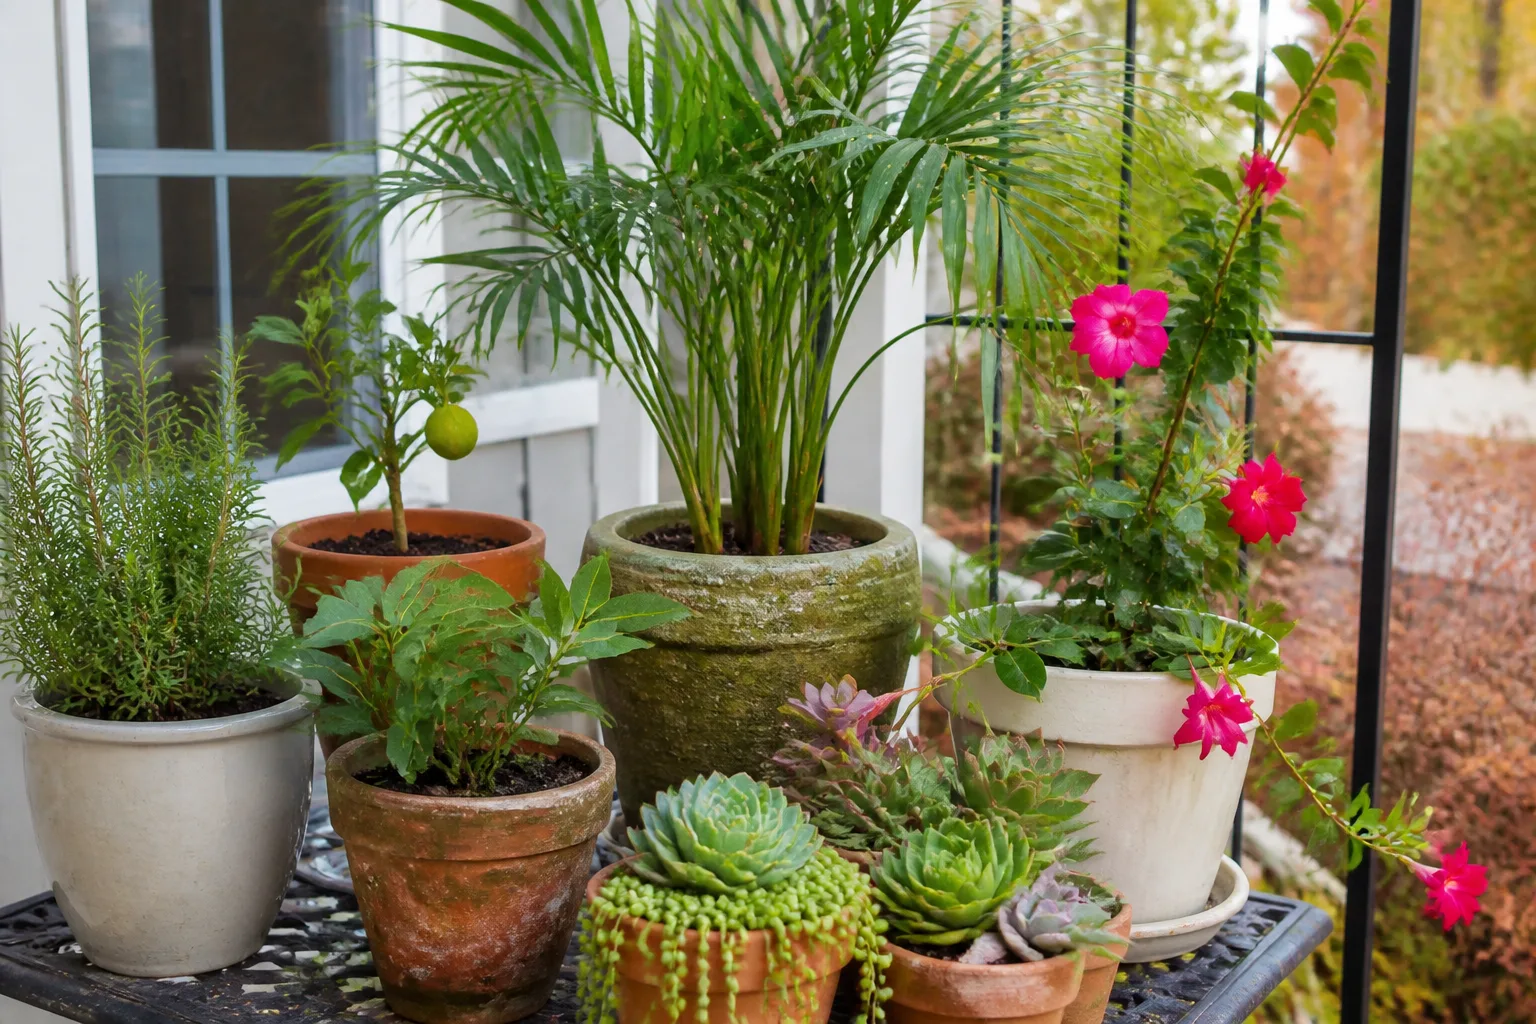
Tender warm-season crops, tiny pots, flowering buds, and newly purchased plants deserve protection first. Cool-season greens, pansies, violas, and established hardy plants can often remain outside during a light frost, but the word light matters. A plant label is not a guarantee for a small root ball sitting above ground, and a long freeze can damage plants that would be fine in a garden bed.
Match the response to the forecast
- Short, light frost: Move small pots to a garage, shed, enclosed porch, or other space that stays above freezing. For heavier pots, cover the foliage with frost cloth or a sheet supported above the leaves and anchored around the container.
- Windy or prolonged freeze: Prioritize moving tender planters or placing them against a protected wall. A loose sheet can lift, rub the foliage, and expose the pot; wind makes shelter more important than a quick cover.
- Plastic cover only: Never let plastic touch leaves. Use stakes or a frame to suspend it, and remove or ventilate it after sunrise as temperatures rise. Epic Gardening’s frost guidance also emphasizes removing covers in daylight so the protected space does not overheat. (Epic Gardening)
- Dry pot before the cold: Water only if the plant actually needs it, and do so early enough for excess water to drain. Moist—not waterlogged—mix is the goal. Watering cannot make a tender plant frost-proof.
- After the frost: Let frozen leaves thaw before handling them, check the mix and drainage, and wait before cutting back every brown tip. Damage can declare itself over several days; remove clearly dead tissue after you can see what remains alive.
Protect the root zone as well as the leaves. Grouping pots together beside a wall, wrapping the outside of a container with breathable insulation, or placing a small pot inside a larger one with dry material around the sides can reduce exposure. NC State Extension notes that container roots are less insulated from cold than roots in the ground and may need extra protection even when the plant is hardy in the landscape. (NC State Extension)
How to keep the planter good after the weather turns
The spring planter changes quickly once days lengthen. Check it every morning for moisture, especially if the container is small, dark, terracotta, or exposed to wind. Water deeply enough for some to leave the drainage hole, then empty a decorative saucer. Do not follow a fixed “every two days” routine; container need changes with pot size, plant size, rainfall, temperature, and the amount of root in the mix.
Remove spent blooms before they become a heavy seed load, harvest leafy crops from the outside, and thin seedlings before competition becomes visible. Turn a pot every few days if growth leans toward the light, but do not keep shifting it from shade to harsh sun without allowing the foliage to adjust. If you started plants indoors, harden them off over about a week by increasing outdoor time and light gradually rather than placing tender foliage in full sun on day one.
Plan the handoff before the spring plants decline. Replace cool-season flowers with summer annuals when nights and days are reliably warm in your area, or move edible greens to a cooler position while planting heat-tolerant herbs in a separate pot. A spring bulb display can be lifted after foliage yellows and stored or planted out according to the bulb’s needs; do not cut green leaves merely because the flowers are finished.
Mistakes that make spring planters fail
Planting warm-season crops because the afternoon feels warm. A sunny day is not the same as frost-free soil and nights. Tomatoes, peppers, basil, eggplant, beans, and squash can wait until your local conditions are appropriate, or they can be planted in movable containers with a real shelter plan.
Choosing a tiny pot for a long-season crop. Small containers dry and cool quickly, and their roots have little room to buffer a missed watering. Use them for short displays, shallow greens, or plants you can check several times a day—not for a large kale, a deep-rooted herb, or a summer vegetable that will remain in place.
Using garden soil or a rock layer. Heavy field soil compacts in a pot, while rocks under the mix do not solve a saturated root zone. Use a quality potting mix and a clear drainage path instead.
Overcrowding for instant fullness. Dense nursery spacing can look great in a photograph but creates root competition and stagnant, damp foliage at home. Give the plant a little room, especially when you are growing food, and use succession sowing or a repeated pot to make up for the initial gap.
Assuming “frost tolerant” means “safe in every freeze.” Cold tolerance depends on the species, cultivar, growth stage, moisture, wind, and duration of the event. Keep frost cloth and a moving plan ready even for pansies, violas, greens, and bulbs.
Keeping a spring planter in summer conditions. Cool-season plants often fade when heat, long days, and dry wind arrive. Move them to morning sun, harvest or deadhead, and replant when the display no longer looks healthy. A planned transition is more successful than adding fertilizer to a plant that is simply out of season.
Conclusion
The best early spring planter idea is the one that matches your space, your forecast, and the amount of care you can give it. Start with a sound potting mix, a container deep enough for the roots, and plants that welcome cool weather. Then choose the mood you want: layered bulbs for succession, pansies for dependable color, greens for harvest, herbs for fragrance, a pollinator pot for early visitors, or one repeated plant for a clean statement.
Keep the planter movable or coverable until frost season truly ends, and let the plants tell you when spring has become summer. With that small amount of planning, an early pot does more than decorate the doorstep—it gives you a useful, changeable beginning to the garden year.



