Potting Soil vs. Garden Soil: Which Do You Need?
Choose potting soil or garden soil with a clear beds-versus-containers guide, label-reading tips, DIY mix options, drainage tests, and rescue steps.
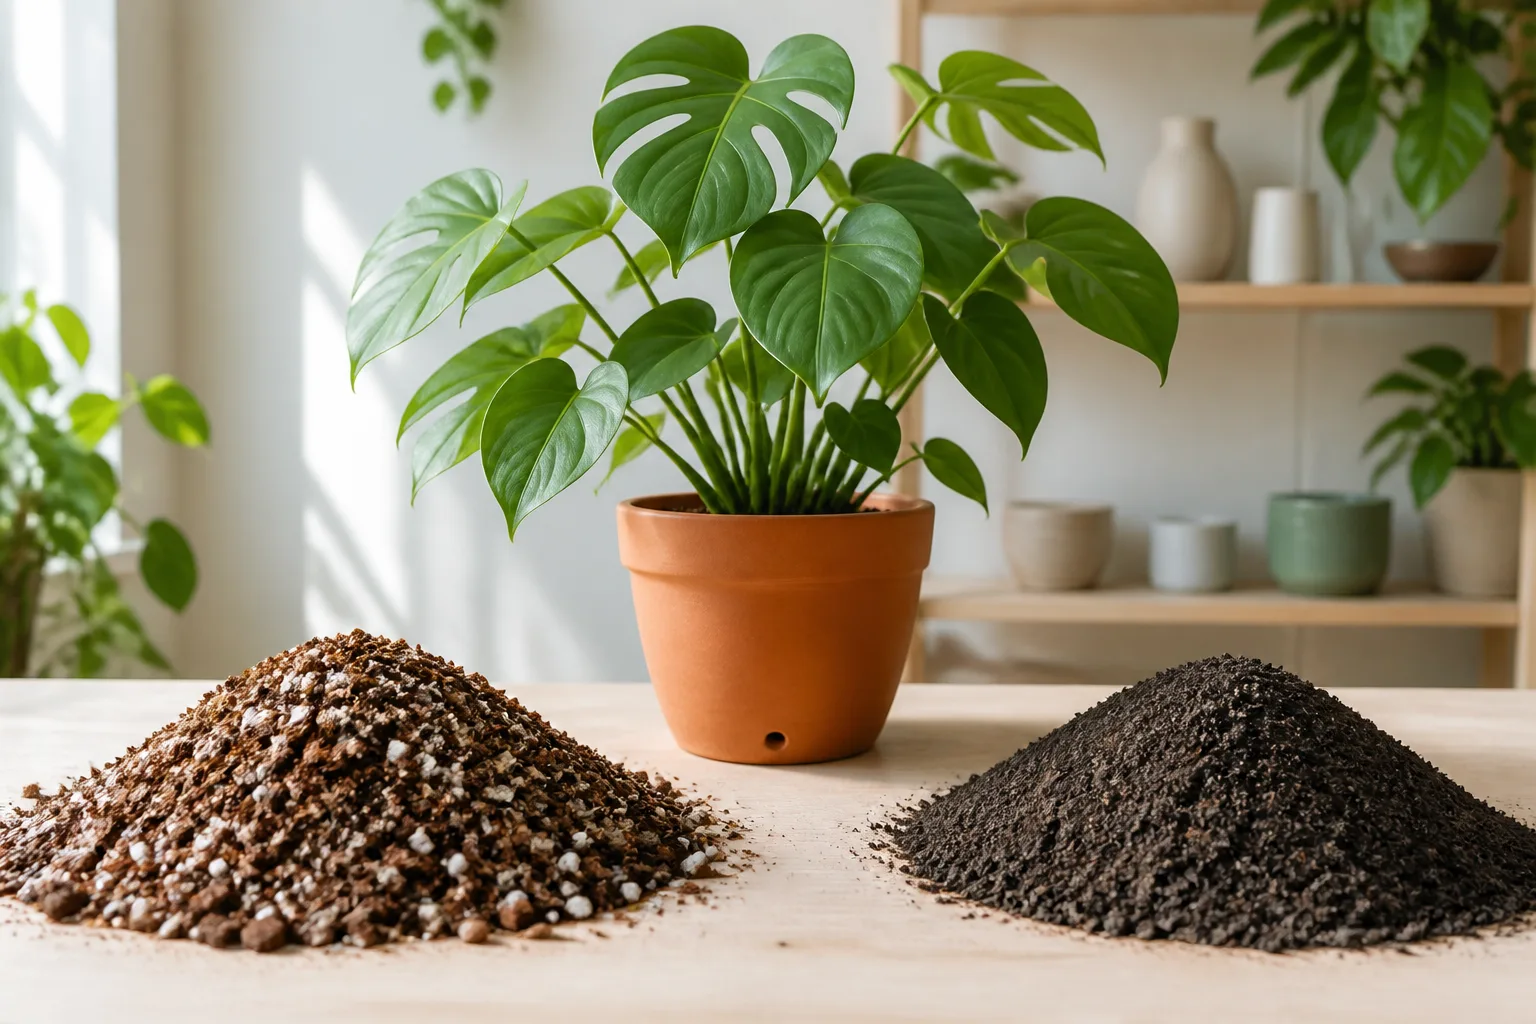
The shortest useful answer is this: use garden soil as an amendment in an open garden bed, and use potting soil or potting mix as the main medium in a container. The reason is not the name on the bag. It is the way a confined root zone handles air and water.
Garden soil is built to be mixed with the soil already in the ground. Potting media are built to stand alone in a pot, where there is less depth, less room for roots to escape a wet pocket, and no surrounding earth to dilute compaction. A raised bed sits between those two situations, which is why it deserves its own rule rather than a copy-and-paste answer.
The one-sentence rule: beds get garden soil, pots get potting mix
For an in-ground flower border, vegetable plot, or new planting bed, buy or make a garden-soil amendment and incorporate it into the native soil. For a houseplant, window box, patio pot, grow bag, or outdoor container, choose a container medium with enough pore space for both water movement and root-zone air. The University of Georgia explains that field soil drains differently from a shallow container, so container media must compensate with greater porosity (UGA Cooperative Extension’s container guidance).
That rule prevents the most expensive mistake: putting a dense, mineral-heavy product into a pot because it looks rich, or using a fluffy, expensive container mix as the bulk of a large garden bed. Neither product is automatically “better.” Each is designed for a different root environment.
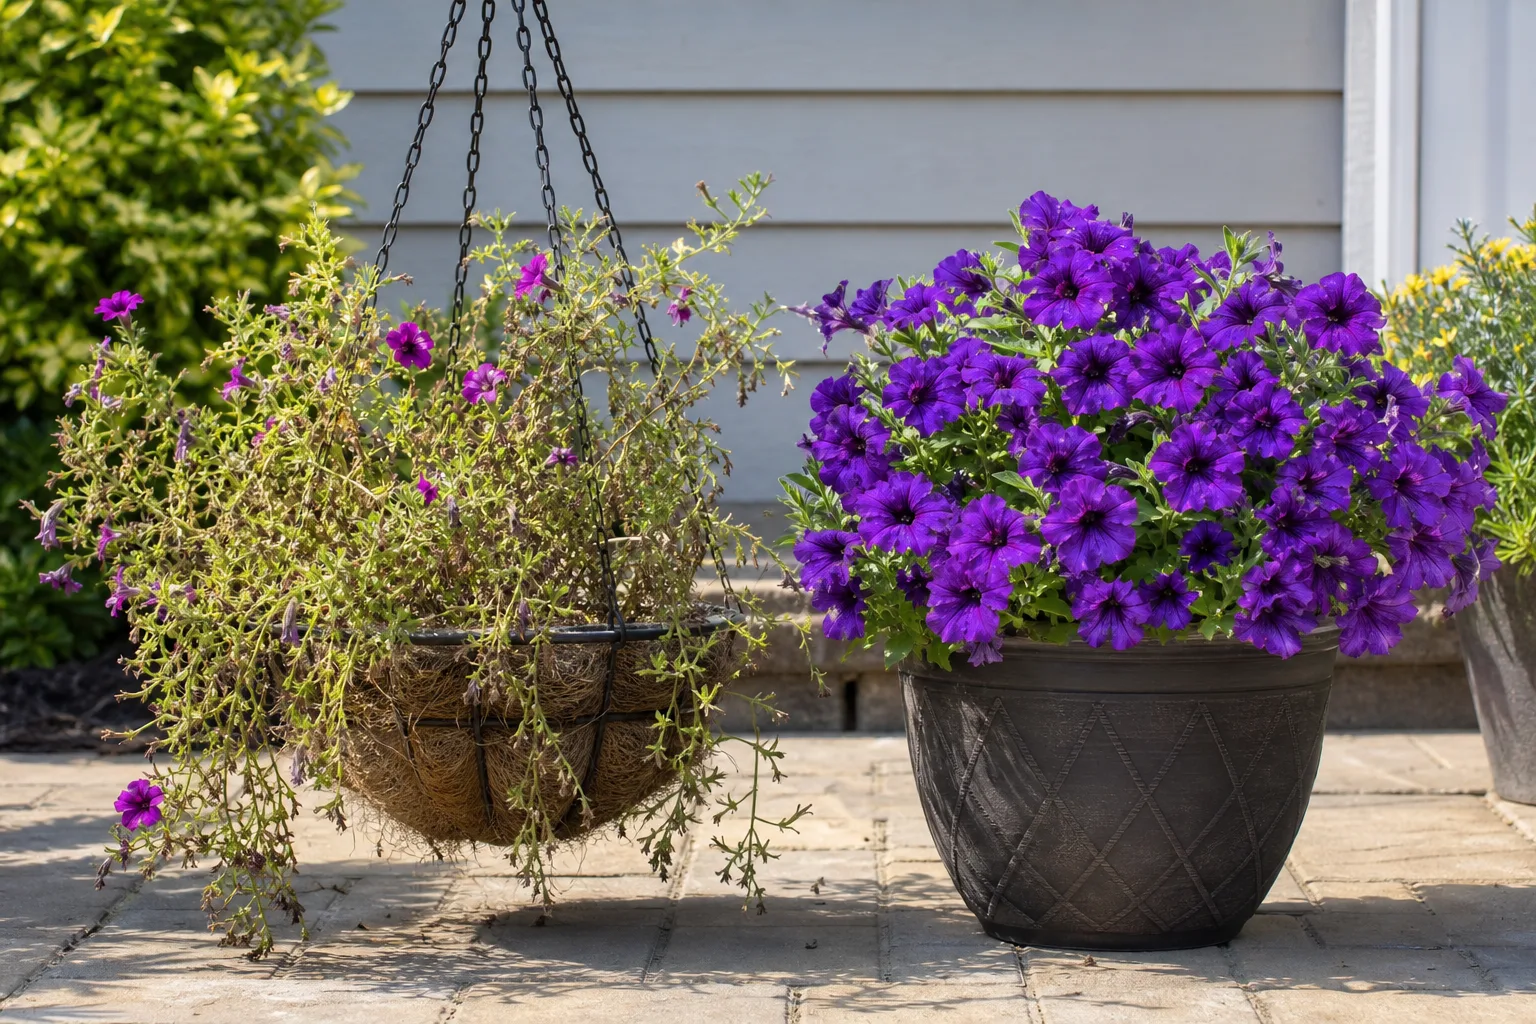
| Where the plant will grow | Best starting point | What to avoid |
|---|---|---|
| In-ground bed or border | Native soil improved with compost or bagged garden soil | Filling the hole with pure potting mix |
| Houseplant or patio pot | Quality potting mix, adjusted for the plant | Straight garden soil or yard dirt |
| Open-bottom raised bed | Existing soil plus screened topsoil and finished compost | A bed filled only with compost |
| Sealed tabletop planter | Container mix in an inner pot with drainage | Any medium in a container with no drainage plan |
| Seed tray | Fine seed-starting mix | Rich, chunky garden soil |
Why the same soil behaves differently in a pot
Roots need water, nutrients, support, and oxygen at the same time. Water fills the spaces between particles, while air occupies the spaces that have drained. When a heavy medium is confined inside a pot, it can lose those air spaces as particles settle and repeated watering rearranges them. The result may look moist and fertile while the roots are short of oxygen.
The problem is amplified at the bottom of a container. Water does not simply vanish because there is a hole; the medium above that hole still holds a saturated zone until gravity and the texture of the mix allow it to drain. A porous mix gives excess water a route out and leaves more usable air in the root zone. A compacted mix keeps the plant in a longer wet cycle, even if the top looks dry.
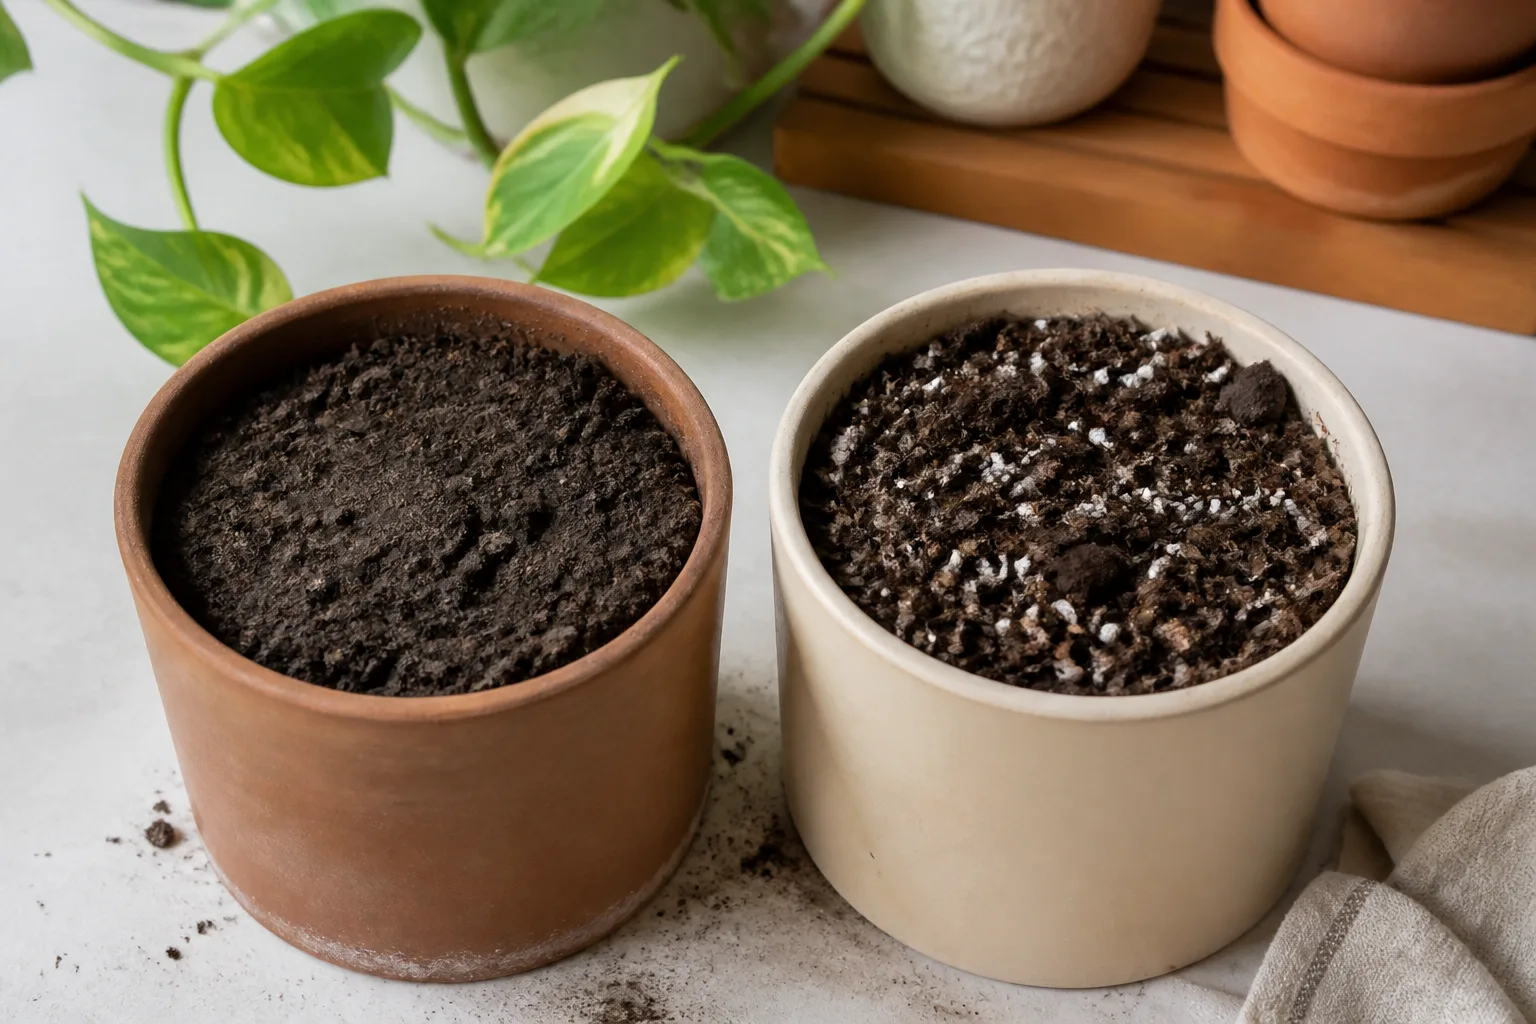
This is why “it has a drainage hole” is necessary but not sufficient. The hole lets water leave the container, but it cannot turn a dense soil into a good potting medium. UConn’s potting-media guidance notes that mineral-based soils can compact rapidly under repeated watering, while packaged media are formulated to support drainage, air circulation, and water and nutrient storage (University of Connecticut’s potting-media guidance).
What garden soil is actually for
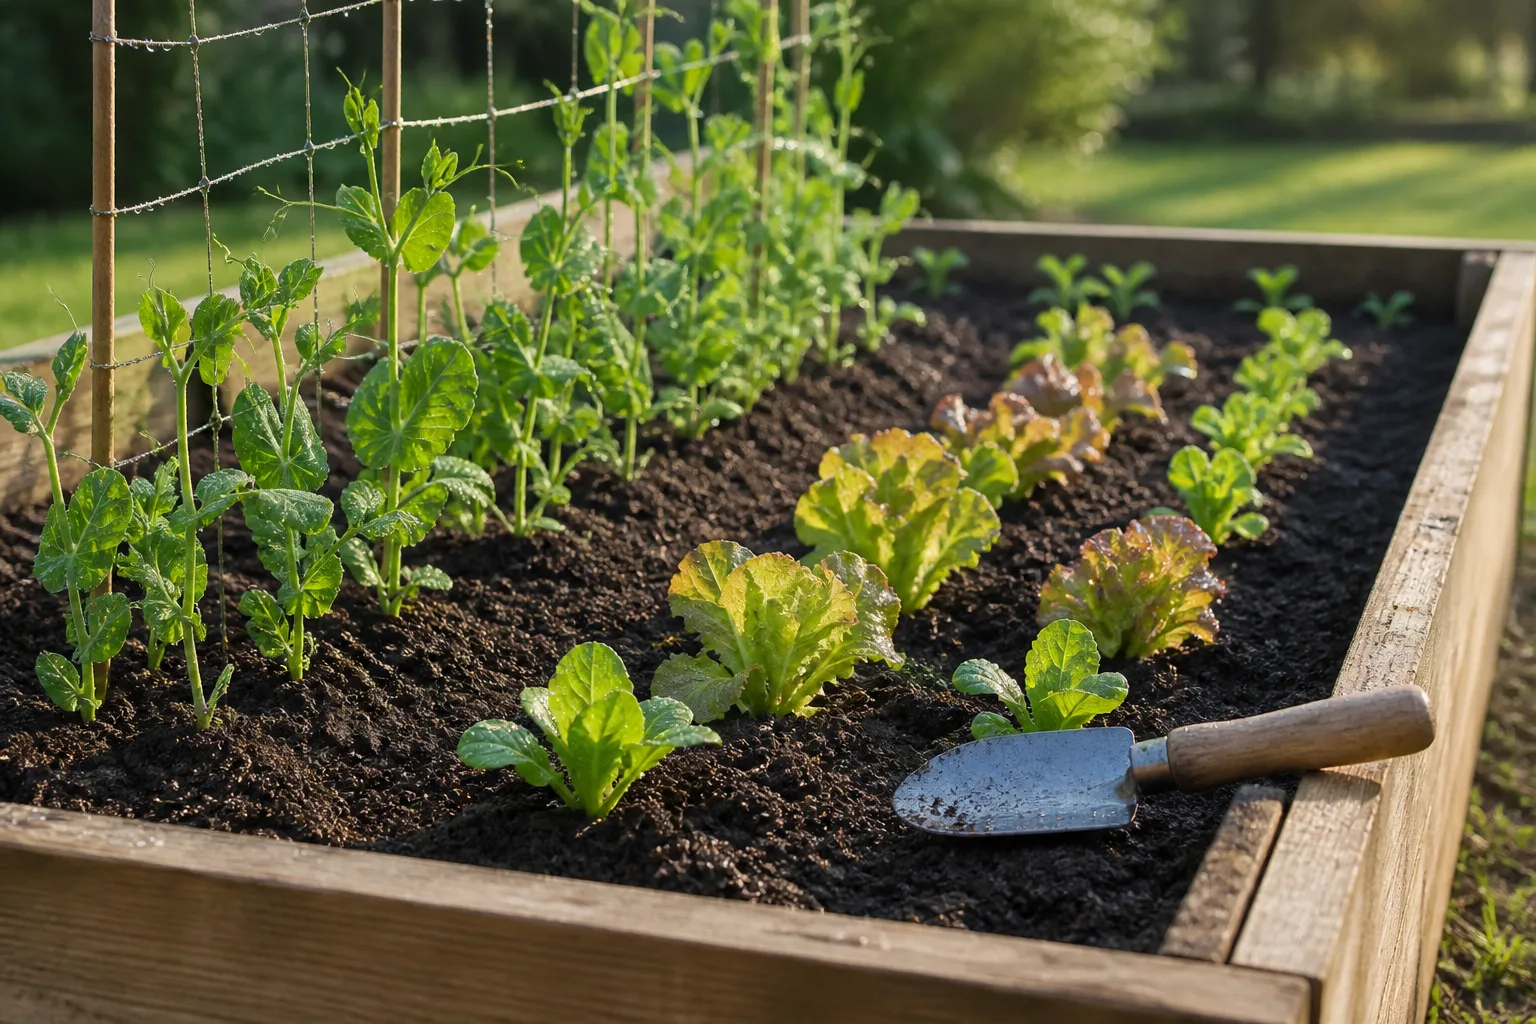
Bagged garden soil is usually a blend intended to improve native ground soil. It may contain topsoil or other mineral soil plus composted bark, compost, manure, or other organic matter. The exact formula varies, so the back label matters more than a generic definition. Clemson Extension cautions that “garden soil” and native soil are not automatically suitable as stand-alone container media because they can carry too much biological material and compact in a pot (Clemson Extension’s soil-mix guidance).
In the ground, the surrounding soil gives roots room to spread and provides a much larger system for water to move through. Organic matter can improve a sandy soil’s ability to hold moisture and help a heavy soil form larger pores. But the goal is not to make every bed look like a bag of black compost. The goal is a stable, workable root zone that drains excess water and still holds enough moisture for the crop.
Garden soil vs. topsoil vs. compost
These three labels are easy to treat as synonyms, but they describe different jobs. Topsoil generally describes soil taken from the upper part of a profile; it may be sandy, silty, clay-heavy, or loamy. The word does not guarantee fertility or a balanced texture. Gardening Know How makes the useful distinction that “topsoil” describes where the soil came from, while “loam” describes its mix of sand, silt, and clay (Gardening Know How’s loam explanation).
Garden soil is usually a manufactured or blended amendment sold for improving outdoor beds. Compost is decomposed organic material used to add organic matter and nutrients and to improve structure. Compost can be an excellent part of a bed-building plan, but a bed made entirely from compost may settle, dry differently, or provide more nutrients than a plant needs. Use finished compost as one component of the growing soil, not as a universal substitute for mineral soil.
When garden soil makes sense
Choose garden soil when you are improving a bed, backfilling a broad planting area, or blending a new outdoor plot with the native soil. Work with the conditions you actually have: sandy soil may need more mature organic matter, while heavy clay benefits from organic matter and better structure rather than a thin dark layer placed on top.
Use a soil test before adding lime, sulfur, or large amounts of fertilizer. Nutrients and pH are not problems you can reliably diagnose by color alone, and adding an amendment without knowing the starting point can create a second problem. For perennial beds, improve gradually and protect the surface with mulch rather than repeatedly turning the soil around established roots.
What potting soil and potting mix contain
Potting media are assembled to balance support, drainage, air, water retention, and nutrient holding in a limited container volume. Common ingredients include composted bark, peat moss or coconut coir, perlite, vermiculite, sand, fertilizer, and sometimes actual mineral soil. A product called potting soil may contain soil; a product called potting mix is often soilless, but commercial naming is inconsistent.
The important question is not which word sounds more natural. Ask whether the texture, particle size, moisture behavior, and intended use fit your plant and pot. A chunky mix that suits an aroid may dry too quickly for a seedling. A fine moisture-retentive mix that suits a fern may stay wet around a drought-tolerant succulent.
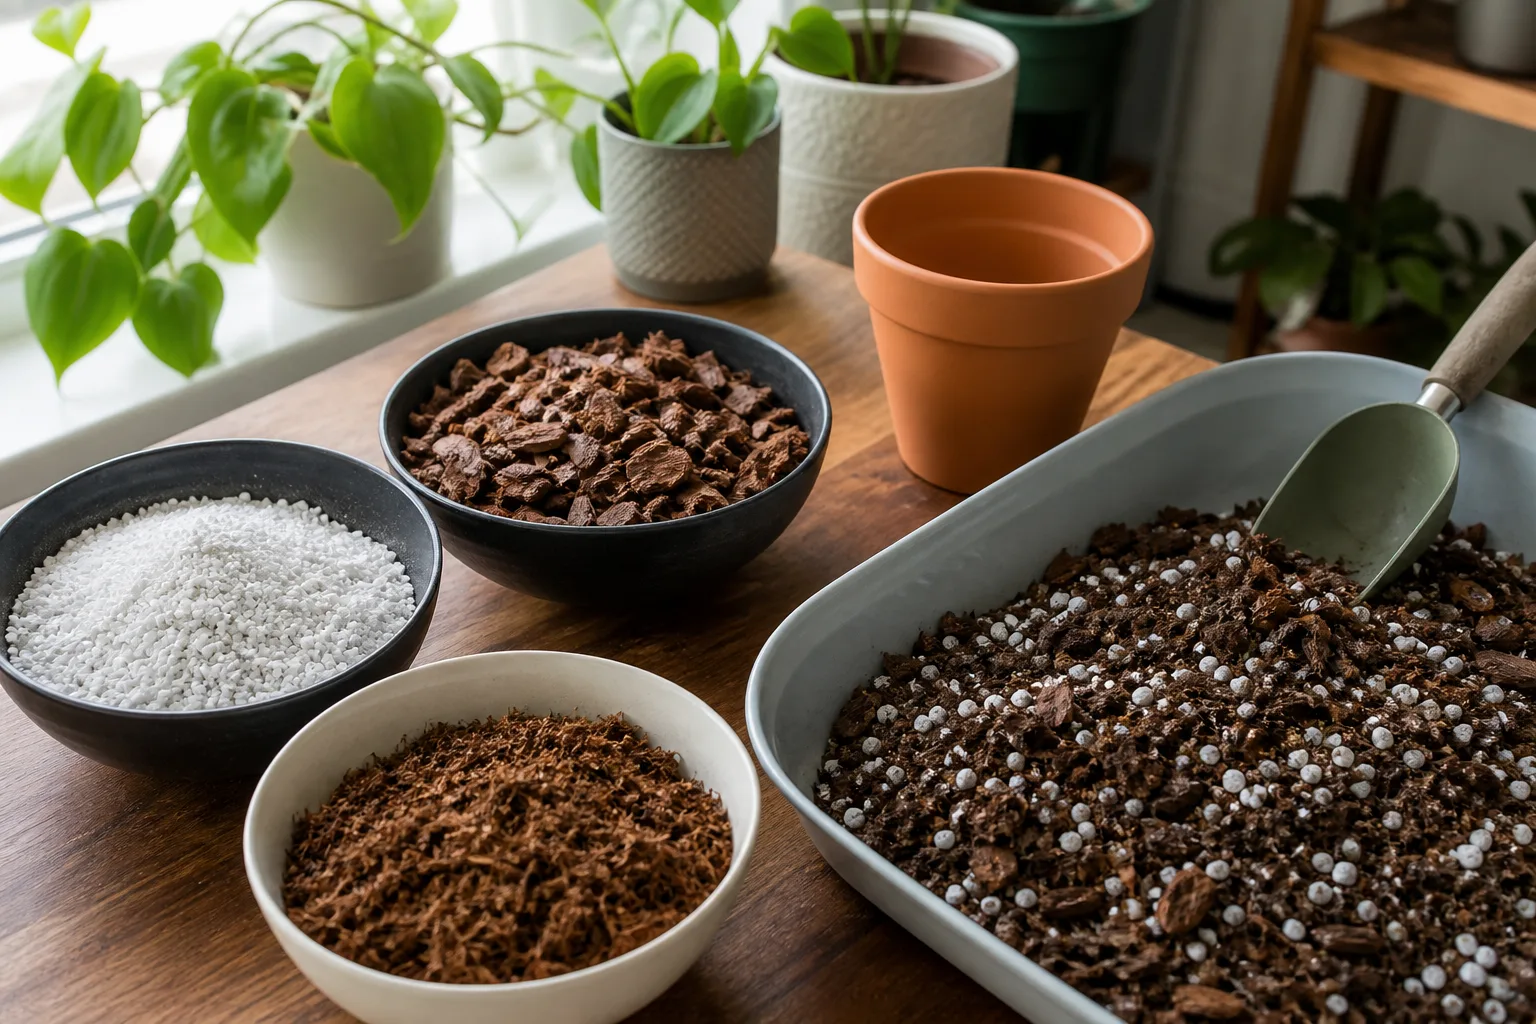
Most commercial soilless mixes use organic ingredients for moisture and nutrient holding and mineral ingredients such as perlite or vermiculite to create air space. Clemson Extension notes that these mixes are lightweight and easy to handle, but their fertilizer charge and trace-nutrient content vary. UConn likewise points out that starter nutrients are temporary and that even a good medium eventually degrades (Clemson’s container-mix requirements; UConn’s potting-media guidance).
How to read a potting-mix label
Before buying, turn the bag around and check five things:
- Intended use: Look for container plants, houseplants, vegetables, seed starting, cacti, orchids, or another specific use that matches your plant.
- Texture: A mix with visible bark, perlite, or other coarse particles generally has more air space than a fine, muddy-looking product. Texture is not the only quality measure, but it is a useful first screen.
- Moisture behavior: Coir and peat can become difficult to rewet after they dry completely. UConn recommends moistening dry media before planting so the root zone does not start with uneven wet and dry pockets (UConn’s guidance on preparing potting media).
- Fertilizer charge: Note whether fertilizer is included, how long the label says it lasts, and whether your plant needs a different feeding plan. Do not add extra fertilizer automatically.
- Special requirements: Acid-loving plants, seedlings, succulents, and orchids may need a different texture or pH than a general foliage mix.
Avoid choosing by the darkest color or the lightest bag. A very dark product can contain a high proportion of fine organic material, and an extremely light product may dry quickly in a hot, windy container. Your watering habits and the plant’s roots are part of the specification.
The decision table: choose by growing situation
Use this table as a starting point, then adjust for the plant’s natural habitat and your climate.
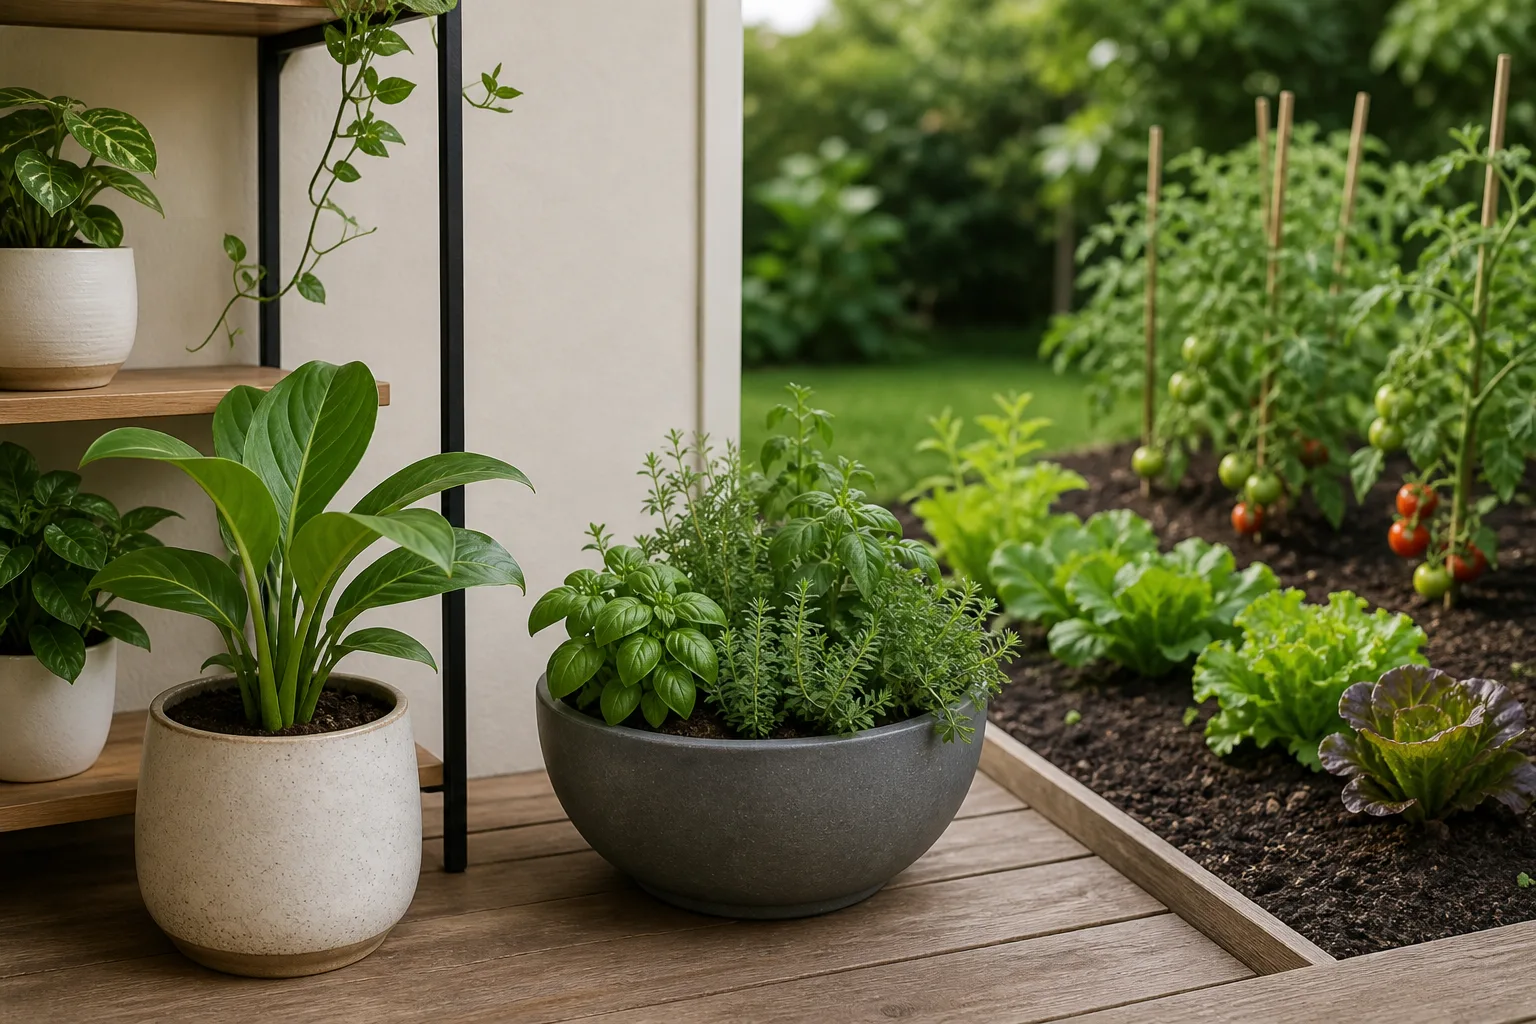
| Growing situation | Choose | Why |
|---|---|---|
| Houseplant in a nursery pot | General potting mix, possibly with extra bark or perlite | Keeps the root zone airy in a shallow container |
| Patio vegetable or herb | Quality container mix with enough water-holding capacity | Containers dry faster and have limited nutrient reserves |
| Seedling or seed tray | Fine, low-nutrient seed-starting mix | Small roots need uniform contact without heavy particles |
| Cactus or succulent | Fast-draining mix with a substantial mineral fraction | Reduces the length of the wet cycle |
| Acid-loving plant | Acid-loving or ericaceous mix, with pH checked if symptoms appear | pH affects nutrient availability |
| Long-term shrub or small tree in a large pot | A stable, heavier soil-based container mix | Adds support and buffers the medium over time |
| Open-bottom raised bed | Native soil, screened topsoil, and finished compost | The bed can connect to the ground and use a soil-based structure |
| Raised planter on legs or a sealed box | Container or raised-bed medium, not pure garden soil | It functions more like a large container |
| In-ground flower or vegetable bed | Native soil amended with compost or garden soil | Roots can spread through the surrounding ground |
The RHS similarly separates homemade garden compost, which improves soil, from seed and potting composts used to grow plants in containers. Its container guidance also stresses drainage holes and warns that overly large pots can leave excess medium waterlogged (RHS container-growing guidance).
Raised beds are the awkward middle ground
An open-bottom raised bed is still connected to the ground. You can improve its native soil with screened topsoil and finished compost, then let plant roots move beyond the bed as they mature. A tall raised bed over compacted fill, pavement, or landscape fabric has less connection to the ground and behaves more like a giant container; drainage and the texture of the whole fill become more important.
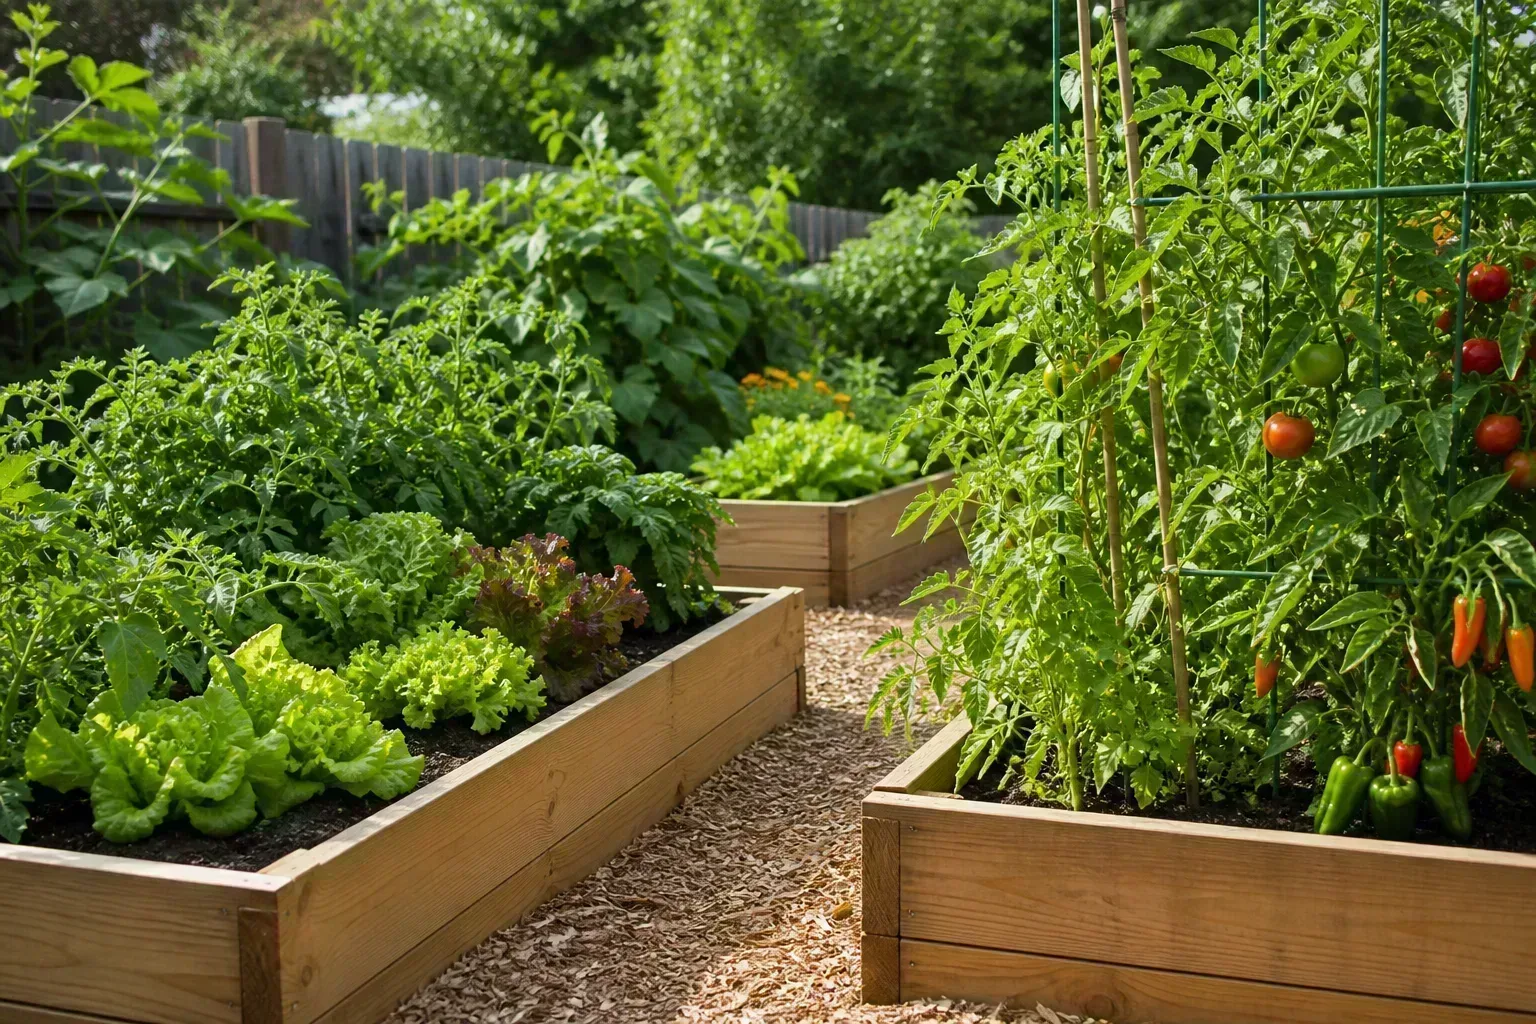
Do not fill a raised bed with pure potting mix unless you have a specific reason and accept the cost. Container media are sold in smaller, more expensive volumes and may dry faster in an exposed bed. Do not fill it with pure compost either. Build a stable bulk medium from suitable topsoil or native soil plus mature compost and other amendments based on a soil test.
For a narrow raised planter that cannot drain freely into the soil below, prioritize a medium designed for large containers and make sure the structure has a real exit path for water. A decorative box with no drainage is not a raised bed; it is a sealed planter, and the best soil cannot compensate for trapped water.
Can you use garden soil in a container?
Not straight from the bag or yard. Garden soil can become part of an engineered container mix, especially for a large, long-term woody plant, but it should not be treated as a drop-in replacement for potting mix. In a small houseplant pot, its fine mineral particles can settle into a dense mass, slow drainage, and leave the roots wet for too long.
The exception is a deliberately made soil-based medium. RHS guidance gives a general homemade mix for long-term container plants that uses garden soil as the main component with organic matter, then recommends reducing the soil proportion or adding gritty material when the base soil is heavy (RHS potting-mix guidance). This is a recipe for a known, screened, adjusted material—not permission to scoop clay from the yard into a pot.
If you want to make a DIY mix, start with clean, screened ingredients and test a small batch before using it on a valuable plant. Do not assume that adding a handful of perlite to dense yard soil makes it suitable. Particle size, organic matter, moisture behavior, container depth, and the plant’s watering cycle all affect the result.
Can you use potting soil in a garden bed?
You can, but it is usually the wrong way to buy volume. A few bags of leftover potting mix will not automatically damage an outdoor bed, and it can be useful around a transplant when the surrounding soil is already compatible. But using potting mix as the main bulk of a new bed is expensive and may create a root zone that dries or settles differently from the native soil around it.
For a bed, use the native soil as the framework and improve it with finished compost or a suitable garden-soil amendment. Blend the material through the bed rather than making a rich, isolated pocket. Roots should be encouraged to move through a consistent transition instead of stopping at a sharp boundary between fluffy bagged media and compact native soil.
Large outdoor planters are the exception. If the “bed” is elevated, sealed, and cannot exchange moisture with the ground, treat it as a container and choose its medium accordingly. The container’s drainage design matters as much as the label on the bag.
How to choose or build a container mix
The best container mix is the one that reaches the plant’s preferred dry-down point without staying saturated or turning hydrophobic. A tropical foliage plant, rosemary, a tomato, and a seedling can all need different textures even though each is technically “in a pot.”
For a store-bought mix, choose the closest plant-specific product and adjust only when you understand what is missing. Add coarse bark or perlite when the mix stays wet and dense; add a moisture-retentive component only when the plant dries too fast and the container, light, and watering routine are otherwise appropriate. More amendment is not automatically better.
A flexible general-purpose recipe
For many foliage houseplants, a useful starting formula is one part peat or pre-moistened coconut coir, one part pine bark, and one part perlite, a combination described in Clemson Extension’s container-mix guidance. Coir should be rinsed or prepared according to the product directions because soluble salts can be a concern. This is a starting point, not a universal prescription (Clemson’s suggested foliage mixes).
Mix by volume, not by weight, and blend it thoroughly so one root section does not sit in a pocket of pure bark or fertilizer. Moisten the finished batch before potting. A dry organic medium can repel water, causing irrigation to run down the sides while the center of the root ball stays dry.
If you need a large batch for outdoor containers, UGA Extension describes mixing on a volume basis and emphasizes homogeneous blending. It also warns against over-fertilizing a homemade medium; follow the fertilizer label and account for anything already included in the base mix (UGA’s container-gardening publication).
Special cases: seeds, succulents, acid lovers, and woody plants
Seeds and tiny seedlings: Use a fine, clean seed-starting medium with modest or no fertilizer. Heavy garden soil can crust, compact, or form coarse air gaps around a small root. Once the seedling has a developed root system, move it into a richer container mix gradually rather than burying a fragile stem deeply.
Succulents and cacti: Choose a mix that dries faster than a general houseplant mix, with enough mineral material to keep the wet period short. A gritty label alone is not a guarantee; test the actual product in your pot, especially in a humid room or rainy outdoor location.
Acid-loving plants: Use a mix made for acid-loving plants when appropriate, and check pH if growth is poor despite good light and watering. Do not add lime or sulfur by guesswork. The plant, irrigation water, existing mix, and fertilizer can all influence the root-zone pH.
Shrubs and small trees in containers: Long-term woody plants need support as well as drainage. A heavier, soil-based mix can be useful, but do not overpot. A container only slightly larger than the root ball is usually safer than surrounding a small root system with a large volume of slow-drying medium. The RHS specifically warns that excess compost in an overly large pot can remain waterlogged (RHS container guidance).
How to test a mix before planting
Testing a small batch is faster than rescuing a plant after weeks of root stress. Use the actual container, because the same mix can behave differently in a shallow nursery pot and a deep ceramic planter.
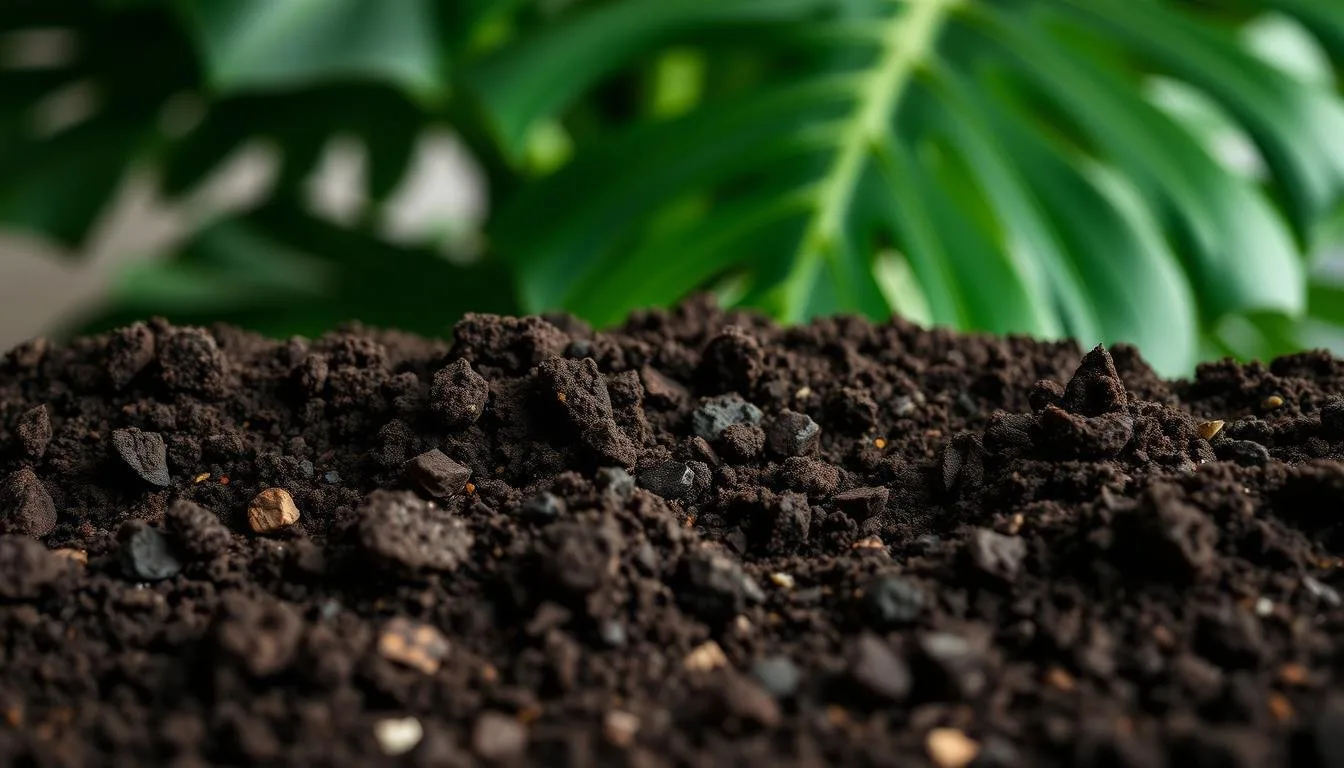
- Check the container first. Confirm that the drainage holes are open and that water can leave the saucer or outer cachepot. A beautiful pot without a drainage plan is not ready for planting.
- Moisten the mix evenly. Add water in stages and turn the mix until no dry core remains. This is especially important with coir, peat, and bark products that have dried in storage.
- Fill without packing. Spoon the medium into the pot and settle it with a light tap. Do not compress it with your hands; roots need the pore spaces you are trying to preserve.
- Water slowly and thoroughly. Watch whether water wets the whole surface, runs down the side, or immediately exits through one channel. Uneven wetting means the mix needs better preparation or a different texture.
- Inspect the drain-through. Water should leave the drainage holes after the medium is saturated, but the pot should not remain heavy and flooded for days. If the mix forms a muddy plug, replace or amend the batch before planting.
- Use the squeeze test. A handful of moist mix should hold together lightly and then break apart when nudged. A hard clay-like lump, a slimy mass, or dust that will not rewet signals a problem.
This is a practical screening test, not a laboratory measurement. If the plant is valuable, the pot is large, or water quality and pH are recurring problems, use a soil or growing-media test rather than trying to solve every symptom with another ingredient.
If you used the wrong soil, fix it in this order
The first step is not fertilizer. Stop adding water until you know whether the root zone is wet, dry, or unevenly wet. Remove the saucer water, move the pot out of rain, and check the mix several inches down rather than judging only the surface.
If a container was recently filled with straight garden soil and is staying wet, repot it into a suitable medium before the plant spends weeks in low-oxygen conditions. Slide out the root ball, inspect the roots, and remove only roots that are clearly dead, collapsing, or rotten with clean shears. Keep healthy roots intact and use a pot only modestly larger than the remaining root ball.
Waterlogged roots cannot function normally because oxygen is displaced from the pore spaces. Missouri Botanical Garden describes the chain clearly: roots in waterlogged soil can die, then lose their ability to supply water and nutrients, leaving the plant yellow, stunted, or wilted even though the soil is wet (Missouri Botanical Garden’s overwatering guidance).
If the problem is in an in-ground bed, do not dump potting mix around the plant or dig aggressively through established roots. Improve drainage at the site, add mature organic matter to the surface or planting area when appropriate, avoid working clay while it is wet, and choose plants that match the site if a high water table is the real cause. A soil test can tell you whether nutrients or pH also need attention.
Symptoms that point to the root zone
Look for a pattern rather than one leaf. A plant in the wrong medium may show soil that stays wet for many days, a sour or stagnant odor, yellowing lower leaves, slow growth, wilt despite moist soil, a crusted surface, or roots that are brown and soft rather than firm and pale. These signs can overlap with pests, low light, cold, or nutrient problems, so inspect the container and roots before choosing a treatment.
The opposite failure is also possible. A peat- or coir-heavy mix that has dried completely can repel water, leaving the top wet while the inner root ball remains dry. In that case, rewet slowly from the top or bottom as appropriate, break up only the most compacted outer layer, and correct the watering interval. Do not respond to a dry root ball by permanently switching to dense garden soil.

Conclusion
Choose garden soil for improving ground soil and potting soil or potting mix for filling containers. For raised beds, ask whether the bed is open to the earth or functioning as a sealed planter; that single detail changes the answer.
Then read the label, inspect the texture, check the drainage holes, moisten the mix, and test a small batch before planting. If a plant is already declining, diagnose the root zone first. The right medium is not the richest-looking bag—it is the one that gives this plant’s roots enough support, moisture, nutrients, and air for the way you actually grow it.



