How to Grow and Care for Jewelweed in Moist Shade
Learn how to grow jewelweed from seed, choose the right wet-shade site, water it well, and control its vigorous self-seeding without losing the flowers.
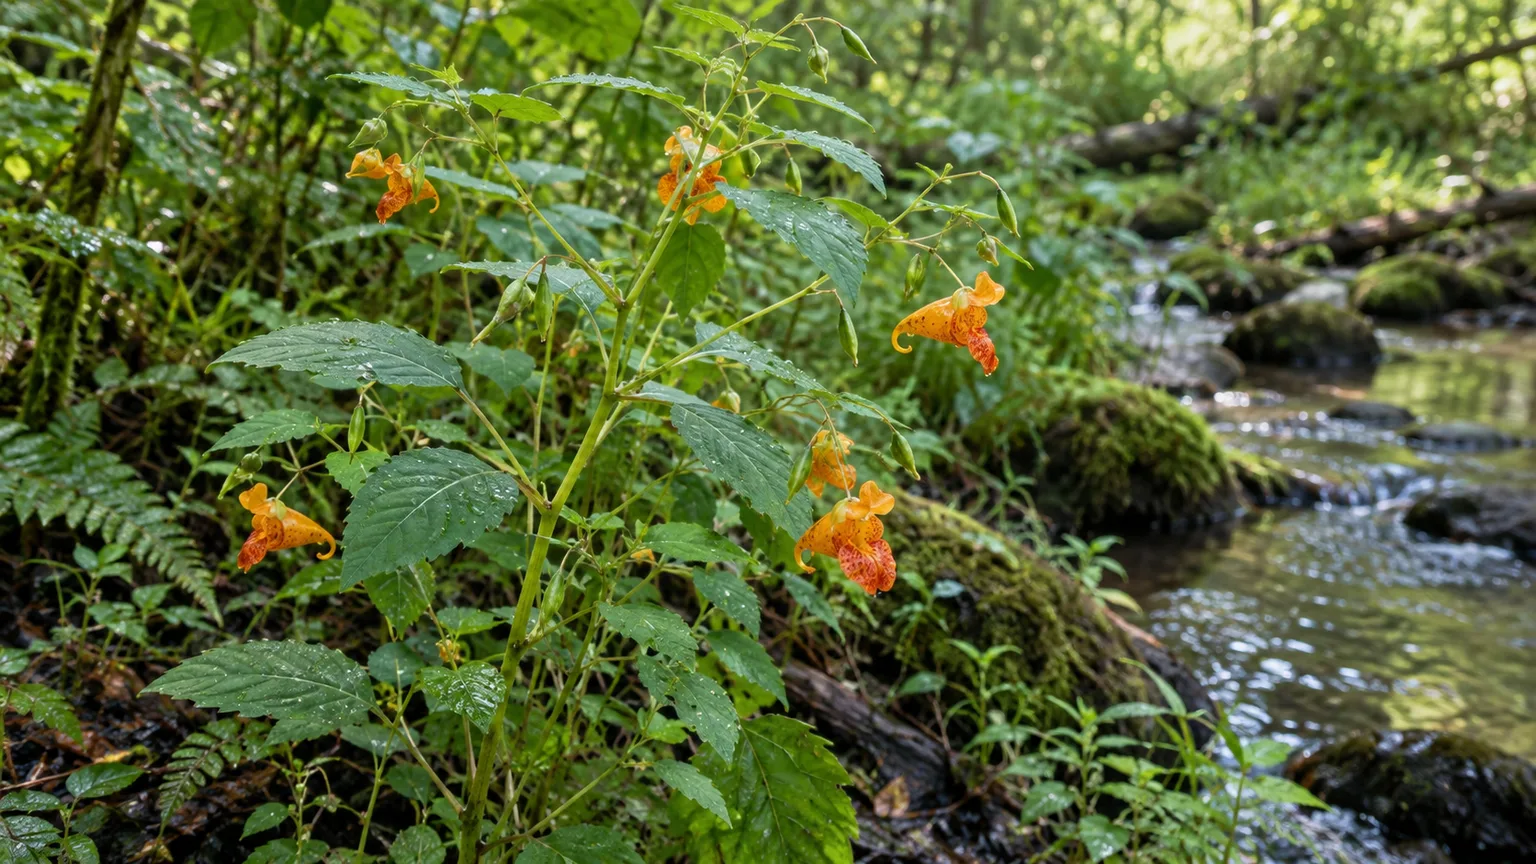
Jewelweed (Impatiens capensis) is an annual wildflower for the awkward corner of a garden: the low, damp, shady place where many bedding plants sulk. Its orange, pouch-shaped flowers bring a late-season flash of color, while the blue-green foliage and water-beaded leaves make the plant interesting even before it blooms. The catch is that jewelweed is not a tidy, slow-growing perennial. Give it the right conditions and it can seed itself into a substantial colony.
The best way to grow it is to decide on the site and the spread you want before sowing. Plant it in moist shade if you want a low-input native-wildflower patch, keep the first season consistently watered, and remove volunteers in spring if you want only a small group. NC State Extension describes jewelweed as an annual native to much of Canada and the northern, central, and eastern United States, usually found in wet or humus-rich sites and capable of prolific self-seeding. (NC State Extension)
Is Jewelweed Right for Your Garden?
Jewelweed makes sense when you have a damp woodland edge, rain-garden pocket, pond margin, drainage swale, or low area that stays moist after the surrounding beds dry. It is especially useful where you want a seasonal wildflower and pollinator resource without building a heavily amended flower bed. It is a poor choice for a hot foundation bed, a drought-tolerant border, or any spot where you need a plant to stay exactly where it was planted.
Think of jewelweed as a seasonal colonizer, not a permanent shrub. It grows from seed each year, flowers during the warm season, forms explosive capsules, and dies with frost. The following year’s display depends on how much seed landed in suitable soil and whether you allow those seedlings to remain. That cycle is a benefit in a naturalized patch and a maintenance issue beside a lawn or vegetable bed.
How to Identify Impatiens capensis
Orange jewelweed usually grows upright, branching into a loose plant about 2 to 5 feet tall and roughly 1 to 3 feet wide. The smooth, somewhat translucent stems are fragile, and the alternate leaves are oval to elliptical with toothed edges. Water droplets can bead on the foliage, but that sparkle is a clue to the habitat and leaf surface—not a sign that the plant needs to be misted.
The flowers hang from the upper leaf axils and look like small orange cornucopias. They commonly carry darker red-brown spotting and a curved nectar spur. Later, green, elongated capsules develop; when ripe, they split and throw seed when brushed. Go Botany records the mature fruit as a dry capsule that splits into valves and describes the species in wetland margins, forests, shores, swamps, and disturbed habitats. (Go Botany)
Do not rely on the common name alone. “Jewelweed” can be used loosely for several Impatiens species, including the non-native Himalayan balsam in some regions. If you are planting a native-wildflower patch, confirm the botanical name on the seed packet or from a reputable local source.
Jewelweed vs. Yellow Jewelweed
The closest look-alike is yellow jewelweed, Impatiens pallida. Orange jewelweed generally has orange to orange-yellow flowers with more obvious spotting and a strongly curved spur, while yellow jewelweed has paler yellow flowers and usually a less strongly marked appearance. Go Botany notes that the two can be difficult to separate when they are not flowering, so do not make a firm identification from a young, leaf-only seedling.
The growing decision is simpler than the identification problem. Both species favor shade and moisture, but I. capensis is the better fit for a consistently wet site; yellow jewelweed can tolerate somewhat less moisture. If the soil is only moderately moist and you want a smaller, less saturated planting, compare the site before choosing the species rather than assuming all plants sold as jewelweed behave identically.
Choose a Site That Stays Moist
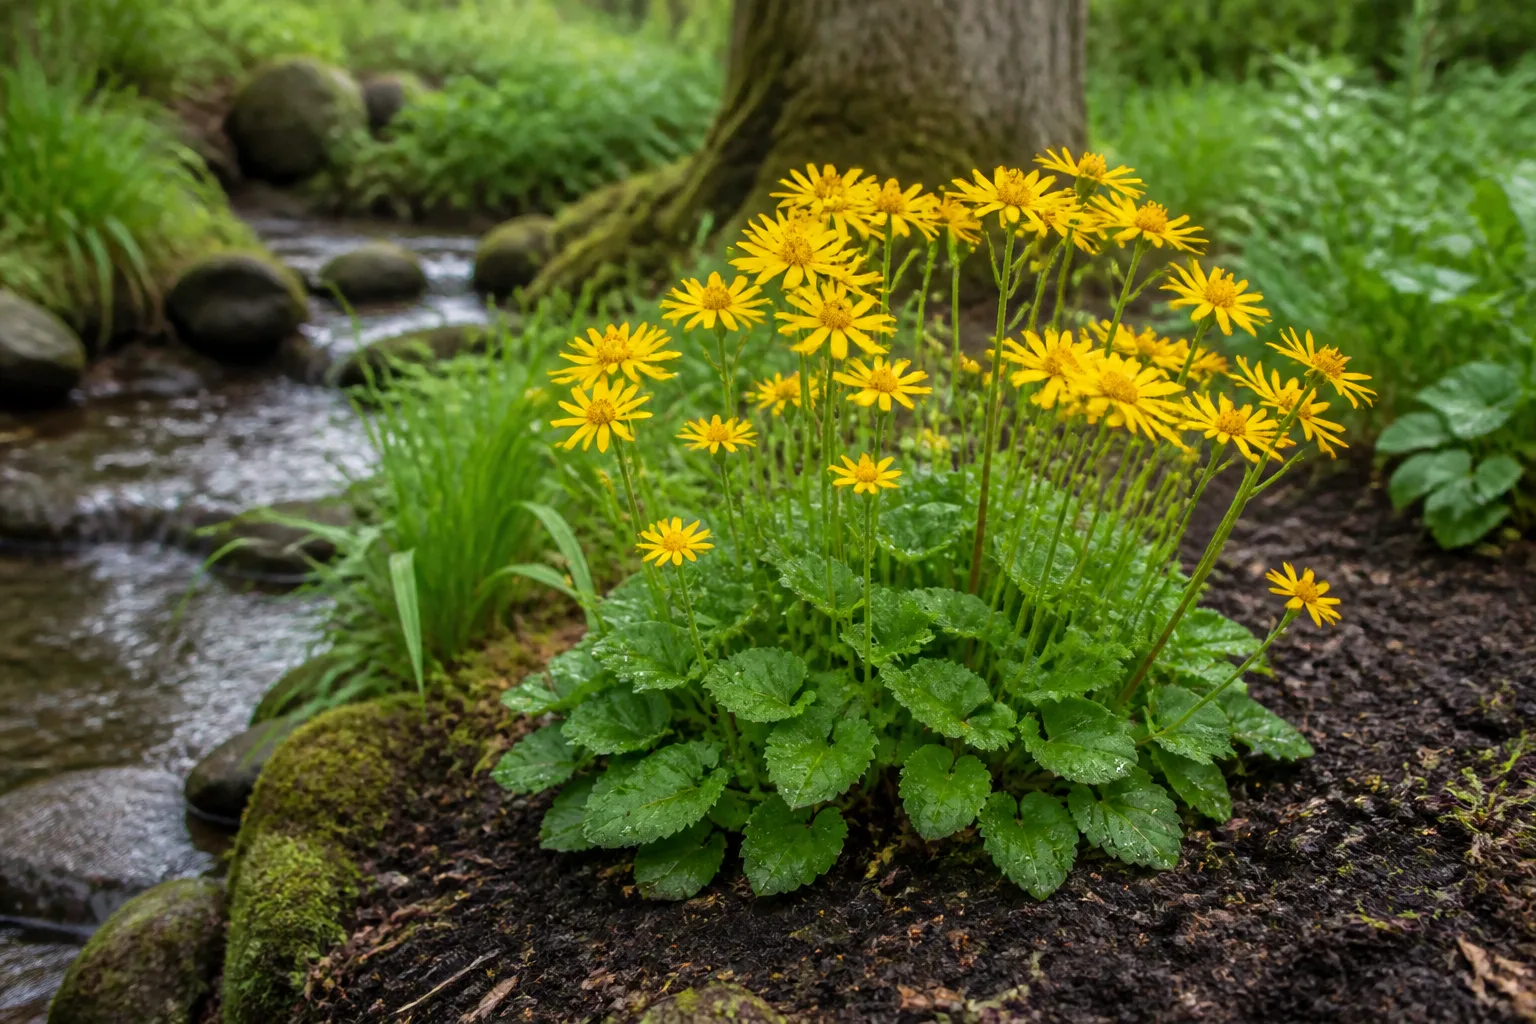
The central care rule is simple: shade slows water loss, but it does not replace moisture. A shaded bed that becomes dusty and hard in July is not automatically a jewelweed site. Look for soil that stays cool and damp several inches below the surface, especially in the morning, and choose a place where runoff does not wash seed away.
Light: Bright Shade Beats Hot Sun
Jewelweed performs best in dappled light, partial shade, or deep shade with some indirect brightness. Morning sun filtered through a tree canopy can work well. Direct afternoon sun is risky when it arrives with heat and dry soil; plants may wilt rapidly, scorch, or collapse even if they looked healthy in spring.
There is no need to make the site darker than it already is. In very deep shade, jewelweed can grow tall and sparse as it reaches for light, especially if plants are crowded. A bright woodland edge, the north or east side of a building, or the moist shade beside a stream is usually a better compromise than a completely enclosed dark corner.
Use the plant’s response to refine the location. Long, thin stems and sparse flowering suggest too little usable light or too much competition. Midday wilt that resolves by evening suggests heat or a shallow dry root zone. Wilt that remains overnight points back to moisture failure, root damage, stem breakage, or a problem below the soil surface.
Soil: Organic, Moist, Not Necessarily Drained
Jewelweed likes soil with organic matter that holds water. Loam, humus-rich woodland soil, and clay that stays moist can all work. You do not need to turn a wet corner into a perfectly drained raised bed; for this plant, rapid drainage can create the very drought stress you are trying to avoid.
Improve a poor sandy or compacted site by adding finished compost to the planting zone rather than filling a deep hole with rich soil that behaves like a buried pot. A few inches mixed into the upper layer is enough to increase moisture-holding capacity without creating a sharp soil boundary. Avoid piling a thick, soggy mulch layer against the brittle stems, and do not assume extra fertilizer will compensate for a dry location.
If the soil is permanently stagnant, foul-smelling, or flooded for long periods, test a small planting first. Jewelweed can tolerate wet conditions and short periods of flooding, but even a wetland plant needs oxygen around its roots at times. A site that cycles between flooded and baked hard may be more stressful than a consistently moist one.
Plant Jewelweed from Fresh Seed
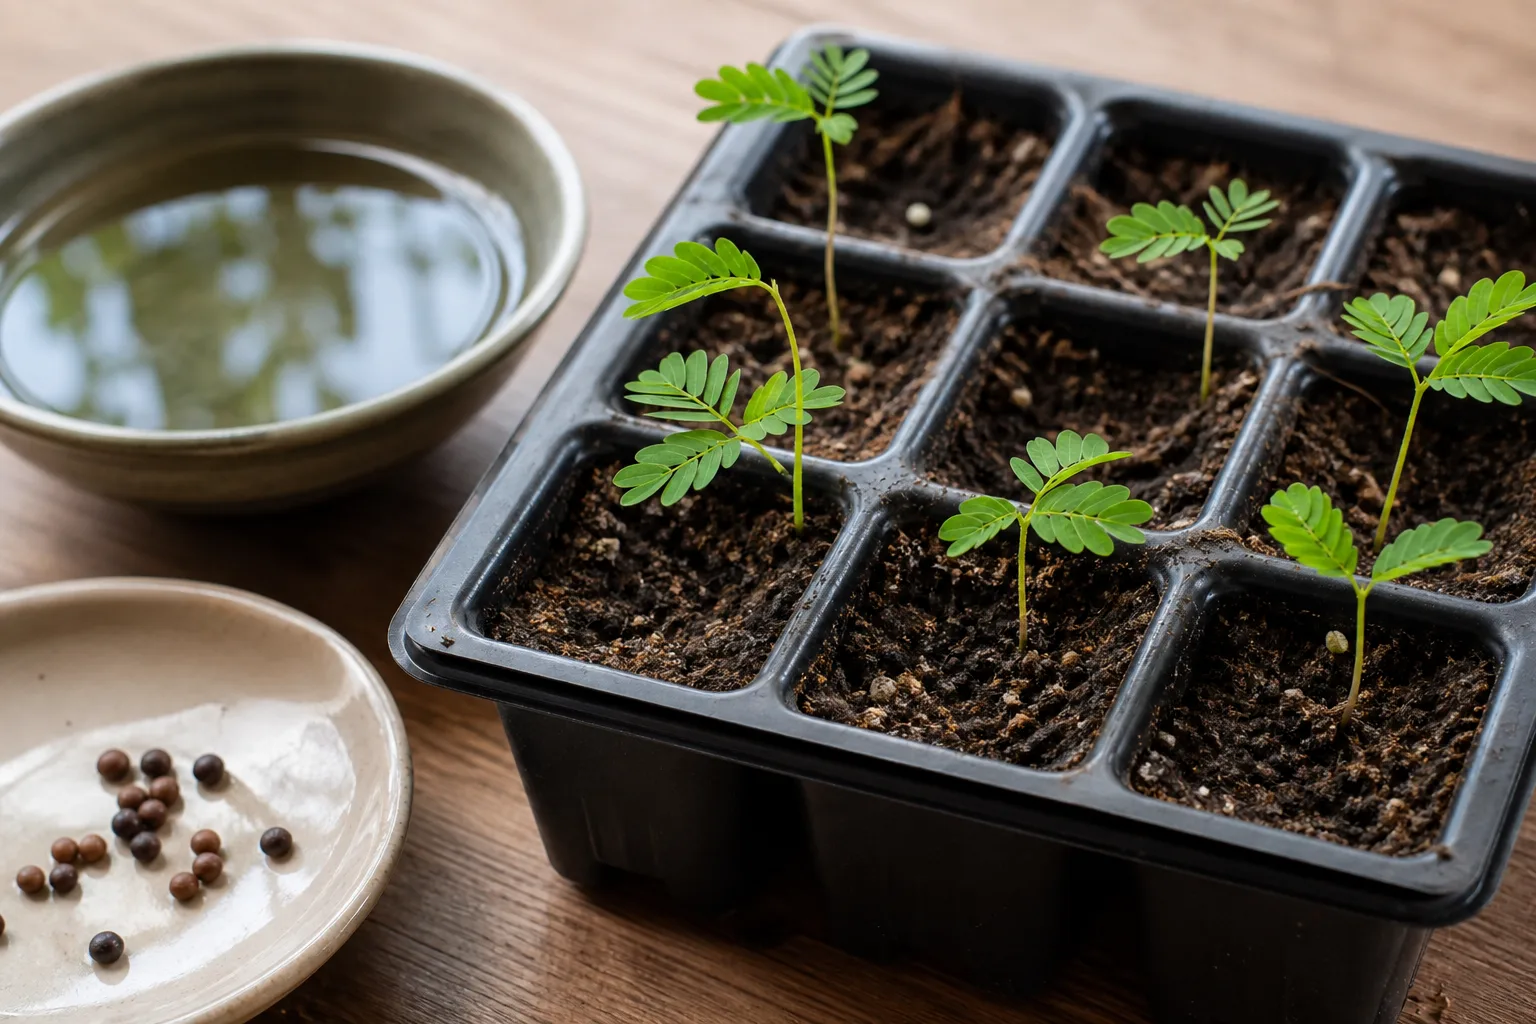
Jewelweed is usually easier to establish from seed than from a nursery plant. Fresh seed is the important part: let it dry out on a windowsill and germination can become unreliable. Seed capsules are designed to disperse the moment they are ripe, so collecting and handling them takes more control than collecting a dry bean or marigold seed head.
Collect Seeds Without Losing Them
Collect only where you have permission and where removing a small amount of seed will not damage a managed restoration area. Carry a paper bag, envelope, or open container to the plant in late summer or fall. Hold it around a capsule before touching it, then let the ripe capsule burst into the container. Do not squeeze a green, unripe pod and expect viable seed.
Process the seed soon after collection. Keep it cool and moist while you decide whether to direct-sow or stratify it, and label the collection location and date. That information matters if you are growing a local ecotype or simply want to learn which seed lot germinates in your conditions. Avoid storing it as if it were a dry packet seed unless a reliable source specifically gives storage instructions for that lot.
Direct-Sow Outdoors
Direct sowing is the most forgiving method because seasonal temperature changes provide the environmental cues the seed expects. Prepare a small patch by clearing competing vegetation and lightly roughening the surface. Scatter the fresh seed and press it into contact with the soil, or cover it with only a dusting of fine material. The seed needs access to light and must not be buried deeply.
Fall or winter sowing lets the seed experience a natural cold, moist period. Mark the area so you do not weed it out in spring, and keep the surface from drying during any warm, rainless spell. Germination may not be uniform. A slow first season does not automatically mean the seed failed; jewelweed seed can respond differently depending on how fresh it was, how long it stayed moist, and what temperatures it experienced.
Once seedlings appear, leave the strongest plants in place and thin the rest if the site is crowded. About 18 to 24 inches between plants gives a mature stand room to branch, although a naturalized colony can be denser if you accept weaker stems and more competition. Thin by lifting seedlings while the soil is damp, before the stems become tall and fragile.
Indoor Stratification and Transplanting
Controlled starting is useful when you want to place a small number of plants precisely. Gardener’s Path recommends two to three months of cold stratification, shallow sowing, daily moisture checks, and quick movement of seedlings to their permanent location once they emerge. (Gardener’s Path)
Mix fresh seed with barely moist—not dripping—fine material such as clean sand or a suitable seed-starting medium, then refrigerate it in a labeled container for roughly 8 to 12 weeks. Check it periodically for drying or mold. This is a practical range, not a guarantee; some seed lots may need a longer sequence of cool, moist conditions, while direct winter sowing may work better than forcing a neat indoor calendar.
After stratification, sow the seed on the surface of a moist, well-drained seed-starting mix. Keep the tray in bright indirect light, never allow the surface to become dusty, and provide gentle airflow. When seedlings have several true leaves, harden them off gradually. Transplant after frost danger has passed, water them in deeply, and handle the stem and root ball gently because the mature plant’s hollow-feeling stems break easily.
Care Through the Growing Season
Jewelweed needs little routine care once the site is right. Most failures blamed on fertilizer or pests begin with the wrong moisture pattern: too dry for too long, followed by a heavy rescue watering that leaves the root zone swinging between drought and saturation.
Watering and Mulch
In a naturally wet bed, rainfall may provide most of the water. In a garden site that is only seasonally damp, check the soil with a finger or trowel rather than following a fixed weekly schedule. Water when the upper few inches begin to lose their cool, moist feel, and water slowly enough to wet the root zone instead of splashing the foliage.
Mulch can help if it is used as a moisture buffer rather than a blanket. Spread a thin layer of leaf mold, shredded leaves, or fine compost around the planting, leaving a small gap around each stem. Mulch is most helpful during a dry summer or after transplanting; it cannot turn hot, exposed soil into a woodland microclimate.
If the plant droops on a hot afternoon but recovers by dusk, observe before watering repeatedly. If the soil is already moist, extra water can reduce oxygen around the roots and make the real problem harder to see. Shade the root zone, check for a snapped stem, and look for standing water that never recedes before adding more irrigation.
Fertilizer and Support
Healthy jewelweed in organic soil generally does not need fertilizer. A spring layer of compost is a better default than a fast-release feed, which can push soft, leafy growth and make tall stems more prone to flopping. If a soil test shows a genuine nutrient deficiency, correct that deficiency modestly rather than feeding by habit.
Crowding is the most useful form of support. Plants growing together can hold one another upright, but crowding also increases competition and makes a patch harder to inspect. If stems lean, first check whether the plants are stretching for light or growing in excessively rich, wet soil. A stake can save one favorite plant, but staking an entire colony usually means the site or spacing needs adjustment.
Jewelweed does not need deadheading to keep flowering. Removing every spent flower can be counterproductive if you want birds to use the seed later or want the plant to reseed naturally. Prune only to remove broken, diseased, or unwanted growth, and avoid walking through a mature patch when capsules are ready to fire.
Manage Self-Seeding Before It Manages You
The famous “touch-me-not” seed capsule is both the plant’s appeal and its maintenance plan. NC State Extension warns that jewelweed can form large colonies under favorable conditions, and it records the species as having caused concern where it spread rapidly outside its expected range. (NC State Extension) That does not mean every garden planting is a problem, but it does mean you should check local guidance and choose the planting boundary deliberately.
For a naturalized wetland edge, let some capsules mature and leave the ground undisturbed after seed drop. For a controlled border, remove seedlings in spring while they are small, before their roots and brittle stems become awkward to handle. A thin layer of mulch can make volunteers easier to see, but do not cover a desirable seedbed so heavily that you suppress the next generation.
If you want to save seed without seeding the whole bed, place a small paper or breathable fabric bag over selected mature capsules late in the season, after pollinator activity has largely passed. Check the bags often. Remove the plant or trim unwanted flowering stems before capsules ripen if you want to stop that group from adding new seed. Do not wait until a dry brown stand is full of capsules; by then, simply brushing past can complete the dispersal.
Flowers, Wildlife, and Safe Handling
The orange flowers typically appear from summer into fall, depending on climate and sowing date. Their long, curved spurs are adapted to nectar-seeking visitors such as hummingbirds and long-tongued bees, while the foliage and seeds support other wildlife. NC State Extension lists hummingbirds, bees, butterflies, and seed-eating birds among the plant’s wildlife value. (NC State Extension)
That ecological value comes with trade-offs. Deer may browse foliage, birds and rodents may remove seed, and caterpillars may chew leaves. A few holes are not a reason to spray a wildlife plant. Intervene only when browsing or a localized pest threatens the stand, and identify the cause before reaching for an insecticide.
Treat the fruit as something to observe, not a snack. NC State Extension classifies jewelweed as having low-severity poison characteristics and identifies the fruits as toxic if ingested, with gastric irritation possible. (NC State Extension) Keep children and pets from tasting the capsules, wash after handling unknown plant material, and do not use traditional claims about crushed stems as a substitute for professional medical advice.
Troubleshoot Droop, Leaf Loss, and Pests
Start with the site, not a spray bottle. Jewelweed problems often look dramatic because the stems and leaves contain a lot of water, but a quick sequence can separate temporary heat stress from a failing plant.
- Leaves droop in afternoon heat: Check soil moisture several inches down and compare morning and evening. If the soil is dry, water slowly and add shade or mulch; if it is already wet, investigate heat load, root damage, or a broken stem before watering more.
- Leaves remain limp overnight: Inspect the stem for a break and the soil for prolonged saturation. A damaged stem may need removal, while a persistently airless root zone is a site problem that watering cannot fix.
- Leaves drop after a cold night: Frost can end the season abruptly. Jewelweed is an annual, so late-season leaf loss may be normal dieback rather than a disease that needs treatment.
- Thin, tall growth: Move future sowing toward brighter dappled shade or thin competing plants. Do not solve a light problem with fertilizer.
- Sticky stems or clusters of small insects: Look closely for aphids, including jewelweed-associated aphids. A small population may be tolerated; remove a badly affected stem, rinse gently when the plant can dry quickly, and protect pollinators by avoiding indiscriminate sprays.
- Spots, galls, or distorted buds: Photograph the symptom, remove a small affected portion if it is spreading, and discard diseased material rather than composting it. Rust and localized gall-forming pests are more useful to diagnose by pattern than by guessing from a single brown mark.
Good air movement still matters in a wet garden. Do not pack plants against a wall or keep foliage constantly wet with overhead irrigation. The objective is moist soil with leaves that can dry, not a sealed, humid canopy.
Container Growing: Possible, But Not the Easiest Use
You can grow jewelweed in a large container with drainage holes, rich moisture-holding mix, and a shaded outdoor position. A sizable pot reduces the need to disturb the roots and gives tall stems enough volume to anchor. It also lets you move the plant away from a path or neighboring bed when capsules begin to ripen.
The trade-off is watering. A container may dry out faster than the ground even in shade, and a black pot on a hot patio can overheat the root zone while the foliage still looks like a shade plant. Check the mix frequently, water thoroughly when it begins to dry, and do not leave the pot standing in a saucer of stagnant water for days.
Container growing is most useful when you want one contained specimen, need to observe the plant before committing to a garden patch, or are starting seedlings for transplanting. It is less useful as a way to make jewelweed permanently tidy: ripe capsules can still scatter seed, and a tall annual may outgrow a small decorative pot quickly.
Conclusion
Grow jewelweed where the soil stays moist, the light is filtered or shaded, and a seasonal wildflower colony will be welcome. Start with fresh seed, sow it on or near the soil surface, allow a cool moist period, and keep the seedbed from drying while it establishes. Once growing, jewelweed usually needs more judgment than fertilizer: watch moisture, protect the fragile stems, and let the habitat do most of the work.
Decide your containment rule before the first capsules ripen. Leave a patch to naturalize beside a pond or woodland edge, or remove seedlings and bag selected pods if you want a smaller display. With that one decision made early, jewelweed can turn a difficult wet-shade corner into a living seasonal garden without becoming an accidental maintenance project.



