How Deep to Plant Tomato Seedlings
Learn how deep to plant tomato seedlings, when to use a trench, how to handle leggy or grafted plants, and what to do after transplanting.
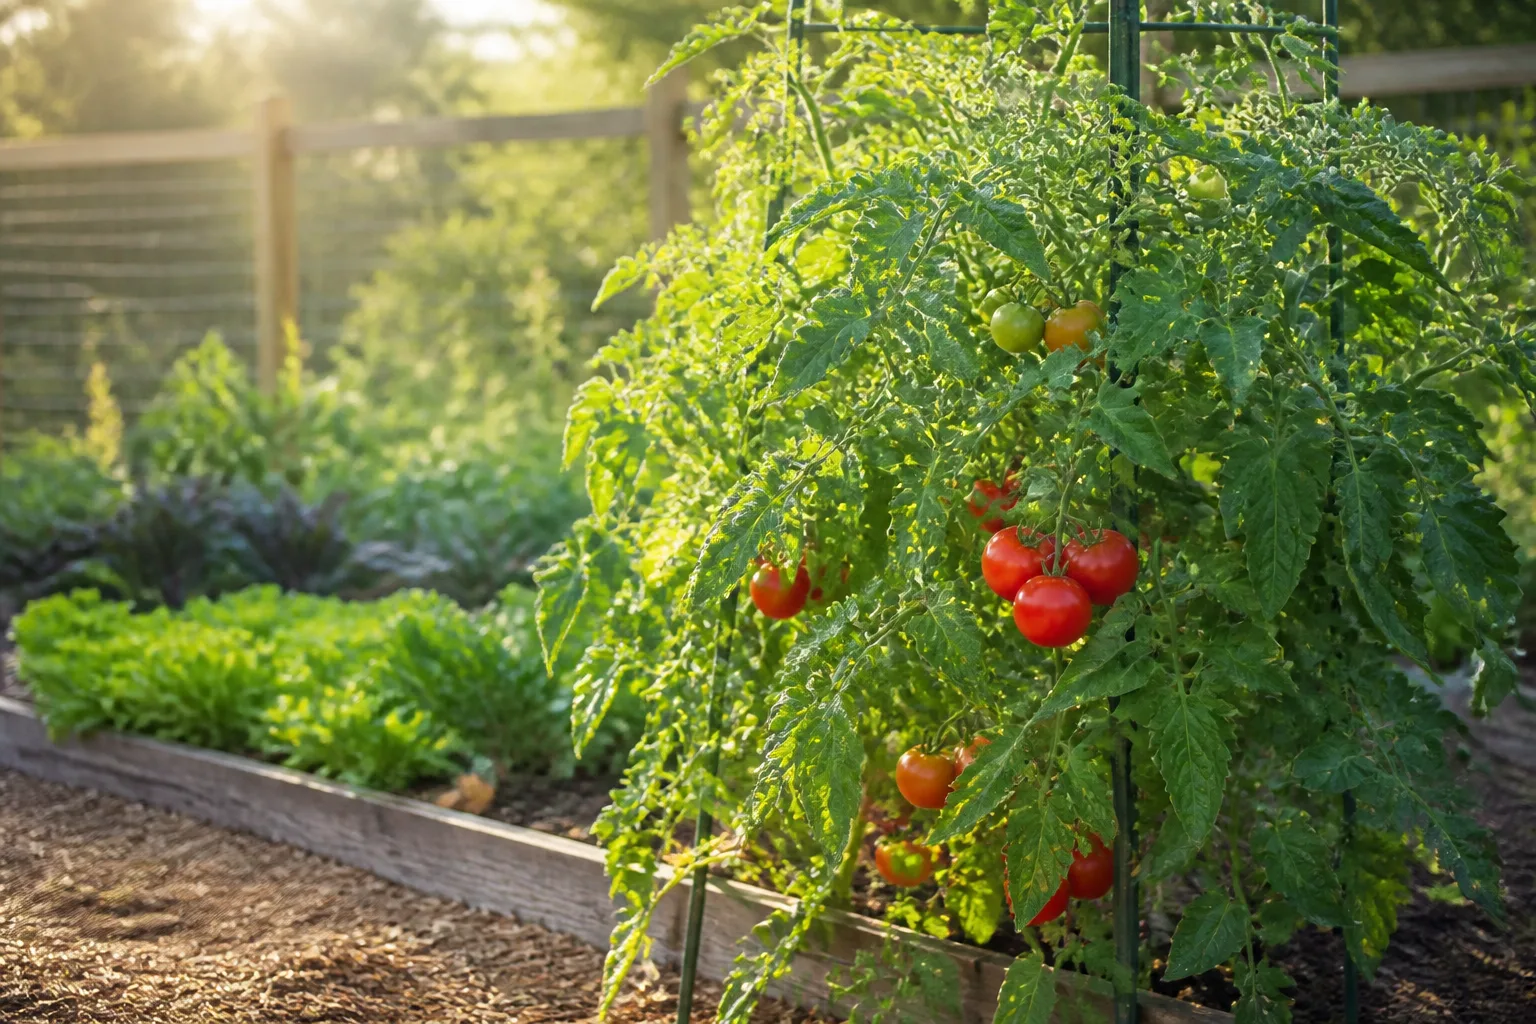
Plant a tomato seedling so the root ball is covered and the bare stem reaches almost to the lowest healthy leaves, with those leaves left above the soil. For a typical stocky transplant, that often means burying several inches more stem than was underground in the nursery pot. The exact depth depends on the plant’s shape, whether it is grafted, and how much usable soil the site provides.
The reason is unusual but simple: tomato stems can form adventitious roots when buried in warm, moist soil. Those extra roots can anchor a top-heavy plant and expand the area that takes up water and nutrients. Deep planting is helpful, but it is not a contest to bury the entire plant; cold, soggy soil, a graft union, or a shallow container can make “deeper” the wrong answer.
The short answer: bury the stem to the lowest healthy leaves
Remove the leaves that would sit underground, then plant the root ball and bare stem so the soil line ends just below the lowest remaining leaf cluster. Leave at least the top two sets of healthy true leaves above the soil, and adjust the depth so no leaves are buried. If the plant is small and stocky, that may be only a few inches below its original soil line; if it is tall and stretched, the buried section may be much longer.
Think in terms of the visible stem, not a universal hole measurement. A plant with a 4-inch stem above its root ball should not automatically go into an 8-inch hole, while a long, leggy plant may need a trench to use its length without forcing a fragile stem upright. Utah State University Extension says tomato stem tissue may be buried to the first leaves, or farther when the plant is spindly, because tomatoes make adventitious roots along buried stem tissue (Utah State University Extension’s tomato planting guidance).
The soil should touch bare stem, not foliage. Pinch or snip off lower leaves before planting, and do not bury leaves with spots, mildew, or insect damage. Leaves trapped against damp soil can decay and create a weak, messy planting zone even though the stem itself is capable of rooting there.
Why tomato seedlings can be planted deeper than most vegetables
Most vegetable transplants are set at the same depth they occupied in their container because their crowns and stems are not designed to become a second root system. Tomatoes are the notable exception. Their stems contain tissue that can initiate roots after contact with moist soil, producing a wider underground foundation than the original root ball alone.
Those new roots do not guarantee a larger harvest. They can improve anchorage and give the plant more access to water and nutrients, but fruit set still depends on variety, sunlight, temperature, pollination, soil fertility, and consistent care. Deep planting is one strong starting decision, not a replacement for choosing a suitable site or managing the rest of the season.
You may see small pale bumps along the lower stem of a tomato transplant. They are the beginnings of roots, not a disease. Once covered by moist soil, some can develop into functioning roots; if the soil stays cold or saturated, the process will be slower and the original root ball can struggle.
How deep to plant different tomato seedlings
There is no contradiction between “plant deeply” and “do not overdo it.” Use the plant’s current structure to decide how much stem can be buried safely.
Stocky, healthy transplants
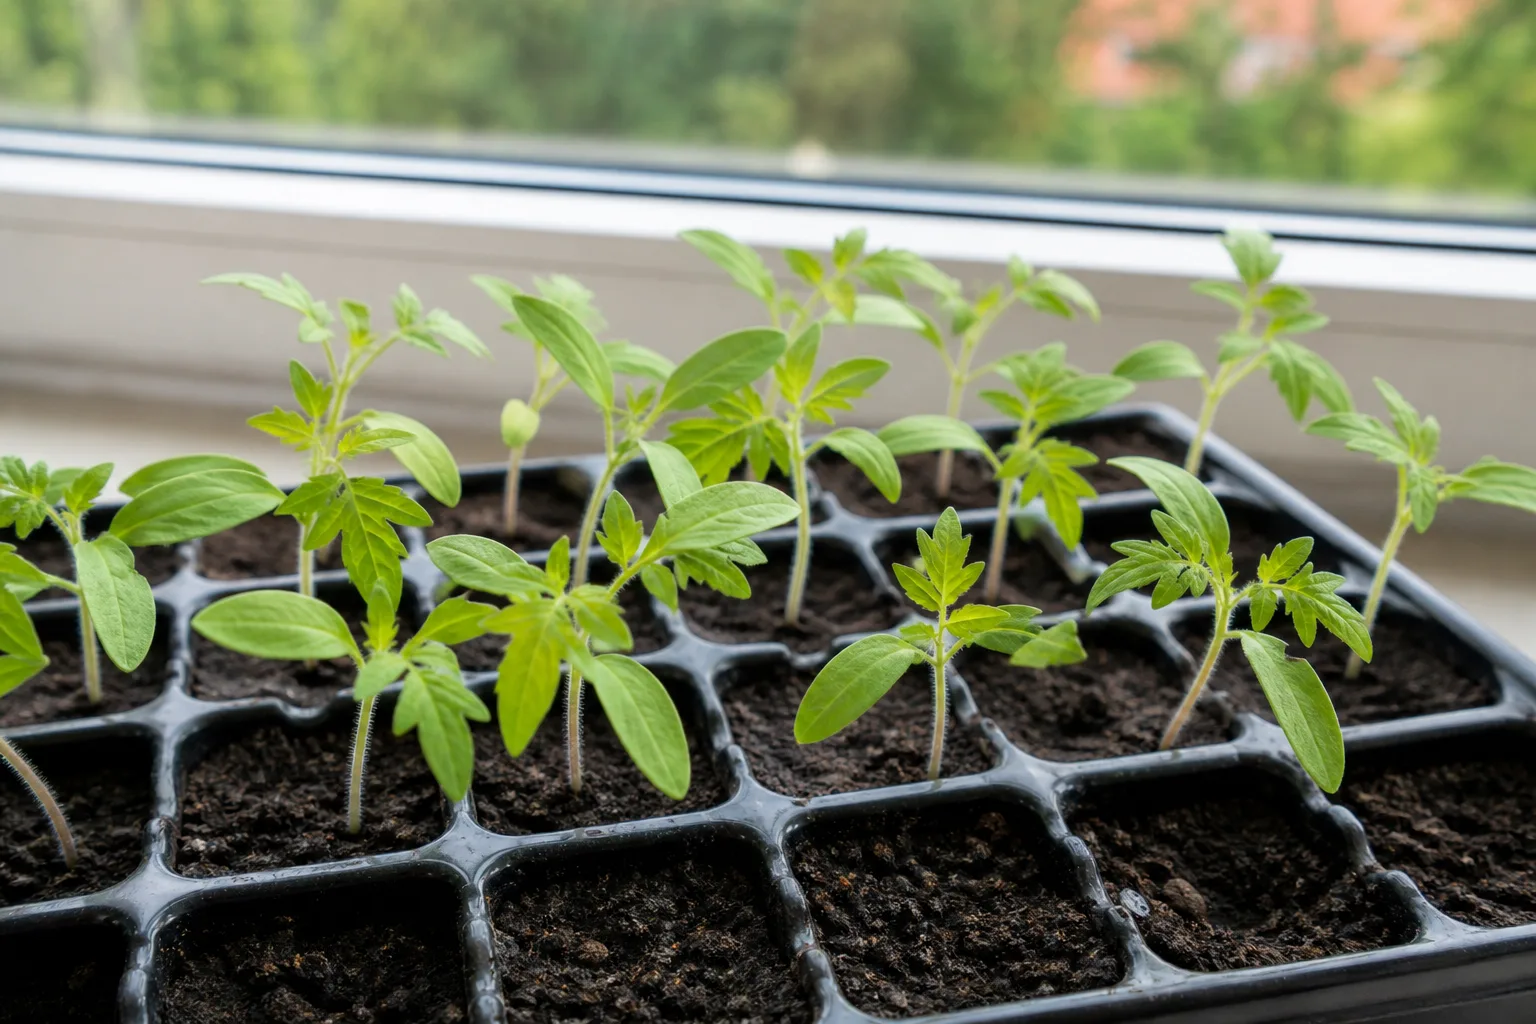
A compact seedling with a thick stem and several sets of true leaves can go into a deep hole. Strip the lowest leaves, cover the root ball, and bury the bare stem up to just below the lowest remaining leaves. The top should stand upright without a sharp bend, and the soil should not press against a leaf petiole or growing tip.
For a transplant that already has a short, sturdy stem, the final soil line may be a little below the level of the nursery mix rather than dramatically deeper. That is enough to add roots without disturbing more soil than necessary. The aim is a well-supported plant with healthy growing tissue above ground, not a number that looks impressive on a ruler.
Tall or leggy transplants
A tall, thin seedling is a good candidate for the trench method. Instead of trying to dig a very deep vertical hole, remove the lower leaves, lay most of the bare stem sideways in a shallow trench, and gently curve the top upward. Only the leafy tip needs to remain above ground.
Do not fold the stem at a hard angle. Make the trench long enough for the plant to lie comfortably, and orient the tip toward the support you plan to use. A few days of leaning or a temporary stake is normal while the top turns upward toward the light. The buried stem can root along its length, while the horizontal position keeps a weak stem from acting like a lever in wind.
Grafted tomato plants
Grafted tomatoes are the important exception to the usual deep-planting rule. The graft union—the swollen or angled join between the desired fruiting variety and the rootstock—must remain above the soil. If the scion portion is buried, it can form its own roots and bypass the disease resistance or vigor supplied by the rootstock.
Set a grafted plant at the same level it grew in its pot, or only as deep as the nursery instructions specify, while keeping the graft union at least an inch above soil. NC State Extension specifically warns that grafted tomatoes should be planted at their original level with the graft above ground (NC State Extension’s home-garden tomato guide). When in doubt, identify the union before digging; a deeper hole is not worth sacrificing the purpose of a grafted plant.
Check timing before you dig
Correct depth cannot rescue a seedling planted into freezing nights or waterlogged ground. Tomatoes are warm-season plants, so wait until the danger of frost has passed, the forecast is reasonably settled, and the soil is warming. Utah State University Extension lists about 50°F as a minimum night temperature for tomatoes, while other practical guides use warmer thresholds for tender young plants; your local extension service and weather history should settle the timing for your area.
Hardening off and warm soil
Seedlings raised indoors or in a greenhouse need a gradual transition to direct sun and wind. Begin hardening off about a week before planting by putting them outside in a sheltered, shaded place for a short period, then increasing outdoor time and gentle morning sun over several days. Epic Gardening recommends a week or two of acclimation so young plants can adjust to wind, sun, and temperature swings before permanent planting (Epic Gardening’s tomato transplanting guide). Savvy Gardening also recommends hardening off before a garden transplant and using a cloudy or overcast day when possible to reduce the initial shock (Savvy Gardening’s seedling transplanting guide).
Do not use a calendar date as a substitute for plant readiness. A seedling that has been hardened off, is actively growing, and has a moist but not saturated root ball is more prepared than one moved outside after a warm week and then exposed to a cold front. If soil at the intended depth feels cold and wet, wait, improve drainage, or use a raised bed or container that warms and drains more reliably.
Water the seedling before you remove it from its pot, but do not plant a root ball that is dripping or collapsing. Moist soil helps the roots stay together; saturated soil makes the plant heavier and easier to damage.
Deep hole or horizontal trench?
Use a deep hole for stocky transplants and loose soil that can be dug without smearing the sides. The hole needs to accommodate the root ball plus the bare stem, and its bottom should not become a sealed basin that holds water around the roots. If you hit hardpan, dense clay, or a layer of compacted soil, switch to a trench or build the planting area upward rather than creating a deep pocket with poor drainage.
Use a horizontal trench for leggy plants, compacted ground, or any situation in which the plant’s length is easier to bury sideways than vertically. Dig a trench roughly 5 to 6 inches deep, long enough for the root ball and bare stem, then gently curve the leafy top above the soil. NC State Extension recommends this approach for tall, leggy transplants and advises covering the root system and bare stem up to the top leaf cluster with a few inches of soil.
Both methods work because they put bare tomato stem in contact with moist soil. Neither method is automatically more productive. Choose the one that protects the stem, preserves drainage, and leaves the growing tip in a natural position.
How to plant a tomato seedling step by step
The operation is quick when the hole, water, and support are ready first. Work with the plant by its root ball or leaves; a tomato stem can look sturdy while still tearing at the point where it joins the root system.
Prepare the root ball and planting site
Choose a site with full sun, good drainage, and enough room for the variety’s mature habit. Loosen the planting area rather than filling a narrow hole with a different, fluffy mix; a sharp soil boundary can hold water around the root ball or discourage roots from moving into the surrounding bed. Add compost according to the needs of the bed and soil test, but do not pack a pocket of rich material directly against the stem.
Set the cage, trellis, or stake beside the planting spot before the seedling goes in. If you wait until roots have spread, driving support into the soil can sever the new roots you were trying to encourage. NC State Extension recommends staking or caging shortly after planting and warns that trench-planted tomatoes should be supported immediately so the buried stem’s location is still clear.
Remove the lowest leaves with clean fingers or snips. Keep the upper growing tip and enough true leaves above ground to power recovery. Do not strip every leaf from a small plant simply to make it fit a deeper hole; shorten the buried section or use a trench instead.
Set the soil line and settle the plant
Place the root ball in the hole or the plant on its side in the trench. Check the final soil line from the side, then rotate the plant so the leafy tip points upward and the stem is not kinked. Backfill with the excavated soil and firm it lightly with your fingertips so there are no large air gaps, but do not compact the bed into a hard crust.
Water slowly and thoroughly at the base. The goal is to settle soil around the root ball and buried stem, not to blast soil onto the leaves or wash out the planting hole. If the soil sinks noticeably, add more soil to restore the intended level while keeping the leaves and graft union above ground.
Expect the plant to look less upright for a short time if it was trench-planted. Tie the exposed tip loosely to its support once it begins to turn upward, leaving room for the stem to thicken. Avoid bending or pulling it straight on planting day.
Adjust the rule for containers and raised beds
Deep planting is easiest in a garden bed with loose, deep soil. In a raised bed, check the total soil depth rather than assuming the box is deep enough; a tall side wall does not help if the bed is filled with only a thin layer over compacted ground. NC State Extension notes that determinate and semi-determinate tomatoes can do well in containers at least a foot deep with drainage holes, but larger indeterminate plants usually need more root volume and support.
In a container, leave usable mix below the root ball. A pot that is wide but shallow may not have enough depth for a long buried stem, while a deep pot with a small drainage hole can hold wet soil below the roots. Plant slightly deeper than the original level only when the container can still drain freely and provide room for roots to expand downward and outward.
Raised beds offer a useful middle ground: they warm and drain well when built correctly, and the loose mix makes either a deep hole or a trench easy. In a patio pot, a compact determinate or cherry tomato is generally easier to match to the available root volume than a vigorous indeterminate vine. Choose the container and variety together instead of trying to force a large plant into a small footprint.
Space and support the plant before roots spread
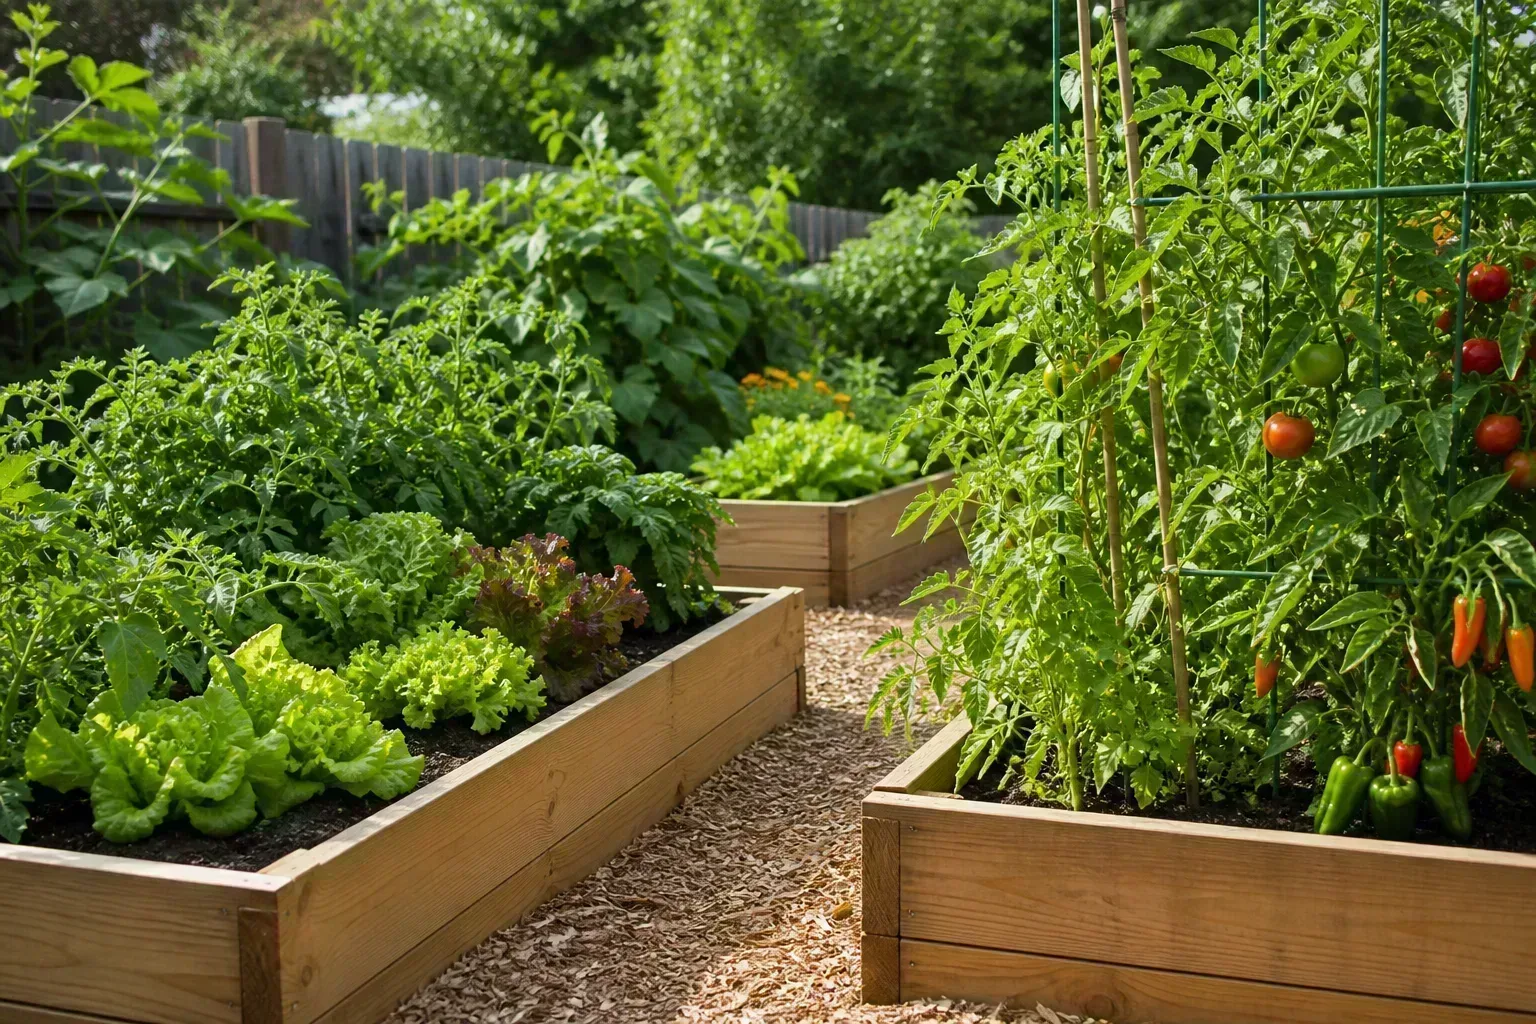
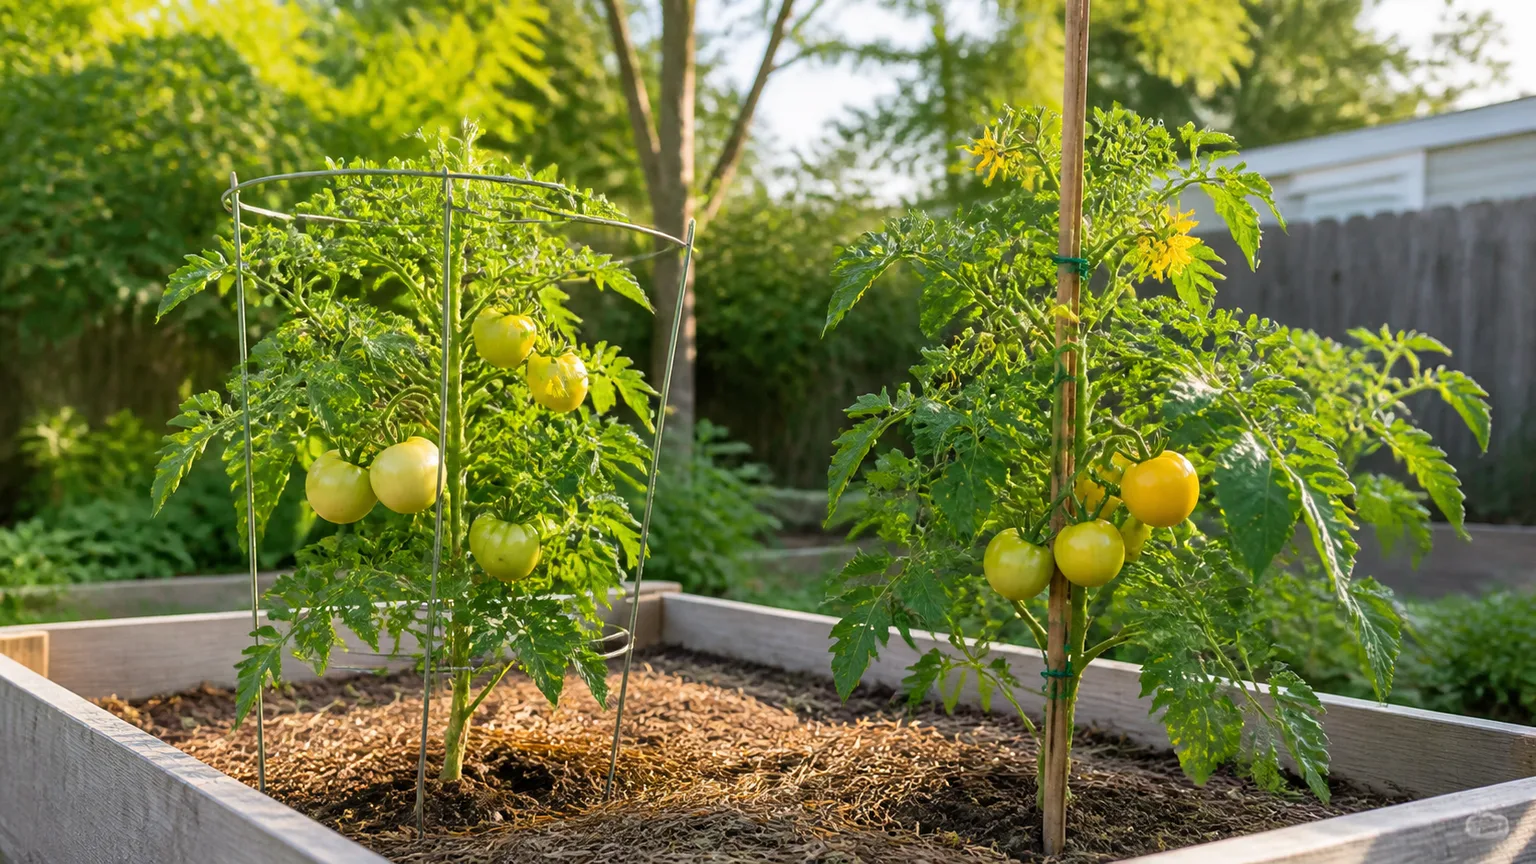
Deep roots do not eliminate the need for a cage, stake, or trellis. Determinate tomatoes stay shorter but still benefit from a compact cage or stake when fruit clusters load the branches. Indeterminate tomatoes continue growing and need a strong support system that matches their expected height.
Spacing is a disease-management and access decision as much as a root-space decision. NC State Extension gives about 1½ to 2 feet between plants in a row and 3 to 4 feet between rows for its home-garden guidance; Utah State University Extension gives 18 to 24 inches in the row and 36 to 48 inches between rows, with more room for indeterminate varieties. Use the wider end when humidity, disease pressure, or vigorous growth makes airflow difficult.
Keep ties loose and use soft cloth, twine, or another material that will not cut into the stem. With a trench-planted seedling, place the support so it does not sit directly over the buried stem. Mark the underground direction mentally or with a small surface reference before driving a stake.
Water, mulch, and feeding after transplanting
Water immediately after planting, then watch the root zone rather than following a rigid daily schedule. The new roots are small relative to the surrounding bed, so the surface can look damp while the original root ball dries out—or the bed can stay wet after rain while the plant is still wilted from root disturbance. Check moisture a finger’s depth into the soil near, but not directly against, the stem.
For the first week, aim for even moisture without leaving the plant in standing water. Deeply planted stems need contact with moist soil to root, but oxygen-starved roots in saturated clay will not benefit from additional water. After establishment, water thoroughly when the root zone begins to dry, and adjust for heat, wind, rainfall, container size, and plant load. Farmers’ Almanac likewise emphasizes steady moisture and warns that a dry stretch followed by a sudden heavy watering can contribute to cracked fruit later in the season (Farmers’ Almanac’s tomato growing guide).
Add a thin layer of organic mulch after the soil has warmed, keeping it a few inches away from the stem. Mulch slows evaporation, softens temperature swings, and reduces soil splashing onto lower leaves. NC State Extension recommends organic mulch for moisture conservation and advises soaking soil deeply during the season rather than relying on frequent shallow sips.
Do not rush to fertilize a newly planted seedling with a strong dose. Healthy soil or a light, appropriate starter approach is usually enough while the roots re-establish. Once the plant is growing again, use a soil test, the variety’s needs, and the fertilizer label to guide feeding; excess nitrogen can produce lush foliage without solving a light, temperature, pollination, or watering problem.
Common depth mistakes and how to recover
Burying leaves. If you notice on planting day, lift the plant slightly and remove the leaves that would be below the soil line. If a buried leaf is already yellowing or decomposing, clear the surrounding soil carefully rather than tugging the stem.
Planting a graft union underground. Uncover it as soon as you recognize the mistake, keeping the union dry and above the final soil line. If the plant has been buried for a long time, it may still grow, but you lose the benefit of keeping the fruiting variety separate from the rootstock.
Putting a stocky plant too deep in cold soil. A tomato can root from its stem, but low temperatures slow root activity and top growth. If the plant is sitting in a cold, wet pocket, improve drainage and protect it from cold rather than adding more water or fertilizer.
Planting the root ball at the bottom of a shallow pot. The problem is not the buried stem itself; it is the lack of room below it and the possibility of a permanently wet bottom layer. Repot into a deeper, well-drained container or plant at a shallower level while keeping the plant stable.
Breaking the stem while trenching. Do not try to straighten a sharply bent stem. If the break is partial, support it gently and keep the soil evenly moist; if the main stem is fully severed, take a healthy top cutting and root it as a backup while replacing the damaged plant if possible.
Mistaking transplant pause for failure. A plant may stop obvious top growth for several days while it restores root contact. New leaves, a firm stem, and reduced midday wilt are better recovery signs than immediate height gain. Persistent collapse, a soft dark stem at the soil line, sour soil, or worsening wilt in wet soil points to a root or stem problem rather than ordinary shock.
Conclusion: plant deep, but let the plant and site set the limit
For most ungrafted tomato seedlings, bury the root ball and bare stem to just below the lowest healthy leaves, leaving the upper true leaves above ground. Use a deep hole for a stocky plant, a horizontal trench for a leggy one, and keep a graft union well above the soil. In containers or cold, compact, wet ground, preserve drainage and root room instead of blindly following a “deeper is always better” rule.
Water the new planting thoroughly, install support early, mulch after the soil warms, and give the plant time to rebuild its root system. The best depth is the one that places clean stem in contact with moist, well-drained soil while keeping the growing tip, leaves, and graft union safe above it.



