How Long to Wait After Pulling Dead Plants
How long should you wait after pulling a dead plant? Match replanting time to the cause, test your soil, and avoid repeating disease, drainage, or pH problems.
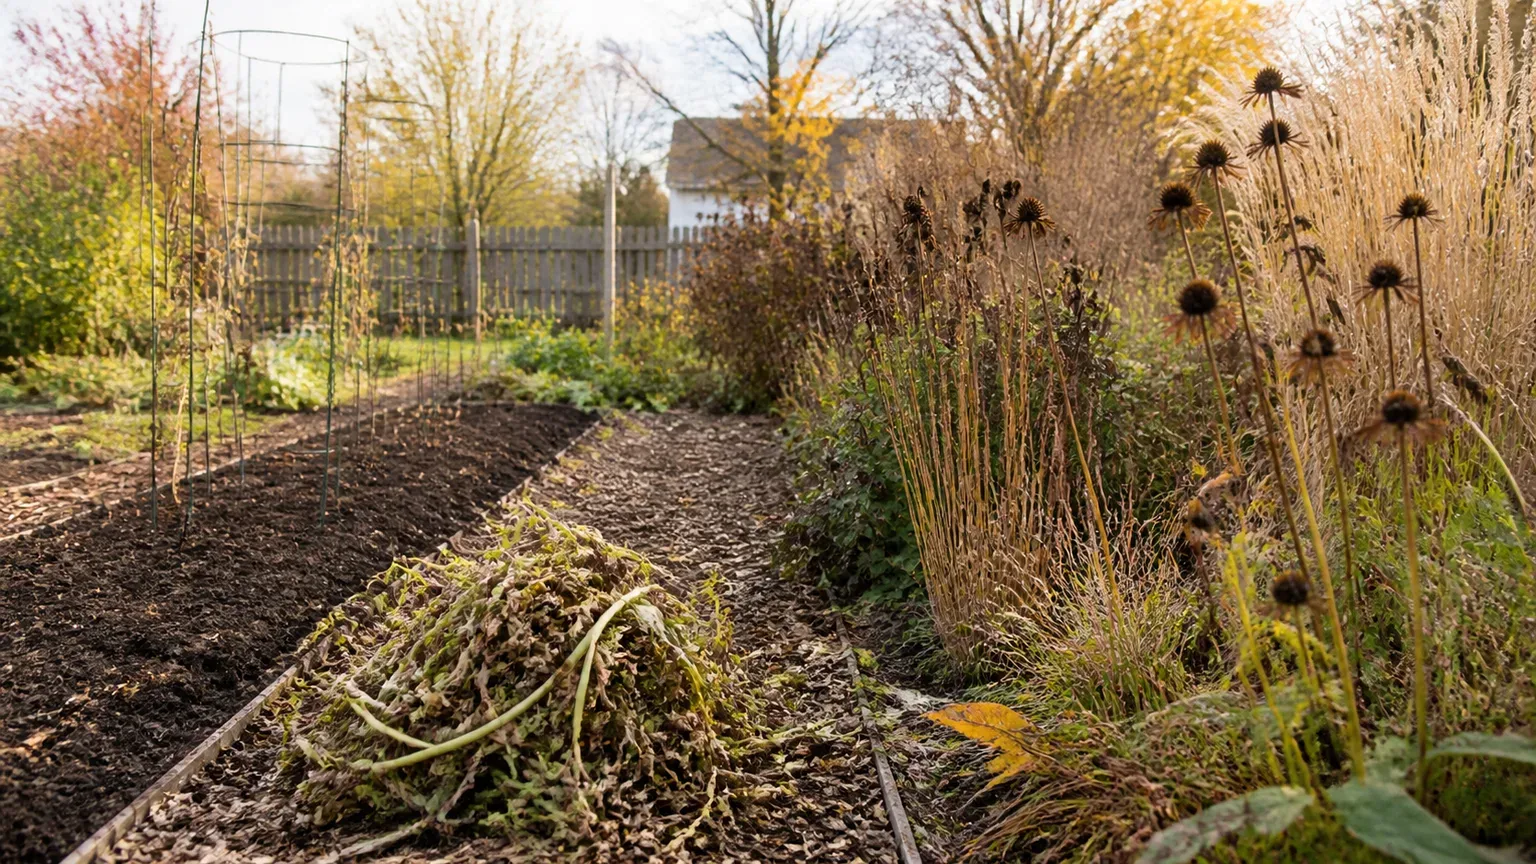
You usually do not need to let garden soil “rest” for a fixed number of days after pulling a dead plant. You can replant as soon as the likely cause has been corrected, the soil is workable, and the new plant is appropriate for the site. That might be the same afternoon after a snapped stem or frost, a few days after a drainage problem dries, or an entire growing season when disease or crop-family buildup is suspected.
The important distinction is between a plant that died in a bad season and a planting site that is still capable of killing its replacement. A plant can fail because a storm flooded it, because a vole chewed its roots, or because the soil stayed airless for weeks. Pulling out the evidence does not repair the cause. Before you buy a replacement, use the empty space as a short investigation site.
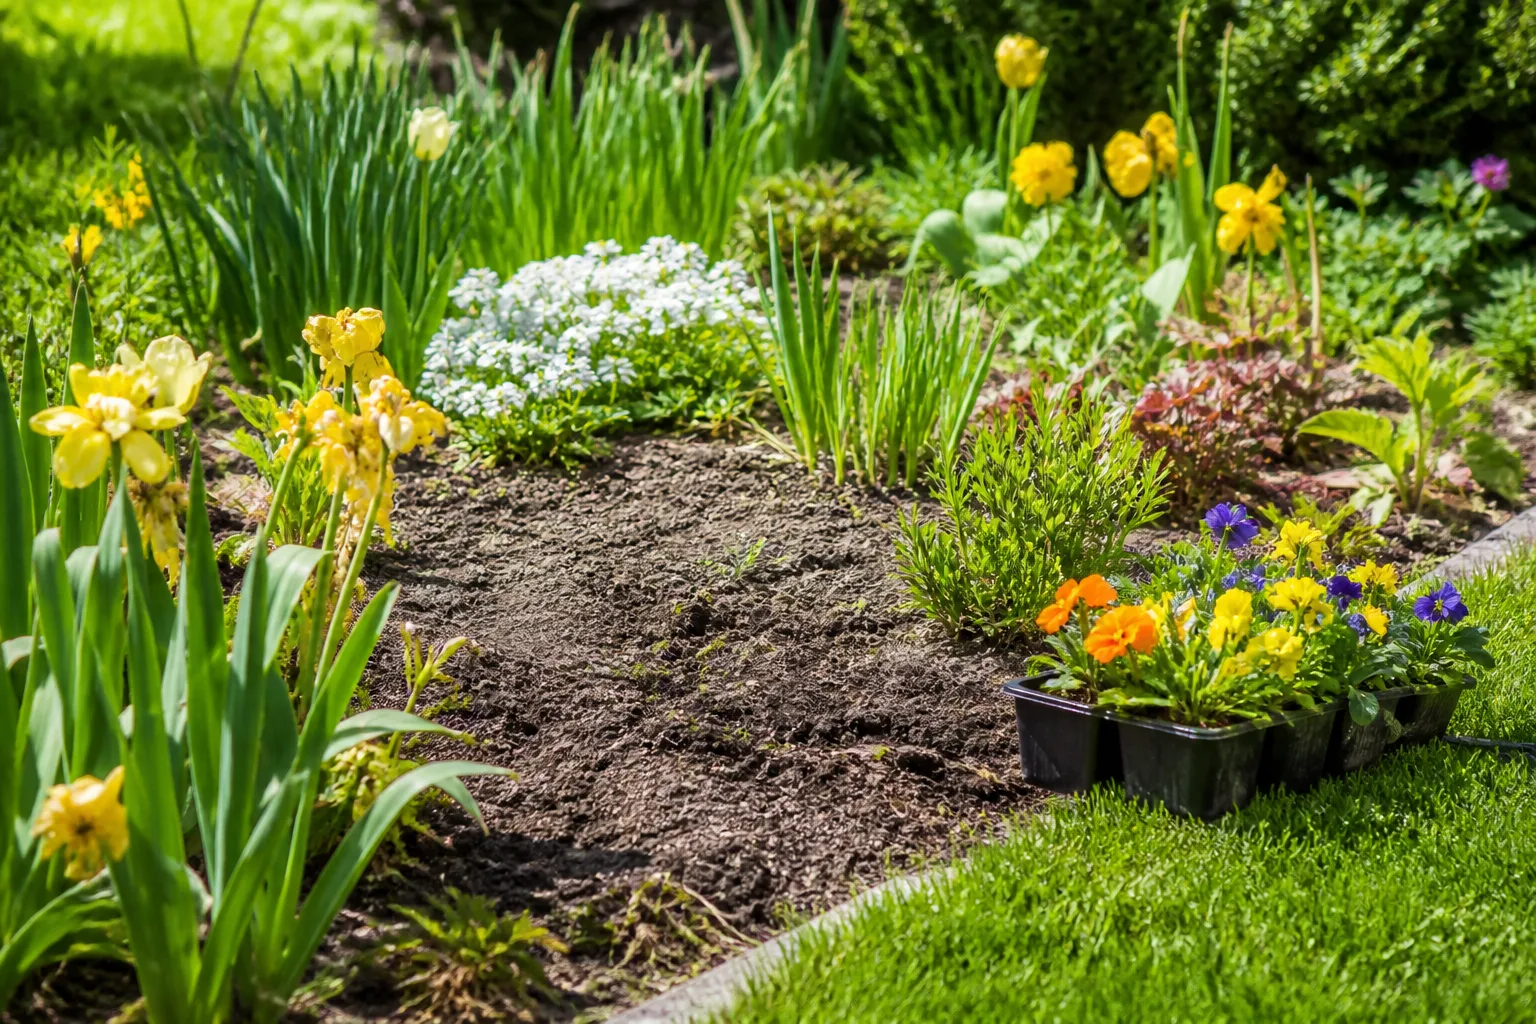
The short answer: the cause sets the clock
Here is the practical rule: replant immediately only when the death was caused by a temporary event and the root zone is now suitable. Wait until you correct a physical soil problem, test a suspected nutrient or pH issue, and isolate or avoid a site after disease. Waiting by itself rarely improves soil. Corrective work and the choice of the next plant do.
For example, a perennial crushed by a falling branch can be replaced once the debris is removed and the ground is not waterlogged. A shrub that died in a low pocket of clay should not be replaced until water can leave the root zone. A tomato with wilt, a rotten crown, or an unexplained collapse deserves a more cautious reset, especially if another tomato, pepper, eggplant, or potato is going into the same bed.
Do not confuse soil recovery with the calendar. Even perfectly prepared soil may be unsafe to plant because a tender transplant is arriving during a heat wave or because the plant is outside its local planting window. Conversely, a bed may be biologically imperfect but usable for a tolerant, different-family plant if the immediate risks are understood and corrected.
Start by reconstructing why the plant died
Before pulling, photograph the whole plant and inspect the base, roots, surrounding soil, and nearby plants. Note whether the foliage turned yellow slowly or collapsed quickly, whether the soil was dusty or saturated, whether stems were chewed, and whether the same problem appears elsewhere. These observations are more useful than the word “dead,” which describes the outcome but not the mechanism.
Look for clues in four places. The leaves may show scorch, spotting, mildew, stippling, or chewing. The stem may have cankers, soft rot, boring holes, or a constricted crown. Roots may be firm and pale, or brown, mushy, galled, and foul-smelling. The site may reveal standing water, a hard layer, salt deposits, irrigation failure, buried construction rubble, or roots from a nearby tree.
When same-week replanting is reasonable
Same-week planting is reasonable when the plant was lost to a clearly temporary event and the soil itself is not the problem. Examples include a mower strike, wind damage that broke the crown, accidental herbicide drift that did not affect the ground, a late freeze that killed an annual, or a container plant removed because its pot cracked. In each case, remove debris, correct the immediate hazard, and confirm that the replacement fits the light, moisture, temperature, and season.
A weather failure still deserves a quick reality check. Flooding may leave silt, displaced mulch, or oxygen-starved soil; drought may leave hydrophobic dry pockets; and heat may have exposed a hot wall or reflective surface that will harm the next plant. If the event changed the soil’s moisture or structure, the clock starts after the site is corrected, not when the dead plant is pulled.
When the spot needs a longer pause
Plan a longer pause when the cause was soil-borne disease, repeated root rot, severe compaction, unexplained nutrient imbalance, nematodes, persistent pests, or a site mismatch that amendments cannot solve. In those situations, the soil may not need to be empty, but the next plant should not be chosen by replacing the old one with an identical specimen.
An unknown death is not automatically a disease. It is, however, a reason to avoid planting an expensive or highly susceptible replacement until you have checked the roots and soil. If several plants in the same area fail in a similar pattern, treat the pattern as evidence of a site problem and contact a local extension or diagnostic service rather than guessing at a treatment.
A cause-based waiting-time guide
Use the following ranges as decision points, not promises:
| Likely cause | Minimum practical pause | What must happen before replanting |
|---|---|---|
| Mechanical damage, frost, or a removed container plant | Same day to a few days | Remove debris, confirm the site is suitable, and plant in season |
| Drought or one-time watering error | After the soil is evenly rehydrated | Restore irrigation and check that water reaches the root zone without pooling |
| Flooding or soggy soil | Several days to weeks | Let the bed drain, identify the source, and repair compaction or grade |
| Nutrient deficiency or excess fertilizer | Until a soil test is interpreted | Apply only recommended amendments and choose a plant suited to the result |
| pH imbalance | Weeks to a season, depending on the amendment | Test, amend conservatively, and allow the product to react as directed |
| Suspected disease or nematodes | One season or longer, depending on the organism | Remove contaminated material, rotate families, and use diagnosis or soil replacement when needed |
The range is intentionally broad. A laboratory or extension recommendation may shorten or lengthen it, and the species changes the risk. A shallow-rooted annual may tolerate a different site sooner than a young fruit tree. Replant disease is also more likely to matter when you put a sensitive plant or the same plant family back into the same root zone.
If soggy soil or compaction caused the failure
Do not plant into a hole that is still holding water. Digging a larger hole in a wet, dense bed can create a bowl that collects even more water around the new root ball. First determine whether the problem is temporary rain, a clogged downspout, a leaking irrigation line, a low grade, a compacted surface, or a dense layer below the planting depth.
Wait until the soil is moist but not sticky. Then open a narrow inspection trench beside the old planting area and look for a sharp change in texture or a hard pan that resists a trowel. If a probe stops at the same depth across the bed, the problem is probably not the dead plant’s hole; it is a broader compaction layer.
Fine Gardening’s soil-care guidance explains why compaction harms roots: it collapses the pores that carry air and water, with waterlogged dense soil also increasing root-disease risk and limiting root development. For a small patch, loosen the soil when it is workable and incorporate mature organic matter according to a soil test. For a broader compacted bed, a broadfork, reduced foot traffic, a raised planting area, or a living cover may be more durable than repeated deep tilling.
Do not pour gravel into the bottom of a hole as a cure for clay. It does not create a magic drainage layer inside fine-textured soil. Redirect water, open the soil’s structure, improve the grade, or choose a plant that tolerates the site; the correct solution depends on where the water is coming from.
If drought, heat, or watering caused the failure
Drought-killed soil is not contaminated, but it can be difficult to rewet evenly. Very dry organic soils may shed water down the sides of a root ball while the center remains dry. Rehydrate gradually across the full bed, then check moisture below the surface rather than judging readiness from a damp crust.
If overwatering caused the death, ask why the soil stayed wet. A timer may be delivering too much water, a saucer may be trapping runoff, or the plant may simply be in a heavier soil than its roots can tolerate. Correct the delivery and the site before planting; adding a water-hungry replacement can hide the symptom for a while without fixing the drainage.
Heat is often a placement problem rather than a soil problem. A bed beside a south-facing wall, asphalt, or reflected glass can be dramatically hotter and drier than the rest of the garden. Replace a heat-sensitive plant with one suited to that microclimate, add a measured organic mulch layer, and transplant during a cooler, lower-stress window when possible.
If nutrients or pH are suspect
Do not diagnose a nutrient deficiency from one yellow leaf or respond with a handful of fertilizer. Nutrient symptoms overlap with root damage, drought, salt injury, pests, and pH-related lockout. The better sequence is to sample the bed, read the test report, and amend only what the report supports.
Penn State Extension explains that a soil test measures plant-available nutrients, pH, organic matter, and acidity, then uses those results to guide lime and fertilizer recommendations. For a garden bed, collect cores about 6 to 8 inches deep from 8 to 10 random spots, mix them in a clean plastic bucket, and submit a representative sample. Keep problem areas separate from healthy areas so an average sample does not conceal a failing pocket.
Phosphorus, potassium, calcium, magnesium, and pH do not change because a gardener waits an arbitrary week. They change when the right amendment is applied at the right rate and given time to react. If the soil report calls for lime or sulfur, follow the lab’s rate and timing; do not stack several “soil boosters” in the hope that one will cancel another.
Compost can improve structure and contribute nutrients, but it is not a universal antidote. Excess compost can raise soluble salts or create an overly rich root zone for plants that prefer lean soil. Blend the replacement plant’s needs with what the bed actually lacks.
If disease or pests were involved
Disease is the main reason to stop thinking in terms of “how many days?” Soil-borne organisms and pest stages can outlast the plant that carried them. Removing a wilted crown on Monday does not make it safe to put the same susceptible crop back on Tuesday.
Contain the plant as you remove it. Lift or cut it without shaking soil across neighboring beds, collect fallen leaves and rotten fruit, and keep suspect material out of a casual home compost pile. Clean soil from pruners, stakes, cages, boots, and gloves before moving to healthy plants. If roots show galls, severe rot, dark vascular streaking, or an unusual odor, save a labeled sample or photograph for diagnosis rather than discarding the clues first.
Gardening Know How’s discussion of replant disease notes that some plants are especially sensitive when the same kind is returned to an old planting space. Its practical advice—remove diseased material and roots, avoid spreading contaminated soil, and use clean planting material—points to the key decision: a different plant may be reasonable sooner than the same susceptible plant.
Rotate by plant family, not just by crop name
Rotation is about shared enemies. Tomato, pepper, eggplant, and potato are all nightshades; cucumber, squash, melon, and many gourds are cucurbits. Moving from one name to another inside the same family may leave the same pathogen, nematode, or pest with an available host.
Penn State Extension’s home-vegetable guidance explains that rotation helps disrupt pest and disease cycles and reduces repeated nutrient depletion. In a small garden, you may not be able to achieve a perfect long rotation, but even moving the family to another bed, using a resistant cultivar, or growing a non-host cover can reduce pressure.
Rotation does not disinfect the original soil. It buys time and removes the preferred host. It also does not solve a drainage failure, contaminated irrigation water, or a pathogen with a very broad host range. Treat it as one layer of risk reduction, not as permission to ignore the original diagnosis.
When to replace soil or seek a diagnosis
For an outdoor bed, removing all soil is usually disruptive and rarely the first response. Consider professional advice when multiple plants fail, a valuable tree or shrub is involved, the problem repeats in a pattern, or you suspect a regulated disease. Your local extension office can help decide whether a soil, plant-tissue, or root sample is appropriate.
For a small container, replacement is more practical. Throw away potting mix from a plant with suspected root disease, scrub the pot and saucer, and start with fresh mix. Do not sterilize outdoor soil with household bleach or pour unlabelled chemicals into a bed. Any pesticide, fumigant, or soil treatment must be legal for the site and used exactly according to its label or a qualified local recommendation.
Remove the dead plant without spreading the problem
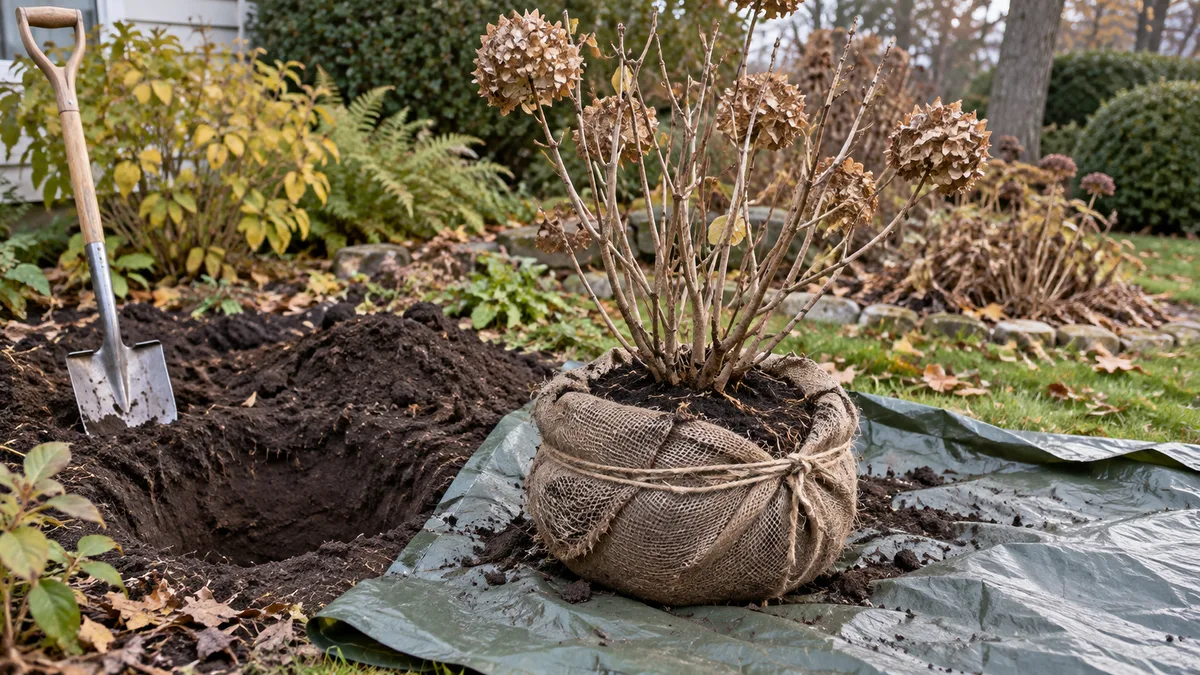
Use a clean tarp or bucket so roots and soil stay contained. Cut large stems into manageable pieces before lifting, but do not chop visibly diseased tissue into the bed. Bag suspect material for the disposal route allowed by your municipality; healthy, clean material can go to a properly managed compost system if its seed and disease history make that appropriate.
Once the plant is out, inspect the hole rather than immediately filling it. Remove loose dead roots when disease is suspected, pick out plastic tags and large debris, and note whether the surrounding soil is unusually wet, dry, gray, salty, or compacted. Avoid spreading soil from a failed pocket across the rest of the garden with a rototiller.
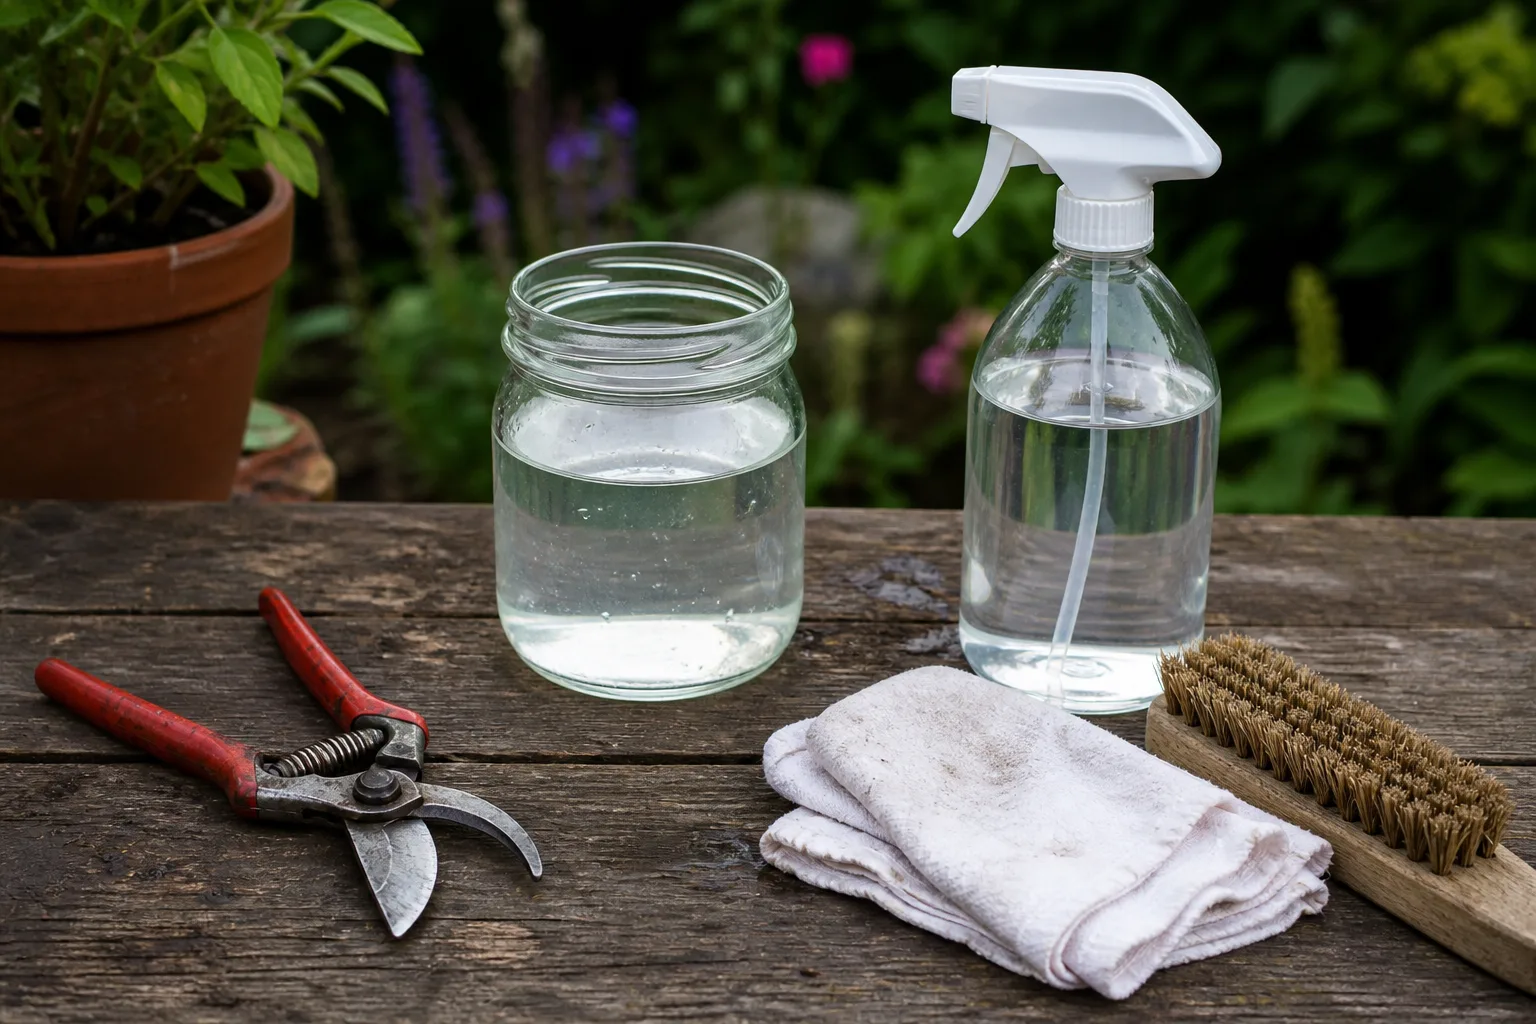
If the death was unexplained but isolated, do not panic. Mark the spot, choose a different-family replacement, and monitor it closely. If the same failure returns, stop replacing plants and investigate the site.
Five checks that show soil is ready
Soil is ready for replanting when it passes five practical checks:
- Moisture: It is neither saturated nor powder-dry at the intended root depth.
- Workability: A trowel enters without smearing a shiny wall or breaking rock-hard clods.
- Odor: The soil smells earthy rather than sour, septic, or strongly chemical.
- Infiltration: Water enters the bed and moves through it without immediately pooling or disappearing down a single crack.
- History: The original cause has been corrected, or the replacement plant is deliberately chosen to avoid the known risk.
Color and earthworms can be encouraging signs, but they are not clearance certificates. Dark soil may still be compacted, and earthworms do not prove that a specific pathogen is absent. A soil test is more informative for pH and nutrients, while a plant diagnostic is more informative for an unusual disease.
Use a squeeze test and an infiltration check
Take a handful from the intended planting depth, not just the surface. Squeeze it firmly. If water runs out or the soil forms a slick ribbon, wait for it to dry and improve drainage. If it will not hold together at all, moisten it evenly and retest; extremely dry soil can give a misleading result. Good planting soil holds a loose shape briefly, then crumbles when touched.
For infiltration, dig a narrow test hole about 12 inches deep, fill it once, let it drain, and fill it again. You are looking for a consistent movement of water through the profile, not a precise pass/fail number for every soil type. If the second filling remains for hours, investigate compaction or a high water table before planting a sensitive species.
Recondition the spot without over-amending it
Start with the smallest correction that addresses the evidence. Work mature compost into a compacted or low-organic-matter bed only when the soil is workable. Top-dress established areas where digging would damage roots, and use mulch to protect the surface from crusting and temperature swings.
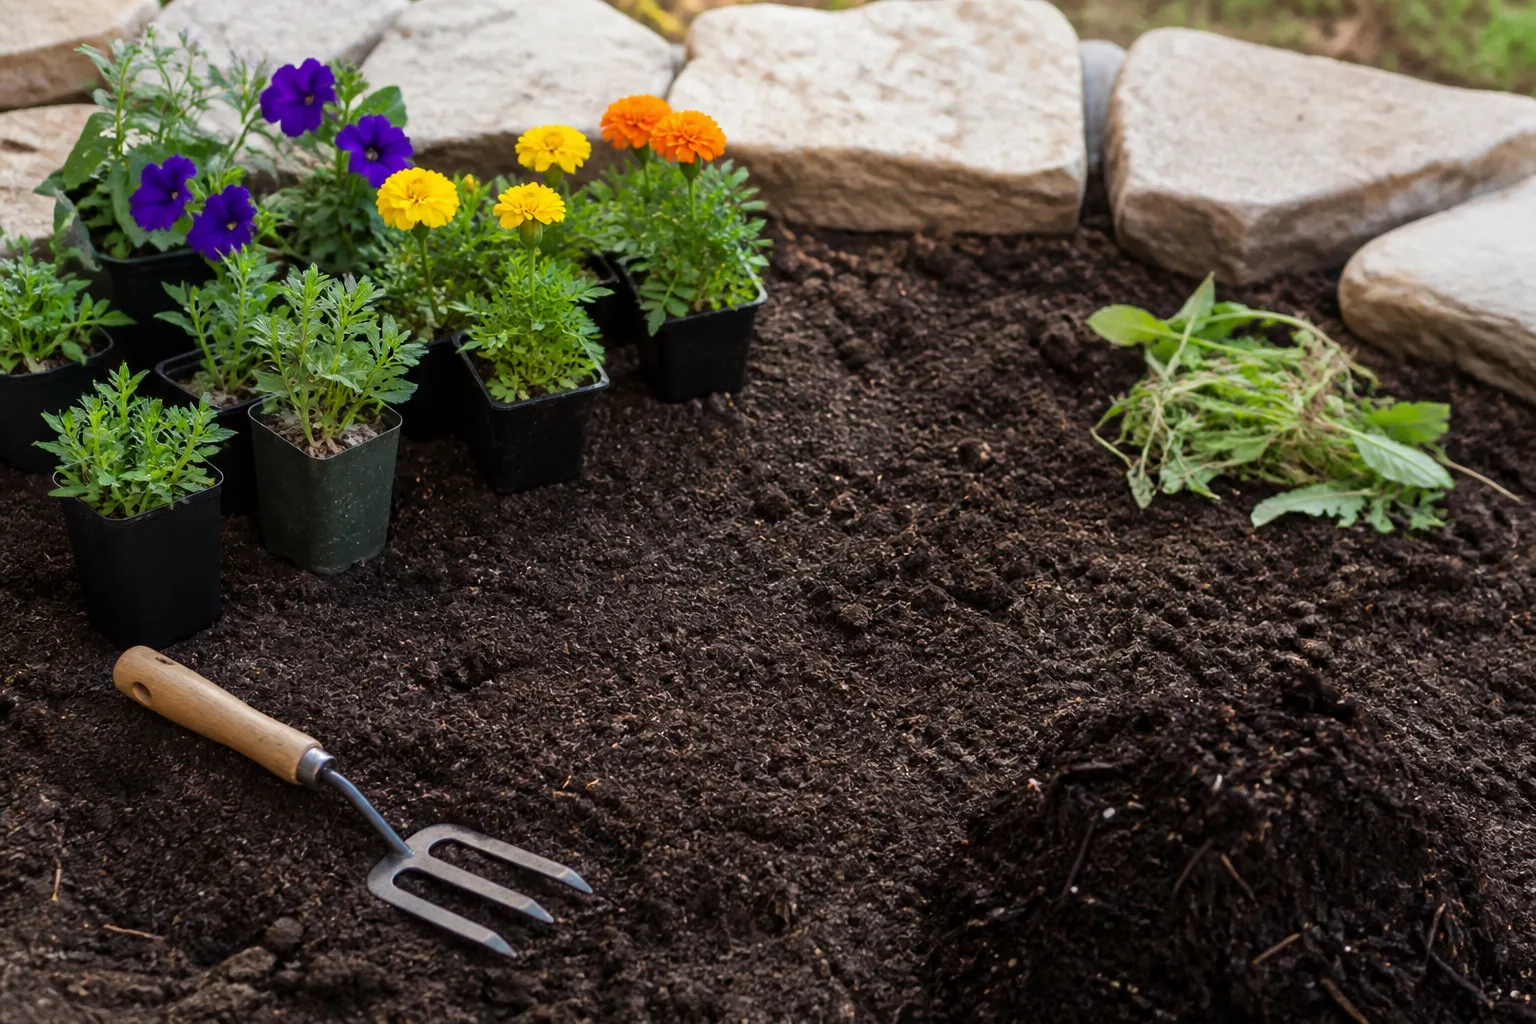
Do not automatically dig out the old hole and replace it with a small bag of “better” soil. A pocket of rich, different-textured soil can hold water around a root ball or encourage roots to circle inside the amended zone. For a shrub or tree, prepare a broad area and preserve a gradual transition between native soil and amended soil.
If the bed is compacted, minimize traffic while wet. Fine Gardening’s soil-care guidance emphasizes protecting soil pores and limiting unnecessary disturbance; a broadfork or aerator can open channels in a severe patch without repeatedly pulverizing the surface. Cover crops or living mulch can keep an empty vegetable bed rooted while the structure improves, provided the species will not host the problem you are trying to escape.
Outdoor beds and containers need different resets
In an outdoor bed, soil is a living, connected system. Roots from neighboring plants, rainfall, insects, and microbes cross the edges of the original hole. That is why a diseased tree or recurring wilt deserves a wider investigation than simply scooping out the soil that touched the trunk.
In a container, the root zone is bounded and easy to replace. Empty the pot, discard suspect mix, wash away stuck roots, and clean the container before adding fresh, well-draining potting mix. Confirm that the drainage hole is open and that a cachepot or saucer cannot hold the nursery pot in standing water.
Container soil also changes faster than garden soil. Salt buildup from fertilizer, collapsed air space, and inconsistent moisture can kill a plant without any outdoor pathogen. If the container plant died from neglect rather than disease, a fresh mix and a corrected watering routine may be enough to replant immediately.
Common replanting mistakes to avoid
The first mistake is treating all deaths as disease. That creates unnecessary soil removal and encourages harsh, untested treatments. The opposite mistake—assuming every death was “just watering”—keeps a pathogen, compaction layer, or broken irrigation line in place.
The second mistake is planting the same family because the empty spot is convenient. Rotation should be planned before the new plant is purchased. A different family may let you keep the bed productive while breaking a pest cycle; a same-family replacement may fail even when it looks healthy at the nursery.
The third mistake is amending by volume rather than by need. Sand, lime, sulfur, fertilizer, manure, and compost all have jobs, but none is harmless in unlimited amounts. Test first when the cause involves fertility or pH, and correct drainage mechanically when water is the problem.
The fourth mistake is burying diseased debris or adding it to a small home compost pile. Heat and decomposition in a backyard pile are not guaranteed to sanitize every pathogen or weed seed. When the history is suspicious, use a disposal route that does not return the material to your garden.
The final mistake is ignoring the plant’s season. A soil-ready bed can still lose a replacement to transplant shock, heat, frost, or a dormant period. If conditions are marginal, cover the spot, improve it gradually, and plant at the next suitable window rather than treating urgency as a gardening principle.
Conclusion
There is no universal waiting period after pulling a dead plant. Replant when the cause is understood, the soil is workable and appropriately moist, and the replacement does not repeat the original mismatch. Temporary damage may call for same-day planting; soggy or compacted ground needs correction; nutrient and pH issues need testing; and disease or pest history may call for rotation, a different plant, a season of avoidance, or local diagnosis.
The safest reset is simple: contain the old plant, inspect the roots and site, correct only what the evidence supports, and run a moisture and infiltration check before planting. That short pause turns an empty patch from a guessing game into a better planting decision.