How Much Aloe Can You Cut Off Safely?
Learn how much aloe you can cut safely, which leaves to choose, where to cut, how to harvest gel, and how to help the plant recover.
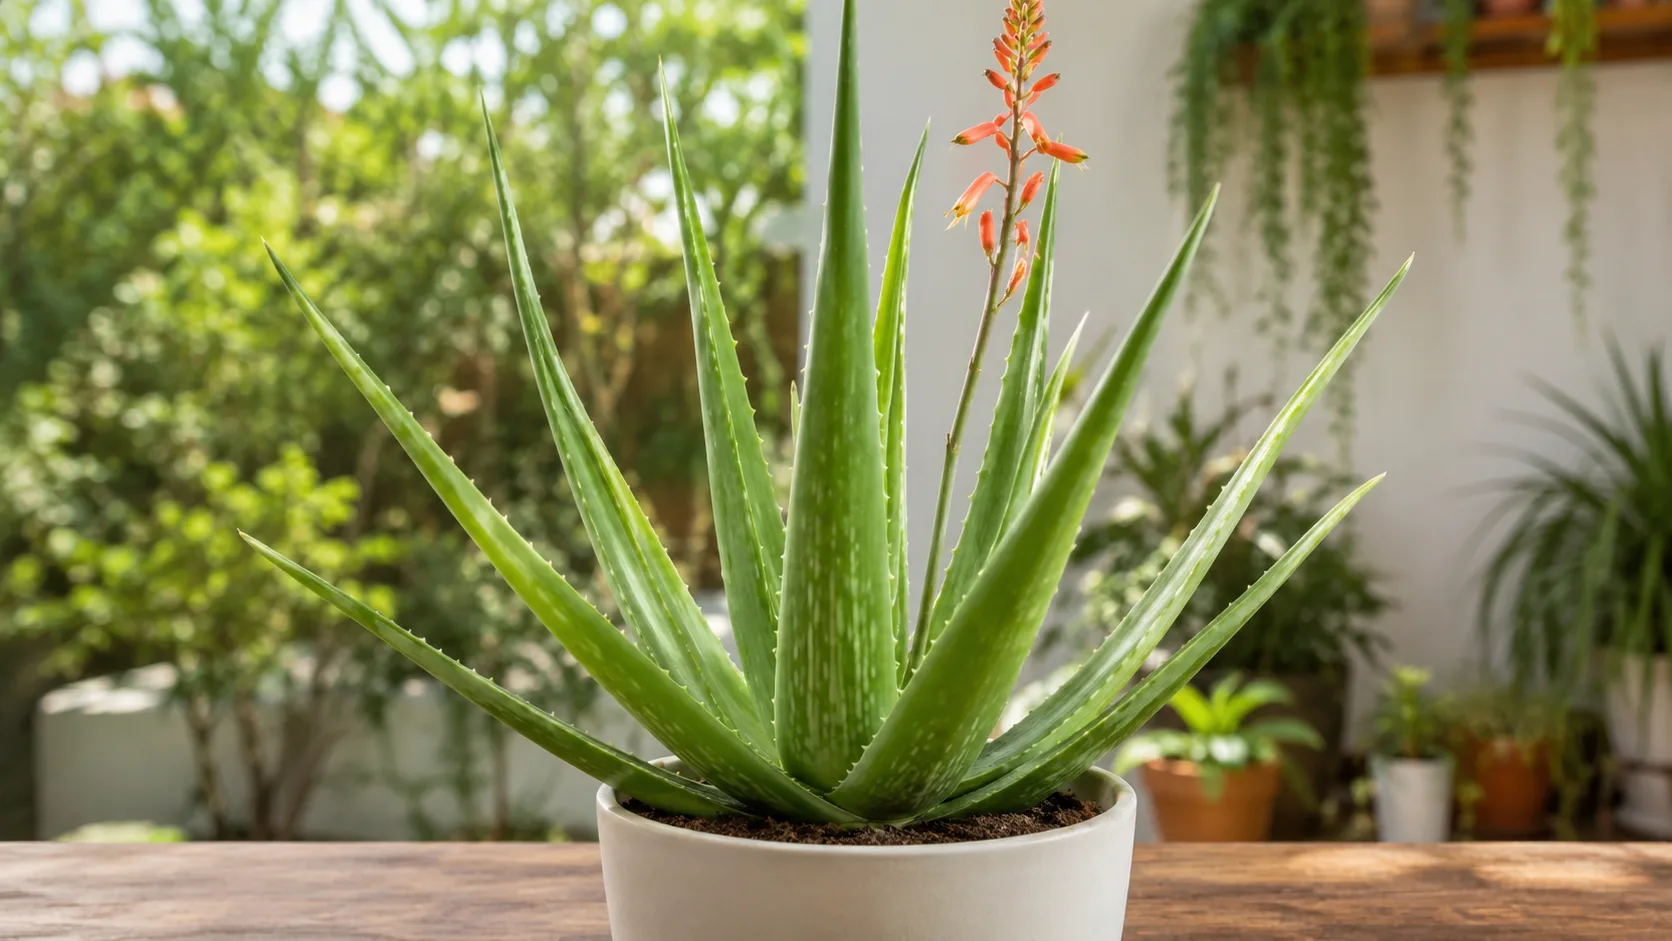
If you are cutting aloe for gel, remove only mature outer leaves and leave at least seven or eight healthy leaves attached afterward. That is a practical safety floor, not a magic number: a vigorous, full rosette can tolerate more than a small, recently repotted plant, while a stressed aloe may need you to remove only tissue that is already dead or diseased.
The most important rule is to cut a whole leaf at its base rather than slicing a living leaf halfway across. A cut through the middle does not make the remaining piece grow back, and it leaves a large fleshy wound exposed to moisture and pathogens. The North Carolina Extension Gardener Plant Toolbox describes aloe as a rosette succulent that stores water in its leaves, grows from a central crown, and spreads by offsets. That growth pattern explains why the center and its newest leaves deserve protection.
The short answer: leave a strong rosette behind
For a healthy, established aloe, harvest one or two of the largest outer leaves in one session, then wait and watch the plant before taking more. If your plant has only six leaves, is leaning, has soft tissue, or has recently been moved or repotted, do not harvest for convenience. The plant may survive a small harvest, but it has less stored energy and less leaf surface with which to recover.
Think of the remaining leaves as the plant’s working solar panels and water reserve. Aloe does not replace a removed leaf from the cut edge; it grows new leaves from the center over time. A large harvest can therefore make the plant look bare for months even when the crown is still alive. The Royal Horticultural Society’s aloe guidance also emphasizes full light, excellent drainage, and protection from continuously wet compost—conditions that matter even more after you remove water-storing tissue.
There is no reliable “remove one-third” formula for every aloe. A mature outdoor clump with many offsets is a different proposition from a six-leaf grocery-store plant in a dim room. Use the seven-to-eight-leaf floor as a stop sign, then adjust downward for small size, low light, weak roots, cold exposure, or any sign of rot.
Judge the plant before you cut
Before reaching for a knife, look at the whole rosette from above and from the side. You are checking whether the plant has enough healthy tissue to absorb the loss and whether the leaf you want is actually old enough to harvest.
Count leaves and protect the center
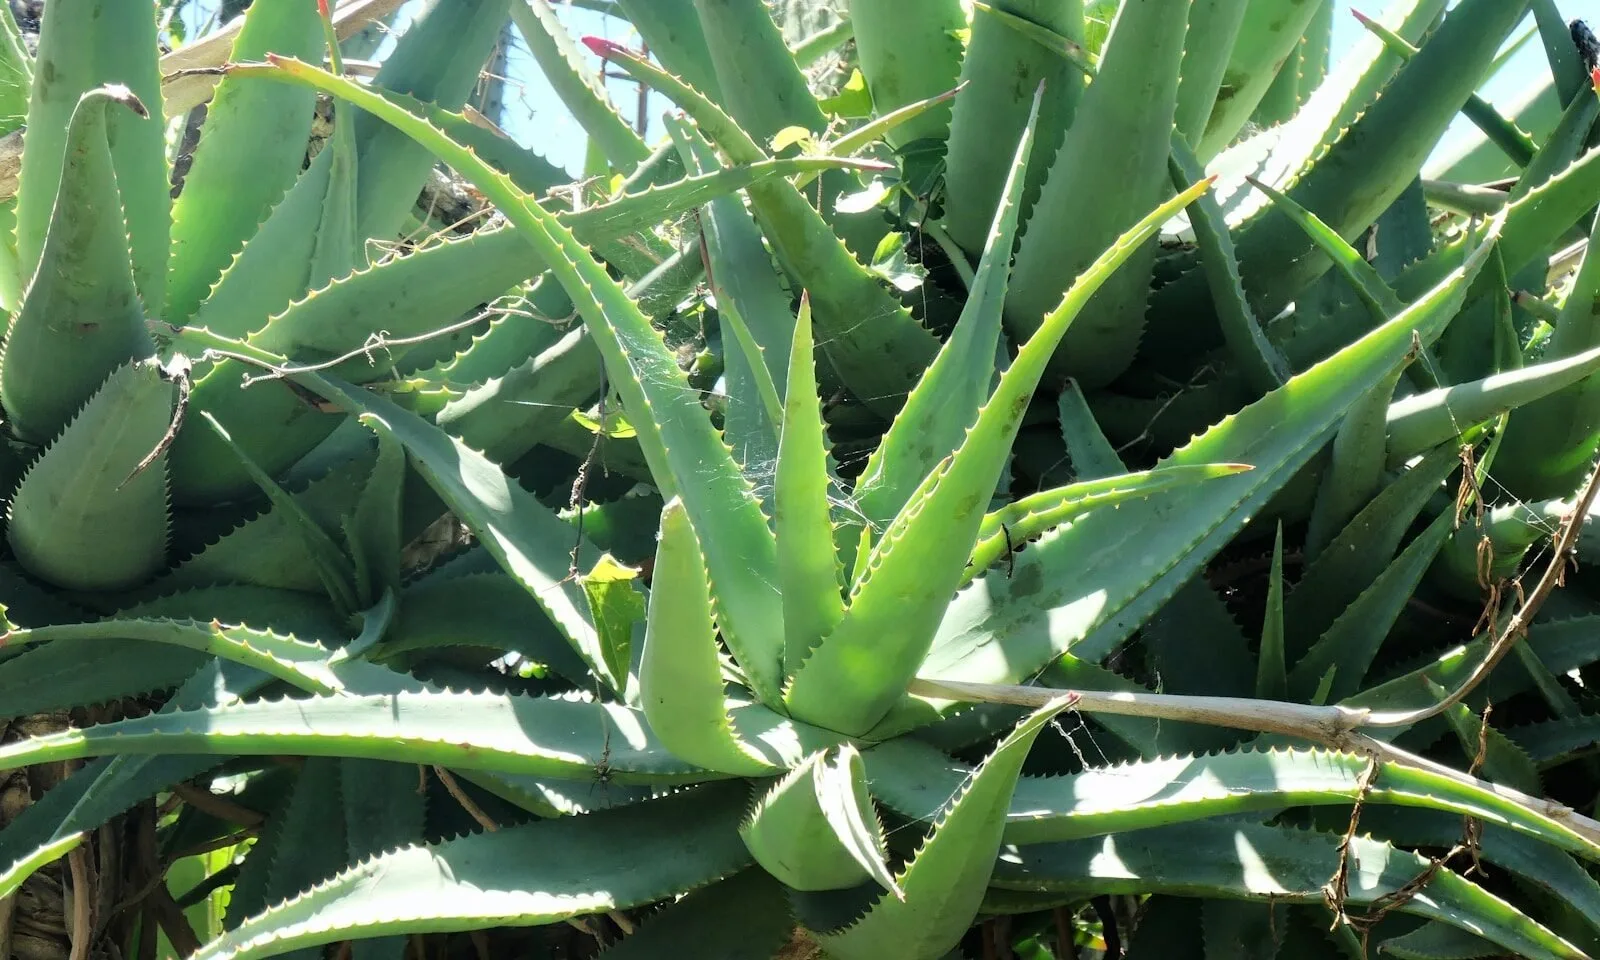
Count only firm, substantially green leaves that are still attached to the crown. Do not count a collapsed leaf, a leaf with extensive soft brown tissue, or a tiny new spear as if it were a mature replacement leaf. If the count is six or fewer, postpone gel harvesting and focus on light, drainage, and steady growth.
The center of the rosette is the no-cut zone. New leaves emerge there in a tight spiral and are usually shorter, paler, and more upright than the older leaves. Never pull, bend, or snip those inner leaves to make the plant look more open. Removing one of them can distort the growing point, and rough handling can loosen several neighboring leaves at their bases.
Offsets, or pups, change the visual count but not always the parent plant’s strength. A large aloe with several rooted pups has more total foliage, yet the mother rosette still needs enough leaves of its own. If the plant is crowded, separate a well-rooted pup during active growth instead of repeatedly taking the mother’s leaves for gel.
Choose outer leaves with full shape
The safest harvest leaf is usually one of the lowest, oldest leaves on the outside of the rosette. It should be thick from base to tip, firm when gently supported, and free of active rot, spreading spots, or heavy pest damage. Outer leaves have already completed much of their growth and are less important to the plant’s future shape than center leaves.
Do not choose a leaf just because it is the longest. A stretched leaf from low light may be long but thin, weak, and poorly supplied with stored water. A shorter, plump leaf from a bright, stable plant is often a better candidate. If you cannot see where the leaf joins the crown, move neighboring leaves aside gently rather than tugging the target leaf.
Match the cut to your goal
“Pruning aloe” can mean three different things: removing a dead leaf, taking a leaf for gel, or trying to improve the plant’s shape. The right amount and the right level of urgency differ for each one.
Cosmetic pruning and brown tips
A brown, dry tip is usually a cosmetic problem, not a reason to remove an entire healthy leaf. You can trim the dead portion with clean scissors, following the natural pointed shape and leaving a narrow margin of brown tissue rather than cutting into green flesh. The cut edge will not turn green again, but the remaining leaf can keep functioning.
If a leaf is mostly green and only the tip is dry, taking the whole leaf wastes stored water and photosynthetic area. Brown tips can follow sun scorch, drought stress, mechanical damage, or salt buildup, so inspect light and watering before you start removing several leaves. The RHS leaf-damage guidance is a useful reminder that a visible mark does not, by itself, tell you the cause.
Remove the entire leaf only when it is collapsing, detached at the base, severely scarred, or interfering with the crown. A leaf that is dry and papery all the way down is no longer earning its place. A leaf that is soft, translucent, or foul-smelling is more urgent because wet rot can move into neighboring tissue.
Harvesting gel
Gel harvesting is an optional use, not a care requirement. Choose a mature outer leaf, cut it at the base, and let the yellow latex drain away from the clear inner gel before using any gel topically. The latex-rich layer under the skin is not the same as the clear gel, and home processing is not a substitute for a tested product or medical treatment.
If you want a small amount for a minor, intact patch of skin, wash the leaf and use a fresh, clean section. Test a little first, because natural does not mean irritation-proof. Do not apply homemade aloe to a deep burn, infected wound, or serious skin reaction; seek medical care for those problems.
Use extra caution around children and pets. The ASPCA’s aloe entry lists aloe as toxic to cats and dogs. Store cut leaves and scraps where animals cannot reach them, and contact a veterinarian or poison-control service if a pet eats the plant.
Removing damaged or diseased tissue
Sanitation takes priority over an arbitrary leaf count when a leaf is clearly rotting or carrying a confirmed disease. Remove the smallest amount that gets back to firm, clean tissue, then clean the blade before touching another leaf or plant. If the crown itself is soft, stop harvesting altogether; the problem is no longer a cosmetic pruning job.
Do not cut healthy leaves simply to make room for treatment. Isolate a pesty aloe, improve airflow, and correct the root-zone problem first. If several leaves are spotted but still firm, removing every marked leaf may leave the plant with too little energy; choose the worst tissue and reassess after the growing conditions stabilize.
Cut an aloe leaf safely in five steps
The cut is quick. The preparation and the decision about where to place it are what prevent most avoidable damage.
Sanitize and plan
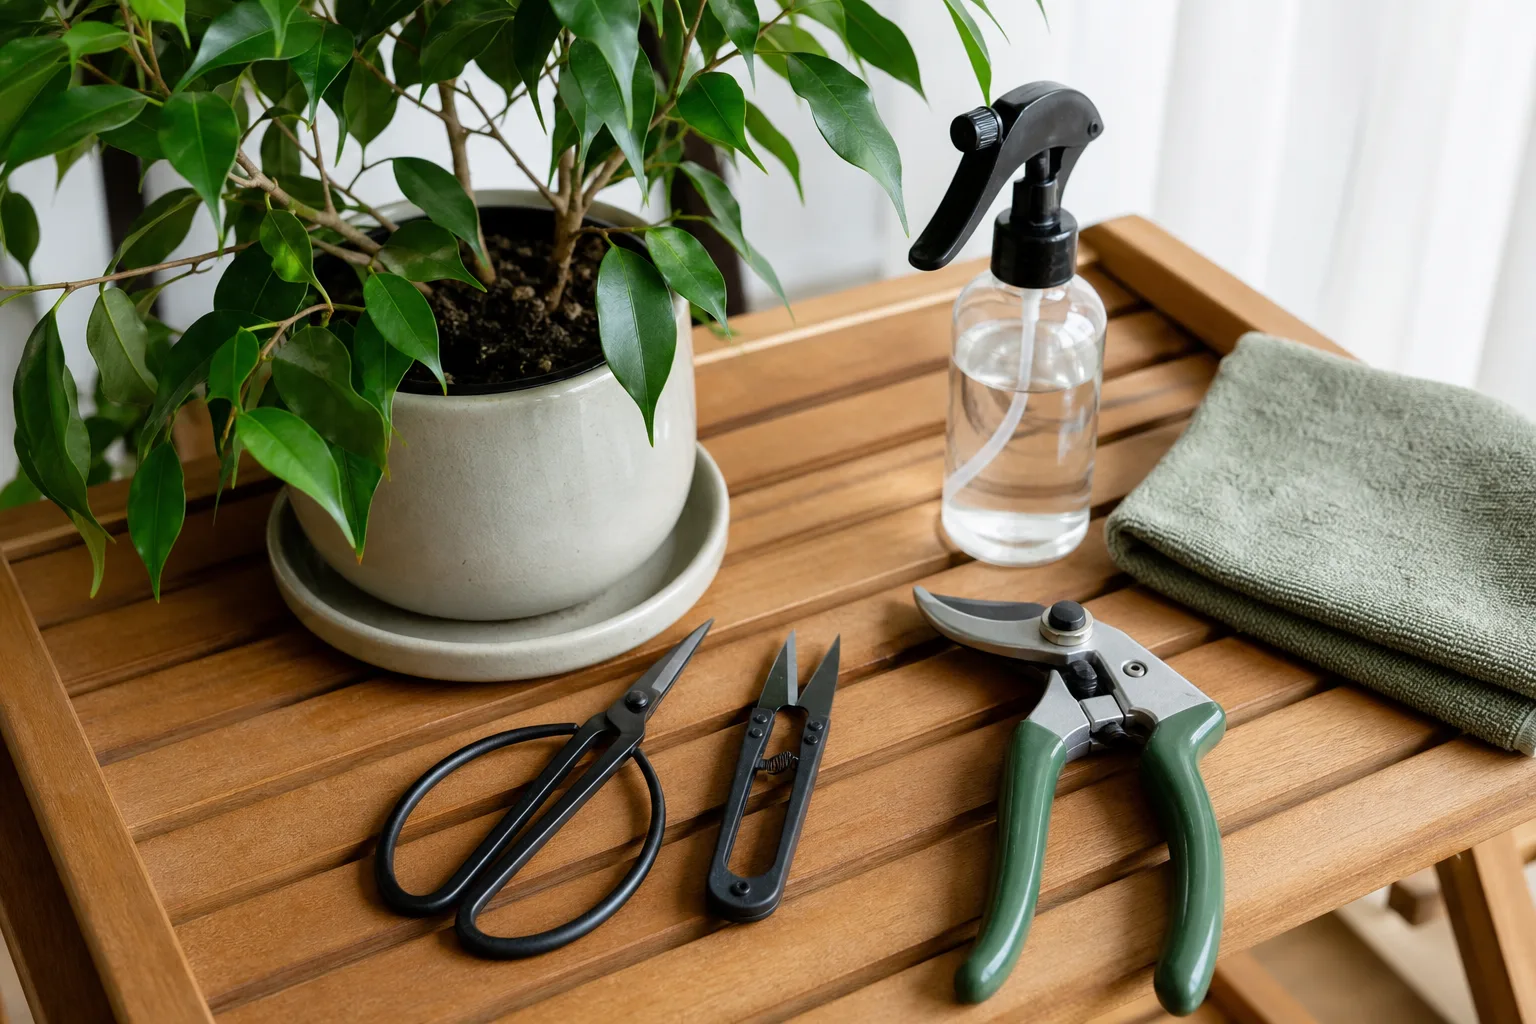
Use a sharp knife or sturdy bypass scissors that can make one clean cut through the leaf base. Wipe the blade with 70% isopropyl alcohol and let it dry before cutting. Put down a clean towel or tray, wear gloves if aloe sap irritates your skin, and decide which leaf you are removing before you touch the center.
Check that the soil is not freshly soaked. You do not need to create drought stress, but a dry root zone and good airflow make it easier for the plant to manage a fresh wound than a cold, waterlogged pot. If the plant is outdoors, choose a dry morning with no prolonged rain forecast rather than cutting just before a storm.
Cut flush at the base
Support the leaf without squeezing it. Slide the blade down to the point where the leaf joins the crown, then make one decisive cut as close to the base as you can without gouging the stem or neighboring leaves. A small clean surface is easier for the plant to seal than a ragged stub.
Do not twist the leaf until it tears. Tearing can pull on the bases of nearby leaves and leave shredded tissue hidden in the crown. If the leaf is tightly packed, cut from the side you can see and remove it in one piece; do not force the blade into the center to gain leverage.
Let the wound dry
Set the removed leaf aside and keep the plant’s cut surface dry for several days. Aloe is a succulent, so it does not need a wound dressing, rooting powder, cinnamon, or a splash of water. The goal is a clean surface that dries and seals while the plant remains in bright, indirect light with air moving gently around it.
Epic Gardening’s practical aloe-care guidance similarly recommends cutting diseased or awkward leaves at the base and withholding water for a few days after pruning so the wound can heal. That pause is especially important in a plastic pot, a humid room, or a mix that already dries slowly.
If the cut surface stays wet, turns increasingly dark, or develops a sour smell, treat that as a warning rather than normal healing. Check the crown and soil for rot. A dry tan film is usually less concerning than tissue that is soft, spreading, or leaking.
Care for aloe after a heavy harvest
Aloe recovery is mostly about not adding a second stress immediately after the first. Do not compensate for lost leaves by watering more often or moving the plant into harsh afternoon sun.
Water and light after cutting
Keep the pot in the brightest stable spot the plant already tolerates. If it was grown in filtered light, do not place it suddenly against hot glass just because the rosette now looks smaller. Increase direct exposure gradually over a week or two. Strong light supports new growth, but sudden exposure can scorch the remaining leaves.
Water by the soil, not by the calendar. Let the succulent mix dry completely through the root zone, then soak until excess drains and empty the saucer. NC State Extension recommends very well-drained soil and allowing it to dry between waterings; its guidance also notes that aloe needs less water in winter. The Old Farmer’s Almanac aloe profile is another useful seasonal reference for keeping care conservative rather than treating a cut as a signal to irrigate.
Avoid fertilizer for at least a short recovery period, especially if the plant was already stressed. Fertilizer does not replace a leaf and can add salt stress to a dry or damaged root system. Resume a light routine only when you see active growth and the plant is taking up water normally.
Signs the plant is recovering
Watch the center, not the cut edge alone. A healthy recovery usually looks like firm remaining leaves, a dry and stable cut surface, and a new central leaf slowly lengthening. The timeline varies with season, light, temperature, root health, and the amount removed; a quiet plant in winter may not show obvious progress for weeks.
| Time after cutting | What to check | What it means |
|---|---|---|
| First 2–3 days | Cut surface stays clean and dry; remaining leaves are firm | The wound is sealing without obvious wet-rot pressure. |
| First 1–2 weeks | No spreading softness at the crown; soil dries normally | The plant is stable; keep care steady rather than intervening repeatedly. |
| Following weeks | Center leaf holds its shape and new growth resumes | The rosette is replacing foliage on its own schedule. |
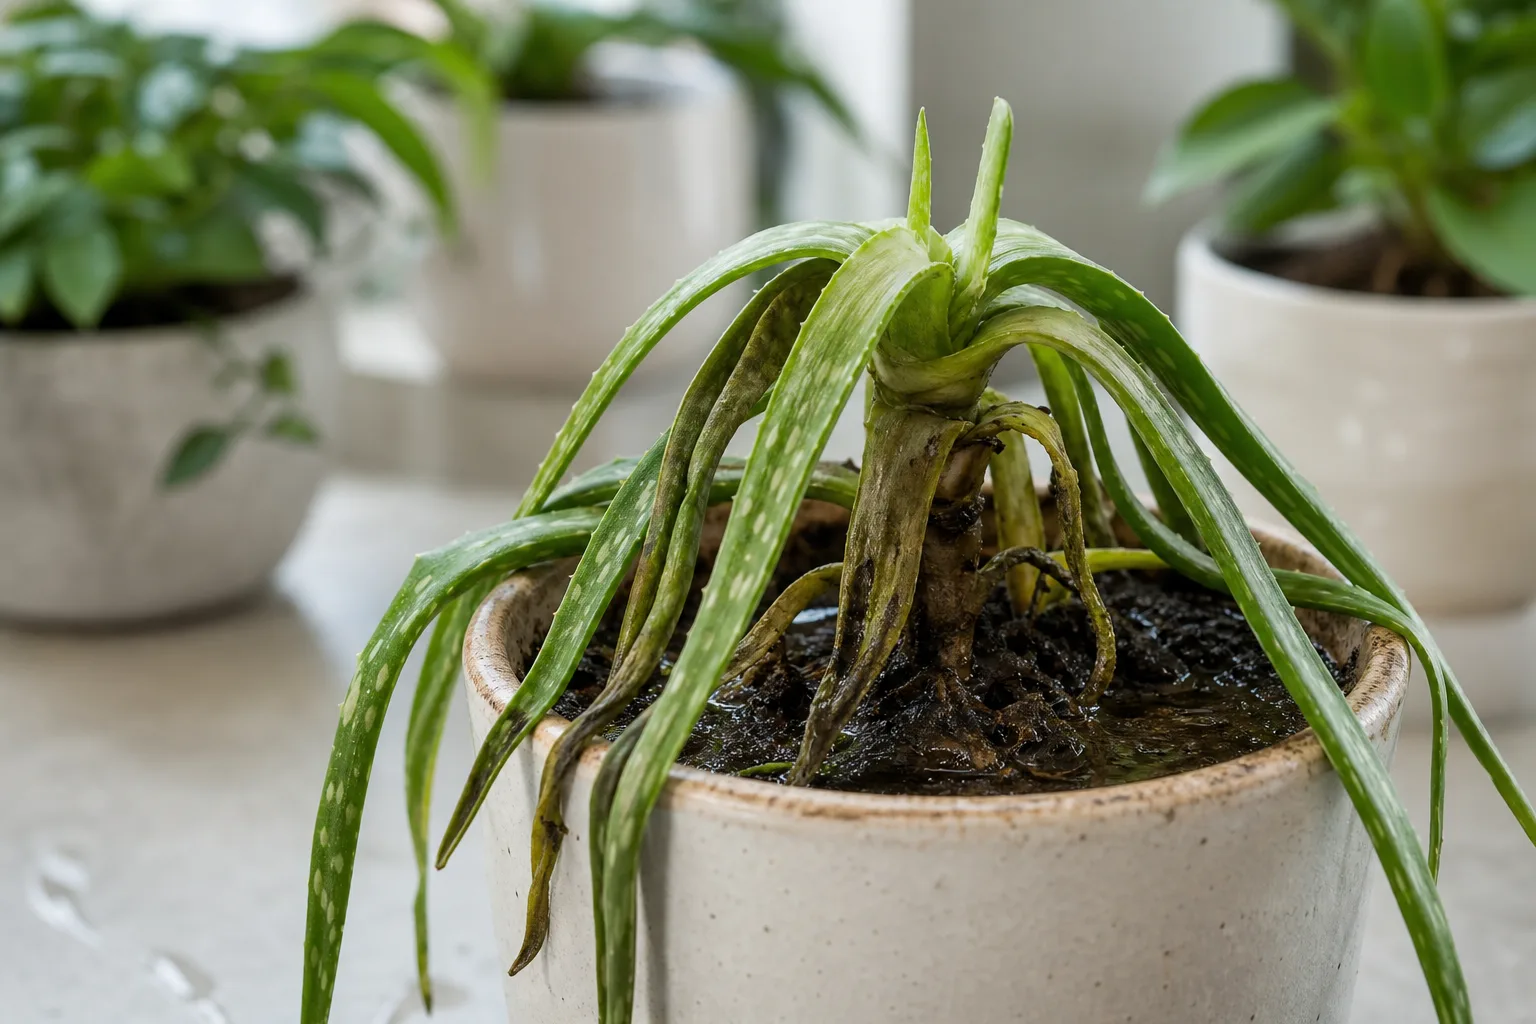
If the plant becomes loose in the pot, the crown softens, or several leaves turn translucent after cutting, stop watering and inspect the roots and base. A harvest did not necessarily cause the problem; it may have revealed a plant that was already overwatered or cold-stressed. The distinction matters because cutting more leaves will not fix failing roots.
When not to cut, even if a leaf looks ugly
Wait on a cosmetic harvest when the aloe has recently been repotted, shipped, moved from a nursery into sun, exposed to frost, or left in wet soil. A plant can survive each event alone, but stacking stressors makes recovery less predictable. Give it time to establish firm roots and resume growth before removing healthy leaves.
Do not harvest an aloe that has six or fewer healthy leaves, a soft crown, widespread mushiness, or a pest outbreak that is still spreading. Remove only dead or dangerous tissue in those cases. The plant needs its remaining leaves to rebuild energy, and you need to address the cause—light, drainage, cold, pests, or poor acclimation—before asking it to replace a harvest.
Also wait if your real goal is to make the plant look fuller. Removing leaves usually makes an aloe look thinner, not bushier. A fuller container comes from good light and mature offsets; once pups have roots, you can divide and pot them separately or group them with the parent. Cutting the mother harder is not a substitute for propagation.
Can a removed leaf grow a new aloe?
Usually, no. A detached aloe leaf may stay green for a while because it contains water, but a leaf without a piece of the crown or an established offset does not reliably produce a new plant. The dependable method is to propagate a pup with its own root tissue or to divide a clump carefully.
If you are separating a pup, choose one with several leaves and visible roots or a firm connection to the parent. Use clean tools, allow the severed area to dry and callus, plant it in a gritty mix, and wait before watering. The NC State plant profile identifies division and offsets as the practical propagation route for aloe.
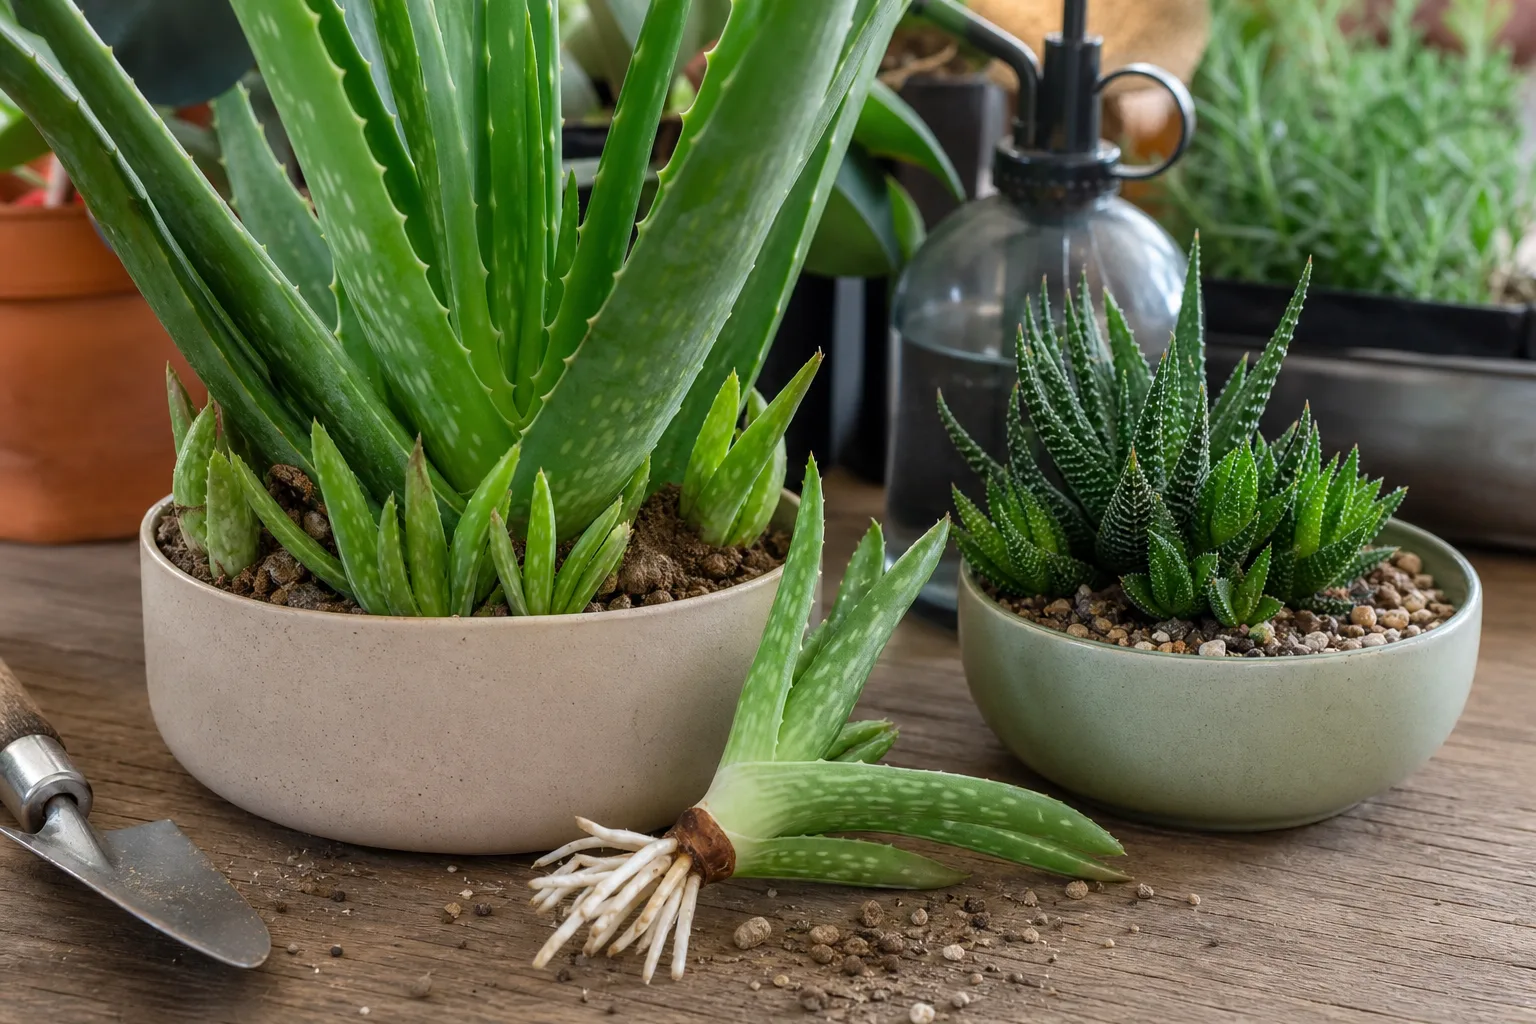
You can compost an unwanted leaf, but do not assume a chopped leaf is a proven fertilizer, rooting hormone, or pest repellent. Claims about those uses are often broader than the evidence and can introduce wet plant material around roots, attract pests, or confuse a clean propagation setup. For a healthy new aloe, keep the leaf harvest and the propagation job separate: harvest only what you need, and reserve pups for starting plants.
Conclusion
The safest answer to “how much aloe can you cut off?” is as little as your purpose requires, while leaving at least seven or eight firm leaves on a healthy plant. Start with one mature outer leaf, cut it cleanly at the base, keep the center untouched, and allow the wound to dry before resuming conservative care.
If the aloe is small, recently stressed, waterlogged, cold-damaged, or soft at the crown, postpone gel harvesting. A healthy rosette with good light, dry-down between waterings, and enough mature leaves will replace what you remove over time; a plant already short on energy needs stabilization first, not a larger cut.



