How to Design a Garden That Looks Professional
Professional-looking garden design starts with observation, not shopping. Map light and drainage, layer heights, plan bloom sequences, and match maintenance to your real schedule.
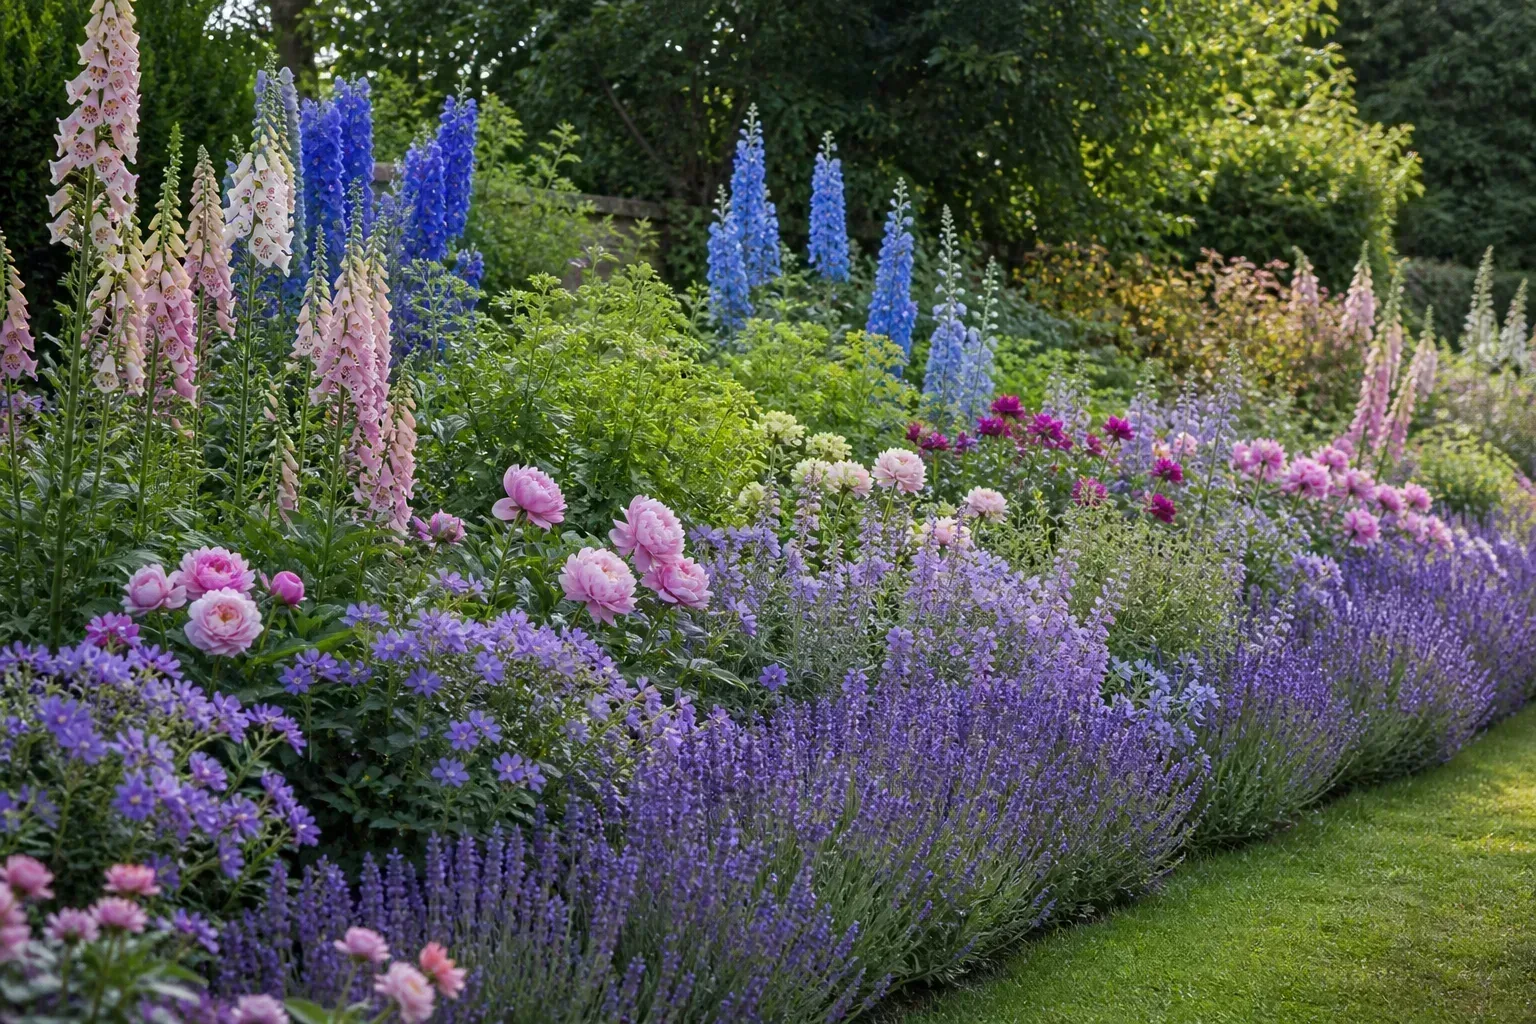
A professional-looking garden is rarely the result of buying more plants. It is the result of reading your site honestly, choosing surfaces and structures that match your house, and planting in layers and sequences that still look intentional in November—not just in the one week your favorite perennial peaks. The difference between a yard that feels designed and one that feels accidental usually comes down to a handful of repeatable decisions: where paths go, how tall plants relate to short ones, whether something is in bloom (or interesting) every month, and whether the maintenance style fits the life you actually live.
You do not need a landscape architecture degree to get there. You do need to slow down before the nursery run.
Start With Site Observation Before Any Plant List
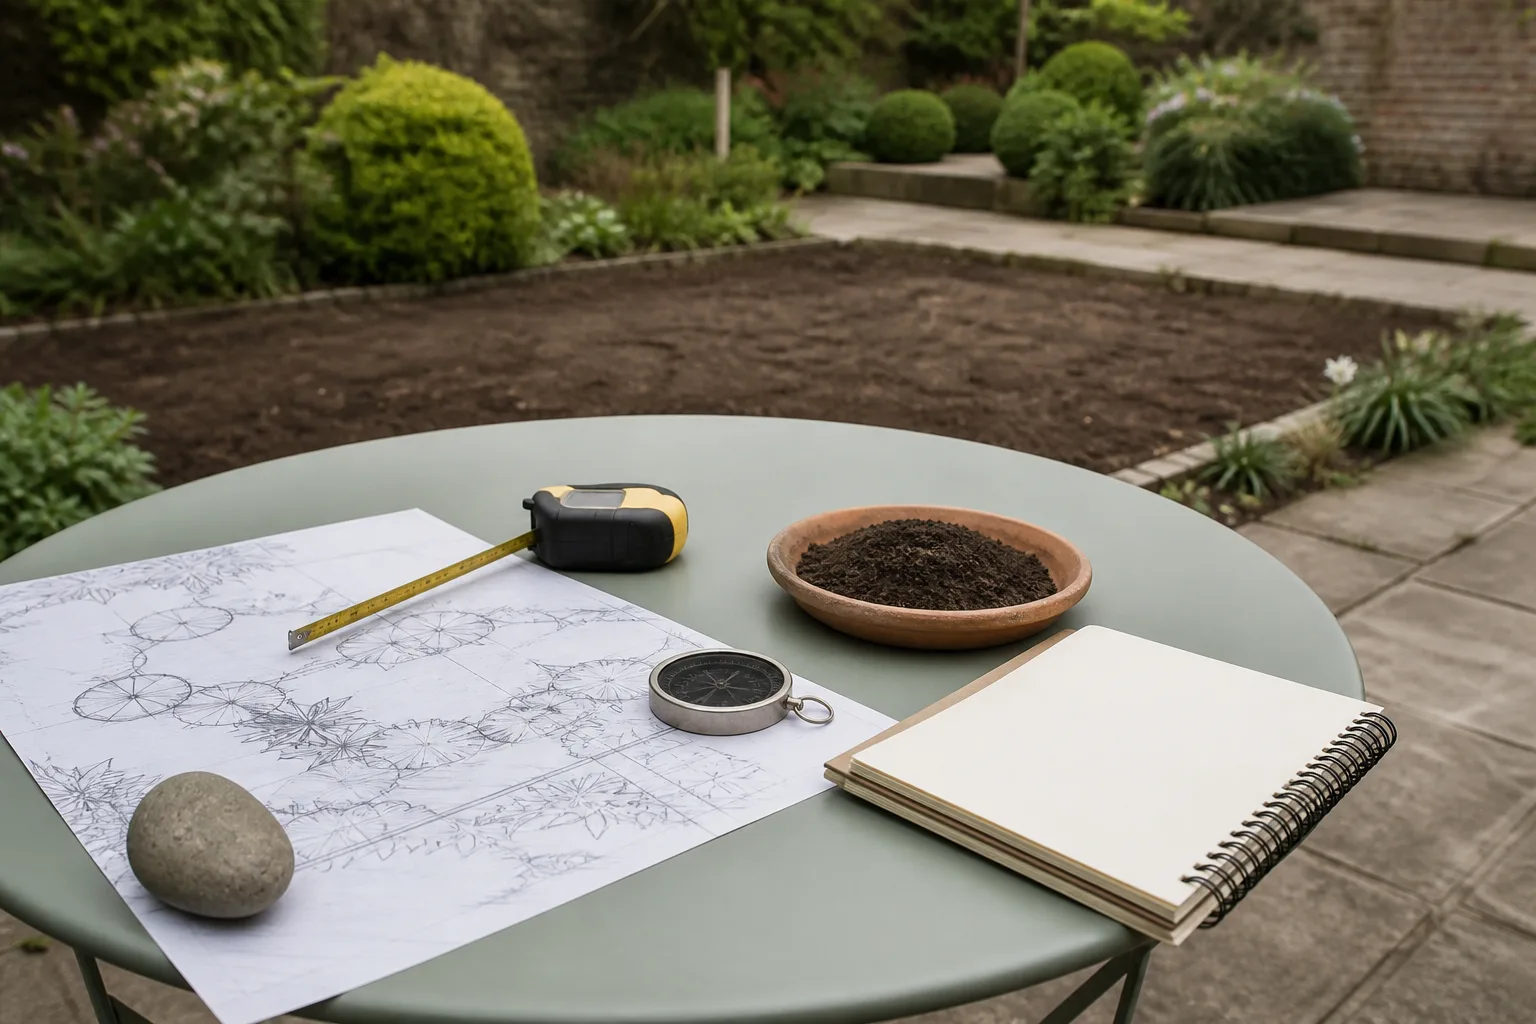
The most expensive mistake in residential garden design is shopping for plants before you understand the site. Professional designers walk the property at different hours and seasons because light, wind, drainage, and existing features dictate what will thrive—and what will look cohesive. Your first design tool is a notebook, not a cart.
Spend one weekend mapping the basics. Walk the garden in early morning, midday, and late afternoon. Note where sun lasts more than six hours (full sun), where you get three to six hours (part sun), and where direct sun is scarce (shade). The RHS calls this aspect: a south- or west-facing border behaves very differently from a north-facing one, and nearby trees or fences create shade that shifts through the year as canopies leaf out and the sun angle changes.
Map Light, Drainage, and Microclimates
Draw a rough plan—not a work of art—and mark compass direction, downspouts, soggy patches after rain, and wind tunnels along driveways or between buildings. Microclimates matter: a south-facing wall can be a full zone warmer than the open lawn ten feet away, which is why lavender might succeed against brick but fail in the center of a clay bed. If water pools for hours after a storm, note that before you fall in love with drought-loving Mediterranean plants.
Test soil if you can. A simple pH kit tells you whether you are designing for acid-loving rhododendrons or alkaline-tolerant clematis. Penn State Extension’s principles of garden design emphasize that good design starts with scale and unity—and scale includes how your soil and mature plant sizes will look in five years, not just on planting day.
Inventory What You Already Have Worth Keeping
Professional gardens are often edited, not bulldozed. Mature trees, a good path line, an established hedge, or even a well-placed boulder can become the bones of the new plan. Mark keepers in green and problem plants in red: invasive runners, diseased wood, or shrubs that block windows. Removing one overgrown yew or re-shaping a hedge line can do more for curb appeal than a dozen new perennials.
If you are working around an existing lawn, decide early whether grass stays as a deliberate frame or shrinks to make room for deeper beds. Shallow ribbon borders along a huge lawn often read as an afterthought; widening the bed—even by two feet—can instantly improve visual balance.
Ground Surfaces Set the Tone Underfoot
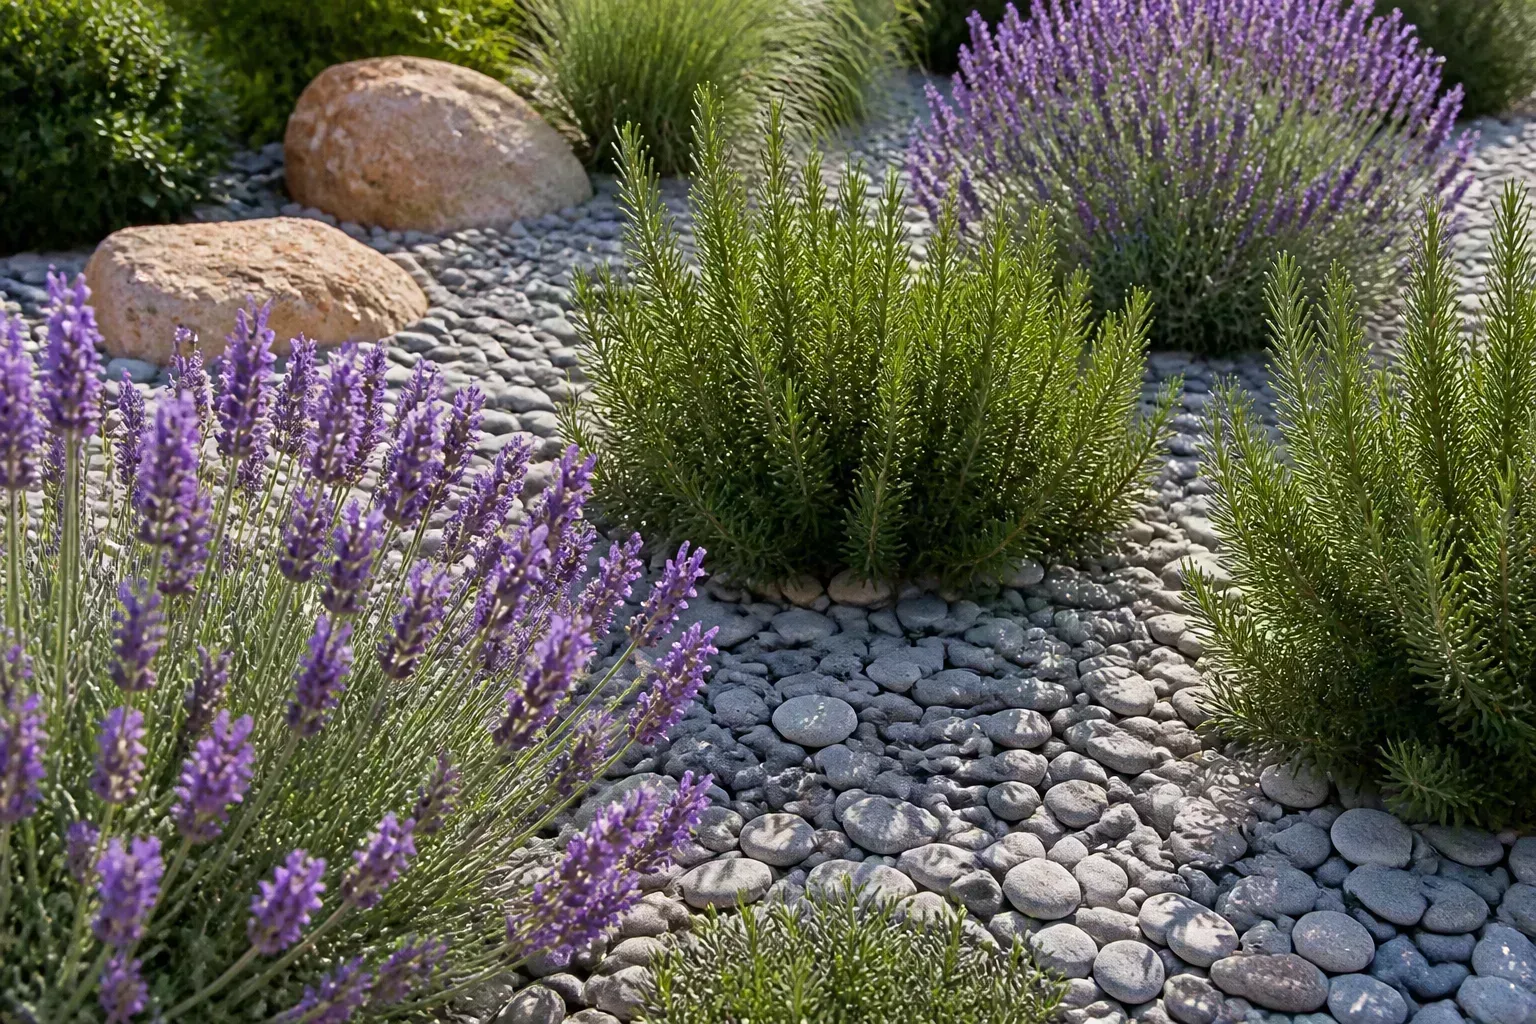
What you walk on sets the mood as much as what you plant beside it. Gravel, stone, mulch, lawn, and ground-cover carpets each create a different experience underfoot and a different maintenance contract. A garden that feels good to move through becomes a place people use; a garden with muddy shortcuts and awkward steps never looks finished no matter how pretty the flowers are.
Think in circulation first: the path from driveway to door, the route to the compost bin, the loop that lets you weed without stepping on soil. Professional designs connect destinations; amateur yards often scatter plants without a walkable logic.
Matching Paths and Patios to Your House Style
Unity—one of the core design principles Extension educators highlight—means hardscape materials should relate to the house. Brick paths echo brick facades; warm gravel suits farmhouse and cottage styles; large-cut flagstone reads more contemporary. Using three different paving materials in a small city garden often creates visual noise.
| Surface | Best for | Maintenance reality |
|---|---|---|
| Compacted gravel | Informal paths, cottage gardens, drainage | Refresh topping every few years; rake and weed |
| Stepping stones / flagstone | Main routes, modern and formal styles | Level stones; patch joints |
| Bark or wood mulch | Woodland paths, temporary routes | Top up annually; can be slippery on slopes |
| Lawn | Open play areas, formal framing | Mowing, edging, seasonal feeding |
| Ground-cover mats (thyme, sedum) | Between stones, sunny pockets | Edit runners; fill gaps early |
For planting beds, a consistent mulch layer (shredded bark, compost, or leaf mold) signals care and suppresses weeds. See our guide on what mulch is and how to use it for depth and spacing around trunks. Paths and beds should meet cleanly—professional edges are often the difference between “new homeowner” and “someone planned this.”
Build Vertical Layers That Read From Any Angle
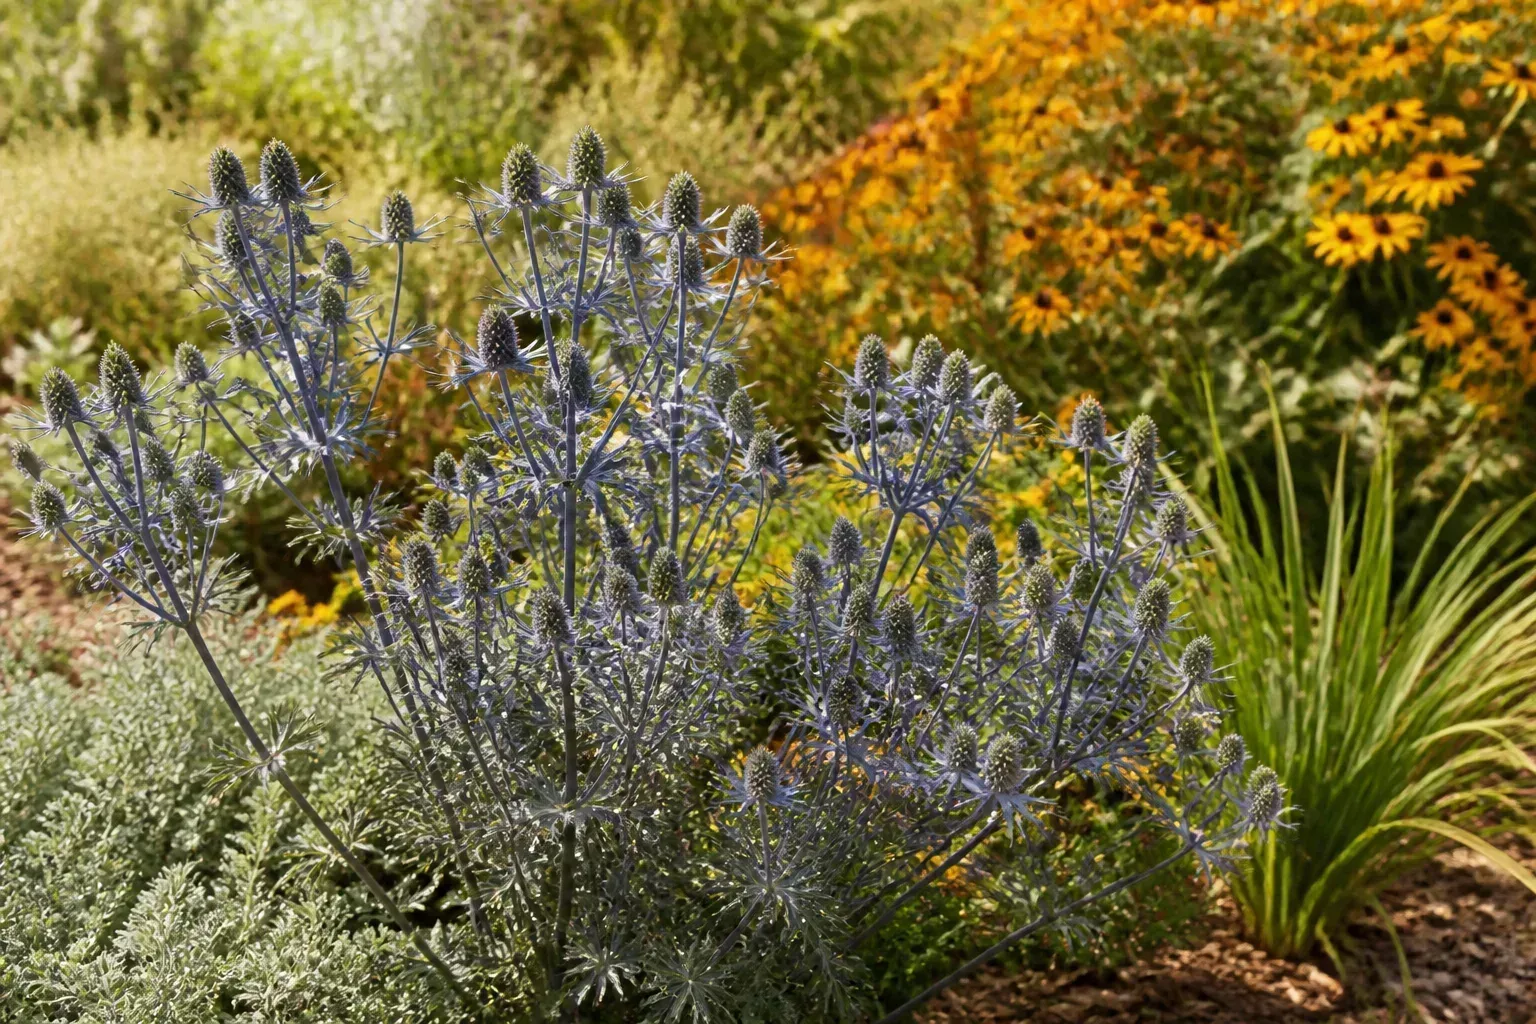
Flat planting is the fastest way to make a garden look amateur. Professional borders have vertical structure: something low at the front, something medium in the middle, and something tall at the back (or center on an island bed). The goal is depth—you should feel surrounded by planting, not looking at a single row of flowers at knee height.
The Three-Layer Formula for Depth
Use this as a default template for a sunny mixed border:
- Low layer (front): ground covers, edging plants, compact perennials—6 to 18 inches. Examples: hardy geranium, catmint, sedum, lamb’s ear.
- Mid layer: the bulk of seasonal color—18 to 36 inches. Examples: salvia, echinacea, asters, ornamental grasses.
- Tall/back layer: shrubs, grasses, or see-through verticals—4 feet and up. Examples: panicle hydrangea, switchgrass, tall verbena, Joe Pye weed.
The RHS suggests roughly five herbaceous perennials, or three small shrubs, or one large shrub per square meter (about 11 square feet) as a starting density. That sounds sparse on planting day—and it should. Professional plans account for mature spread so you are not fighting overcrowding in three seasons.
Exceptions matter: airy plants with thin stems (Gaura, tall alliums, verbena) can sit forward without blocking the view. Solid, leafy tall plants belong at the back unless you are deliberately building a mass planting block.
When Repeating One Plant Beats a Crowded Mix
More species is not more sophisticated. A drift of one grass, a sweep of one ground cover, or a repeated shrub at intervals along a fence reads as confident design. Penn State Extension describes rhythm and repetition as the glue that moves the eye through the garden; without repetition, even beautiful individual plants feel like a plant sale display.
For small yards, pick three to five anchor plants and repeat them in odd-numbered groups (three, five, seven). Place the tallest anchors first—evergreen structure if possible—then fill between with mid and low layers. Our perennial flower garden layout guide expands this with 22 layout ideas if you want pattern inspiration.
Plan Bloom Sequences, Not Just Peak Summer Color
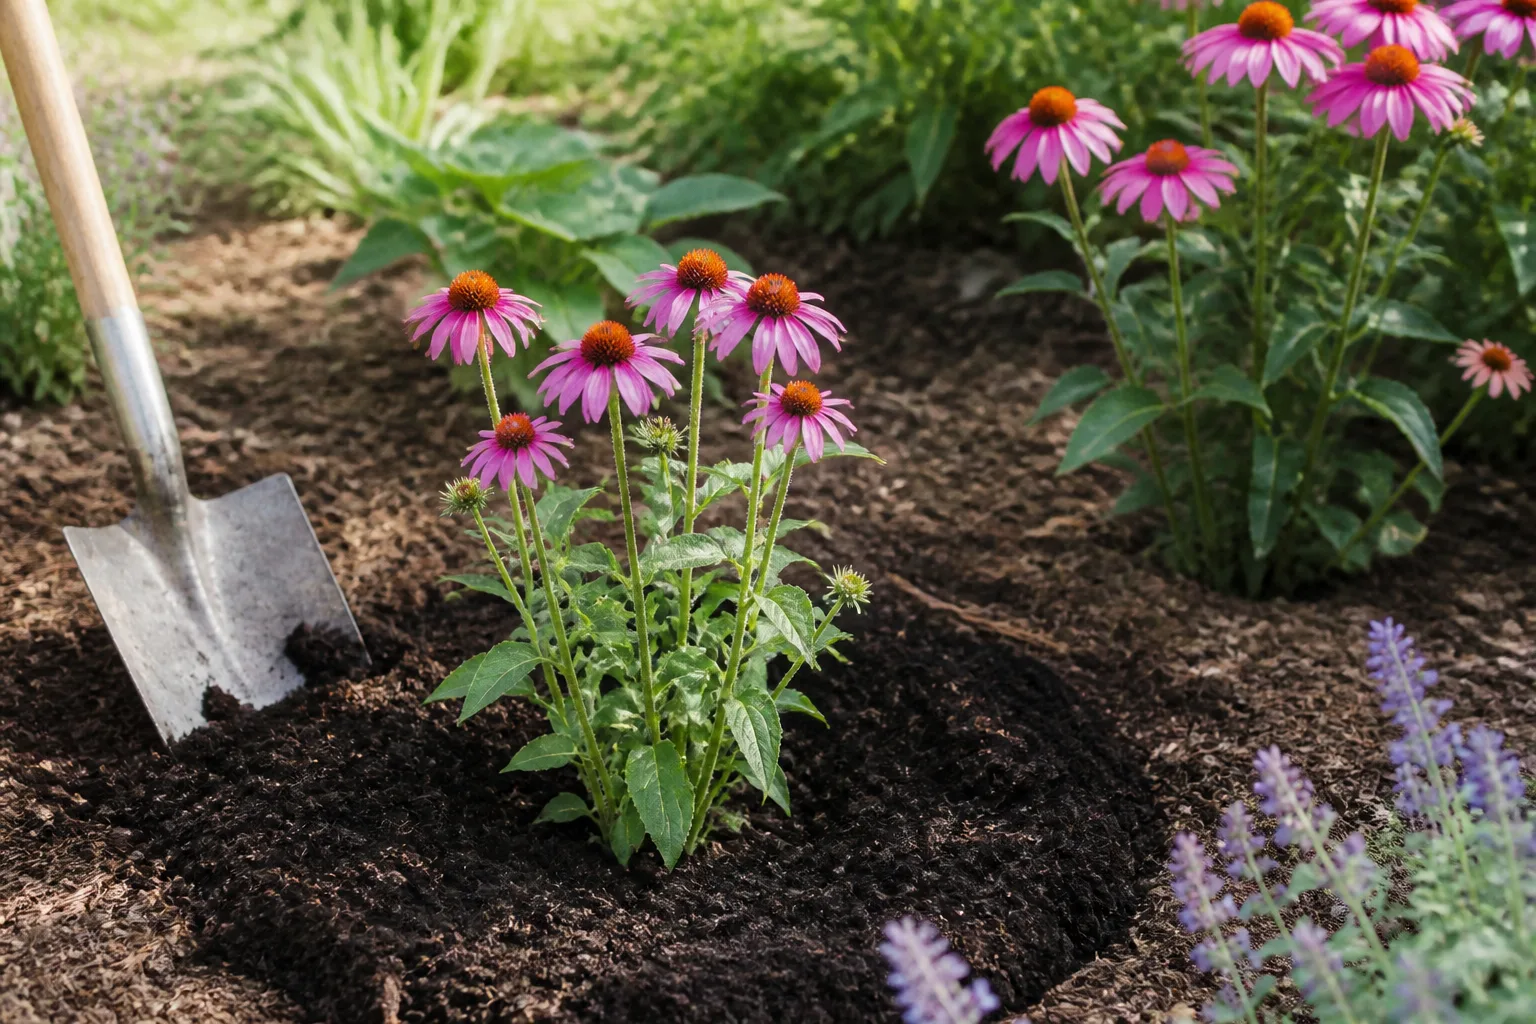
A garden that peaks for ten days in June and goes quiet the rest of the year does not look professional—it looks forgotten. Designers think in sequences: early spring bulbs handing off to late-spring perennials, then summer stars, then late-season asters and grasses, then winter structure from bark, seedheads, and evergreens.
“You want a sequence, not a single peak” is the right instinct. The operational version is a bloom calendar.
A Simple Twelve-Month Interest Calendar
List every plant you are considering and note its main show month. Then scan for gaps. Most amateur plans have holes in late summer and late winter—fix those deliberately.
| Season | Structural interest | Example flowers/foliage |
|---|---|---|
| Late winter–early spring | Witch hazel, hellebores, emerging bulbs | Crocus, snowdrops |
| Late spring | Fresh foliage, flowering shrubs | Alliums, peonies, columbine |
| Early–mid summer | First grass plumes, repeat bloomers | Salvia, coneflower, catmint |
| Late summer–fall | Seedheads, autumn color | Asters, sedum, panicum grasses |
| Winter | Evergreens, bark, ornamental grasses left standing | Red-twig dogwood, conifers |
University of Minnesota Extension’s flower garden design overview stresses grouping by height and bloom time so the bed reads as one composition across months. Include winter interest on purpose: seedheads feed birds and catch frost; evergreen hedges hold the line when perennials disappear. If you are building an English-influenced border, our English garden designs guide walks through structure-plus-abundance sequencing in more detail.
Match Maintenance to the Life You Actually Live
Professional design is honest about labor. A knot garden of clipped boxwood is gorgeous and high-input. A prairie-style matrix of native grasses and coneflowers is lower-input once established—but needs thoughtful editing the first two years. There is no morally superior choice; there is only the choice that matches your weekends.
High-Input vs Low-Input Planting Styles
Higher maintenance signals: formal hedges, roses that need regular pruning and deadheading, tender annuals in repeated drifts, vegetables mixed into ornamental beds, small-leaved topiary, lawns with crisp striped edges.
Lower maintenance signals: shrubs selected for mature size (less pruning), ornamental grasses, native perennials in compatible groups, ground covers that suppress weeds, gravel gardens with drought-tolerant plants, mulched beds with long-blooming anchors like catmint and coneflower.
Match plant to light before you match plant to Pinterest. Full-sun plants in shade become leggy and diseased; shade plants in afternoon blast scorch. Right plant, right place is the cheapest professional trick there is.
Be realistic about tools and access: if you will not drag a hose twice a week, do not design a border of thirsty hydrangeas on a sunny slope far from the spigot. If you travel every August, choose plants that peak in May and September, not finicky August annuals.
Plant Combinations That Look Natural but Stay Composed
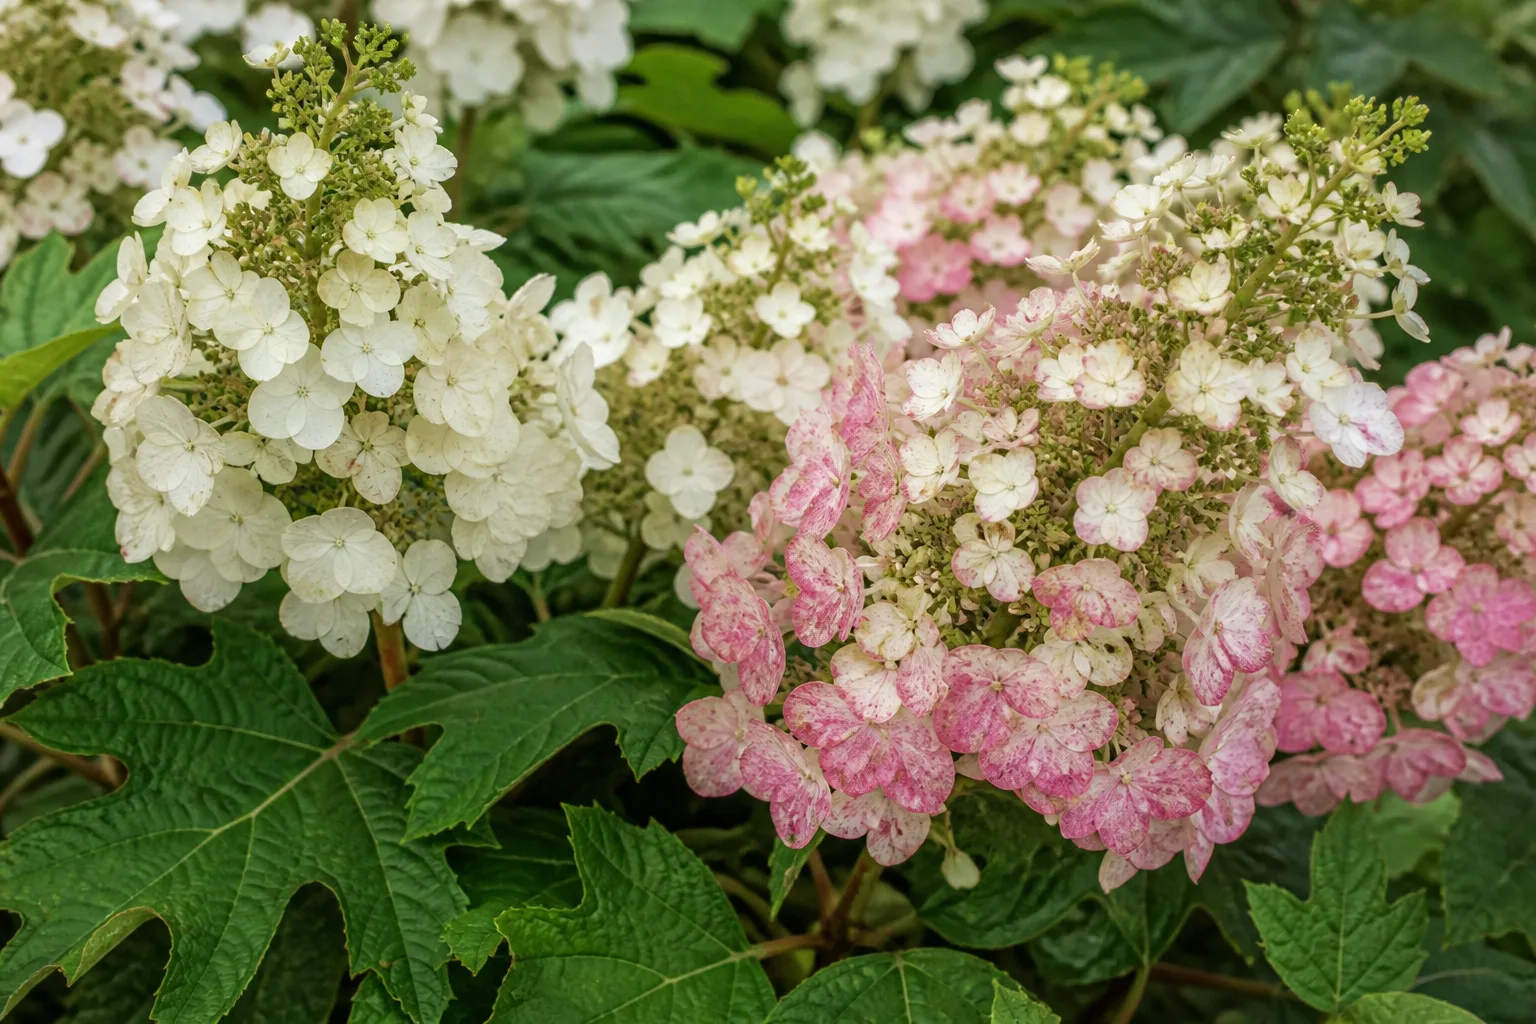
The best combos look like they could have happened on their own—but still respect height, bloom time, and texture contrast. Random mixes of every color at the nursery rarely achieve that. Start with structure plus softness: one upright or mounded anchor paired with something airy, or evergreen bones with loose seasonal fill.
Five Reliable Pairings That Work Across Climates
These are templates—swap species for your zone using the USDA Plant Hardiness Zone Map—but the design logic holds:
-
Panicle hydrangea + ornamental grass. The hydrangea gives a solid summer-fall mass; switchgrass or miscanthus adds movement and winter silhouette. Keep the grass slightly forward or to the side so it does not hide the hydrangea blooms.
-
Evergreen shrub + seasonal perennials. Boxwood, yew, or inkberry holly as a low hedge or anchor balls; fill with changing perennials inside the frame. The evergreen provides winter professionalism; the perennials keep it from feeling stiff. For privacy structure, see top evergreens for privacy hedges if you need a taller screen.
-
Rose + lavender. Classic for a reason: rose structure and repeat bloom against lavender’s haze and fragrance. Both want sun and sharp drainage—do not force this pairing into clay shade.
-
Ferns + hostas under deciduous trees. Textural layering without relying on flower color. Different leaf sizes create depth in shade where bloom time is short. Edit spread every few years so one species does not swallow the other.
-
Coneflower + black-eyed Susan + native grass. Shared cultural needs (sun, moderate drainage), staggered bloom, and seedheads that extend interest. Repeat in drifts of three or five rather than planting one of everything.
Naturalistic does not mean chaotic. Limit your flower color palette to two or three main hues plus green—or use opposite colors on the color wheel deliberately (purple and yellow, blue and orange). The RHS notes that small borders especially benefit from restrained color; large borders can carry more variety if repetition ties it together.
Design Principles That Tie the Whole Garden Together
When something still feels “off” after planting, it is usually a principles problem—not a plant problem. Extension educators summarize the compositional tools that professionals use whether the style is cottage, contemporary, or formal.
Scale asks whether plant and hardscape sizes fit the house and garden room. A narrow strip of perennials against a vast lawn feels toy-like; a single massive tree can dwarf a small ranch facade.
Balance distributes visual weight. Color clustered on one side, or all the height on one corner, feels lopsided even if plants are healthy.
Unity harmonizes materials, curves or straight lines, and palette. Too many paving types or unrelated garden “styles” in one small yard breaks cohesion.
Rhythm and repetition move the eye. Repeat forms (mounds, spires, screens) and colors at intervals.
Focal points reward the journey—a bench, a specimen tree, a large container, a gate view. One strong focal point per garden room is enough; more creates clutter.
Line directs movement. Bold, consistent curves feel calm; wobbly edging feels amateur. Formal gardens use straight lines and right angles; cottage gardens use stronger, repeated curves.
Texture and color provide interest when flowers pause. Fine fern foliage against bold hosta leaves reads as intentional design even with zero blooms.
Repetition, Focal Points, and Editing Ruthlessly
Professional gardens are edited over years. Remove the volunteer tree seedling that blocks the view. Divide the daylily that swallowed the path. Replace the pretty but struggling plant with the third copy of something that already thrives for you—repetition of success beats novelty.
Take black-and-white photos of your bed from the house and street. Color distracts; monochrome reveals gaps in structure and lopsided mass. Ask: Where is the focal point? Is there repetition? Does the path invite you in?
If budget is tight, invest first in structure and surfaces—one path fixed, one hedge line cleaned up, one repeated shrub—before buying annual color that disappears in frost. If drainage or grading is wrong, no plant combo will save the design; that is when hiring help pays off.
For privacy and enclosure that makes the whole composition feel finished, frame the yard before you fuss with flower cultivars. Our privacy in the yard guide covers screening without making the garden feel like a fortress.
Conclusion
A garden looks professionally designed when site, surfaces, structure, and sequencing work together—not when it contains the most varieties. Start by mapping light and drainage, fix the paths and edges that frame your planting, layer low-mid-tall with honest spacing, build a bloom calendar that covers more than midsummer, and choose combinations that share cultural needs. Repeat plants confidently, edit ruthlessly, and match the style to the maintenance you will actually perform.
You can implement this in phases: one border this year, the front path the next. Professional results are cumulative. The gardeners who get there fastest are not the ones who buy the most—they are the ones who observe first, plant second, and keep simplifying until the whole picture holds together in every season.



