How to Remove Black Mold With Household Cleaners
Hydrogen peroxide, vinegar, baking soda, or bleach? Match the cleaner to the surface, fix the moisture source, and know when a pro should take over.
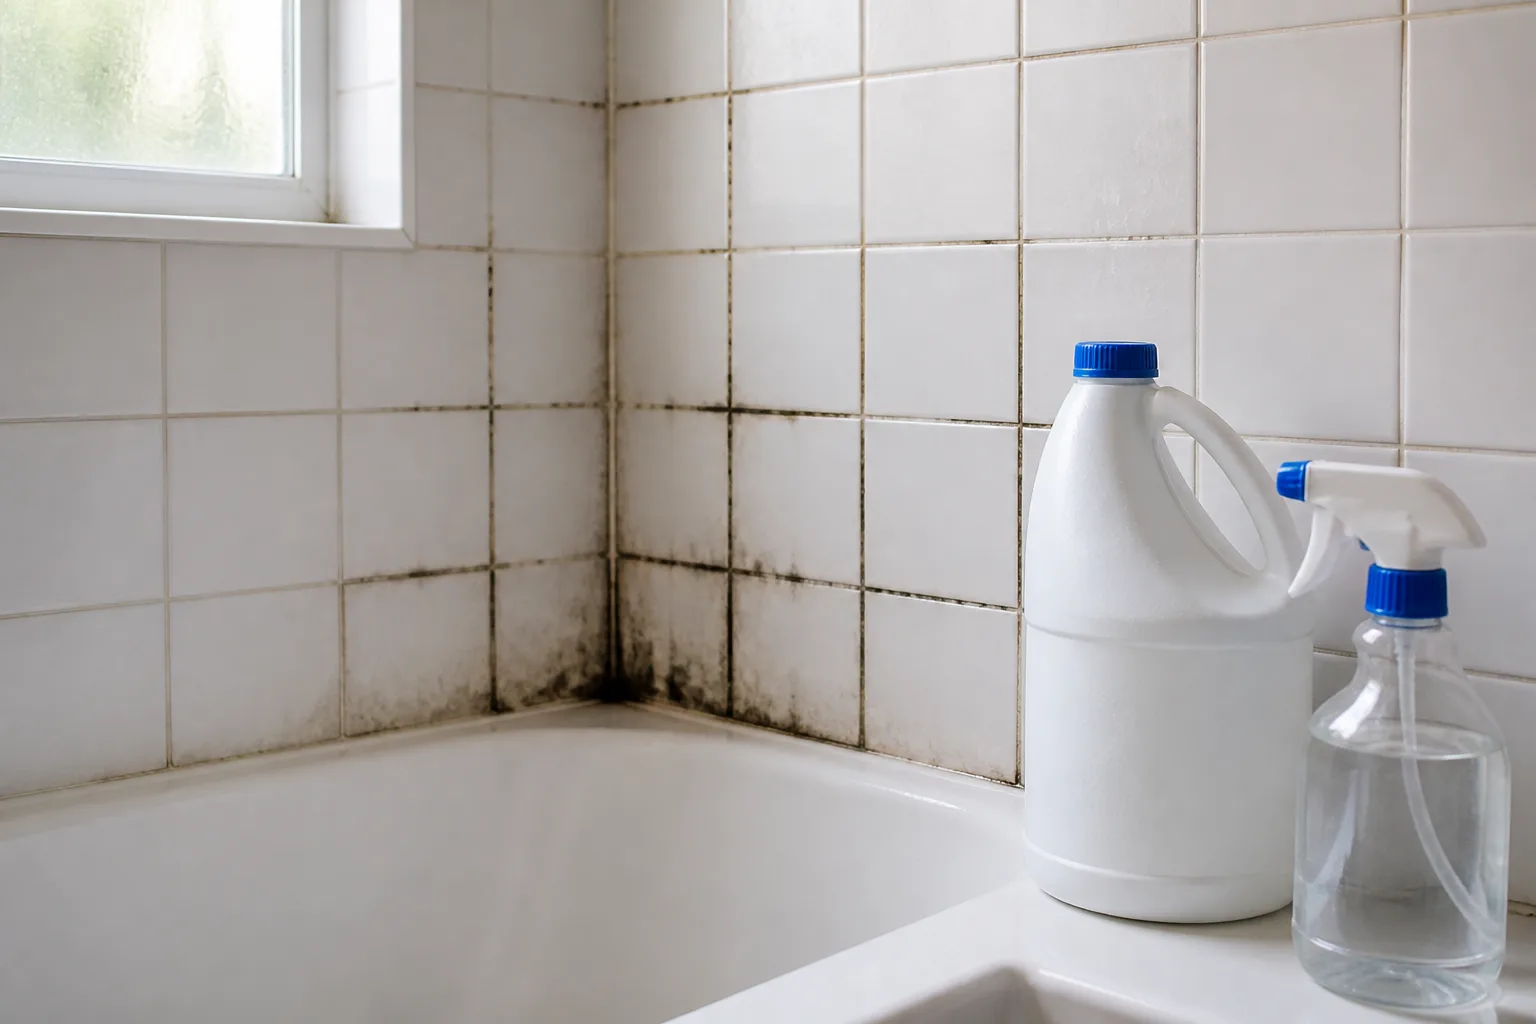
You notice dark specks along shower grout, a fuzzy patch under the kitchen sink, or black staining where a window leaked—and you want it gone today with supplies already under the sink. That is reasonable for small, surface-level growth on the right materials. It is also easy to make the problem worse by scrubbing porous drywall with the wrong product, mixing cleaners, or treating color change as proof the colony is dead.
Household hydrogen peroxide, baking soda, distilled white vinegar, and diluted chlorine bleach can remove many black-looking mold patches when you match the cleaner to the surface, protect yourself, and fix the moisture that fed the growth. None of them replace professional remediation for large, hidden, or HVAC-linked contamination.
The Fast Answer: Match the Cleaner to the Surface
Run this three-step filter before you open a bottle:
Step 1 — Size and location. The EPA recommends hiring a professional when mold covers more than about 10 square feet (roughly a 3-by-3-foot patch), when growth is inside wall cavities, or when HVAC systems are involved. Patches smaller than that on accessible hard surfaces are typical DIY candidates—if you can reach the moisture source.
Step 2 — Material type. Non-porous surfaces (glazed tile, glass, sealed porcelain, some plastics, painted metal) tolerate liquid cleaners. Porous materials (drywall paper, unfinished wood, carpet padding, failed caulk, crumbling grout) often need removal and replacement, not stronger scrubbing. For a deeper look at when bleach fails on absorbent materials, see can you use bleach to kill mold.
Step 3 — Cleaner choice.
| Surface | Start with | Escalate to | Avoid |
|---|---|---|---|
| Shower tile and sealed grout | 3% hydrogen peroxide or baking soda paste | Diluted bleach (1 cup per gallon water) | Full-strength bleach; mixing products |
| Plastic bins, glazed sinks | Hydrogen peroxide spray | Vinegar dwell, then rinse | Bleach on colored plastic without a spot test |
| Painted drywall (small spot) | Hydrogen peroxide dab | Professional assessment if stain spreads | Soaking wall with bleach solution |
| Exterior siding and concrete | Garden-sprayer bleach solution | Power-wash rinse | Letting bleach dry on plants |
| Under-sink cabinet (wood) | Dry, HEPA vacuum loose spores | Remove/replace wet wood if stained | Repeated bleach flooding |
Work one product per session. Rinse, dry completely, and only then try a different treatment if needed.
What People Mean by “Black Mold” (and What They Do Not)
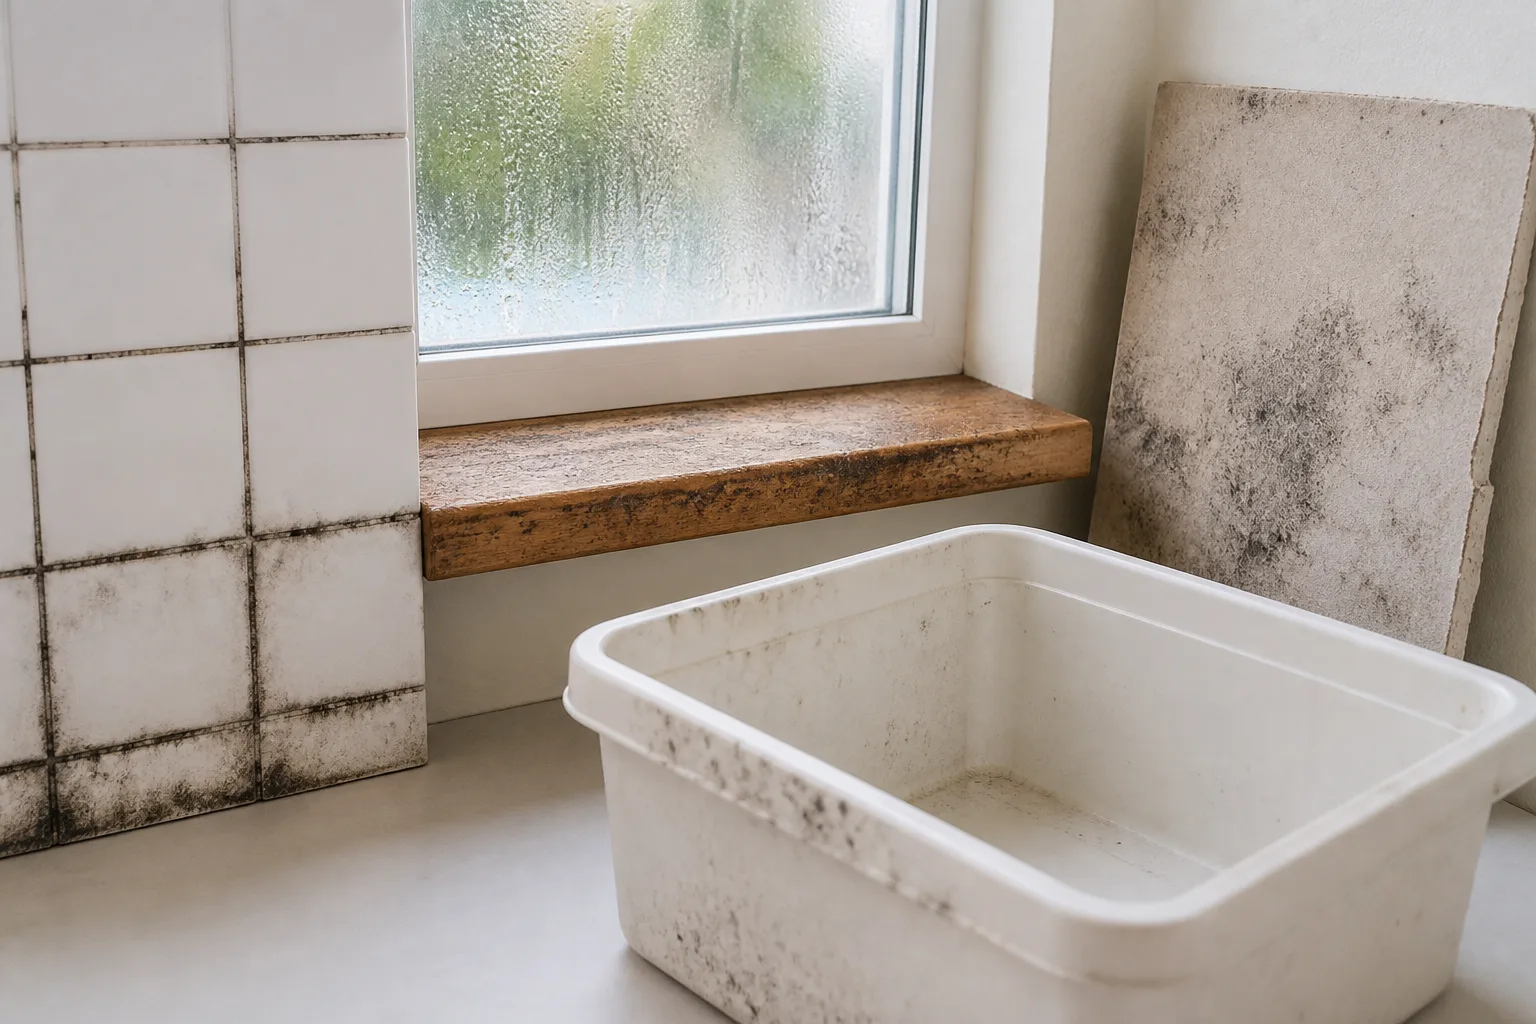
“Black mold” in everyday speech usually means any dark-colored fungal growth on caulk, grout, drywall, or wood. In media coverage it sometimes refers specifically to Stachybotrys chartarum, a slow-growing mold associated with chronic water damage. The color black does not identify the species—Cladosporium, Alternaria, and routine bathroom molds can also look dark.
Routine Bathroom Mold vs. Stachybotrys
Routine shower or window mold often appears as pinpoint dots, speckled grout lines, or thin film on caulk. It follows moisture: a slow tub leak, missing exhaust fan, or condensation on a cold wall. When the patch is small, the surface is hard and sealed, and you can dry the area, household cleaners usually work.
Stachybotrys is more often linked to long-term water intrusion—a roof leak behind drywall, a flooded basement wall, or wet cellulose materials left damp for weeks. It can look slick and dark on fiberboard or paper-faced gypsum. The CDC notes that Stachybotrys is not uniquely “toxic” in every exposure scenario, but large colonies on building materials warrant professional assessment—not another round of bathroom spray.
If drywall feels soft, smells musty behind the surface, or the patch reappears within days of cleaning, assume the growth is deeper than a surface wipe and read how to remove mold from inside walls before you keep scrubbing.
When a Dark Spot Is Mildew Instead
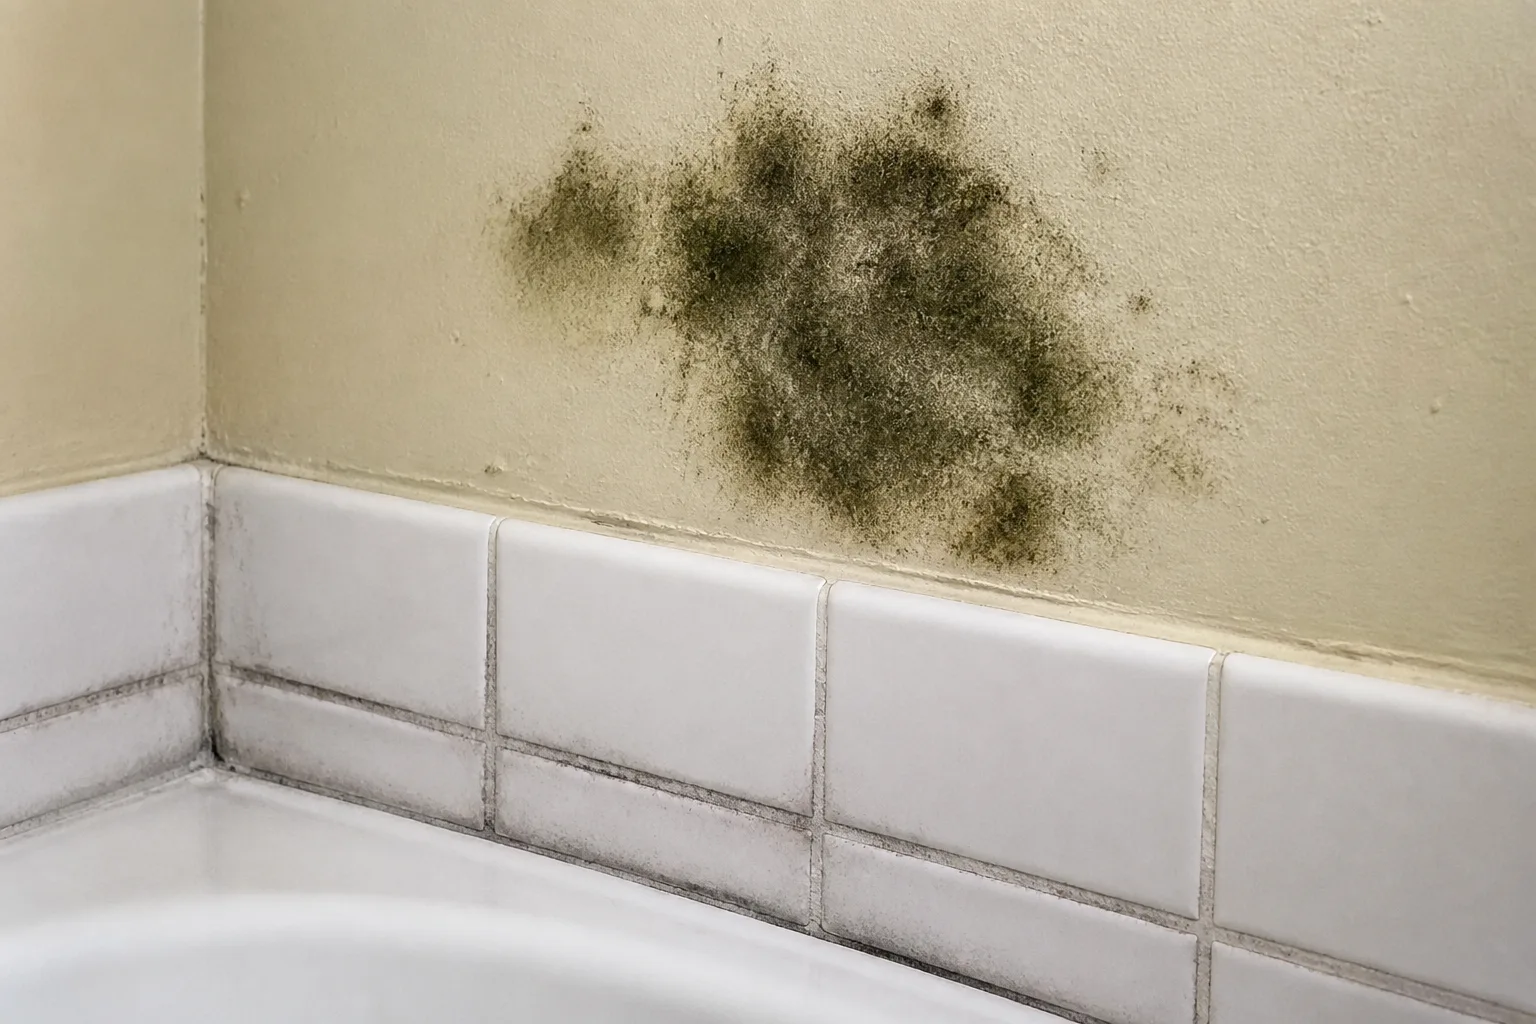
Mildew is a surface fungus that often stays flat, powdery, and white or gray on damp fabric, window sills, or shower curtains. Mold tends to look fuzzy or raised and can penetrate porous materials. The distinction matters less for your lungs (both can trigger allergy symptoms) than for cleanup strategy: flat mildew on a hard shower curtain may wash out; penetrating mold on grout may need mechanical scrubbing plus moisture repair.
Safety First: Ventilation, PPE, and Chemical Rules
Mold cleanup is a respiratory and chemical hazard, not just a housekeeping task. Disturbing a colony releases spores; bleach and vinegar release irritating fumes.
Who Should Not Clean Mold
The CDC advises that people with asthma, COPD, immune suppression, or significant mold allergy should not participate in cleanup—or should leave the home during remediation. If you are pregnant, caring for an infant, or managing chronic lung disease, delegate the work or hire a pro even for a small patch.
Never Mix These Cleaners
This is non-negotiable:
- Bleach + vinegar → chlorine gas
- Bleach + ammonia → chloramine gas
- Bleach + hydrogen peroxide → oxygen off-gassing and unstable reactions
- Bleach + other acids (some toilet bowl cleaners, rust removers) → chlorine gas
Use one product, rinse thoroughly with clean water, let the area dry, then switch products on a later pass if needed. Open windows and run an exhaust fan while cleaning. Turn off central HVAC if you are disturbing a visible colony to avoid pulling spores through ducts.
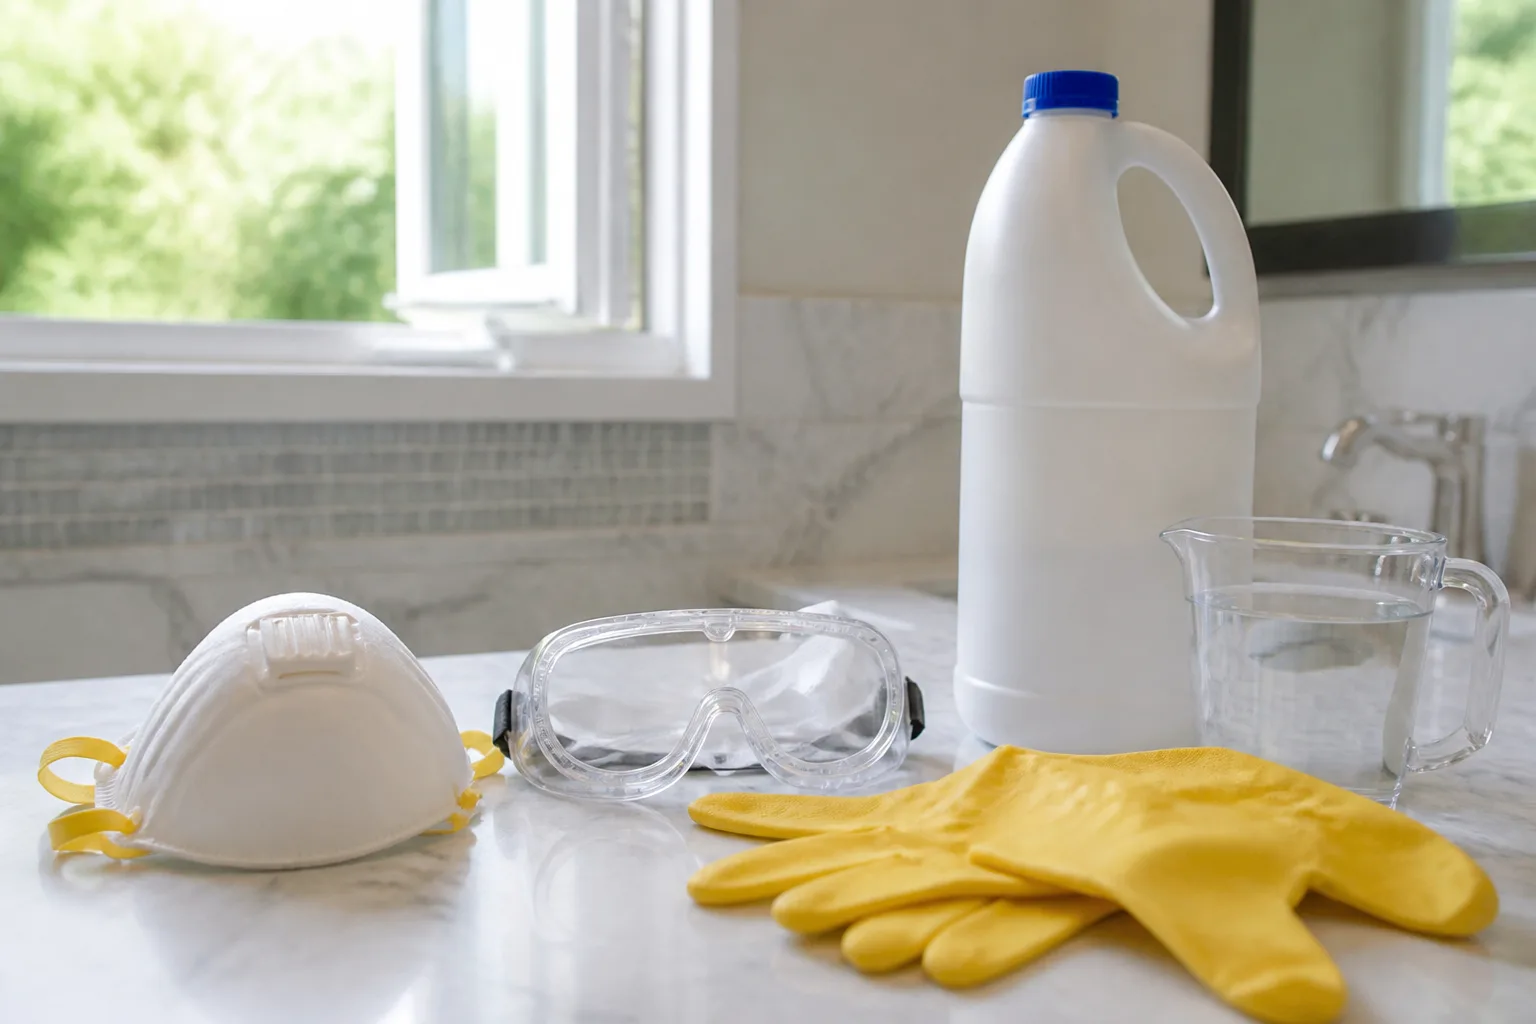
Minimum PPE for DIY patches:
- NIOSH-approved N95 respirator (not a loose dust mask)
- Goggles with side shields—not vented safety glasses
- Nitrile or rubber gloves long enough to protect wrists
- Old long sleeves and pants you can wash hot or discard
Seal off the work area from the rest of the house with a closed door and a towel at the threshold when practical.
Find and Stop the Moisture Source Before You Scrub
Cleaning without drying is temporary landscaping. Mold needs moisture; remove that and you remove the engine.
Check the usual suspects in order:
- Active leaks — under sinks, around tub surrounds, toilet wax rings, window flashing, roof penetrations.
- Condensation — unvented bathrooms, cold exterior walls behind furniture, uninsulated pipes.
- Poor drainage — clogged gutters dumping water against siding, negative grade toward the foundation.
- Humidity — consistently above 50% relative humidity indoors fuels bathroom and basement growth. The EPA’s brief guide to mold and moisture recommends keeping indoor humidity between 30% and 50%.
Fix the leak, run a dehumidifier, install or use an exhaust fan, and dry wet materials within 24 to 48 hours after a spill or flood. If you skip this step, the dark spots will return no matter how strong your cleaner smells.
Hydrogen Peroxide and Baking Soda Paste (Low-Fume First Choice)
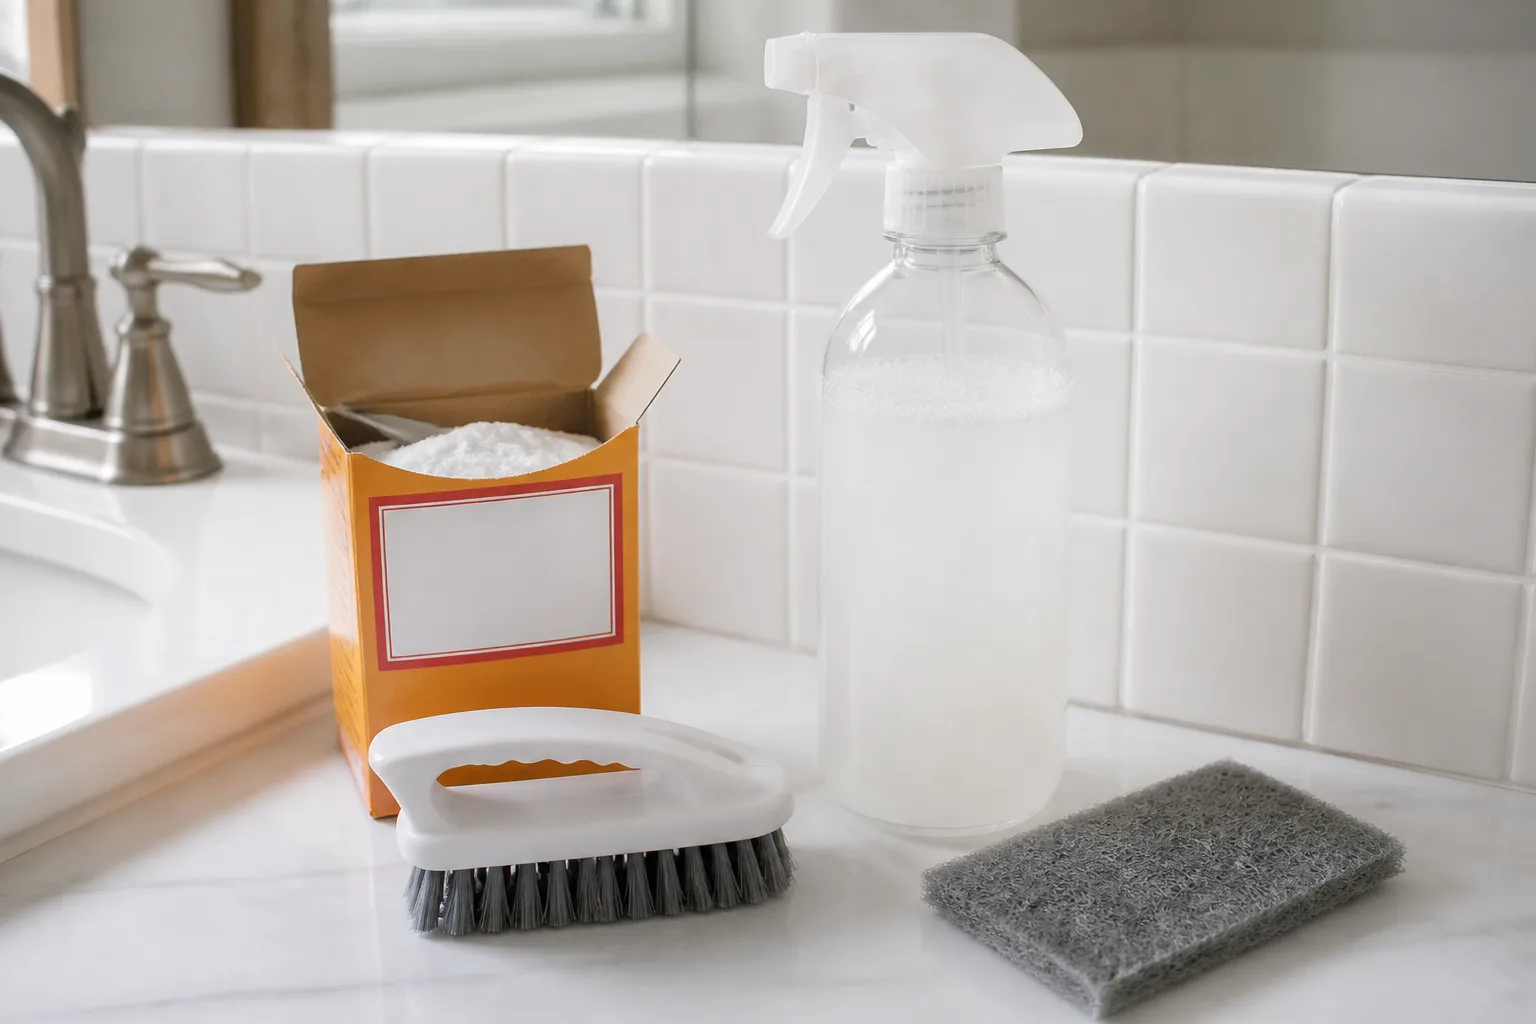
For many homeowners, 3% hydrogen peroxide is the best first try: less harsh than chlorine bleach, no vinegar odor, and effective on non-porous mold when given dwell time. Baking soda adds mild abrasion and helps lift staining from grout lines.
Paste method (tile, tubs, plastic, sealed counters):
- Ventilate the room and don PPE.
- Mix 1 part hydrogen peroxide with 2 parts baking soda until you have a toothpaste-thick paste. Alternatively, pour undiluted 3% peroxide into a spray bottle for flat surfaces.
- Apply to the moldy area. Let sit 10–30 minutes without drying out completely.
- Scrub with a nylon brush (not steel wool, which scratches grout and traps moisture).
- Rinse with clean water, wipe dry, and run a fan until the surface is fully dry.
- Repeat once if staining remains. If a third pass fails, escalate to vinegar or diluted bleach—or accept that the material may need replacement.
Spray-only method: Mist 3% peroxide directly on moldy shower corners or refrigerator gaskets, wait 10 minutes, scrub, rinse, dry. Peroxide breaks down to water and oxygen, so use a bottle opened within the last few months for full strength.
For background on why alkaline cleaners help on some surfaces, see does baking soda kill mold.
Best Surfaces for the Paste Method
The paste shines on glazed tile, porcelain tubs, solid-surface counters, glass shower doors, and hard plastic. It is a poor primary tool for drywall, unfinished wood, or carpet—liquids wick inward and can worsen moisture problems. On painted bathroom ceilings, use a lightly dampened cloth with peroxide rather than a soaking paste, and watch for paint damage in a hidden corner first.
Vinegar for Acid-Tolerant Hard Surfaces
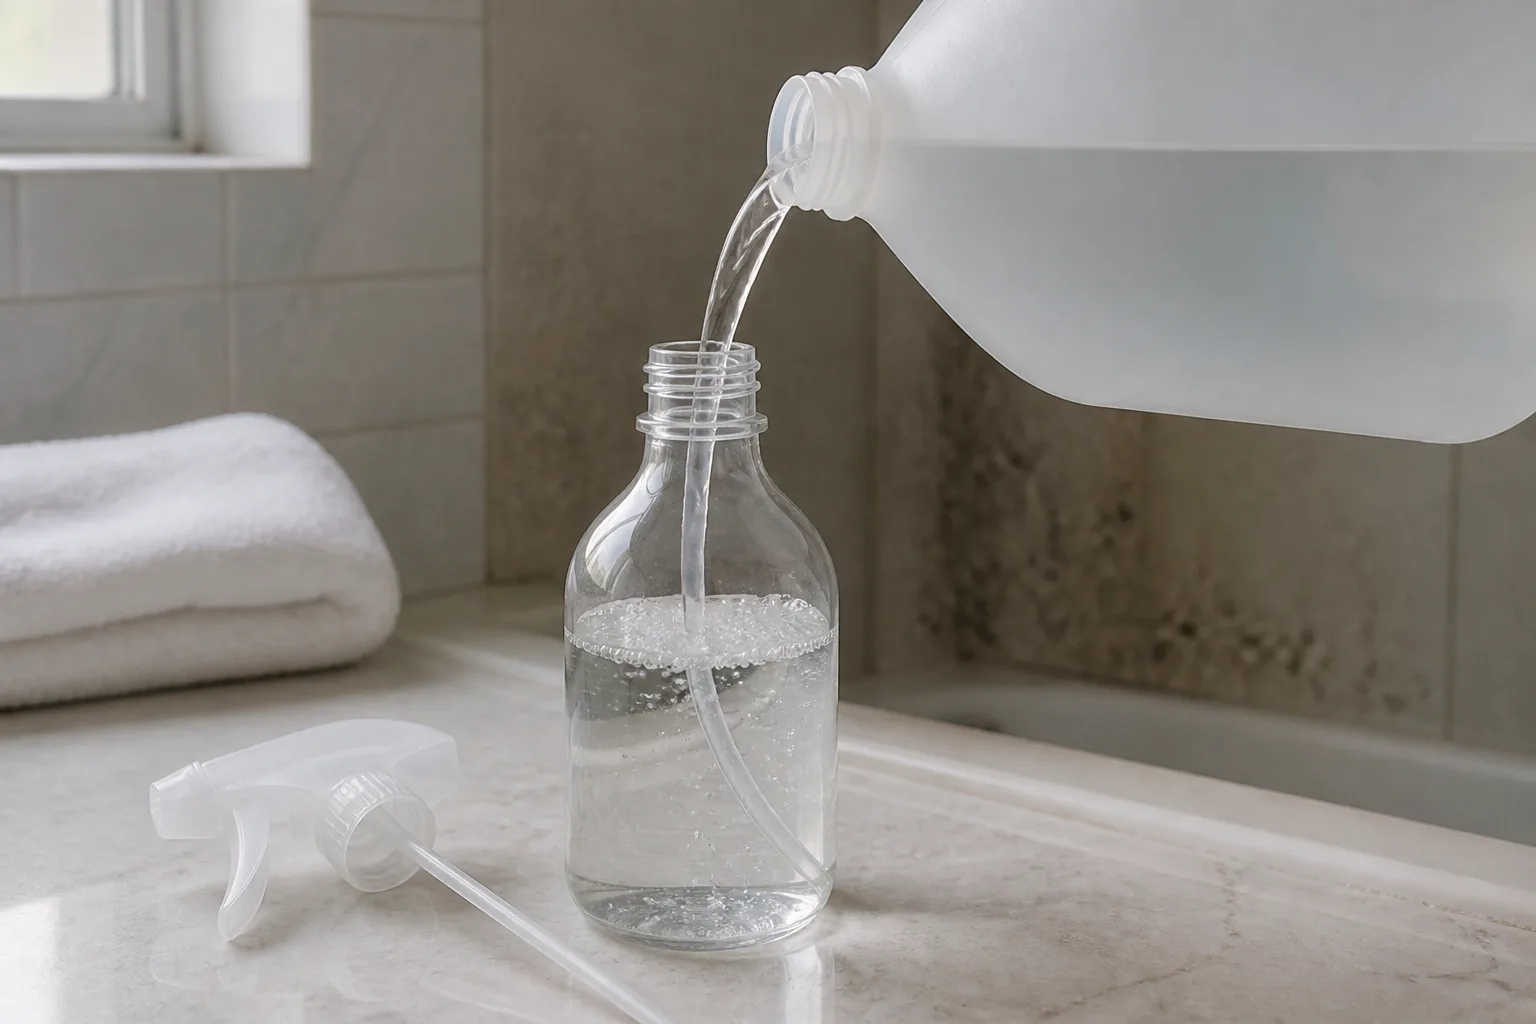
Distilled white vinegar (about 4–6% acetic acid) or cleaning vinegar (often 6%) can kill many mold species on non-porous, acid-tolerant surfaces. The acid disrupts the colony’s structure, and vinegar leaves no bleach fumes.
Protocol:
- Fill a spray bottle with undiluted household white vinegar—do not dilute for mold treatment.
- Spray until the patch is fully wet. Let dwell 30–60 minutes.
- Scrub, rinse with water, and dry thoroughly.
Do not use vinegar on natural stone (marble, granite, limestone), waxed wood, cast iron, aluminum, or unsealed grout that etches easily. The National Pesticide Information Center reminds users that acetic acid irritates eyes and lungs at higher concentrations—ventilation matters even with kitchen-grade vinegar.
Vinegar is slower than bleach on stubborn shower mold but a strong choice when you want to avoid chlorine or when cleaning refrigerator door seals and plastic storage bins. For a vinegar-focused walkthrough, see how to make a vinegar mold remover.
Vinegar vs. bleach: Vinegar penetrates some biofilms bleach struggles with on certain hard surfaces, but neither reliably kills mold inside porous drywall. Color fading is not proof of success—verify by dryness, no regrowth after two weeks, and no musty odor.
Diluted Bleach for Non-Porous Tile, Grout, and Siding
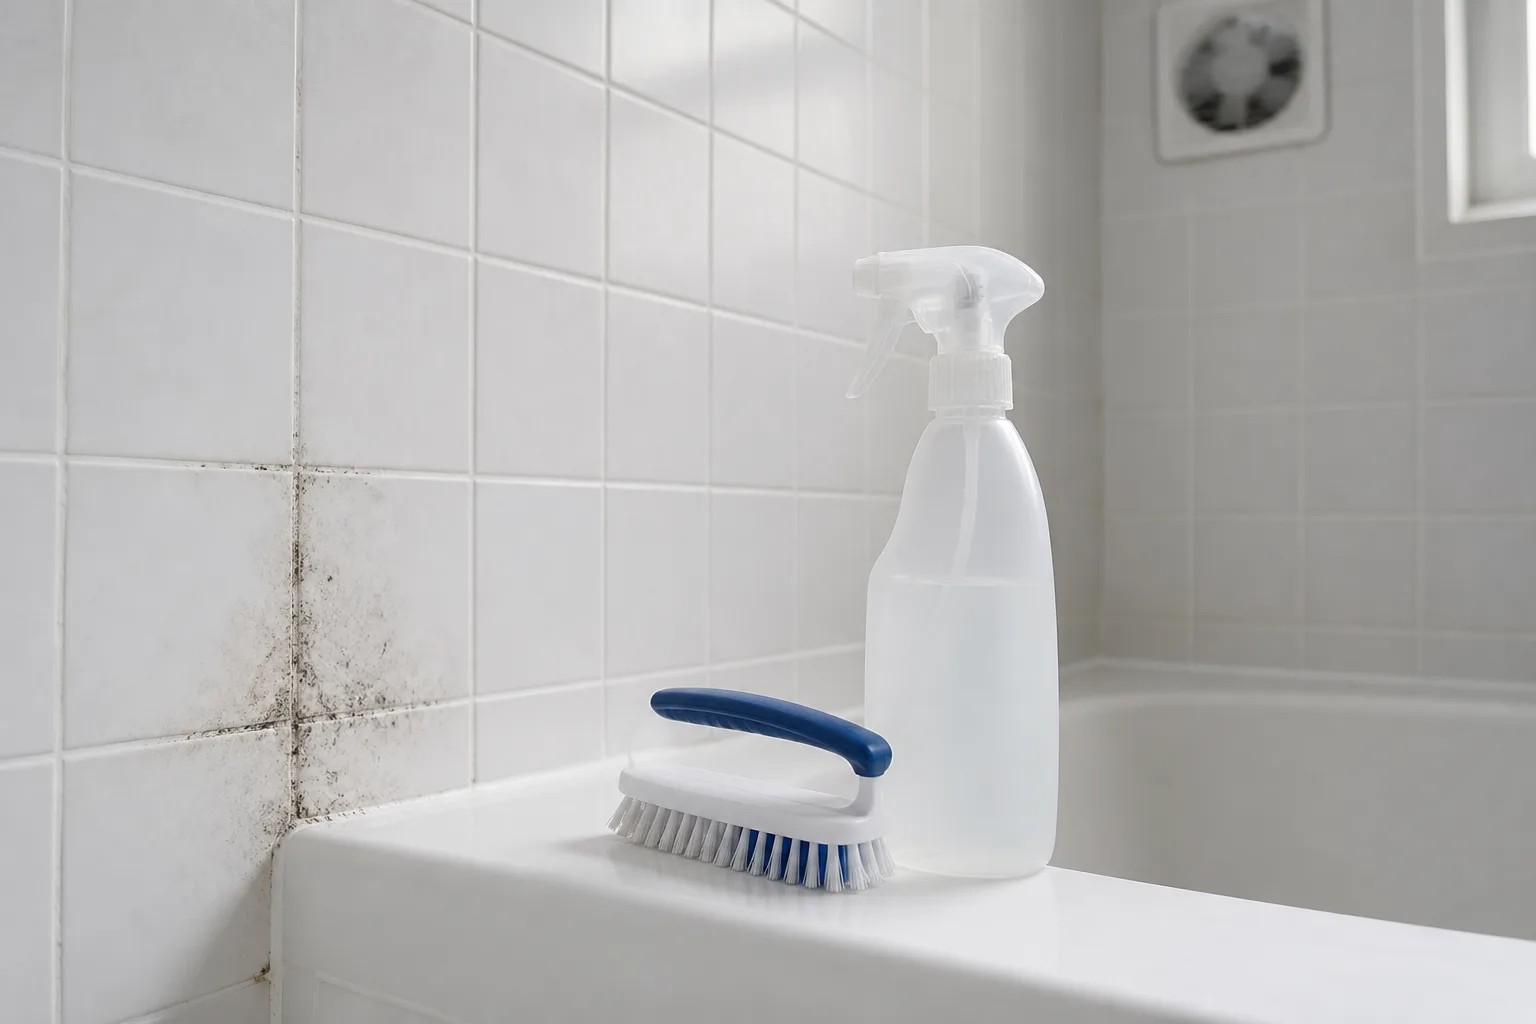
Chlorine bleach (sodium hypochlorite) remains a standard tool for hard, non-porous mold on tile, glass, and some exterior surfaces when used at the correct concentration. The CDC specifies no more than 1 cup of household bleach per 1 gallon of water.
Never use full-strength bleach on household mold. It increases fume risk, damages finishes, and does not work better on sealed tile.
Basic bleach protocol (tile, tubs, glass):
- Open windows; wear N95, goggles, and gloves.
- Mix 1 cup bleach per 1 gallon of cool water. Mix only what you need for one session.
- Apply with a sponge or spray bottle. Keep the surface wet at least 10–15 minutes.
- Scrub stained grout with a nylon brush.
- Rinse with clean water, dry completely, and discard rinse water down a drain (not on plants).
Painted Walls and Wood Floors (Proceed With Caution)
Bleach is rarely the right first choice for painted drywall or wood. Liquid bleach can lighten paint, damage wood fibers, and leave behind water that soaks into paper-faced gypsum—exactly where mold thrives.
If you have a tiny surface spot on semi-gloss bathroom paint and the wall is firm and dry behind it, some homeowners dab diluted bleach with a lightly damp cloth, dry immediately, and monitor for regrowth. Do not flood painted walls or leave bleach to air-dry on porous paint films.
For soft, stained, or recurring drywall mold, cut out and replace the affected board after fixing the leak—not more bleach. Our bleach and mold guide explains the porous-surface failure mode in detail.
Exterior Siding and Concrete
Outdoor mold on painted siding, masonry, and concrete tolerates a bleach solution better than indoor drywall:
- Pre-wet nearby plants and grass with plain water.
- Apply 1 cup bleach per gallon of water with a pump sprayer, sponge, or soft brush.
- Let dwell several minutes, scrub if stains persist, then rinse thoroughly.
- Rinse planted areas again if any bleach runoff contacted them.
Avoid power-washing mold into soffit vents or indoor air intakes. Wear eye protection—splash risk is higher outdoors.
Special Case: Mold on HVAC Vents
Mold on supply or return vent covers often means moisture somewhere in the duct system—not just dirty louvers. Turn off the HVAC circuit before cleaning.
- Remove vent covers and HEPA-vacuum loose dust and visible mold outside or into a sealed bag.
- Wash covers with warm water and a few drops of dish detergent; rinse and dry fully.
- If staining remains, wipe with diluted bleach (1:16 bleach to water) using a damp—not dripping—cloth.
- If mold extends beyond what you can reach, or odor persists when the system runs, stop DIY and schedule duct inspection.
Do not run the blower while scrubbing open registers; you will distribute spores through the house.
When DIY Household Cleaners Are Not Enough
Call a mold remediation professional or at minimum schedule an inspection when:
- The affected area exceeds 10 square feet
- Mold returns within 48–72 hours after thorough cleaning and drying
- Growth is on multiple walls, insulation, or subflooring
- You smell mold but cannot find the source
- The home had sewage flooding or long-term standing water
- Occupants have worsening respiratory symptoms
Professional remediation includes containment, HEPA filtration, material removal, and moisture verification—not just stronger chemicals. Average residential jobs often run $1,000–$3,700 depending on scope and region, but hidden wall mold can cost more. That expense is usually cheaper than repeated failed DIY that spreads contamination.
Black mold does not go away on its own. Without moisture it may stop spreading, but dead spores and stained materials remain allergenic until physically cleaned or removed.
How to Keep Black Mold From Coming Back
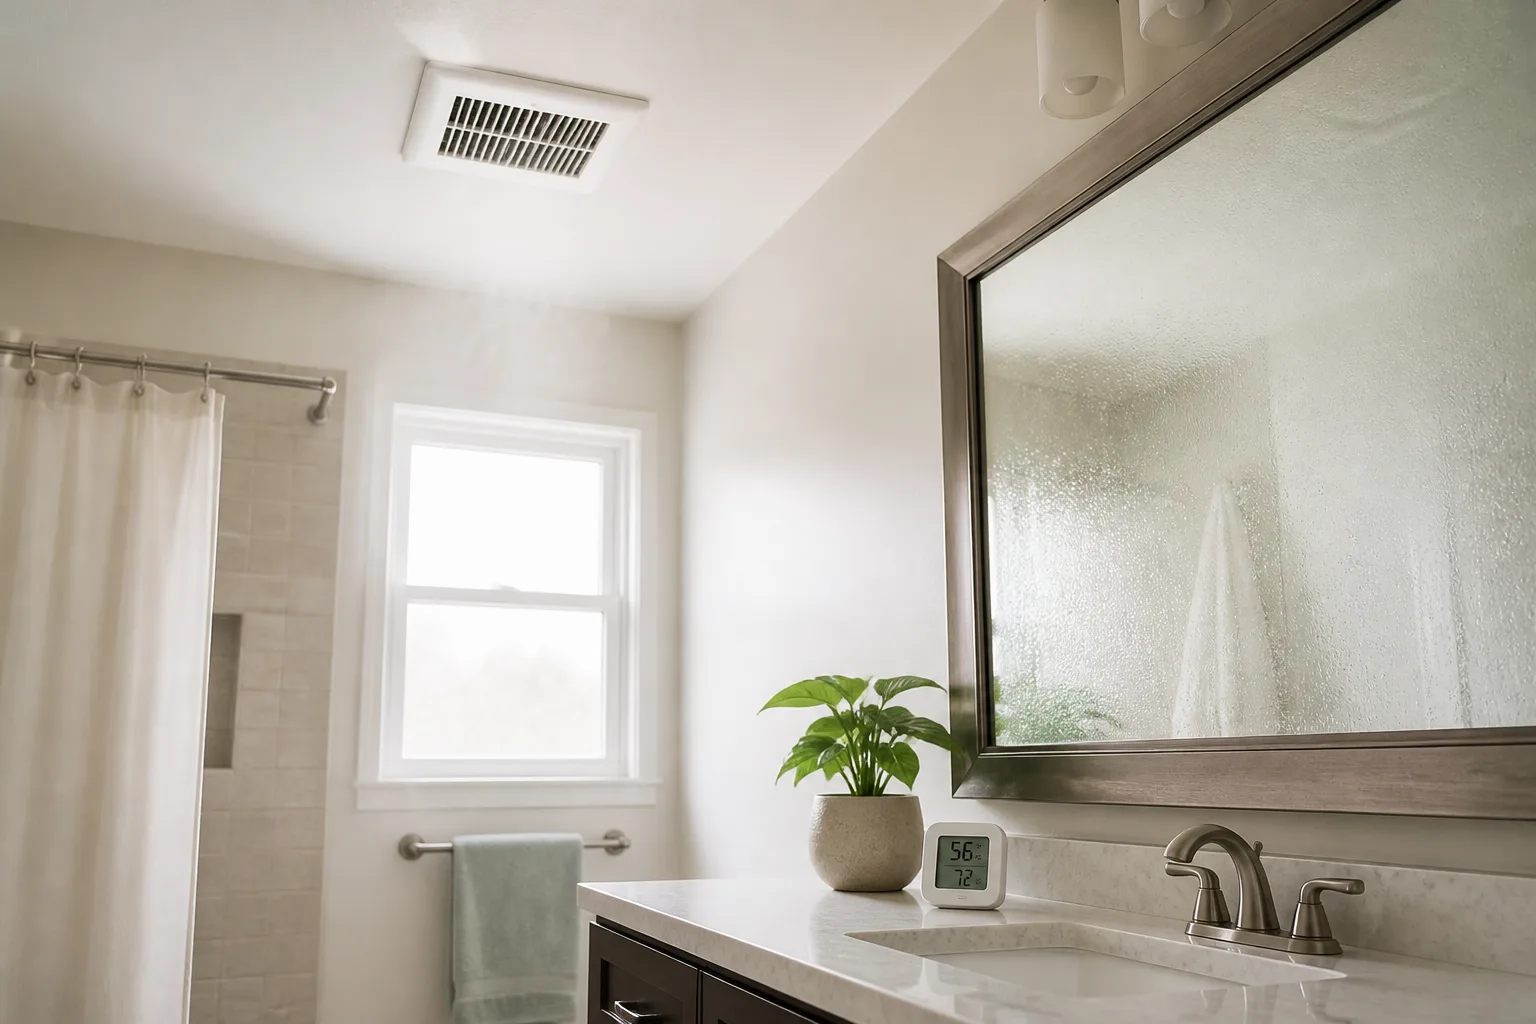
Prevention is moisture management, not a monthly bleach ritual.
- Hold indoor humidity to 30–50% with dehumidifiers in basements and poorly vented bathrooms.
- Run exhaust fans during and 20–30 minutes after showers; squeegee tub walls to remove standing water.
- Fix leaks within 24 hours—dripping faucets, loose grout lines, and failed window caulk are mold invitations.
- Dry wet materials fast—towels, coats, and carpet from minor floods should not sit in piles.
- Clean and inspect mold-prone zones weekly in humid seasons: shower corners, window tracks, under-sink cabinets, and basement corners.
- Maintain gutters and downspouts so water drains away from the foundation.
- Install moisture barriers in crawl spaces and basements where ground dampness wicks upward.
A one-time deep clean without habit changes buys you weeks, not years.
Conclusion
Black mold on grout, caulk, or a hard bathroom surface can often be removed with hydrogen peroxide and baking soda, vinegar, or CDC-strength diluted bleach—but only after you confirm the patch is small, accessible, and on a non-porous or replaceable material. Match the cleaner to the surface, wear proper respiratory and eye protection, never mix chemicals, and fix the leak or humidity source that caused the growth.
When stains sit on soft drywall, keep returning, or spread beyond a modest footprint, household cleaners are the wrong tool. Remove wet porous materials, dry the structure, and bring in professional help before spores migrate through HVAC systems or hidden wall cavities. Clean once, dry completely, and change the conditions that invited mold—that is how you get rid of black mold for good.



