How to Harvest Basil So It Keeps Growing
How to harvest basil without weakening the plant: identify leaf nodes, cut the right amount, protect flavor, and preserve fresh leaves for later.
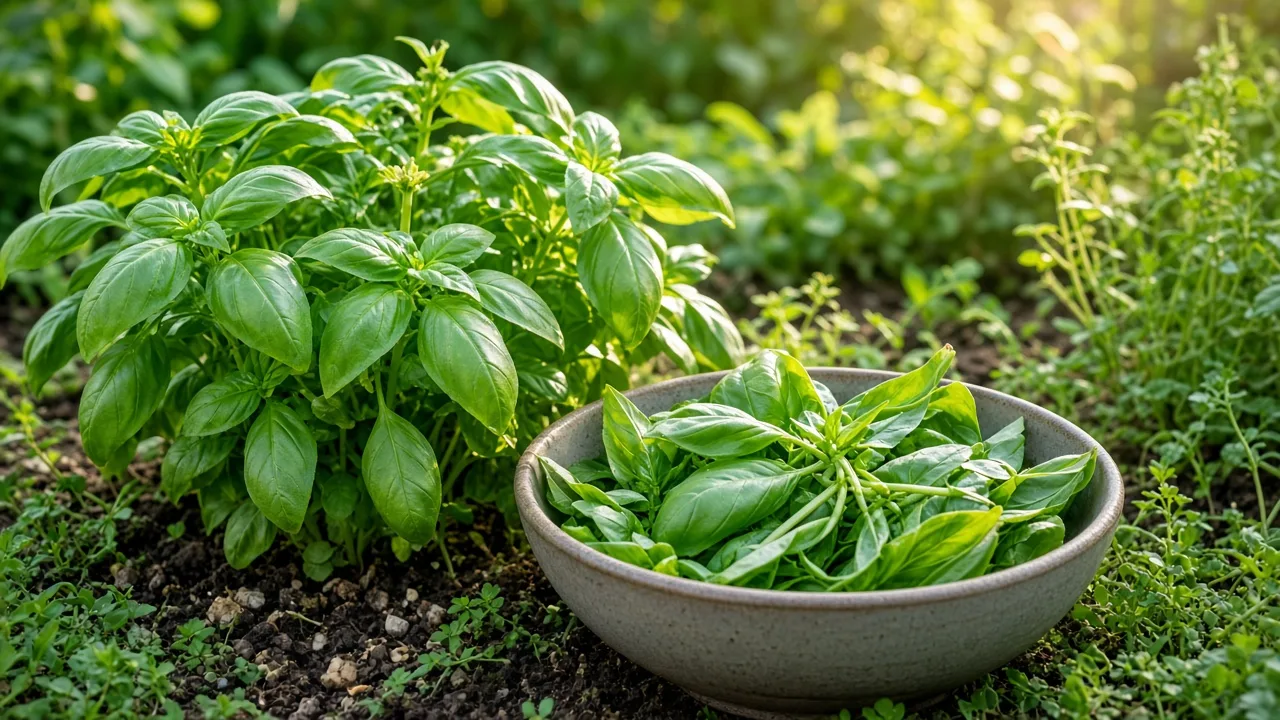
Cut basil as if you are shaping the plant, not stripping it. For the main harvest, take a tender stem tip just above a healthy pair of leaves. The node where that pair joins the stem contains buds that can develop into side branches, so one well-placed cut gives the plant two new directions to grow.
The best harvest is also the one you can use. Pick a few leaves for dinner, shorten several stems for pesto, or take a final large cut before cold weather. The technique changes slightly with the job, but the guardrails stay the same: harvest a plant that is actively growing, leave useful foliage below the cut, keep flower spikes from taking over if leaves are your priority, and handle the cut basil gently.
The harvest rule that keeps basil productive
When basil is small, the growing tip controls most of the upward growth. If you keep taking only the largest leaves from the lower stem, that tip remains in charge and the plant can become tall, sparse, and difficult to harvest. When you cut the tip above a leaf pair, the buds in the leaf axils below it can take over as new growing points.
That is why stem-tip harvesting is the default method for a plant you want to keep productive. You get leaves for the kitchen while also removing the part that would otherwise keep stretching. The result is not an instant doubling of the plant; new side shoots still need light, water, and time. Think of the cut as opening two doors, not as guaranteeing two mature branches tomorrow.
For a quick decision, match the cut to the job:
| Your goal | Best harvest | Leave behind |
|---|---|---|
| A few leaves for one meal | Pick individual healthy leaves or one small tip | The growing tips and most of the plant |
| A fuller plant | Cut several long tips above leaf pairs | Multiple leafy nodes on every remaining stem |
| Pesto or a large recipe | Take several stems from several plants | Enough green growth on each plant to recover |
| Seed or pollinator flowers | Leave selected flower stems | Other plants or stems for leaf production |
The NC State Extension plant profile describes pinching long stems and flower buds as a way to promote a branching, bushy form. That advice works because the cut is made with the plant’s growth points in mind, not because any cut anywhere on the stem has the same effect.
Know when a basil plant is ready for its first cut
Do not harvest by height alone. A short, well-rooted plant with several pairs of leaves may be ready, while a taller plant that has just been transplanted or is wilting from dry soil needs time to recover. The Utah State University Extension basil guide uses six to eight leaves as a practical starting point; Epic Gardening’s harvest guidance describes a plant with four to six sets of true leaves that has begun to bush out.
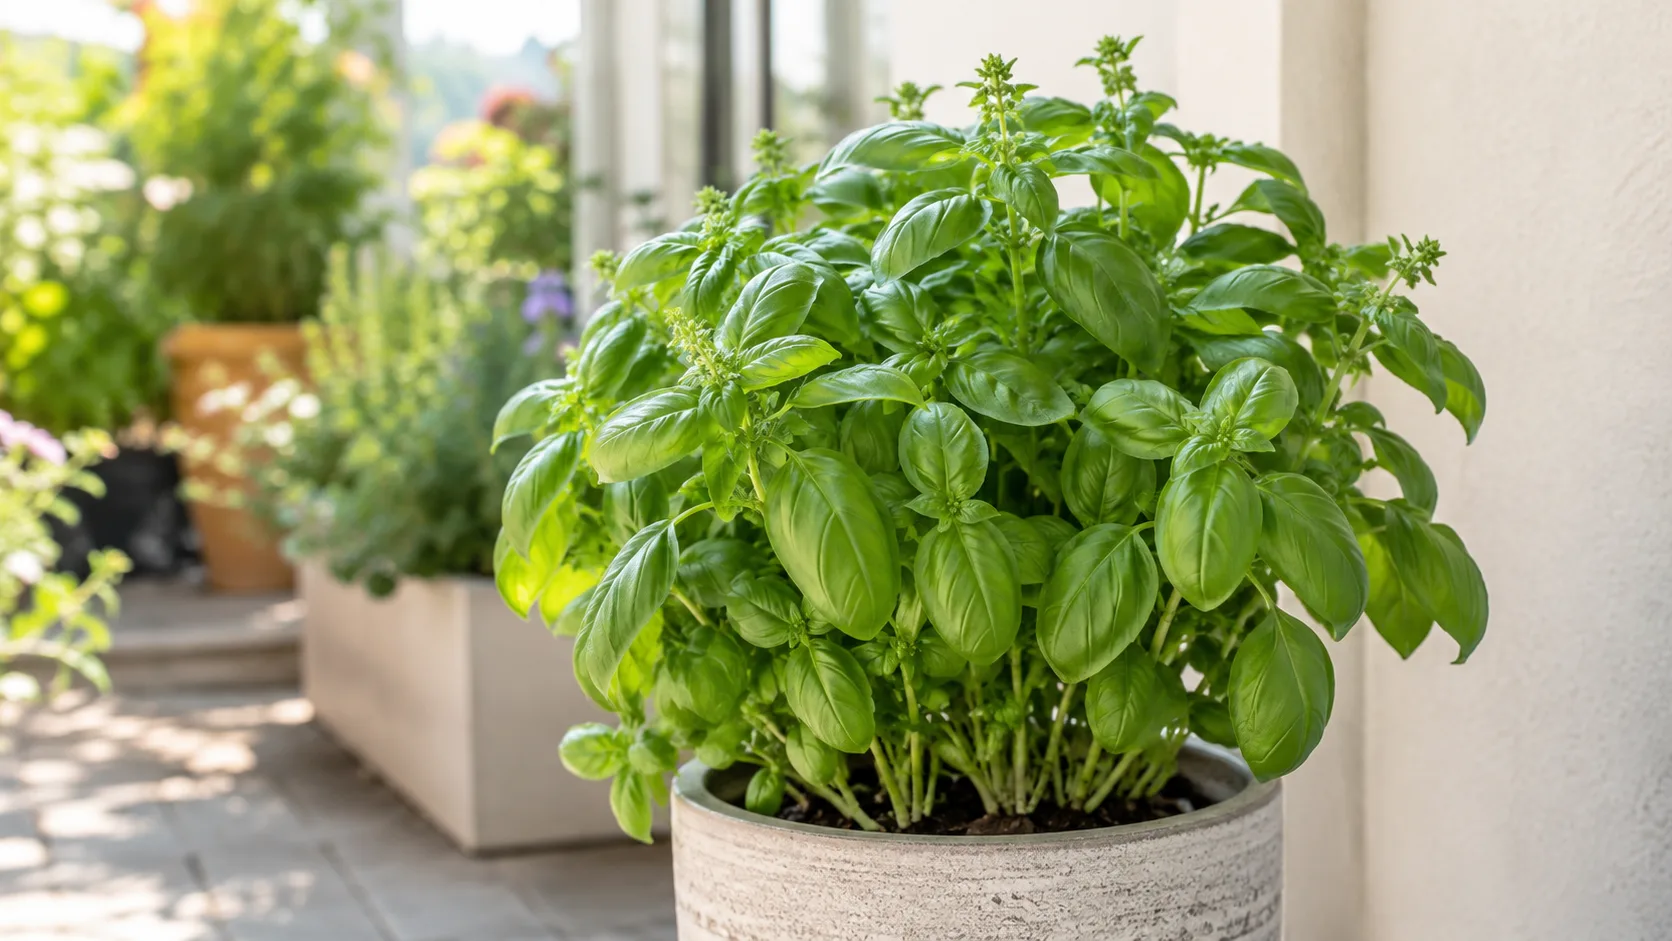
Use those numbers as a readiness check rather than a rigid appointment. Before the first cut, look for a firm stem, several healthy leaf pairs below the top, and fresh growth that is not collapsing in heat or drought. A plant that has just settled into a container may be ready structurally but still benefit from a few days of root establishment before a heavy harvest.
Basil grown in a pot can look large above the soil while having a small root system. Supermarket basil is a common example: many seedlings may share one crowded pot, so the foliage looks harvestable even though the individual plants have little root room. Take a light tip harvest until the plants are separated and growing steadily instead of removing a large handful in the first hour.
The season matters too. Basil is a warm-weather annual in most gardens. In a cool spell, after a missed watering, or after a move from indoors to outdoor sun, growth slows and cuts take longer to fill in. A plant that is actively making new leaves can handle a more useful harvest than one that is merely surviving.
Find the node and choose the right stem
A node is the point where a pair of leaves joins the main stem. Basil usually carries leaves in opposite pairs, making the node easier to spot than on herbs with alternating leaves. Look just above the pair and check the small angles where the leaf stalks meet the stem; those axils are where new shoots may emerge.
Choose a node with healthy leaves below it and a stem that is still green and flexible. If the lower part of the branch is bare, brown, badly damaged, or diseased, do not assume it will produce a strong replacement. Move the cut higher to a living node if one exists, or leave that branch alone while you decide whether the whole plant should be replaced.
The safest cut is about 1/4 inch above the node, close enough to leave the buds attached but far enough away that you are not slicing through them. A cut made far below a leaf pair leaves an awkward bare stub. A cut made below no leaves at all removes the plant’s useful recovery points on that stem.
Opposite leaves make basil forgiving: after the top is removed, the two axillary buds below the cut can often become a pair of side shoots. Do not pinch the buds themselves. You want to remove the stem above them and keep the node intact.
Step-by-step: harvest basil without stalling regrowth
Start with a clean basket or bowl, clean herb snips, and a moment to look over the plant. Harvesting is a good time to notice flower buds, holes, sticky residue, wilt, or discolored leaves before those problems are mixed into the kitchen harvest.
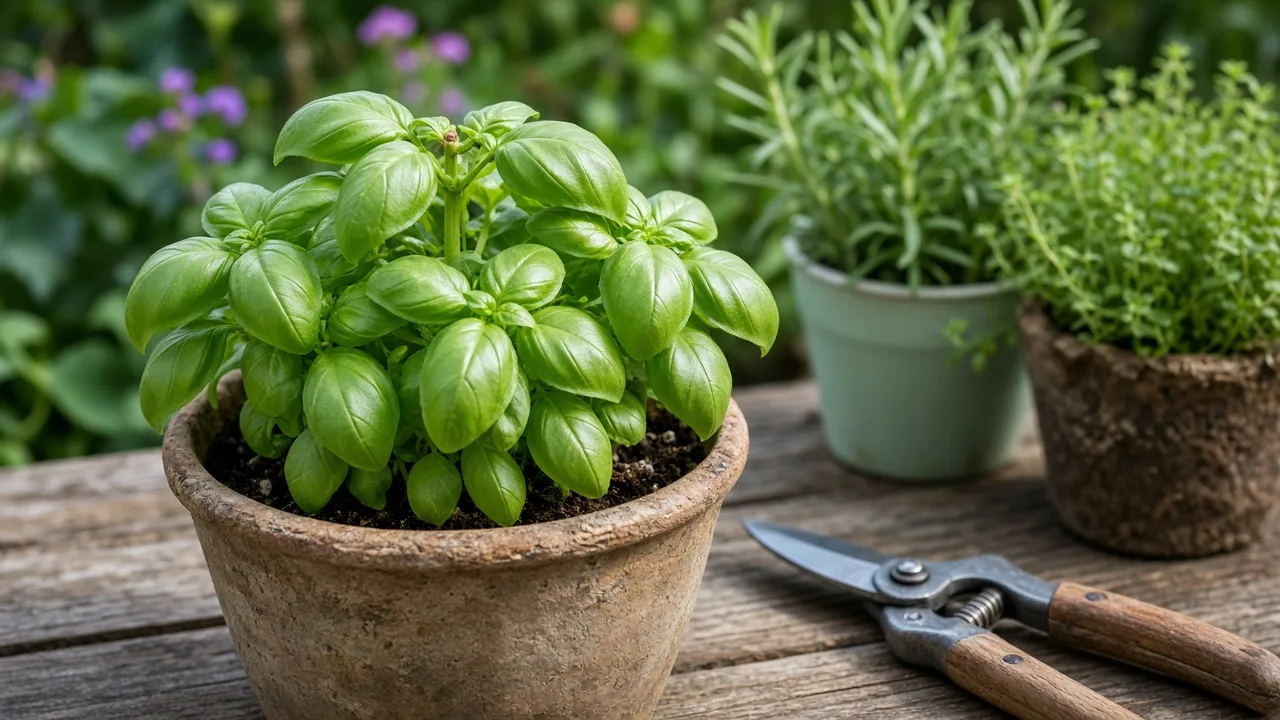
- Choose a dry, active plant. If the foliage is wet from rain or overhead watering, wait until it dries. If the plant is limp because the soil is dry, water it and let it recover instead of taking a large cut from a dehydrated plant.
- Pick the longest useful tip. Trace the stem downward until you find a healthy leaf pair. The chosen node should leave enough foliage below it to support new growth.
- Cut just above that node. Use sharp scissors or herb snips for a clean, quick cut. Tender tips can be pinched, but do not twist or tear a thick stem.
- Repeat selectively. Shorten the next longest shoot on the other side of the plant if it also has a good node. Alternating sides keeps one branch from becoming dominant and prevents a lopsided plant.
- Sort the harvest immediately. Use tender leaves and tips fresh, put sound stems in water for short storage, and keep damaged or suspicious material out of the food portion.
The BBC Gardeners’ World basil guide gives the same useful visual cue: cut a lead stem just above a pair of leaves so the plant becomes bushier and more productive over time. The exact tool matters less than a sharp cut in the right place.
Pick individual leaves when you only need a little
You do not need to prune a whole stem every time you want basil for a sandwich. Pick individual leaves when the recipe needs only a few and the plant is small, recently transplanted, or recovering from a previous harvest. Choose firm, unblemished leaves from the upper or middle part of a branch rather than repeatedly denuding the same lower section.
Support the leaf with one hand and pinch or snip its short stalk cleanly. Avoid crushing the leaf between your fingers; bruising releases aroma compounds and leaves dark marks faster. If a leaf is torn, badly chewed, or covered with residue, discard it rather than trying to make a marginal harvest look usable.
Individual picking is a convenience method, not the best long-term shaping method. Once several stems have extended, switch back to tip cuts. The plant then receives a pruning signal while you collect a larger amount of tender foliage.
How much basil can you cut at once?
For a vigorous, established plant in warm growing conditions, about one-third of the leafy growth is a conservative upper limit for a routine harvest. It is a ceiling, not a quota. If one-third would leave the plant with only a few leaves, or if the plant is small, dry, root-bound, recently moved, or near the end of the season, take much less.
Extension recommendations are sometimes expressed as leaving two to four leaves on a cut stem, while practical gardening guidance may say to leave at least three pairs of side shoots. These are not truly competing instructions: both are trying to preserve functioning foliage and living nodes below the cut. Count the plant’s remaining leaf pairs, not just the number of stems in your bowl.
For a single pot, remove one or two tips, wait for new growth, and then reassess. For a row or several containers, alternate plants so you always have a few recovering and a few ready to cut. This produces a steadier supply than taking every usable stem from the largest plant.
After a heavy cut, do not immediately compensate with a strong fertilizer dose. Check light, water, and root-zone drainage first. Basil needs warmth and moisture for regrowth, but soggy soil and a stressed root system will not be repaired by extra feed.
Manage flowers without losing the whole plant
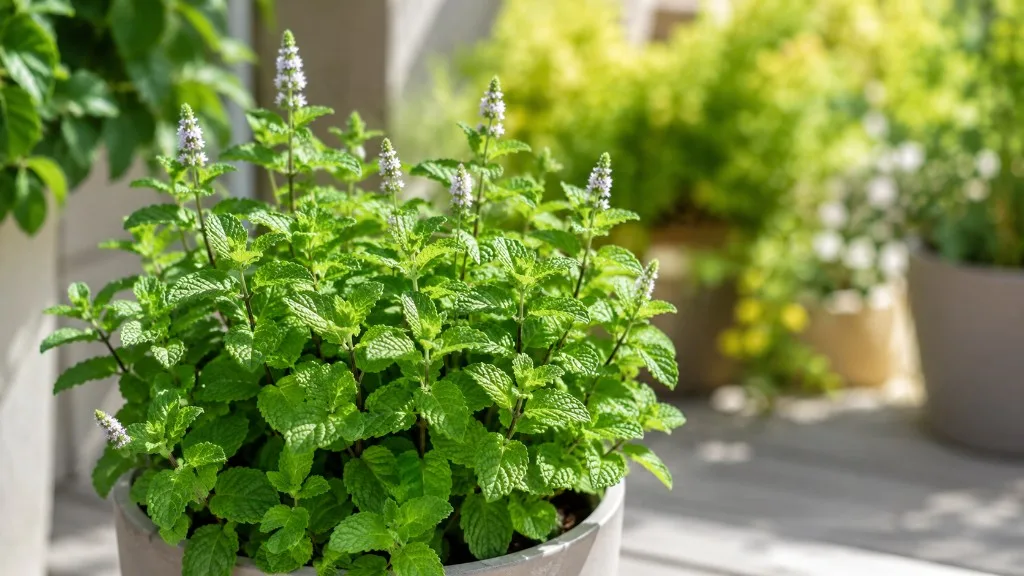
When a basil stem changes from a leafy tip to a pointed flower spike, decide what you are growing for. If the priority is tender leaves, follow that flower-bearing stem down to a healthy leaf pair and cut above it. Removing only the visible flower tip can leave the same reproductive stem in place, so take the stem back to a node that can produce leafy shoots.
Flowering is not an emergency and it does not make the plant poisonous. Leaves remain usable, although older flowering plants may offer smaller, tougher, or more strongly flavored leaves. Heat, drought, cold snaps, and other stress can speed the transition, so flower management works best alongside steady watering, adequate light, and enough space for air movement.
The USU Extension guidance notes that high summer temperatures and water stress can push basil toward flowering and seed production, with off flavors and reduced leaf production. That is a useful reason to prevent repeated stress, but pinching a flower is not a reset button. If the plant is old or repeatedly flowering, make a moderate cut and consider starting a replacement plant at the same time.
When letting basil flower makes sense
Leave some flowers when you want seed, ornamental color, or nectar for visiting pollinators. Purple and specialty basils can be attractive as container plants, and not every harvest goal is a bowl of large sweet leaves. If you are saving seed, let selected spikes mature and label the plants; seed from mixed varieties may not produce an exact copy of the parent.
The practical compromise is to let one plant or a few branches flower while maintaining the rest for cooking. You get flowers without sacrificing the entire harvest. When flowers are your goal, stop treating every spike as a mistake and harvest only the leaves that still meet your taste and texture preference.
Adjust the method for pots, seedlings, and crowded plants
Container basil dries faster than basil in the ground, especially in a small dark pot on a hot balcony. Before cutting, check the soil rather than relying on a fixed watering schedule. Water thoroughly when the mix is dry enough to need it, allow excess water to drain, and avoid taking a large harvest while the plant is visibly wilted.
Seedlings need leaves to power root and stem development. If a seedling has only its first true-leaf pair or two, let it grow. Once it has enough structure to branch, a light tip pinch can shape it, but a large cut is unnecessary and may delay establishment.
Crowded plants need a different kind of restraint. If multiple stems are packed together, harvest a few outer tips and remove the most congested or damaged material rather than shearing everything to the same height. Airflow around dry leaves helps reduce the conditions that favor fungal problems. The NC State profile lists basil downy mildew, Fusarium wilt, aphids, and Japanese beetles among possible problems, so a harvest that also includes a quick inspection is more useful than a blind haircut.
Variety changes the feel of the harvest. Genovese basil often gives broad, soft leaves for pesto; Thai, lemon, purple, Greek, and compact types may have smaller leaves, shorter internodes, or different flowering habits. Apply the node principle to all of them, but cut according to the plant’s actual structure rather than forcing every cultivar to the same height.
Harvest basil for pesto and large batches
For pesto, harvest when the plant has enough healthy stems to supply the recipe without leaving one bare. Work from several plants if possible. Cut the longest tips above nodes, carry the stems into shade, and strip the leaves indoors so the plant is not left with fresh cuts baking in hot sun.
Tender top leaves are usually the easiest to use raw. Lower leaves can still be good if they are clean and undamaged, but inspect them for soil splash, holes, insect residue, and yellowing. Thick stem sections add bulk without the same tender texture, so strip the leaves from the harvested tips and reserve the stems for compost if they are too fibrous.
If you need pesto repeatedly, grow more than one plant or sow a second batch. A single plant can produce generously, but it cannot supply a large bowl every week and still recover as if it had been lightly tipped. A small succession planting is a harvest strategy, not an admission that the first plant failed.
Choose the best leaves for cooking
The best leaves are firm, richly colored for their variety, and free from tears, disease spots, or heavy insect damage. Harvest leaves before the plant has been sitting in intense afternoon heat, then move the basket out of direct sun. The fresh aroma is most noticeable when leaves are handled as little as possible.
For salads, sandwiches, and a raw garnish, use tender leaves and young tips soon after cutting. For sauces, soups, cooked vegetables, and pesto, a larger harvest can include mature leaves as long as they are healthy and pleasantly flavored. Flowers are edible on many culinary basils, but use them because you like their flavor, not as a way to disguise poor-quality leaves.
Taste can vary with variety and stress. A leaf that tastes sharper or more bitter is not automatically unsafe, but it may not be the best choice for a fresh dish. If an entire plant has become woody, heavily flowering, or diseased, harvesting a few leaves will not restore the texture it had earlier in the season.
Handle and wash basil without bruising it
Keep harvested basil cool and shaded, but do not pack wet leaves tightly in a container. The Gardeners’ World guidance advises waiting to wash basil until it is needed because moisture can make the leaves slimy. That is especially helpful when storing a short-term harvest.
If the leaves have soil, insects, or spray residue, rinse them gently in cool clean water when you are ready to use them. Lift them from the water instead of rubbing them, then dry them thoroughly with a salad spinner or clean towels. Water left between folded leaves hastens bruising and decay.
Clean snips between plants when disease is suspected, and never mix visibly diseased leaves into food. Downy mildew, leaf spots, and gray mold are reasons to separate the plant from the kitchen harvest and improve airflow and watering practices. If the plant is badly affected, removing it is often more productive than repeatedly picking around the symptoms.
Store cut basil for the next few days
For fresh use over the next day or several days, keep basil as cut stems rather than stripping every leaf at once. Recut the stems, place them in a clean jar with a small amount of water, keep the leaves above the waterline, and set the jar in a bright but not hot spot away from direct sun. Change the water daily and remove any leaves that fall below the water.
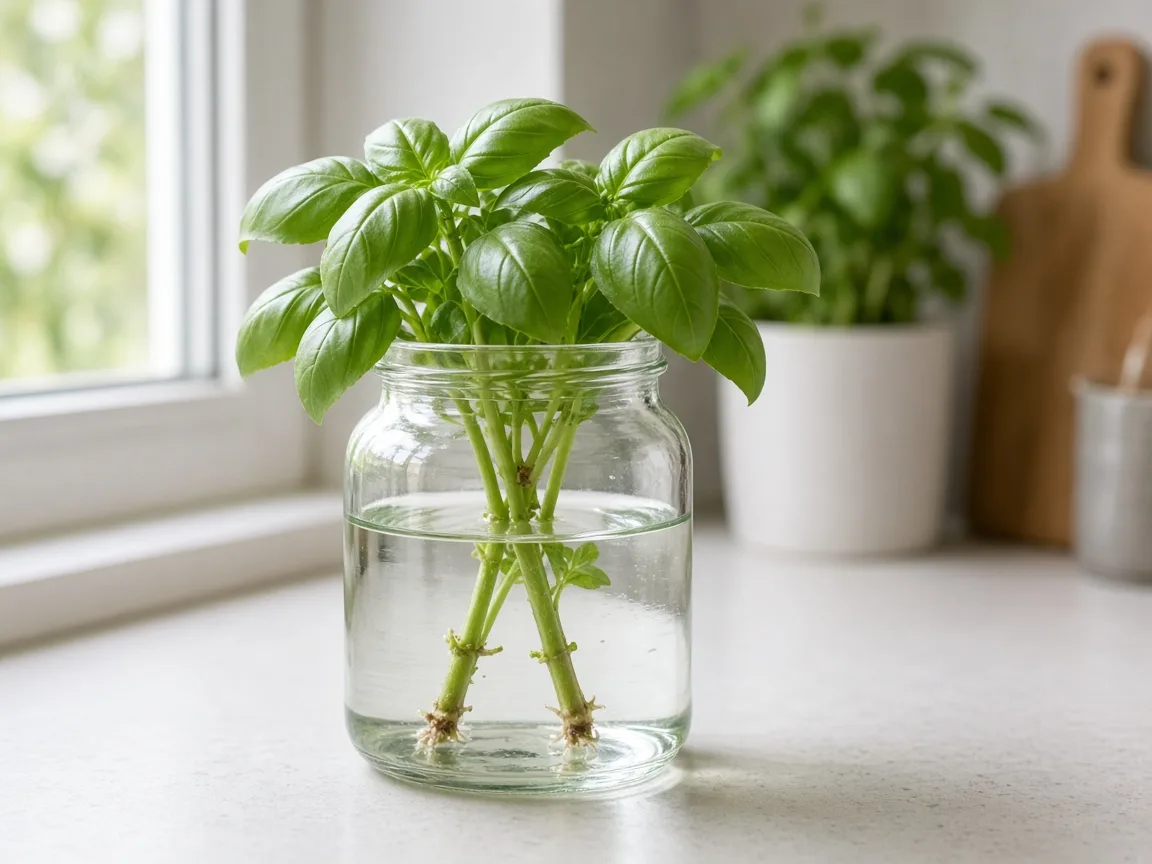
Room temperature is usually a better first choice for sweet basil than a cold refrigerator. Basil can develop dark chilling injury when held too cold, so a dry bunch in the back of the refrigerator may look worse than a jar on the counter. If your kitchen is very hot, use the coolest shaded location available and shorten the storage window rather than sealing warm, wet leaves in plastic.
Do not confuse short storage with long-term preservation. A jar buys time for tonight’s pasta or tomorrow’s salad; it does not keep basil at peak quality for weeks. When you know you will not use the harvest soon, freeze or dry it instead of repeatedly chilling and reheating the leaves.
Freeze or dry surplus basil
Freezing is the practical choice when you want basil flavor for cooked dishes later. Wash only if needed, dry the leaves very well, and freeze them whole, chopped, or packed into small portions. A little water or oil can help form portions in an ice-cube tray, but use clean freezer-safe containers and label them with the date.
Frozen basil will not thaw into crisp leaves for a salad. Its texture becomes soft, which is why it works best in pesto, pasta sauce, soup, beans, and other cooked food. The USU Extension basil guidance also notes that frozen leaves become mushy after thawing and recommends using frozen basil within a limited storage period; treat frozen basil as a flavor ingredient, not a fresh-leaf substitute.
Drying is convenient when you want a shelf-stable herb. Tie small bunches or spread leaves in a warm, dry, ventilated, shaded place, and wait until they are crisp before storing them in an airtight container. Do not dry basil in direct sun, where heat and light can dull its aroma. Dried basil is useful for winter cooking, but its flavor is different from fresh or frozen basil, so choose it for convenience rather than expecting the same fragrance.
Troubleshoot a tall, flowering, or damaged plant
An overgrown basil plant is not automatically finished. Trace each tall stem downward and find the lowest healthy leaf pair with living growth. Shorten stems gradually to those nodes, remove flower spikes, and leave enough green foliage that the plant can continue photosynthesizing. If the lower stem is bare all the way to the soil, cutting it back hard may leave no useful buds; start a new plant while taking only sound leaves from the old one.
If the plant is flowering everywhere, divide the decision. Keep one or two stems for flowers or seed if you want them, then cut the remaining leafy stems back above nodes. If leaves taste poor and new shoots stay weak despite adequate light and water, the plant may simply be aging or repeatedly stressed. Succession sowing is often a better use of time than forcing one annual plant to continue indefinitely.
If leaves have holes, inspect undersides and stems for chewing pests before harvesting. If they show suspicious spots, fuzzy growth, or rapid yellowing, separate them from the food harvest and diagnose the plant first. Never use an edible-crop pesticide without reading its label, including any directions about harvest intervals; “natural” is not a substitute for following the label.
When not to harvest
Pause a large harvest when the plant is limp from dry soil, freshly transplanted, recovering from a cold night, or wet during active disease pressure. Also pause if removing the next tip would leave a branch with no healthy leaves below it. Make the first repair—water the root zone, provide shelter, allow leaves to dry, or improve spacing—then harvest once new growth resumes.
Build a weekly harvest routine
During warm, fast growth, inspect basil about once a week. Take clean snips and a basket, then walk from plant to plant using the same sequence:
- Look for the longest stems and the first signs of flower spikes.
- Check the undersides of leaves for pests and the foliage for spots or wetness.
- Choose a healthy node on each stem and cut just above it.
- Leave enough leafy growth for the plant’s current size and condition.
- Put usable stems in water or process the leaves immediately.
This routine keeps the plant compact enough to inspect and gives you a regular supply of tender tips. It also prevents the common cycle of ignoring basil until it flowers, taking one severe cut, and then deciding the plant is unreliable. In warm conditions, new growth may be quick; in a pot, cool room, or late season, give the plant more time between cuts.
The same habit works for sweet, Genovese, Thai, lemon, purple, and compact bush basil. Watch the nodes, the remaining foliage, the weather, and the purpose of the harvest. Those signals are more dependable than a calendar reminder or a single fixed height.
Conclusion
To harvest basil so it keeps growing, cut the stem tip just above a healthy pair of leaves, close to—but not through—the node. Use individual leaves for a small meal, but make node-based tip cuts the main method when you want a bushy plant. Start only after the plant is established, take less from small or stressed basil, and treat one-third of the leafy growth as a cautious upper limit rather than a target.
Remove flower-bearing stems to a healthy node when leaves are the goal, while allowing selected flowers if you want pollinators or seed. Keep the harvest dry and shaded, store short-term stems in clean water at room temperature, and freeze or dry anything you will not use soon. A weekly walk that combines cutting, flower checks, pest scouting, and storage turns each harvest into the next round of growth.