How to Plant, Grow, and Harvest Asparagus
Plant asparagus crowns in a dedicated bed, build soil for decades of harvests, and learn the year-by-year picking rules that keep spears thick for 15–30 years.
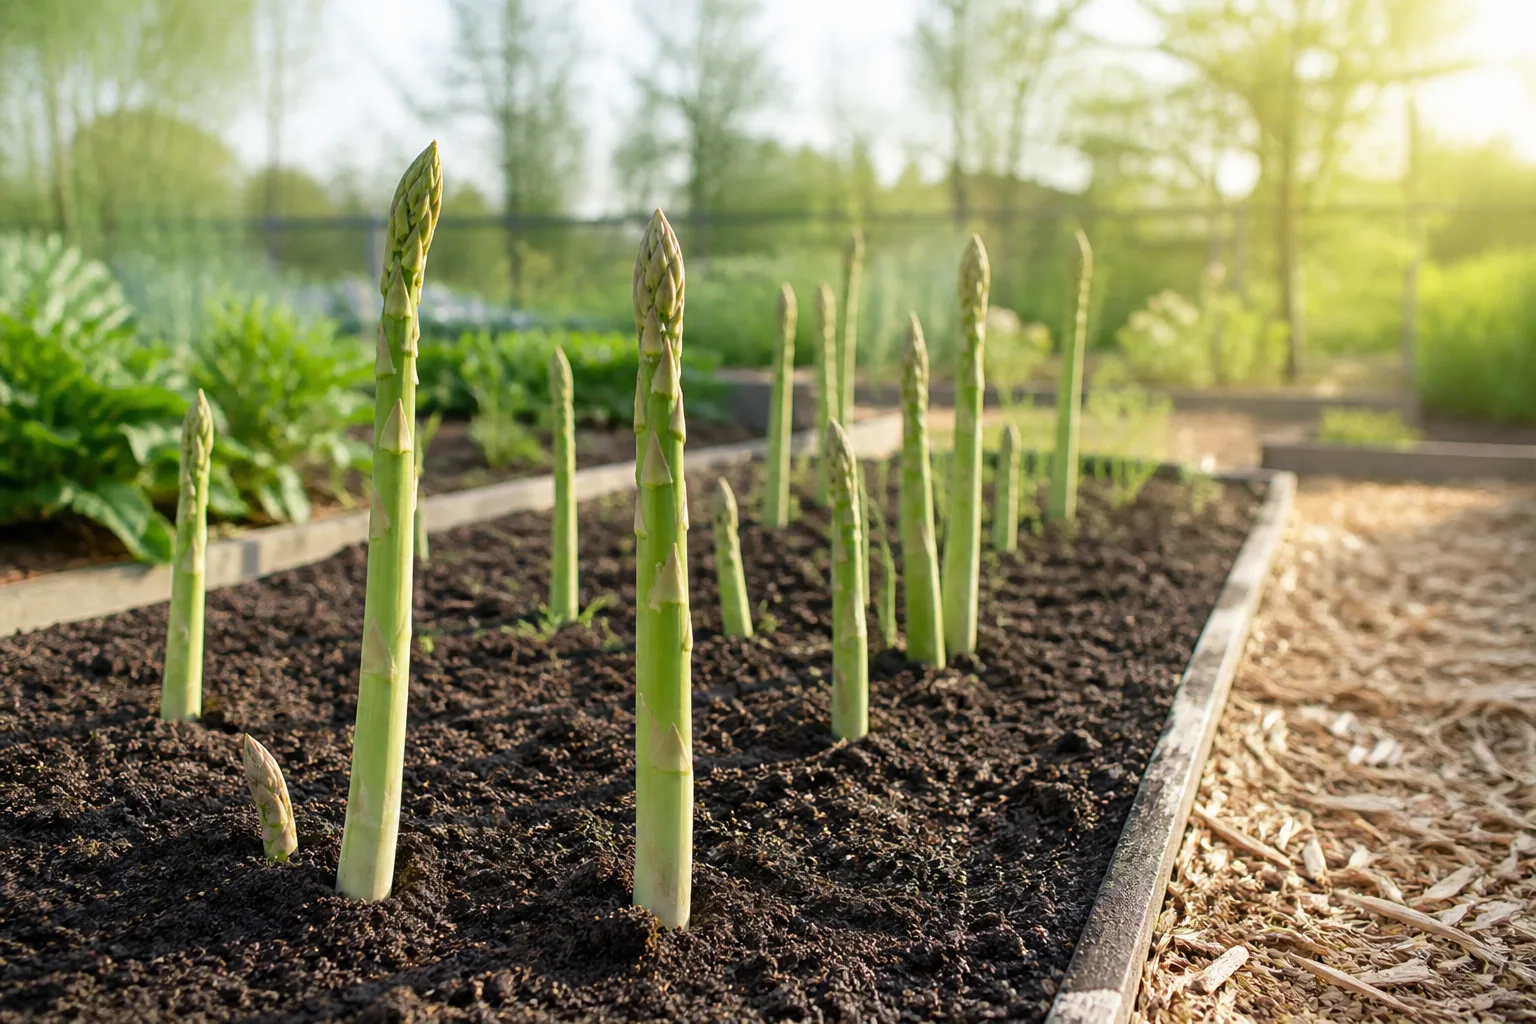
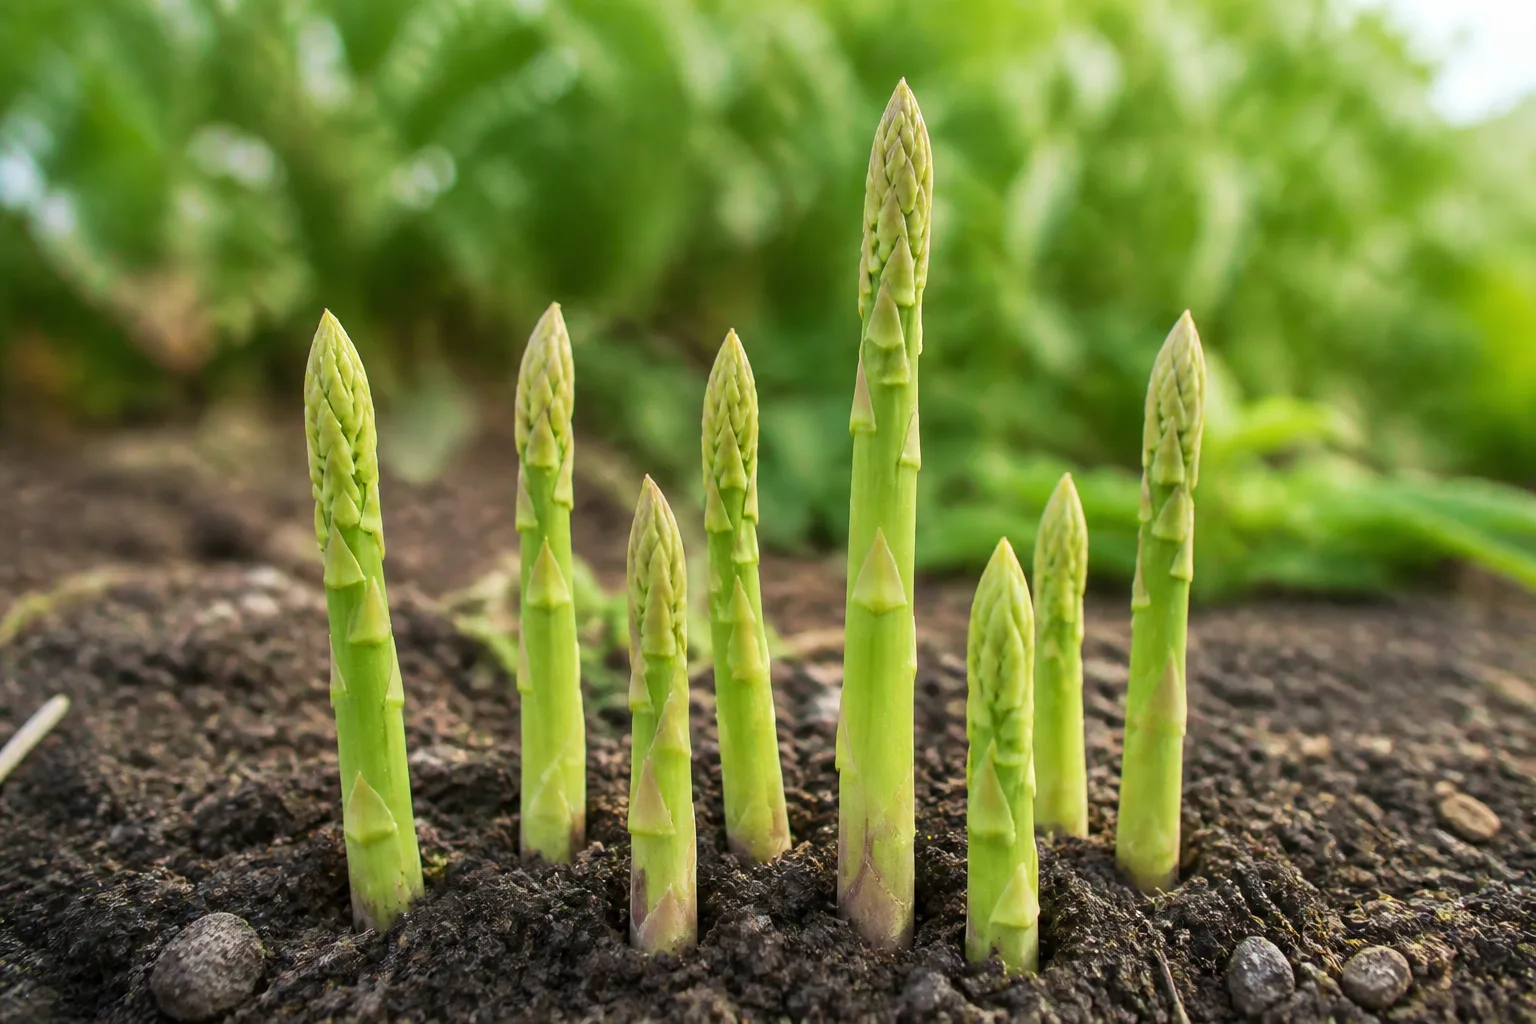
Asparagus (Asparagus officinalis) is one of the few vegetables you plant once and harvest for a generation. The spears that show up in early spring are simply the plant’s first shoots pushing through soil warmed above about 40°F (4°C). Everything that happens before that first pick — trench depth, crown spacing, soil phosphorus, and the discipline to let young spears become ferns — determines whether your bed produces thick, tender stalks for 15 to 30 years or fizzles into pencil-thin disappointment by year five.
This guide covers the full arc: choosing crowns or seed, preparing a permanent bed, planting in a trench, feeding and watering through establishment, managing summer ferns, controlling asparagus beetles, blanching white spears if you want them, and knowing when harvest can finally begin. For the detailed snap-vs-cut playbook once spears appear, see our companion guide on how and when to harvest asparagus.
Why Asparagus Rewards Patience (and Punishes Rushed Harvests)
Unlike tomatoes or lettuce, asparagus is a deep-rooted perennial whose edible spears are stolen energy. Every spear you cut in spring is a fern that never happened — and ferns are how the crown stores carbohydrates for next year’s crop. Harvest too much while plants are young and you get thin spears, weak ferns, and a bed that never reaches full production.
That is why extension guides are unanimous on one rule: do not harvest the first year after planting one-year-old crowns. NC State Extension allows only a very short second-year window — no more than two weeks — before full six-to-eight-week harvests begin in mature beds. Utah State University Extension recommends waiting until year three for the first real harvest and lengthening windows each year after.
The payoff is real. A well-managed 25-plant bed can supply a family with fresh spears every spring with less annual labor than replanting annual vegetables. Asparagus also fits naturally into a perennial vegetable garden alongside rhubarb, sorrel, and walking onions — crops that reward upfront planning.
Crowns vs. Seed: Pick Your Starting Method
Most home gardeners plant one-year-old bare-root crowns purchased in early spring. Crowns are the dormant root systems of asparagus plants that have already spent a season in a nursery row. They are the fastest route to harvest because you skip the seedling and transplant years.
One-year crowns — the practical default
Crowns arrive as tangled root masses with a central bud cluster. They tolerate brief air exposure better than many bare-root plants, but they should still be firm and plump, not shriveled or mushy. USU Extension recommends crowns with 8 to 10 large roots and a healthy bud cluster.
Plant crowns as soon as soil can be worked in spring — typically when soil temperatures reach about 50°F (10°C), per University of Maine Cooperative Extension. In mild climates, some gardeners plant in late winter after hard-freeze danger passes; in colder zones, wait until frost risk drops but before spears would naturally emerge.
Expect three years from crown planting to a meaningful harvest, with full production around years five to seven.
Seed — cheaper, slower, more variety
Starting from seed costs less per plant and opens access to varieties not sold as crowns, but it adds one to two years to the timeline. NC State Extension outlines the standard seed route: drill seed half an inch deep in spring, grow crowns in a nursery row for one year, then transplant to the permanent bed the following spring. Germination improves after a five- to six-day water soak before planting.
Indoor seed starting works in late winter under 70 to 85°F (21 to 29°C) soil temperatures; sprouts appear in two to eight weeks. Transplant seedlings to a nursery bed when they reach about a foot tall, then move to the permanent trench as one-year crowns.
Choose seed if you want maximum variety and lowest cost per plant. Choose crowns if you want spears on the table sooner and fewer failure points.
Site Selection: Treat This Bed Like a Small Orchard
Asparagus beds are not rotation crops. Once crowns establish, the root mat spreads wide and deep — tilling through it later damages crowns and shortens bed life. USU Extension explicitly warns against tilling established beds; manage weeds with mulch and shallow cultivation only during the harvest window.
Pick a site with these non-negotiables:
- Full sun — at least eight hours daily. Shade produces thin spears and weak plants.
- Excellent drainage — crowns rot in standing water. Raised beds help on heavy clay.
- Minimal perennial weed pressure — nutgrass, bindweed, and quackgrass in the root zone become nightmares once asparagus roots interweave with them. Clear weeds the year before planting when possible.
- Room for rows — plan 4 to 5 feet between rows and 12 to 18 inches between crowns in the row. NC State Extension notes closer in-row spacing increases yield but may shorten bed longevity; wider row spacing supports longer production.
Asparagus dislikes root competition. Do not interplant annual vegetables through the crown zone. Border companions — tomatoes, basil, parsley, marigolds — work on the edge of the patch; see marigold companion plants for placement that does not disturb crowns.
Soil Testing, pH, and Bed Prep One Season Ahead
Soil quality matters more for asparagus than for most vegetables because the bed lives for decades. NC State Extension recommends a soil test at least six months before planting, sampling to 12 inches deep. Target pH 6.0 to 6.7 — asparagus struggles in acidic soil below 6.0.
Build organic matter the season before planting: compost, well-rotted manure, leaf mold, or green-manure crops turned under. Till deeply several times to break compaction so spears emerge straight — especially important on clay amended with peat or straw.
Phosphorus is critical for root development. USU Extension suggests working phosphate fertilizer into the top six inches before planting and adding about half a pound of high-phosphate fertilizer per 100 square feet of furrow at planting time. Rock phosphate or bone meal in the trench bottom also supports long-term root growth.
If your soil test recommends lime, apply it in fall so pH adjusts before spring planting. On acid-loving-plant beds elsewhere in the yard, keep asparagus separate — it wants neutral soil, not blueberry conditions.
Best Asparagus Varieties for Home Gardens
Variety choice affects yield, disease resistance, spear color, and how much weeding you do later.
| Variety | Type | Strengths | Notes |
|---|---|---|---|
| Jersey Knight | All-male hybrid | High yield, rust and fusarium resistance | USU top pick for Utah; widely available |
| Jersey Giant | All-male hybrid | Large dark green spears, disease resistant | Early production; no seedling weeds |
| Jersey Gem | All-male hybrid | Cercospora-tolerant | NC State recommended hybrid |
| Millennium | Hybrid (F1) | Cold-hardy, tight tips, heavy soils | Popular in northern climates |
| Mary Washington | Open-pollinated heirloom | Rust-resistant classic | Produces female plants and red berries; more seedling weeds |
| Purple Passion | Purple cultivar | Sweet flavor, ornamental spears | Turns green when cooked; male/female mix |
All-male hybrids vs. open-pollinated heirlooms
Modern all-male hybrids — Jersey series, Millennium — put energy into spear production instead of flowers and berries. They yield more spears per plant and do not self-sow weedy seedlings throughout the bed. NC State Extension notes hybrids can cut planting density roughly in half for the same harvest because yields are higher.
Heirlooms like Mary Washington remain popular for cold hardiness and rust resistance, but female plants produce red berries that are toxic if eaten and drop seeds that become volunteer asparagus weeds. If you choose heirlooms, plan wider spacing and aggressive seedling removal.
For warm-climate gardeners, UC 157 tolerates heat better than many Jersey types. In zone 3 and colder, Millennium and Jersey Knight perform well in extension trials.
Planting Asparagus Crowns in a Trench (Step by Step)
Trench planting is the standard method because it allows gradual backfill as spears grow — the technique that prevents burying active shoots while settling crowns at the correct final depth.
Soak, inspect, and position crowns correctly
The day before planting, soak bare-root crowns in room-temperature water for one to three hours to rehydrate roots. West Coast Seeds notes crowns are live dormant plants that should go in the ground promptly; if frozen soil delays planting, heel them into moist soil in a cold garage temporarily.
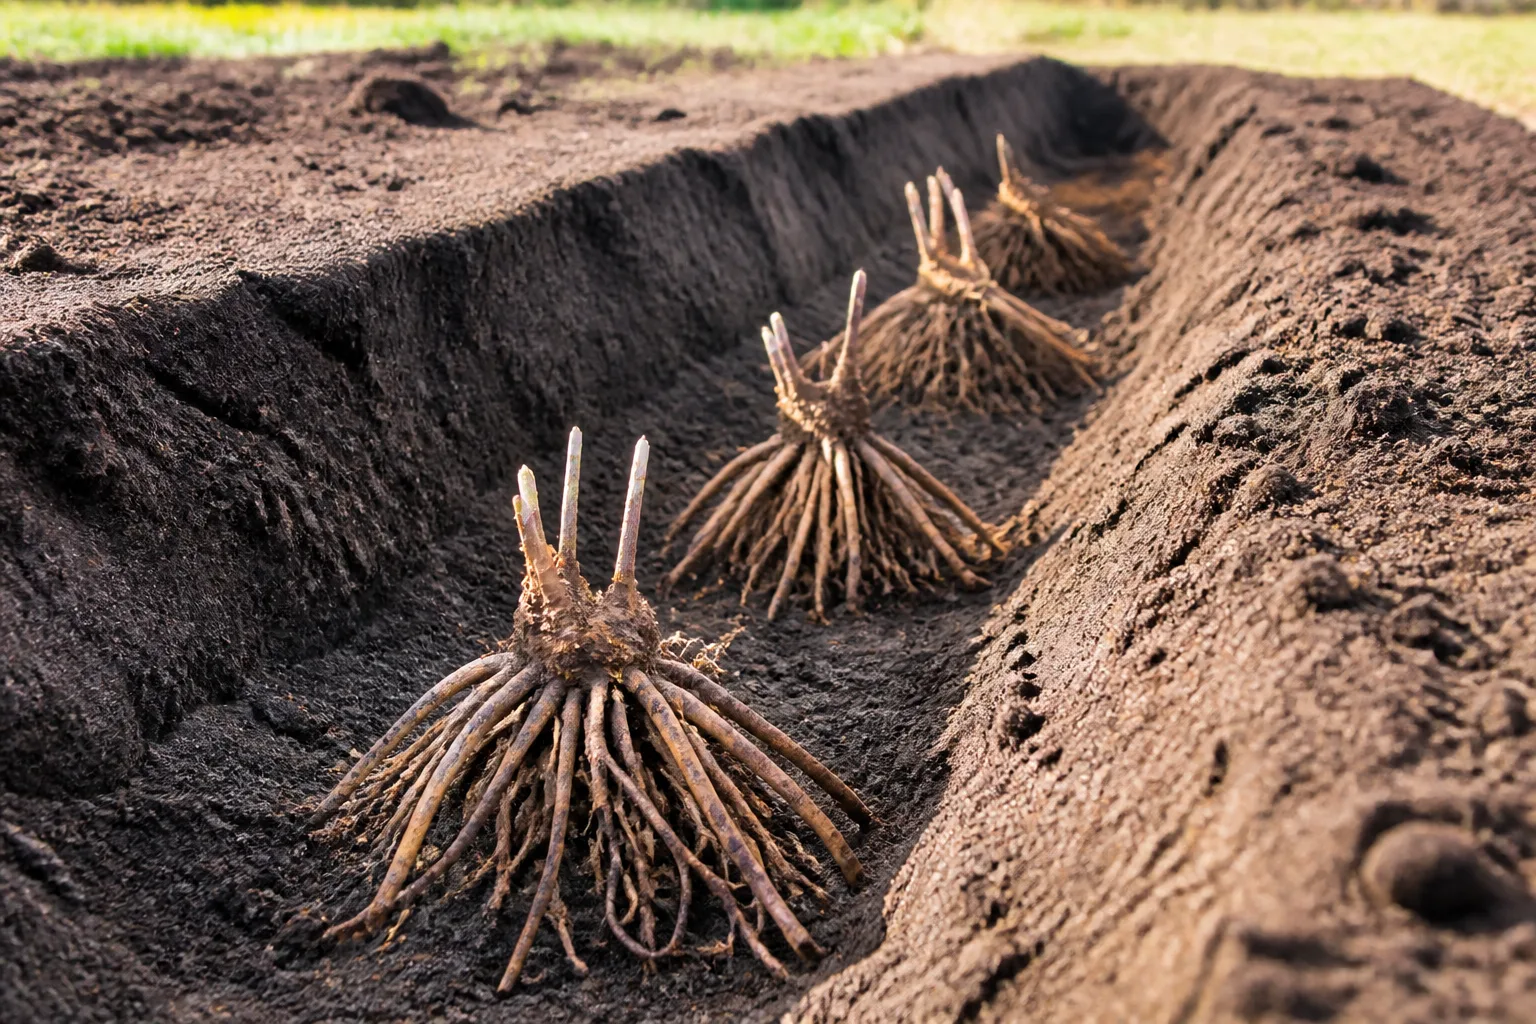
Dig a trench 8 to 12 inches deep and wide enough to spread roots without bending. Space trenches 4 to 5 feet apart. Within each trench, build small soil mounds every 12 to 18 inches. Set each crown on a mound with buds pointing up and roots draped down the sides like an octopus. The crown top should sit about 2 inches below the eventual soil surface once the trench is fully filled — roughly 6 inches below the initial soil line at first planting, depending on trench depth.
Cover crowns with 2 inches of soil and water thoroughly to settle soil around roots. Do not compress roots into air pockets.
Gradual backfill through the first growing season
As spears emerge, add soil gradually — about 2 inches at a time — until the trench is level with the surrounding bed by late summer. USU Extension recommends adding soil every few weeks but never burying ferns that are already growing when you backfill. The goal is to fill the trench without smothering active shoots.
By fall of year one, the bed should be flat, mulched, and covered with developing fern growth waist-high or taller if plants are healthy. That fern mass is your investment account for year-two spears.
Watering, Fertilizing, and Mulching a Young Bed
Young asparagus needs consistent moisture while roots explore deep soil. USU Extension recommends 1 to 2 inches of water every other week during the first two years, delivered in one deep application — drip irrigation or soaker hoses work well and keep foliage dry.
After year three, irrigation can drop to every three weeks if rainfall is adequate, but drought during July and August — when next year’s spear buds form — produces skinny spring spears. Water should penetrate 3 to 4 feet deep in mature beds.
Fertilizer timing:
- Before spears emerge in spring: broadcast a complete fertilizer such as 5-10-10 at 2 to 5 pounds per 100 square feet, per NC State recommendations for eastern climates; adjust timing slightly later in colder zones.
- After harvest ends in early summer: apply nitrogen-heavy complete fertilizer (16-16-8 at about 1 pound per 100 square feet, per USU) to support fern growth.
- Annual top-dress: compost or well-rotted manure in early spring or after fern dieback in fall.
Mulch with 2 to 3 inches of compost, straw, or grass clippings to suppress weeds and retain moisture. Weed control in years one and two is essential — asparagus cannot outcompete established weeds while crowns are small.
Harvest Timeline by Bed Age
Harvest discipline makes or breaks the bed. The table below assumes one-year-old crowns planted in spring; seed-started beds add one to two years to each phase.
| Bed age (years after spring crown planting) | Harvest window | What to do |
|---|---|---|
| Year 1 | None | Let every spear become fern |
| Year 2 | 1–2 weeks maximum, only if spears are pencil-thick or larger | Stop immediately if spears stay thin |
| Year 3 | 3–6 weeks | First real harvest; stop when spears pencil-thin |
| Year 4 | 4–8 weeks | Lengthen as vigor proves itself |
| Year 5+ | 6–8 weeks (up to 8–12 in strong beds) | Full production until spear size declines |
NC State Extension caps second-year harvest at two weeks and recommends six to eight weeks annually once established. Weak plants should always harvest less, not more.
Stop picking when most new spears are thinner than a pencil (about 3/8 inch) or when emergence slows sharply — usually late May to mid-June in many climates, regardless of calendar date. After the last harvest, let all shoots grow into ferns for the rest of summer.
For spear height, snap technique, storage, and the full year-by-year nuance, read how and when to harvest asparagus — this planting guide stops at the decision points that protect crown health.
Summer Fern Care Between Harvest Seasons
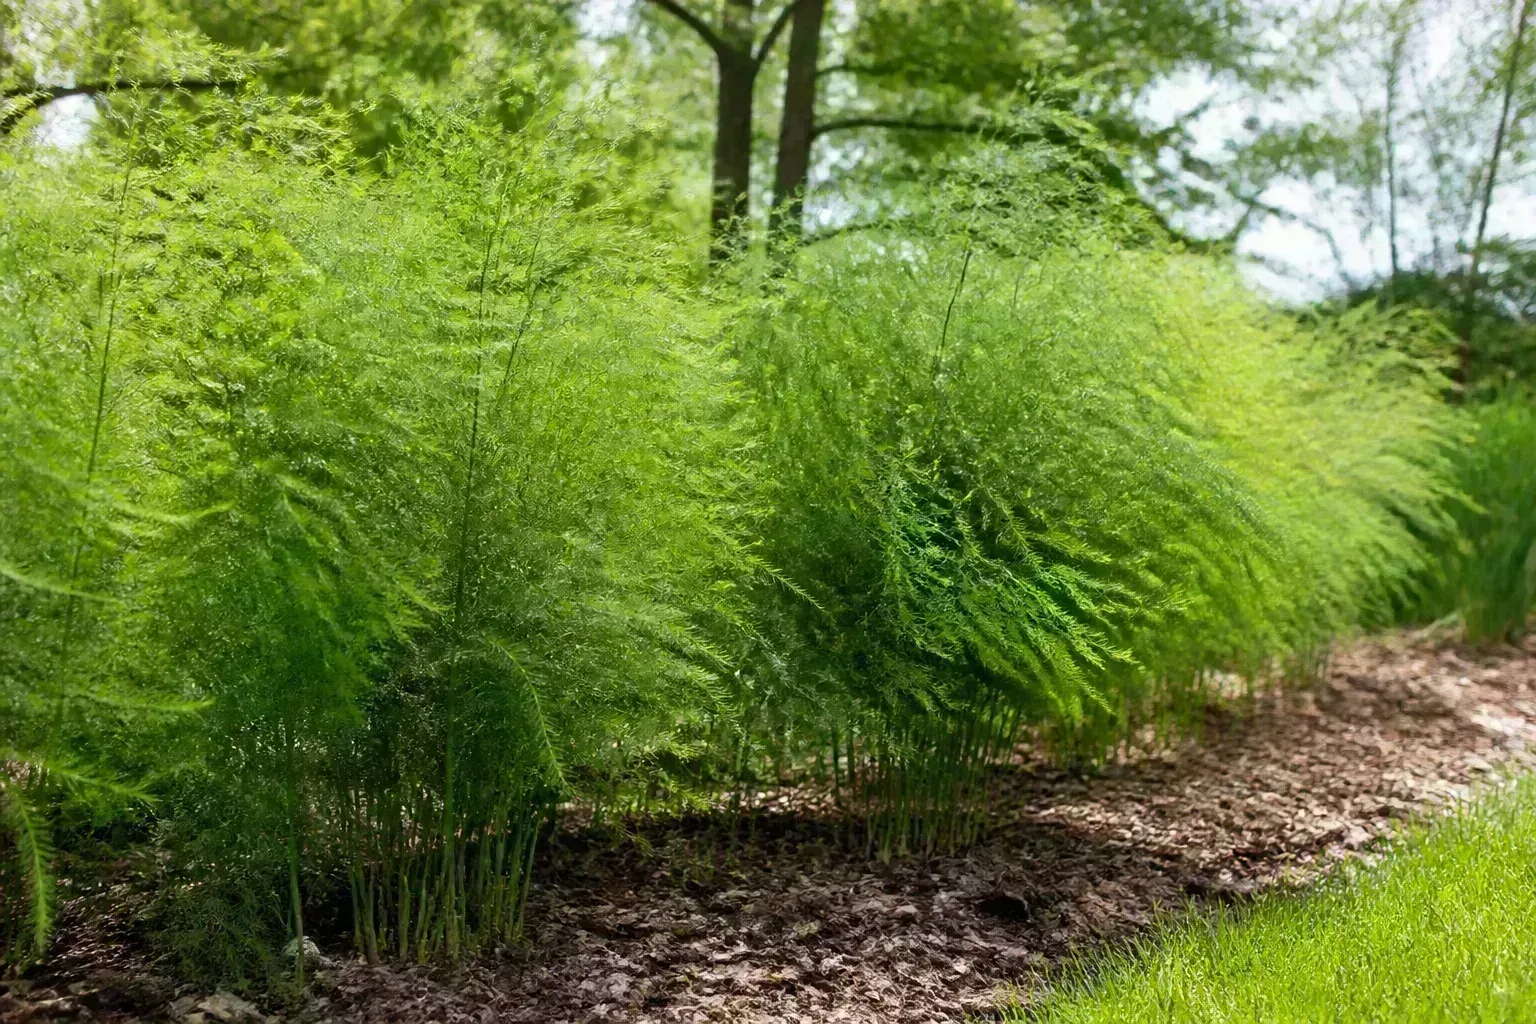
Once harvest ends, asparagus switches modes. Spears elongate into branching ferns that can reach 4 to 5 feet tall. These ferns photosynthesize all summer, sending energy to the crown for winter dormancy and next spring’s spears.
Support tall ferns with tomato cages or twine lines in windy sites so they do not flop and break. Water during dry spells — stressed ferns mean thin spears next year. Control asparagus aphids and beetles on foliage because defoliation directly cuts yield.
Do not cut ferns during summer. The only summer cut is the harvest cut on spears during the picking window.
Green Spears vs. Blanched White Asparagus
Green asparagus is simply spears grown in sunlight. White asparagus is the same plant deprived of light so chlorophyll never develops. Commercial and home growers blanch by mounding soil over rows or covering beds with opaque black plastic tunnels before spears emerge, then cutting spears just as tips break the soil surface. Any light reaching the spear turns it green and increases fiber.
White spears are milder and more tender when harvested young and chilled promptly. University of Maine Extension describes both traditional mounded-row picking and plastic-hoop systems for home white asparagus.
Blanching is labor-intensive and reduces spear size because photosynthesis is limited during the blanching window. Most home gardeners grow green spears and reserve white asparagus as a specialty project on a dedicated row section.
Asparagus Beetles, Weeds, and Other Common Problems
Common asparagus beetle (Crioceris asparagi) — black with white spots, or orange with black spots on the spotted species — feeds on emerging spears in spring and ferns in summer. Larvae strip foliage and reduce next year’s yield. Scout in afternoon when beetles are most active. Handpick into soapy water for small infestations; insecticidal soap or neem oil helps on foliage when labeled for the pest.
Fall fern removal reduces overwintering beetle populations. Cut brown ferns after they die naturally — removing them too early before frost can reduce next year’s spear count, per NC State, but leaving them through winter shelters pests. Many gardeners compromise: cut in late fall after frost, or in early spring before new spears emerge.
Fusarium wilt and root rots weaken stands over time, especially in wet or stressed beds. Plant resistant hybrids, avoid over-harvesting young beds, and never leave crowns waterlogged.
Thin spears usually trace to last summer’s stress — drought during bud formation in July and August, over-harvest, or weak fern growth. Fix next year’s crop by protecting ferns now, not by fertilizing harder in spring alone.
Female plants’ red berries are ornamental but toxic to humans. Remove berries if children garden nearby, and pull volunteer seedlings before they crowd crowns.
Asparagus and tomatoes share a useful pest relationship — tomatoes may help deter asparagus beetles while asparagus roots release compounds that affect nematodes on nightshades. See vegetables that deter pests for how to place that pairing without digging through crowns.
Fall Cleanup and Winter Bed Protection
After ferns turn brown and dry in fall, cut them to ground level. Compost or mulch the debris on the bed if disease was absent; destroy foliage if beetles were heavy.
In cold zones, a 4- to 6-inch mulch layer after ground freezes protects crowns from heaving. Pull mulch back in early spring so soil warms and spears emerge evenly. Avoid walking on soft spring soil — compaction damages emerging buds.
Established beds need division or transplanting only every 15 to 20 years when yields decline from crowding. Dig and split in early spring before spears emerge, replanting the healthiest divisions with full root systems intact.
Growing Asparagus in Containers — What Actually Works
Yes, asparagus can grow in containers — but the container must be large and deep: at least 18 inches deep and 24 inches wide per crown, with excellent drainage. Expect lower yields and shorter productive life than in-ground beds. The pot sits mostly empty above soil level between fern seasons, which looks awkward but is normal.
Use quality potting mix amended with compost and phosphate. Water more frequently than in-ground plants because roots cannot reach deep groundwater. Overwinter containers in zones below 7 by moving them to an unheated garage or insulating the pot — crown freeze kills plants faster in pots than in soil.
For most gardeners, a dedicated in-ground row or raised bed is the better investment. Containers suit patios testing the crop before committing permanent ground.
Conclusion
Asparagus is a decade-scale decision disguised as a spring vegetable. Choose a sunny, weed-free permanent site, test soil and build phosphorus and organic matter before you dig, plant healthy one-year crowns in a trench with gradual backfill, and resist harvest until crowns prove they can recover. Feed ferns after harvest ends, manage beetles before they strip foliage, and treat the bed as infrastructure — not a rotating annual row.
Get the establishment years right and a modest planting of 10 to 25 crowns delivers spring spears long after the tomato cages are stored away. When spears finally arrive, switch to our asparagus harvest guide for picking technique, stop rules, and kitchen storage — then enjoy the crop you invested three patient seasons to earn.



