How to Prevent Overwatering Plants in Summer
Prevent overwatering plants in summer with a soil-depth test, heat-wilt triage, container rules, rainfall checks, and a recovery plan for soggy roots.
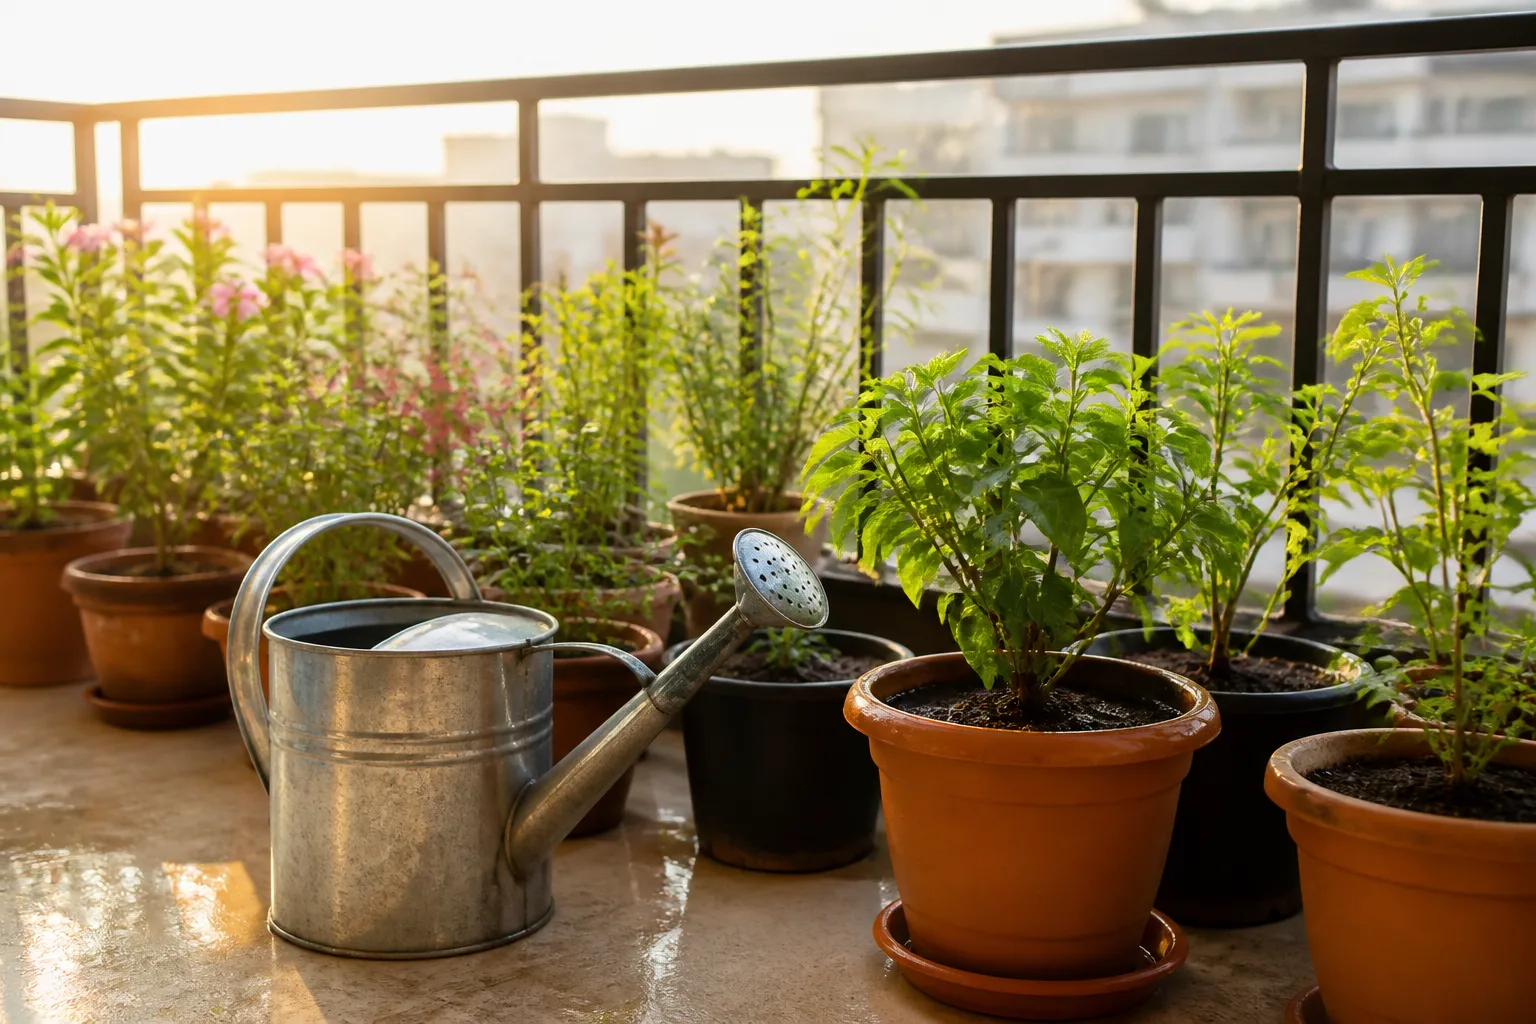
When a plant droops on a hot afternoon, water is only one possible answer. Leaves lose water faster in heat, but roots can still be sitting in saturated soil; adding another drink to wet roots can deepen the problem rather than solve the wilt.
The safest summer habit is simple: check moisture at root depth before you water, then apply water slowly enough for the soil to absorb it. That means the right frequency may be daily for a small container, once a week for a young tree, or not at all for an established shrub after rain. The plant, soil, weather, and drainage decide—not the temperature alone.
Check the Soil Before You Reach for the Hose
Overwatering happens most often when a gardener responds to a visible symptom with a calendar habit. A limp plant looks thirsty, the forecast says 95°F, and the hose comes out even though the soil below the surface is already wet.
Separate heat wilt from dry-soil wilt or overwatering
Heat wilt often appears during the hottest part of the day while the soil remains moist. Leaves may recover as the evening cools. Dry-soil wilt persists because the root zone lacks available water; the soil feels dry several inches down, and the plant does not regain its posture after sunset.
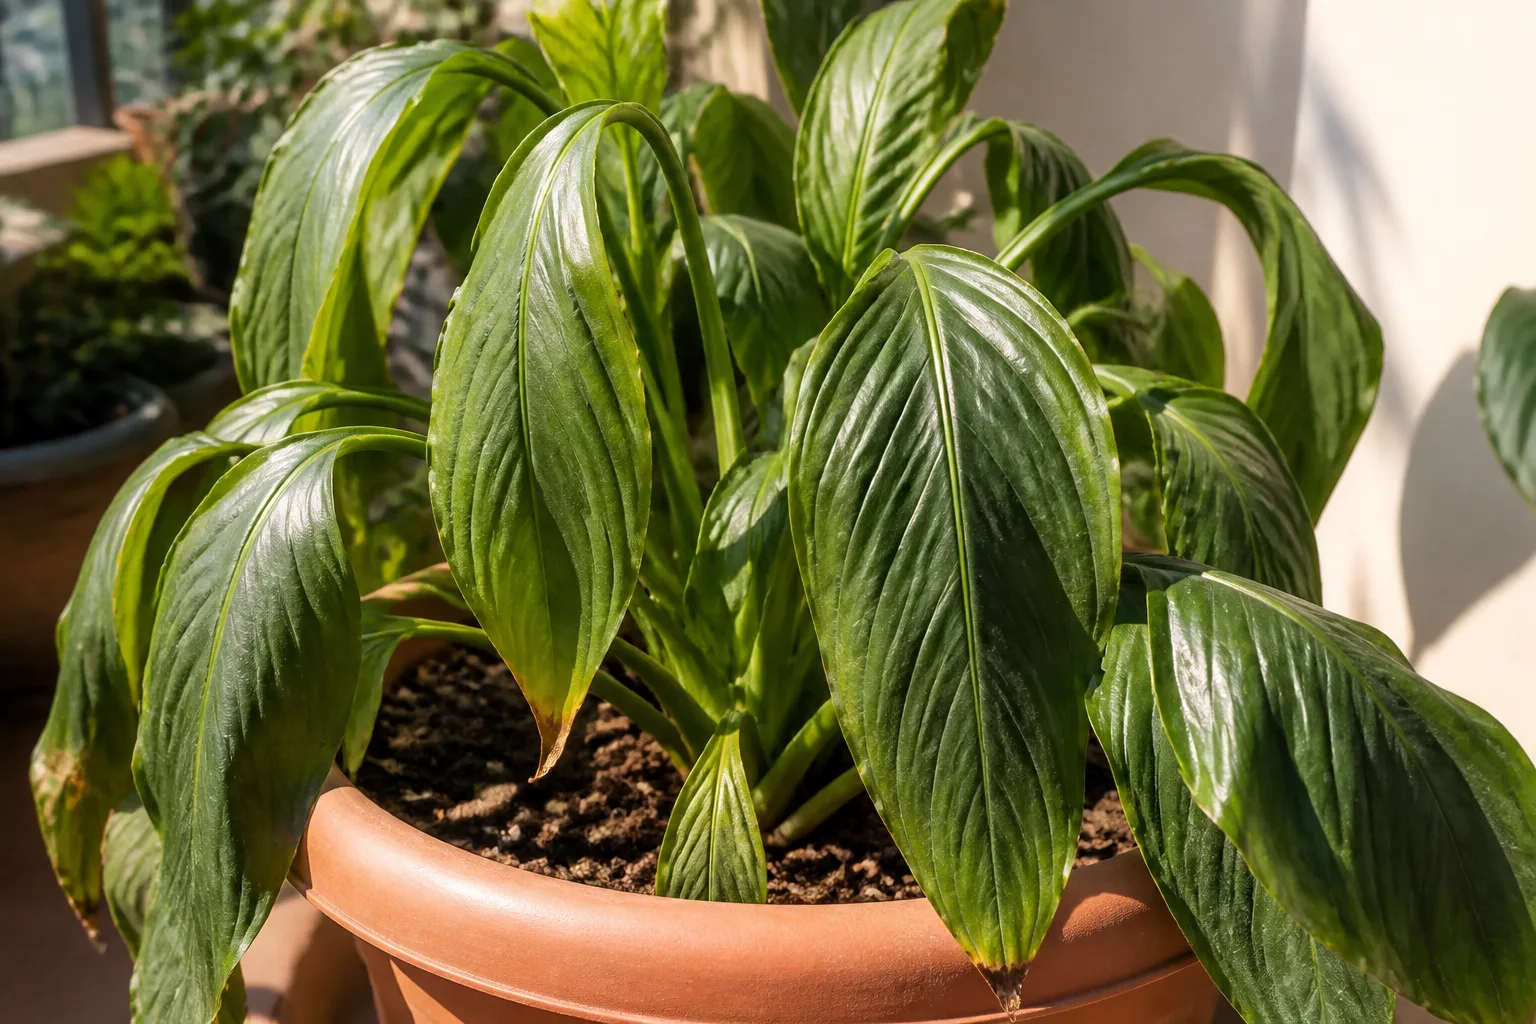
Overwatering stress is the deceptive third case. Roots in airless, saturated soil cannot function normally, so the plant may wilt even while the pot or bed feels wet. Yellowing, slow growth, leaf drop, soft stems, a sour smell, or soil that never dries are clues that more water is the wrong first response. University of Georgia Cooperative Extension describes this contradiction clearly: overwatered plants can wilt and yellow because damaged roots cannot take up water properly. Read the UGA explanation of overwatering symptoms.
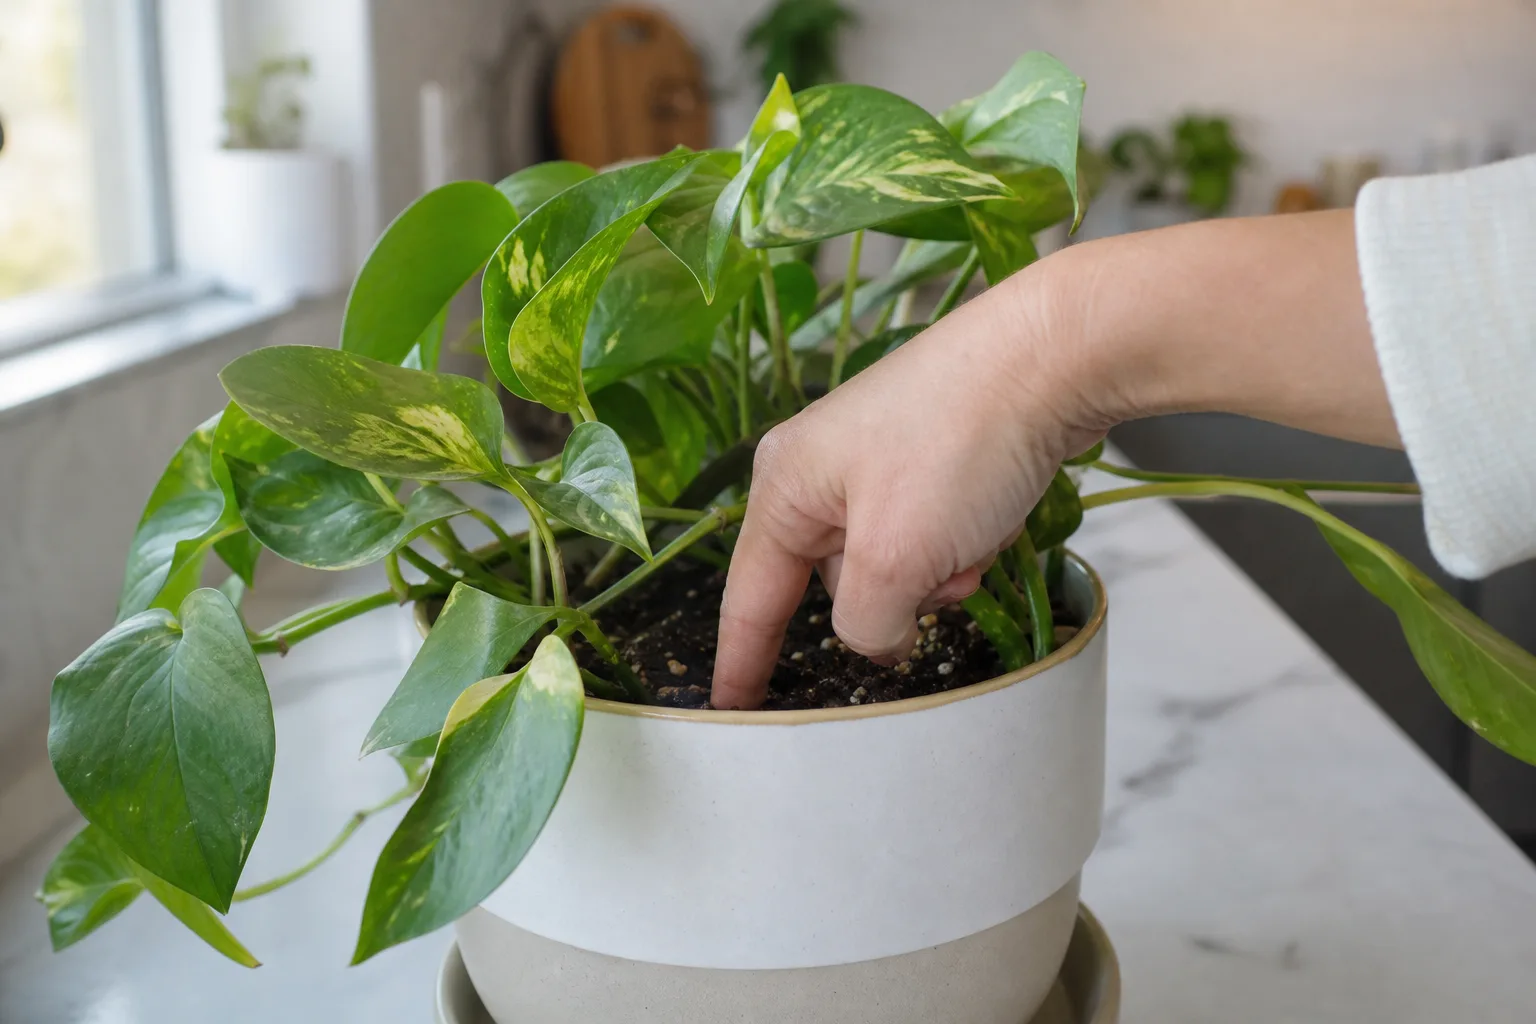
Before watering a container, push a finger or wooden skewer about 1–2 inches into the mix, moving closer to the center of the root ball rather than testing only the dry-looking rim. For a bed or border, use a trowel, screwdriver, or soil probe to check 4–6 inches down in a few places around—not through—the plant’s main roots.
Read the soil, not just the surface. Dry, dusty soil at root depth supports watering; cool soil that clings lightly to the tool means the plant may need more time. If the top is dry but the lower layer is wet, do not water yet. Instead, check whether a dense surface crust, compacted mix, saucer, or blocked drainage hole is keeping water from moving evenly.
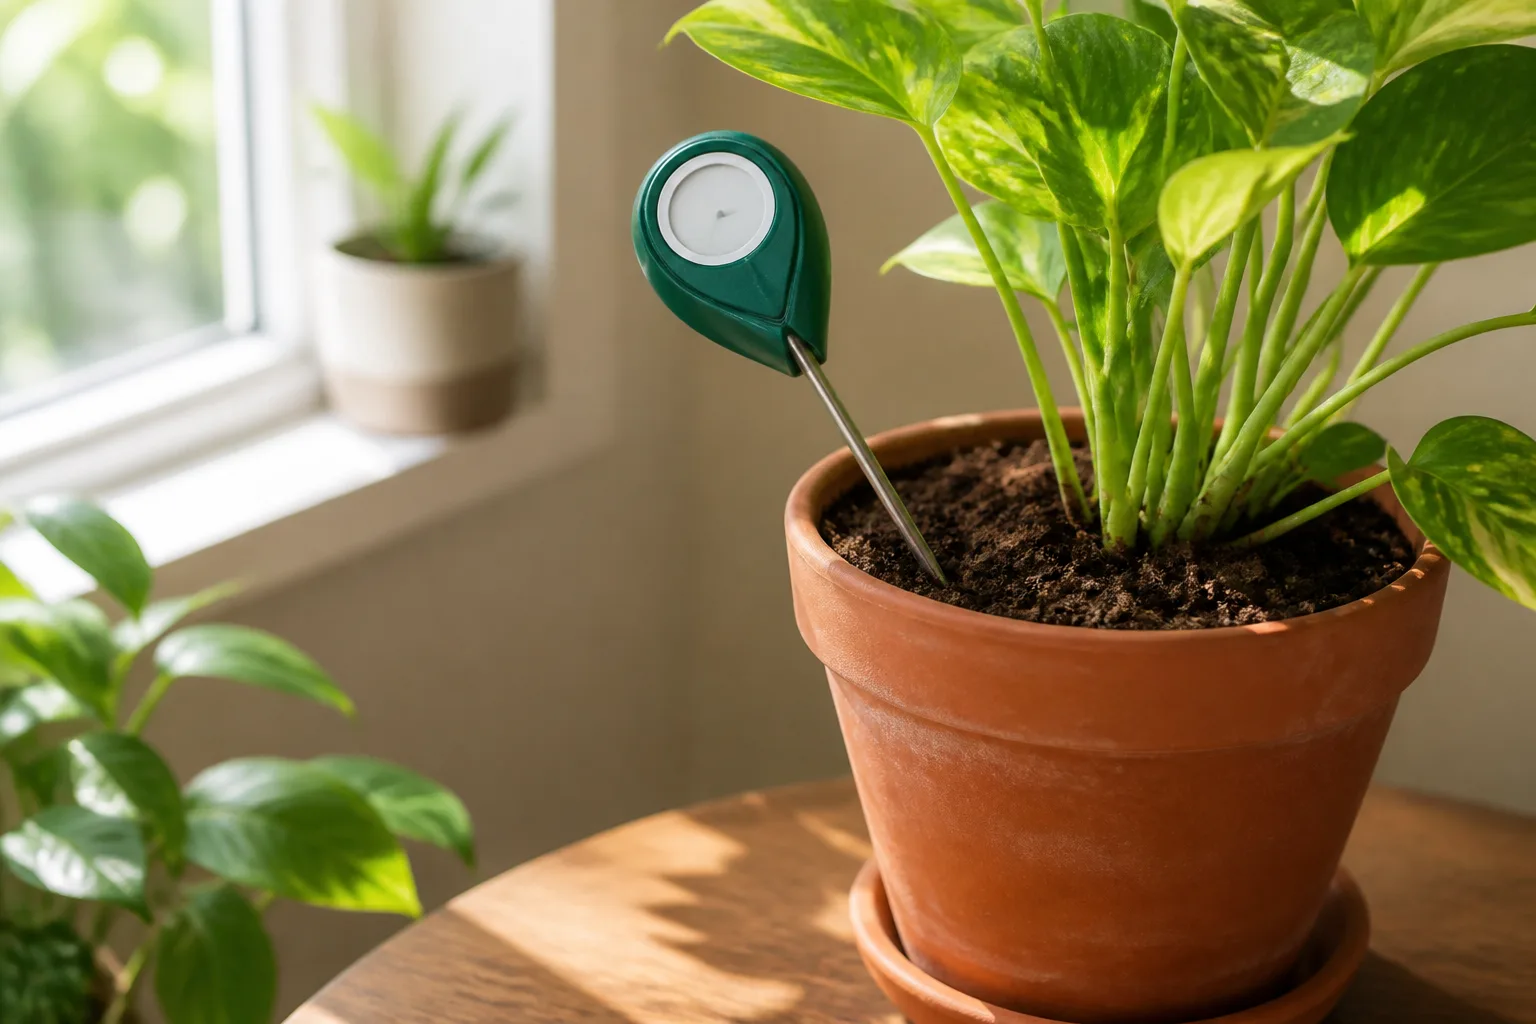
A moisture meter can help with large containers or inconsistent mixes, but it is not a magic “water now” button. Probe the same depth and several locations each time, compare the reading with the soil’s feel, and remember that roots may be dry in one part of a pot while another part is still saturated. Virginia Tech’s irrigation guidance makes the broader point: moisture information is useful only when it is interpreted for the soil, plant, and root depth being managed. See Virginia Tech’s soil-moisture scheduling guidance.
Match Watering to the Plant and Growing Site
The same heatwave can create opposite watering needs in one yard. A new shrub under an eave may be dry, an established shade perennial may be fine, and a tomato in a raised bed may need attention sooner than a tree rooted in deep native soil.
Compare new plantings, containers, and in-ground soil
Newly planted trees, shrubs, perennials, and annuals have small or disturbed root systems. They need a more reliable supply while roots spread into surrounding soil. Water slowly around the root ball, then check the soil before repeating the dose; “new” does not mean “keep everything soaked.” The RHS recommends regular watering for newly planted trees and shrubs during dry spells in their first year, with large specimens sometimes needing support for several summers. Use the RHS watering guide for establishment details.
Established plants are a different calculation. Deep-rooted shrubs and trees can often draw on a larger soil volume, and many established perennials need little supplemental water outside extreme drought. Prioritize young plants, shallow-rooted crops, plants in rain shadows, and anything showing confirmed dry-soil stress before watering a whole bed by habit.
Seedlings and newly laid turf are a special exception because their shallow roots can dry quickly. Keep their seedbed or underside of the sod appropriately moist while they establish, then gradually move toward deeper, less frequent watering. Do not apply a mature-plant “let the surface dry” rule to germinating seed, but do not leave a young root zone puddled either.
Containers dry faster because they hold a limited volume of mix and are exposed to sun, wind, and heated paving on every side. Small dark pots and porous terracotta may need checking daily in a heatwave, while a large shaded container may still be wet. Fast drying does not make it safe to water on autopilot: confirm moisture and make sure excess water can leave through open drainage holes.
Raised beds usually drain faster than flat ground but can dry unevenly, especially at edges. In-ground plants have more potential root depth, yet compacted clay, a hardpan layer, or a low spot can leave roots waterlogged after the surface looks dry. The University of Georgia notes that pots and raised beds drain differently from traditional in-ground gardens, so the same watering amount cannot be copied across all three settings. Review the UGA discussion of soil, containers, and drainage.
Sandy, loamy, and clay soils change the interval
Sandy soil drains and dries quickly, so it may require smaller, more frequent checks. Clay soil stores water longer but can accept it slowly; repeated short applications can keep the surface wet while water runs off or remains trapped above a dense layer. Loam often offers a useful middle ground, but even loam behaves differently under mulch, shade, slope, and tree-root competition.
Do not try to fix heavy clay by dumping a thin layer of compost into a planting hole and creating a wet pocket. Improve broad soil structure over time, direct roof and driveway runoff away from roots, and choose plants that can handle the site. In an existing bed, drainage may be a grading or soil-profile problem that watering technique alone cannot solve.
Water Slowly Into the Root Zone
The goal of summer watering is not to make the surface dark. It is to refill the portion of soil that active roots can use without creating runoff, standing water, or a permanently saturated pot.
Water slowly and choose equipment for the root zone
For most established garden plants, start by checking whether moisture reaches roughly 4–6 inches down; larger shrubs and young trees may need moisture deeper around the root ball. The RHS advises watering borders slowly and thoroughly so soil is moist at about 6 inches, while its guidance for young trees and shrubs extends the target to roughly 8–12 inches where roots are growing. Those are inspection depths, not a universal volume prescription.
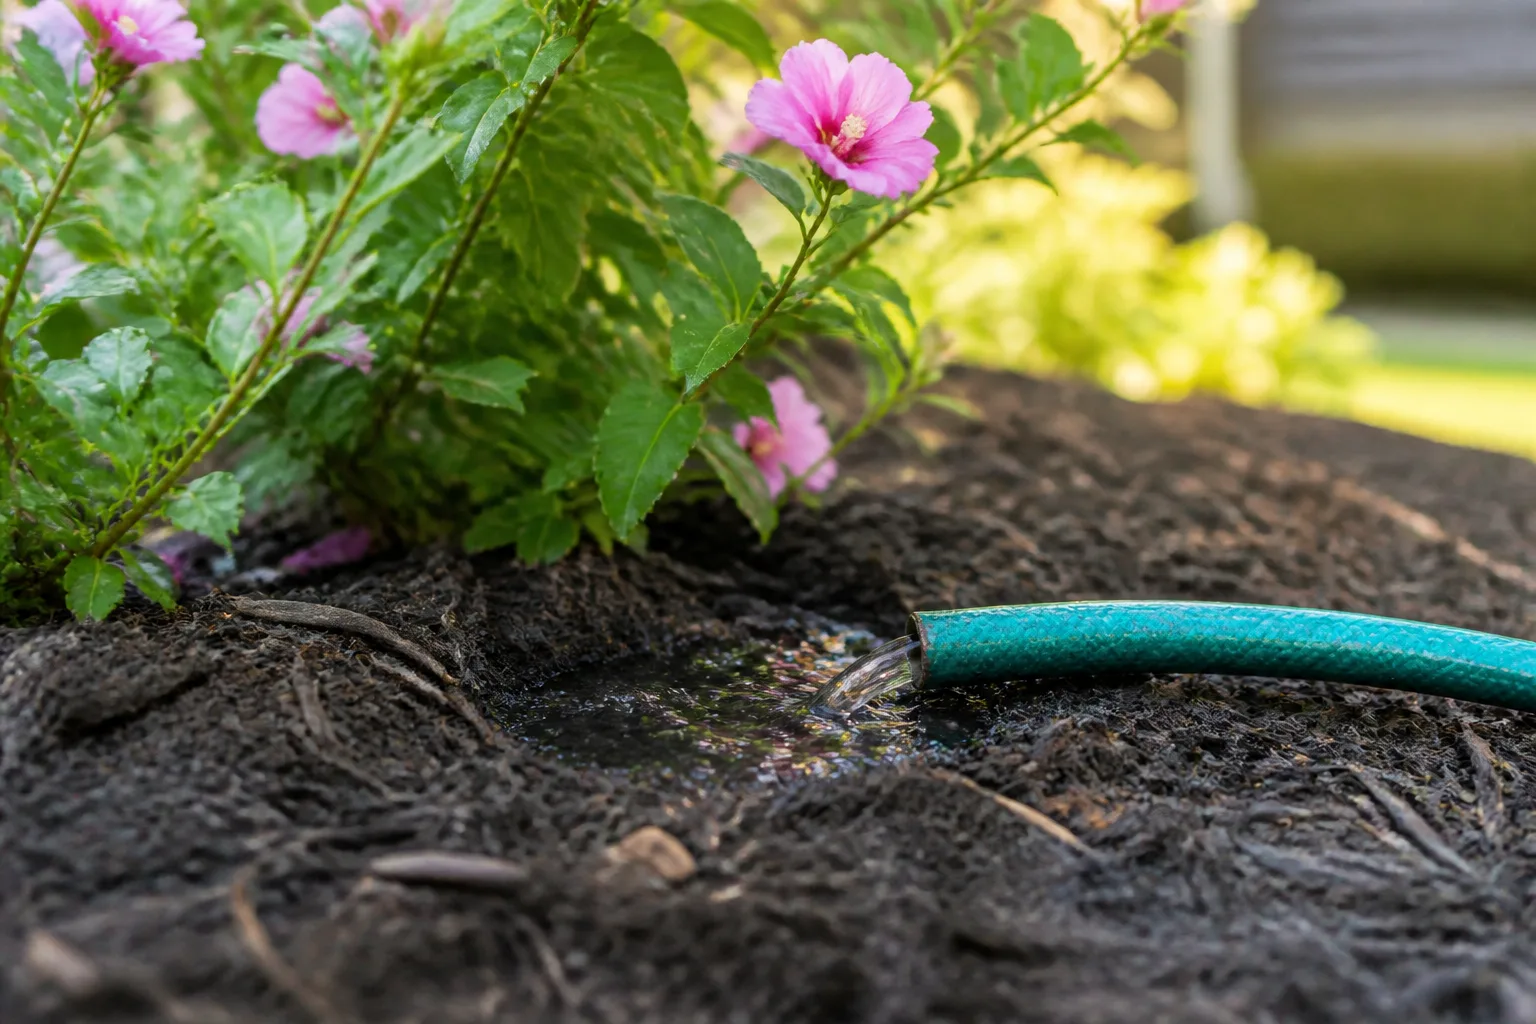
Apply water at a slow rate, pause when the surface begins to shed water, and resume only after it soaks in. A broad, slow soak encourages roots to use the whole available zone. A quick splash wets the crust, evaporates quickly, and can leave lower roots dry—prompting the gardener to water again before the first application has even moved through the soil.
Drip irrigation and soaker hoses put water near the soil and can reduce wet foliage, overspray, and evaporation when installed and maintained correctly. Check emitters periodically; a clogged line or broken connector can leave one plant dry while another receives too much. For beds with different sun exposure or soil, separate zones are more useful than one long timer setting.
Hand watering is often the most precise option for a few stressed plants. Aim at the base, water slowly, and move the stream before it cuts a channel. A watering can gives good control for containers and small beds, while a hose-end wand can reach under foliage without blasting soil away.
Sprinklers have a place for broad seedbeds and lawns, but wind and evaporation reduce uniformity. Overhead watering also keeps foliage wet, which can raise disease risk when leaves stay damp overnight. The University of Georgia recommends keeping irrigation on the soil rather than the foliage and describes drip, soaker hoses, and carefully managed systems as more efficient choices for landscape watering. See UGA’s summer irrigation methods.
Use the Morning, Weather, and Rainfall as Your Controls
Early morning is usually the best watering window: temperatures and wind are lower, water has time to enter the root zone, and foliage can dry as the day warms. Evening watering can be practical when mornings are impossible, but apply it to the soil and give leaves time to dry; late-night overhead watering is a poor default in humid conditions. Avoid the hottest part of the day when you can because more water is lost before roots can use it.
There is no safety rule that forbids an emergency midday drink. If a plant is severely wilted, the root zone is genuinely dry, and waiting would cause permanent damage, water the soil even if the clock is inconvenient. Treat that as triage, not a recurring schedule. Gardens Illustrated’s expert guidance makes the same useful distinction: midday watering is wasteful because of evaporation, but a desperately wilted plant should not be left to fail just to obey a timing slogan. Read the Gardens Illustrated summer watering advice.
Rainfall counts. A heavy storm can satisfy a plant’s needs—or produce runoff that barely wets a compacted bed. Put a simple rain gauge in an open area, check the soil after the storm, and pause automatic irrigation when the root zone is already moist. Rain that lands on a roof, beneath a dense canopy, or in a neighboring yard does not necessarily reach the plant you are managing.
Use Mulch and Temporary Shade to Reduce Water Demand
Mulch is a water-management tool, not permission to water more often. A layer of organic material on the soil surface slows evaporation, buffers root-zone temperature, suppresses competing weeds, and softens the impact of heavy rain. Keep it a few inches away from stems and crowns so the base of the plant does not remain damp.
The RHS recommends mulch and organic matter as ways to conserve moisture, while UGA Extension notes that mulch can cool soil, reduce weeds, and protect it from erosion. Use the RHS guidance on watering and mulching and UGA’s landscape-water guidance together: mulch reduces demand, but it does not replace a soil check.
Temporary shade can be more effective than extra water for plants whose leaves are overheating. Move portable pots away from reflected heat, protect cool-season greens with shade cloth, or shade a newly planted specimen during the worst afternoon sun. Leave enough airflow around foliage and do not wrap a plant tightly in plastic, which can trap heat and moisture.
Build a Summer Schedule You Can Measure
Schedules are useful only after they have been calibrated to the garden. A timer that ran correctly in May can overwater in a rainy June or under-water a windy August container. Start with a check, measure what the system delivers, and change one variable at a time.
Measure irrigation and stop runoff
For irrigation zones, place several straight-sided cans across the area, including near edges and in the center. Run the system for a known interval, measure the water depth in each can, and compare coverage. If one can is nearly empty while another is full, repair or reposition the system before adding minutes.
The same test works with a portable sprinkler. Once you know how much water a zone applies, you can decide whether to split the weekly amount into one or more deep sessions. A general weekly figure can be a starting point for active garden growth, but rainfall, soil, plant type, and the root zone matter more than a target copied from another climate. University of Georgia guidance uses about an inch per week as a broad reference while emphasizing that plants, soil, and conditions change the amount required. Read UGA’s water-need guidance.
If water begins flowing down a slope or pooling on clay, do not solve the problem by running the system longer in one block. Use cycle-and-soak: run for a short period, pause long enough for water to infiltrate, then repeat until the root zone is moist without runoff.
Inspect the soil after the final cycle. If water remains at the surface for hours, the issue may be compaction, a blocked drain, a hardpan, or a low spot—not an insufficient timer. If a pot stays wet for many days, reduce the dose and investigate the pot, mix, saucer, and drainage holes rather than moving to a “stronger” fertilizer.
Recognize When Soil Is Staying Too Wet
One yellow leaf does not diagnose overwatering. Plants yellow from aging, nutrient problems, pests, root damage, and temperature stress. The useful diagnosis comes from matching the foliage pattern to the soil and root evidence.
Aboveground clues that need confirmation
Watch for repeated wilting even though soil is wet, yellowing that progresses while the root zone stays saturated, premature leaf drop, soft or dark stems at the soil line, moldy surface growth, fungus gnats around indoor pots, and a sour or stagnant smell. Pooling water after irrigation, a saucer that never empties, and potting mix that stays heavy for a week are stronger clues than a single brown leaf.
Heat can still cause leaf curl, droop, or scorch in a plant that has adequate moisture. Virginia Tech and practical horticulture guidance both emphasize checking the soil because plant appearance alone can drive both overwatering and underwatering during extreme heat. If the plant perks up in the evening and the soil is moist, try shade and airflow before another drink.
What healthy and damaged roots look like
Healthy roots are generally firm and pale—white, cream, or tan depending on the plant. Severely damaged roots may be brown or black, soft, hollow, slimy, or easy to pull apart. Root damage reduces water uptake, which is why an overwatered plant can look drought-stressed even when the pot is heavy.
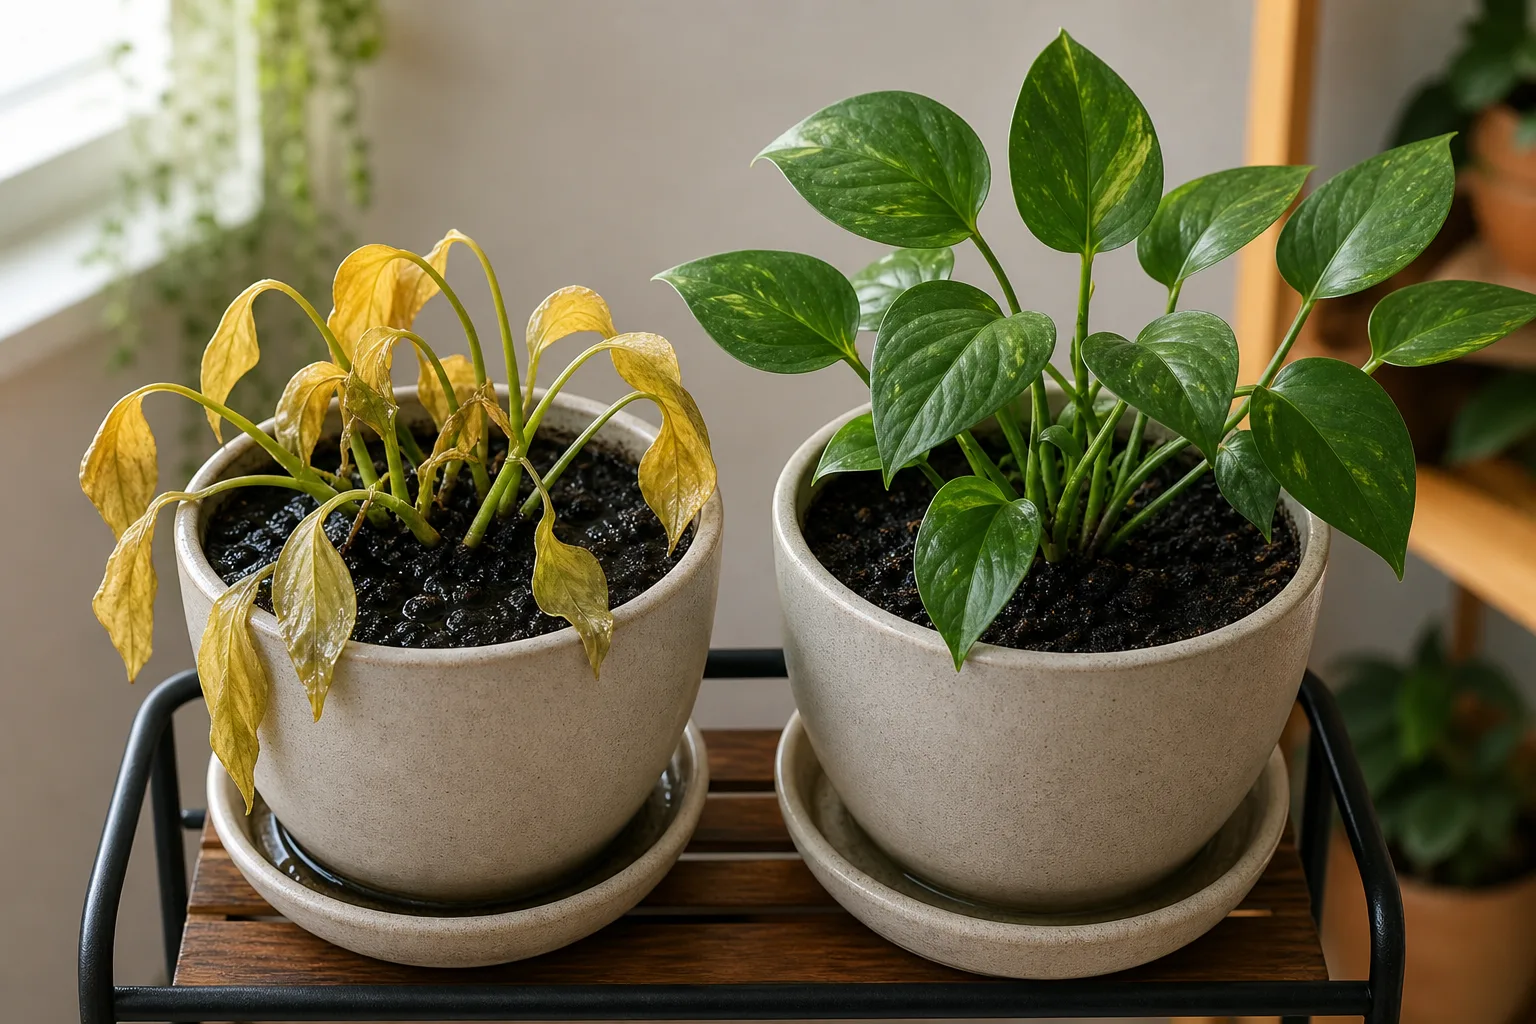
Do not diagnose root rot from leaf color alone. Slide a container plant out gently if the soil has stayed wet and symptoms are progressing, then inspect the roots and the lower stem. In a garden bed, dig beside the plant instead of disturbing the crown. If soil is persistently saturated, the site condition needs correction even if a few roots still look healthy.
How to Help an Overwatered Plant Recover
Recovery depends on how long the soil has been wet, whether the container can drain, how much root tissue remains, and whether the plant is still in active heat stress. The first move is not a stimulant. It is to stop adding water and restore oxygen around the roots.
Container recovery sequence
- Stop irrigation and empty the saucer. Do not let the pot sit in runoff, even if the surface looks dry.
- Confirm the drainage path. Check that holes are open and that an outer cachepot is not holding water against the inner pot.
- Move out of harsh afternoon sun. Bright indirect light or gentler morning sun reduces demand while damaged roots recover; do not place the plant in a dark, stagnant corner.
- Inspect roots if the soil stays wet or symptoms worsen. Remove loose, sour mix and trim only roots that are clearly dead and mushy with clean tools. Preserve firm roots.
- Repot only when the mix or roots require it. Use a clean pot with drainage and a porous mix suited to the plant. A rushed repot can add transplant shock to a plant that might have recovered by drying down.
- Wait for the new moisture trigger. After repotting, water the mix so it is evenly settled, let excess drain fully, and do not water again until the plant’s normal dry-down point is reached.
Avoid fertilizer while roots are damaged or the plant is wilted from root loss. Fertilizer cannot repair rotted tissue, and a stressed plant may not be able to use the extra salts safely.
In-ground recovery and drainage limits
For an in-ground plant, do not blindly dig up the root ball in the middle of heat stress. First stop irrigation, divert obvious runoff, remove a thick layer of water-holding mulch from the crown, and improve air and water movement at the site. A garden fork can help break a shallow surface crust around—not through—the root zone, but it will not cure a saturated clay layer below.
If a low spot repeatedly holds water, the durable fix may involve grading, a drainage channel, a raised planting area, a rain garden, or replacing a poorly matched plant. UGA Extension’s drainage advice starts with identifying where water comes from and where it goes; that is more reliable than repeatedly changing the hose schedule. See UGA’s summer drainage and irrigation guidance.
Summer Watering Mistakes That Keep Repeating
Watering because the leaves droop at 3 p.m. Check the soil and wait for evening recovery before deciding. Afternoon wilt is a heat signal until proven otherwise.
Using one schedule for every plant. A hanging basket, a new tree, a raised-bed vegetable, and an established shrub do not share a root volume or water demand. Group irrigation zones by need and exposure.
Measuring minutes instead of moisture. Runtime is not a volume. Calibrate with catch cans, watch runoff, and inspect the soil at depth.
Wetting foliage by default. Aim water at soil whenever possible, especially in humid weather or when a plant already has leaf-spot problems. A short emergency rinse is different from a nightly overhead routine.
Letting mulch hide a wet surface. Pull mulch back temporarily when diagnosing moisture, and keep it away from stems. A cool-looking surface can conceal saturated soil below.
Adding compost, fertilizer, or a bigger pot as a reflex. These changes can worsen a drainage problem. Confirm the failure mode first, then correct the smallest thing that solves it.
Watering after every storm. Use a rain gauge and a probe. A storm can deliver enough water, fail to infiltrate, or wet only the top layer depending on intensity and soil condition.
Conclusion
Preventing summer overwatering is less about withholding water and more about making each watering decision evidence-based. Check moisture below the surface, identify whether wilt is caused by heat or dry roots, account for the plant’s age and growing site, then water slowly into the root zone when it is actually needed.
Morning irrigation, mulch, temporary shade, drip or soaker systems, rain gauges, and catch-can tests all make the job easier—but none replaces looking at the soil. When soil stays wet, stop the schedule, protect drainage, inspect roots when justified, and give the plant time to recover. Hot weather changes demand; it does not erase the risk of waterlogged roots.



