6 Tips to Stop Overwatering Houseplants
Stop overwatering houseplants with six practical fixes for soil checks, drainage, pot size, watering technique, symptoms, and root-rot recovery.
The most useful change you can make is simple: stop watering by habit and start watering by evidence. A plant does not need a drink because it is Tuesday, the leaves look a little low, or another plant on the shelf needed water. It needs water when the root zone has dried to the level that species prefers—and only if the container can release what the roots do not use.
That distinction saves plants. “Overwatering” usually means keeping the mix wet for too long, not giving one generous drink. The six tips below build a routine around moisture checks, drainage, pot size, soil structure, watering technique, and early triage. They also explain what to do when the leaves are drooping even though the soil is damp, the situation that tricks many plant owners into watering again.
Overwatering Is a Root-Zone Problem, Not a Single Big Drink
Roots need both water and air. In a healthy container, water fills some pore spaces and air remains in others; after drainage and evaporation, oxygen returns to the root zone. When the mix stays saturated, those air spaces fill with water. Roots become stressed, stop functioning normally, and may begin to die, which can lead to root rot and a plant that wilts while sitting in wet soil.
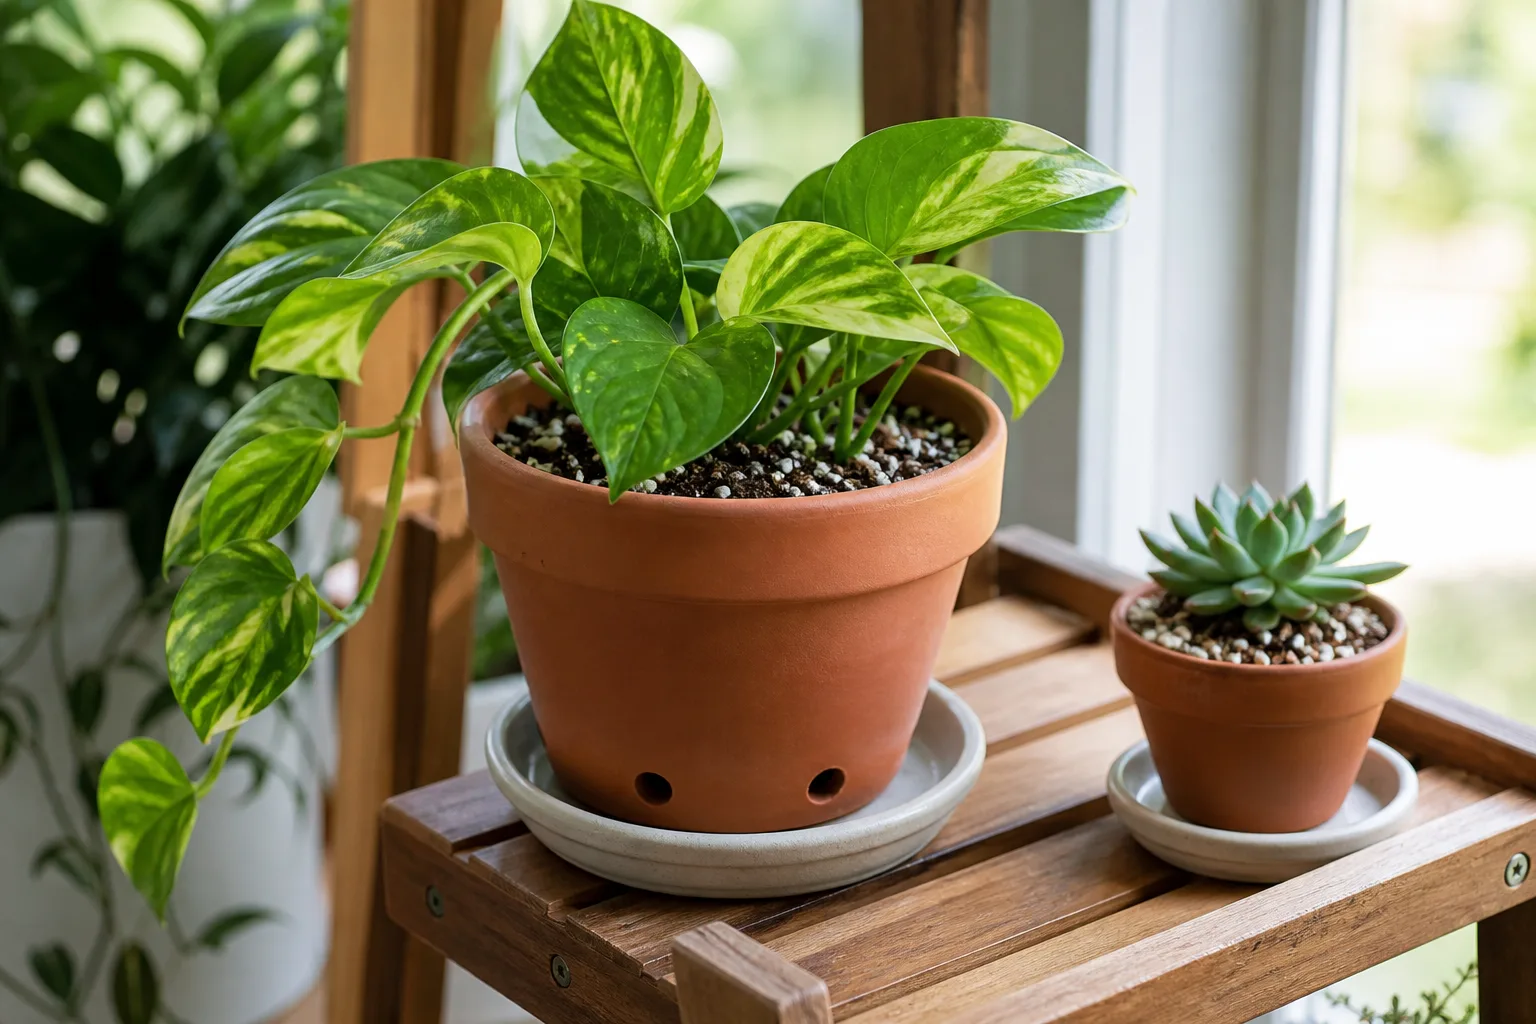
The Royal Horticultural Society explains that prolonged waterlogging reduces oxygen available to roots and can cause yellow leaves, root rot, and death. That is why pouring a lot of water at one time is not automatically harmful if the pot drains and the mix is allowed to dry appropriately afterward. Frequent small sips, a blocked hole, or a decorative pot holding runoff can be more damaging than a thorough watering followed by a real dry-down.
Why saturated mix damages roots
A struggling plant may look thirsty because damaged roots cannot take up water efficiently. That is the cruel part: adding more water does not fix the root system; it removes more oxygen from the mix. Wet soil can also encourage fungus gnats and surface mold, while a sour or swampy odor suggests that the root environment needs inspection rather than another drink.
No single symptom proves overwatering. Yellow leaves can also come from low light, nutrient problems, cold drafts, natural aging, or pests. Use the soil, pot weight, drainage behavior, and roots together. Diagnosis gets much more reliable when you treat a leaf symptom as a clue and the root zone as evidence.
1. Check Moisture at the Root Zone
Before touching the watering can, check below the surface. For an average foliage plant, push a clean finger about 1 to 2 inches into the mix. Cool, damp mix that clings to your finger means wait. Dry, loose mix at that depth suggests the plant may be ready, provided the species is not one that prefers a deeper dry-down or a consistently moist medium.
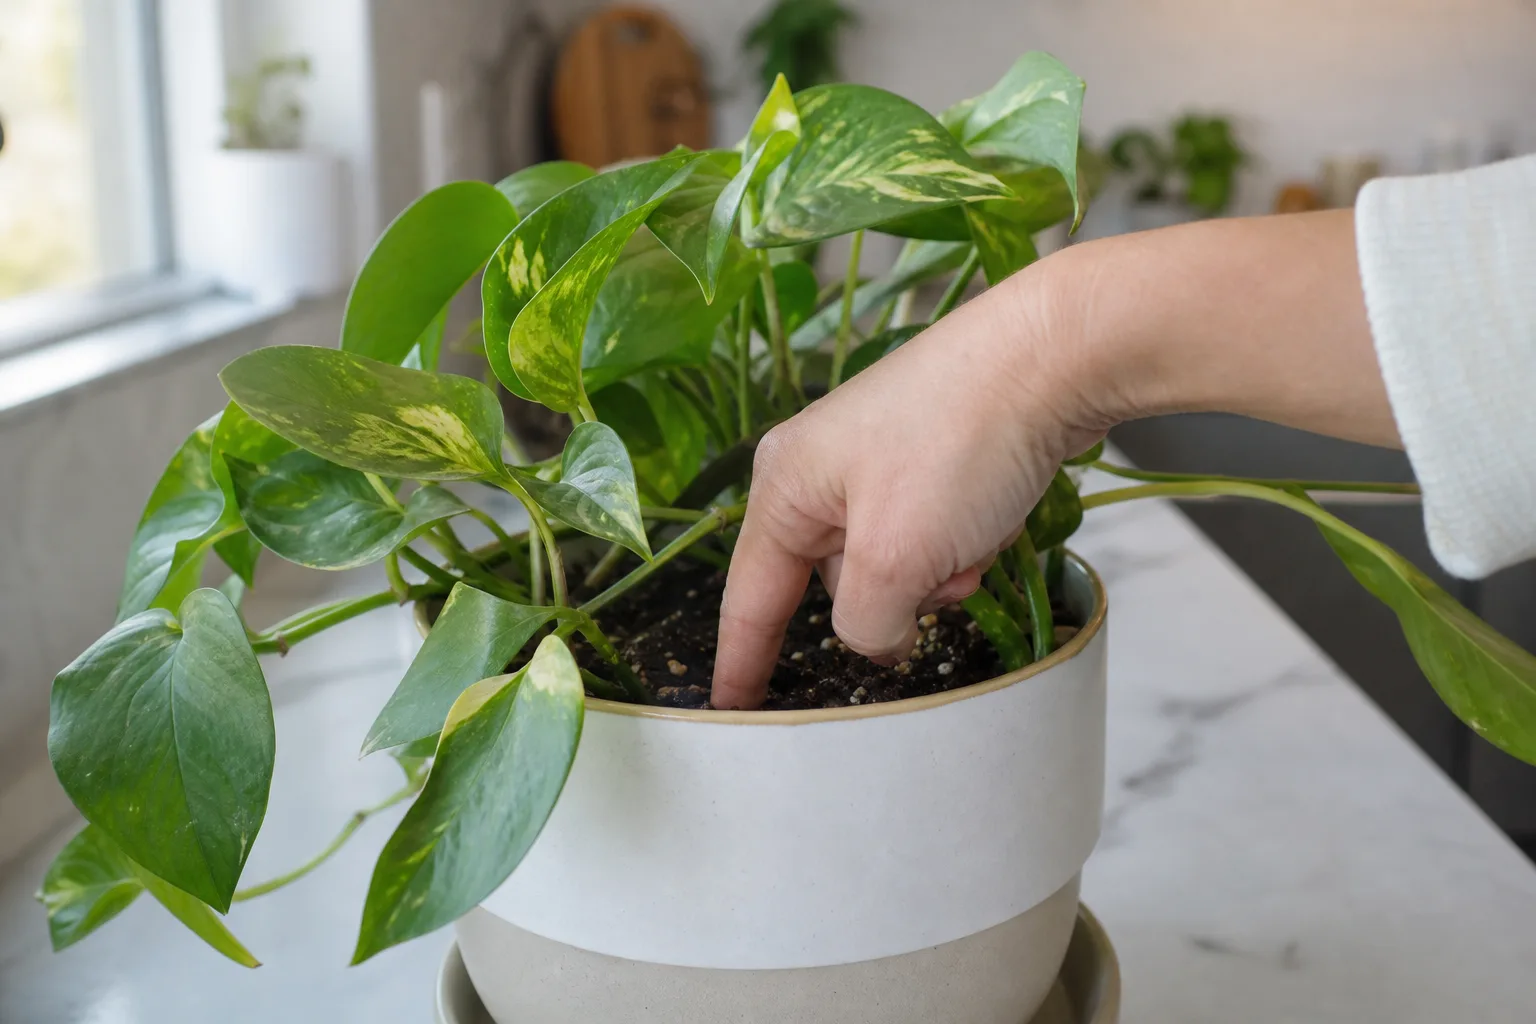
The finger test is useful but shallow. In a tall pot, the top layer can dry while the lower half remains heavy and wet. Check in more than one spot, especially near the pot edge and closer to the center, without stabbing through a dense mass of roots. A wooden skewer is a good second test for deep containers: insert it several inches, pull it out, and look for dark, damp mix clinging to the wood.
Pot weight is often the best free tool. Lift the container after watering and remember its heavy feel; lift again as it dries. A much lighter pot is meaningful, while a heavy pot tells you the plant still has substantial moisture below the surface. With large ceramic planters, tilt the nursery pot slightly or compare how easily it moves instead of trying to lift the whole thing.
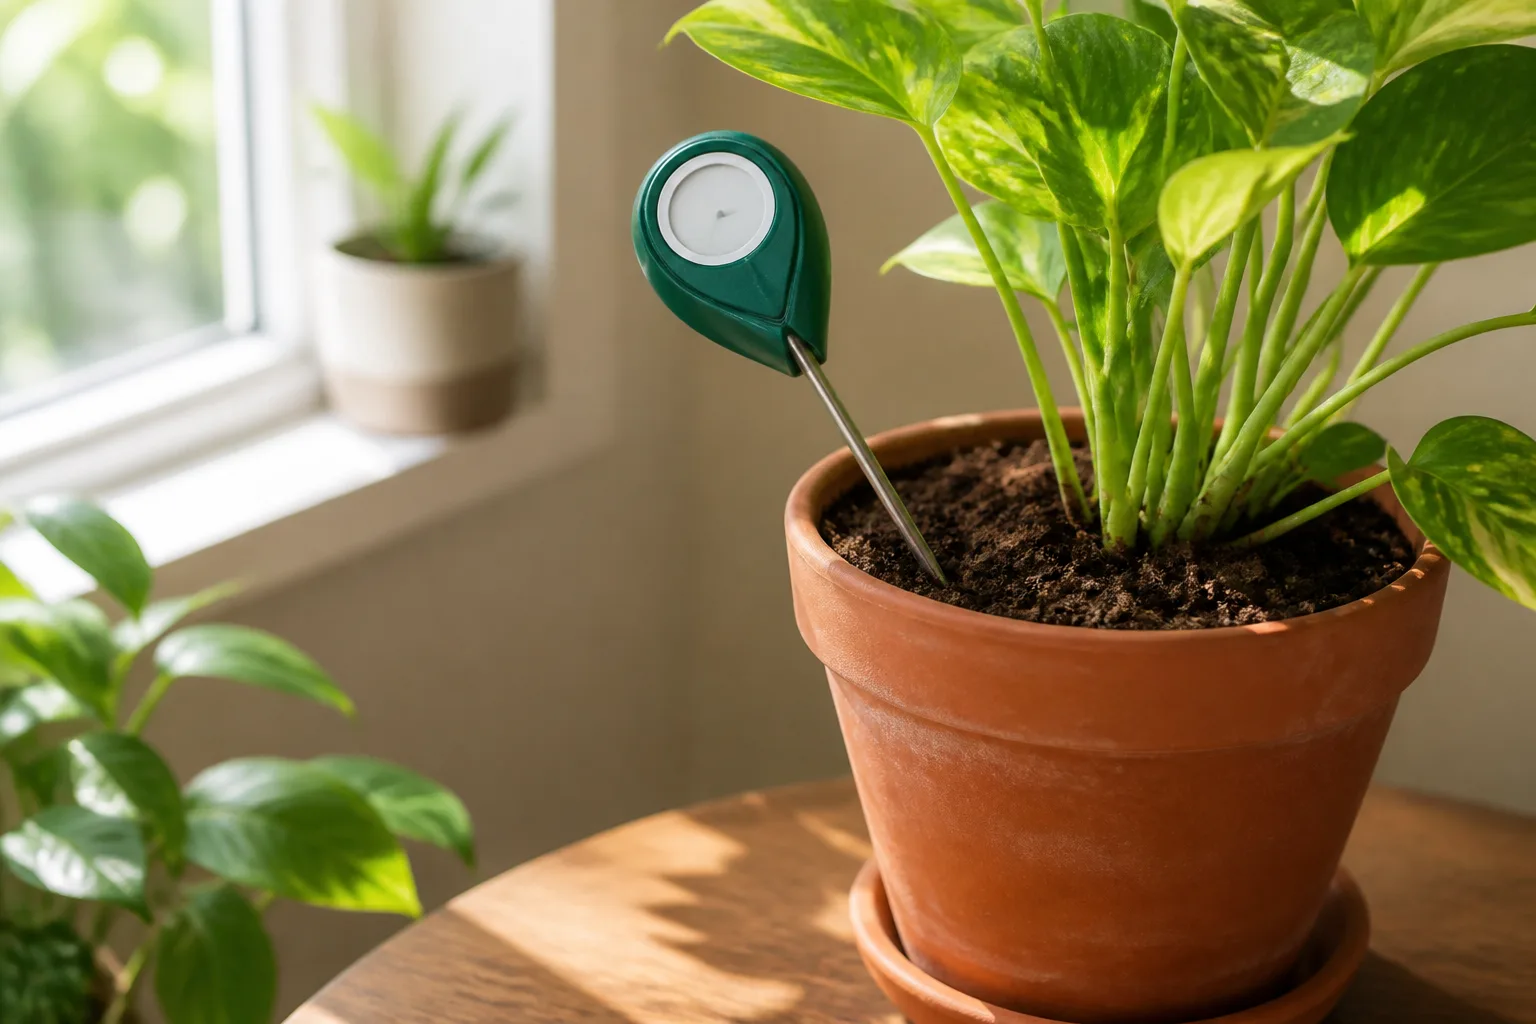
A moisture meter can help you compare one week with the next, but do not treat its number as a command. Probe placement, salts, root density, mix texture, and a poorly calibrated meter can change the reading. Use it with a finger or weight check, and learn what “ready” feels like for that particular pot after observing one complete watering cycle.
2. Replace Calendar Watering With a Dry-Down Trigger
Put a reminder on your calendar to check plants, not to water them. A fixed schedule ignores light, temperature, humidity, pot material, root size, soil composition, and season. The same pothos may dry quickly near a bright window in summer and stay damp for many days in a cool, dim room.
Your trigger should be a condition such as “the top two inches are dry and the pot feels noticeably lighter,” not “water every seven days.” Write the check date and result on a small note if you care for many plants. After a few weeks, you will see which pots dry quickly and which remain wet. That information is more useful than a generic houseplant watering chart.
The practical guidance from BBC Gardeners’ World Magazine reaches the same conclusion: watering needs change with the plant, season, and growing conditions. Use a recurring check as your prompt, then let the pot’s condition decide whether water goes in.
The RHS recommends checking moisture and watering when needed rather than at set intervals. This is especially important in winter or during a low-light spell, when growth and water use slow. Do not force a summer rhythm onto a plant that has moved away from a window, entered a cooler room, or lost leaves after stress.
3. Read the Plant and the Pot Together
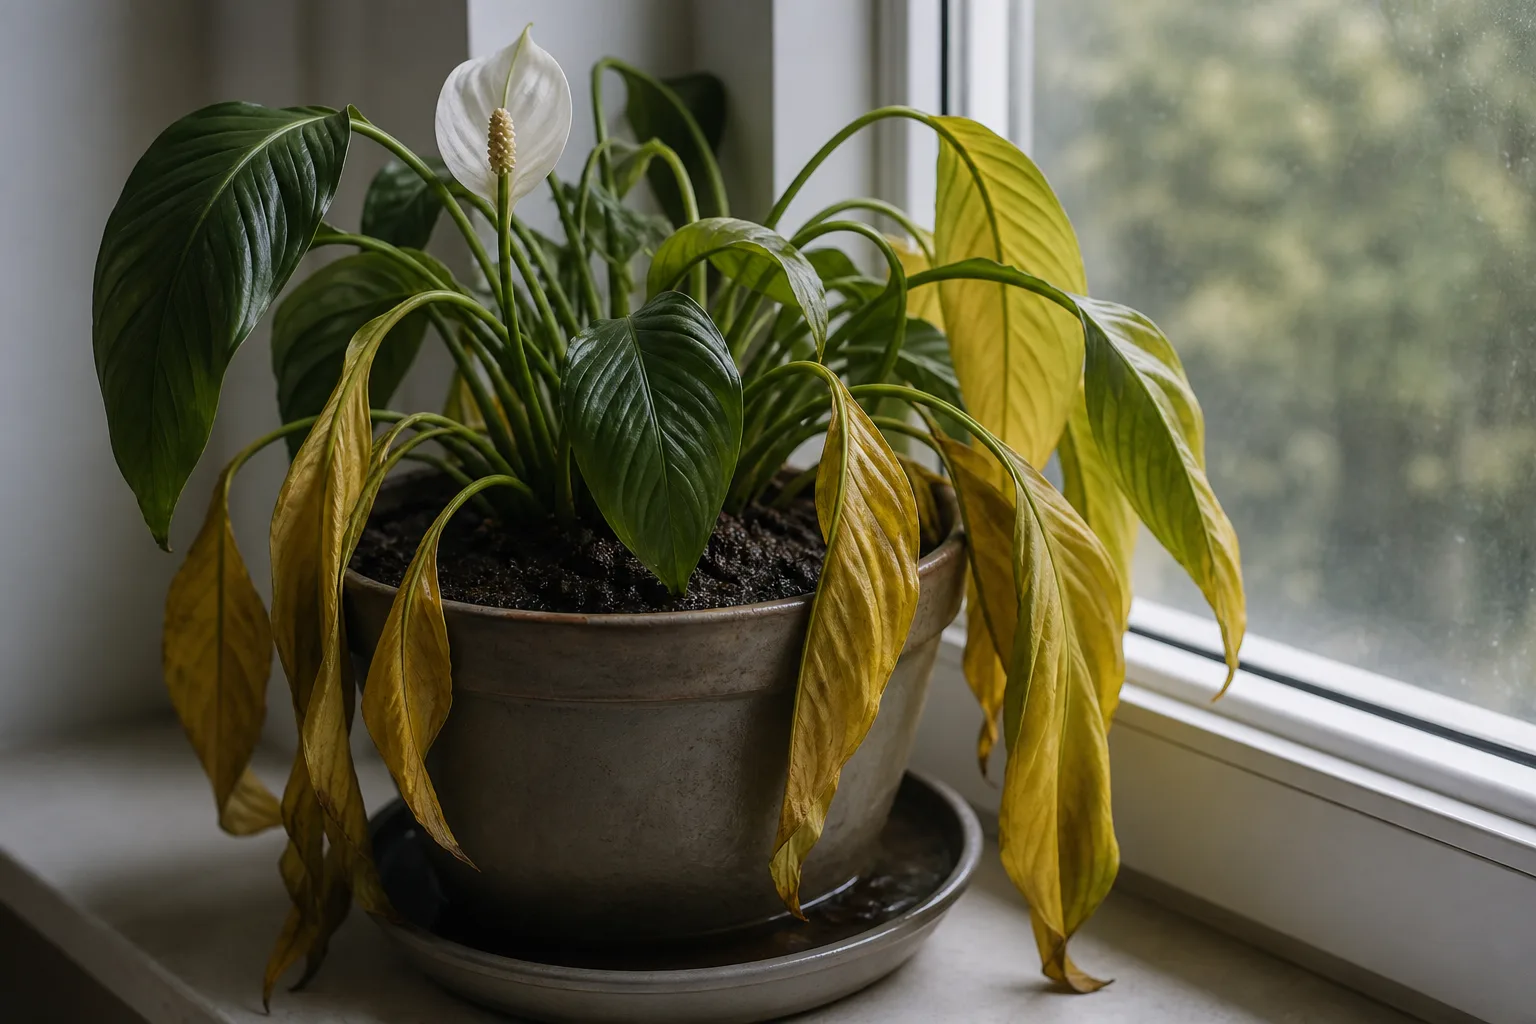
Look for a pattern rather than reacting to one yellow leaf. Overwatering is more likely when the soil remains wet for days, the pot stays unusually heavy, lower and newer leaves yellow at the same time, leaves feel soft, or the plant droops without recovering as the mix dries. A musty smell, fuzzy growth on the soil, blackened stems, or fungus gnats add weight to the diagnosis.
Overwatering versus underwatering
Both problems can cause wilting, so the soil check matters more than the wilt itself. Use this quick comparison before you water a limp plant:
| Clue | Overwatering or root stress | Underwatering or drought stress |
|---|---|---|
| Soil | Damp, heavy, or slow to dry | Very dry, dusty, or pulling from the pot edge |
| Leaves | Often yellow, soft, limp, or dropping | Often crisp, curled, dull, or brown at edges |
| Pot weight | Remains heavy | Becomes much lighter |
| Roots | Brown or black, soft, slimy, or foul-smelling | Dry, brittle, pale, or shrunken |
| After watering | Plant may remain limp | Plant often firms up within hours or by the next day |
These are tendencies, not diagnoses. The RHS symptom guide notes that overwatering can produce wilting, simultaneous yellowing and leaf drop, brown leaf centers, moldy patches, stem rot, and dark mushy roots. Low light can also keep soil wet and cause yellowing, while cold damage can make leaves collapse. If the mix is wet and the plant has been declining, stop watering and inspect instead of trying to correct a wilt with more moisture.
4. Fix the Container Before You Change the Schedule
If a pot cannot drain, your watering routine has no margin for error. The most reliable container has at least one open drainage hole and a saucer that can be emptied. A decorative vessel without a hole is a cachepot, not the root container: keep the plant in a draining nursery pot, remove it to water, let it drain, and return it only after the outer pot is empty.
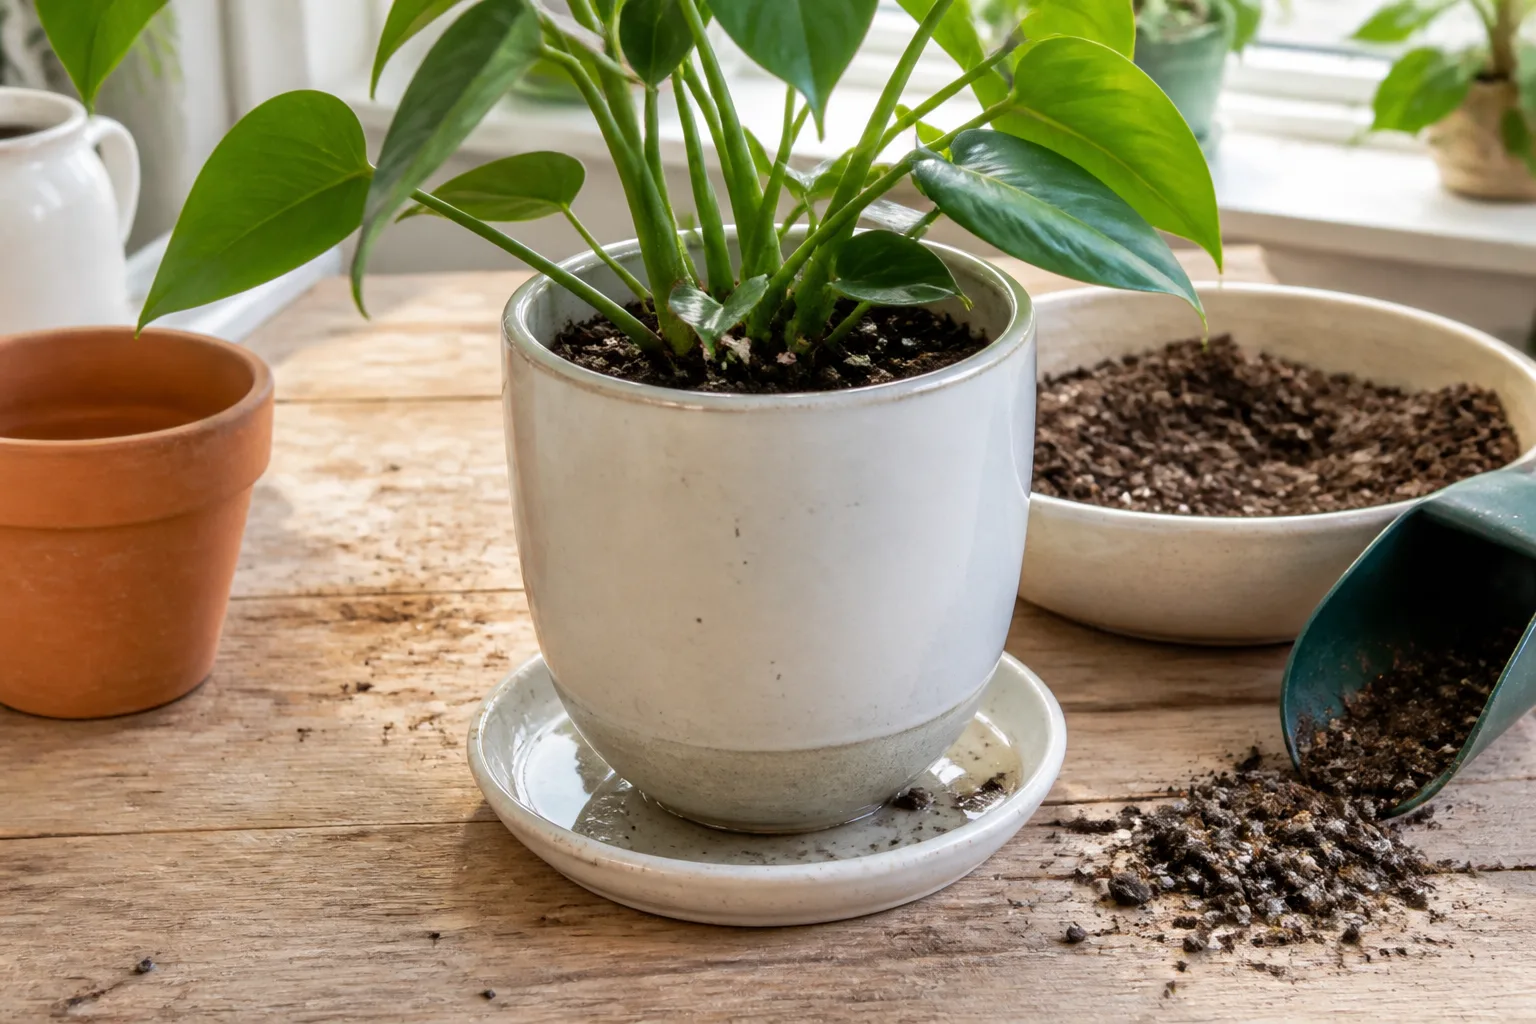
Do not assume a layer of gravel at the bottom turns a sealed pot into a draining pot. It may create a smaller reservoir of perched water above the layer and reduce the volume available for roots. A real hole, an appropriate mix, and a saucer you empty are more dependable than a hidden stone layer.
Pot size matters too. The RHS warns that overpotting puts a small root system in more compost than it can use, allowing the mix to stay wet and increasing the risk of decline. When repotting, choose a container only modestly wider than the current root ball unless the plant is genuinely root-bound. A very large pot is not a kindness to a small plant; it is a larger wet zone.
Terracotta can be useful for plants that prefer a faster dry-down because its porous sides allow some evaporation. It is not a cure for excess watering, and it can dry a thirsty plant too quickly in a hot, bright room. Plastic may be a better choice for a fern or a plant that needs more consistent moisture. Match the pot to the plant and your room, not to a universal rule.
5. Use a Mix That Holds Water Without Staying Soggy
Houseplant mix needs to retain enough moisture for roots to use while leaving air channels after drainage. A commercial indoor mix may work well for a foliage plant, but a dense, collapsed, or repeatedly waterlogged mix can become slow to drain. For plants that prefer quicker drying, a mix amended with perlite, pumice, or bark may create a better balance than repeated emergency watering adjustments.
The right ingredients depend on the plant. Cacti and succulents usually need a grittier, faster-draining medium than a fern. A calathea may need moisture held more evenly, but “moist” still does not mean airless mud. Coarse particles can improve structure, but simply adding more of one ingredient is not a universal recipe; the result still has to hold the plant upright and dry at a reasonable pace in your home.
Avoid garden soil in indoor containers. It can compact, drain poorly, and bring in unwanted organisms. If water takes a long time to move through a previously healthy pot, the mix has shrunk, crusted, or collapsed, or the roots have filled the container, a repot may solve more than a new watering schedule.
6. Water Deeply, Then Drain Completely
When the plant is ready, water the whole root ball slowly. Pour around the surface rather than in one spot, pause if the mix repels water, and continue until a modest amount exits the drainage holes. This wets the root zone evenly and helps move accumulated fertilizer salts through the pot.
Let the container drain over a sink, shower, balcony, or waterproof tray. After several minutes, check the saucer and outer pot again; some containers release runoff slowly. Empty collected water instead of allowing roots to sit in it. A plant can be watered correctly and still become overwatered if the runoff remains trapped beneath the pot.
If water races down the sides and out immediately, the mix may be extremely dry and hydrophobic, shrunken from the pot wall, or too coarse for the root ball. Apply water in two or three slow passes, or use a short bottom soak to rehydrate the mix. Do not respond by adding tiny amounts every day; that wets the surface while leaving dry pockets below.
Plant Compendium’s houseplant watering guide is useful here because it frames watering as three linked habits—check, water, and observe the dry-down—instead of a universal weekly quota. The exact interval is still yours to learn from the pot in your room.
When bottom watering helps
Bottom watering can help a very dry, compacted pot absorb moisture from below, and it can keep delicate leaves dry during a careful rehydration. Set the draining pot in a shallow container of water for a limited period, then remove it and let excess water drain. The mix should become evenly moist, not remain submerged.
Bottom watering is not automatically safer. It cannot rescue a pot with no drainage, and it does not solve a mix that stays wet for too long. Periodic top watering is useful for flushing salts, and top watering is often the simplest default when the container drains freely. Choose the method for the problem in front of you, then always finish with a full drain.
Match Dry-Down to the Plant
Different plants tolerate different moisture patterns. Many pothos, philodendrons, monsteras, rubber plants, and dracaenas are ready when the upper 1 to 2 inches are dry and the pot is lighter. Peace lilies and some ferns may prefer a shorter dry-down, but they still need oxygen in the mix and should not stand in runoff.
Snake plants, ZZ plants, cacti, and succulents usually need a much deeper dry-down. Their water-storing leaves or stems make frequent watering particularly risky. A dry surface is not enough evidence for these plants; check deeper with a skewer or pot weight and wait until the container has lost much of its post-watering heaviness.
Calatheas and other moisture-sensitive tropicals need nuance. They may dislike a bone-dry root ball, yet a cool, poorly lit, constantly wet pot is still dangerous. Keep the mix lightly and evenly moist only when the room provides enough light, warmth, and drainage to use that water. Plant labels and a reliable species care reference should guide the final threshold.
Adjust for Light, Season, and Room Conditions
Light is part of the watering system. A plant in bright indirect light generally uses water faster than the same plant in a dim corner. If you move a plant away from a window, reduce watering only after checking how slowly the pot now dries. If wet soil is a recurring problem, improve usable light gradually; do not place a stressed plant in harsh direct sun and create a second problem with scorch.
Temperature and airflow change evaporation and transpiration. Cool rooms, winter windowsills, and crowded shelves can leave pots wet longer. Space plants so air can move around foliage and the container, but do not use a strong fan aimed directly at leaves. Humidity affects water loss from foliage, yet raising humidity does not justify keeping roots saturated.
The RHS identifies winter as a common period for houseplant problems because overwatering, poor light, and dry indoor air overlap. Treat winter checks as a separate season, not a shortened version of summer care. A plant that needed weekly checks in July may need only occasional watering in a dim January room.
What to Do When the Soil Is Already Waterlogged
First, stop watering and remove the plant from any outer pot or saucer holding water. Feel the pot, inspect the drainage opening, and place the container somewhere bright with gentle airflow. If the plant is only mildly overwatered, the roots are firm, and the mix drains freely, letting it dry naturally may be enough.
Do not automatically repot every plant after one mistake. Repotting disturbs roots, and a plant with healthy roots may recover once the root zone dries. Escalate to an inspection when the soil remains saturated for many days, the plant continues to decline, the pot smells sour, stems feel soft, or the leaves stay limp while the mix is wet.
Avoid baking the plant in sun, adding fertilizer, or pouring a homemade chemical treatment into the pot. A stressed root system cannot use fertilizer normally, and additives do not replace removing dead tissue or fixing drainage. The first intervention is always to stop adding water and find out what is happening below the surface.
Inspect Roots Before You Reach for a Treatment
Slide the plant from its nursery pot gently, supporting the stems and root ball. Healthy roots are generally firm and pale tan, cream, or white, though color varies by species and growing medium. Rotted roots tend to be soft, slimy, dark, hollow, or foul-smelling; the outer tissue may pull away when touched.
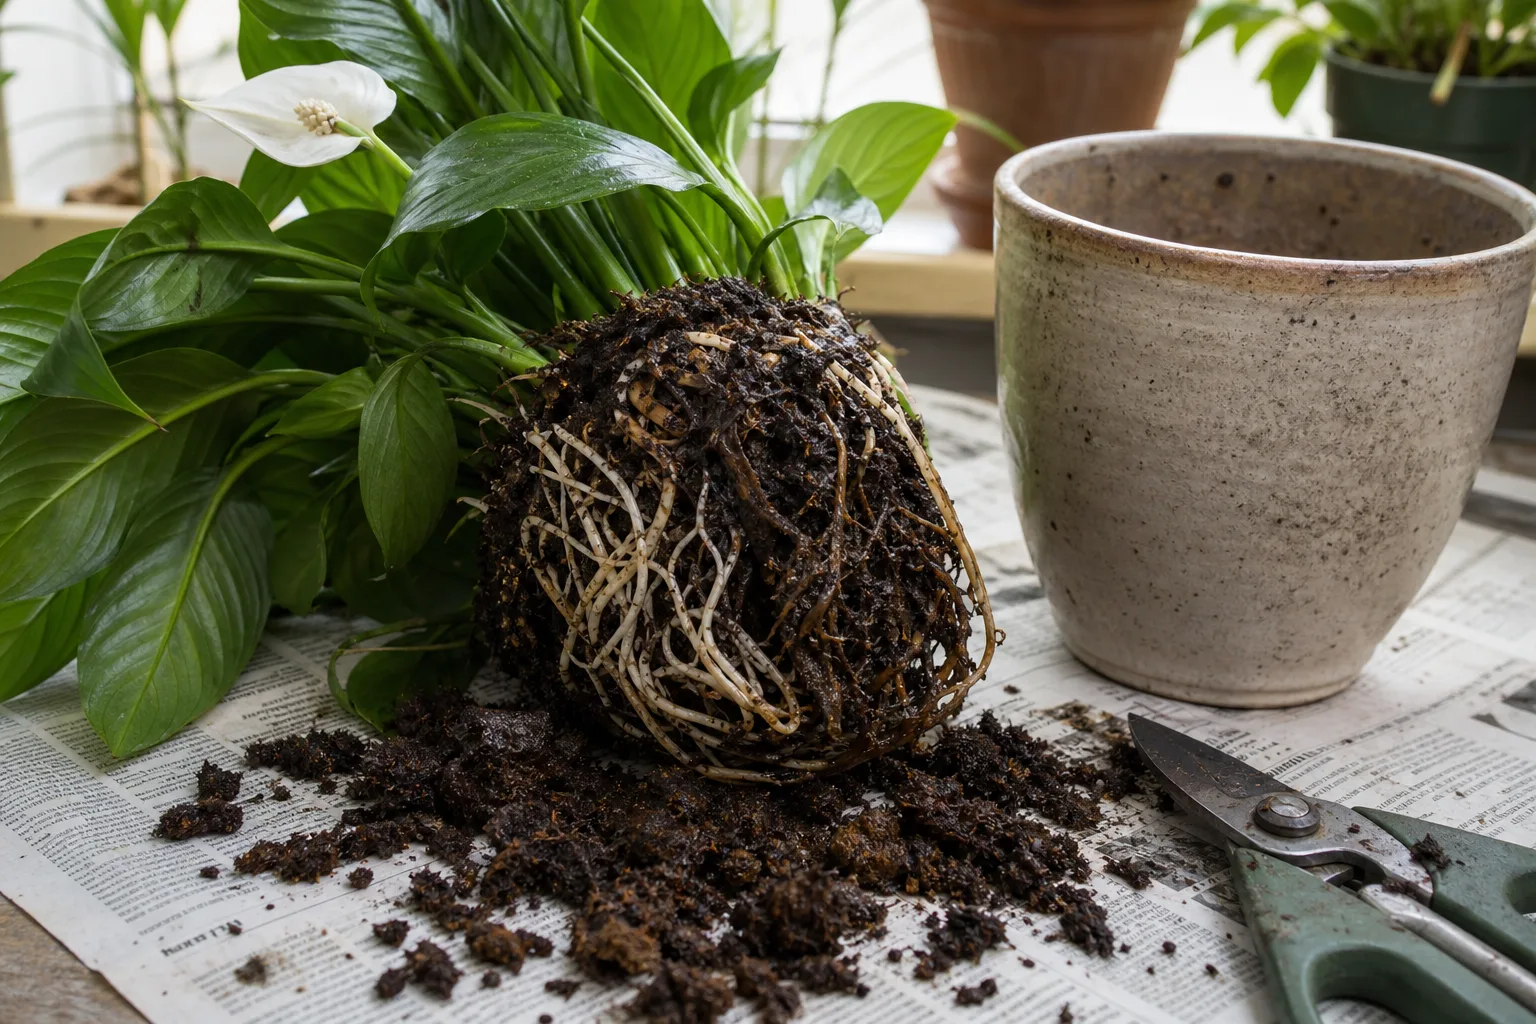
If the roots are firm and the soil is simply too wet, preserve the root ball and focus on drainage. If damaged roots are present, isolate the plant from a collection until you understand the problem. Wash soil from the roots gently enough to see what is alive, and use clean, sharp scissors to remove only tissue that is clearly dead or mushy.
Root inspection also prevents a common mistake: blaming every yellow leaf on rot. A plant with healthy roots may instead need better light, a different dry-down threshold, or pest inspection. The RHS recommends identifying the growing problem first and correcting conditions before reaching for routine treatments.
Repot a Plant With Confirmed Root Rot
Repot when rot is confirmed, the mix is collapsed or contaminated with decaying material, or the container cannot be corrected. Clean the old pot thoroughly or choose a fresh one with a working drainage hole. Because root loss reduces the plant’s water use, do not move it into a larger pot; a slightly smaller container may be appropriate if the root system is now much reduced.
Trim mushy roots back to firm tissue with a clean tool. Remove leaves or stems that are fully yellow, brown, or soft, but keep mostly green leaves when possible because they still make energy for recovery. Use fresh mix suited to the plant and settle it around the roots without packing it hard. Keep the crown and stem at the same depth as before.
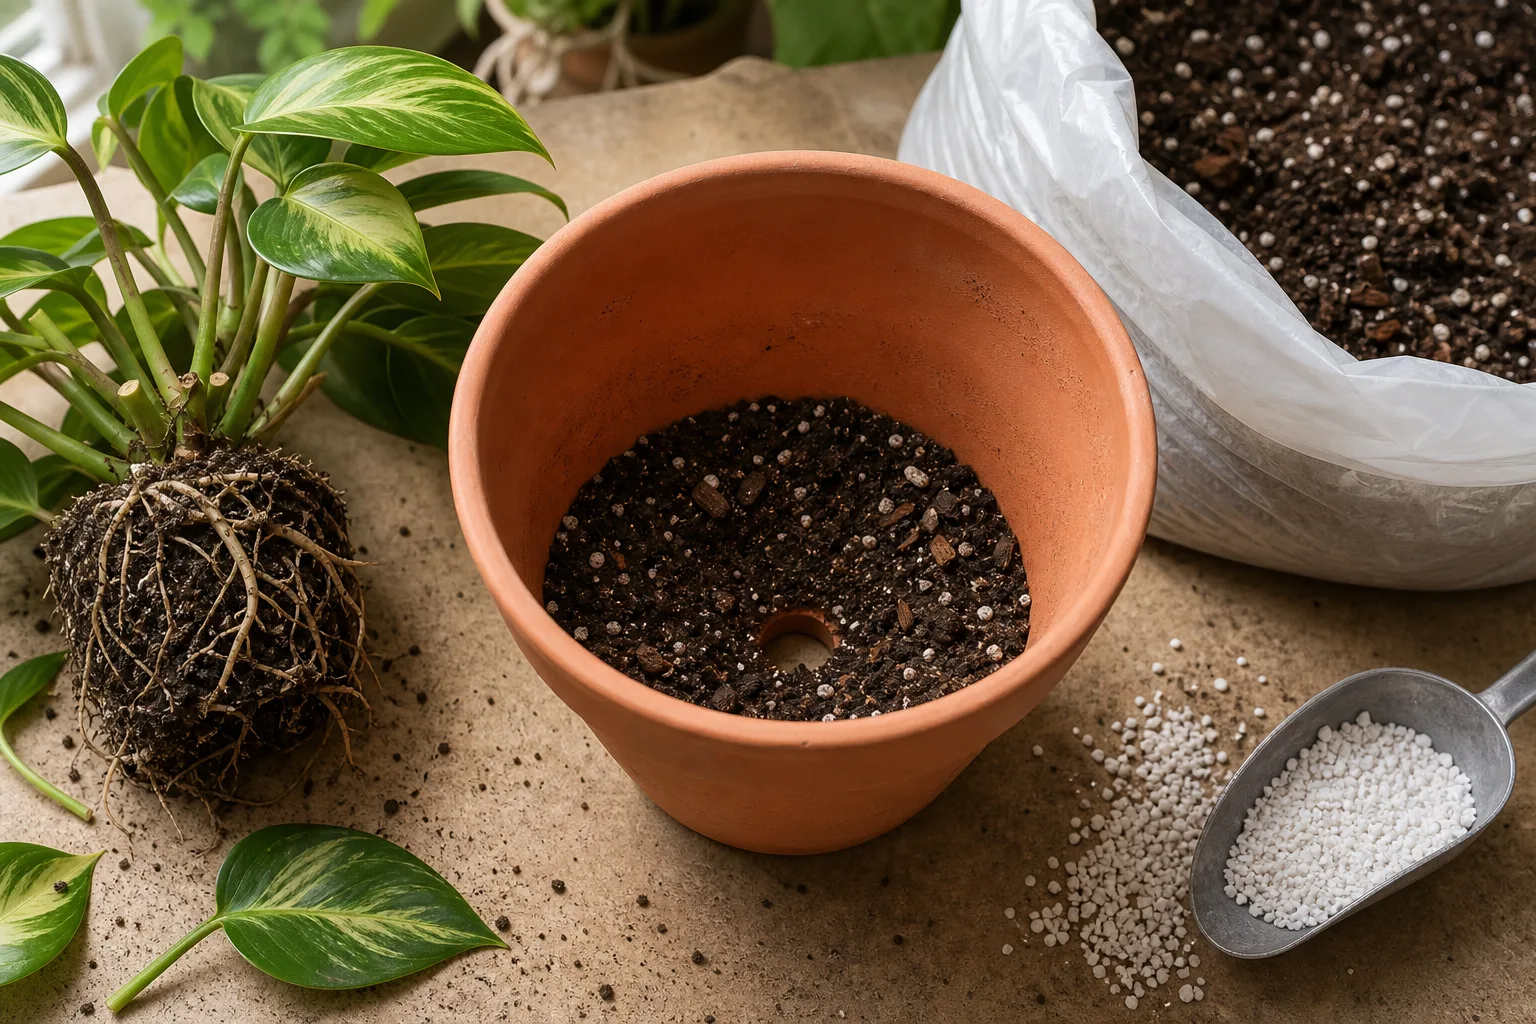
Do not assume hydrogen peroxide, cinnamon, or another household ingredient is required. The most important actions are physical removal of dead roots, fresh appropriate medium, clean drainage, and corrected aftercare. Different plants tolerate treatments differently, so a product or concentration that appears in a social-media rescue may injure a plant that is already stressed.
Aftercare: Give Damaged Roots a Smaller Job
After repotting, place the plant in bright indirect light and a stable, comfortably warm location. Avoid both harsh midday sun and a dark corner. The remaining roots may not be able to support all the foliage, so remove only what is clearly damaged or what the reduced root system cannot reasonably maintain.
Water based on the new container’s moisture, not on the old schedule. If roots were rinsed and the fresh mix is already damp, wait; if the plant was repotted into dry mix, moisten it appropriately and let it drain. Do not fertilize immediately. Wait for signs of stabilization or new growth, then resume at a conservative strength appropriate for the plant.
Recovery is measured in stages. First, decline stops. Then stems regain firmness or leaves hold their position. New roots and new leaves come later, sometimes over several weeks. If the base of the stem is soft, the entire root system has collapsed, or the plant continues to deteriorate despite a corrected environment, take a healthy cutting if the species can be propagated and accept that the original plant may not recover.
Common Fixes That Backfire
Watering a wilted plant without checking the soil is the most damaging reflex. Wet-soil wilting can mean root failure, and more water makes the evidence harder to interpret. Adding rocks to a sealed pot gives a false sense of drainage while leaving runoff trapped. Repotting into a much larger container increases the wet volume after roots have already been lost.
Misting to compensate for wet roots confuses leaf humidity with root hydration. Misting may briefly wet foliage, but it cannot oxygenate a saturated root ball. Fertilizing a declining plant can add salt stress to damaged roots. Removing every green leaf reduces the plant’s ability to produce energy. Fix the environment first, then prune with a reason.
Finally, do not discard a moisture meter simply because its number disagrees with your finger, and do not trust it blindly because it looks precise. Use two signals. The goal is not a perfect reading; it is a repeatable decision that fits the plant, pot, and room.
Build a Low-Guesswork Watering Routine
Group plants by moisture preference, not by convenience alone. Keep drought-tolerant plants apart from ferns and other plants that need more frequent checks. A group can share a check day, but each pot still earns its own decision. This prevents the classic collection-wide mistake in which a thirsty peace lily sets the watering schedule for a snake plant.
Use the same short sequence every time: check the root-zone moisture, compare pot weight, inspect the plant for context, water slowly if the threshold is met, let runoff escape, and empty the saucer. Recheck a plant that remains wet longer than expected instead of forcing it back into the schedule. A simple log of date, room, pot, and dry-down result will expose patterns quickly.
The best routine is flexible but not vague. You know what “dry enough” means for each plant, where its drainage hole is, how heavy it feels after watering, and what symptoms warrant an inspection. That turns houseplant care from a cycle of guilt and rescue into a small observation habit.
Conclusion
To stop overwatering houseplants, focus on the root zone rather than the calendar. Check moisture below the surface, learn the pot’s weight, match the dry-down to the species, use a draining container and suitable mix, water thoroughly when the plant is ready, and empty every saucer. Those six decisions protect roots more reliably than a universal watering schedule.
If a plant is already drooping in wet soil, stop watering first. Give a mildly wet plant time to drain and dry; inspect and repot when the mix stays saturated or the roots are soft, dark, and smelly. Healthy roots can recover from a mistake, but they need air, space, and a realistic aftercare plan—not another drink.