Brown Spots on Hydrangea Leaves: Causes and Fixes
Learn how to read brown hydrangea spots by shape, location, and timing, then prune, water, and manage the cause without unnecessary sprays.
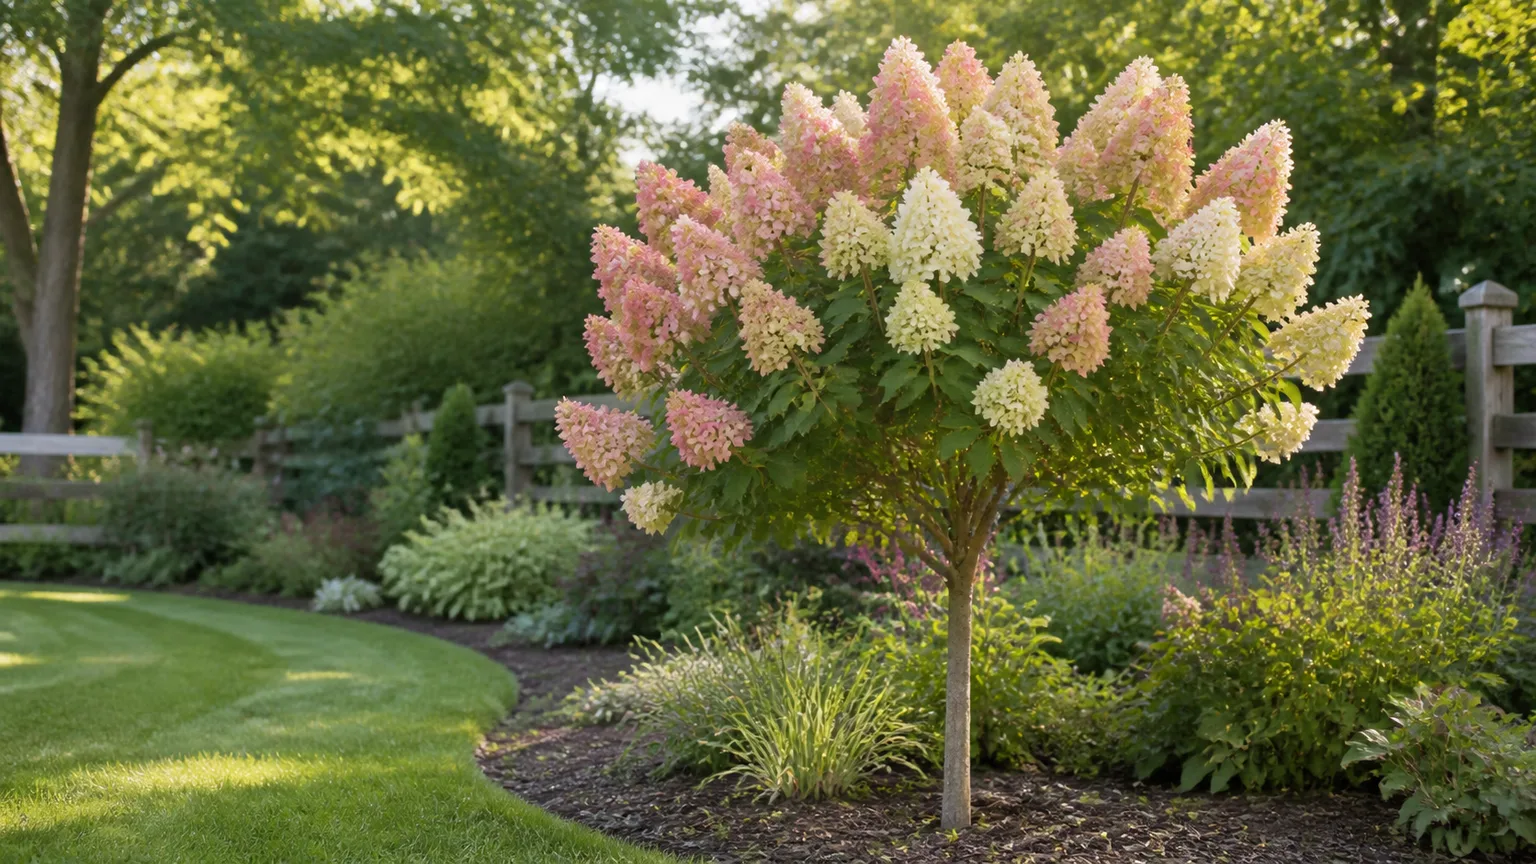
Brown spots on hydrangea leaves are a symptom, not a diagnosis. The fastest way to choose the right fix is to study the pattern before you reach for a fungicide: note whether the browning starts on the lowest leaves, follows the margins, appears on flowers, or looks like small sunken feeding wounds.
Most spotty hydrangeas can stay in the garden. The leaves already marked will not become green again, but a prompt cleanup, better watering technique, and a little more air movement can keep new growth healthier. The exception is a shrub that is wilting across several shoots, declining despite water, or showing signs of root damage; that calls for a root-zone inspection rather than cosmetic leaf trimming.
The goal is not to make a perfect diagnosis from one photograph. It is to rule out the wrong actions first: do not spray a scorch injury, do not keep watering a waterlogged root zone, and do not remove every leaf from a shrub that only has a few cosmetic lesions. That order saves the plant more often than a stronger product does.
Start with a 10-minute hydrangea spot triage
Do this inspection in daylight while the leaves are dry. Take one photo of the whole shrub, one of the upper and lower canopy, and one close-up of a representative spot. The progression matters: a single old leaf can be incidental, while a pattern that moves through the plant tells you where the problem is spreading.
Look at where the browning begins
Browning that starts on the lowest, oldest leaves and gradually moves upward points toward a splash-spread leaf-spot disease. Cercospora commonly follows that pattern, and Washington State University Hortsense describes fungal spots as appearing in midsummer to early fall, sometimes with a reddish or purple halo. Remove one or two leaves and look underneath as well; a disease that is advancing through the lower canopy usually leaves a more consistent pattern than an isolated sunburned leaf.
Browning concentrated on the upper, sun-facing side of the shrub is more consistent with scorch or drought stress, especially when the edges and tips are dry and crispy. If flowers turn brown first, inspect the blooms and the soil below them rather than assuming the leaves started the problem. Brown petals with gray fuzz in cool, wet weather suggest Botrytis blight; brown leaves beneath fallen petals can be secondary.
Use the spot shape and edge as clues
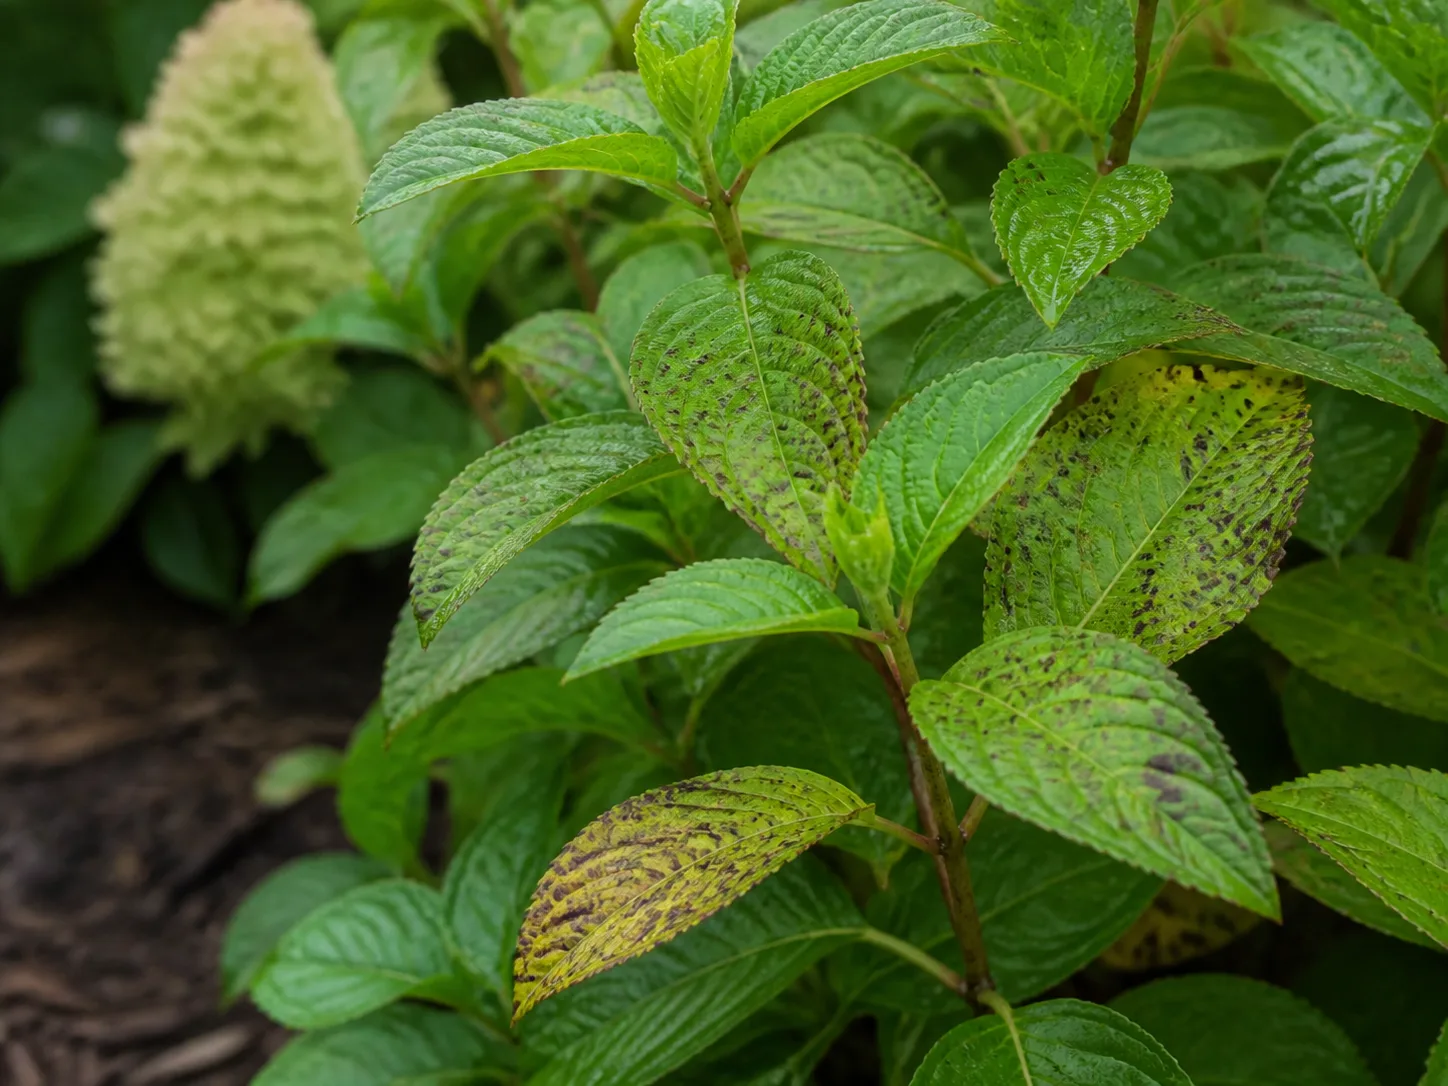
Shape is more useful than color alone because many different problems look “brown” at a distance. A small round lesion with a tan or gray center and a reddish-purple border is a strong Cercospora clue; a large, slightly sunken spot with dark concentric rings and a bull’s-eye appearance fits anthracnose; and an angular spot that stops at the veins raises the possibility of bacterial leaf spot.
Small round, depressed marks scattered through the leaf, sometimes followed by holes where dead tissue falls out, are more suggestive of four-lined plant bug feeding than a fungus. Irregular, fading brown areas along the margin with no defined border point more toward scorch, drought, or salt stress. The University of Minnesota Extension hydrangea diagnostic guide is useful here because it puts the recognizable patterns side by side rather than treating every blotch as the same disease.
Match the pattern to the likely cause
The most useful diagnosis is the one that changes what you do next. Use the descriptions below as a field guide, not as a laboratory diagnosis. If the plant is losing most of its leaves, several stems are wilting, or the cause remains unclear, take a sample or clear photos to your local Extension service before applying a treatment.
Cercospora leaf spot
Cercospora is one of the most common explanations for small brown spots on hydrangea leaves. The first marks are often round and purple-brown; as they age, they develop a tan or gray center with a thicker reddish-purple border. They usually begin on older lower leaves, then become more noticeable higher in the plant as rain or irrigation splashes spores upward.
This disease is favored by repeated leaf wetness and crowded growth, but it is not a reason to panic or strip every leaf from the shrub. University of Connecticut Extension says infection can be reduced by minimizing leaf wetness and removing infected leaves during or at the end of the season. Washington State University also recommends sanitation, airflow, and avoiding overhead watering as first choices, and notes that hydrangea leaf spots are seldom severe enough in the home landscape to warrant chemical control.
Anthracnose and Botrytis blight
Anthracnose is more likely when spots are large, slightly sunken, and marked by dark rings that create a target-like appearance. The University of Minnesota Extension notes that lesions can grow to about an inch and occur on both leaves and flower petals. A shrub with large blotches scattered through the upper and lower canopy needs more attention to sanitation and moisture management than one with a single marginal scorch mark.
Botrytis starts with flowers, buds, or damaged petals rather than behaving like a simple lower-leaf spot. Flowers become tan or gray and may develop fuzzy gray spores in wet weather; brown leaf spots can appear where infected petals land. Remove those flowers and fallen petals promptly, improve airflow, and avoid keeping the foliage wet overnight. A cool, rainy spell can make Botrytis look dramatic without meaning that the whole shrub is dying.
Scorch, frost, drought, and root trouble
Leaf scorch is a stress response, not a fungal infection. It typically begins at leaf tips and margins, fades inward without a sharp halo, and is worse on the hottest, most exposed side of the plant. A hydrangea planted in full afternoon sun may scorch even when the gardener waters regularly because the leaves can lose moisture faster than the root system can replace it.
Frost damage usually affects tender new growth after a late cold snap. You may see a blackened or brown leaf edge, collapsed shoot tips, or an entire flush of young leaves damaged at once rather than neat circular lesions. Do not prune healthy-looking stems immediately after a frost; wait until new growth makes the living and dead portions clear, then cut back to healthy tissue.
Water stress requires checking the soil, not following a calendar. A dry root zone can cause crisp margins and wilt, while waterlogged soil can deprive roots of oxygen and lead to wilting, dark leaves, and eventual decline. The UConn Extension disease and pest guide warns that root rot can resemble thirst: watering does not restore wilted shoots, and poorly drained sites increase the risk of Phytophthora-type problems. If the soil is soggy several inches down and the plant is wilting, improve drainage or inspect the roots rather than adding more water.
Four-lined plant bugs and other pests
Four-lined plant bugs leave small, round, depressed brown, black, or translucent spots. In heavier feeding, the dead tissue drops out and creates a shot-hole effect. Look on the undersides and new growth for yellow-green nymphs or adults with dark stripes, and look for movement before deciding that the leaf has a disease.
Aphids tend to cause distorted or yellowing new growth and sticky honeydew, while spider mites create fine stippling and sometimes webbing in hot, dry weather. These pests call for pest-specific action, not a blanket fungicide. A strong spray of water can dislodge a minor aphid population, and preserving natural predators is often more useful than using a broad-spectrum insecticide that removes both pests and beneficial insects.
Three fixes that help most hydrangeas quickly
The three practical fixes are sanitation, water management, and targeted pest control. They will not repair old brown tissue, but they can reduce the conditions that create fresh damage while you watch the next flush of leaves.
Remove damaged tissue and clean up
Start with the leaves that are heavily spotted, yellowing, collapsing, or touching the soil. Use clean, sharp pruners for stems and pinch or cut individual leaves without stripping the entire plant. Removing a few badly affected leaves improves the appearance and reduces infected material; removing every leaf can stress the shrub and expose healthy tissue to sun.
Bag suspected diseased leaves and fallen petals for the trash rather than adding them to home compost. Fungal spores can persist in plant debris, and both UConn Extension and WSU Extension emphasize sanitation as part of disease management. If you move from one hydrangea to another, brush soil and debris from the tools and disinfect the blades according to a product or Extension recommendation before making the next cut.
Do not burn plant material in a backyard fire unless local rules and safe conditions explicitly allow it. Bagging and disposal is the simpler option for most home gardens. Rake under the shrub after leaf drop, but avoid piling the cleanup against the crown or stems.
Correct watering without creating root rot
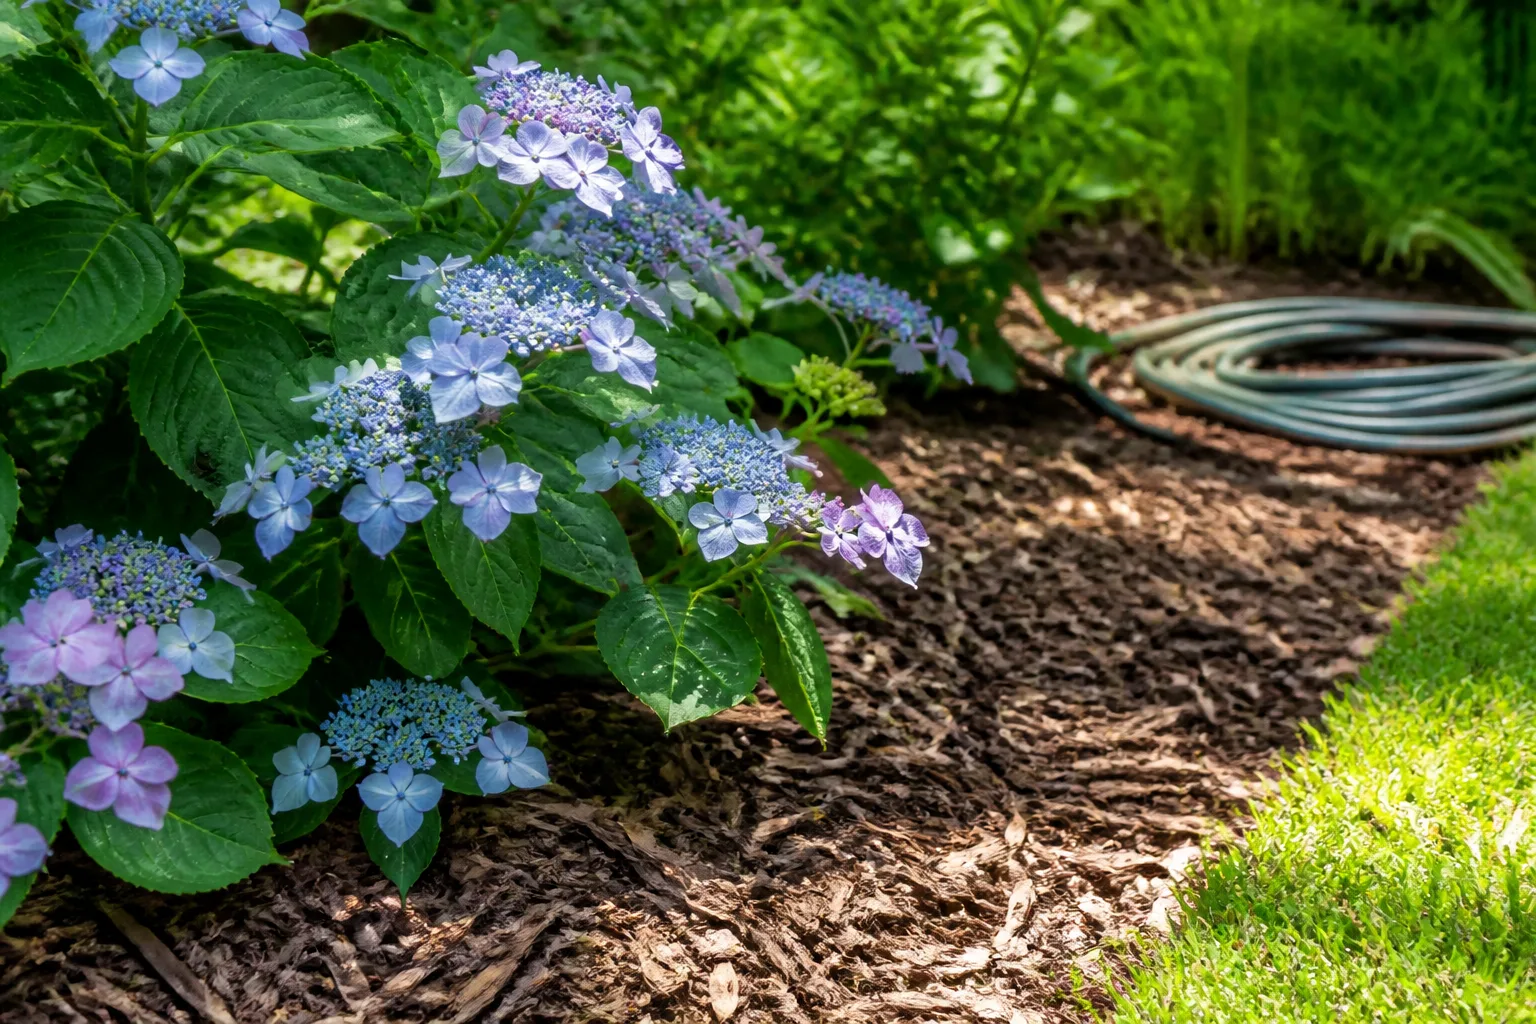
Water the soil at the base of the plant, not the leaves. A soaker hose or drip line keeps foliage drier and puts moisture where the shallow feeder roots can use it. If you must use a hose from above, water early enough for leaves to dry quickly and direct the flow toward the soil rather than the canopy.
Check moisture several inches below the surface before watering again. A hydrangea needs consistent moisture, not permanently wet soil: let the surface begin to dry while the deeper root zone remains slightly moist, then water slowly enough to soak the root area. In clay, a low spot, or a container without a free-draining mix, correct drainage first; increasing the frequency of watering can make a root problem worse.
Mulch helps moderate the root zone, but it is not a cure for compacted or flooded soil. Spread about 2 to 3 inches of organic mulch over the root area, keep it a few inches away from stems, and refresh it when it thins. The mulch should reduce evaporation and soil splash, not form a wet collar around the plant. Savvy Gardening’s hydrangea fall-care guide makes the same practical distinction: a moderate mulch layer helps conserve moisture, while over-mulching can create new problems.
Use targeted pest control only when insects are present
If you find four-lined plant bugs, aphids, or mites, begin with the least disruptive option that fits the pest. Hand-pick larger insects, rinse aphids from the plant with a firm but not damaging stream, and repeat monitoring several days later. Insecticidal soap or horticultural oil can be appropriate for some pests, but it must contact the insect and be used exactly as the label directs; it is not a cure for a fungal lesion.
Avoid spraying open flowers with insecticides because hydrangeas attract pollinators and other beneficial visitors. Test any product on a small area first if the label permits, and do not apply during heat, drought, or bright sun when a product may injure foliage. If there are no insects, skip the spray and put the effort into dry foliage, airflow, and cleanup.
When a fungicide is worth considering
For a single season of cosmetic leaf spotting on an established shrub, a fungicide is often unnecessary. WSU Hortsense specifically says that hydrangea leaf spots are seldom severe enough in home landscapes to warrant chemical control. A product cannot turn a brown leaf green, and it will not solve scorch, drought, poor drainage, or insect feeding.
Consider asking a local Extension office about a protectant program when the same disease returns severely every year, repeatedly defoliates the plant, or threatens a valuable collection. Protectant fungicides work before infection or very early in the disease cycle; spraying after large lesions have developed is unlikely to reverse existing damage. Use only a product labeled for the plant and disease in your area, follow the label for timing and reapplication, and never improvise a concentration.
Diagnosis matters even more before chemical treatment because disease names can look similar. Cercospora, anthracnose, Botrytis, bacterial leaf spot, and scorch do not share the same control strategy. If the pattern is severe, recurring, or inconsistent with the guides above, send clear photos and a sample through your state or county Extension diagnostic service.
Prevent brown spots next season
Prevention is mostly about shortening the time leaves stay wet and reducing plant stress. It is not about keeping every leaf pristine; a healthy hydrangea can tolerate some cosmetic damage without losing its ability to grow and flower.
Keep leaves drier and air moving
Give the shrub enough room for air to pass through the canopy at planting time. Mature size varies widely, so use the plant label rather than forcing every hydrangea into a universal spacing rule. If a plant is already crowded, selectively remove crossing, weak, or inward-growing stems during the correct pruning season rather than shearing the outside into a dense shell.
Water in the morning or at the soil line, keep weeds from forming a wet tangle around the base, and rake diseased leaves from beneath the shrub. A 2- to 3-inch mulch layer helps reduce water splash and keeps soil moisture steadier, but never pile mulch against the stems. These small changes address several causes at once: leaf spots spread more easily with splash, Botrytis favors wet tissue, and drought-stressed plants scorch more readily.
Match light, cultivar, and seasonal care
Light needs vary by hydrangea type. NC State’s Plant Toolbox describes panicle hydrangea as more tolerant of full sun than other hydrangeas, while still noting a preference for morning sun and afternoon shade in many settings. Bigleaf hydrangeas with large leaves can be less forgiving of hot, exposed sites, especially when the soil dries quickly. If scorch repeats on the same side every summer, move or shade the plant when practical instead of trying to spray the symptom away.
Choose a site with moist but well-drained soil and protect tender spring growth from exposed frost pockets. The RHS hydrangea growing guide recommends light shade for shrubby hydrangeas, spring or autumn planting, and mulch to retain soil moisture; it also notes that watering becomes important during hot, dry spells. Feed only when the plant and soil call for it. Excess fertilizer can push soft, lush growth that is more vulnerable to disease, and it does not compensate for poor drainage or the wrong light.
Prune without sacrificing next year’s flowers
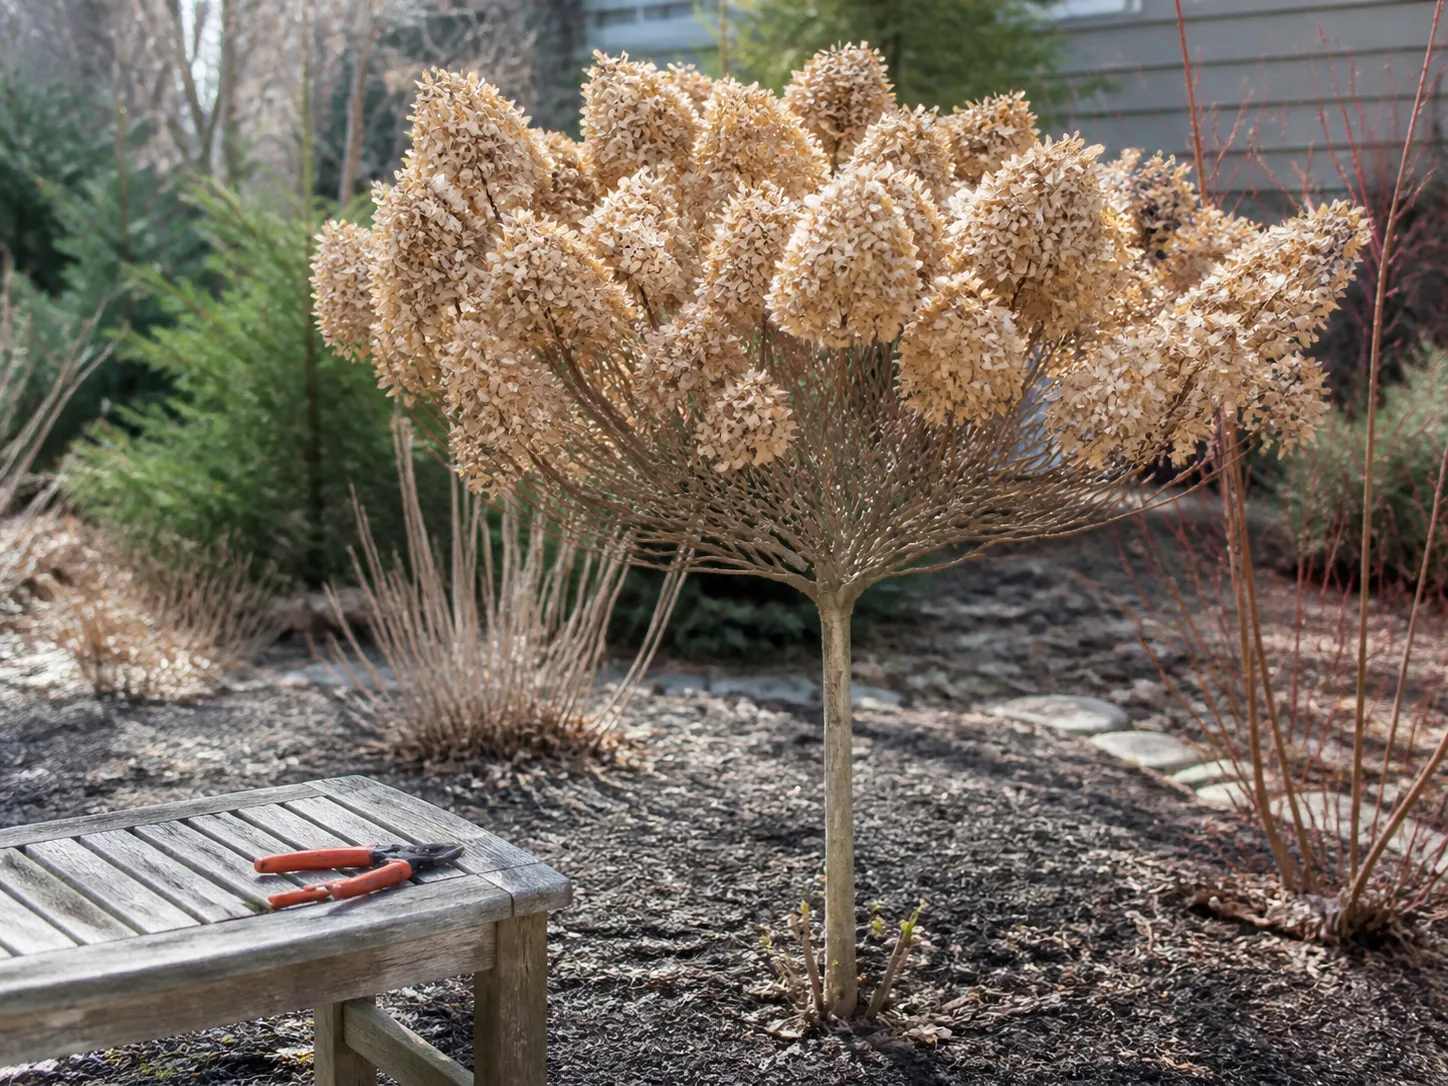
Brown leaves can be removed whenever they are clearly dead or diseased, but broad structural pruning follows the hydrangea’s flowering habit. Bigleaf and lacecap hydrangeas often flower from older stems, so hard pruning at the wrong time can remove next year’s buds. Panicle and smooth hydrangeas flower on new growth and generally tolerate earlier spring pruning more readily.
If you are unsure of the type, remove only damaged leaves and dead stems for now. Keep healthy old stems until you can identify the cultivar or confirm its pruning group from the plant label, a nursery, or a local Extension service. RHS guidance likewise separates mid-spring pruning for H. macrophylla and H. serrata from early-spring pruning for panicle and smooth hydrangeas.
Pruning is not the same as treating a disease. A clean cut can remove a badly damaged leaf or improve airflow, but it cannot disinfect an entire plant. Combine selective pruning with dry-leaf watering, debris removal, and correct site care so the next leaves have a better chance of staying clean.
Conclusion: diagnose before you treat
When hydrangea leaves develop brown spots, begin with the pattern: lower leaves and purple-edged circles suggest leaf spot, large bull’s-eye lesions may indicate anthracnose, brown flowers with gray fuzz point toward Botrytis, crispy margins suggest scorch or drought, and depressed shot holes suggest insect feeding. Wilting in wet soil is a different warning that deserves a root-zone check.
The quickest useful response is to remove the worst tissue, dispose of suspected disease debris, water at the soil line, and improve airflow. Give the plant a few weeks to show clean new growth before escalating. Fungicides are not a substitute for diagnosis, and many home-landscape cases are better managed with sanitation and cultural care than with routine spraying.



