Inaba Shidare Japanese Maple Care: A Complete Guide
Learn how to grow Inaba Shidare Japanese maple with the right light, drainage, watering, pruning, container care, and fixes for scorched or curled leaves.
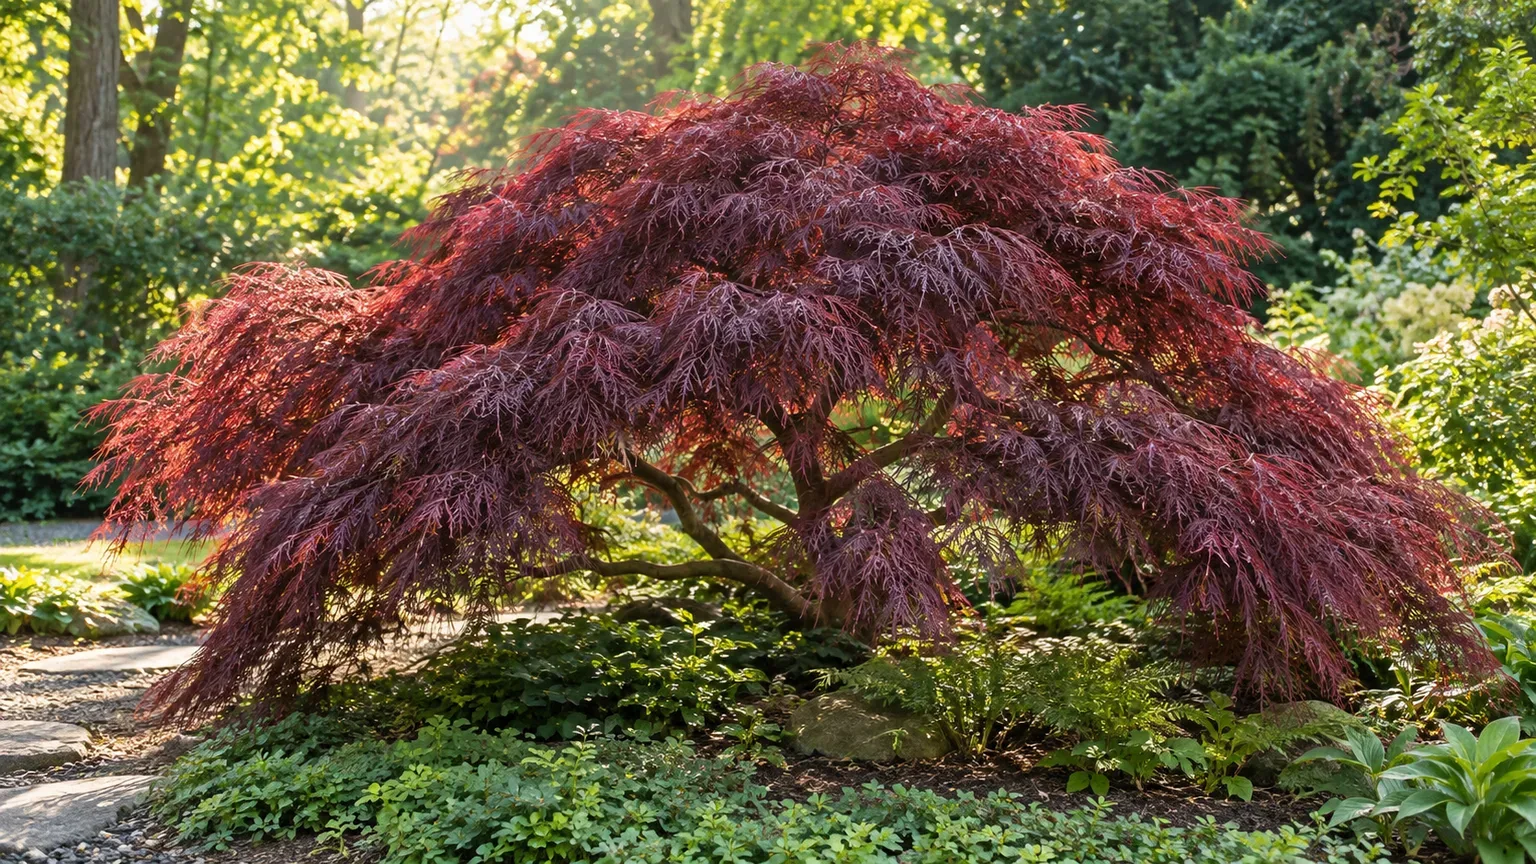
Inaba Shidare is a laceleaf Japanese maple chosen for its deep red, finely divided foliage and low, cascading outline. Its success depends less on special products than on getting four things right: a site that is bright but not punishingly hot, soil that drains, steady water while roots establish, and pruning that respects its natural shape. Get those conditions in place and the tree can be a long-lived focal point; plant it into hot reflected sun or a wet pocket and leaf scorch or decline can follow even if you water regularly.
The cultivar is usually sold as Inaba-shidare, though labels may vary in how they write the name or classify it under the dissectum group. That matters when buying: confirm the cultivar on the tag rather than assuming every red weeping Japanese maple will have the same mature size or color.
Inaba Shidare at a glance: form, foliage, and mature space
This is a deciduous, slow-to-moderate-growing Japanese maple with a spreading, often umbrella-like habit. Its leaves are deeply cut into narrow, lacy lobes; NC State Extension lists Inaba Shidare among laceleaf maples and describes the cultivar as having large maroon leaves. New growth can look brighter red, summer leaves tend toward burgundy or purple-red, and cooler fall weather may push color toward scarlet. Shade, heat, light, and the tree’s individual stock can shift the exact color.
Plan for a broad canopy rather than a narrow upright tree. Mature-size labels for named maples are estimates: age, grafted rootstock, soil, climate, and pruning all influence the dimensions. NC State Extension suggests a 6- to 12-foot planting space for the laceleaf group and notes that cultivar sizes vary, so use that as a starting point, not a hard ceiling. Keep the branches clear of paths and allow enough room for the skirt to widen without being sheared every year.
The NC State Extension species profile gives Japanese maple a broad hardiness range, and its laceleaf profile spans USDA Zones 5a through 9b. That broad range describes regional winter minimums; it does not mean a tree in a hot, dry Zone 9 yard will thrive in an exposed afternoon-sun site. Ask a local nursery about the cultivar and rootstock it sells, then weigh summer heat and winter exposure as well as the zone number.
Is this Japanese maple right for your garden?
Choose Inaba Shidare when you want a specimen tree with a low, layered canopy and foliage that stays a focal point from spring to fall. It works especially well where you can see its outline from a patio, window, or garden path, and where the finely divided leaves contrast with broad-leaved shrubs, stone, or evergreen plants. Its slow growth suits smaller landscapes, but “slow-growing” does not mean “stays tiny”; it still needs room to spread.
It is less forgiving in a hot, windy, or chronically wet spot. A shallow-rooted tree with delicate new leaves can lose its best appearance to drying wind and heat even if its roots are not dead, while saturated soil deprives roots of oxygen. If the only available place is beside a south- or west-facing wall, under roof runoff, or in a compacted low spot, consider a tougher plant or fix the site first.
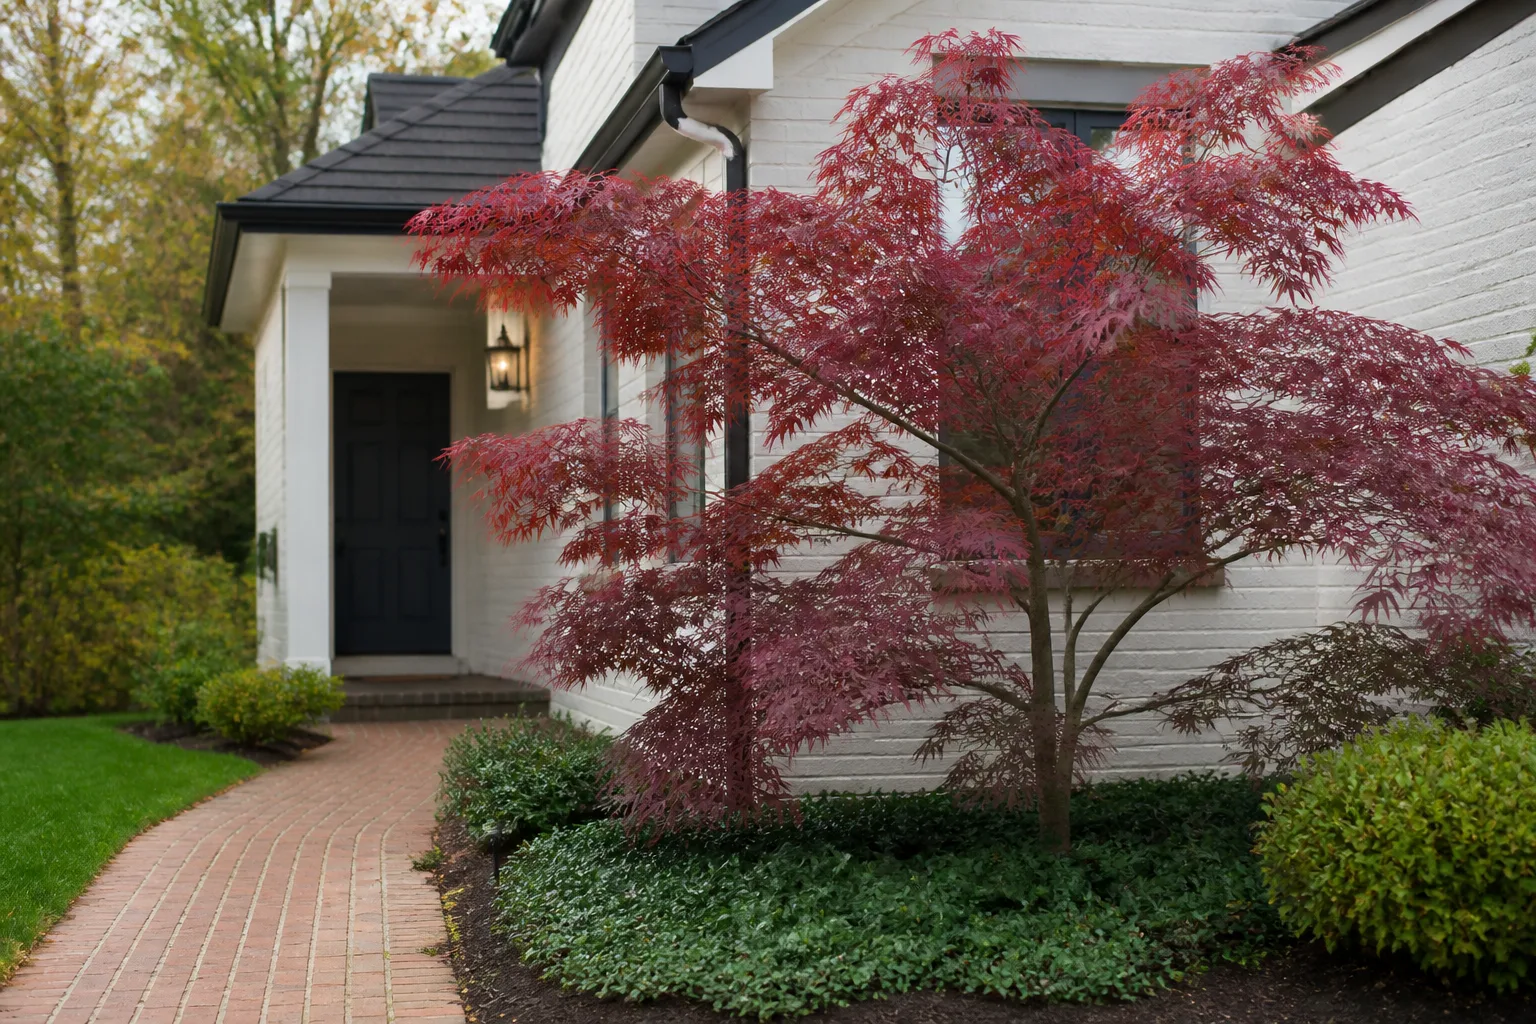
Choose a site with gentle light and wind protection
In cooler summer climates, a laceleaf maple can take more sun, especially if the soil stays evenly moist. In hot-summer regions, give it morning sun or bright filtered light with protection from the strongest afternoon rays. The goal is not deep shade: too little light can reduce vigor and may dull foliage color, while intense sun on hot leaves increases the chance of crispy edges.
Watch the site at the time of day that stresses plants most. A location that looks lightly shaded in the morning may bake beside a west-facing wall from midafternoon onward. Pavement, pale masonry, and reflected heat add stress; a few hours of direct morning light followed by dappled shade is usually a safer starting point in warmer climates. If your tree is already established, do not respond to scorched leaves by moving or aggressively pruning it in midsummer. Reduce root-zone stress first and reassess the next flush.
Wind is a second exposure problem, not a minor detail. Drying gusts can desiccate fine leaf margins and break slender cascading shoots, particularly in young trees and exposed courtyards. Plant near a building, fence, or larger shrubs that soften wind without trapping hot air or shading the maple completely. Leave airflow around the crown; a cramped, stagnant corner increases disease pressure.
Get drainage and soil right before planting
The useful target is moist but well-drained soil with organic matter and a slightly acidic to near-neutral reaction. Laceleaf Japanese maples tolerate a range of garden soils, but they do not benefit from roots sitting in standing water. NC State Extension’s laceleaf profile cautions that hot, dry conditions and high-pH soils can cause problems: heat and uneven moisture promote scorch, while alkaline soil can interfere with nutrient uptake and lead to chlorosis.
Test drainage before you dig the planting hole. After a soaking rain, check whether water remains in the spot the next day; also notice if the soil is sticky, compacted, or smells sour. A simple hole filled with water can help reveal slow drainage, but use it as a rough screening test rather than a laboratory diagnosis. If water drains poorly, choose a raised planting area or broad berm and improve the whole planting zone’s structure. Do not fill one small hole with rich potting mix inside dense clay; the amended pocket can collect water like a basin.
A soil test is more useful than guessing from leaf color. If pH is high, ask your local extension office whether gradual soil correction is appropriate for your soil type; do not pour vinegar or other acidifiers around the roots. Compost can improve soil structure when incorporated across a broad bed, but avoid making a rich, sharply different “pot” that encourages roots to circle around the amended hole. Keep the original root ball and surrounding soil in contact.
Plant the root ball at the correct height
Plant in spring or fall when conditions are mild and the soil is workable, avoiding frozen ground, heat waves, and drought. Water the nursery tree before planting so the root ball is damp rather than bone dry. Choose a day when the soil is moist but not waterlogged.
Dig a hole two to three times wider than the root ball but no deeper than the distance from the root flare to the bottom of the ball, following University of Minnesota Extension’s tree-planting guidance. The first large roots should sit at or just above the finished soil grade; do not bury the trunk flare. If the tree is container-grown, slide it out carefully, loosen circling roots at the outer edge, and cut any tight girdling roots before they become embedded. If it is balled and burlapped, remove synthetic materials and loosen or remove the upper burlap and ties after the tree is stable.
Set the tree upright and backfill with the soil you removed, breaking large clods but not packing the ground hard. Water slowly to settle soil around the roots, then check the trunk flare again because settling can leave it too deep. Do not add fertilizer to the planting hole or stake the tree unless the root ball is unstable or the site is unusually windy. If staking is needed, use flexible ties and remove them after the tree can stand securely on its own.
Water for establishment without keeping roots soggy
For the first growing season, check moisture at the root ball rather than following a rigid weekly schedule. Push a finger or narrow trowel a few inches into the soil near the edge of the root ball; water deeply when the upper layer begins to dry, then allow excess water to drain. During heat or wind, check more often. A short sprinkle over the leaves does little to wet the full root zone.
Water slowly at the soil surface so moisture reaches the root ball and nearby soil. A soaker hose or a hose set to a low trickle can be more effective than a fast blast that runs off. After watering, dig a small test spot just beyond the root ball: if the soil is still dry there, extend the watering area. As roots expand and the tree establishes, reduce frequency but continue to water during prolonged dry spells.
Avoid both extremes. Wilting can indicate dry soil, but a tree with waterlogged roots can also look limp or stressed because damaged roots cannot take up water. Before watering a drooping maple, check the soil and drainage. If the root zone is wet for days, stop supplemental watering, divert runoff, and address compaction or grading rather than adding more water.
Mulch the root zone, not the trunk
A loose layer of organic mulch helps moderate soil temperature, reduce evaporation, and protect fine surface roots from mowing damage. Gardening Know How’s Japanese maple guide recommends mulch to conserve moisture and suppress weeds, while keeping it away from the trunk. Spread about 2 inches over the root zone, extending it beyond the original nursery pot or root ball where practical. Keep a bare gap of several inches around the trunk; mulch piled against bark holds moisture against the stem and hides damage.
Refresh mulch as it breaks down instead of adding a new thick layer every year. A shallow, wide mulch ring is more useful than a tall mound around the trunk. Keep lawn equipment away from the tree as well: string trimmers and mower blades can wound the bark, and repeated injury at the base is difficult for a slow-growing ornamental to outgrow.
Fertilize only when growth or a soil test calls for it
A newly planted Japanese maple does not need a strong fertilizer dose to establish. Prioritize moisture, a stable root zone, and good drainage. If the tree is growing normally and leaves look consistent with the cultivar, skip routine feeding; excess nitrogen can push soft growth, disturb the natural balance of the canopy, and worsen late-season vulnerability.
If a soil test identifies a nutrient deficiency or growth is consistently weak after site and water problems are ruled out, use a modest, slow-release product at the label rate in early spring. Garden Design’s care notes also emphasize restraint with fertilizer and avoiding late-season feeding. Do not apply fertilizer against the trunk or into the planting hole. Yellow leaves alone are not a reason to feed: high soil pH, waterlogged roots, drought, or normal seasonal color change may explain the symptom better.
Prune to reveal the cascading structure
Inaba Shidare is valued for its own layered form, so routine shearing is unnecessary. Start by removing dead, broken, or rubbing branches, then step back and decide whether one or two selective cuts would improve the view through the canopy. Remove a branch at its collar rather than cutting flush to the trunk or leaving a long stub. Clean tools between trees if you are removing diseased wood.
For the weeping outline, remove a few small branches that cross, point inward, or obscure a stronger structural branch. Do not lift the whole canopy at once or cut all the tips into a neat ball; both destroy the natural skirt and can expose shaded bark to sun. If a branch is too low over a path, shorten it back to a suitable side branch or remove one branch at a time over several seasons. Large reductions on a mature tree are better handled by an experienced arborist.
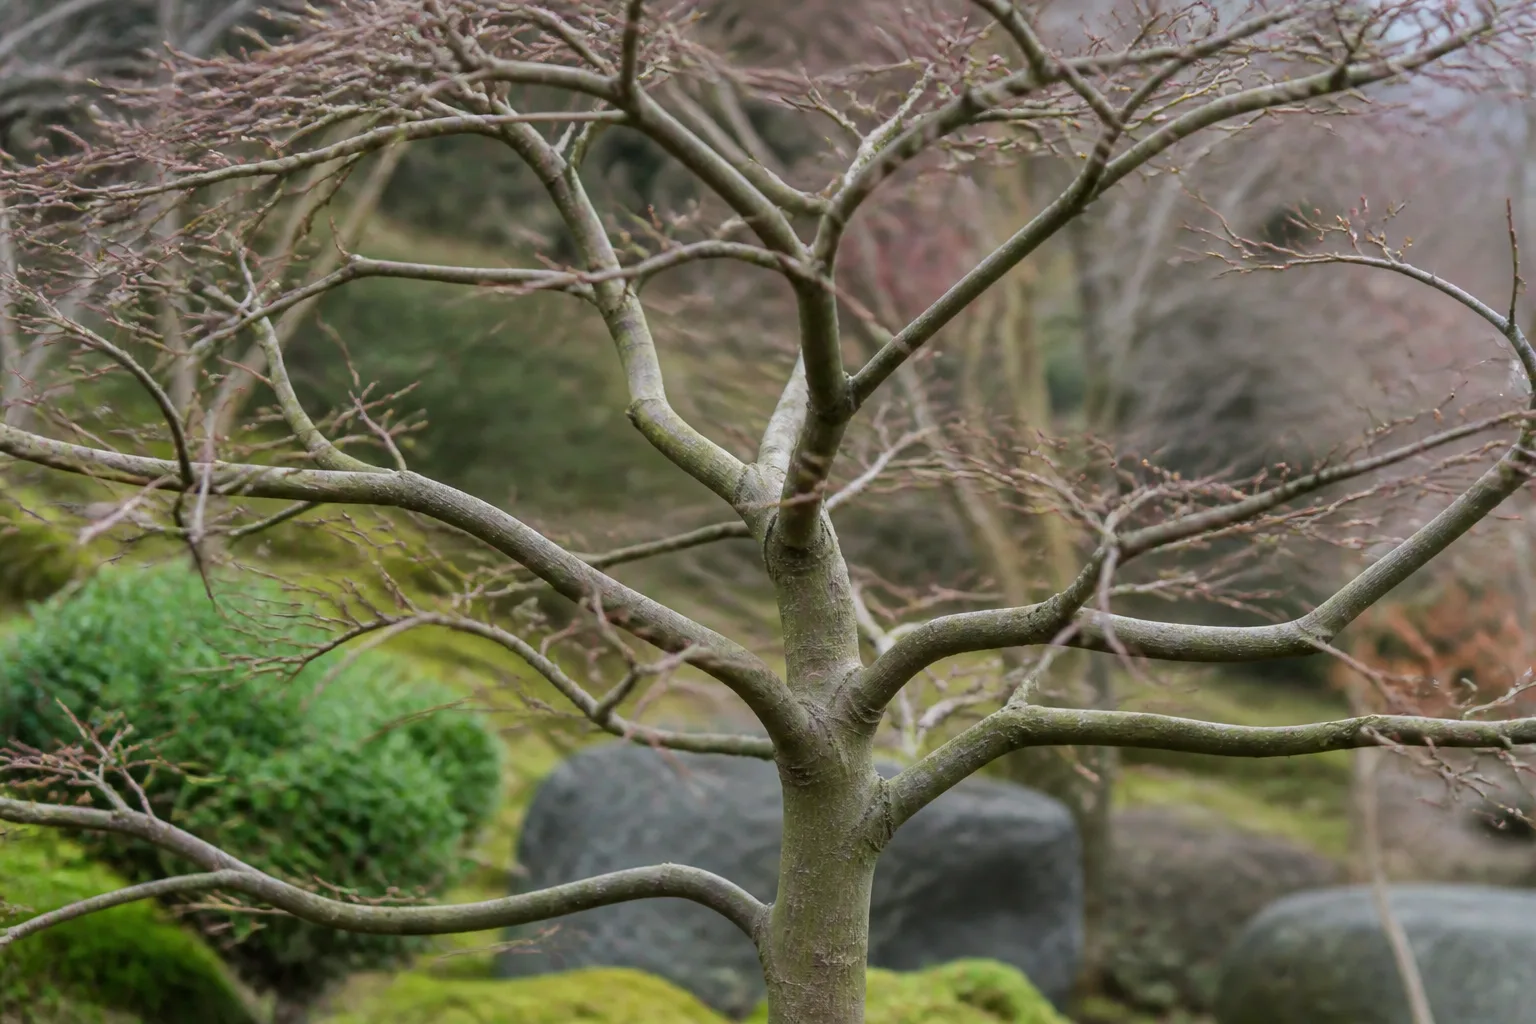
There is no single pruning month that fits every climate and every goal. NC State Extension recommends keeping pruning minimal and places needed cuts in late fall to midwinter; Fine Gardening describes winter as useful for seeing the branch framework and mild-season summer thinning as a way to judge the leafy silhouette. Avoid heavy cuts during spring leaf emergence, hot weather, or immediately before a stressful dry period. Keep pruning light—never remove a large share of the crown in one session—and make cuts in dry weather when disease risk is lower.
Grow Inaba Shidare in a container
A container is useful when you need a movable focal point, have no suitable garden bed, or want to grow the tree on a patio. It also makes care less forgiving: a pot heats and dries faster than garden soil, roots have less room to buffer mistakes, and the container’s root ball is more exposed to winter cold. If you can plant it in the ground in a good site, that is usually the lower-maintenance option.
Choose a sturdy pot with generous drainage holes and enough room for the existing root ball plus several years of growth. Use a high-quality, free-draining potting mix rather than heavy garden soil. Set the root flare at the same level it grew in the nursery pot and leave room to water without runoff spilling immediately over the rim. A large, broad container is more stable for a cascading canopy than a narrow lightweight pot.
Check moisture more often in summer, but do not leave the pot standing in a saucer of water. Water thoroughly until it drains, then empty the catch tray. Repot when roots circle densely, water runs straight through without wetting the mix, or growth slows despite good light and watering. Move up one pot size or refresh part of the mix; avoid severe root pruning unless you have experience with Japanese maple container culture.
Protect roots and new growth through winter
In-ground trees within their locally recommended hardiness range generally need little special winter care after establishment. Apply or refresh a modest mulch layer after the ground cools, but keep it away from the trunk and do not mound it over the root flare. Avoid late-season high-nitrogen feeding that encourages tender growth before cold weather.
Young leaves can be damaged by a late spring frost even when the tree’s roots are hardy enough for winter. If a frost is forecast after buds open, cover a small tree with breathable fabric before sunset and remove the cover the next morning; do not let plastic rest directly on tender foliage. Avoid pruning frost-burned tips immediately if you are unsure how far damage extends. Wait until new growth makes the live and dead tissue easier to distinguish.
For a container, protect the roots rather than bringing a dormant tree into a heated room. Move the pot to an unheated sheltered location, group it near a wall, or insulate the container so the root ball does not experience repeated freeze-thaw swings. Keep it out of harsh winter wind and check occasionally that the mix has not dried completely during a long dry spell.
Diagnose leaf scorch, browning, and weak color
Brown, crispy edges on otherwise healthy leaves most often point to stress from hot sun, wind, or a drying root ball. Note which side of the tree is affected: damage concentrated on the west or south side often matches exposure, while scattered scorch after a windy hot spell can indicate rapid water loss. Check moisture several inches below the surface before increasing irrigation.
If leaves yellow broadly, look at the soil and the veins. High-pH soil can cause chlorosis; roots that remain wet or compacted may also fail to take up nutrients. In fall, yellow, orange, or red leaves and subsequent leaf drop are normal. Do not assume that every color shift means the tree needs fertilizer.
Small spots are different from a crisp margin. Leaf spots that enlarge, appear water-soaked, or arrive with blackening veins or twig dieback deserve closer inspection, especially after wet spring weather. Photograph the same affected branch over several days and note recent frost, pruning, rainfall, and irrigation. That short record helps a local extension diagnostic service separate environmental injury from a disease problem.
A practical response order is: check soil moisture, assess sun and wind exposure, inspect the trunk flare and drainage, then look for pests or progressive branch symptoms. Correct the likely stressor first and avoid stacking several treatments at once. If damage spreads despite corrected watering and shelter—or whole branches begin to die—seek a diagnosis rather than spraying a product at an unidentified problem.
Check pests and dieback before treating
Aphids, scale, leafhoppers, and leafrollers can occasionally feed on Japanese maples, but a few insects do not automatically justify treatment. Inspect leaf undersides and twigs with a hand lens; look for clustered soft-bodied insects, immobile scale bumps, webbing, sticky honeydew, or distorted new growth. For a small aphid colony, a firm rinse with water may dislodge insects, but repeat only if the plant tolerates the spray and the problem continues.
Blackened twigs, black veins, water-soaked spots, and shoots that die back can be symptoms of bacterial leaf spot and dieback. The Oregon State-led Pacific Northwest Pest Management Handbooks explain that bacterial disease is favored by wet conditions and that dieback symptoms may overlap with other problems such as Verticillium wilt. Remove only clearly dead or infected small branches with clean tools in dry weather, collect fallen diseased leaves, and improve airflow without stripping the canopy. Do not assume that copper spray will cure an established infection; disease management depends on diagnosis, and some bacterial populations resist copper products.
Avoid blanket pesticide or fungicide use. It can harm beneficial insects, fail to address root stress, and make diagnosis harder. If a young tree loses multiple shoots, the trunk develops cankers, or symptoms recur each spring, send photographs and the cultivar name to your local extension office or consult a certified arborist.
Propagate by cuttings or seed—with different expectations
If your goal is a tree that keeps the exact Inaba Shidare foliage and habit, purchase a correctly labeled grafted plant or try a cutting with realistic expectations. Many named Japanese maple cultivars are grafted because this maintains their traits, as NC State Extension notes for Japanese maple; home cuttings can root, but success varies by cultivar, cutting maturity, humidity, and temperature. Rooting several cuttings is a better experiment than relying on one to replace a mature tree.
Take a healthy 4- to 6-inch tip cutting from flexible, current-season growth after the spring flush begins to firm. Use clean pruners, remove leaves from the lower portion, and place the cut end in a sterile, free-draining propagation medium. A light application of rooting hormone may help if the product label allows that use. Cover the pot loosely to hold humidity while allowing some air exchange, keep it in bright shade, and keep the medium lightly moist—not saturated. Open the cover if condensation stays heavy or mold appears. Wait for roots to form before potting on; a cutting that produces leaves has not necessarily rooted.
Seed growing is a different project. Mature Japanese maple seeds are paired in winged fruits called samaras; collect brown, dry samaras when they release easily, then remove the wings and keep the seed clean. Gardener’s Path’s Japanese maple seed guide describes soaking seed and giving it about 100 days of cold, moist stratification before sowing; follow that method as a starting point, but expect germination to vary with seed freshness and conditions. Sow shallowly in a free-draining mix, protect seedlings from harsh afternoon sun, and keep moisture steady while they establish.
Seedlings are not clones. Cross-pollination and genetic variation mean a seed from an Inaba Shidare may not grow into another Inaba Shidare, so do not choose seed propagation if you need the same maroon leaf color, fine dissection, or weeping form. Seed is worthwhile if you enjoy raising variable young maples; grafted stock or a successful cutting is the route to preserve a specific cultivar.
Choose a healthy nursery tree and place it for the long term
Look for flexible branches, evenly distributed buds, and foliage that is not heavily scorched or spotted. Check the trunk base for a visible root flare and the graft union, if present. Avoid trees with roots tightly circling the container, a buried trunk flare, broken leaders, or a label that identifies only “red Japanese maple” without the cultivar name.
Ask the nursery how the plant was propagated, what rootstock it uses, and the expected mature width in your climate. Compare the canopy shape to the space you have: a low cascading tree can eventually cover ground beneath it, block a path, or obscure a window. Leave access for watering, mulch renewal, and occasional pruning so the tree does not become a maintenance problem as it grows.
If the spot is borderline, trial the conditions before planting: watch the afternoon sun for several days and inspect the soil after rain. Moving a container-grown specimen to a better site is much easier than trying to correct years of root stress after the tree is established. The best location is one that matches the tree’s mature shape and your ability to water it—not simply the most visible empty patch.
Seasonal care calendar
| Season | What to do | What to watch |
|---|---|---|
| Early spring | Check the root zone as growth resumes; plant or transplant while conditions are mild; correct dead or damaged wood only. | Late frost on newly opening leaves; do not apply heavy fertilizer automatically. |
| Late spring and summer | Monitor moisture during heat and wind; water slowly when the root ball begins to dry; renew mulch if thin. | Crispy leaf margins, reflected heat, standing water, and fast-drying pots. |
| Late summer and fall | Stop high-nitrogen feeding; collect ripe samaras if you want to grow seedlings; remove fallen diseased leaves. | Avoid stimulating tender growth or pruning heavily before cold weather. |
| Late fall and winter | Inspect the bare branch structure and make needed selective cuts in a dry, mild window; protect container roots from severe swings. | Do not mound mulch against the trunk or bring a dormant tree into a heated room. |
Conclusion
Inaba Shidare grows best when its site solves the main trade-off: enough light for strong color, but shelter from punishing afternoon heat and drying wind. Pair that exposure with well-drained soil, even moisture during establishment, and a mulch ring that stays clear of the trunk. Those basics prevent more problems than a routine fertilizer or spray schedule.
Let the maple keep its natural cascading form. Prune only to remove damage or clarify the structure, monitor brown leaves by checking the roots and exposure first, and treat seed as a way to raise a variable Japanese maple rather than reproduce the named cultivar. Give it space to spread and a suitable microclimate, and the tree can become a stable focal point for years.



