4 Signs Your Heater Is Hurting Houseplants (Fixes)
Space heaters and HVAC vents dry winter air fast. Learn four heater damage signs on houseplants and quick fixes for humidity, placement, and recovery.
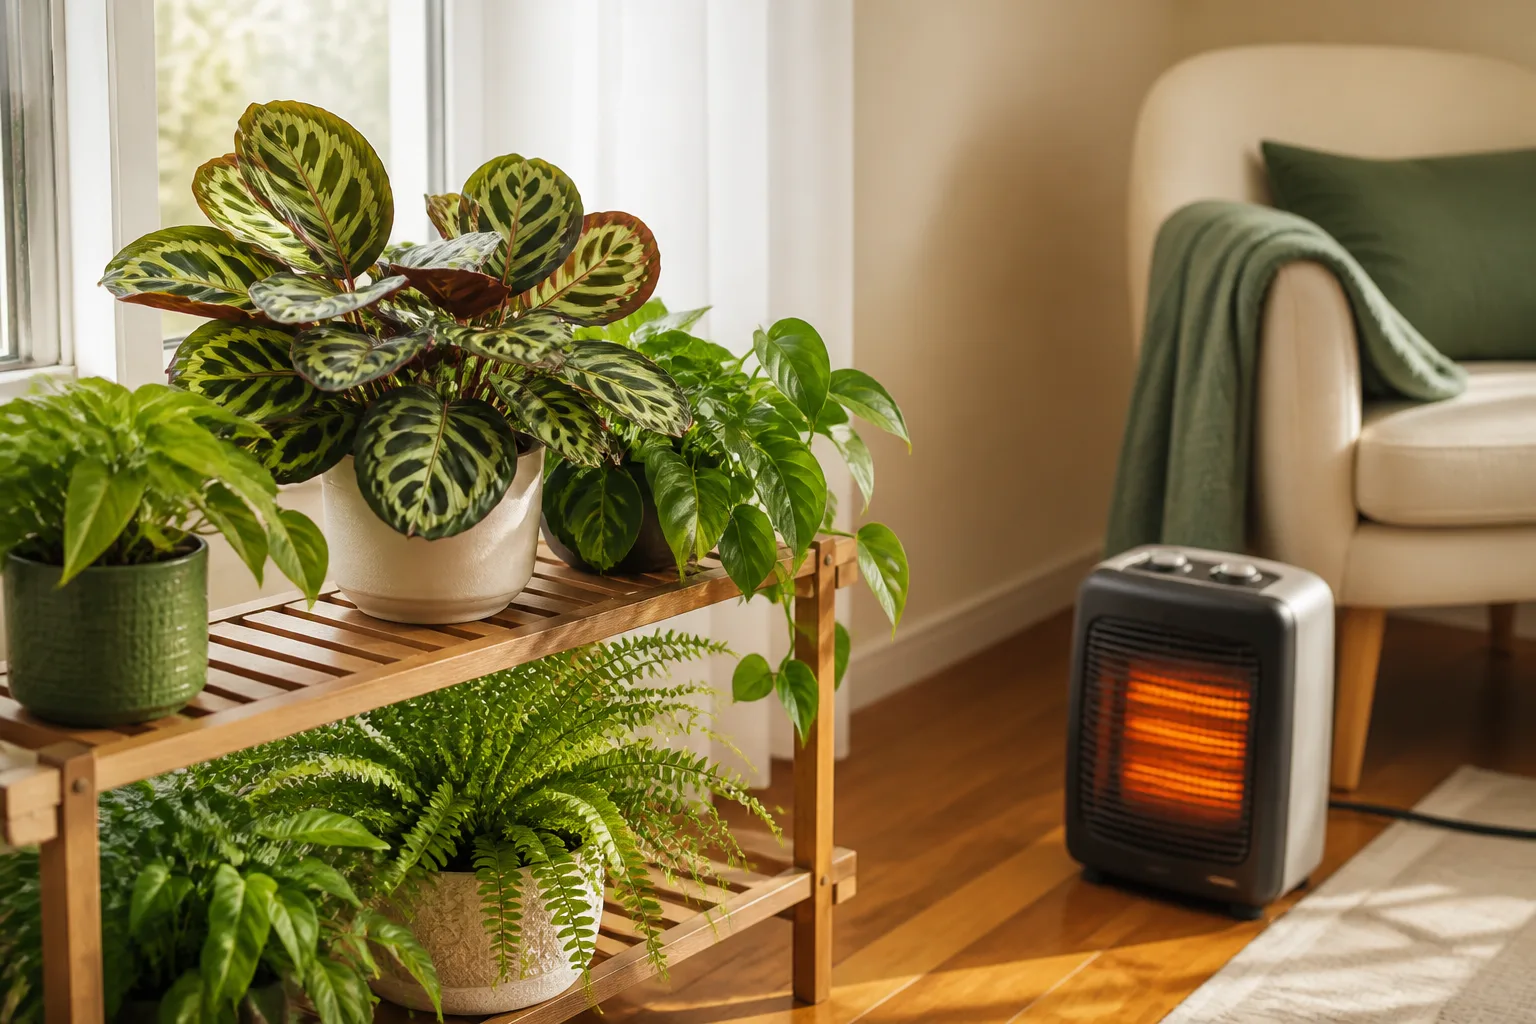
Your calathea looked fine in October. By January it hangs limp beside the register, edges turned brittle, new leaves smaller than the old ones. You watered on schedule. You did not move the pot. What changed was the heat — and for many houseplants, winter warmth is the hidden stressor that turns a stable room into a dry, uneven microclimate.
Heaters rarely kill plants overnight. They do two things at once: strip moisture from the air and, when placed too close, blast foliage with dry heat that leaves cannot replace fast enough. The result is a collection that looks thirsty when the real problem is atmosphere and placement. This guide names four warning signs, walks you through a fast audit, and shows how to fix placement and humidity without falling into the winter overwatering trap. For the broader seasonal picture, see our winter houseplant care guide and why houseplants struggle in winter.
Why Winter Heat Is a Double Threat to Houseplants
Houseplants are not allergic to warmth. Most tropical foliage tolerates the same indoor temperatures you do. The trouble starts when heat sources change how fast leaves lose water and how steady the air around the pot stays.
Dry Air Drops Faster Than Most Growers Expect
When outdoor air is cold, it holds little water vapor. Heating that air — whether through central HVAC, a radiator, or a portable space heater — raises temperature but does not add moisture. Relative humidity can plunge. Many homes sit well below what moisture-loving foliage prefers once furnaces run regularly.
Chippewa County horticulture educator Margaret Murphy notes that many houseplants favor 40 to 50 percent relative humidity, higher than the average heated home provides in winter (UW-Madison Extension). The Royal Horticultural Society warns that central heating dries indoor air, making life difficult for ferns, thin-leaved calatheas and marantas, and orchids (RHS). In rooms where a space heater runs for hours, humidity can drop even further — sometimes into the teens — creating what amounts to a localized drought around the leaves even when soil moisture looks fine.
Low humidity speeds transpiration: water exits leaf pores faster than roots can pull it up. Stomata may close to conserve water, which slows photosynthesis and growth. That is why winter damage often shows on leaf margins and tips first — the farthest tissue from the water supply.
Direct Heat Burns Leaves Before Roots Feel It
Dry air stresses the whole plant. Direct radiant heat damages tissue on one side first. Extension guidance is consistent: avoid placing houseplants near heat vents, fireplaces, or radiators where they receive blasts of hot air (UW-Madison Extension). The RHS adds that being too near radiators or fires can crisp delicate leaves, while cold windowsills create the opposite extreme (RHS).
Forced-air vents are especially rough because they combine heat, low humidity, and constant air movement. A pot that thrived three feet from a closed vent in summer may wilt when the same vent blows eight hours a day in January. Space heaters on the floor can scorch leaves at canopy height while the root ball stays cool — a mismatch that confuses growers into watering when they should be moving the plant.
The worst setups stack problems: a plant on a metal radiator cover, directly under a ceiling vent, or on a windowsill where afternoon sun and evening heat compete. Each layer adds transpiration stress. If you can only fix one thing tonight, break the direct heat path before you buy anything new.
Sign 1: Leaves That Droop, Curl, or Feel Papery
The first sign is often subtle: leaves that droop or curl during the hours heat runs, then partially recover overnight. Foliage may feel thin or papery between your fingers. On prayer plants and ferns, folded or rolled leaves that stay closed after the room cools point to moisture loss, not necessarily dry soil.
Heater-related wilt frequently appears on the warmest part of the day even when the potting mix is still moist. Roots are delivering water, but leaves are losing it faster than the vascular system can compensate in dry, moving air. Backyard Boss describes this pattern as daytime wilting with moist soil — a classic heat-stress signal rather than drought (Backyard Boss).
How to Tell Heater Stress From Underwatering
Run a two-check before you reach for the watering can. First, stick a finger one inch into the soil. If it is wet and the plant still wilts near a heat source, humidity and placement are the likely culprits, not thirst (UW-Madison Extension). Second, note timing: underwatering wilt usually comes after soil has been dry for days and improves after a thorough soak. Heater wilt cycles with the heat running.
Do not solve crispy, droopy leaves by watering more if soil is already damp. That path leads to root stress and overlaps with the overwatering mistakes covered in our winter houseplant watering guide. Raise humidity and move the pot first; water only when a soil check shows the plant actually needs it.
Sign 2: Crispy Brown Edges and Scorched Patches
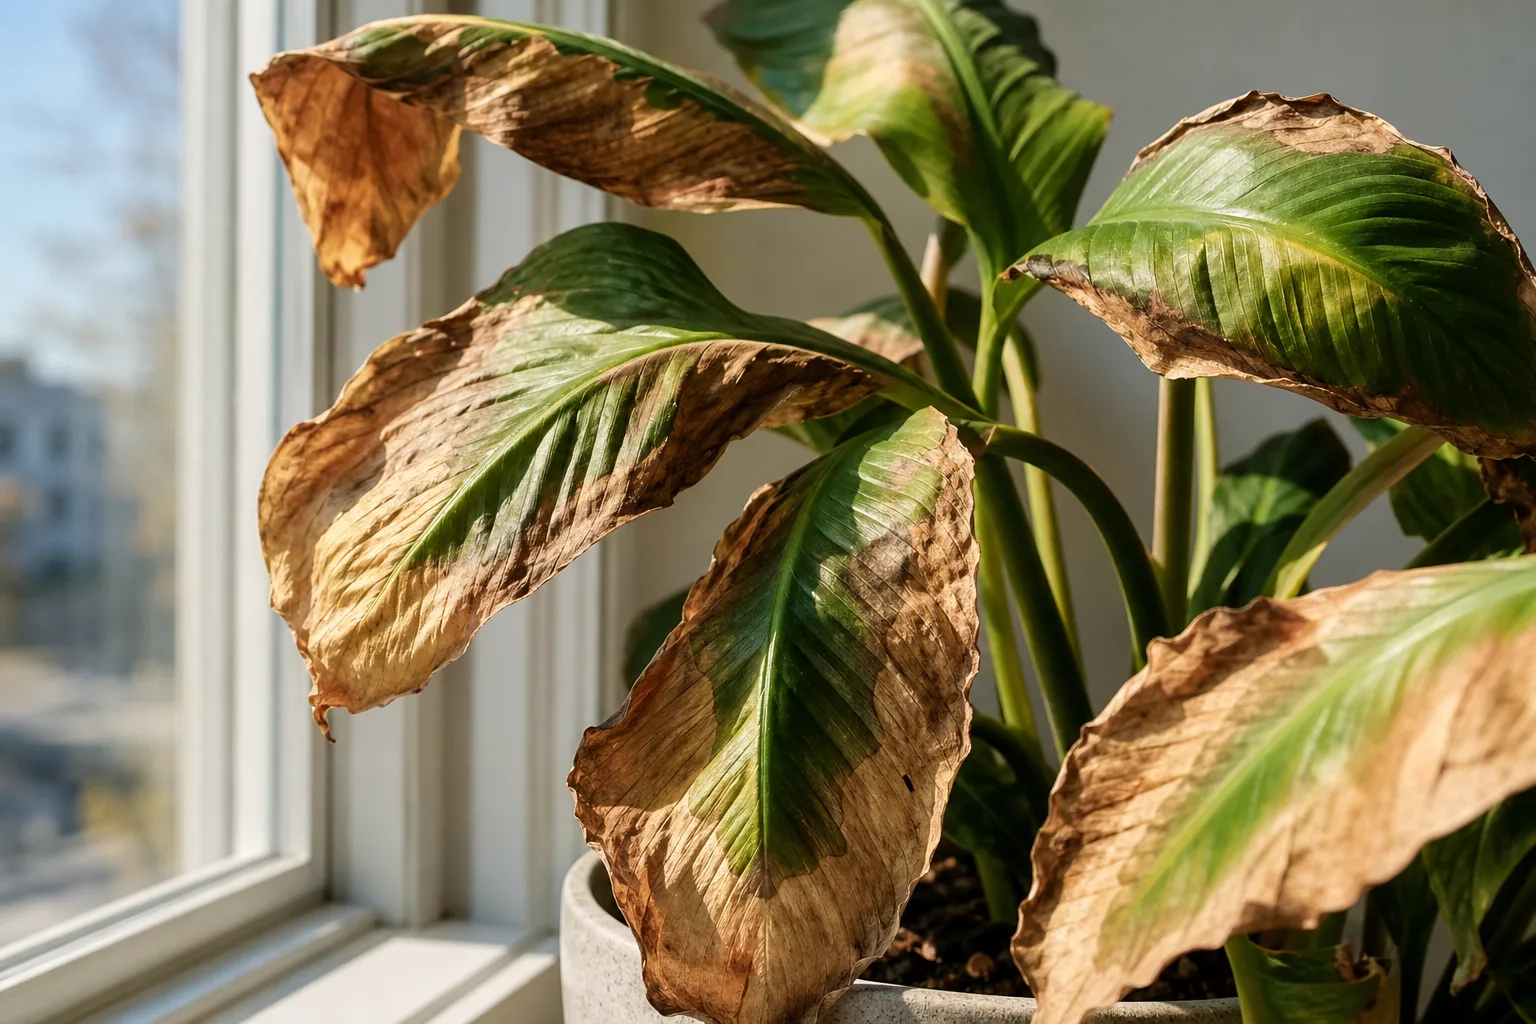
Brown, brittle margins and tan patches on the leaf face are the signature of desiccation — either whole-room dry air or direct heat on foliage. Edges crisp first because they are the last to receive water and the first to lose it.
Scorch from a nearby heater looks different from slow brown-tip buildup from fluoride or salt. Heat scorch often appears suddenly after you start running a new space heater or open a vent damper. Patches may be localized on the side facing the heat source rather than evenly around every leaf tip.
Which Side of the Plant Tells the Story
Rotate the pot mentally before you rotate it physically. If damage clusters on the side toward the radiator, vent, or heater grille, you are looking at directional heat injury. If tips brown evenly on all sides, low humidity is the broader cause — common in heated winter rooms and covered in depth in our brown tips on houseplants guide.
Extension and nursery sources recommend keeping heat sources at least three feet from houseplant canopies when possible so radiant heat disperses before it hits leaves (Backyard Boss). Closer than that, even a medium setting can cook foliage while the thermostat reads a comfortable 68°F.
Sign 3: Yellowing or Bronze Discoloration
Not every yellow leaf means overwatering. In winter, uneven yellowing — especially on the heater-facing side — can follow heat and moisture stress. Leaves may turn chartreuse, bronze, or dull olive before they brown entirely. Older leaves lower on the stem often go first because the plant is shedding tissue it cannot support in poor conditions.
Chronic low humidity also interferes with nutrient uptake and photosynthesis, so yellowing may show up without soggy soil or root rot smell. If yellow leaves drop easily and the soil stays wet for a week, pivot to a root check. If soil dries at a normal winter pace and yellowing tracks the heat season, audit placement and humidity before you change your watering rhythm (UW-Madison Extension).
Bronze or dull foliage on calatheas, ferns, and fittonias often precedes full browning. These thin-leaved species transpire heavily and show heater damage before thick-leaved pothos or ZZ plants do. Treat early yellowing on humidity lovers as an air-quality warning, not a fertilizer deficiency — feeding stressed plants in dry heat can burn roots and leaves alike.
Sign 4: Stalled Growth and Premature Leaf Drop
Most houseplants slow down in winter. That is normal. Heater stress pushes slowdown into decline: new leaves stay small, internodes shorten, and healthy-looking leaves drop after a heat wave. You may see bud abort on flowering plants like orchids — the RHS notes orchids are particularly vulnerable to cold, but bud drop also follows temperature swings near heat sources and cold glass (RHS).
Compare this season to last. If growth flatlined when the furnace kicked on and pests are absent, environment beats fertilizer. Pause feeding during obvious stress; most plants need little or no fertilizer in winter anyway (UW-Madison Extension). Fix heat and humidity first, then resume weak feeding only when you see active new growth in late winter or spring.
The 10-Minute Heater Audit Every Indoor Gardener Should Run
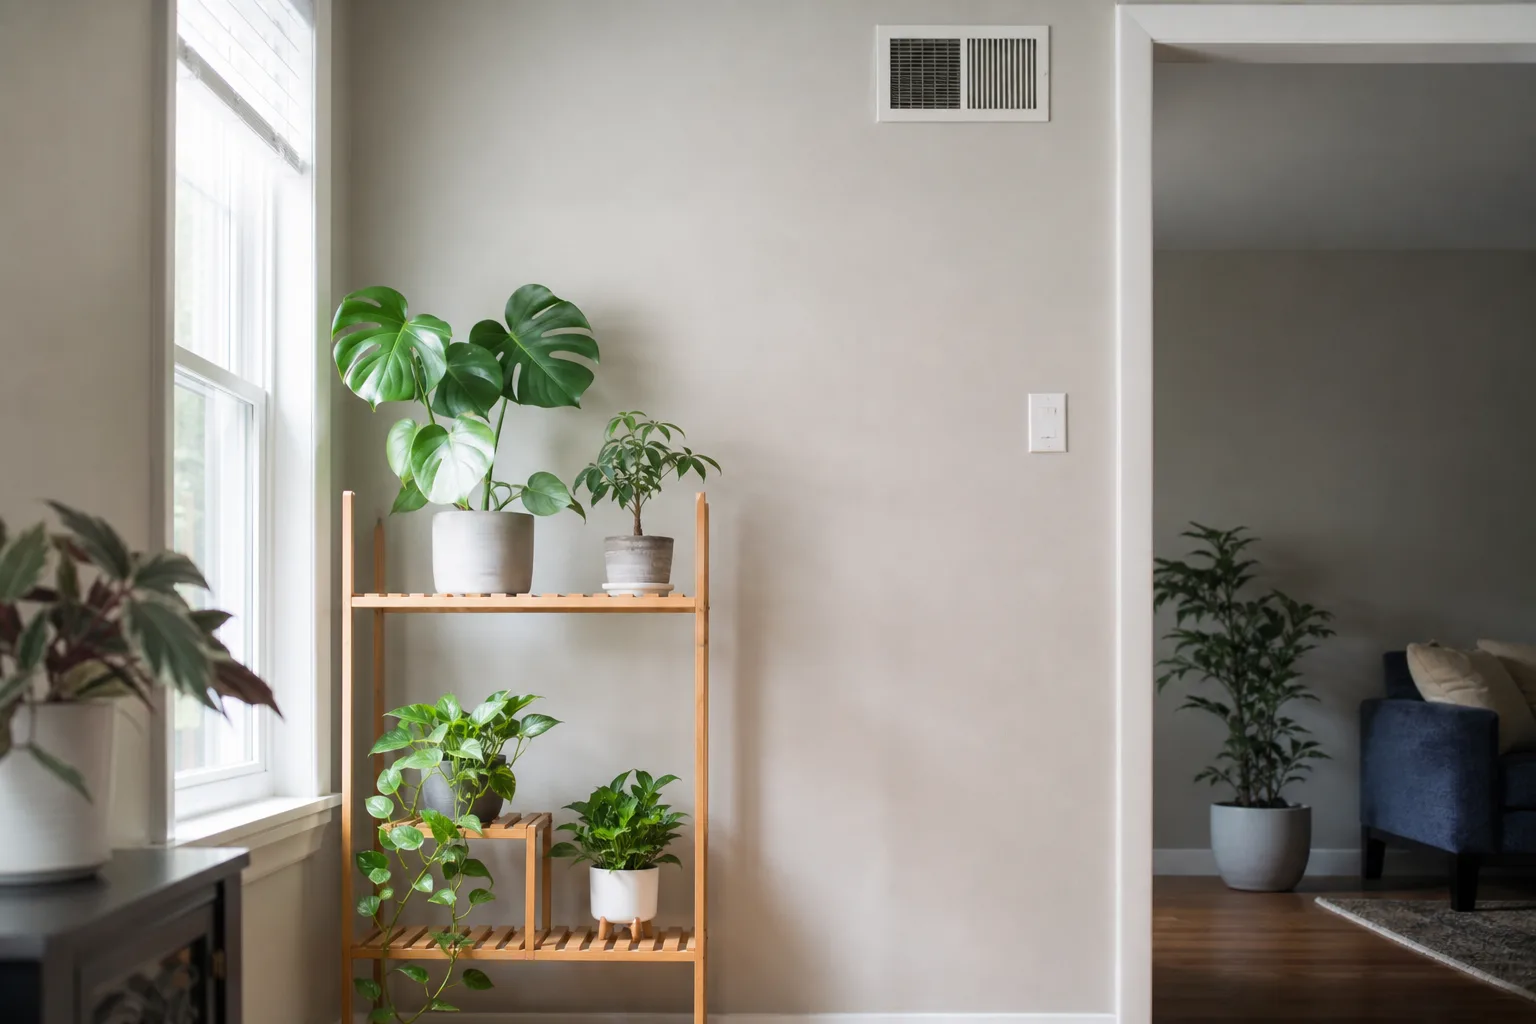
You do not need new gear to start — just a critical walk through the room with your plants in mind.
Step 1 — Map heat sources. Mark every vent, radiator, fireplace, and portable heater. Note which run for long stretches.
Step 2 — Measure distance. Canopy to heat source should be three feet or more for space heaters and open vents. Use a tape measure; eyeballing fails.
Step 3 — Feel the airflow. Hold your hand at leaf height near each plant while heat runs. If you feel a steady warm breeze, move the pot or deflect the vent.
Step 4 — Check the window opposite. Plants caught between a cold window and a heat blast experience swings that crisp leaves. Chippewa Extension recommends avoiding both heat blasts and cold drafts (UW-Madison Extension).
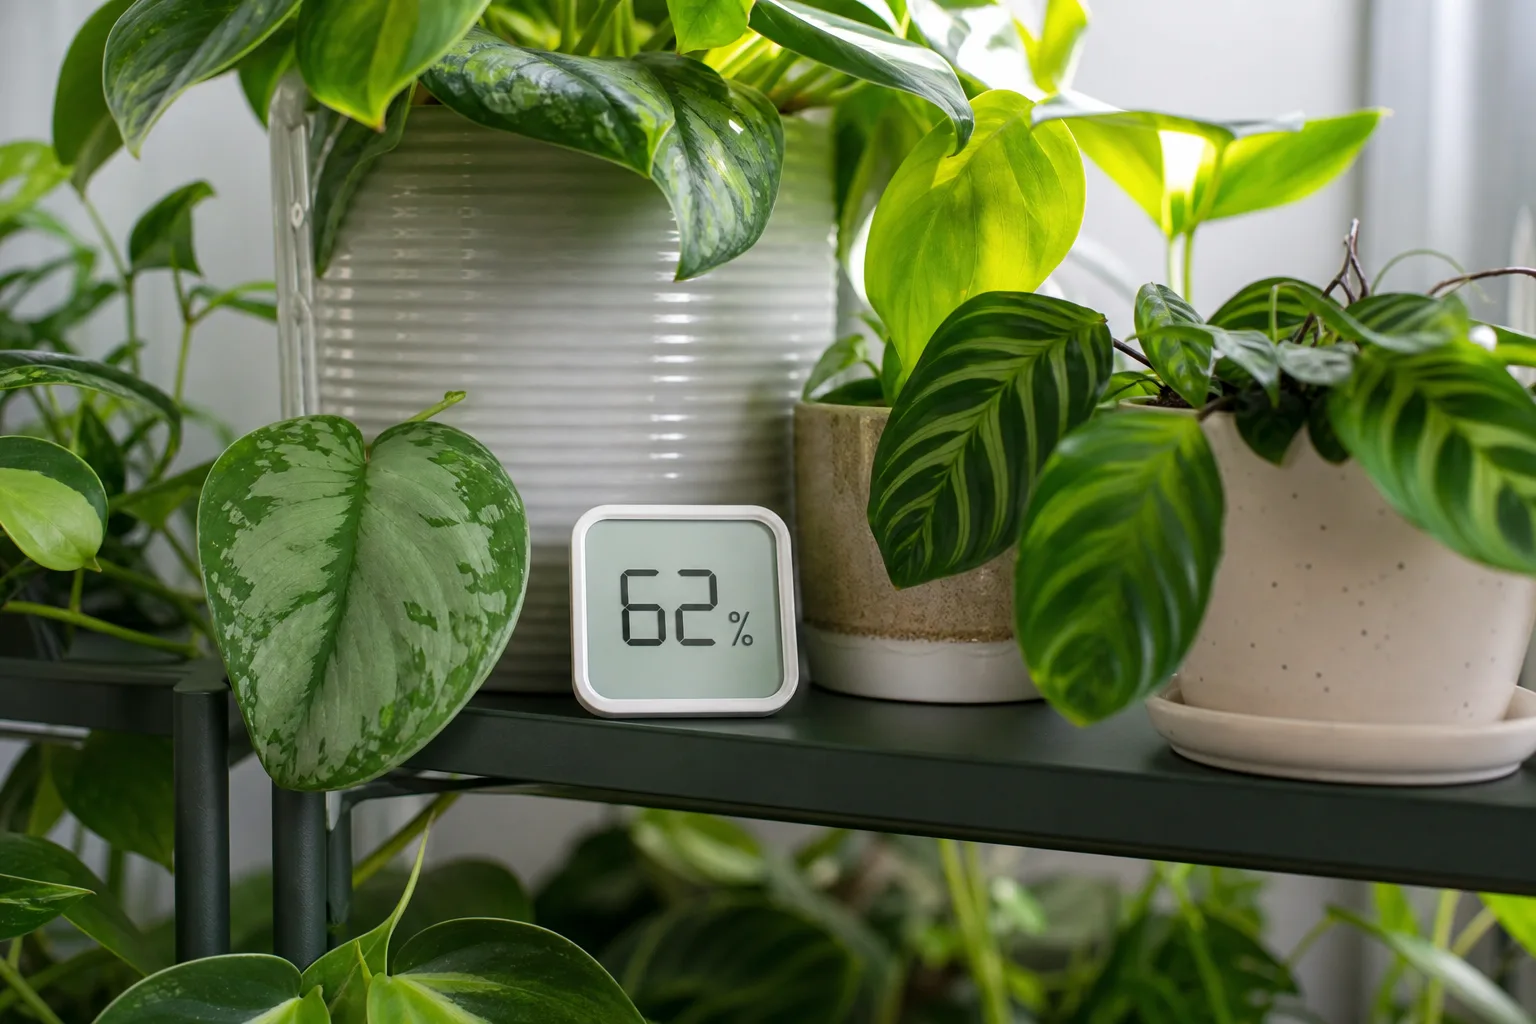
Step 5 — Read humidity if you can. A simple hygrometer near the plant tells you whether you are fighting 25 percent air or 45 percent. Target 40 to 60 percent for most tropical foliage; desert succulents tolerate lower. See our houseplant humidity guide for species-level nuance.
Distance, Vents, and Nighttime Drafts
Vent deflectors that push air along the ceiling instead of across a shelf cost little and save finicky plants. Closing a floor register under a plant stand is better than leaving a fern in the direct path of forced air.
At night, curtains drawn over cold windows can trap plants in a cold pocket if leaves rest against glass. Pull pots back from the pane or lift them off the sill while keeping them away from the radiator on the opposite wall. Stable, moderate temperatures — roughly 65 to 70°F by day and 60 to 65°F at night for most foliage houseplants — beat alternating hot and cold zones (UW-Madison Extension).
Fix the Air First: Humidity Without Overwatering
Once you move plants out of the heat lane, raise humidity around the foliage — not waterlogging in the pot. University of Maryland Extension lists pebble trays, plant grouping, and humidifiers as ways to increase humidity in the area around plants, not necessarily the whole home (University of Maryland Extension).
Humidifier: The most reliable whole-room fix for collections in dry heated spaces. Run it during the hours heat is on; clean it weekly to avoid mineral buildup and mold.
Grouping: Cluster plants so transpiration from one pot modestly raises humidity for neighbors. Do not group pest-infested plants with healthy ones.
Pebble trays: Shallow trays of stones with water below the pot base add local evaporation. They help a single finicky plant; they will not humidify a large room. Build them correctly in our DIY pebble tray guide.
Misting: Chippewa Extension notes misting provides only a short-lived humidity bump unless you mist constantly through the day — impractical for most people (UW-Madison Extension). Misting is a supplement, not a strategy.
Humidifiers, Pebble Trays, and Plant Grouping
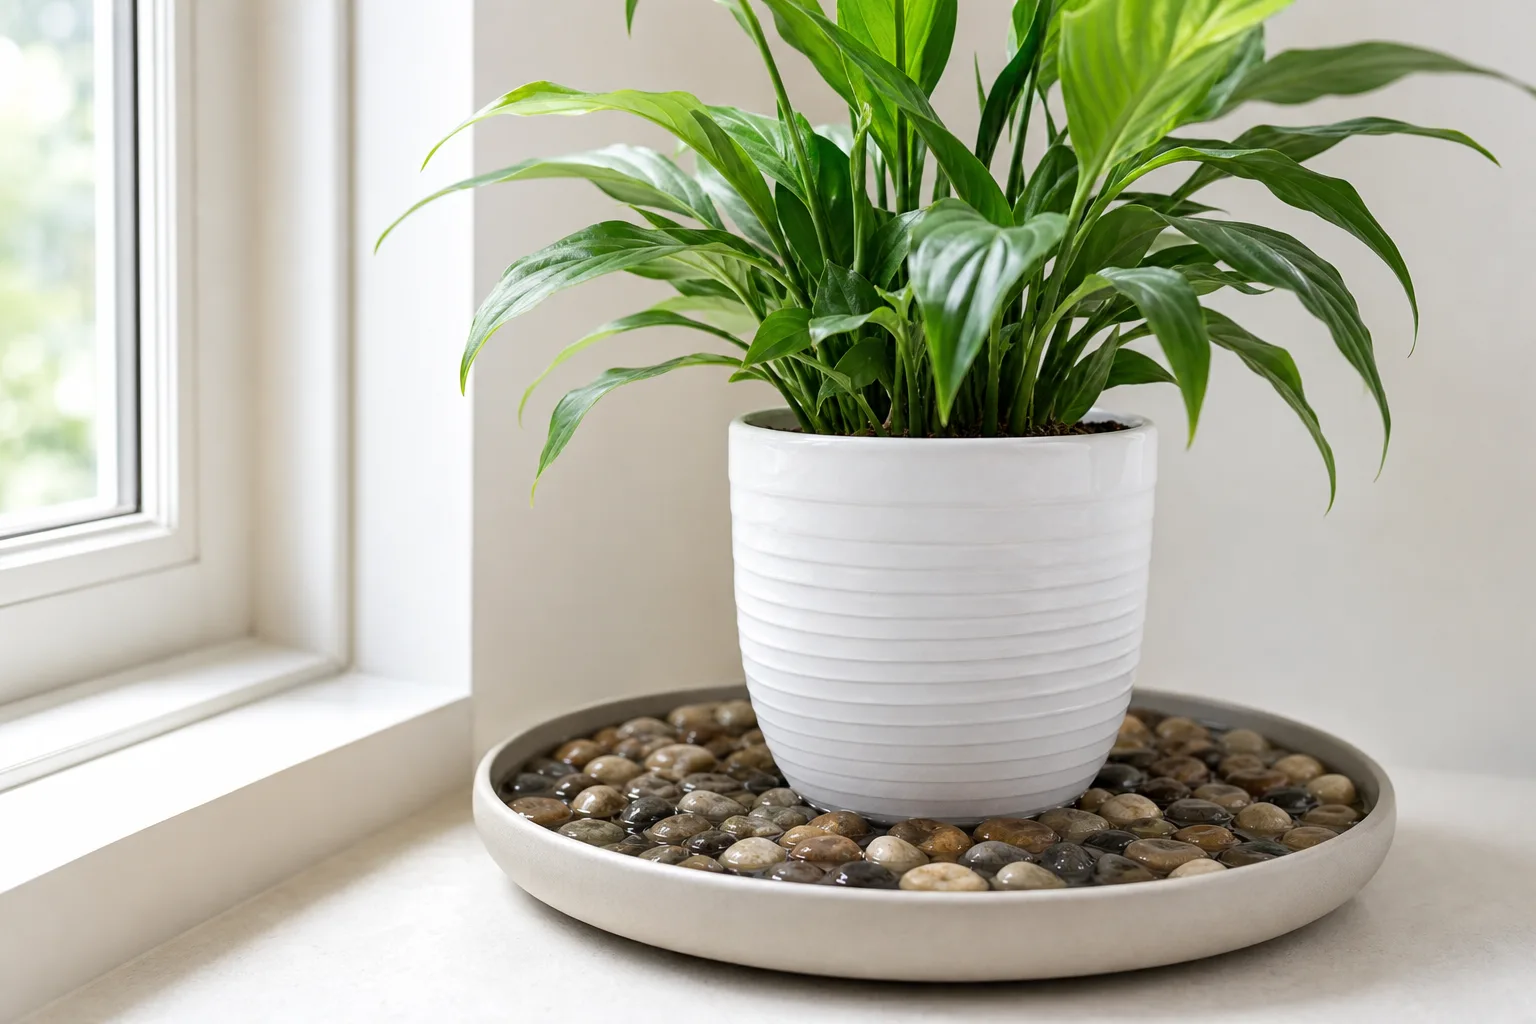
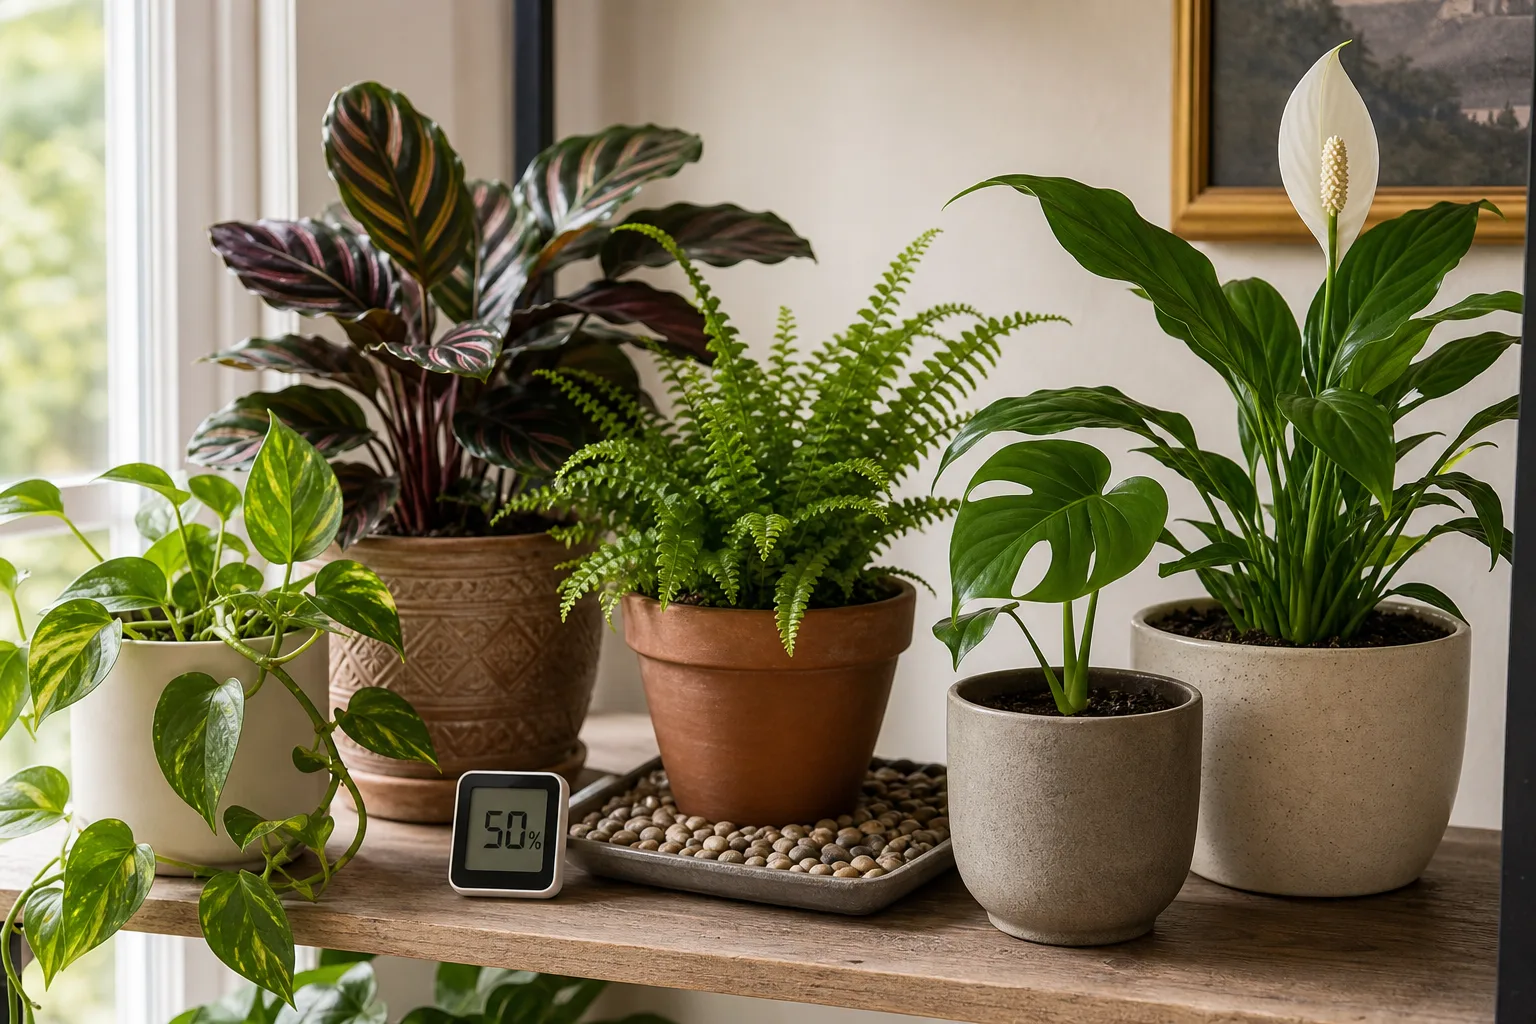
Prioritize fixes by severity. A single calathea beside a vent needs relocation first, then a tray or small humidifier. A whole shelf of tropicals in a dry studio apartment needs a room humidifier plus grouping. Succulents and cacti on a south windowsill may need less intervention — their issue is more often cold glass than dry heat.
Keep watering on a soil-check basis, not a calendar. Winter slows growth; soil stays wet longer. Our how to water indoor plants guide covers the finger-and-weight method that prevents the wet-soil wilt spiral.
Safer Heat Options When the Room Runs Cold
Sometimes you need supplemental heat — a drafty office, a sunroom, a greenhouse corner. The goal is stable root-zone warmth without frying leaves.
Heating Mats vs Space Heaters
Heating mats (seedling mats used at low settings) warm the root zone gently. They suit propagation benches and cold windowsills when ambient air is cool but not freezing. Use a thermostat controller; never exceed the mat manufacturer’s temperature limit. Mats address cold roots, not dry air — pair them with humidity support for leafy plants.
Space heaters heat air fast and dry it faster. If you must use one, choose oil-filled radiators or models without a fan blasting toward plants, keep them across the room, and run a humidifier at the same time. Never point a ceramic fan heater at a plant stand.
Insulation and layout: Moving plants to an interior wall away from vents, adding a shelf shield, or using a thermal screen between heater and plants reduces radiant damage without turning off heat you need for comfort.
When a Space Heater Can Work Near Plants
A space heater is not automatically forbidden. It is a tool with conditions. You can run one in a plant room if you add humidity at the same time, keep distance, and monitor daily.
Greenhouse growers use heaters routinely; the difference is humidity management and air circulation. If your only warm room is also your plant room, treat it like a small greenhouse: hygrometer on the shelf, humidifier on a timer, heater cycling on a thermostat rather than blasting continuously, and plants on the far side of the room from the outlet.
Watch for spider mites, which thrive in hot, dry air. Inspect leaf undersides weekly when heat runs hard. Cooling and humidifying the microclimate often prevents outbreaks better than reactive spraying (UW-Madison Extension).
Recovery Plan for Plants Already Damaged
Week 1 — Stabilize. Move the plant, fix humidity, stop fertilizing. Water only when soil dries appropriately for that species.
Week 2 — Assess. Trim fully brown, crispy leaves that will not green up — they are not coming back. On partially damaged leaves, leave green tissue unless the edge is spreading.
Week 3 onward — Watch new growth. Recovery shows in new leaves sized and colored normally. If new growth stays stunted after environment fixes, check roots for secondary rot from earlier overwatering.
Do not repot during active stress unless roots are clearly rotting. Repotting plus heat shock compounds the problem. Wait until spring active growth unless emergency root surgery is required.
For large specimens you cannot move easily, rotate the pot a quarter turn weekly so no single side faces the heat blast for the entire season. Wipe dust from leaves gently — dusty foliage transpires less efficiently and hides mite colonies that love dry, warm air. If multiple plants on one shelf show the same symptoms, fix the shelf environment before treating each pot individually.
Conclusion
Winter heat is not the enemy — unstable, dry, directional heat is. The four signs to watch are drooping or papery leaves, crispy scorched edges, yellowing or bronze discoloration, and stalled growth with leaf drop. Fix them by auditing distance from vents and heaters, raising humidity without overwatering, and choosing gentler warmth when the room runs cold.
Run the 10-minute audit tonight: measure three feet from every heat source, feel the breeze at leaf height, and check whether wilt happens while soil is still moist. Move the pot, add a humidifier or pebble tray, and let new growth tell you whether you solved it. Your plants do not need to sit in the cold to stay safe — they need the same thing you do in January: steady warmth, enough moisture in the air, and nothing blasting directly in their face.



