How to Grow and Care for Ornamental Cabbage or Kale
Grow ornamental cabbage or kale in beds and pots with a practical timing guide, cool-weather care, container tips, and fixes for holes, spots, and bolting.
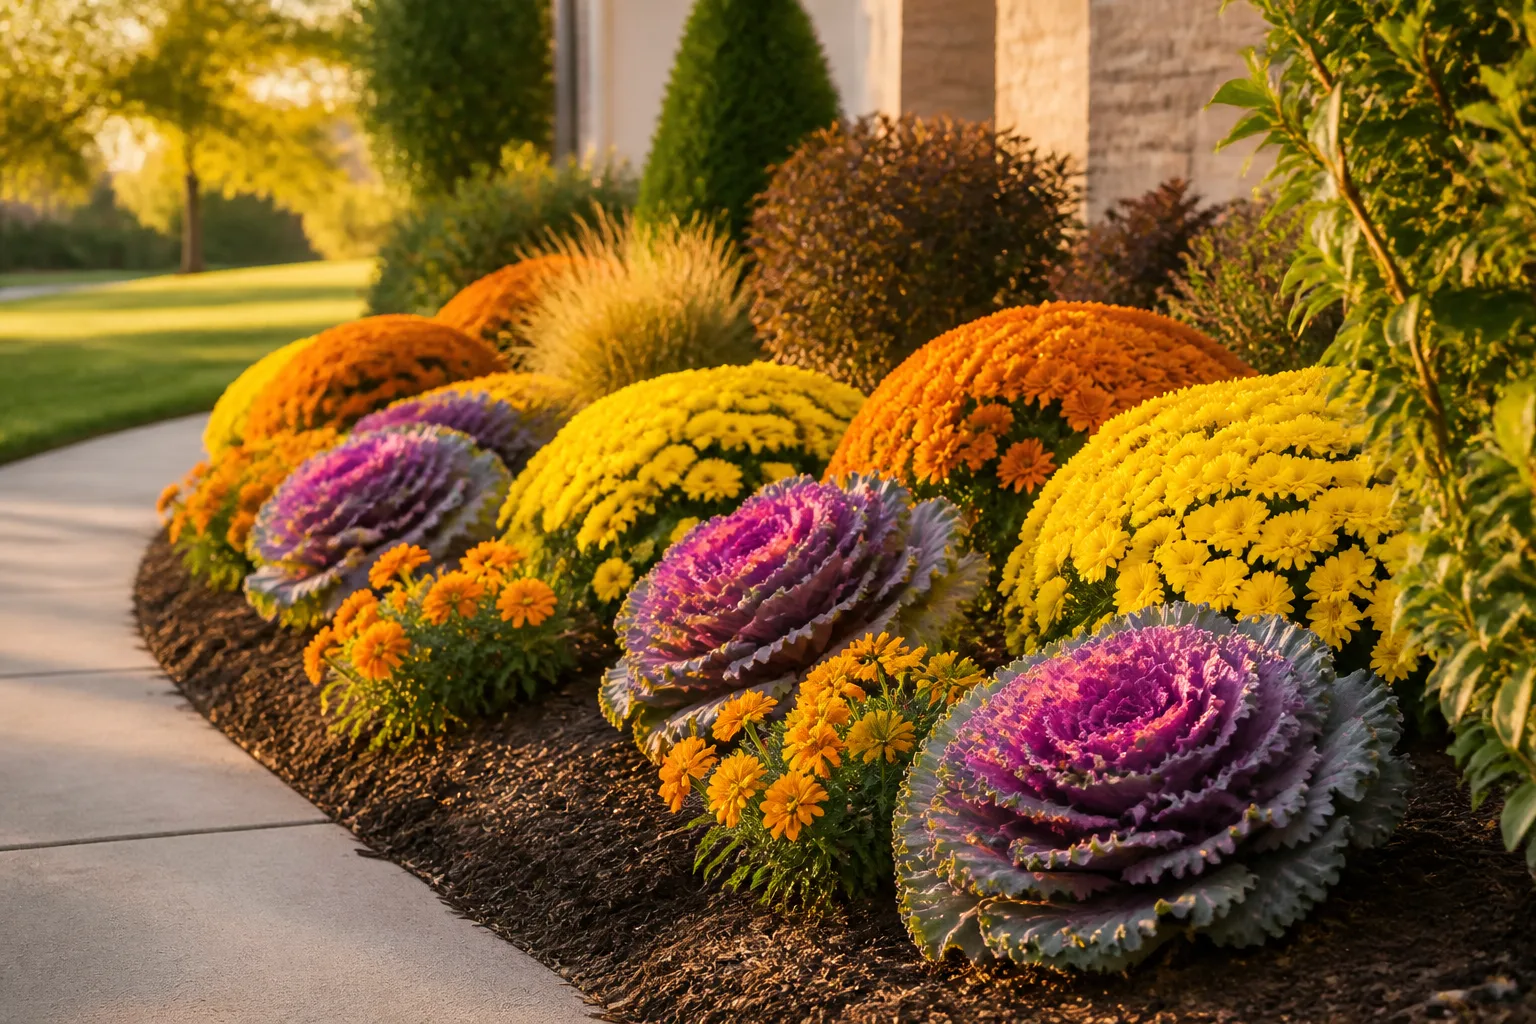
Ornamental cabbage and ornamental kale are cool-season foliage plants that create a flower-like effect without relying on petals. Their rosettes become more striking as summer heat fades, so the best-looking plants are not the ones pushed through hot weather with extra fertilizer; they are the ones planted early enough to establish, then allowed to experience cool nights.
The two names describe slightly different looks within Brassica oleracea. Flowering cabbage has broad, mostly smooth leaves, while flowering kale has frilled, fringed, or deeply serrated leaves. Both need the same basic recipe: bright light, evenly moist but well-drained soil, enough room for the rosette to expand, and a planting date based on your local first frost rather than a universal calendar date.
Quick answer: give these cool-season rosettes light, space, and a timely start
For the quickest fall display, buy compact, stocky nursery plants and set them in full sun as soon as daytime heat begins to moderate. Choose a spot or container with drainage, water deeply when the upper soil starts to dry, and avoid high-nitrogen feeding once the plant is established. Cool nights bring out the pink, purple, white, or cream center colors; prolonged heat encourages green growth, stretching, and a less defined rosette.
Use ornamental cabbage and kale as short-lived seasonal plants, even though they are biennial by biology. In a mild climate they can stay attractive through winter, while a cold climate may get a shorter show. A light frost can improve the display, but no label or hardiness zone guarantees that an exposed pot will survive repeated freezing, wind, and saturated soil.
The NC State Extension plant database places the ornamental kale group within Brassica oleracea, the same species that includes edible cabbage, kale, broccoli, cauliflower, collards, and kohlrabi. That relationship explains both the plant’s cool-season habit and its familiar list of brassica pests.
Know what you are growing: ornamental cabbage versus ornamental kale
The distinction is visual, not a completely different care system. Look at the outer leaves when choosing a plant: a cabbage-type rosette has wide, smooth-edged leaves that form a tight, rounded “flower,” while a kale-type plant has more texture along the leaf edge and may look feathery or ruffled.
| Feature | Ornamental cabbage | Ornamental kale |
|---|---|---|
| Leaf shape | Broad and smooth or gently wavy | Frilled, fringed, or serrated |
| Typical effect | Dense, formal rosette | Textured, feathered rosette |
| Best placement | Edging, bowls, repeated massing | Edging, mixed pots, textural contrast |
| Care | Cool weather, sun, steady moisture | The same basic care |
| Flowering | Showy color is foliage, not a flower | Showy color is foliage, not a flower |
Cultivar names vary by nursery and seed company, and plant tags often matter more than the word “cabbage” or “kale.” Some plants stay close to a foot across; others spread much wider. If a tag gives a mature width, use it when spacing a border or filling a container.
Annual display or biennial life cycle?
An ornamental brassica normally makes leaves in its first year, then flowers and sets seed in its second year before dying. Gardeners usually buy it late in the season or grow it for one fall and winter display, so it is treated as an annual even though the plant is technically biennial.
That life cycle matters when a plant sends up a thin, tall stalk in spring. The stalk is not necessarily a watering failure; it usually means the plant has received the seasonal signal to flower. If the display is over, pull it. If you want seed, leave the plant in place until the yellow flowers fade and the seed pods dry, then collect the pods before they split. Seedlings may not look exactly like the parent, especially if other Brassica oleracea varieties flower nearby.
Although the species is edible, ornamental cultivars are selected for appearance and can be quite bitter. Plants sold for landscaping may also have a treatment history that is not intended for food harvest. Grow a culinary kale for eating, and treat an ornamental plant as food only when its label and growing history clearly support that use.
Pick the right site before you buy
The plant’s future color is determined as much by its location as by the cultivar. A nursery rosette that looks green in warm September weather may color up later, but a plant placed where it receives little light or sits beside a heat-reflecting wall may never develop the compact, vivid look you expected.
Light, heat, and the color trigger
Start with six or more hours of direct sun where the climate allows. Sun supports a compact habit and strong foliage color, while light shade can help in a hot region—especially when shade arrives in the afternoon rather than during the whole day. The NC State Extension profile lists full sun and partial shade as workable conditions, but full sun is the stronger default for a colorful seasonal display.
Heat is the common mismatch. These plants can be started in summer for fall, but they do not look their best when they must mature through long hot days. In a hot climate, start seeds in a bright, protected place and move nursery plants into morning sun with afternoon relief until the weather cools. Avoid a black container on a sun-baked patio if the root ball becomes hot and dry by midday; a light-colored pot, larger soil volume, and a location with late-day shade make the same plant easier to manage.
Cool nights bring the inner leaves into color, but cold alone cannot rescue a stressed plant. A brassica that has dried repeatedly, stayed waterlogged, or lost most of its leaves to caterpillars has less healthy foliage to color. Think of cool weather as the finishing condition, not a substitute for establishment.
Soil, drainage, and spacing
Use rich soil that drains freely but holds some moisture. In a bed, loosen compacted ground and work in finished compost if the soil is poor; do not create a small pocket of rich compost in hard clay and assume roots will cross the surrounding barrier. The goal is a broad, evenly mixed root zone, not a water-holding bowl.
For a container, use fresh all-purpose potting mix and a pot with an open drainage hole. Do not fill a decorative cachepot with garden soil, and do not leave the nursery pot standing in water inside an outer pot. Cold, saturated roots are one of the fastest ways to turn a cold-tolerant foliage plant into a collapsing one.
Space plants by their expected mature width, usually about 12 to 18 inches for compact rosettes and more for broad cultivars. Crowding looks attractive on planting day but creates a damp canopy later, blocks airflow, and makes it harder to inspect leaf undersides. If the label gives a range, use the larger number in a humid climate or in a bed that stays wet after rain.
When to plant for fall color
The reliable way to set a planting date is to start with the event you want: a colorful display before your average first frost. Count backward from that date using the seed packet’s days to maturity, then add time for transplant recovery. If you are buying nursery starts, you can plant closer to the display window because the grower has already done the slow early work.
In much of the United States, fall ornamental kale and cabbage are started in midsummer and planted out in late summer. That is a useful pattern, not a rule. Coastal heat, high-elevation cold, a long mild autumn, and a short growing season all shift the right date. The Gardening Know How growing guide similarly recommends beginning fall plants around early July and setting them outside around mid-August, while noting that spacing and local conditions matter.
Nursery starts: the fastest route
Choose a plant with a firm central rosette, sturdy leaves, and no long bare stem. Inspect the undersides for aphids, whiteflies, eggs, and fine webbing before bringing it home; buying a pest-covered plant at the start of a short seasonal display creates more work than the color is worth.
Plant as soon as practical after purchase if the weather and soil are suitable. A plant that sits in a small, dry nursery pot for weeks may become root-bound, while one held in a hot car or against a sunny storefront can be stressed before it reaches your garden. If the weather is still unusually hot, give it a few days of morning sun and afternoon protection, then move it toward its final light as nights cool.
Seeds: count backward from the display
Seeds are economical, but they are not the fast route to a late-season centerpiece. Start them early enough for the plants to make a full rosette before the display date. The Simple Garden Life guide uses roughly 12 weeks from sowing to full color as a planning estimate; your seed packet, variety, temperature, and light should take priority over that number.
Sow in a clean seed-starting mix and cover the seeds only lightly—about a quarter inch is a common depth. Keep the medium evenly moist, provide bright light after emergence, and thin or transplant seedlings before their roots become tangled. Once plants have several true leaves, harden them off by increasing outdoor exposure over several days rather than moving tender seedlings straight from a protected room into wind and full sun.
If a fall sowing window has already passed, buy starts. A tiny seedling planted just before frost may survive but still produce little color because it spent the remaining season building roots instead of a full rosette.
Plant ornamental cabbage or kale step by step
Planting depth and the first watering have more influence on establishment than a complicated amendment recipe. Work through this sequence for either a garden bed or a container:
- Water the nursery plant first. A hydrated root ball slides out more cleanly and suffers less tearing.
- Prepare a wide, well-drained hole. Make it just as deep as the root ball and several inches wider so the roots can move into loosened soil.
- Check the crown height. Set the plant so the soil level matches the level in its original pot. Do not bury the central growing point or pile mulch against the stem.
- Loosen circling roots gently. If the roots are tightly spiraled, tease the outer edge with your fingers; do not shred the entire root ball.
- Backfill with the same soil. Press lightly to remove large air pockets without compacting the bed into a hard plug.
- Water slowly and deeply. Wet the full root zone, then let excess drain away. A quick splash on the surface is not enough for a dry nursery root ball.
- Add a thin mulch layer if needed. Keep mulch off the crown and stem, and leave enough bare soil to inspect for slugs and rot.
- Check again after two or three days. Wind, bright sun, and a small pot can dry a new transplant faster than rainfall suggests.
For a bed, the NC State Extension plant profile describes B. oleracea as best in full sun, nitrogen-rich soil, and good drainage. For ornamental plants, interpret “nitrogen-rich” as fertile soil rather than a reason to keep adding high-nitrogen fertilizer; excessive soft growth can undermine the compact, colorful effect.
Watering and feeding without fading the color
Aim for a root zone that is moist when the plant is actively growing, never swampy and never repeatedly bone-dry. A fixed weekly schedule is less useful than checking the soil, because a cool rainy bed and a small sunny pot can need completely different amounts of water on the same day.
Watering beds and containers
Push a finger into the soil near—not directly against—the stem. If the upper inch is dry and the soil beneath is only lightly moist, water at the soil line until the bed is wet several inches down or the container drains from its hole. Empty a saucer after the pot has finished draining, and raise containers slightly if their holes sit flush on a solid porch.
New transplants need more frequent checks until roots reach surrounding soil. In a warm spell, a small container may need water daily; later in autumn, the same pot may stay wet for several days. Mulch can slow evaporation in a bed, but it cannot correct a pot with no drainage or a site that receives repeated runoff.
Water early in the day when possible, keep the rosette’s center from staying wet overnight, and remove yellowing leaves that are resting on the soil. These small habits reduce the long periods of surface moisture that favor leaf spots and soft decay. If the plant wilts while the soil is wet, do not add more water; inspect the roots, drainage, and recent weather instead.
Use fertility to correct a real shortage, not to force a seasonal plant to grow faster. Fresh potting mix usually supplies enough nutrients for the display, and a bed amended with mature compost may need nothing beyond that. The Homes & Gardens container guidance recommends no extra fertilizer when fresh mix is used, a sensible default for a plant that will occupy the pot for only a few months.
If plants are uniformly pale, growth is weak, and the soil is genuinely depleted, apply one mild, balanced feed according to the product label after the plant has settled. Stop feeding as the rosette reaches its intended size and color. Repeated high-nitrogen applications can produce large green outer leaves, elongated stems, and a less dramatic center; they cannot replace the cool nights that trigger the best color.
Do not fertilize a wilted, waterlogged, or pest-damaged plant as a rescue. Correct the root or pest problem first, then reassess new growth. Feeding a plant that cannot absorb water normally only adds salts and more stress to the root zone.
Design with rosettes in beds and pots
Ornamental cabbage and kale look more intentional when repeated in groups or used as a clear edge. One plant can work in a small pot, but three or five plants in a broad bowl create the floral illusion better than three isolated plants scattered across a large bed. Use the expected mature width—not the nursery pot size—to decide how many will fit.
In a border, place the rosettes along a path, around the front of a bed, or in a simple drift that repeats one color. Pair purple centers with silver foliage or pale flowers, and use white-centered forms to bridge warm chrysanthemums, orange calendula, and dark grasses. Mums, pansies, violas, asters, and ornamental grasses share the same autumn visual language, but check that their light and watering needs overlap before combining them in one pot.
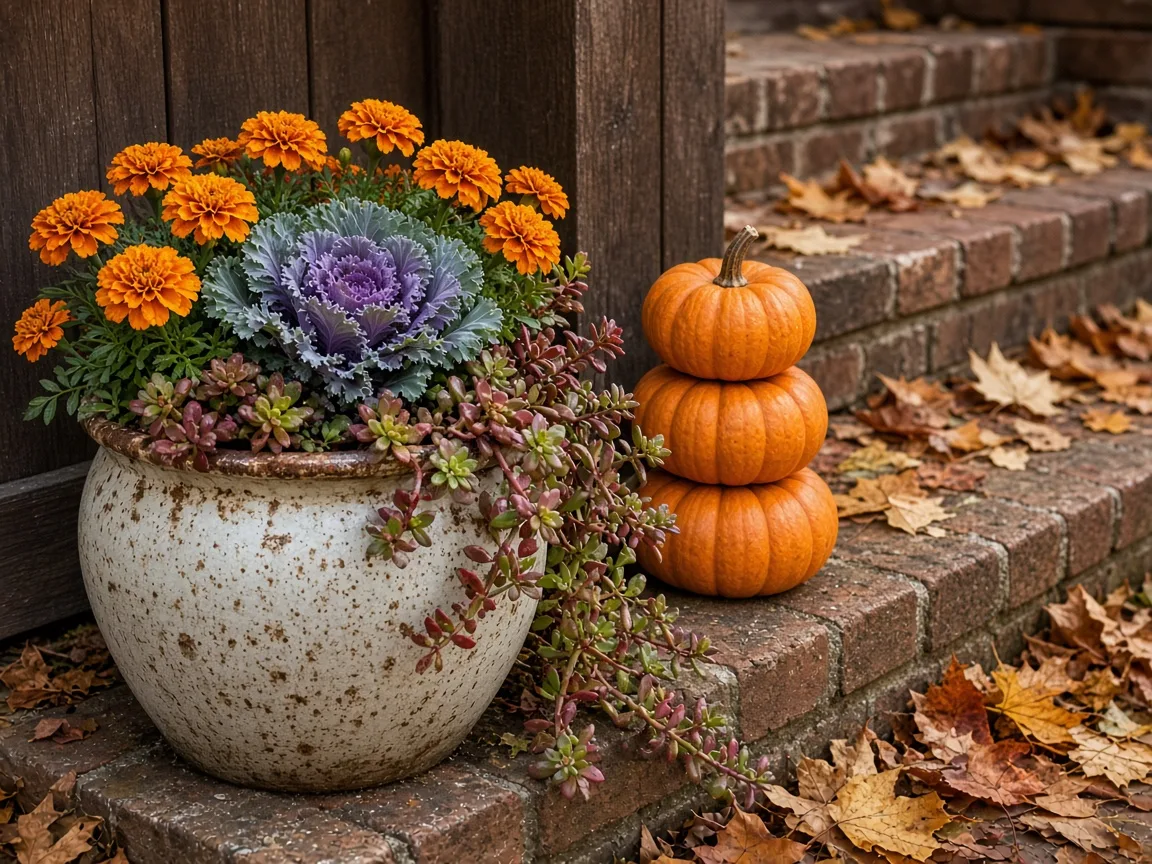
For a mixed container, put the low rosette where it remains visible—near the front or rim—and give it enough lateral space to expand. Use a pot with drainage and fresh mix, and avoid pairing it with a plant that demands a very dry root zone. A good design should still be easy to water at the soil line and inspect after rain.
If summer annuals are being replaced, refresh the container rather than burying a new kale into exhausted, compacted mix. Remove the failing roots, loosen the remaining soil, and make sure the new plant is not sitting in a hidden reservoir of water. The image and arrangement should look decorative, but the care system underneath still needs to work like a vegetable crop.
Frost, snow, and overwintering decisions
Light frost is part of the appeal. Cool weather often sharpens the center colors, and a healthy plant can remain handsome after tender summer flowers have collapsed. That does not mean every freeze is harmless: repeated hard freezes, strong wind, frozen root balls, and cold rain can damage foliage or kill a container-grown plant sooner than one planted in the ground.
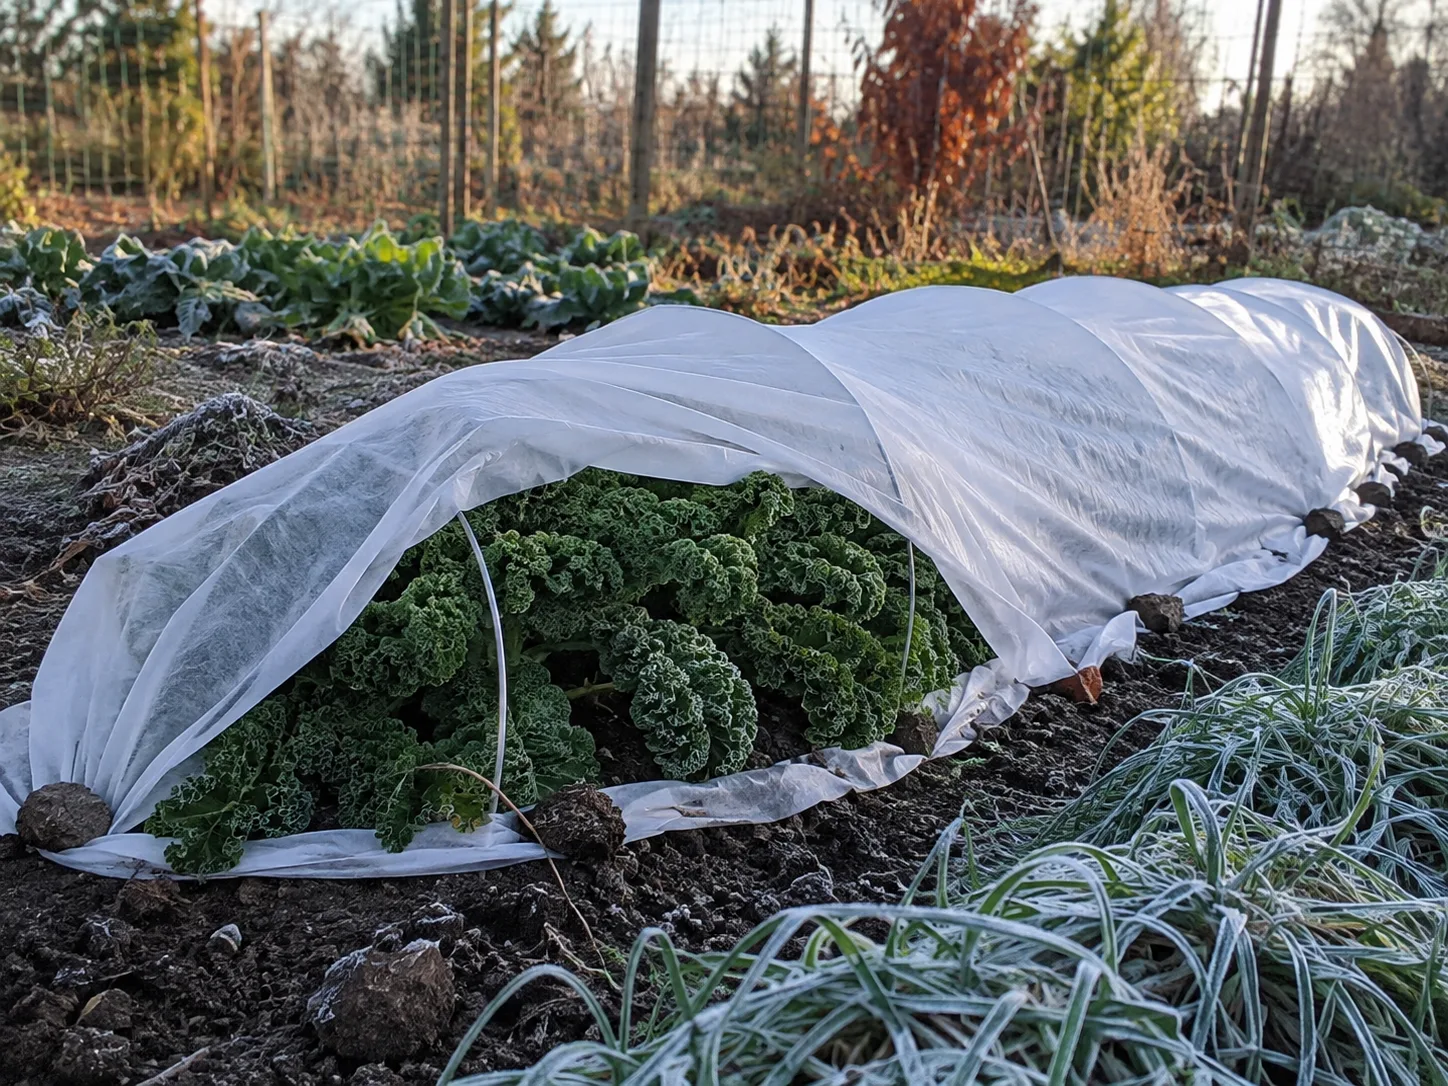
Protect a display when a hard freeze is forecast and the extra days matter. Cover a bed with breathable frost cloth supported above the leaves, anchor the edges, and remove the cover after temperatures rise. Do not press plastic directly onto foliage or leave a dark cover in place after sunrise. For a pot, move the plant against a sheltered wall or under a roof only if the new location still has useful light and the container will not collect runoff.
In mild climates, an ornamental brassica may hold through winter and then bolt as spring warms. In colder climates, the display may end after a severe freeze even when the same cultivar survives elsewhere. Container roots are less buffered than roots in the ground, so a plant that is hardy in a bed may still need shelter in a small exposed pot.
Inspect the plant after a freeze rather than judging it while frozen. Firm leaves that recover as they thaw can remain; black, water-soaked tissue that collapses or develops a foul smell should be removed. If most of the crown is mushy, discard the plant instead of trying to nurse it through a season that is already ending.
Indoor overwintering is usually a poor substitute for a cool outdoor display. A warm room provides neither the same light nor the temperature pattern that keeps the rosette compact and colorful, and the plant may stretch or decline. If you want to save the genetics, seed collection is usually more practical than moving a large seasonal pot indoors.
Troubleshoot holes, spots, wilt, and bolting
Start with the pattern, location, and timing of the damage. A hole is not the same problem as a spot, and a pale center is not automatically a nutrient deficiency. Photograph the plant before treating it, inspect leaf undersides and the soil surface, and make one change at a time so you can tell what worked.
Holes, ragged edges, and chewed centers
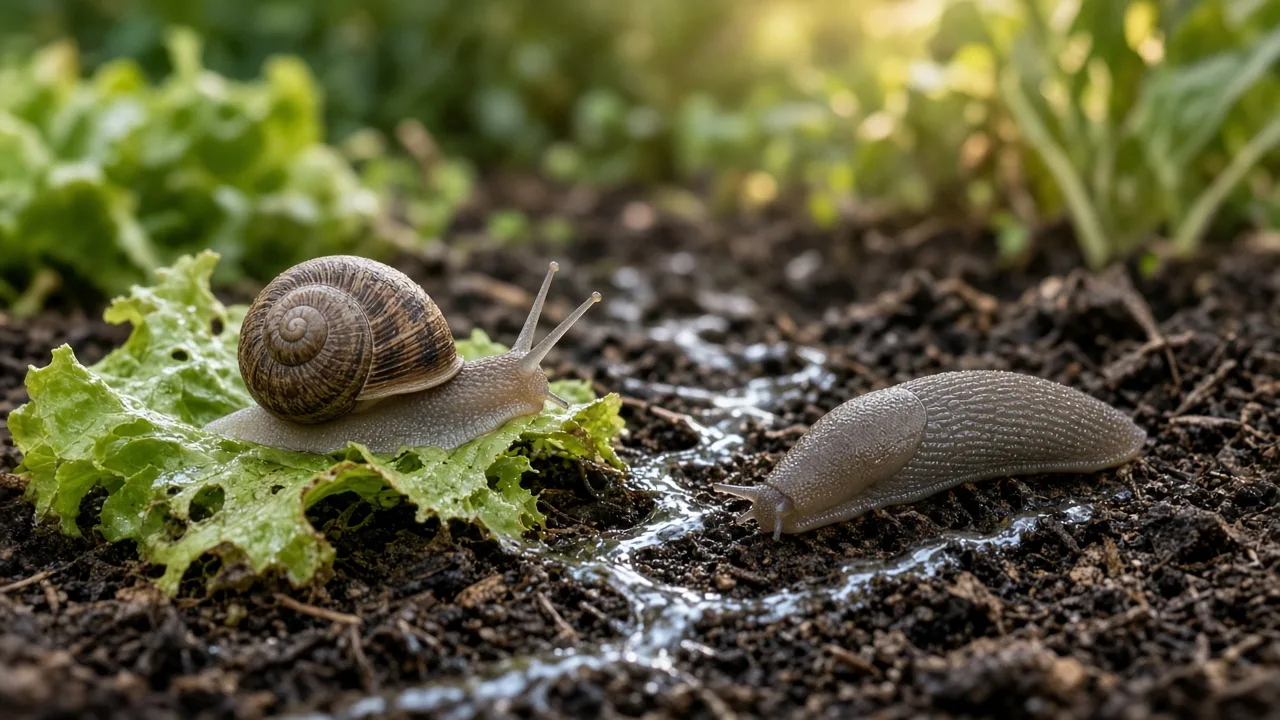
Large irregular holes and ragged margins point toward caterpillars, cabbage worms, loopers, slugs, or snails. Small shot-like holes can come from flea beetles, especially on young leaves. Inspect at dusk and early morning for slugs and caterpillars, and turn over lower leaves for eggs, frass, or hidden insects; the NC State Extension profile specifically lists slugs, snails, aphids, and white caterpillars among common problems for B. oleracea.
Begin with the least disruptive action that fits the pest: hand-pick visible caterpillars, rinse soft-bodied insects from sturdy leaves, remove badly damaged leaves, and keep the area free of boards or dense debris that shelters slugs. A temporary row cover can prevent new caterpillar damage while plants establish, but it must be installed before adults lay eggs and removed when pollination or inspection requires access.
If damage continues, identify the pest before choosing a product. Ornamental status is not permission to use any pesticide at any rate; read the current label, confirm that the product is allowed on the site and target, and follow its protective and re-entry directions. Never spray a mystery mixture onto a seasonal plant just because its leaves are not intended for dinner.
Spots, rot, and a foul thaw
Small dark spots, yellow halos, fuzzy growth on leaf undersides, or expanding brown patches are more consistent with disease or prolonged leaf wetness than with chewing insects. Downy mildew, leaf spot, black rot, and blackleg are among the disease problems associated with brassicas; the UMass Extension brassica fact sheet and the NC State profile are useful starting references for the broader fall-brassica problem set.
Remove heavily spotted or collapsed leaves, space plants so air can move, water at the soil line, and avoid working through wet foliage because hands and tools can spread contaminants. If several plants decline together, check drainage and recent weather before treating; a saturated bed can mimic a disease outbreak and make any disease spread faster. Do not put severely diseased material into a cool backyard compost pile where it may survive and return to the next brassica planting.
White or gray clusters under the leaves may be mealy cabbage aphids rather than mildew. The RHS guidance on mealy cabbage aphid notes that colonies can be tolerated on established brassicas when they are not distorting growth, while young plants and growing points deserve earlier attention. The RHS cabbage whitefly guide likewise describes insects on leaf undersides and the possibility of sooty mold from honeydew, so inspect before deciding that a dark upper-leaf film is a fungal disease.
A tall central stalk and fading color
A tall, sparse stalk means the plant is bolting—moving toward flowers and seed. Warm weather, long days, and the plant’s second-year cycle can all contribute, so more fertilizer will not return it to a tight nursery rosette. Cut the stalk only if you want to improve the appearance briefly; once the central form has opened, replacing the plant is usually the better design choice.
If you want seed, let the flowers open and the pods mature on the plant, then collect them when they are dry but before they shatter. Label the seed with the parent’s color and leaf type, store it dry, and expect variation in the next generation. If you want another show with predictable color, purchase a named start or seed packet instead.
When the center stays green, first ask whether nights are still warm. If the plant is otherwise healthy, color may simply be late. If the plant is stretched, repeatedly dry, crowded, or shaded, correct the growing conditions as far as the season allows—but do not expect an immediate color change from a fertilizer application.
Conclusion: treat ornamental kale and cabbage as a seasonal color crop
Ornamental cabbage and kale are easiest when you plan around their nature instead of trying to make them behave like summer flowers. Start with a stocky transplant or a seed date counted backward from your display window, give it sun and open drainage, keep the root zone evenly moist, and stop feeding before soft green growth overwhelms the rosette.
Use light frost as a color event, not as a promise of unlimited winter survival. A quick inspection after rain, at dusk, and after a freeze will catch most problems early enough for hand removal, better airflow, or a sensible replacement. The result is a more vivid autumn container or border—and a clearer decision about when the seasonal display has done its job.



