6 Ways to Use Potato Peels in Your Garden
Learn six practical ways to use potato peels in the garden, from compost and worm bins to trench composting and a monitored slug trap.
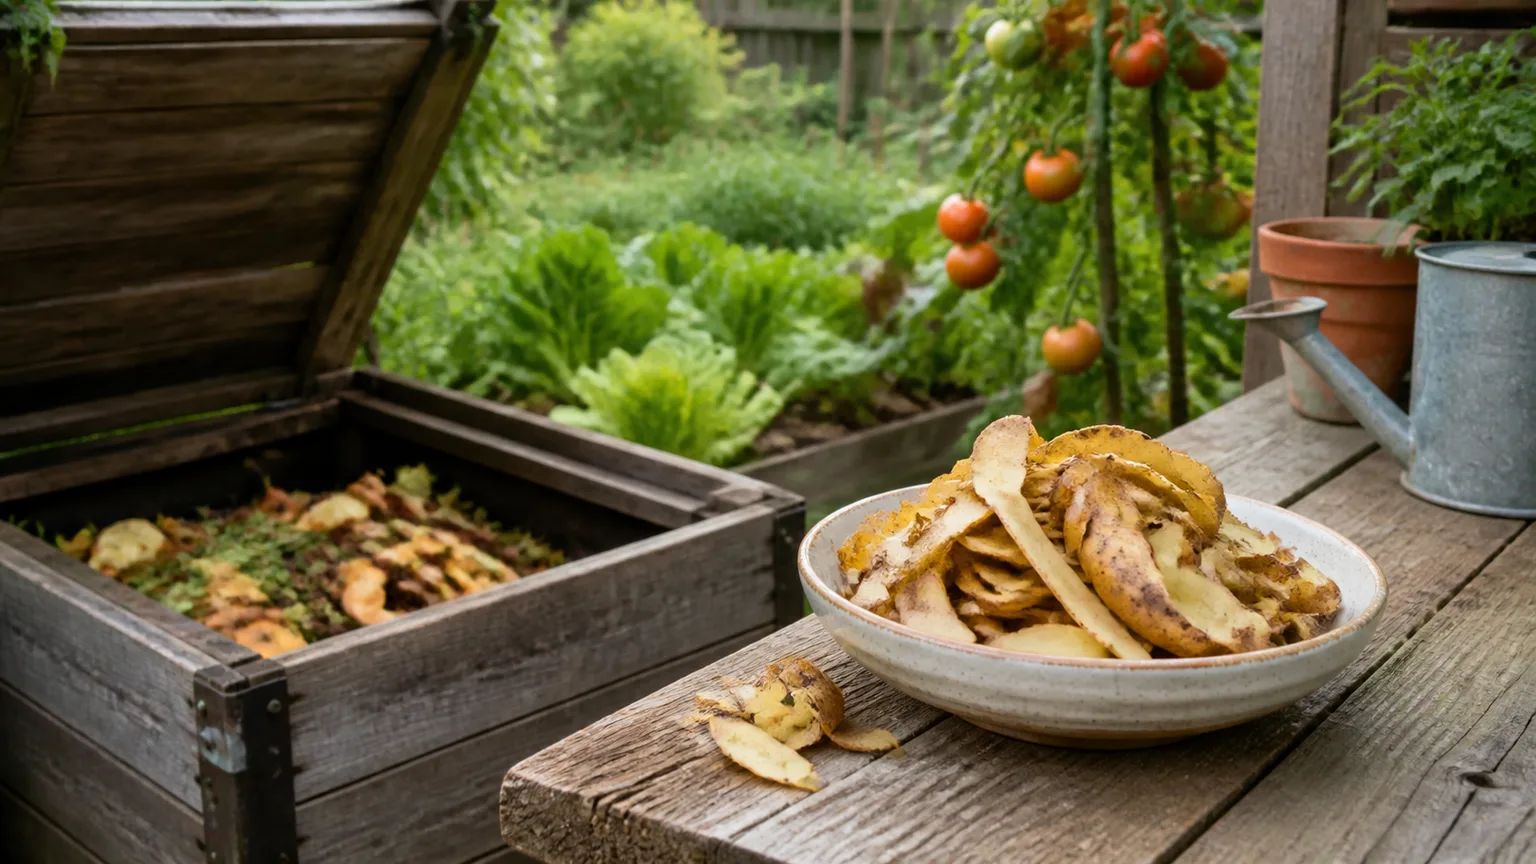
Potato peels are useful kitchen scraps, but they are not a complete fertilizer and they are not a cure for every garden problem. Their most dependable job is to become part of finished compost; the other uses make sense only when they match your setup, timing, and tolerance for experimentation.
The practical rule is simple: sort and chop clean peels, keep fresh scraps covered, and choose the method that solves a real garden task. A small amount can feed a compost pile, a worm bin, a carefully planned trench, a hobby mushroom project, or a monitored slug station. It should not be scattered around a living plant as if it were instant plant food.
The quick answer: compost clean peels by default
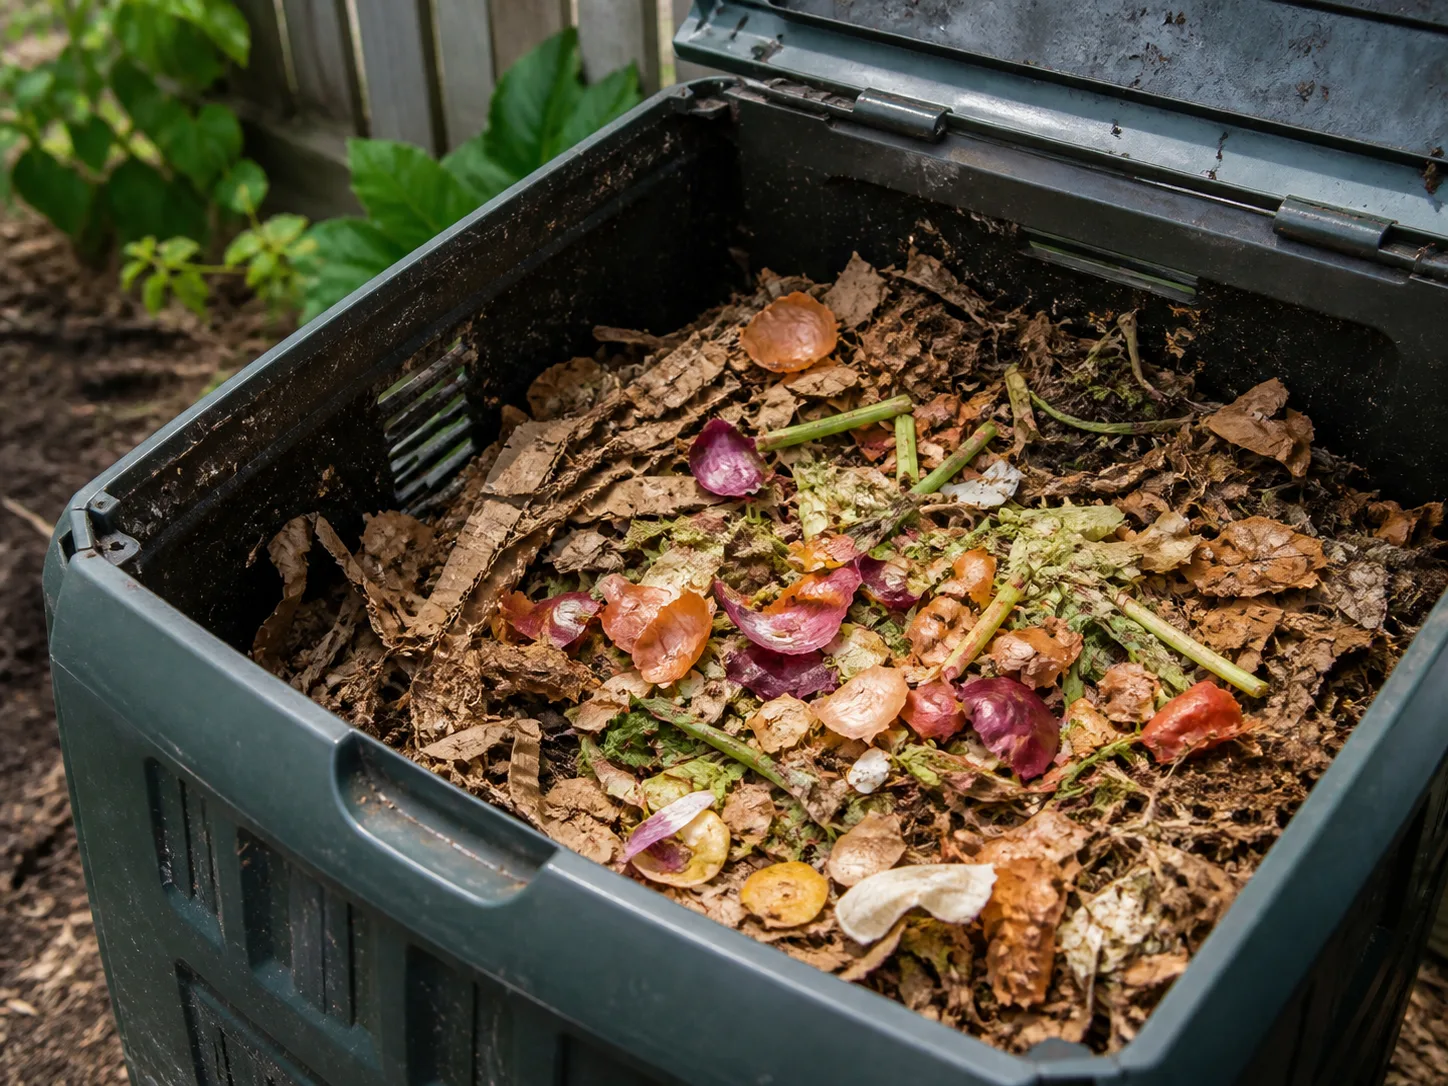
If you have a compost bin, add plain potato peels to it with other vegetable scraps and plenty of dry, carbon-rich material. The Royal Horticultural Society classifies vegetable peelings as “green” compost material and recommends balancing soft greens with brown materials such as shredded cardboard, dry stems, and woody waste (RHS composting guidance).
Chop the peels, tuck them into the middle of the pile, and cover them with leaves, shredded paper, or cardboard. This keeps the moist scraps from sitting on the surface where they can attract flies, rodents, or curious pets. After the pile finishes, use the dark, crumbly compost around plants; do not plant directly into a pocket of recognizable raw peel.
The other five methods are variations on the same idea: make the scraps manageable, put them where they will not damage roots or attract unwanted visitors, and give decomposers enough air, moisture, and time. If you only want one answer, choose compost.
What potato peels can—and cannot—do for soil
Potato peels return plant material to the garden. Once microbes and other decomposers break them down, that material can become part of a compost or soil-building cycle. Finished compost can improve soil structure, aeration, water handling, and biological activity; the benefit comes from the processed organic matter, not from a raw peel acting like a measured scoop of fertilizer.
Peels can also contain small amounts of minerals, but the amount available to a plant depends on the potato variety, the thickness of the peel, how much you use, what else is in the compost, and how completely everything decomposes. A peel buried in a cool bed is not nutritionally equivalent to finished compost, and neither has the predictable analysis printed on a fertilizer bag.
Why peel chemistry is not a fertilizer label
Plants need a balanced supply of nutrients, adequate light, appropriate water, healthy roots, and a suitable pH. Potato peels cannot tell you which of those factors is limiting. Adding a heap of peels to a tomato plant with pale leaves, root damage, or poor light may leave the real problem untouched while creating a wet pocket around the roots.
Think of peels as feedstock for a soil process, not as a diagnosis. If a crop has a confirmed nutrient deficiency, use a soil test and a fertilizer with a known analysis. If a plant has spots, mildew, or sudden wilt, identify the cause before spraying a homemade liquid; a kitchen infusion is not automatically a fungicide just because it was boiled.
Prepare potato peels before choosing a method
Start with plain peels from potatoes that are fresh, clean, and free from obvious disease. Remove stickers or packaging scraps, and do not add peels coated in salt, butter, oil, gravy, or other cooking residue to a garden bed or worm bin. If you have only seasoned peels, the trash or an accepted municipal organics program is a better destination than a small home growing space.
For compost and trench burial, cut the peels into pieces about an inch or smaller. The smaller surface area gives microbes more access and makes it harder for a whole peel to stay intact or curl around a root. Do not obsess over a precise size; the important steps are chopping, mixing, covering, and waiting.
Avoid using green, heavily sprouted, diseased, or very old peels as a direct plant treatment. A few potato eyes may sprout in a cool compost pile or buried trench, and diseased plant material has no place beside healthy crops. If you want to compost those scraps, use a managed system that can process them thoroughly or follow your local organics guidance instead of leaving them exposed in the bed.
Choose the route by goal
| Your goal | Best route | Why it fits | Main watch-out |
|---|---|---|---|
| Improve soil over time | Active compost | Processes wet scraps into a balanced amendment | Too many greens create a wet, sour pile |
| Use a small amount of kitchen waste | Worm bin | Turns manageable scraps into castings | Overfeeding can make the bin acidic, wet, or smelly |
| Feed an empty bed before planting | Covered trench | Keeps scraps below the surface while they decompose | Raw scraps can settle or attract animals if poorly covered |
| Experiment with a plant liquid | Short ornamental trial | Lets you observe without treating an edible crop | Strength and disease-control value are unknown |
| Try a mushroom hobby | Prepared wood-chip substrate | Peels can be a supplemental food source in a controlled project | Contamination and wrong substrate conditions are common |
| Find slugs at dawn | Covered bait station | Concentrates slugs where you can inspect them | It will not protect a whole bed by itself |
1. Add chopped peels to active compost
This is the best use for most households. Potato peels are moist and relatively nitrogen-rich compared with dry leaves or shredded cardboard, so they work as one green ingredient in a varied pile rather than as the pile’s entire recipe.
Add a thin layer of chopped peels, then cover it with a larger-looking layer of dry browns. The RHS gives a rough starting point of 25–50 percent soft green material and 50–75 percent brown material by volume. You do not need to measure every handful, but you do need to notice when wet kitchen scraps are dominating and the pile is losing air.
Keep the pile moist but not waterlogged. If it smells sour, looks slimy, or collapses into a dense mat, mix in dry leaves or shredded cardboard and turn it to restore air. If it is dry and the ingredients remain unchanged, add a little water as you turn it. More peels will not repair an unbalanced pile; the conditions have to change.
The pile is ready when it is dark, crumbly, and earthy-smelling, with the original scraps mostly unrecognizable. The RHS describes mature compost as having a soil-like texture and a damp woodland smell; unfinished peel pieces can go back into the next batch (RHS compost maturity and troubleshooting). Use finished compost as a surface mulch or mix a modest amount into garden soil, and do not treat it as an unlimited substitute for fertilizer.
2. Feed a worm bin in small, cooked amounts
Worm bins are useful when you produce small amounts of kitchen waste and want castings, but they are less forgiving than a large outdoor compost pile. Composting worms need a moist, airy, reasonably stable environment; a sudden mound of wet potato peel can ferment before the worms can eat it.
Chop the peels and add a small pocket beneath the bedding. If your worms are slow to accept raw peels, boil them without salt or oil, cool them completely, and add a modest amount. Cooking softens the material, but it does not make a worm bin able to process unlimited scraps.
The RHS recommends feeding small amounts often, chopping waste, burying food in pockets, and pausing when the worms are not keeping up. It also advises limiting tough or problematic foods and avoiding an overloaded bin (RHS worm-composting guidance). Potato peels can stay in the “small portions” category, especially in a new or compact bin.
If the bin smells sour, becomes soggy, or develops a cloud of flies, stop feeding for a few days. Mix in damp—not wet—shredded cardboard, check drainage, and remove any large pocket of untouched food. Do not add pesticides or insect sprays to control flies; chemicals can harm the worms and make the original problem worse.
3. Bury peels under heavy-feeding crops
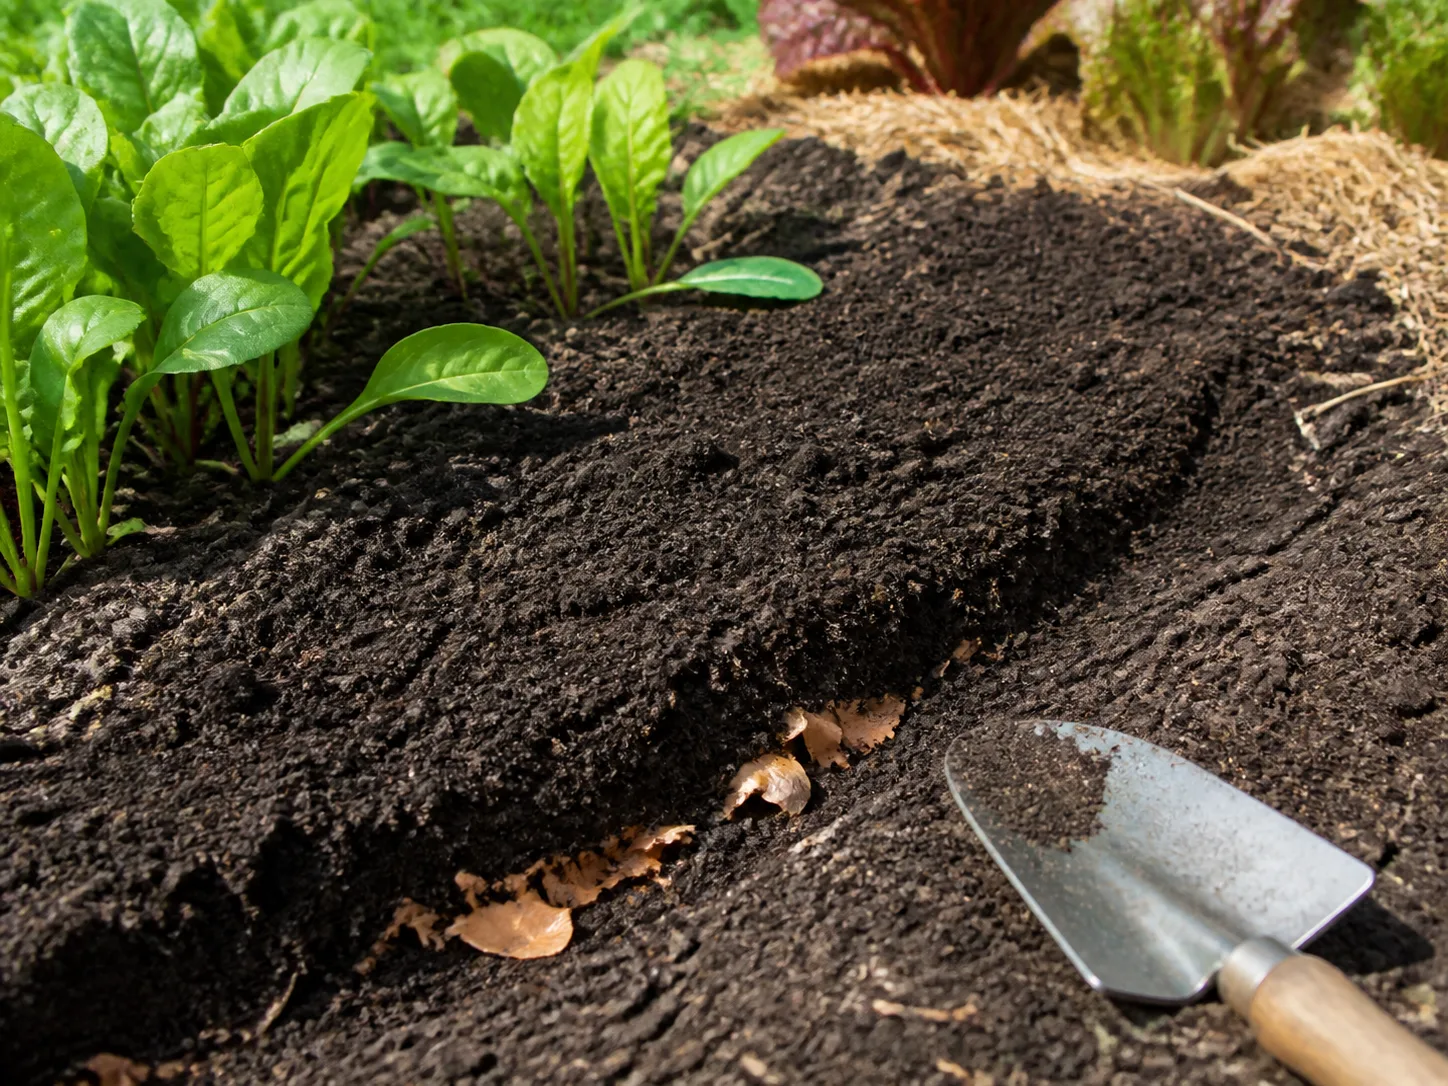
Trench composting is a reasonable option when you do not have a compost bin and have an empty bed that will not be planted immediately. Dig a narrow trench or hole, add a small amount of chopped peels mixed with other plant scraps, and cover everything completely with soil. The soil acts as a lid while microbes and soil animals do the slow work of decomposition.
Place the material below the future root zone, not against a stem or directly beneath a seedling’s fragile roots. A six- to eight-inch covering is a practical starting point for a small amount of food waste, but soil type, rainfall, bed drainage, and the amount of material all affect how quickly the pocket settles. Mark the spot so you do not sow directly into unfinished scraps.
This method is most useful before planting tomatoes, corn, squash, or other crops that will occupy the bed for a long season. It is not an emergency fertilizer application. If you are planting tomorrow, use finished compost or a crop-appropriate fertilizer instead; raw peels need time and oxygen, and their decomposition can temporarily compete with roots for both.
Do not use direct burial as a routine in a small container. Containers have little soil volume, limited airflow, and fewer places for pests to go. A raw peel pocket can stay wet, smell, sprout, or attract flies right beside the plant you were trying to feed.
4. Test boiled-peel water cautiously
Boiling plain potato peels produces a cloudy or tinted water that some gardeners use as a plant drench or homemade disease remedy. The important qualification is that this liquid has no standard nutrient analysis and no dependable recipe that makes it a proven fungicide.
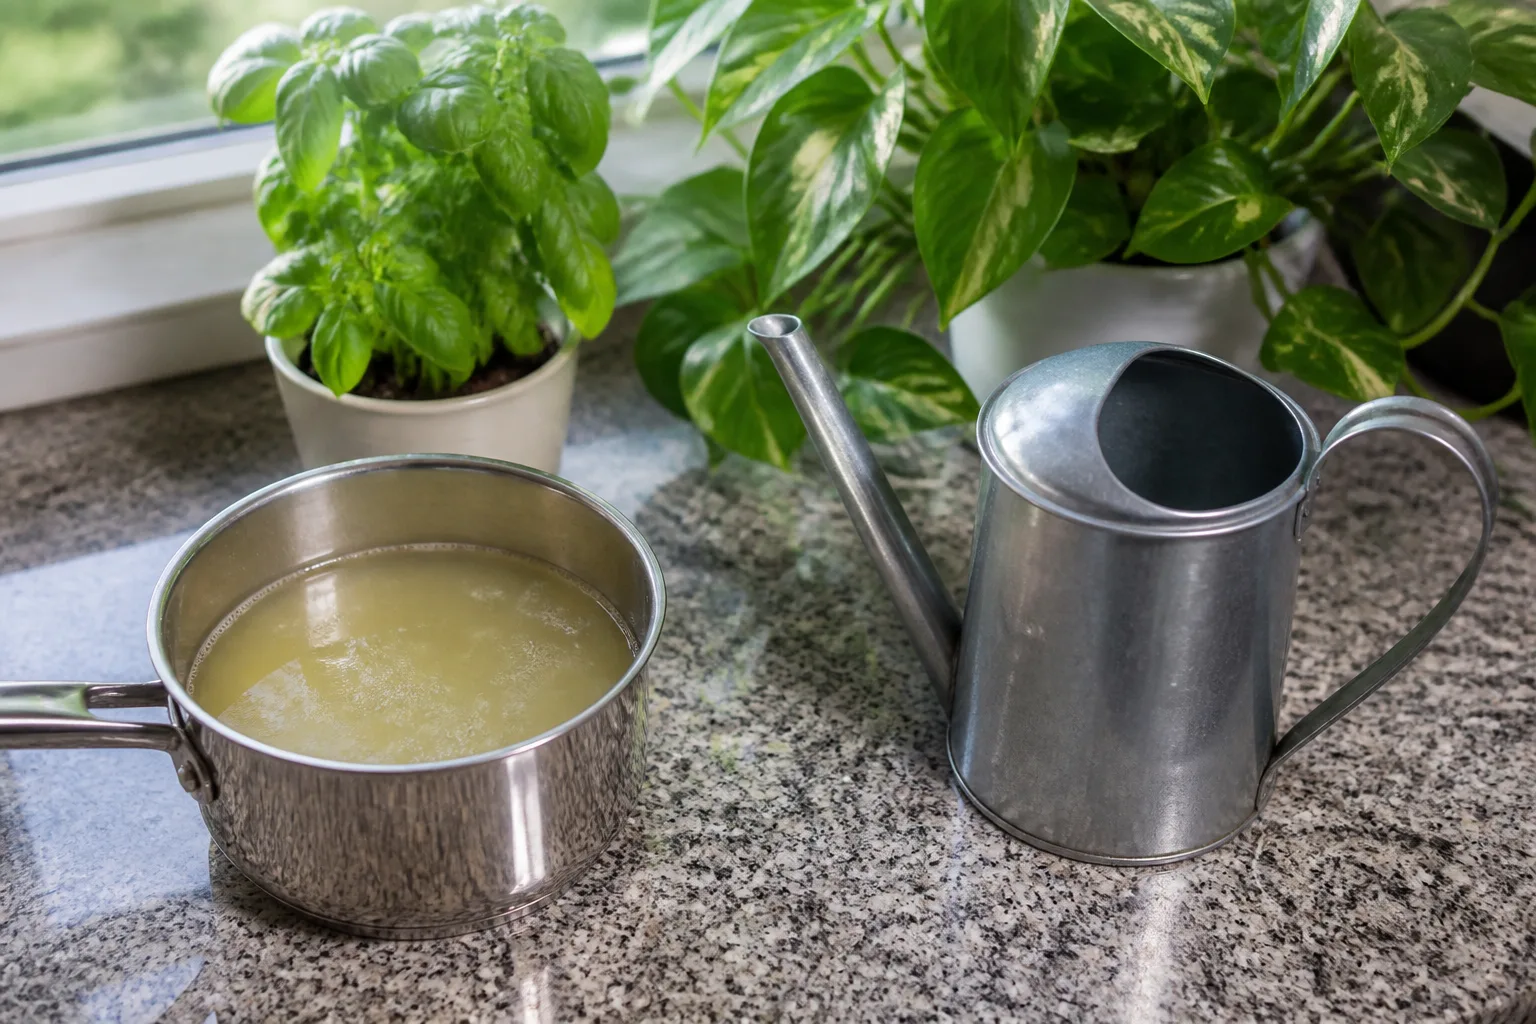
If you want to experiment, keep the trial small and use it on one healthy, non-edible ornamental plant. Boil clean peels in plain water, let the liquid cool, strain out every solid piece, and use it fresh. Apply it to moist soil rather than spraying edible leaves, and discard the leftovers instead of storing a jar of scrap water at room temperature.
Watch the test plant for several days and compare it with a similar untreated plant if possible. Stop if the soil smells sour, the surface grows mold, leaves spot, or the plant wilts. A single healthy flush of growth does not prove the liquid caused it; light, temperature, watering, and ordinary nutrition are usually more influential.
Do not use potato-peel water to postpone a real diagnosis. Powdery mildew, leaf spots, and other diseases need different responses, and spraying a variable kitchen infusion over edible crops creates residue and hygiene questions without a demonstrated benefit. Identify the problem and follow a treatment labeled for that plant and disease when treatment is actually needed.
5. Combine peels with wood chips for a mushroom project
Potato peels can be part of an advanced mushroom-growing experiment when they are combined with an appropriate woody substrate and the mushroom species is suited to that material. The peel is supplemental food; it is not a complete mushroom-growing medium and it cannot replace clean spawn, correct moisture, air exchange, or sanitation.
This route is for a gardener who is already following a species-specific mushroom method. Use only plain, clean peels, cook and cool them if the method calls for it, and add a small amount to a properly prepared wood-chip or other approved substrate. Keep the project separate from seed trays, edible crop harvest areas, and ordinary compost until you know the culture is clean.
The main failure mode is contamination. A pile of wet potato peels in a bucket may grow mold or ferment long before a desired mushroom colonizes it. If you are new to mushrooms, send the peels to compost and buy or prepare a proven substrate instead; the waste-saving benefit is not worth sacrificing the project to an uncontrolled mixture.
Once a mushroom crop has finished and the substrate is clean and fully spent, it can be composted according to the method you used. Do not spread an unidentified, moldy culture around the garden just because it contains wood chips.
6. Build a potato-peel slug station
Potato peels can work as bait in a simple slug collection station. They are not a slug-proof border and they do not reduce every slug in the garden, but they can concentrate feeding in one place so you can inspect the problem instead of guessing from ragged leaves.
Set a few plain peels under an upturned pot with no drainage hole, propped slightly above the soil by a small twig. The gap creates shade and shelter; the peels provide a food scent. Put the station at the edge of the affected bed rather than directly against a tender seedling, so you are not inviting slugs into the plant’s crown.
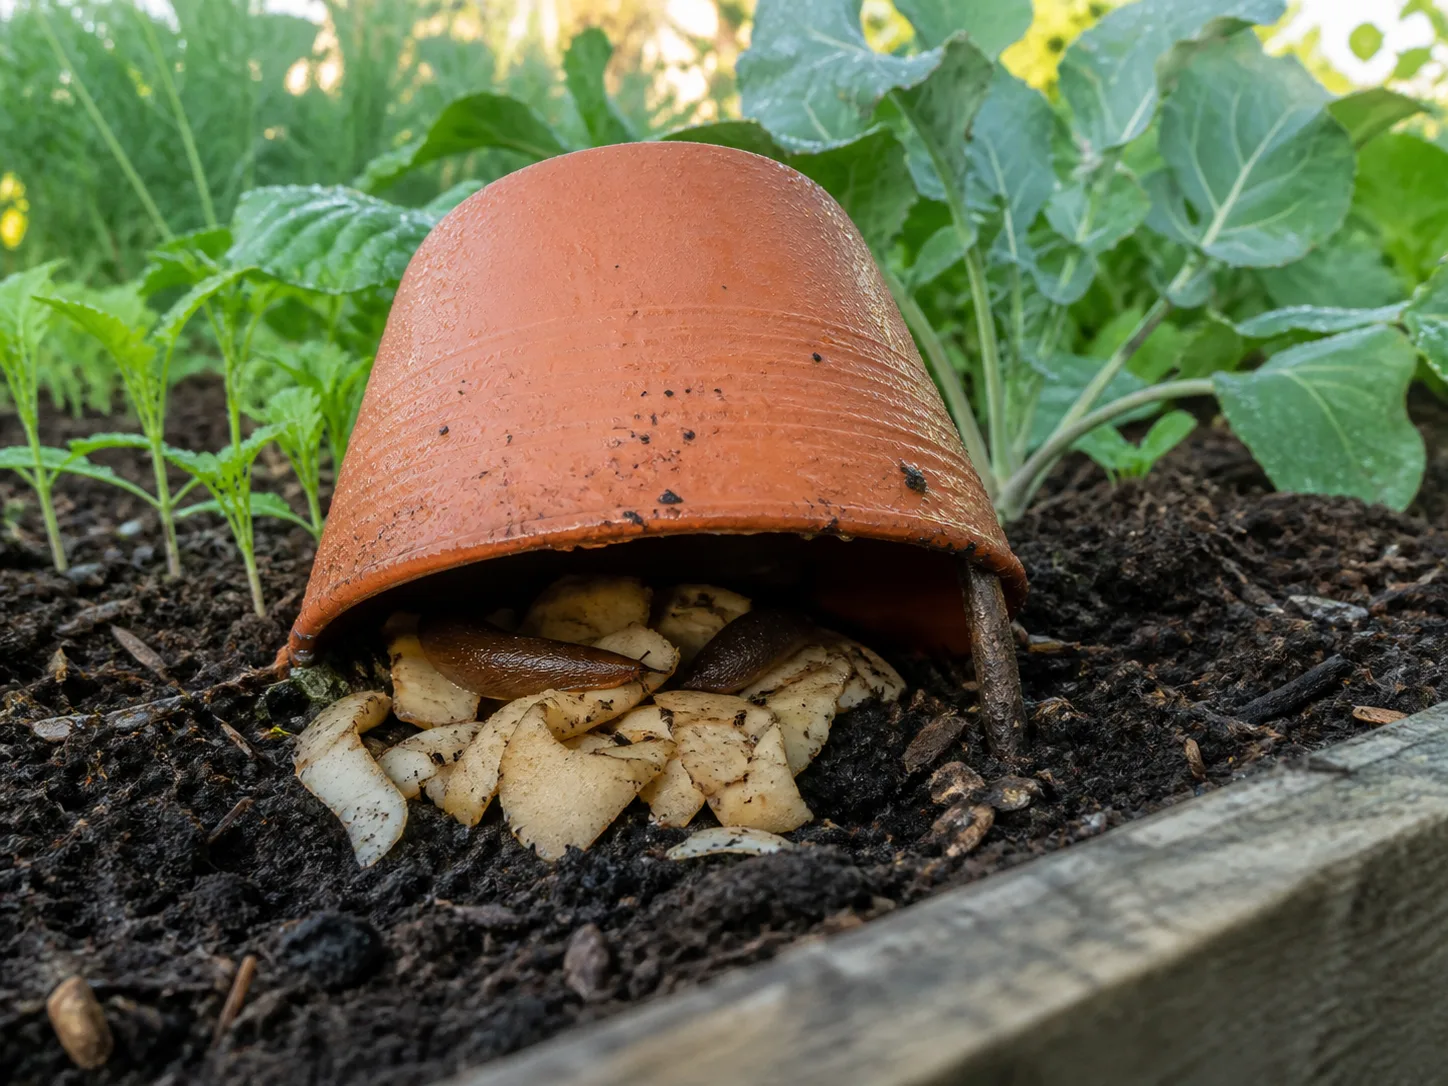
Check the underside of the pot at dawn, when overnight feeders are still hiding. Savvy Gardening notes that slugs feed mainly at night or in wet conditions and recommends physical traps, morning watering, and cultural changes as part of a broader management plan (Savvy Gardening’s organic slug-control guide). Epic Gardening likewise emphasizes dark, moist hiding places and morning checks in its slug-management advice (Epic Gardening on deterring garden slugs).
Remove the slugs according to your garden’s pest-management approach, then discard or compost the used peels if they are still clean. Refresh the station when it dries out or becomes moldy, and move it if it attracts more slugs than you can manage. Combine it with morning watering, removal of hiding debris near seedlings, and a physical barrier or labeled control when crop damage is severe.
The station is also a diagnostic tool. Ragged holes, slime trails, and fresh damage that appears overnight support a slug diagnosis; if the station stays empty, look for caterpillars, beetles, earwigs, or another cause before adding more bait.
Which method fits your garden?
Choose the least complicated method that accomplishes your goal. For a steady supply of kitchen scraps, composting gives the best return. For a small apartment or balcony setup, a worm bin may be useful if you can maintain moisture and drainage. For an empty vegetable bed, covered trench composting is practical; for a planted container, it is usually the wrong tool.
Use peel water and mushroom substrates only when you are comfortable treating them as experiments with clear stop rules. Use the slug station when you need evidence and a collection point, not when you expect it to protect an entire garden unattended.
If you are deciding between compost and direct burial, choose compost when you want finished material soon and trenching when the bed can rest. If you are deciding between a worm bin and a compost pile, send a large volume to the pile; worms do better with small, regular portions than with a weekly avalanche of peels.
What not to do with potato peels
Do not spread whole peels across bare soil as a permanent mulch. They dry at the edges, stay wet underneath, blow around, sprout, and attract animals. A few accidental pieces will not ruin a garden, but a visible layer is an invitation to pests rather than a controlled soil amendment.
Do not bury a thick pocket beside an established plant. Fresh scraps need decomposers, moisture, and oxygen; roots need stable conditions. Keep raw material away from stems and crowns, and wait for decomposition before planting over it.
Avoid these shortcuts:
- Do not use seasoned or greasy peels in a bed or worm bin. Salt, oil, butter, and sauces are not useful plant amendments.
- Do not use a homemade peel liquid on edible foliage or treat it as a measured fertilizer or fungicide.
- Do not add a diseased peel or unknown moldy batch to a small, cold compost system and assume it will be sanitized.
- Do not leave a slug station unchecked for days; wet scraps can mold and the station can become a shelter rather than a control point.
- Do not let potato eyes become volunteer plants in a bed where you want a clean crop rotation.
Troubleshoot sprouts, smells, flies, and slugs
If potato eyes sprout in compost, bury the pieces deeper in the pile, chop them before future additions, and keep the pile covered. A hot, active pile is more likely to break down scraps before they grow, but a small cool pile can let eyes survive. Pull volunteer plants from a finished bed rather than allowing them to compete with the crop you intended to grow.
If the compost smells sour or rotten, the usual issue is too much wet material and too little air. Add dry browns, turn the pile, and keep rain from saturating it. Epic Gardening’s compost-pest guidance also emphasizes covering fresh scraps, burying food in the pile, and using a closed or raised container when rodents become a problem (Epic Gardening on preventing pests in compost).
If fruit flies gather around a worm bin, stop adding peels temporarily, cover the food pocket with bedding, and check for excess moisture. The RHS similarly recommends burying or covering new food and pausing when undigested waste is accumulating. Do not solve a worm-bin problem by adding more scraps or insecticide.
If slugs ignore the potato-peel station, that is useful information. Move the station after confirming the damage, check at night or dawn, and identify the actual pest. If slugs are present but damage continues, protect the crop directly with a barrier or a suitable labeled control; a bait station is only one small part of an integrated plan.
Conclusion: make compost the default
Potato peels can do more in a garden than fill a trash bin, but the best reuse is usually the least glamorous one: chop them, balance them with brown material, cover them, and let compost microbes do the work. That route turns a variable kitchen scrap into a stable soil amendment and avoids most of the problems caused by exposing fresh food waste beside plants.
Use a worm bin, trench, mushroom project, peel-water trial, or slug station when that method fits a specific goal and you can monitor it. The right question is not whether potato peels are “good” or “bad” for plants; it is whether you have put them in a form, place, and timeline that helps the garden instead of asking raw waste to behave like finished fertilizer.



