How to Grow Red Onions from Seed, Sets, or Starts
Grow red onions from seed, sets, or transplants. Match the cultivar to your latitude, prevent small bulbs, and cure the harvest for better storage.
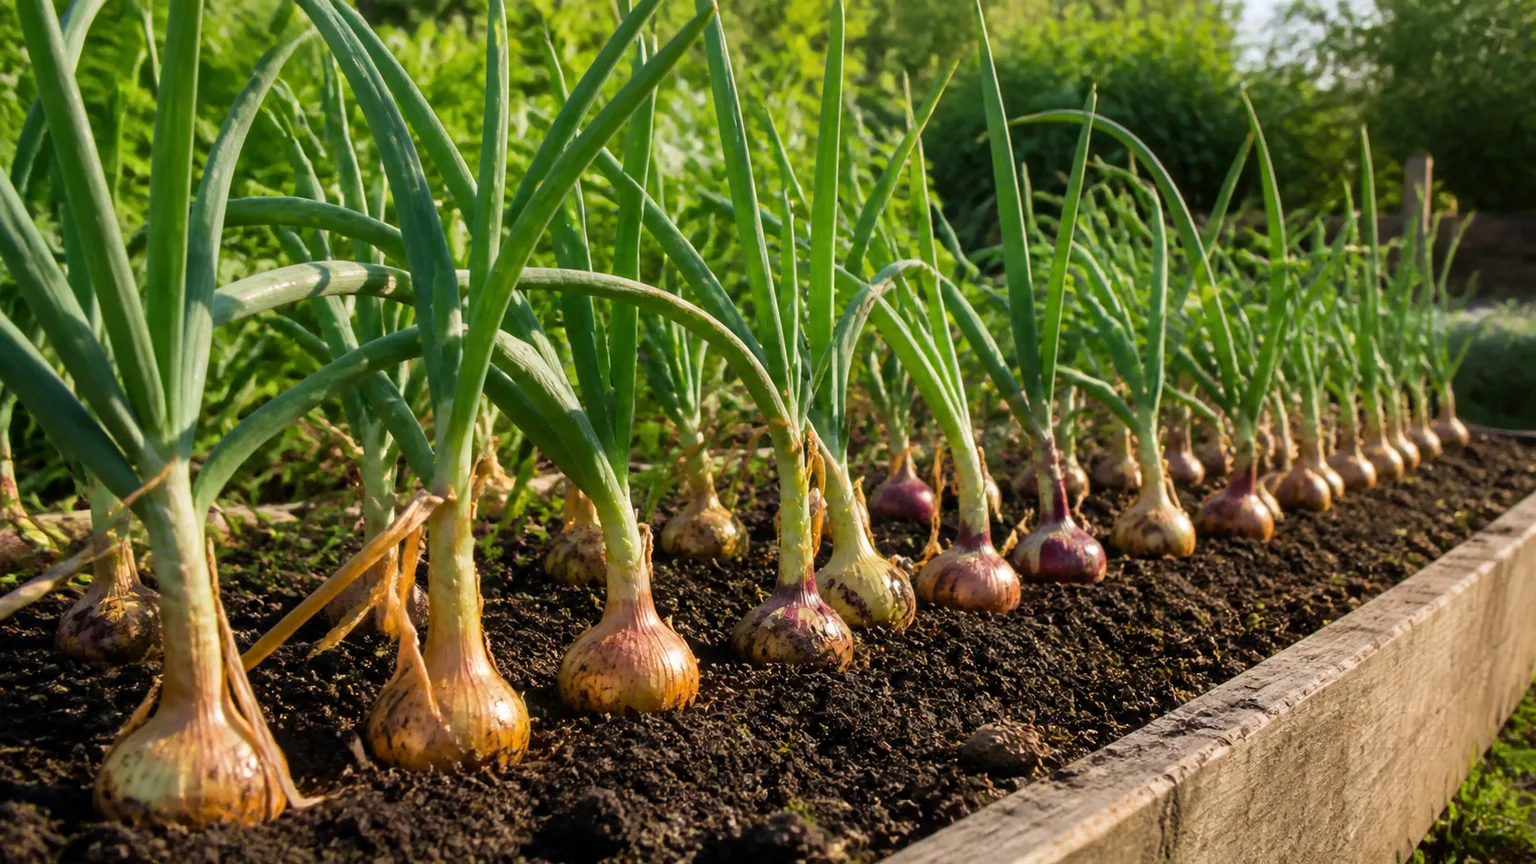
Red onions are not difficult because they need unusual care; they are difficult when the variety, planting date, and local day length do not line up. A plant can make a healthy fan of green leaves and still produce a disappointingly small bulb if it starts bulbing before it has built enough foliage. Choose a red cultivar suited to your latitude first, then give it a cool-season start, room to grow, steady moisture, and a dry finish at harvest.
You can grow red onions from seed, small bulbs called sets, or young transplants. Each method works, but they change how much variety choice you have, how early you can plant, and how much time you spend tending seedlings. The steps below take you through those choices and the crop’s full path from planting to storage.
Red onions at a glance
Red onions are cultivars of Allium cepa, the same species as yellow and white bulb onions. The red skin and colored layers are variety traits, not a separate growing category; their main care needs are those of other bulb onions. Utah State University Extension lists the red cultivar ‘Cabernet’ among home-garden varieties and notes that its listed bulb types store for roughly two to four months, a reminder that storage life depends on cultivar rather than color alone (Utah State University Extension’s onion guide).
| Growing factor | Practical starting point |
|---|---|
| Light | Full sun; choose the brightest open bed you have |
| Soil | Loose, fertile, moisture-holding but well drained |
| Spacing | About 4–6 inches between plants for full-size bulbs |
| Water | Keep the shallow root zone evenly moist while plants grow |
| Starting options | Seed, sets, or transplants |
| Bulbing trigger | Cultivar-specific day length, influenced by latitude |
| Harvest cue | Tops begin to yellow and fall naturally; confirm a dry, firm bulb |
| Storage | Cure completely, then keep cool, dry, dark, and ventilated |
The ranges are starting points, not a calendar or yield guarantee. The seed packet or transplant supplier should identify the cultivar’s day-length group, approximate maturity, and intended planting season; use local extension recommendations to adapt those details to your area.
Start with a variety suited to your daylight
A red onion is only a useful choice if it can bulb in your region. Before buying seed or sets, look for the cultivar name and its adaptation information. If a packet says only “red onion” and gives no clear regional guidance, check the grower’s catalog or ask a local extension office before planting a full bed.
Among named examples, RHS recommends ‘Red Baron’ as a red onion with mid- to late-summer cropping and good storage qualities. Utah State lists ‘Cabernet’ as a red bulb onion for home gardens. Neither name alone tells you that it will suit every latitude; verify the day-length category and planting window supplied for the seed or set you actually buy (RHS onion-growing guidance, Utah State University Extension).
Why day length matters more than hardiness zone
Onions build leaves first, then a suitable photoperiod triggers bulb formation. Short-day cultivars generally begin bulbing around 10–12 hours of daylight; intermediate-day cultivars around 12–14 hours; and long-day cultivars around 14–16 hours.
These are useful categories, but the boundaries overlap among varieties, and heat and soil moisture also affect how the crop develops. A named Cooperative Extension Master Gardener, Fred Hoffman, makes the practical point in Garden Basics: cultivar fit is the first question, while charts and regional boundaries are guides rather than exact lines (Garden Basics’ onion discussion).
Hardiness zones describe winter minimum temperatures; they do not tell you how many daylight hours your onion experiences when it needs to bulb. A short-day onion grown far north may start making a small bulb too early, while a long-day type in a southern region may stay leafy because its trigger never arrives. If your plants repeatedly make leaves without a useful bulb despite good moisture and spacing, check cultivar fit before adding fertilizer.
The other half of the equation is plant size. Each leaf contributes to a layer in the bulb, so a vigorous plant that has had enough time to grow before the bulbing trigger has a better chance of making a larger onion. That is why an early start can help in a short season, but planting the wrong cultivar earlier will not solve the underlying mismatch.
Choose seeds, sets, or transplants
Choose the starting method around your goal. Seeds give you the widest variety choice and let you raise a lot of plants inexpensively, while sets are easier to handle and transplants provide a head start without an indoor seedling stage. For a first crop, one row of a locally recommended transplant or small set is often simpler than trying to manage multiple seed trays and an uncertain planting calendar.
Seeds give choice and require a head start
Seed is the best route when you want a particular red cultivar, a larger number of plants, or more control over the variety’s day-length type. It also takes the most planning: onion seeds are small, seedlings grow slowly at first, and they need enough time to build strong leaves before bulbing begins. Fine Gardening author Leslie A. Clapp describes starting seed indoors well ahead of planting and keeping young plants under close light and moisture management; use your own packet and local schedule rather than copying her Maine dates (Fine Gardening’s seed-starting guide).
For indoor starts, sow into a clean tray or cell filled with fine seed-starting mix, barely cover the seeds according to the packet, and keep the mix evenly moist rather than saturated. Once seedlings emerge, give them bright light close enough to prevent thin, floppy growth; a sunny window may not provide enough light in late winter, so a grow light is useful. Keep seedlings cool enough to grow sturdy rather than lush and stretched, and trim only if they become so tall that they tangle or topple.
When the seedlings are ready to harden off, expose them gradually to outdoor sun, wind, and cooler temperatures over several days. Transplant when the soil is workable and the plants can be handled without tearing their roots. A seedling that is lanky or tangled is not automatically lost, but separate it gently and plant the roots downward in a narrow hole instead of curling them into a knot.
Sets and transplants trade choice for convenience
A set is a small, dormant onion bulb from the previous growing season. It is quick to plant and usually establishes readily, but the set selection may have fewer cultivars than seed catalogs.
Very large sets have a greater tendency to bolt; Utah State Extension notes increased bolting risk above about five-eighths inch in diameter, while RHS says heat-treated sets reduce that risk. If your aim is a storage crop, choose firm, small-to-medium sets labeled for your region rather than buying the largest bulbs in the bin (Utah State University Extension, RHS).
A transplant is a young green onion plant raised by a nursery or started at home. It saves the seedling stage and often offers a useful compromise when you want a specific variety but do not have space or light for indoor trays. Transplants and sets are not guaranteed to make larger bulbs than seed; their advantage is a head start or simpler handling, and final size still depends on cultivar fit, plant health, spacing, and season length.
When to plant red onions
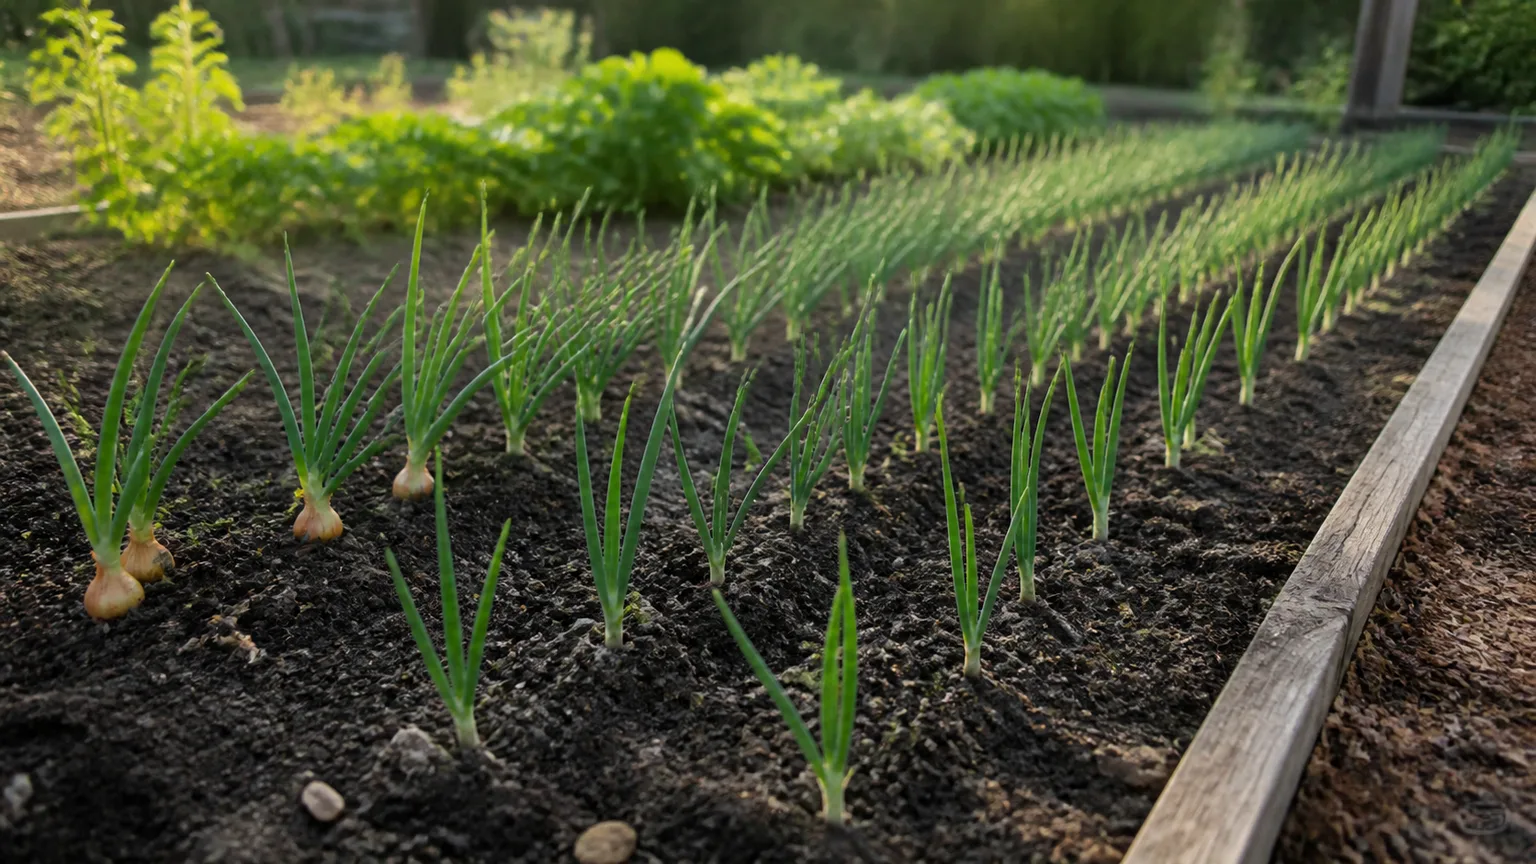
There is no single safe planting date for every red onion. In a typical spring crop, plant sets or transplants once the soil is workable and drains freely, and sow seed early enough that plants are growing strongly before the local day-length trigger arrives. In colder regions, starting seed indoors can buy time; in mild regions, a fall crop may be possible only with cultivars or sets specifically sold for overwintering.
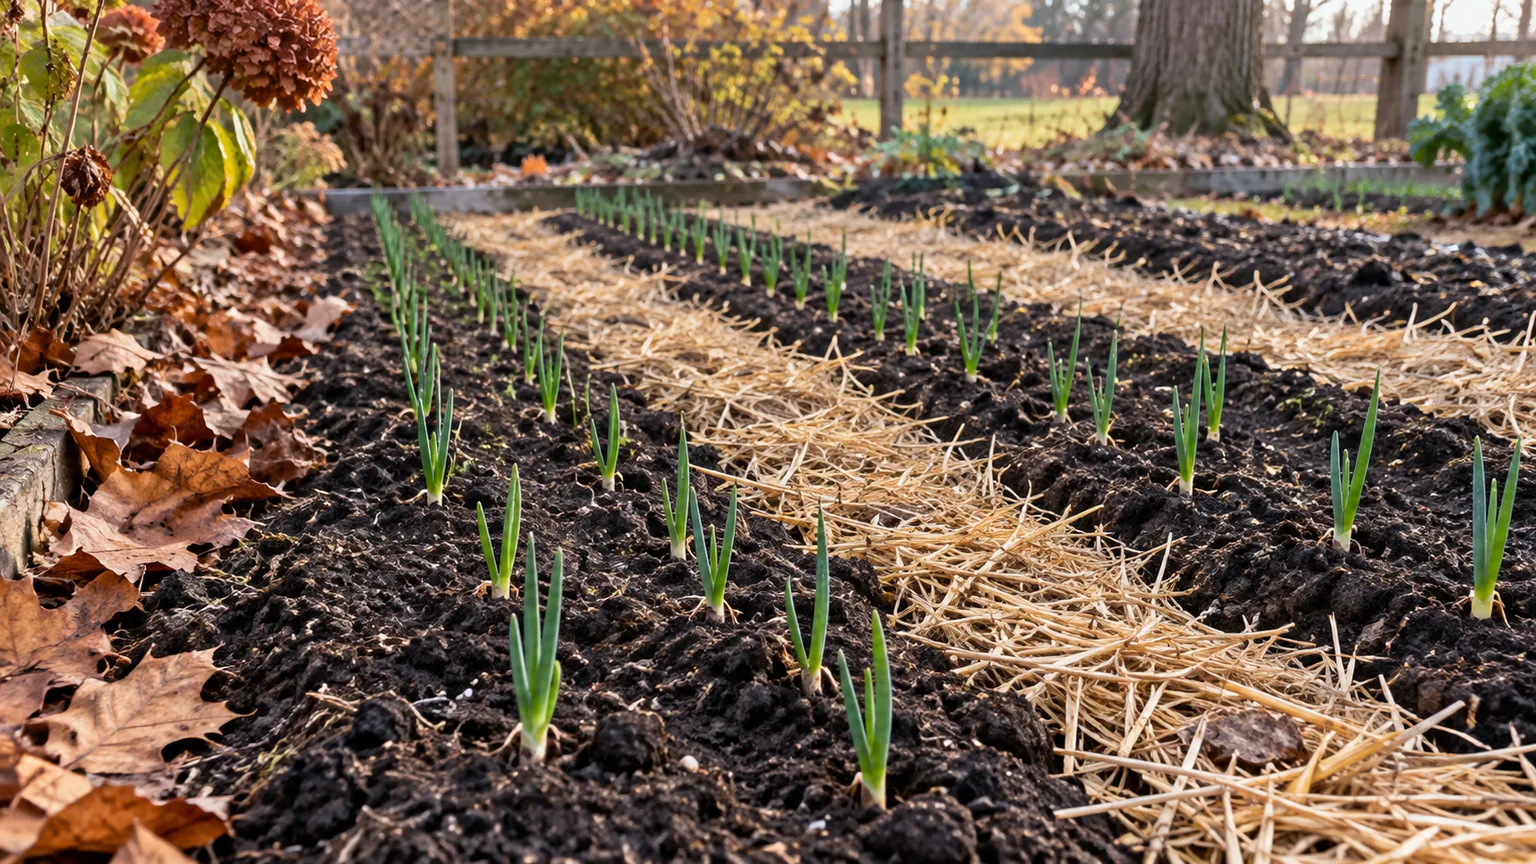
Fall planting is not a general shortcut. It depends on winter severity, drainage, the cultivar’s cold tolerance, and whether that type is intended to overwinter.
RHS advises avoiding autumn sets in heavy, waterlogged soil because they can rot.
Utah State notes that only special varieties should be used for overwintering and that mulch can help protect them. Use a local planting calendar and the supplier’s recommendation rather than applying a universal “four weeks before frost” rule (RHS, Utah State University Extension).
If the packet gives a maturity estimate, treat it as a planning window, not a harvest appointment. The count may begin at sowing, transplanting, or another point depending on the supplier, and weather can stretch the crop. Keep the packet until harvest so you can compare its expected timing with what the plant is actually doing.
Choose a sunny, loose, well-drained bed
Give red onions full sun and soil that stays moist without remaining waterlogged. Their root system is shallow, so a compacted layer, a dry surface, or a puddling bed can interfere with steady growth more quickly than it would for a deeply rooted crop. If water stands after rain, use a raised bed or improve the drainage before planting rather than trying to correct the problem by watering less in every dry spell.
Work mature compost into the bed if the soil needs organic matter, but do not assume that more fertilizer always means a larger bulb. A soil test is the best basis for correcting pH and nutrient shortages; recommendations differ with existing soil fertility. Utah State Extension advises working fertilizer into the upper soil before planting and warns against late nitrogen because it can encourage new leaf growth when the dry bulb should be maturing (Utah State University Extension).
Clear weeds before planting. Onion leaves do not shade the ground quickly, and weeds compete for water and nutrients while the crop is small. The first several weeks are especially important: pull weeds while they are small and cultivate only shallowly, because chopping deeply near the row can damage the onion’s fine roots.
Plant red onions at the right depth and spacing
Prepare the bed so the surface is level and crumbly, then plant each onion according to its starting form. For sets, place the root plate down and pointed tip up, with the tip just visible at the soil surface; RHS gives about three-quarters of an inch as a planting depth and 4–6 inches between sets.
For a seedling transplant, set the roots into a narrow hole and firm soil around them without burying the neck. Follow the seed supplier’s directions for direct-sown seed depth and thin seedlings to the final spacing once you can handle them.
Space plants about 4–6 inches apart for full-size bulbs, using the wider end if the cultivar is expected to make large onions. Smaller spacing lets you harvest some plants young as scallions, but crowded plants compete and usually make smaller bulbs. If you choose a close planting to get early greens, plan to thin the row gradually before the remaining plants begin to swell; do not expect every plant to reach storage size.
Rows around 8–16 inches apart are workable for many home beds, depending on whether you need a hoeing path, hand access, or room for drip irrigation. In a wide raised bed, plant in blocks only if you can still reach the center without stepping into the soil. Compaction from stepping on the bed defeats the loose root zone you prepared.
A set that sits too high can dry out or get tugged by birds; one buried deeply in heavy soil may struggle to emerge. Firm the soil lightly, water the row after planting, and cover a new planting with a light bird net or crop cover if birds routinely pull sets in your garden. Remove or lift the cover as needed so plants have room to grow and pollinators are not excluded when flowering plants are present.
Keep moisture steady, weeds down, and nitrogen timely
Water consistently while the leaves and bulbs are growing. Onion roots are shallow, so a short dry spell in the upper soil can slow growth even when the bed feels damp deeper down. Utah State Extension recommends moist soil through the growing period and thorough wetting of the root zone; Fine Gardening uses about an inch of water per week as a practical starting point, but rainfall, soil texture, heat, and container size all change the amount a bed needs (Utah State University Extension, Fine Gardening).
Use a rain gauge or check soil a few inches below the surface instead of watering by the calendar alone. Sandy beds and pots dry faster; heavy soils hold moisture longer and can remain too wet. Water at the base or use drip irrigation to wet the root zone, and correct poor drainage rather than keeping an onion bed constantly soggy.
Mulch can slow evaporation and suppress weeds once plants are established, but keep a loose layer rather than packing wet material tightly against the necks. Straw, chopped leaves, or finished compost can work; avoid burying the developing bulb under a thick, cold, soggy layer. A mulch that saves water in a hot dry garden may be counterproductive in a cool wet spring.
Feed to support leaf growth early, then stop before the crop needs to dry down. Start with compost or a balanced fertilizer only when the soil test or local recommendation supports it.
If a nitrogen side-dressing is recommended in your region, apply it during active foliage growth and follow the product rate; do not keep adding nitrogen late because the tops look less lush. Late feeding can prolong green growth and make curing less reliable.
As bulbs enlarge, the shoulders may push up through the soil. Leave them exposed rather than piling soil over them; the bulb naturally sits partly above the surface. Continue shallow weeding, avoid damaging the roots, and stop routine irrigation as the crop enters maturity, when tops begin to yellow and fall.
Troubleshoot stalled, bolting, or damaged onions
Look at the whole plant and the growing conditions before treating a symptom. A healthy green top with no bulb calls for a different fix than a flower stalk, a silvered leaf, or a soft base. Once the plants are established, most problems trace to cultivar mismatch, planting stress, competition, uneven moisture, or a wet soil condition.
Bolting before a usable bulb
A stiff central flower stalk means the onion has bolted. Cold exposure followed by warming, planting too early, or using oversized sets can raise the risk; exact response varies by cultivar.
The bulb may still be edible if it is firm, but the flower stem makes the center tough and the onion is less suited to long storage. Pull bolted bulbs and use them promptly instead of waiting for an ideal storage crop.
For next year, record which lot bolted, buy smaller sets or heat-treated sets where available, and follow the planting window for that variety. Utah State’s home-garden guidance notes both early planting and larger sets or transplants as possible bolting factors, while RHS recommends heat-treated sets as one risk-reduction option. Neither measure can override a cultivar that is poorly adapted to the local season (Utah State University Extension, RHS).
Leaves grow but bulbs stay small
First check the cultivar’s day-length adaptation. If it is suitable, check when the plant went in: late-planted onions may not have enough time to build leaves before bulbing begins.
Next inspect the row for crowding, shade, weed pressure, dry soil, or damaged roots. These conditions all limit the leaf area and energy the plant can put into a bulb.
Do not try to rescue a small onion by applying a large late dose of nitrogen. It may push leaf growth when the crop should be finishing, and it will not change the daylight requirement. Keep small bulbs for fresh use, and improve the next crop by choosing the right type, planting early enough for your climate, and thinning to final spacing.
If leaf tips turn silvery or plants look twisted, inspect near the leaf bases for onion thrips. Utah State Extension identifies thrips as tiny insects that can cause silver-gray leaves and recommends cultural and biological management; check local extension advice for your region before using any pesticide. Seedlings or bulbs that collapse with a soft, water-soaked base point more toward rot or an onion maggot problem than a nutrient shortage; remove badly affected plants, avoid waterlogged soil, and rotate the next allium crop to a different bed (Utah State University Extension).
Grow red onions in a container
A container works when it gives the bulbs enough surface area, drainage, and consistent moisture. Choose a wide pot or trough with several drainage holes rather than a narrow decorative pot; for full-size onions, allow roughly 4–6 inches of surface space per plant. A deep container is less important than loose mix across the rooting area, though a vessel around 8–10 inches deep gives roots and water room to move.
Fill it with fresh, free-draining container mix amended with a modest amount of finished compost if needed. Do not use dense garden soil by itself, which can compact in a pot and remain wet around the bulb. Plant sets with their tips at the surface and seedlings at the same depth they were growing; leave more space for large cultivars and fewer onions in a small trough rather than packing it tightly.
Set the pot where it receives full sun and can be watered easily. Check moisture more often than in a ground bed because wind and warm weather can dry the container rapidly, but never let the pot sit in a saucer full of water. A drip tray is useful for protecting a deck, but empty it after watering so the roots are not submerged.
Containers are especially useful for growing a few red onions or harvesting them young, not necessarily for producing the largest bulbs. If leaves are vigorous but bulbs remain small, review cultivar and planting date before blaming the pot; if the plant wilts between waterings, the container may be too small or drying too fast. You can harvest every other onion as a green onion to give the rest extra space.
Harvest for fresh use or storage
Red onions can be pulled young for scallions or left in place to form dry bulbs. For fresh use, harvest individual plants when the stems are thick enough for cooking; thinning the row this way gives remaining onions more room. For storage, wait until the crop shows natural maturity rather than forcing the tops over to make the bed look finished.
The common signal is that a substantial share of the tops have begun to yellow and fall, while the necks soften and the bulbs feel firm. Penn State Extension describes dry onions as commonly harvested when one-third to one-half of the tops have fallen. Use that range as a cue to inspect, not a command to lift every onion on the same day; red cultivars, weather, and soil may not mature uniformly (Penn State Extension’s onion production guidance).
Rain changes the decision. If healthy tops remain green and the bulbs are still swelling, continue regular moisture while the weather is dry.
If mature necks are closing and a prolonged wet spell is coming, lift those ready bulbs and cure them under cover; leaving mature onions in wet ground can make drying and storage more difficult. Do not bend or cut healthy tops to speed the process, because the green leaves are still feeding the bulb.
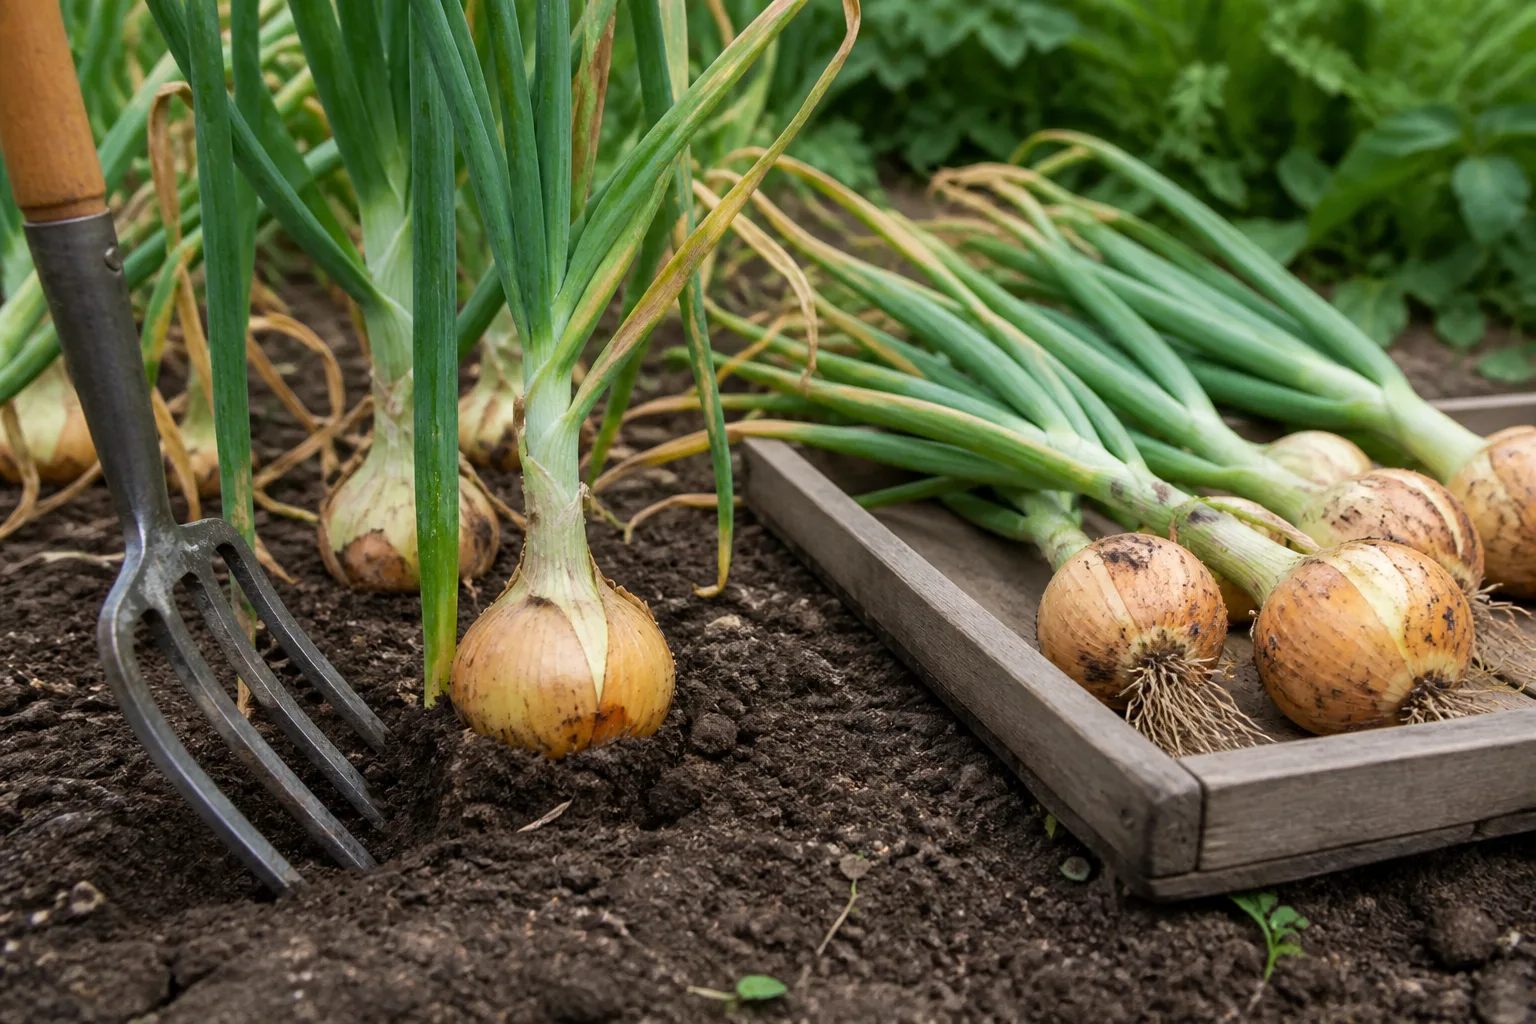
Loosen the soil beside each bulb with a hand fork or garden fork, then lift from underneath. Pulling hard on the foliage can tear the neck, and a bruise may not become obvious until the onion is in storage. Brush off loose soil only; do not wash bulbs or peel protective skins intended for curing.
Cure and store the bulbs you want to keep
Curing dries the leaves, roots, outer wrappers, and most importantly the neck. Lay onions in a single layer on a rack or screen in a dry, shaded place with good airflow, protected from rain and harsh sun. A hot sunny patio can bleach or soften the outer tissue, while a pile or sealed tote traps the moisture that should escape.
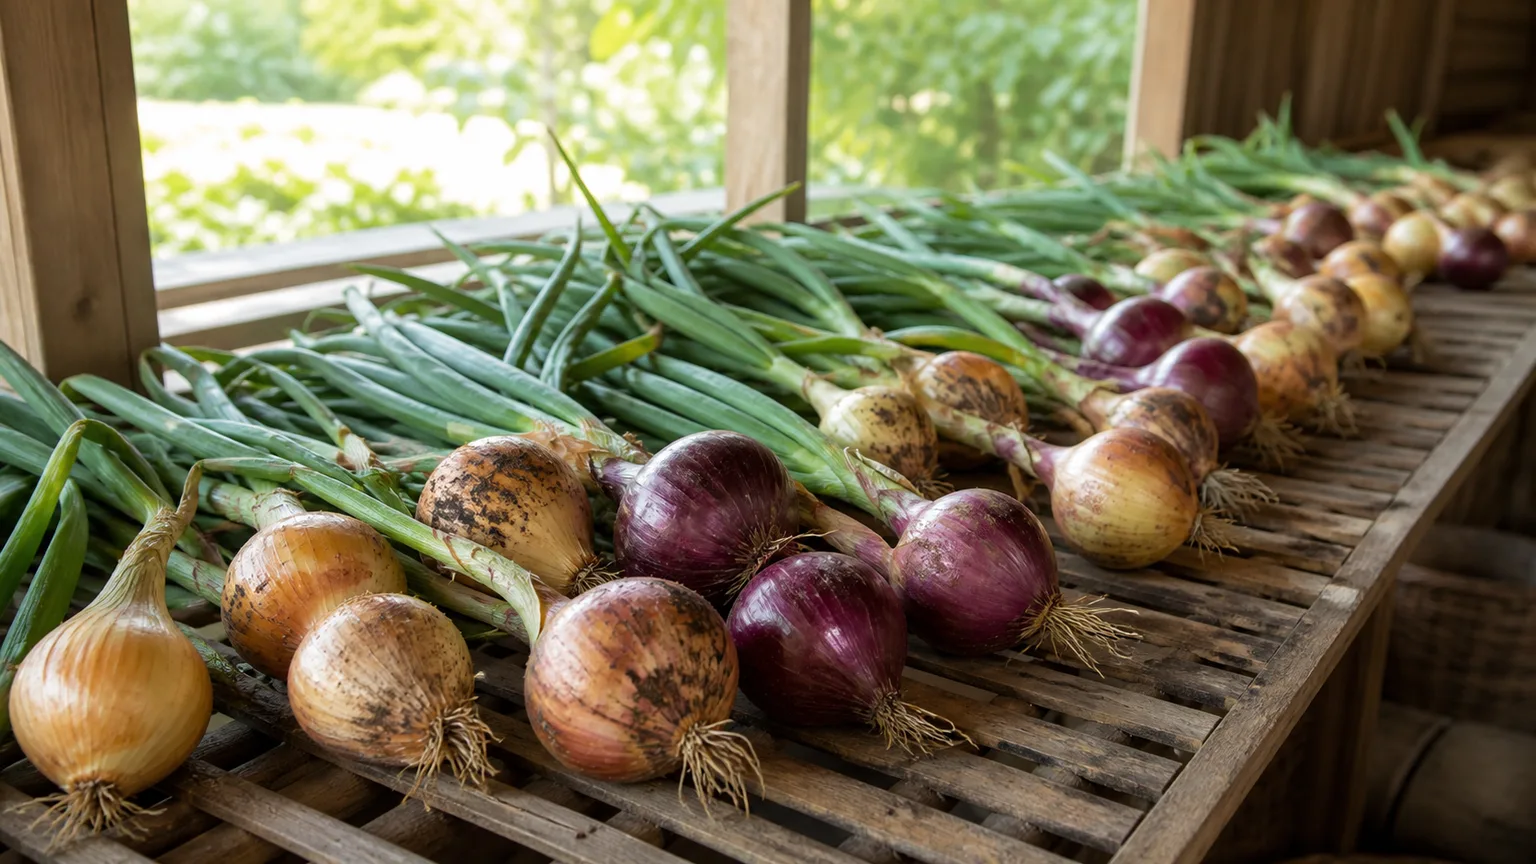
Plan for about two to four weeks, depending on humidity and airflow, but use the bulb’s condition to decide when it is done. The neck should be tight and dry, roots brittle, and outer skin papery; if the neck still feels thick or damp, give the onion more time or move it to the use-soon group. Penn State Extension gives two to four weeks as a typical curing range and advises curing under cover in wet or humid regions (Penn State Extension).
After curing, trim dry tops about an inch above the bulb and cut roots without nicking the base. Keep any bulbs with thick necks, soft spots, splits, bruises, or visible rot separate and use sound ones first; only firm, fully dry bulbs belong in the longer-storage batch. Store in a mesh bag, open crate, or slatted tray so air can reach every onion, and inspect the crop regularly.
Use a cool, dry, dark place, not a warm kitchen shelf or a damp basement corner. Utah State Extension gives 32–40°F as a storage range for cured onions, but the variety and actual humidity determine how long they keep; its home-garden guidance lists ‘Cabernet’ among red onions that may store for two to four months.
Treat that as cultivar-specific context, not a promise for every red onion. If you do not know the variety’s storage class, plan to use mild, juicy red onions earlier than dense, pungent keepers.
Conclusion
Growing red onions successfully starts before the seed goes in the ground: choose a cultivar that can bulb at your latitude, then give it enough time to build leaves before the day-length trigger. Keep the shallow root zone moist but drained, thin for the bulb size you want, and stop pushing leaf growth as maturity approaches.
At harvest, trust the crop’s natural signals and the forecast together. Lift gently, cure in moving air until the neck seals, and sort out damaged or thick-necked bulbs before storing; those decisions make the difference between a colorful fresh harvest and a crop that keeps well beyond the garden.



