How to Repot a Money Tree in 6 Steps for Better Drainage
Learn how to repot a money tree without overpotting: check the roots, choose a draining pot and airy mix, follow six careful steps, and manage recovery.
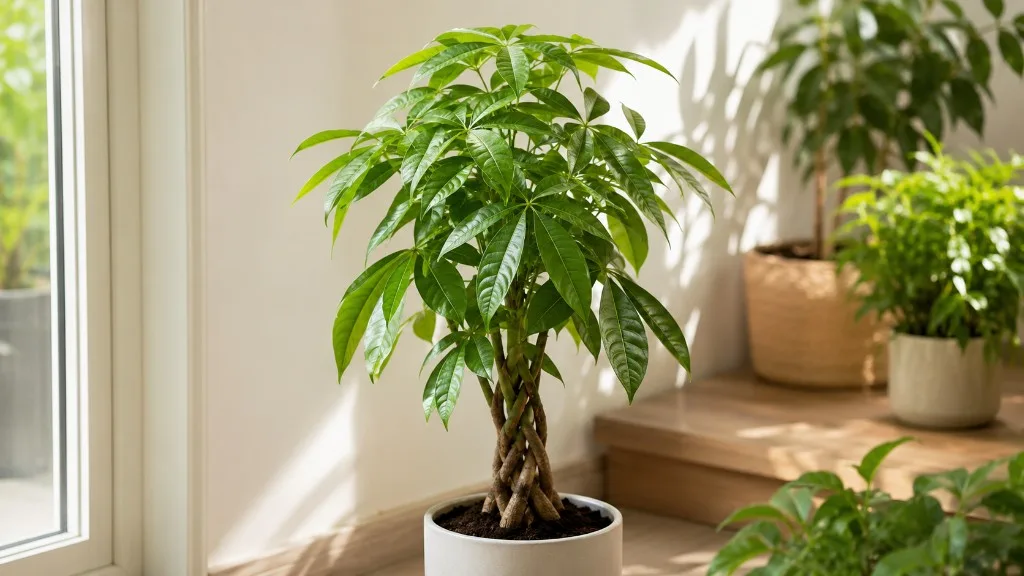
Repot a money tree when its roots have filled the container, the potting mix has broken down, or a root-zone problem needs attention—not simply because another year has passed. For a routine move, use a pot only modestly wider than the root ball, a fresh mix that drains freely, and a gentle six-step process. If the soil is staying soggy and roots are soft, deal with that problem now rather than waiting for spring.
A money tree is Pachira aquatica, a tropical tree often sold with several flexible stems braided together. In a container, the plant needs moisture around its roots but cannot sit in stagnant water. NC State Extension describes its preferred houseplant medium as moist and well drained and warns that standing water can cause root rot. That distinction matters: the species’ association with wet places does not mean a potted money tree benefits from a perpetually wet root ball. (NC State Extension Plant Toolbox)
Decide whether the plant needs repotting
Repotting is a response to evidence, not a routine chore to perform on every money tree each spring. A new pot can give crowded roots room and replace depleted or collapsed mix, but it also disturbs roots. If the plant is stable, drains normally, and has room to grow, leaving it in place is often the lower-risk choice.
Spring or early summer is usually a convenient window because a healthy indoor tree is more likely to be entering active growth and can establish in fresh mix. Penn State Extension and the Royal Horticultural Society both describe spring as a favorable period for many container plants. A calendar is secondary, though: if the roots are rotting in saturated mix, waiting months to reach the ideal season would prolong the damage. (Penn State Extension; Royal Horticultural Society: How to repot a plant)
Read the root ball, not one isolated symptom
The clearest sign is a root ball crowded with roots that circle its outer surface or fill the bottom of the pot. Roots protruding from a drain hole, a root mass that holds the pot’s shape, or water that runs through very quickly can prompt an inspection. Penn State Extension recommends checking the root ball when these signs appear; it notes that dense roots circling the sides and bottom, with little visible potting mix, indicate a plant is ready for a larger container. (Penn State Extension)
One root peeking through a drainage hole is a clue, not a diagnosis. It may be a single exploratory root while most of the root ball still has open mix. Likewise, yellow leaves, drooping, or slow growth do not prove the money tree needs a larger pot: changes in light, watering, temperature, pests, and root health can produce similar symptoms. Epic Gardening’s houseplant repotting guide also cautions that slow growth and discoloration have causes besides crowding. Slide the plant out only if other evidence supports a check, rather than repeatedly unpotting a healthy tree to look for trouble. (Epic Gardening)
Interpret fast dry-down in context. A brighter window, warmer room, or active growth can make the same pot dry sooner without the roots suddenly outgrowing it. The reverse also happens: a cooler room or dim winter light slows water use, so a large wet root ball may point to slow drying rather than a need for more soil. Compare the pot under similar light and temperature before calling the change root crowding.
Choose between potting up and refreshing the mix
There are two different jobs people call repotting. Potting up means moving a root-filled plant into a larger container. Refreshing the mix means replacing old, compacted, or poorly draining substrate while keeping the plant in roughly the same size pot. The RHS notes that container plants may be moved into a larger container or replanted in the same one after the compost is refreshed or roots are pruned. (Royal Horticultural Society)
If the roots are not crowded but the mix has collapsed, water no longer moves through it evenly, or the plant has sat in the same substrate for years, a refresh may be enough. If the tree has grown into a dense root ball and dries unusually fast despite consistent watering, potting up is more likely to help. Money trees do not need to be forced into the largest pot that fits their canopy; the root ball, not the height of the braided trunk, determines the container.
A healthy plant that arrived recently from a nursery usually does not need an immediate decorative upgrade. Give it time to adjust and observe how quickly its nursery pot dries. Make an exception for a broken container, obstructed drainage, a severely compacted mix, or confirmed rot. Avoid stacking repotting, a new location, heavy pruning, and fertilizer all at once; changing one main condition at a time makes the response easier to read.
Choose a pot that fits the roots
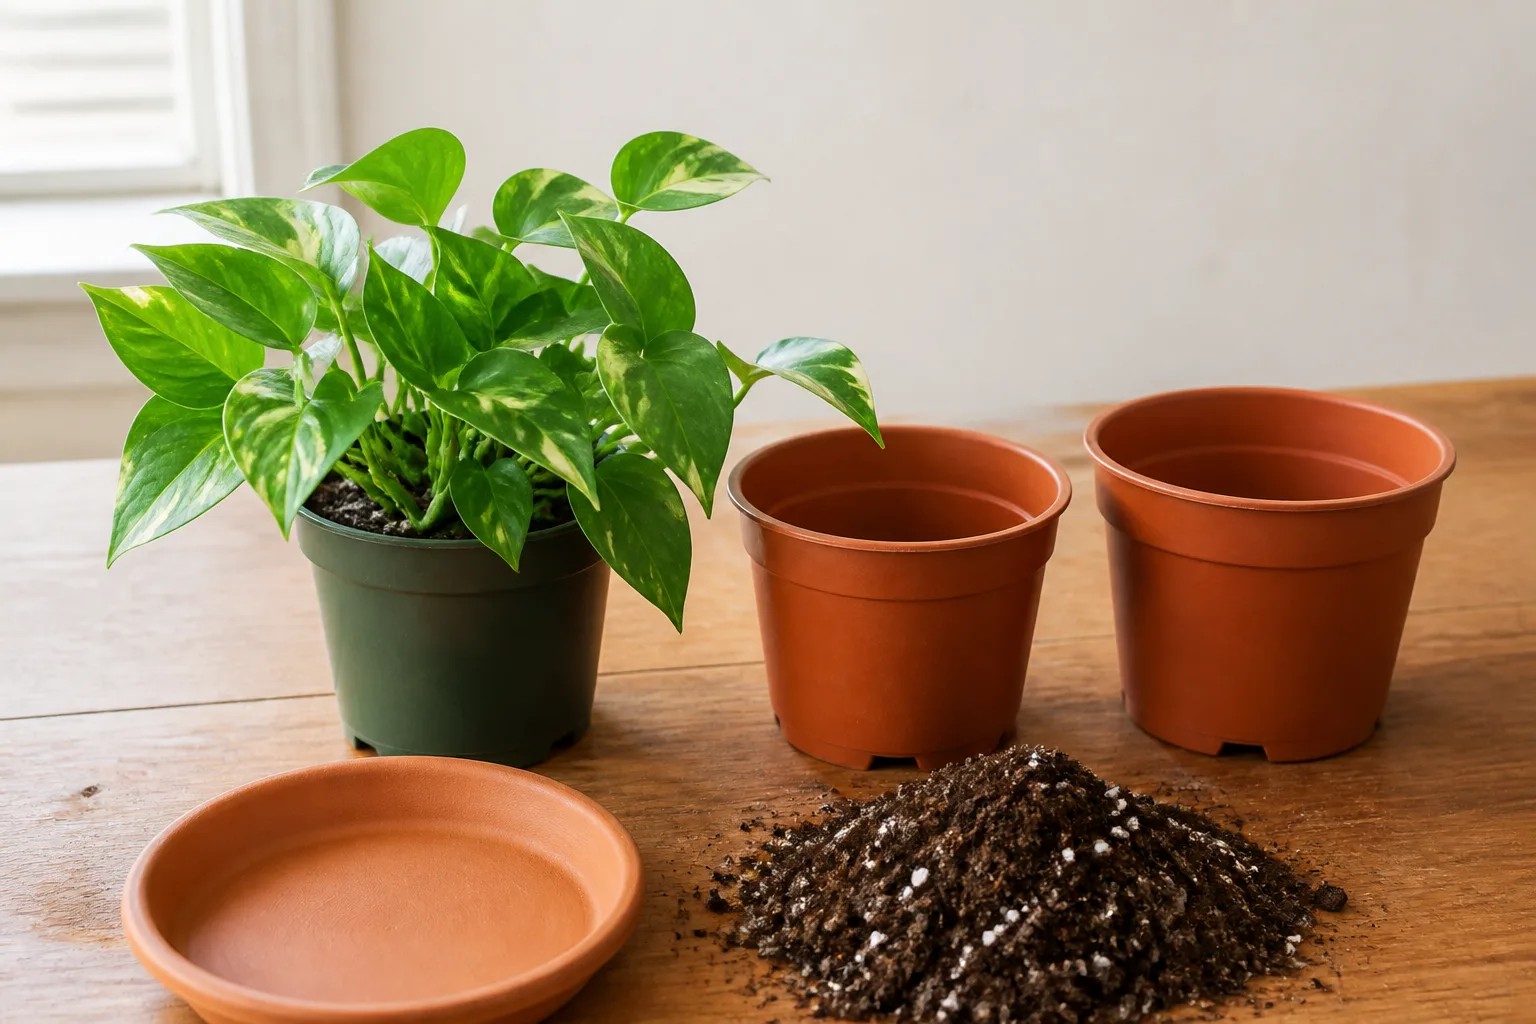
For most indoor money trees, choose a pot about 1 inch wider in diameter than the current one, adjusting slightly for the actual root ball rather than the size of the leafy canopy. A modest increase leaves room for roots while limiting the amount of fresh mix that stays wet outside the root mass. The Royal Horticultural Society recommends a relatively small step up for container plants, and a House Beautiful interview with plant expert Paris Lalicata specifically advises a money-tree pot only slightly larger to avoid excess water retention. (Royal Horticultural Society; House Beautiful)
Size, shape, material, and drainage
A money tree needs an open drainage hole. If you prefer a decorative cachepot without a hole, keep the plant in a separate nursery pot with drainage and remove it from the cachepot to water; let it drain before returning it. Empty the saucer after watering. A cover pot can look tidy, but water trapped at its bottom keeps the root zone wet even when the top surface looks dry.
Do not compensate for a hole-free pot by placing gravel in its base. Pebbles do not give water an exit; they take away root room. Use a small piece of mesh over a large hole if mix spills out, then fill the container with potting mix. Drainage depends on the exit hole, the structure of the mix, and not leaving runoff pooled beneath the pot.
Shape is flexible. House Beautiful’s expert source describes money trees as relatively shallow rooted and says a wider, shallower container can suit them; the same expert notes a deeper pot can still work when the plant is pot-bound and the increase is modest. Choose the shape that supports the root ball and does not make a tall tree unstable. (House Beautiful)
Pot material changes how quickly the mix dries. Unglazed terracotta loses moisture through its walls and can be useful in a home where soil stays damp, but the plant may need watering sooner. Plastic or glazed ceramic holds moisture longer and can work in a bright, warm room where the pot dries rapidly. None is universally best; the watering pattern, room conditions, and pot size matter more than a material label. For a tall or top-heavy money tree, a stable, heavier container may help prevent tipping, as Penn State Extension notes for larger container plants. (Penn State Extension)
Use an airy mix that still holds some moisture
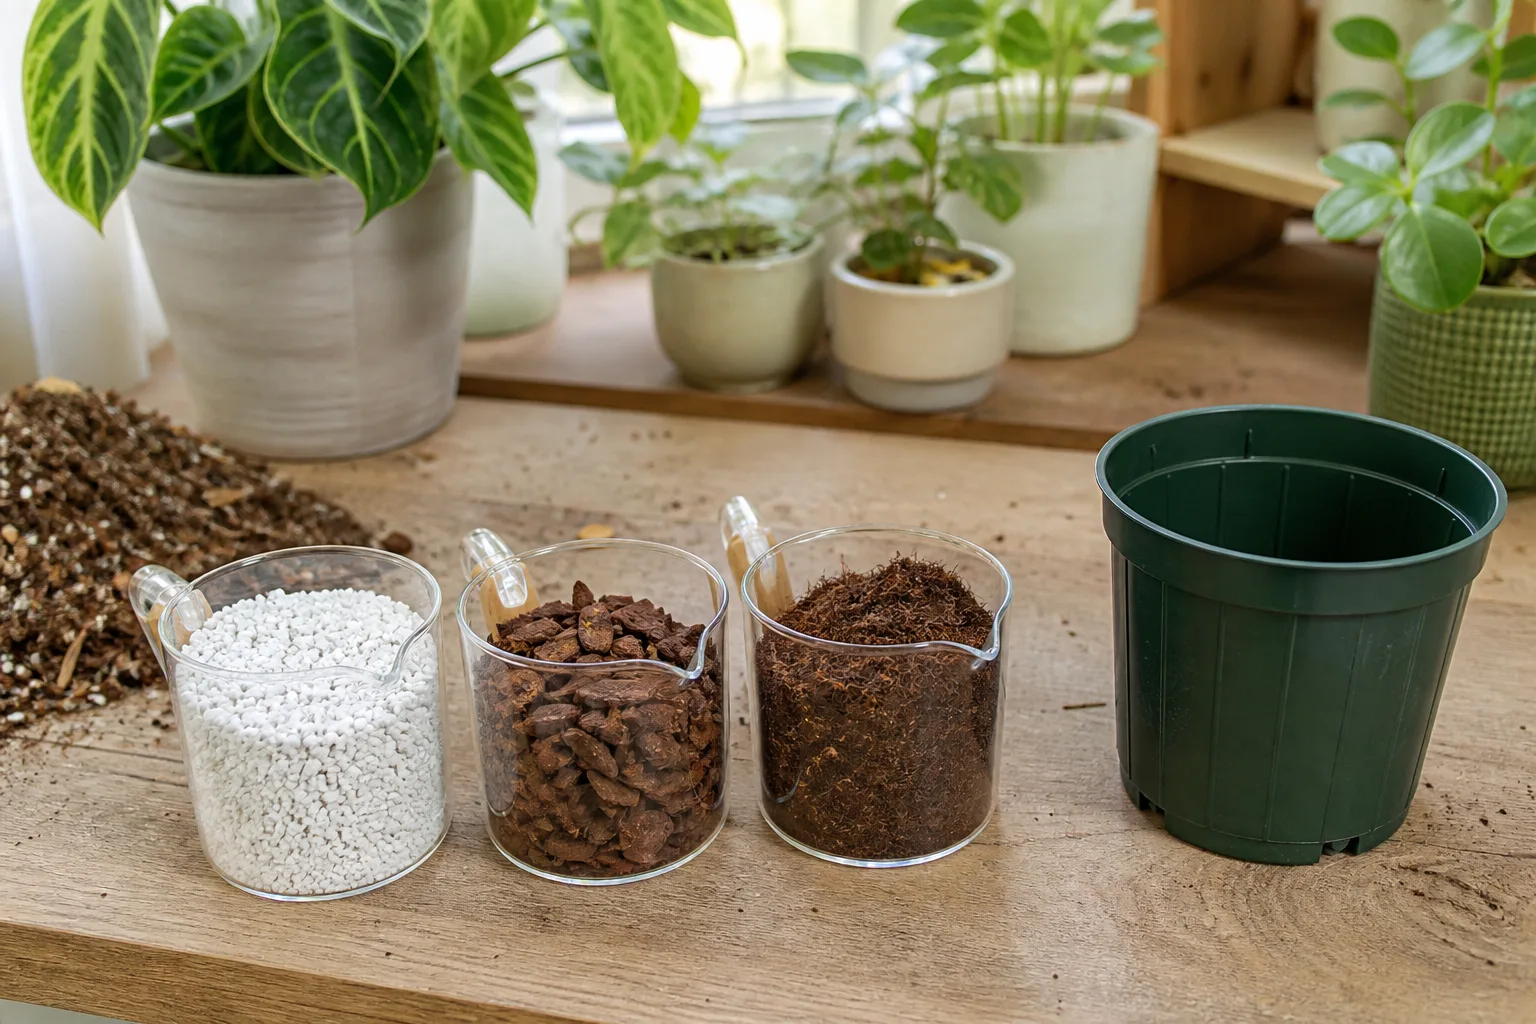
Use a quality indoor potting mix that holds a little water while leaving air around the roots. For a simple starting point, blend two parts regular houseplant mix with one part perlite or fine orchid bark. If the room is hot and the pot dries too quickly, use a little more moisture-retentive base mix; if it stays wet for many days, add more coarse material or choose a lighter mix. This is a practical starting recipe, not a mandatory formula.
NC State lists peat moss, perlite, loam, or sand among components of a suitable moist, well-drained medium for Pachira aquatica. The RHS describes open, free-draining compost for indoor growing. These recommendations point to the useful balance: do not use compact garden soil in an indoor pot, and do not choose a mix that remains soggy around the roots. (NC State Extension Plant Toolbox; Royal Horticultural Society: Pachira aquatica)
Mix ingredients and the drainage-layer misconception
Perlite adds light, coarse particles; bark can make a mix chunkier; coco coir or peat-based ingredients hold moisture. The ingredients matter less than the finished texture and your watering conditions. A handful squeezed after dampening should clump loosely and fall apart with a touch, not form a dense muddy ball. Pre-moisten dusty, dry mix before using it so it does not repel the first watering.
A quick test with a small sample can expose a mix that is too dense before it surrounds the roots. Wet it evenly in a separate cup and watch whether water can move through rather than pooling at the surface or escaping through one crack. A mix that is extremely chunky is not automatically better either; if the root ball dries out within a day or two in the plant’s normal location, it may not hold enough moisture for that setup. Adjust the proportions gradually instead of replacing one extreme with another.
Skip heavy garden soil, dense compost, and a thick gravel layer. Garden soil can compact in a pot, while gravel cannot correct a blocked or absent drain hole. A nursery pot inside a cachepot is a better solution than planting directly into a decorative vessel that cannot drain.
Repot a money tree in six careful steps
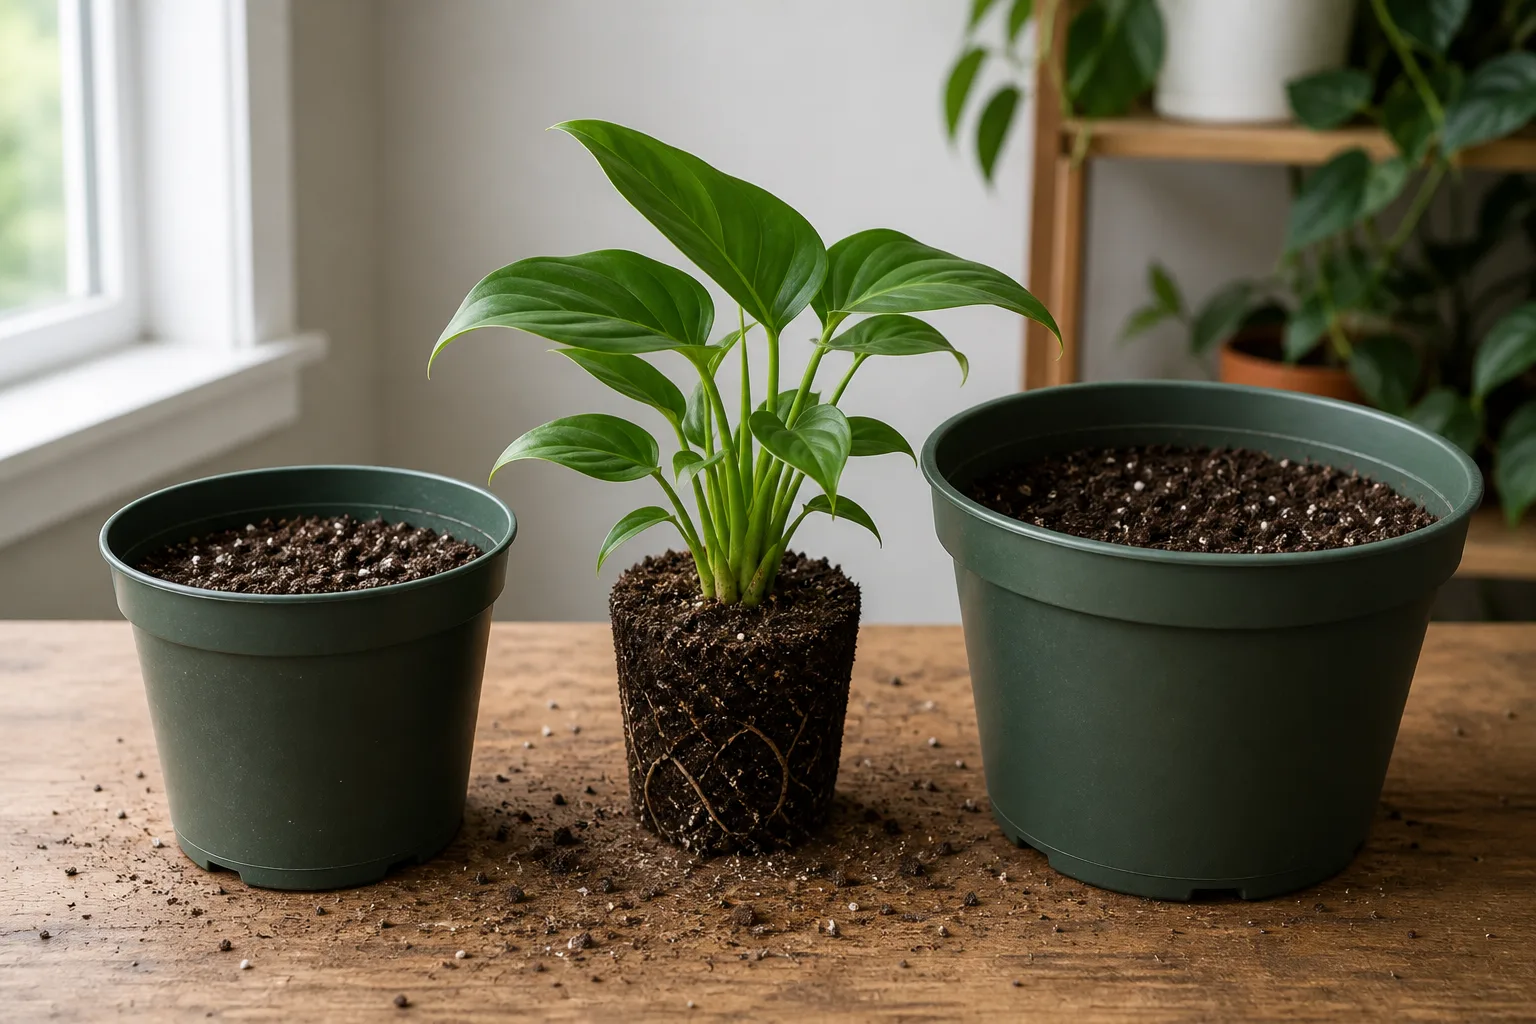
Set out the new pot, fresh mix, clean scissors or pruners, a blunt tool for loosening a stuck pot, and a saucer. A large braided tree can be awkward to handle alone; clear a work surface and support the canopy before turning the container. Having everything ready shortens the time exposed roots spend in open air.
Step 1: Prepare the plant and workspace
Work when the root ball is not waterlogged. If the mix is bone dry and pulling away from the pot, a modest watering beforehand can make the root mass easier to handle; if it is already damp, do not soak it again. Penn State recommends watering the plant and letting it rest before repotting, while RHS notes that a dry, shrunken root ball may release more easily from its container. For a money tree, aim for workable and lightly moist, not muddy or saturated. (Penn State Extension; Royal Horticultural Society)
Wash a previously used pot with soap and water and rinse it well. Check that the drainage hole is open. Set mesh over an unusually large hole if needed. Pour a shallow layer of mix into the bottom so the top of the root ball will sit at the same height it did in the old pot, with space below the rim for watering.
Step 2: Release the pot without pulling the braid
Lay the pot on its side and hold the root ball near its base. Squeeze a flexible nursery pot or tap its sides to loosen the soil. If the plant is in rigid ceramic, run a blunt knife or plant label carefully around the inner edge. Pulling on the braided trunk or leaf stalks can tear roots or damage the tree where the stems meet the root ball.
When it begins to slide, support the root mass and guide it out. If the pot is too tight to release safely, do not force a large tree by its stems; cut a disposable plastic pot if necessary or ask another person to steady the canopy. A root ball coming out intact is easier to assess and reposition.
Step 3: Inspect roots and loosen only what needs loosening
Look for the difference between healthy structure and decay. Healthy roots are generally firm and resilient; their color can vary with age, substrate, and staining. Rotted roots are often brown or black, soft, collapsing, or sour-smelling. Color alone is not enough to condemn a root. Remove only tissue that is clearly dead or mushy, using clean sharp scissors, and avoid stripping every bit of soil from a healthy root ball.

If roots have formed a tight outer coil, tease a few loose with your fingertips so they can grow into the new mix. Do not comb, wash, or cut healthy roots aggressively just because they have touched the pot wall. The aim is to open a congested outside layer, not turn a routine move into bare-root surgery. RHS guidance describes inspecting the root ball and loosening or trimming congested roots; the gentler approach is especially sensible when the plant is otherwise healthy. (Royal Horticultural Society; Epic Gardening)
Step 4: Set the root ball at its original depth
Place the tree in the center of the prepared pot. Check the level before adding more mix: the upper surface of the root ball should remain close to its former soil line, and the braided stems should not be buried. If the plant sits too low, lift it and add mix underneath. If it sits too high, remove a little mix from the base rather than pressing the root ball down hard.
The root flare and the lower braided trunk need airflow. Piling wet mix up around the stems can keep the base damp and hide early softening. A slight gap between the root ball and the rim gives you space to water without spilling.
Step 5: Backfill gently and water through
Add fresh mix around the sides in small amounts. Tap the container or nudge the mix into gaps with fingers; do not pack it down firmly. Dense compression removes air spaces and makes drainage less reliable. Stop when the root ball is stable and the surface sits just below the pot rim.
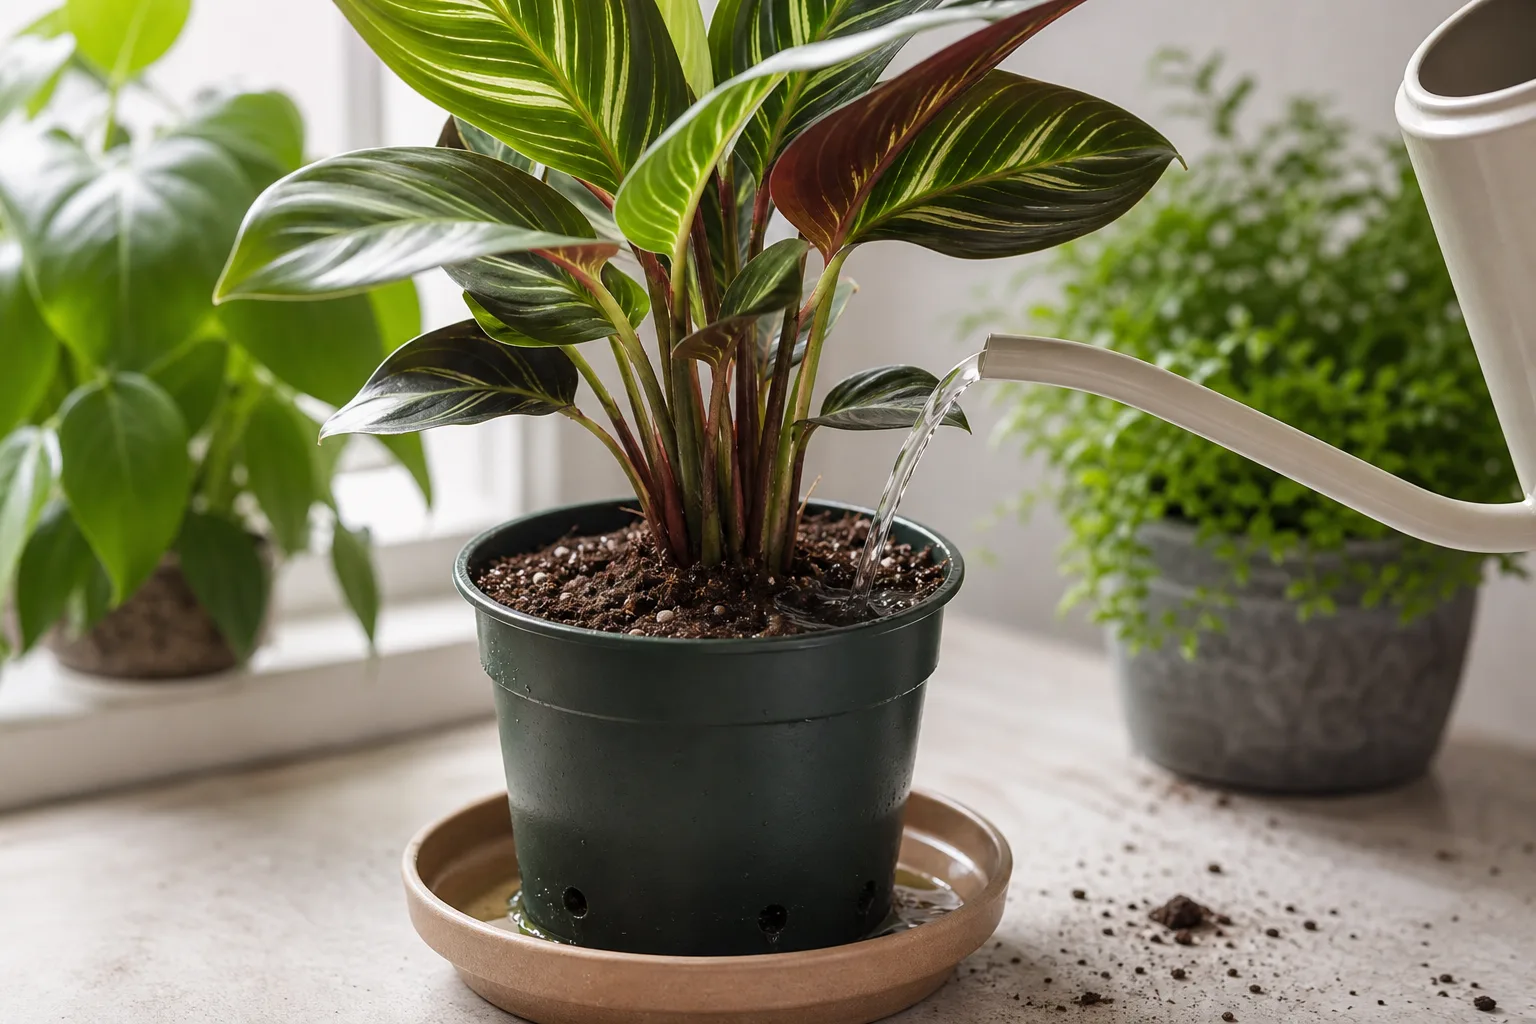
Water slowly until some exits the drainage hole, then allow the container to drain fully. This first watering settles mix around the roots and helps reveal whether the hole is working. If the mix shrinks and exposes roots, top it up lightly. Do not leave the pot sitting in the water that drained into the saucer. Penn State Extension recommends thorough watering and good drainage after repotting. (Penn State Extension)
Step 6: Return the tree to stable light
Move the tree back to a familiar spot with bright, indirect light and steady room temperatures. Avoid a sudden shift to harsh direct sun, a cold draft, or a heating vent while it is adjusting. If you had to move it during the work, choose the closest stable equivalent to its previous position rather than changing light and watering at the same time.
Keep any original trunk supports loose enough that they do not bite into the stems. Do not braid or tighten the trunk as part of repotting. The goal is to let the roots settle; shaping and heavy pruning can wait until the tree is stable.
If the roots are rotted, treat it as a rescue
A tree with persistent wet mix, a sour smell, a softening base, and mushy roots needs a different response from a healthy root-bound plant. Do not put rotted roots into a much larger pot or reuse the saturated, broken-down mix. Remove the plant, trim only the roots that collapse under gentle pressure, clean the pot, and use fresh airy substrate. NC State Extension warns that standing water can cause root rot in money trees; correcting the wet conditions is as important as removing damaged tissue. (NC State Extension Plant Toolbox)
After trimming, size the container to what remains of the root ball. If a large portion of the roots was lost, the original pot or a slightly smaller clean pot may hold a more appropriate volume of mix than a bigger one. Stabilize the tree if needed, but do not bury the trunk to keep it upright. Water according to the moisture of the fresh mix and allow runoff to escape; a root-damaged plant should not be kept wet simply because it has just been repotted.
Yellow leaves alone do not justify this rescue procedure. Before disturbing the roots, check how wet the mix is, whether the plant recently moved, and whether leaves are dropping from one older branch or across the canopy. Unnecessary emergency repotting can add stress without addressing the real cause.
Help the plant settle during its first month
Check the mix before watering rather than returning to a fixed weekly schedule. A new container changes the amount of substrate around the roots, and a different material can dry at a different speed. Let the upper layer dry somewhat, then judge the lower root zone and pot weight; water thoroughly when it is ready and empty the saucer. Money-tree watering should remain consistent with a moist but well-drained root zone, not a permanently wet one. (NC State Extension Plant Toolbox)
Mild leaf droop or a brief pause in growth can follow root disturbance, especially if the plant had been tightly crowded. Resist the urge to solve every change with extra water, fertilizer, pruning, or another move. Keep light and temperature steady and watch whether new leaves remain firm. If the mix stays wet for an unusually long time, water pools, or the trunk base softens, revisit drainage and root condition instead of adding more water.
Fresh mixes may contain fertilizer, and damaged roots do not need a strong feeding dose. Check the mix label and wait until the plant resumes active growth before returning to a normal, modest feeding routine. A recently repotted money tree may take time to resume growth; absence of an immediate flush is not by itself proof that the move failed.
For a broader seasonal routine, see the Money Tree care guide. Keep a note of the date, pot size, and how long the new mix takes to dry. That record gives you a baseline for the next watering decision and helps you avoid repotting again before the roots have had time to use their new space.
Use simple check-ins rather than lifting the tree out again. The next day, confirm that the saucer is empty and the surface has not settled enough to expose roots. During the following weeks, note how long the deeper mix stays damp and whether the trunk remains firm. If the pot is still heavy when you expect it to be drying, wait and check drainage before watering; if it dries much faster than before, verify that the root ball is fully surrounded by mix and that water is wetting the center rather than racing down the pot wall.
Conclusion
A good money-tree repot starts with a reason: a crowded root ball, tired mix, unreliable drainage, or active root rot. Choose a modestly larger pot only when the roots need room, refresh the substrate without upsizing when they do not, and keep the braided base at its original soil line. Handle the roots selectively, water once to settle the mix, let the pot drain, then keep the plant in stable light while it adjusts.



