Should You Pull Dead Plants From Your Garden?
Should you pull dead plants from your garden? Learn what to remove for disease and pest control, what to leave for wildlife, and how to compost safely.
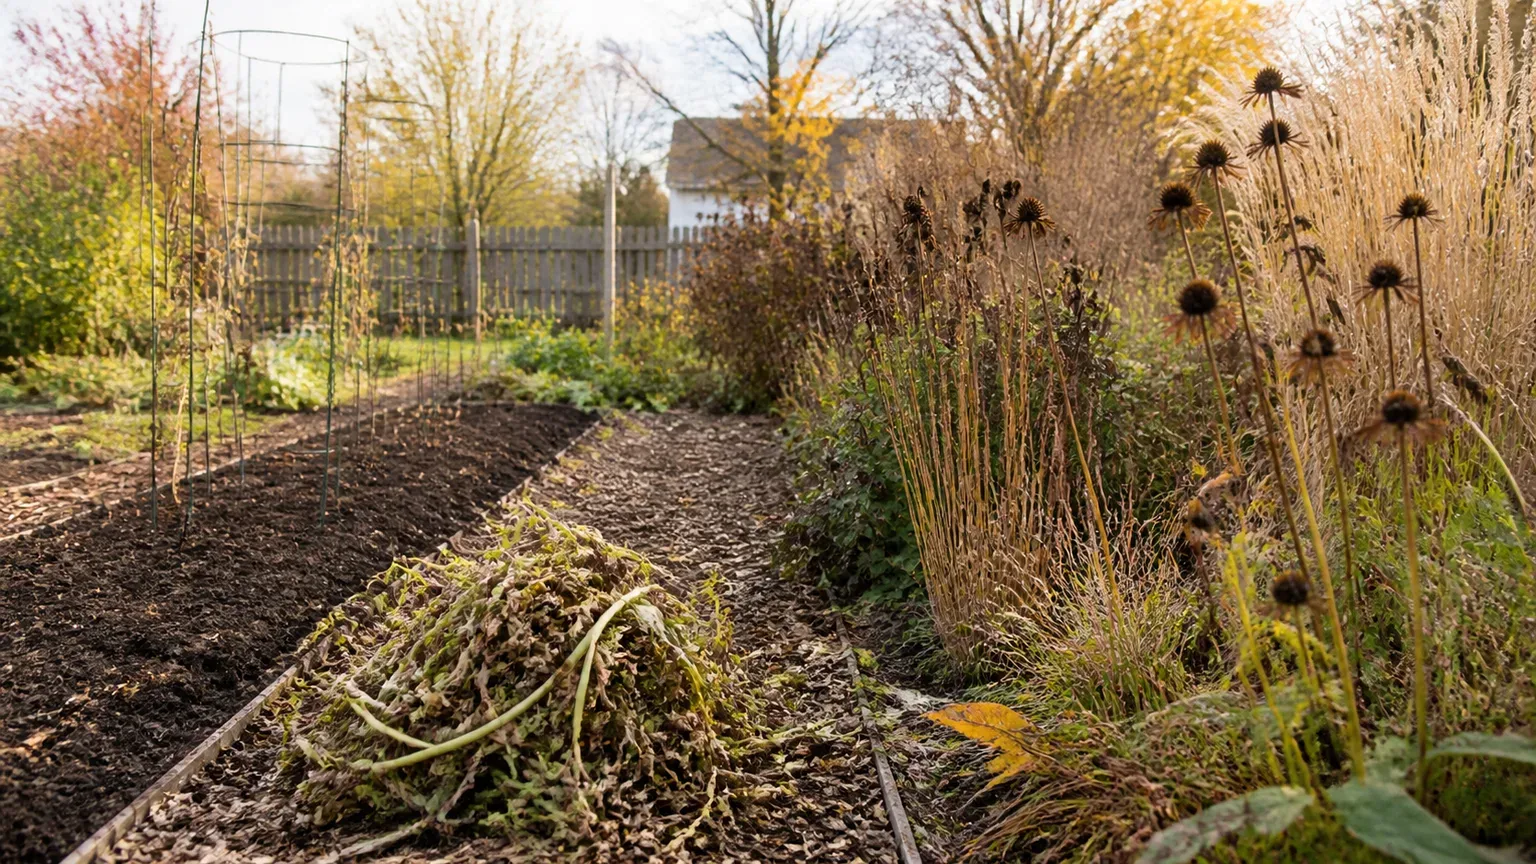
Dead plants are not automatically garden waste. Pull a plant when it is carrying disease, sheltering a known pest, spreading unwanted seed, collapsing into a wet mat, or creating a hazard. Leave clean stems, seed heads, roots, and leaves when they still protect soil or provide food and shelter.
That answer sounds less satisfying than “always clean up” or “never clean up,” but it is the useful one. A spotted tomato vine and a dry coneflower may both look finished; they do not have the same job or the same risk. The first can keep a disease cycle going. The second can feed birds, shelter insects, catch snow, and give a winter bed structure.
Use the decision guide below plant by plant, not as a single rule for the whole yard. The goal is not a bare garden. It is a garden where risky debris leaves, useful habitat stays, and everything else goes to an appropriate destination.
The short answer: remove risks, keep useful habitat
Start with three destinations. Remove anything diseased, heavily infested, rotten, invasive, seedy in the wrong place, or unsafe. Reuse or compost clean, non-seeding material that can break down without spreading a problem. Leave healthy stems, seed heads, fine roots, and a managed layer of leaves when they benefit the soil, wildlife, or the plant’s winter protection.
This is garden triage, not a tidiness contest. Penn State Extension explains that plant stems and debris can be overwintering places for pollinators, while diseased material and some pests need a different treatment. Its guidance on fall garden care for pollinators is a useful reminder that a completely cleared bed can remove habitat along with garden waste.
Use urgency only for actual risk. If a plant has obvious rot or disease, remove it as soon as practical rather than waiting for a first frost. If a clean perennial is simply brown, upright, and out of the way, leaving it until late winter is usually a sound choice. Brown is a color; it is not a diagnosis.
Use the plant’s condition, not its color, as the test
Before grabbing pruners, look at the plant, the soil surface, and the space around it. Ask what happened during the growing season, whether the debris is still spreading or shedding seed, and what benefit it might provide if left in place. A plant that died from ordinary frost is a different case from one that died with blackened stems, a sour smell, or a ring of sick neighbors.
You do not need to name every fungus or insect before making a cautious decision. A precise diagnosis helps you choose next year’s crop rotation and treatment, but visible warning signs are enough to keep suspicious material out of a casual compost pile. When the cause is uncertain, contain first and investigate second.
Remove disease and heavy pest history first
Remove leaves, stems, fruit, and nearby concentrated debris when a plant shows repeated leaf spots, powdery growth, cankers, blackened tissue, soft rot, unusual wilting, or a disease that affected several plants. Also remove a plant that carried a serious pest problem all season when eggs, webbing, galleries, frass, egg masses, or clusters of insects remain on the plant.
Disease is not confined to the part that looks worst. An infected leaf on the soil can matter as much as a sick stem, and a rotten fruit can hold both spores and insects. The University of Minnesota Extension’s guidance on fall brassica disease management emphasizes sanitation, weed control, crop rotation, and preventing movement from older diseased plantings into healthy ones.
Penn State’s home-garden guidance for downy mildew and powdery mildew makes the same practical point: remove infected leaves, branches, flowers, or fruit, and remove the whole plant when the infection is severe. It also advises against composting diseased material in a typical home pile because the pile may not heat every piece enough to destroy the problem.
Removal reduces local pressure; it does not sterilize the garden. Wind can carry spores, pests can arrive from a neighboring yard, and soilborne problems may persist even after the top growth is gone. Think of sanitation as lowering the starting line for next season, not as a guarantee that the bed is disease-free.
Stop unwanted seed before it spreads
Pull or cut seed-bearing plants before you shake them across the bed. The most important moment is not always when the plant is fully dead; it is when the fruit or seed head is mature enough to drop, split, or be carried by wind. Bagging a few ripe seed heads before you move the stalk can prevent a much larger spring-weeding job.
This matters for flowers that are welcome in a meadow but not beside a vegetable row, for herbs that self-sow aggressively, and for weeds that have already set seed. NC State Extension’s account of its Pollinator Paradise garden describes removing wayward seedlings of aggressive species to preserve space and diversity. That is a better model than either erasing every seed head or allowing every plant to reproduce everywhere.
If you want a plant’s winter shape but not its seedlings, remove the mature heads and leave the lower stems. If you want seedlings in a designated wildlife patch, leave them there and keep the surrounding path and bed edge clear. Location turns the same seed head from a resource into a problem.
Leave clean stems and roots that still do useful work
Clean, upright stems can protect a perennial crown from wind, catch snow, and give insects a place to shelter. Clean seed heads can feed birds after insects and summer nectar disappear. Fine roots from a healthy annual can remain in the soil after the top is cut, adding organic matter and disturbing the bed less than pulling the entire plant.
Leave material only when it is structurally sound and not creating a new problem. A stem leaning over a walkway, a dense mat pressing against a crown, or a dry plant touching a heat source belongs in the remove or relocate category. You can keep the ecological benefit without letting the whole bed become inaccessible.
What to remove from vegetable beds first
Vegetable beds generally deserve stricter cleanup than ornamental borders. Crops are planted close together, many belong to the same botanical families, and the same bed may host a related crop again next year. That combination makes a diseased or pest-ridden residue more consequential than a clean perennial stem in a mixed border.
Start with plants that had a season-long problem: tomatoes with leaf spot or wilt, squash with severe mildew or vine damage, cucumbers covered in disease, or brassicas carrying persistent leaf and caterpillar damage. Collect fallen fruit and the leaves under the plant too. Leaving a few clean roots in place can be reasonable, but leave roots only when you have no reason to suspect crown or root disease.
Then remove weeds before they drop more seed, volunteer plants you do not want, and overripe fruit that attracts rodents, flies, or other visitors. A clean bed does not need to be scraped to bare soil. It does need to stop functioning as a nursery for the problem you are trying to avoid.
Keep crop families in your records. Tomatoes, peppers, eggplants, and potatoes are all nightshades, so replacing a tomato with a pepper in the same bed is not a meaningful break from nightshade-related problems. Sanitation and rotation work together: removal deals with residue above ground, while rotation reduces the chance that a surviving organism finds the same kind of host next season.
If a bed is finished early, consider a clean cover crop or a layer of disease-free mulch rather than leaving it exposed. The cover should be chosen for your climate, planting calendar, and ability to manage it in spring. Do not use a cover crop as a way to hide diseased debris; remove the risky material first.
When healthy dead stems should stay
An ornamental plant’s dead top can be a winter resource. Penn State Extension notes that butterflies and moths may overwinter in leaves, seed pods, stems, or nearby crevices, while native bees use hollow or pithy stems. The NC State Extension fall pollinator-garden guide describes waiting until late winter or early spring to begin cutting back many plants so stem-nesting bees have time to use them.
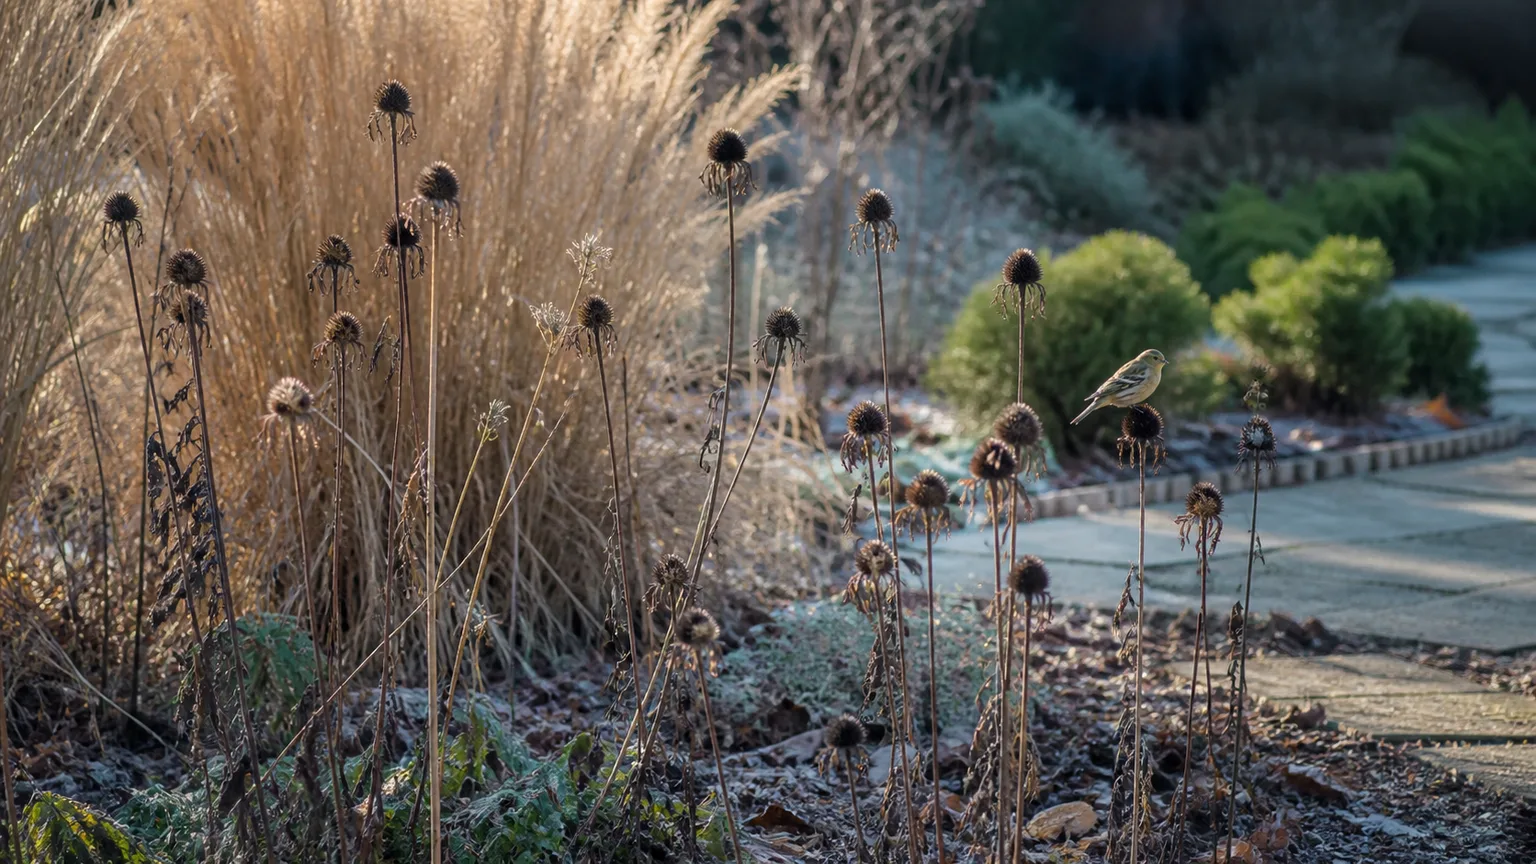
Seed heads, stems, and leaf litter support wildlife
Coneflowers, sunflowers, asters, goldenrod, bee balm, and many ornamental grasses can stay standing if they are healthy and placed away from paths. Their seed heads provide winter forage, and their stems add cover. The National Wildlife Federation’s autumn gardening guidance for pollinators also recommends treating fallen leaves and standing plant material as habitat rather than automatically hauling them away.
Leaving stems does not mean you must leave every stem at its full height. Cut a few that flop into circulation, shorten selected plants for the view from a window, or gather fallen clean material into a loose habitat pile. Keep the rest in varied heights so the bed looks intentional and offers more than one kind of shelter.
Garden Gate’s fall-cleanup roundtable offers the same useful middle ground: leave hollow stems when they are healthy, cut selected plants at varied heights in spring, and clean up over time instead of treating one autumn weekend as a deadline.
Spring cutting needs restraint. In late winter or early spring, cut old stems to varied heights rather than reducing every plant to ground level in one pass. If you suspect a stem is occupied, leave the cut pieces in a protected spot for a while instead of sending them straight through a shredder. Timing will vary with climate and insect emergence, so a local extension recommendation is more useful than a universal calendar date.
How leaves fit into fall cleanup
Leaves are usually a placement problem, not a trash problem. A thin, loose layer in a garden bed can protect soil, moderate temperature swings, slow erosion, and contribute organic matter as it breaks down. A thick, wet layer on turf can smother grass, and a heavy mat over a low perennial or evergreen crown can keep it too wet.
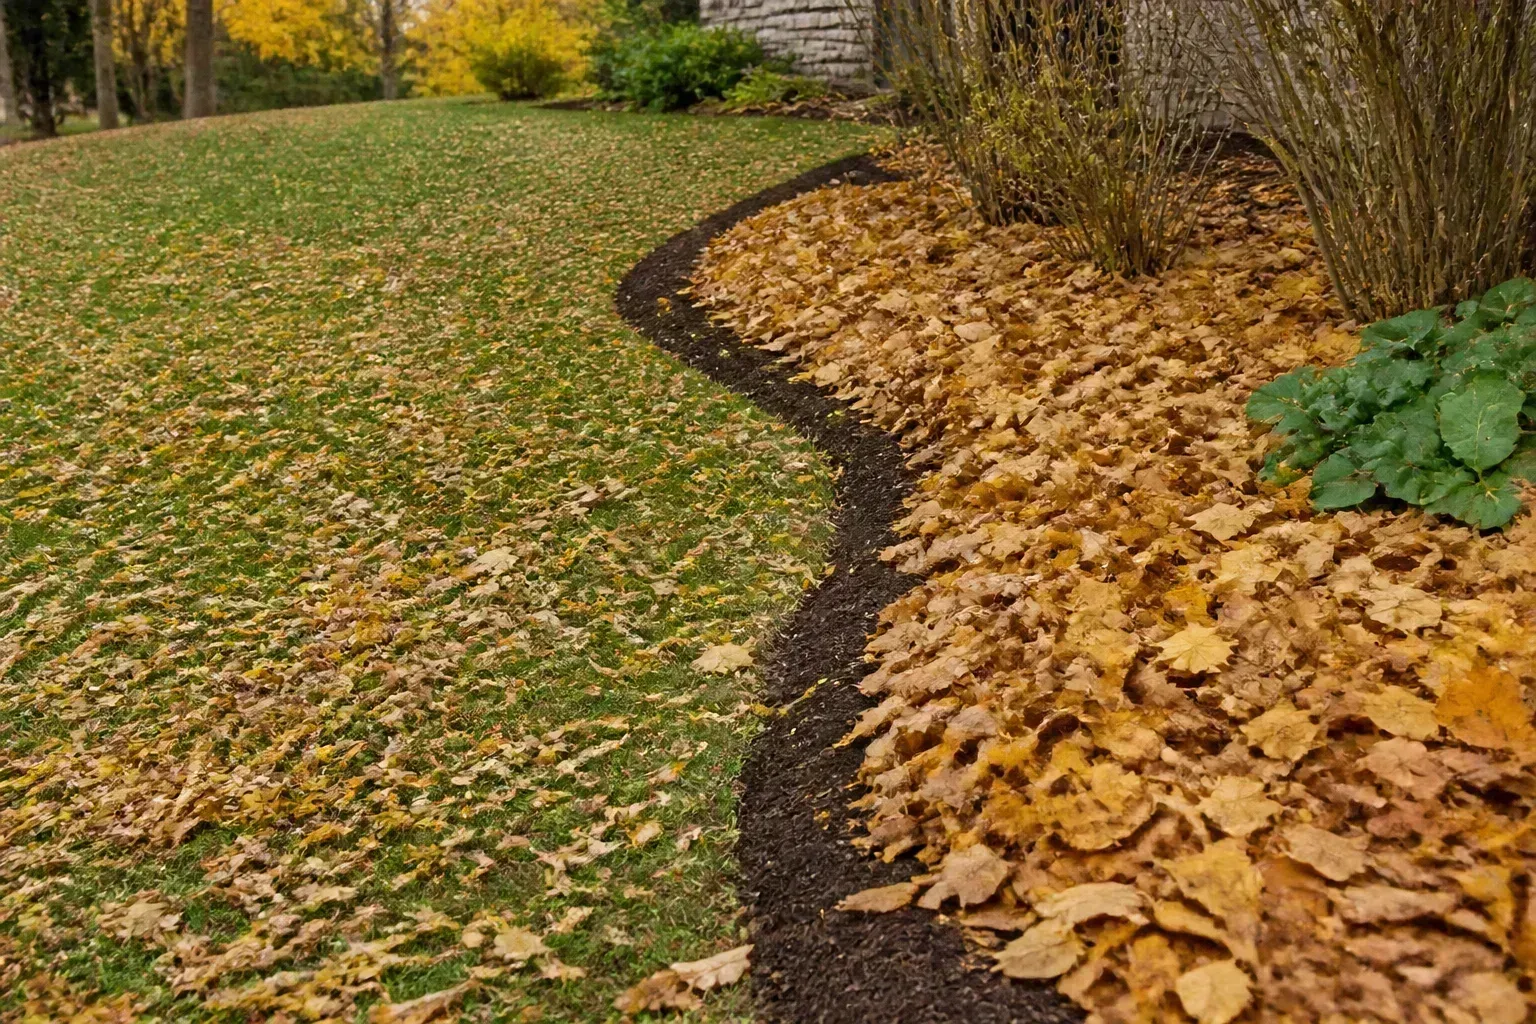
Move leaves off lawns, drains, paths, and plants that disappear under a dense blanket. Use them as bed mulch, add clean leaves to compost, or shred some with a mower when the goal is faster decomposition and your local wildlife plan allows it. Keep at least some intact leaf litter in a designated bed or under shrubs when habitat is a priority.
The same rule applies to leaf disease: if a plant had a serious, recurring foliar disease, do not automatically spread its fallen leaves around the property. Remove the concentrated material around that plant and follow local extension advice for the disease. Leaves from an otherwise healthy tree are a different material from leaves visibly tied to a disease outbreak.
How to pull and cut plants without spreading problems
The safest cleanup is quiet and local. Work on a dry day when practical, carry a container to the plant, and lift debris instead of dragging it through neighboring foliage. If you are dealing with suspected disease, start with healthy beds and finish with the affected bed so clothing and tools are less likely to move material in the wrong direction.
A low-disturbance removal sequence
- Inspect before touching. Look at the leaves, stem bases, fruit, crown, and soil surface. Take a photo and note the crop or plant name.
- Stage the destination. Put a paper yard-waste bag, tarp, bucket, or lidded container beside the plant before cutting. This limits shaking and repeated trips across the garden.
- Remove loose fruit and obvious fragments first. Pick up fallen fruit and suspicious leaves by hand or with a small scoop. Do not flick them into the next bed.
- Cut or pull in manageable pieces. For brittle stems, make a few controlled cuts over the container. For a clean annual, cut near the soil line if you want the roots to remain.
- Lift the root crown only when needed. Pull the whole plant when you need to inspect disease, remove a perennial weed, clear a seedbed, or eliminate a root system that is likely to regrow.
- Clean reusable gear. Brush soil and plant fragments from pruners, cages, stakes, gloves, and shoes before moving to another bed. Dirt can shield organisms from a disinfectant, so physical cleaning comes first.
- Record the lesson. Write down the plant, bed, symptoms, and date. Next year that note can guide crop rotation and early scouting.
Do not make a bonfire your default sanitation tool. Burning is restricted in many places and creates smoke and fire risks; never burn poison ivy or unknown plants that could release irritating smoke. Check local rules and use an approved disposal route instead.
Where each kind of debris should go
Healthy, seed-free plant material is a valuable compost input. Fresh green growth supplies nitrogen, while dry leaves and stems supply carbon. Chop large pieces so they break down more evenly, and keep the pile moist and aerated rather than simply dumping an entire wet vine mass in one corner.
Penn State Extension’s home composting guide specifically excludes plant material showing disease or insect infestation, as well as weeds that can readily grow from root or stem cuttings. A properly sized and managed pile may reach about 140–160°F, but a thermometer reading is not a shortcut around good pile size, moisture, turning, and time. If you do not monitor the process, treat suspicious debris as unsuitable for the home pile.
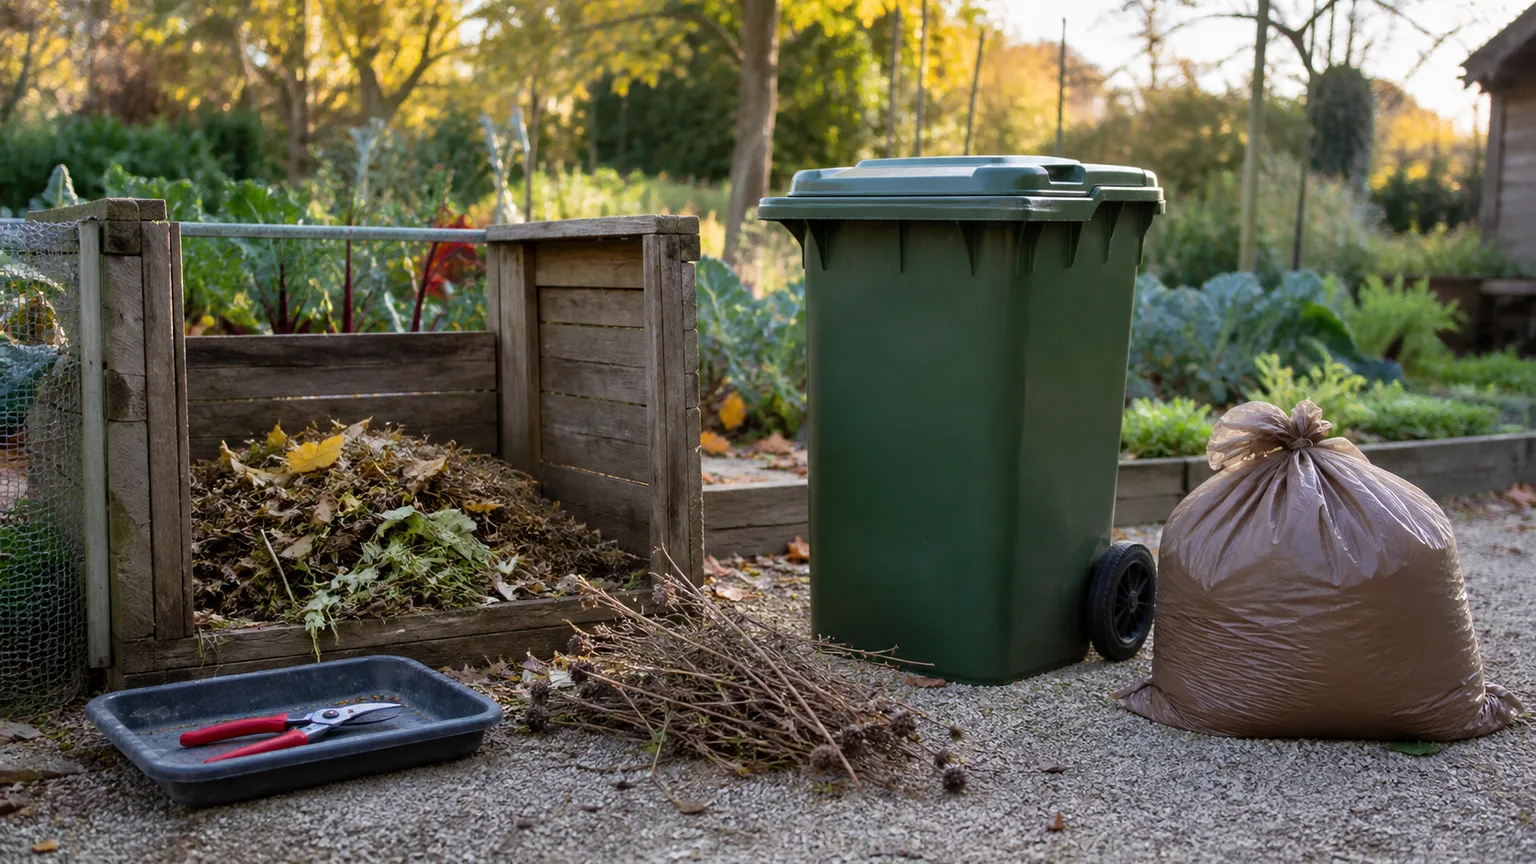
Use this quick destination guide:
| Debris | Good destination | Main caution |
|---|---|---|
| Clean, seed-free soft stems and leaves | Home compost or thin surface mulch | Avoid thick, wet mats around crowns and seedlings. |
| Clean dry leaves | Bed mulch, leaf mold, or compost | Keep heavy layers off lawns, drains, and low plants. |
| Clean roots from annual vegetables | Leave in place or compost | Pull if the crown or roots show rot, galls, or other symptoms. |
| Diseased or heavily infested plant material | Accepted municipal green-waste program or trash | Check local rules; keep it out of a casual home pile. |
| Mature weed seeds or root-spreading fragments | Municipal program or trash | Do not assume a cool pile will destroy viable pieces. |
| Invasive or regulated plants | Local authority’s specified route | Disposal rules can vary by species and region. |
Municipal collection may use a monitored commercial process that is better equipped for material unsuitable for a backyard pile, but acceptance varies. Call or check the program before placing diseased plants in a curbside bin. If a local authority gives different instructions for a named disease or invasive plant, follow that instruction.
When pruning timing matters
Pulling a truly dead annual is not the same as pruning a living perennial, shrub, or tree. Some plants benefit from a late-winter cutback; others carry buds on old wood, use standing stems for winter protection, or look healthy even after the leaves fall. A pair of pruners can turn a sensible cleanup into unnecessary winter injury if you cut by appearance alone.
For a woody plant, remove dead, damaged, or diseased wood when you can identify it and make a clean cut without removing healthy structure. For herbaceous perennials, delay routine cutback when the stems are clean, upright, and useful. Cut sooner when disease is spreading, a plant blocks a path, it traps persistent moisture at the crown, or local fire-safety conditions require more clearance.
Do not cut a perennial simply because it has experienced its first frost. The plant may still be moving stored energy below ground, and early cutting can remove winter structure or habitat without solving a problem. If a plant is unfamiliar, check its specific pruning habit with a botanical garden, nursery, or extension service before making a major cut.
A five-minute bed-by-bed cleanup checklist
Walk each bed with four containers or destinations in mind: remove, compost, leave, and investigate. Then work through this order:
- Remove diseased leaves, rotting fruit, and plants with a known heavy pest load.
- Pull weeds before they shed seed, especially cool-season weeds that will grow through mild winter weather.
- Cut or bag seed heads that will spread where you do not want volunteers.
- Leave healthy stems and seed heads that are out of the way and useful to wildlife.
- Cut clean annuals at the soil line if you want to preserve their roots, or pull them if you need to inspect the root zone.
- Move leaves off turf, drains, crowns, and paths; redistribute clean leaves as a light bed mulch.
- Clean cages, stakes, pruners, and other reusable items associated with a diseased plant.
- Mark dormant plants that disappear so you do not dig or plant over them in spring.
- Note the crop family and any symptoms in a garden notebook or phone photo.
The checklist should get shorter as you learn the site. A pollinator border may need little more than a diseased-stem check, a path trim, and a defined edge. A dense vegetable bed may need more complete removal because crop rotation, pest pressure, and next season’s planting schedule matter more there.
Common fall cleanup mistakes to avoid
Mistake 1: Clearing every brown plant. This removes winter food and shelter that clean stems and seed heads can provide. Decide whether the plant is risky or merely dormant-looking.
Mistake 2: Composting by color. Brown leaves can carry disease, and green weeds can be perfectly good compost input. Use plant history and symptoms, not the color of the debris.
Mistake 3: Dragging a diseased vine through the garden. Stage the bag or tarp first, cut into pieces over it, and clean tools before touching a healthy bed.
Mistake 4: Pulling all roots automatically. Healthy annual roots can decompose in place and leave soil less disturbed. Pull roots when you need to inspect disease, remove a persistent weed, or prepare a clear seedbed.
Mistake 5: Leaving mature seed heads beside next year’s crop. Habitat is not a reason to accept unwanted volunteers. Keep seed heads in a designated wildlife area and remove them where spread will create extra work.
Mistake 6: Treating one hard freeze as sterilization. Freezing may kill tender foliage, but it does not guarantee that eggs, spores, seeds, or soilborne problems are gone.
Mistake 7: Using a universal pruning date. Climate, plant type, winter exposure, and insect emergence all affect the best timing. A plant-specific instruction beats a calendar habit.
What to do when you cannot identify the problem
When a plant died for an unknown reason, resist two opposite impulses: do not scatter it into the compost pile, and do not panic and strip the whole garden. Place the material in a bag or container, photograph the whole plant and the closest symptoms, and write down watering, weather, fertilizer, pest activity, and what was planted nearby.
Look at the crown and roots only if you can do so without spreading soil widely. Mushy tissue, foul odor, galls, dark vascular streaks, or similar losses in nearby plants make a local extension diagnostic service especially worthwhile. If the symptoms are isolated and look more like frost, drought, accidental breakage, or ordinary senescence, the material may be safe to manage as clean debris, but uncertainty is a good reason to choose the more conservative destination.
Keep the bed record even after the debris is gone. Next season, plant a different crop family where practical, choose resistant varieties when available, improve airflow and drainage, and scout the area early. Cleanup is most useful when it changes the next decision rather than ending with a tidy-looking bed.
Conclusion
Should you pull dead plants from your garden? Pull the ones that carry a problem; leave the ones that still provide a benefit. Diseased or heavily infested debris, rotting fruit, aggressive weeds, unwanted seed, and hazardous material deserve prompt attention. Healthy stems, seed heads, fine roots, and a managed layer of leaves can remain to protect soil and support wildlife.
Work in a low-disturbance sequence, keep suspect material out of a casual compost pile, use local disposal rules, and record what happened in each bed. That approach gives you the real benefit of fall cleanup: less avoidable risk next season without sacrificing every useful part of the winter garden.



