How Thick Should Spring Mulch Be? Avoid Plant Damage
Avoid spring mulching mistakes with practical depth ranges, trunk and crown spacing, when to wait, material tips, and recovery steps.
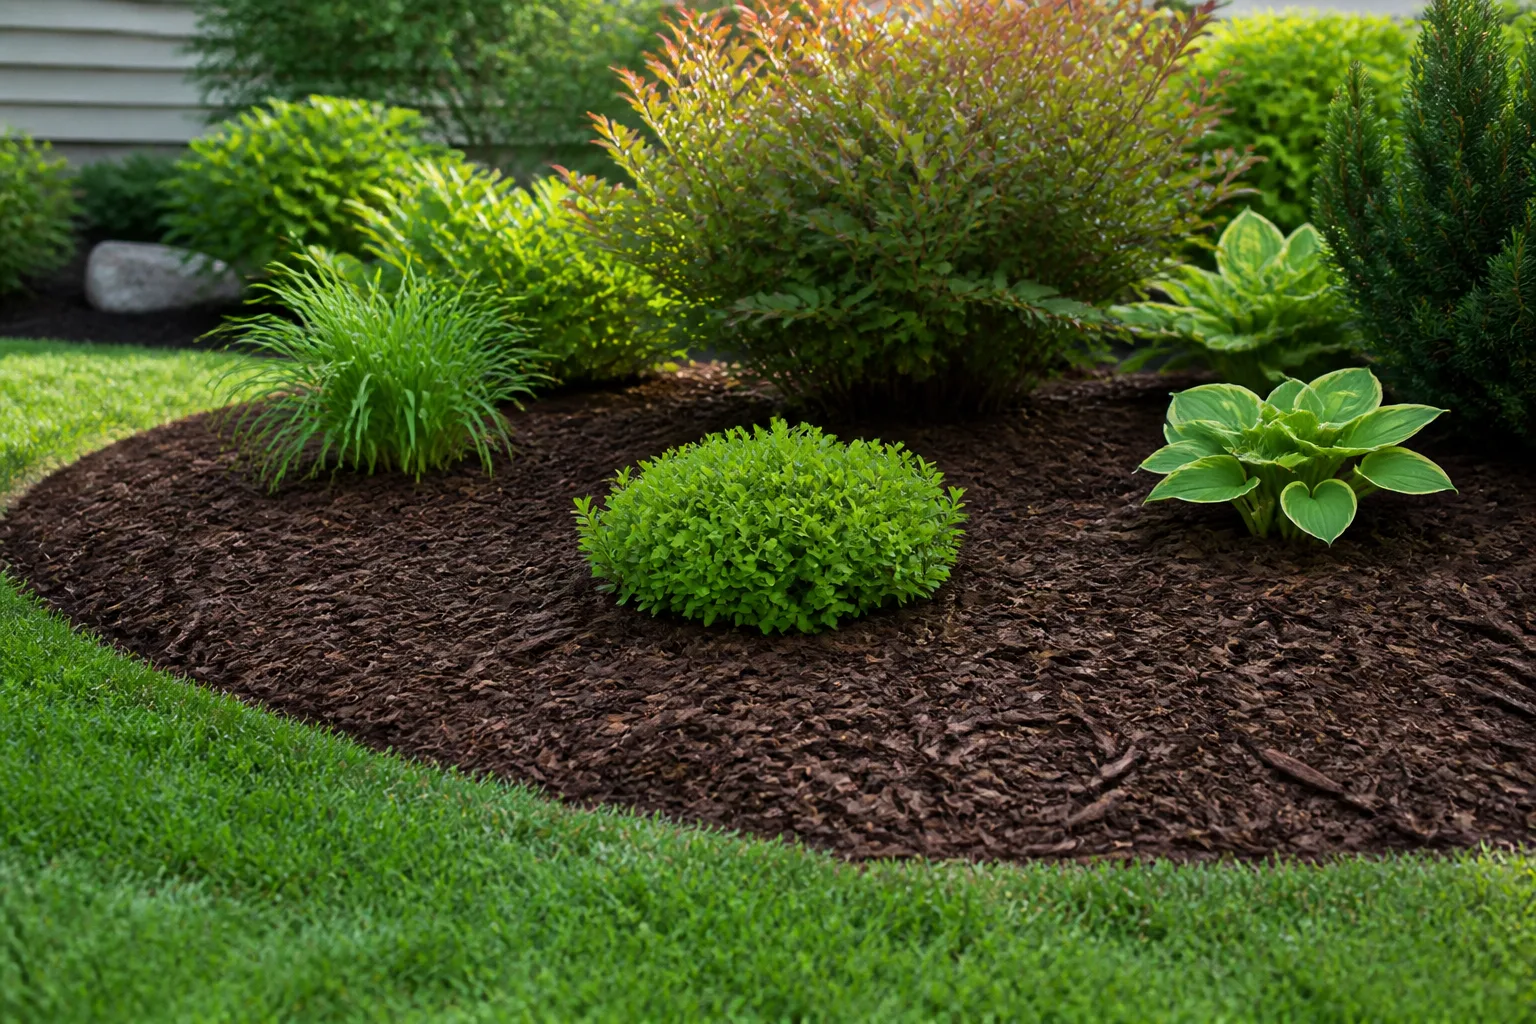
The safest spring mulch is a measured, breathable layer on the soil surface, not a mound around every stem. For most established flower beds and landscapes, start with about 2 to 3 inches after the material settles. Use less on compacted or poorly drained soil, with fine-textured mulch, around shallow-rooted plants, or anywhere the surface stays wet.
The second measurement matters just as much: keep mulch off the plant itself. Leave a visible bare gap around perennial crowns and shrub stems, and keep it well away from tree trunks so the root flare remains exposed. Mulch can conserve moisture, soften temperature swings, reduce erosion, and suppress many weeds, but the same properties become liabilities when a wet layer is too deep or touches tissue that needs air.
Why too much mulch harms plants
Mulch is a surface tool. It should change the conditions at the top of the soil without becoming a second planting medium that stays pressed against stems, crowns, or bark. The problem is rarely one extra handful around a mature shrub; it is usually the combination of excessive depth, repeated yearly additions, poor drainage, and mulch piled into the plant’s center.
Colorado State University Extension notes that mulch can reduce surface evaporation by roughly 25 to 50 percent, while also warning that volcano-shaped piles can damage trees and shrubs. Its guide to mulching trees and shrubs puts the moisture-saving benefit alongside the need for trunk clearance and careful depth. That effect is useful in a dry bed. In a waterlogged bed, it means the soil may stay saturated longer after rain or irrigation.
Roots need both water and oxygen
Roots need water, but they also need oxygen-filled pore spaces for respiration. A deep, compacted layer can keep the upper soil and mulch pores full of water, leaving less room for air to move. Rutgers Cooperative Extension describes oxygen starvation as a major way over-mulching causes a slow decline, especially during wet spring and fall periods and in compacted soils. Rutgers Cooperative Extension’s fact sheet on over-mulching explains why a plant can look acceptable for a season before showing yellowing, small leaves, weak twig growth, or dieback.
This is why “the mulch is organic, so more must be better” is a poor rule. Organic material still has a physical depth, a texture, and a water-holding capacity. Fine, double-shredded mulch can knit into a dense mat; wet grass clippings can form a slimy layer; whole leaves can shed rain until they are shredded. Each can require a thinner application than a coarse, airy material.
Wet mulch damages stems, crowns, and bark
Plant tissue at the crown or stem base is not interchangeable with a root. A perennial crown needs a little air around its growing points, and the bark at the base of a woody plant is not meant to stay continuously wet. When mulch is pressed against that tissue, rain and irrigation can create a slow-drying pocket where decay organisms and some pests have an advantage.
The risk is especially serious around a tree’s root flare, the point where the trunk broadens before the major roots begin. The flare should be visible. If it disappears beneath a mound, the tree may be planted too deeply, over-mulched, or both. Do not correct a buried mature tree by aggressively scraping into the trunk or roots; remove loose mulch carefully and call an arborist if the flare is buried under soil, the trunk bark is damaged, or the tree is large and valuable.
How thick should spring mulch be?
Use a range rather than a calendar recipe. A practical starting point is 2 to 3 inches for many established beds, measured after the mulch settles. University of Minnesota Extension’s mulching guidance gives a broader 2- to 4-inch range for garden health, while Rutgers recommends that the total mulch layer generally not exceed 3 inches and advises a thinner layer on compacted or poorly drained soil. The difference is not a contradiction; it reflects the site, material, and plants underneath.
Measure the old layer before buying more. Push a ruler through the mulch until it reaches the soil, check several locations, and subtract what is already there from your target depth. If last year’s layer is still close to 2 inches, you may need only a light refresh—or just a rake to break up a crust. Adding a new 3-inch layer on top of an existing 3 inches is not “topping up”; it is doubling the depth.
Established garden beds
For a typical, well-drained ornamental bed with established perennials and shrubs, 2 to 3 inches of loose bark, arborist chips, shredded leaves, or another suitable organic mulch is usually enough. Keep the layer flatter than a mound and spread it to cover the open soil between plants. If your mulch is very fine, the bed is heavy with clay, or water stands after rain, stay closer to 1 to 2 inches and fix drainage rather than trying to solve the site with more material.
Young perennials and plants with shallow crowns often need a lighter touch. A thick layer can bury emerging shoots, keep the crown damp, or hide slugs and snails. If you cannot see where the plant emerges from the soil, pull the mulch back until the crown is identifiable, then restore only a thin, even layer around—not over—it.
Trees, shrubs, and newly planted woody plants
Around established trees and shrubs, the target depth is still commonly 2 to 3 inches, but the ring should extend outward over the root zone rather than rise at the trunk. Rutgers suggests keeping mulch roughly 3 to 5 inches away from young plant or shrub stems and 8 to 12 inches away from mature tree trunks. Colorado State Extension gives a minimum 6-inch clearance for tree trunks. Use the larger gap when there is room, especially for a mature tree with a visible root flare.
Newly planted trees and shrubs need a special check. Colorado State Extension cautions against laying mulch directly over the root ball because it can divert water away from the new roots and contribute to drought stress. Mulch the backfill area and beyond, but keep the trunk and root flare open and make sure irrigation can still reach the root ball. A newly planted tree needs water directed to its roots; a decorative volcano does not help it establish.
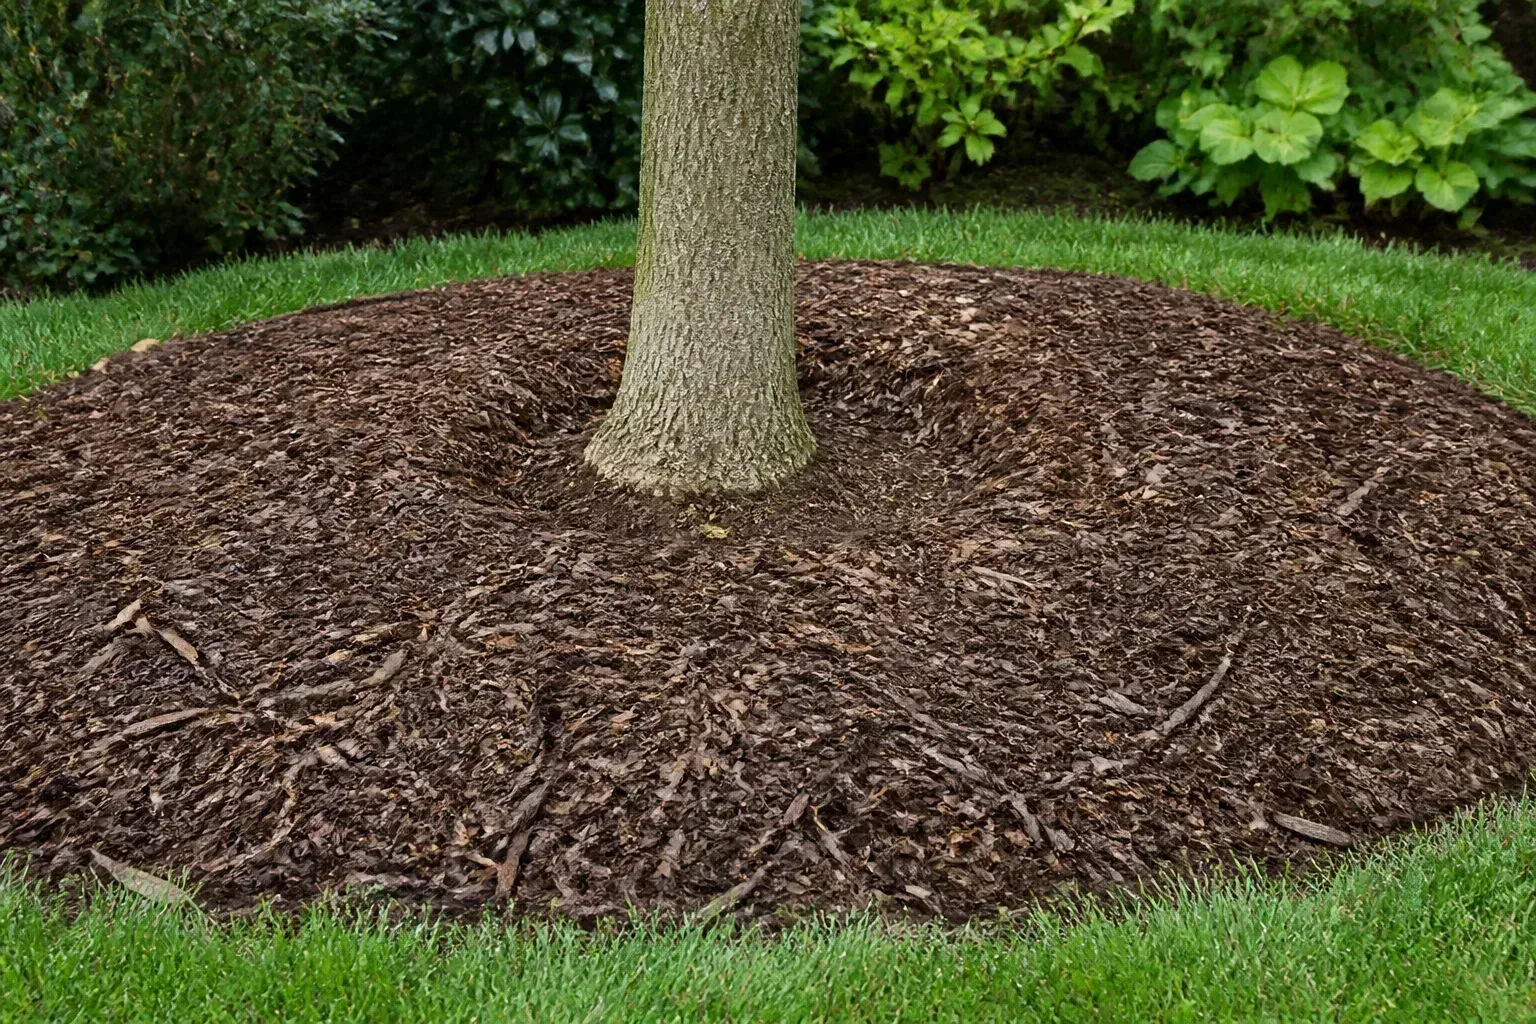
Use the donut rule around every plant
Think donut, not volcano. The mulch ring should be level or gently tapered, with a clear center around a trunk, shrub stem, or perennial crown. The center is bare soil or a very thin layer, while the useful mulch sits outward where feeder roots and weeds compete.
For a mature tree, the ideal mulched area may extend toward the canopy’s drip line or beyond, because many fine roots lie far from the trunk. A small, high mound at the base protects the least useful part of the root zone while keeping the trunk wet. A wider, shallower ring is both healthier and more effective.
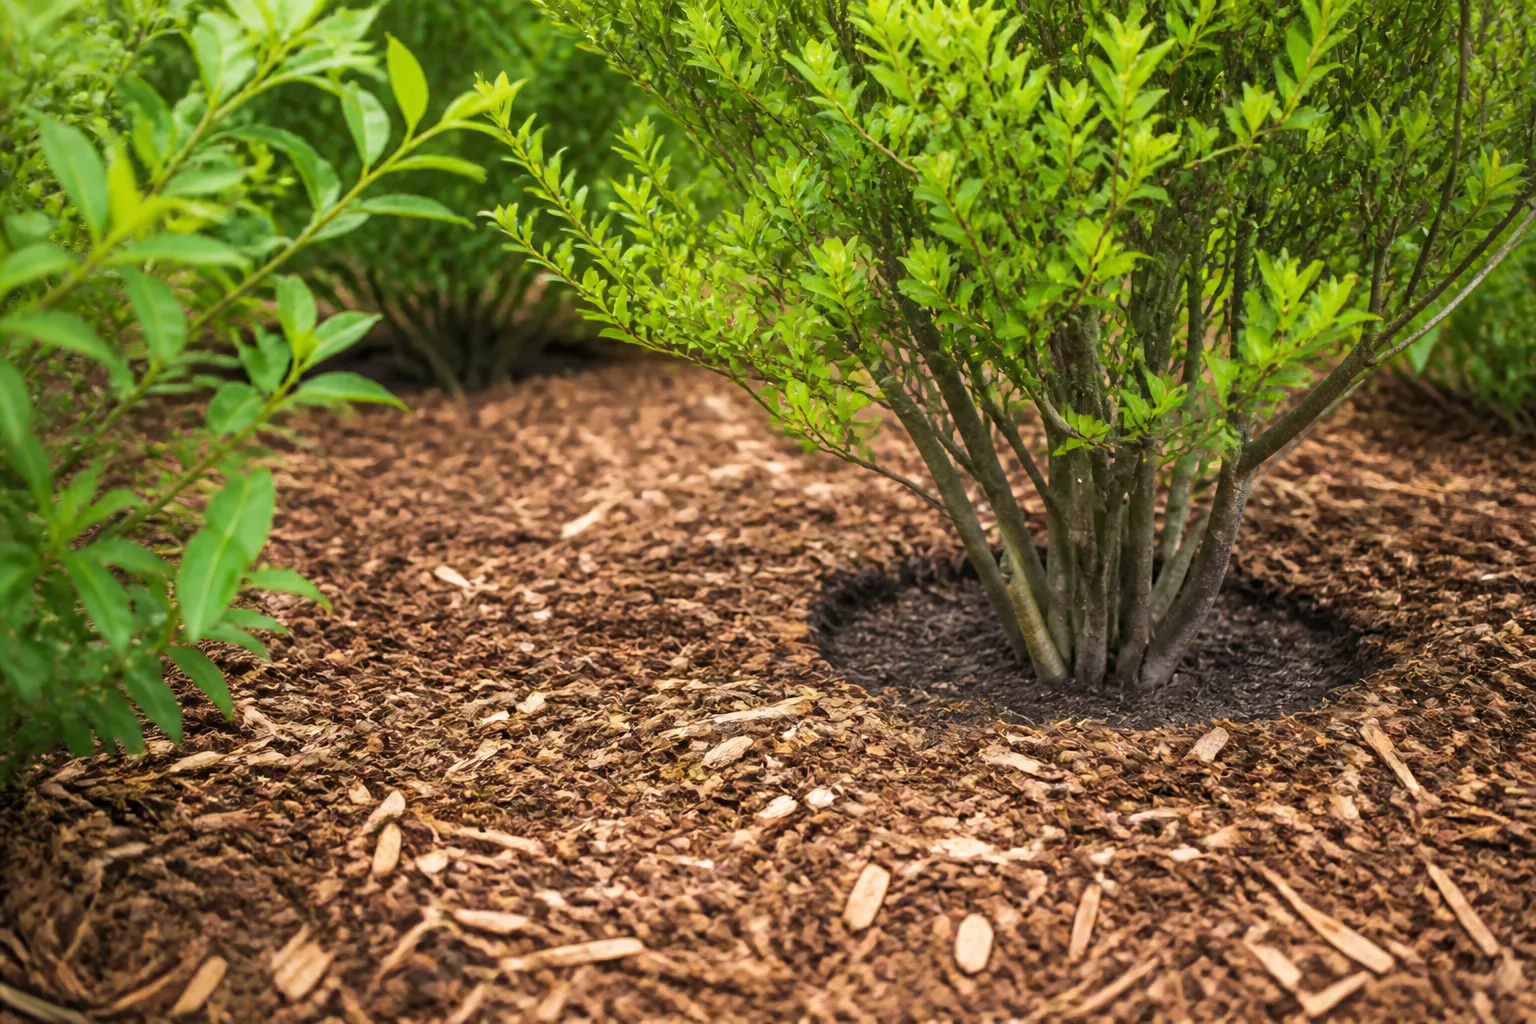
For shrubs and perennials, leave enough space that air can move around the base and you can inspect it after rain. The exact gap depends on the plant’s size, but “at least an inch” is only a starting point for a small herbaceous plant; woody stems and tree trunks need more clearance. If mulch shifts into the gap, sweep it back rather than rebuilding the ring higher.
When spring is the right time to mulch
Spring is a good mulching season, but the first sunny day is not an automatic signal to cover every bed. The soil should be beginning to warm, the area should drain, established weeds should be removed, and the plants should be far enough along that the mulch will not bury new growth. A cool, saturated bed benefits from air and drainage before it benefits from a moisture-holding blanket.
Wait for soil to warm and drain
Dark mulch can shade the soil and slow warming if it goes down too early. In a cool climate or a wet spring, wait until the surface is no longer cold and muddy and the bed can accept water without staying saturated. For warm-season vegetables, wait until the soil is warm enough for the crop and the transplants have begun active growth. University of Georgia Cooperative Extension recommends waiting rather than applying mulch too early in spring, and its vegetable guidance places mulch after the soil has warmed and transplants have had time to establish. Read the University of Georgia’s home-gardening guidance.
This does not mean every garden must wait the same number of days. A sunny, sandy bed warms and drains sooner than a shaded clay bed. Use soil condition and plant stage as the schedule; a fixed date or a rule borrowed from another climate can be wrong for your yard.
Treat seeds and new transplants differently
Do not cover a freshly sown row with a heavy layer of bark or wet leaves and expect tiny seedlings to push through. Leave the seed row visible until germination is complete, then add a thin layer between rows or around established plants. The same principle applies to newly planted transplants: plant first, water the root ball, let the plant settle, and then pull mulch around it without burying the crown.
Bulbs and established perennials can push through a loose, reasonable layer more easily than a newly emerged annual seedling. Even then, clear mulch from shoots that are bent, pale, or trapped. A layer that looks shallow at installation can settle into a dense mat after repeated rain, so check it again when growth accelerates.
Choose mulch by job and texture
The best mulch is the one that solves the bed’s actual problem without creating a new one. Coarse wood chips are durable and breathable when applied correctly, but they are awkward in a bed that will be direct-sown every week. Finished compost is easy to spread around small plants but should not be mistaken for a complete fertilizer. Shredded leaves are versatile, but whole leaves can mat.
Wood chips, bark, leaves, and compost
Use untreated wood chips, shredded bark, or arborist chips around established trees, shrubs, paths, and long-lived beds. Keep woody material on the soil surface rather than mixing a thick layer into the root zone. Large chips break down slowly and are not ideal where seeds need fine contact with the soil.
Shredded leaves are a useful spring surface cover when they are clean and loose. Rutgers notes that shredded leaves are less likely than some wood products to knit tightly or become water-repellent, especially when they are shredded rather than left whole. Finished compost works well as a thin top-dressing around vegetables and perennials, but it is too fine to use as a deep blanket on a wet site.
Avoid unknown reclaimed wood, treated lumber debris, and strongly dyed products when you cannot verify the material. The goal is not to make a bed look darker at any cost; it is to cover soil with a predictable, plant-safe material that will not introduce avoidable contaminants or create excess heat.
Straw and grass clippings
Straw is the dry stalk left after grain harvest; hay contains leaves and seed heads and is more likely to bring unwanted seeds into a bed. Use clean straw around larger vegetable plants, strawberries, potatoes, or paths, and watch for slugs in cool, wet gardens. If you cannot verify the source, choose shredded leaves or finished compost instead.
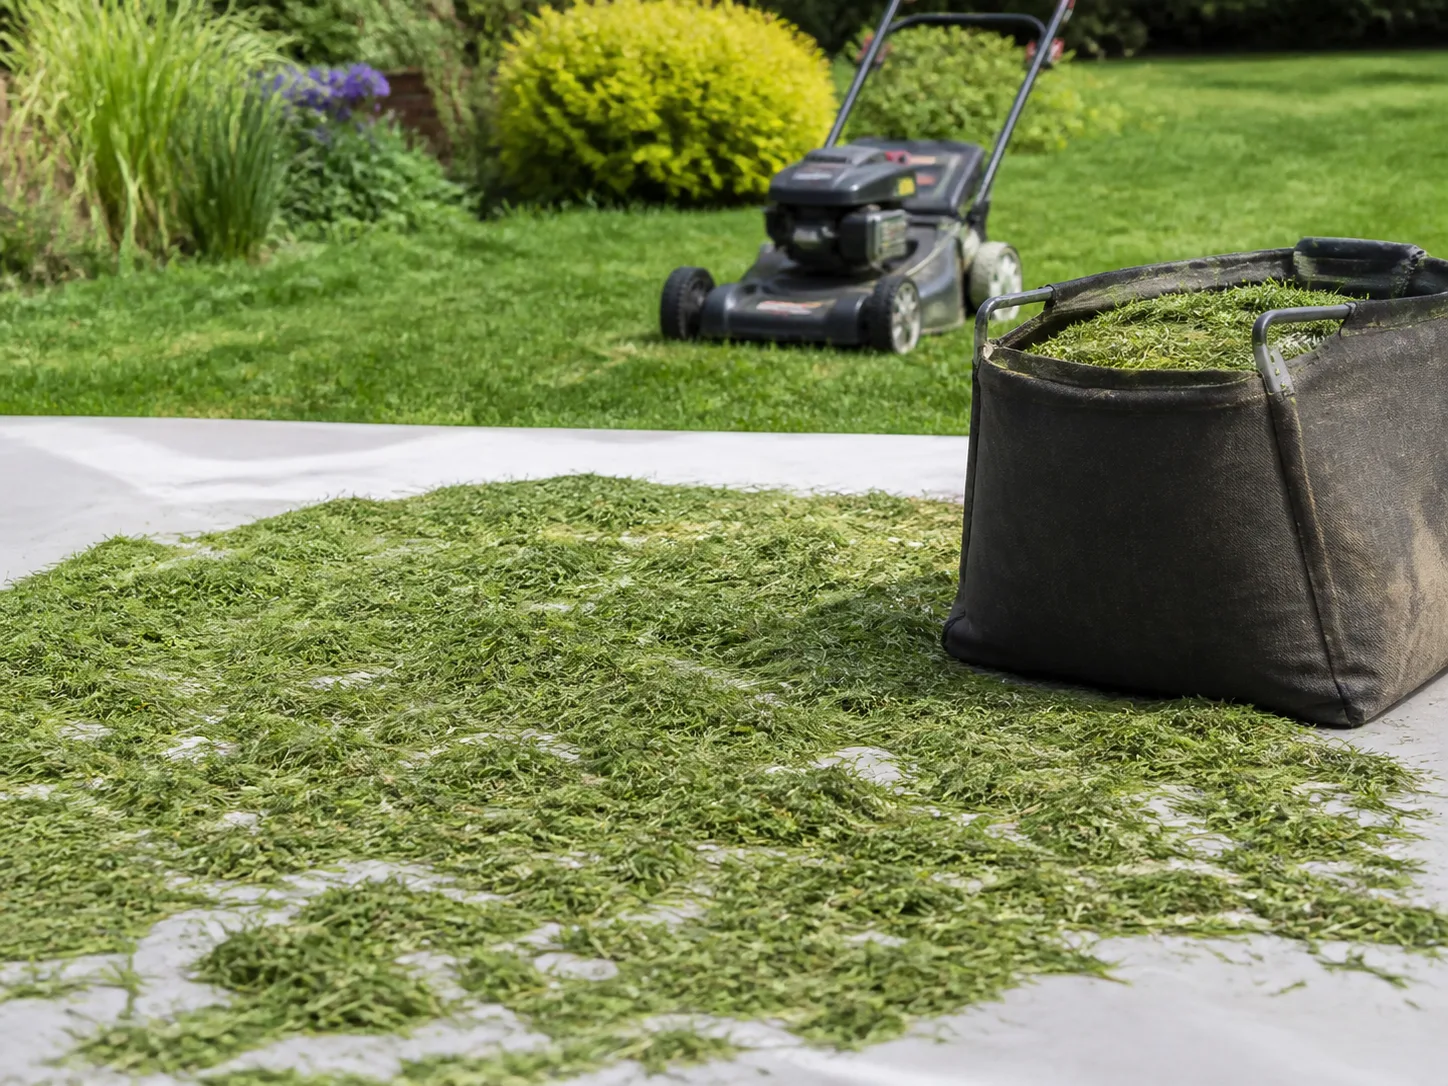
Grass clippings can be excellent mulch, but they need special handling. Use clippings only when you know the lawn’s herbicide history, especially if the material came from commercial turf, a golf course, or an unfamiliar property. NC State Extension warns that certain persistent herbicides can remain active in hay, compost, and grass clippings and injure sensitive vegetables and flowers. See NC State Extension’s guidance on herbicide carryover.
Spread clean clippings in a very thin layer so they can dry instead of forming a wet mat. GrowVeg’s practical guide recommends thin applications and dry mowing conditions for this reason. Read GrowVeg’s guide to grass-clipping mulch. If you have a large volume, let the clippings wilt briefly, mix them with drier leaves, and add small layers over time. Never build a green mound around a stem.
Apply spring mulch in six careful steps
- Inspect the bed first. Look for standing water, compacted soil, emerging bulbs, low stems, crowns, rodent activity, and weeds that will keep growing under cover. If drainage is poor, correct that problem before adding moisture-retaining material.
- Measure what is already there. Check several spots with a ruler. Rake thin or crusted mulch to loosen it, and remove only what is moldy, contaminated, or clearly excessive.
- Weed and water appropriately. Remove established weeds while they are small. If the soil is dry, water the root zone thoroughly before mulching; if it is saturated, wait rather than trapping more moisture.
- Plant before you mulch. Set out transplants, firm the soil, and mark seed rows first. Mulch should not become a buried obstacle between a new plant and its roots.
- Spread a flat layer. Aim for 2 to 3 inches in many established beds, adjusting down for fine material, wet or compacted soil, shallow-rooted plants, and small seedlings. Use a rake to keep the surface even rather than piling it toward stems.
- Open the center and recheck. Sweep mulch away from crowns, stems, trunks, and the entire visible root flare. After the next heavy rain, inspect the bed again; mulch often migrates downhill and fills the gap you made.
What to do if mulch is already too thick
Fix it as soon as you notice it; do not wait for yellow leaves or dieback. Start at the plant and work outward with gloved hands or a soft rake. Pull mulch away from stems and trunks without scraping bark, then spread the material over the open soil or remove it from the site if the layer is badly compacted, sour-smelling, contaminated, or full of weeds.
For a perennial, expose the crown and the soil immediately around it. For a shrub, restore the 3- to 5-inch stem gap and level the surrounding layer. For a mature tree, uncover the visible root flare and create the wider 8- to 12-inch trunk clearance recommended by Rutgers, but do not dig into the trunk flare or cut roots to make the ring look perfect.
If the extra mulch has been there for only a short time and the soil drains, the plant may recover after air and water movement improve. If the soil is persistently wet, the bark is soft or cracked, the tree leans, or a valuable tree has a buried flare, ask an arborist to assess it. Pulling off loose mulch is a reasonable first aid step; aggressive excavation around mature roots is not.
Signs a plant is struggling under mulch
The symptoms of over-mulching can be delayed and are not diagnostic by themselves. Yellow leaves can come from many causes, but they deserve a root-zone check when the mulch is deep, wet, or pressed against the plant. Look for:
- mulch deeper than the target range or layered on top of last year’s material;
- a tree trunk or root flare that disappears into the mound;
- a perennial crown buried under leaves, bark, or wet grass;
- soil that stays cold and saturated long after rain;
- a sour or fermenting odor, slimy clippings, or a dense crust;
- mushrooms, slugs, snails, rodents, or insects concentrated in the mulch;
- yellowing, unusually small leaves, weak new growth, dieback, or a plant that wilts despite wet soil.
Check the soil beneath the mulch before changing fertilizer or watering. If the root zone is wet, thin the mulch and improve drainage; adding fertilizer to a plant that cannot use oxygen or water properly can compound the problem. If the soil is dry because a hydrophobic fine layer is shedding water, rake the crust lightly and water slowly at the surface.
Common mistakes that make over-mulching worse
Adding the same thickness every spring ignores decomposition and the layer already on the bed. Refresh by measurement, not by bag count. A quick rake may be all the bed needs, as practical garden guidance from Wyse Guide also emphasizes. See Wyse Guide’s mulch application methods.
Using a calendar instead of the soil can delay warming or keep a wet bed wet. Mulch after the soil begins warming and draining, and wait longer for tiny seeds or cold-sensitive crops.
Treating all mulch as interchangeable leads to the wrong depth and the wrong texture. A light layer of dry clippings, a coarse layer of arborist chips, and a fine layer of compost do not behave the same way after rain.
Burying the crown for a tidy finish turns an aesthetic goal into a plant-health problem. The base of the plant should remain visible enough to inspect, and the mulch should never form a cone around a tree trunk.
Using untraceable grass, hay, or wood adds an avoidable risk. Ask where it came from and what was applied to it. If the answer is unknown, use a material with a reliable source rather than gambling with seedlings and vegetables.
Assuming mulch replaces care causes problems to hide. Keep checking moisture, weeds, plant emergence, slugs, and the depth after storms. Mulch reduces maintenance; it does not remove the need to look at the soil.
Conclusion
Spring mulch should look like a low, even blanket, not a mountain. In many established beds, 2 to 3 inches is enough; use a thinner layer where soil is compacted, poorly drained, shallow-rooted, or covered with fine material. Keep mulch away from crowns and stems, expose the root flare, and extend tree mulch outward instead of piling it upward.
The most useful spring routine is simple: inspect and measure the old layer, wait for the soil to warm and drain, remove weeds, choose a clean material, spread it flat, and recheck the bed after rain. If mulch is already too thick, pull it back today. Healthy mulch protects the soil while leaving the plant’s living tissues room to breathe.



